You’ll transform your garden into a storybook landscape by layering rustic materials—moss-covered stepping stones, weathered wood boardwalks, herringbone brick, and sunken trails. Each path type guides visitors through distinct garden rooms while enhancing drainage and soil stability. Combine flagstone with irregular shapes, incorporate creeping thyme along edges, and space stepping stones 50–60 cm center-to-center for safe passage. These techniques create the natural woodland aesthetic that defines fairytale gardens. Each design method offers specific installation depths, material specifications, and botanical considerations worth exploring further.
Key Takeaways
- Irregular flagstone in woodland meanders with moss gardens creates enchanted, natural-looking pathways perfect for fairytale aesthetics.
- Reclaimed wood and composite paths with curved designs and lush hostas evoke rustic charm and timeless garden character.
- Wildflower trails with stepping stones and creeping thyme edging produce whimsical, naturally overgrown borders reminiscent of storybook gardens.
- Sunken paths with weathered brick retaining walls and moss soften edges, establishing intimate, magical woodland atmosphere.
- Spiral paths with low-growing plants following Fibonacci patterns and herb integration create mystical focal points in rustic gardens.
Flagstone Paths: Irregular Slabs for Timeless Cottage Character
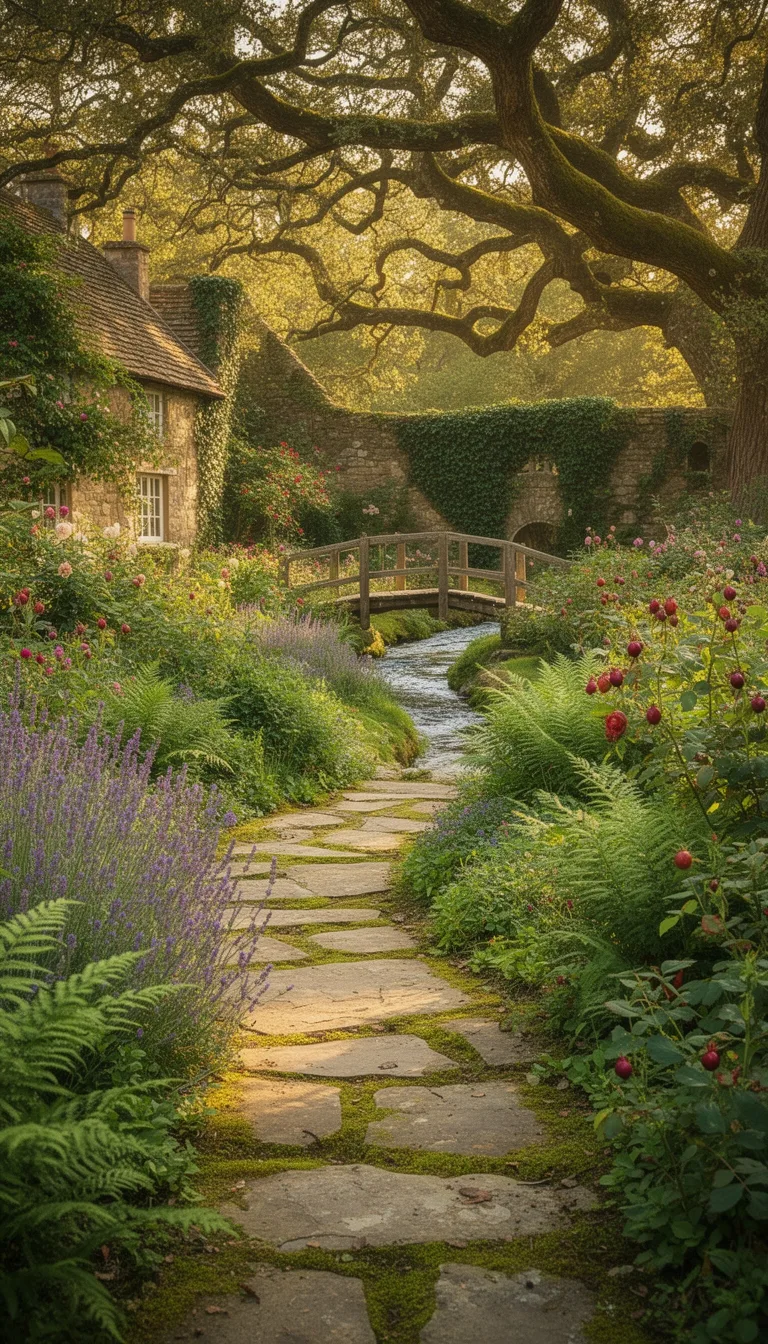
Why settle for uniform concrete when flagstone paths offer irregularly shaped slabs that’ll give your garden authentic cottage character?
You’ll start by calculating your square footage and adding 10% for cuts and breakage.
Excavate 3-6 inches deep, maintaining consistent depth with a slight lengthwise slope for drainage.
Lay landscape fabric overlapping seams 4 inches, then spread 4 inches of crushed stone compacted thoroughly.
Add 1-2 inches of masonry sand, creating a subtle crown for water runoff.
Position your largest stones as anchors along edges with 1-2 inch gaps between them.
Press each stone into the base, tapping gently with a rubber mallet while checking levelness.
Arrange remaining stones for natural puzzle fit, preserving their best sides facing upward. With proper installation, your flagstone path will maintain decades-long lifespan and require only minimal maintenance as the years pass.
Reclaimed Wood Paths: Weathered Boardwalks Through Woodland Settings
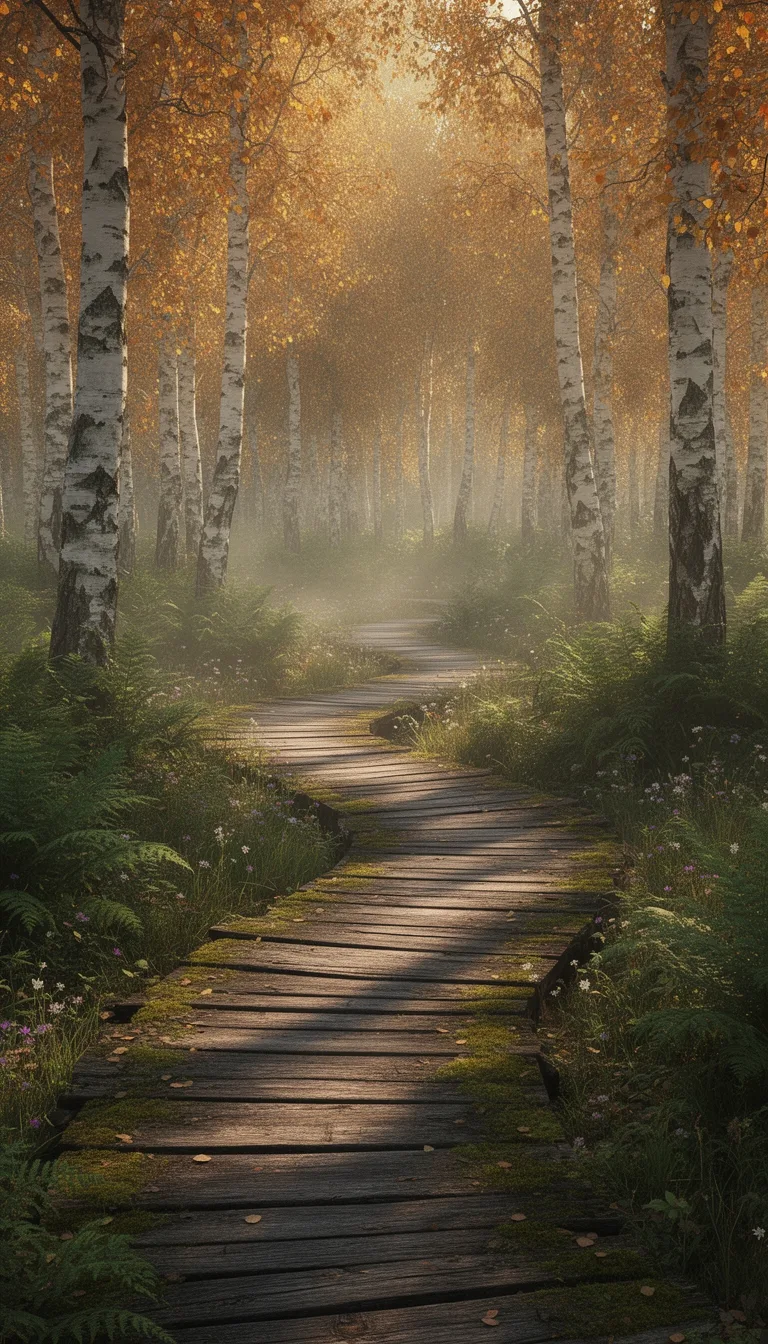
While flagstone creates a permanent, structured foundation for garden circulation, reclaimed wood paths offer a softer aesthetic that harmonizes naturally with woodland environments.
You’ll source materials economically—salvaged decking, free pallets, and stairway treads—then prepare your site by leveling ground and installing gravel drainage bases.
Your construction process involves:
- Laying boards directly on prepared mulch, drilling anchor holes, and securing with landscape pins
- Creating smooth curves by wedging cut wood pieces strategically
- Coating base boards with exterior spray protection
- Establishing wide paths (8+ feet) using consistent board dimensions
You’ll integrate hostas or stones along edges for botanical interest.
Cedar split posts treated with linseed oil ensure longevity.
Plan for maintenance cycles: power wash pallet wood every four years or opt for maintenance-free Trex composite alternatives for extended durability.
Gravel Paths: Budget-Friendly Texture With Seasonal Charm
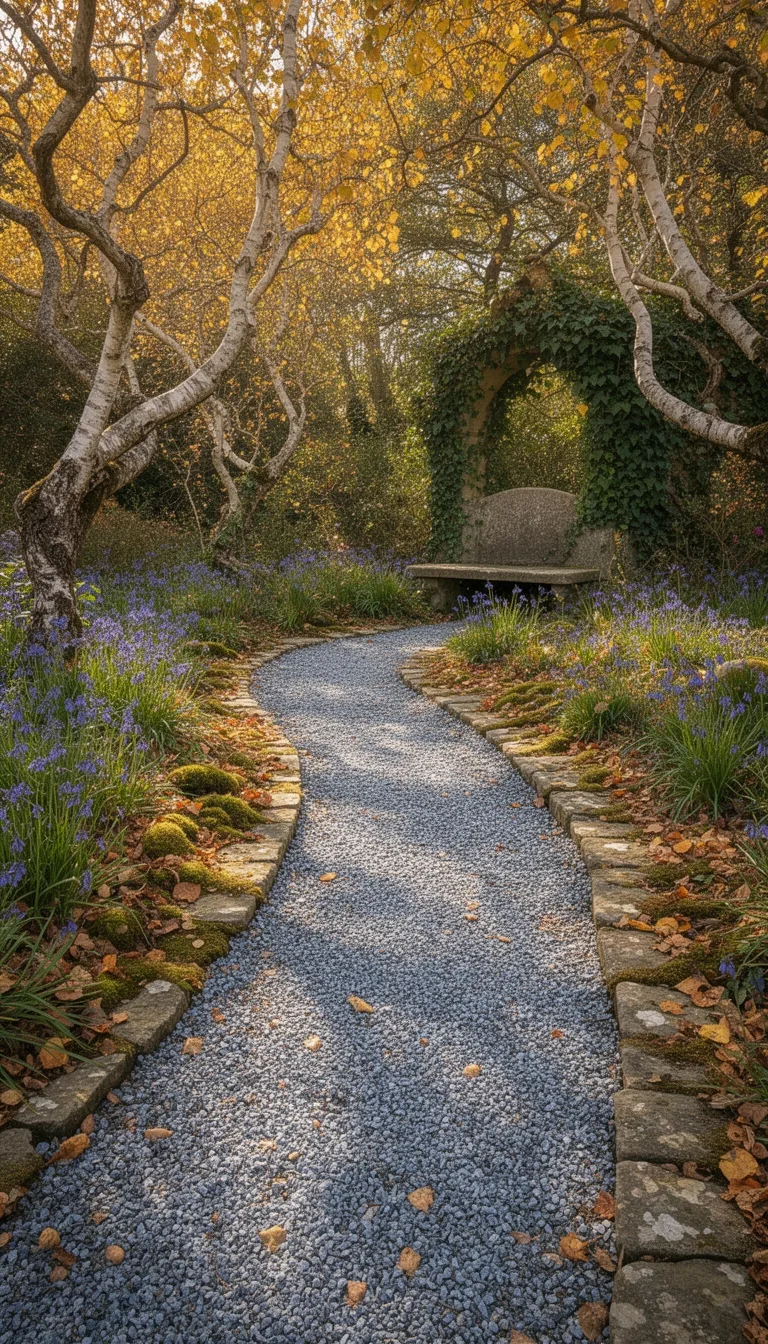
Gravel paths represent the most economical and adaptable solution for garden circulation, offering you straightforward installation with minimal equipment investment. You’ll excavate 4–6 inches, compact the subgrade, and lay woven geotextile fabric to prevent weeds. Install edging to contain materials, then build your base structure strategically.
| Layer | Depth | Material |
|---|---|---|
| Base | 2–3 inches | Crushed stone (21A) |
| Stabilization | 10 mm | Mesh grid (optional) |
| Surface | 1–1½ inches | Angular stone (#8) |
| Blinding | 10–15 mm | Gravel over mesh |
You’ll compact each layer thoroughly with a plate compactor, maintaining proper slope for drainage. Angular stones compact effectively; avoid rounded pea gravel for the base. Water the crushed stone layer before finishing. Your completed path settles within 2–4 weeks, requiring minimal maintenance while providing rustic charm throughout seasons.
Brick Paths: Warm Herringbone Patterns for Classic Gardens
If you’re seeking a durable, visually compelling alternative to gravel, brick paths laid in herringbone patterns deliver the timeless elegance that defines classic garden design.
This ancient technique arranges rectangular bricks at 45-degree angles, creating interlocking V-shaped designs that enhance stability and aesthetic appeal.
You’ll find three primary variations suited for different applications:
- Vertical herringbone creates linear patterns ideal for pathways connecting garden zones
- Horizontal herringbone widens narrow spaces through rotated orientation
- Diagonal herringbone introduces modern staggered effects to traditional designs
- 90-degree herringbone offers sharper zigzag contrast for visual impact
Proper installation requires excavating 4-6 inches, compacting soil thoroughly, and marking angles precisely with carpenter’s squares.
You’ll lay bricks in alternating orientations, sweeping gravel dust into gaps for secure finishing.
This hardwearing solution suits small courtyards and expansive country gardens alike, establishing enduring landscape character.
Stepping Stone Paths: Moss-Covered Stones Creating Whimsical Trails
Stepping stone paths offer a softer, more naturalistic counterpoint to the architectural precision of herringbone brickwork, inviting you to craft whimsical garden trails through organic layouts and living moss. You’ll space stones 50–60 cm center-to-center for comfortable stride, setting them 3–6 cm above grade to prevent tripping. Irregular flagstone shapes meander naturally through woodland settings, while geometric layouts provide structured contrast.
| Moss Type | Light Requirements |
|---|---|
| Pleurocarp | Shade-tolerant |
| Bryum | Up to 60% sunlight |
| Sheet moss | Shady locations |
You’ll bed stones in sharp sand with a 1–2% tilt for drainage, then propagate moss using a slurry method. Daily misting weeks 1–2 establishes coverage within 4–6 weeks. Maintain soil pH 5.0–5.5 and limit foot traffic to stones alone.
Cobblestone Paths: European Courtyard Elegance With Timeworn Beauty
How do you transform a garden into a European courtyard with enduring sophistication? You’ll lay granite pavers using a methodical approach that ensures decades of durability.
- Excavate 6 inches deep, compact your soil base, and install landscape fabric for weed control
- Pour a 4-6 inch concrete slab, then apply 1 inch of screeded sand for leveling
- Arrange stones in staggered joint patterns, tapping each with a rubber mallet for snug, level placement
- Fill gaps with stabilized sand-cement mixture, then compact repeatedly and soak for 24-48 hours
Your cobblestone path requires granite pavers, edging stakes, and mason’s sand.
Check level after every few rows on both axes.
This construction method creates maintenance-free walkways with timeworn European character that’ll enhance your garden’s rustic appeal while providing reliable functionality.
Shell Paths: Coastal Texture for Seaside Garden Charm
Where can you find a path material that’s both sustainable and strikingly beautiful?
Crushed oyster shells offer an eco-friendly alternative that compacts into a stable, off-white surface ideal for high-traffic areas.
As you walk on them, shells break into smaller pieces that self-stabilize while preventing water retention and shoe imprints.
Installation requires ground preparation, metal edging, and a stone pack base layer for drainage.
You’ll apply landscape fabric to prevent sinking in sandy soils, then spread and compact shells mechanically before water-settling the surface.
The material’s coastal aesthetic pairs beautifully with boxwood borders, creating striking visual contrast.
Unlike gravel, shell paths drain freely and eliminate lake bed extraction.
Though you’ll need containment systems to prevent dispersal, PVC matting works better than solid weed barriers for long-term maintenance.
Bark Mulch Paths: Soft Forest Floor Appeal for Wooded Settings
While shell paths bring coastal elegance to seaside gardens, bark mulch paths deliver the natural comfort of a forest floor to wooded settings.
You’ll create a soft, inviting surface that mimics nature’s own design while providing practical benefits.
Transform your wooded garden by following these key steps:
- Excavate 4-7 inches deep and compact native subsoil after removing debris
- Install landscape fabric or recycled cardboard as a weed barrier
- Spread 3-4 inches of quality bark mulch evenly with a bow rake
- Secure edging pegs every 4-6 feet, keeping mulch 3 inches from plant bases
Your bark mulch path inhibits weed growth, provides excellent drainage, and requires minimal maintenance.
As material settles, occasional topping up maintains its appearance and functionality.
You’ve created a sustainable, natural-looking pathway that reduces muddy areas while enhancing your woodland garden’s aesthetic appeal.
Sunken Paths: Lowered Trails for Drama and Discovery
What if you could transform your flat backyard into a layered landscape that draws visitors deeper into discovery? Sunken paths accomplish this by lowering trails below surrounding ground level, creating dramatic spatial depth and a secluded retreat feeling.
You’ll want to limit depth to 120cm maximum to avoid darkness and dampness while controlling costs.
Low-level retaining walls crafted from weathered brick or uneven stone allow light penetration and prevent claustrophobia.
Install steps or gentle slopes for comfortable access—critical for functionality in smaller yards where a single step down suffices.
Incorporate strategic drainage with soakaways to prevent water accumulation.
Line pathways with natural stone, gravel, or flagstone, softening edges with creeping thyme or moss.
Integrate seating by designing retaining walls as bench backrests, merging function with rustic aesthetics.
Wildflower Trails: Flower-Lined Paths for Romantic Cottage Gardens
How do you guide visitors through a thriving wildflower garden without trampling the very blooms you’ve cultivated? Wildflower trails solve this challenge elegantly.
You’ll create romantic pathways by implementing these strategies:
- Install flagstone or recycled brick stepping stones set in mulch, weaving through flower beds
- Maintain a minimum width of 1.2–1.8 meters to accommodate two walkers and allow flowers to flop naturally over edges
- Plant ground covers like creeping thyme between stones for fragrance and aesthetic cohesion
- Line paths with wildflower clumps arranged in pods, creating natural garden flow
Curved, winding designs encourage exploration toward focal points—benches, sculptures, or gates. Position anchor elements like topiary or established trees to contain the wildness strategically.
This approach preserves your cottage aesthetic while protecting delicate petals and maximizing pollinator habitat accessibility.
Moss Garden Paths: Living Stone for Emerald Enchantment
Where wildflower paths celebrate exuberant bloom, moss gardens offer a quieter enchantment—verdant softness underfoot that thrives precisely where other plants struggle.
You’ll cultivate moss successfully in shaded, consistently moist zones with poor drainage.
Excavate your pathway 6-8 inches deep, then establish a 3-inch gravel base topped with 1-2 inches of sand for leveling.
Space stones with even gaps, then press moss sheets or plugs firmly into roughed-up soil between them.
Water daily for 2-3 weeks post-installation to promote rooting.
Maintain your path by hand-pulling weeds, watering during droughts, and compacting soil gaps to retain moisture.
This living surface rewards your minimal intervention with lush, resilient growth.
Spiral Paths: Winding Routes for Hidden Garden Secrets
Spiral paths transform garden layouts by guiding you through layered plantings without compacting soil around your prized specimens.
You’ll create movement and visual interest while maximizing small spaces effectively.
Design your spiral with these essential steps:
- Establish a 6 to 8-foot diameter minimum for clear definition and safe passage
- Select well-draining soil locations away from tree roots to ensure stability
- Mark your full spiral using sand, chalk, or a garden hose from the center outward
- Lay materials consistently from center outward, maintaining even gaps and balanced curves
Plant low-growing species like creeping thyme along edges to soften the structure.
Incorporate vegetables, herbs, and flowers that follow Fibonacci patterns.
This natural design eliminates hard-to-access spots while guiding your steps with rhythmic exploration through hidden garden secrets.
Conclusion
You’ve now explored nine distinctive pathways that transform your garden into an enchanted retreat. Each design—from flagstone to spiral routes—offers unique drainage properties and plant compatibility. You’re not barking up the wrong tree when selecting based on your soil composition and existing vegetation. Consider maintenance requirements, foot traffic patterns, and seasonal moisture levels. Implement edging with native species to prevent erosion. Your chosen path becomes both functional hardscape and botanical showcase, establishing sight lines throughout your landscape design.
The Only Tools You Need for a Thriving Garden 🌱
Whether you're a weekend gardener or growing daily — these hand-picked tools make every session faster, easier, and more satisfying.