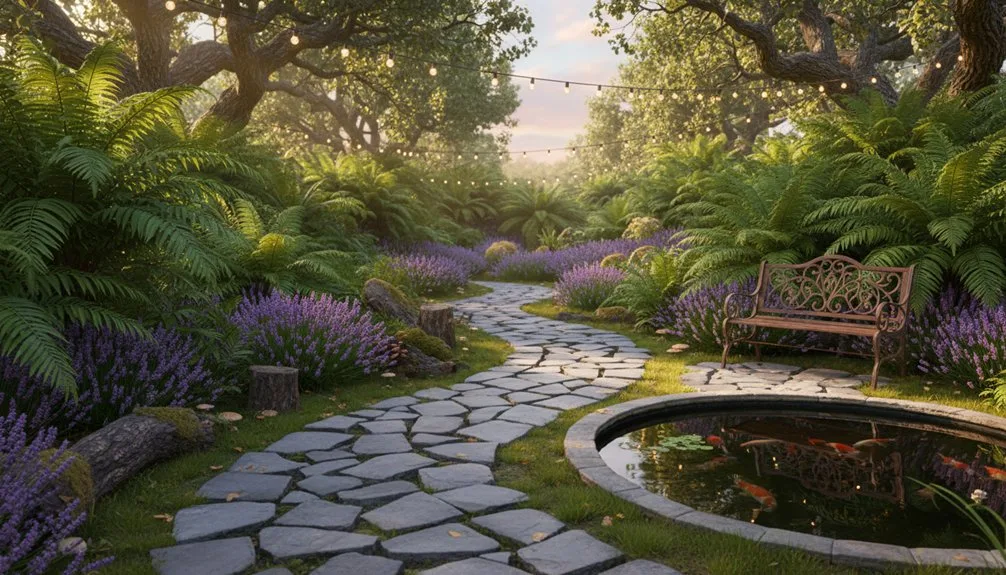
You’ll create magic by designing curved pathways that slow exploration and guide the eye through hidden garden “rooms.” Layer flagstone with gravel for visual depth, then soften edges with lavender or ornamental grasses. Embed glow-in-the-dark pebbles into wet concrete for a starry nighttime effect that extends usability after dark. Space stepping stones 3–6 inches apart along your marked route, slope them ¼ inch per foot for drainage, and consider climate-resilient materials like limestone for freeze-thaw durability. Discover how specific installation techniques transform your backyard into an enchanting retreat.
Key Takeaways
- Curved pathways conceal what lies beyond each bend, creating hidden pockets of mystery and encouraging immersive exploration throughout your backyard.
- Design loops around focal points like seating areas and flower beds to create distinct garden “rooms” that feel secluded and magical.
- Layer edging with lavender or ornamental grasses to soften boundaries and enhance the dreamy, organic aesthetic of your secret garden.
- Combine mixed materials—flagstone with decomposed granite, stepping stones in bark mulch, or recycled glass borders—for visual depth and enchantment.
- Install glow-in-the-dark pebbles along curved paths to extend nighttime usability with soft luminescence, creating a starry-night effect after dark.
Create Curved Pathways That Invite Exploration
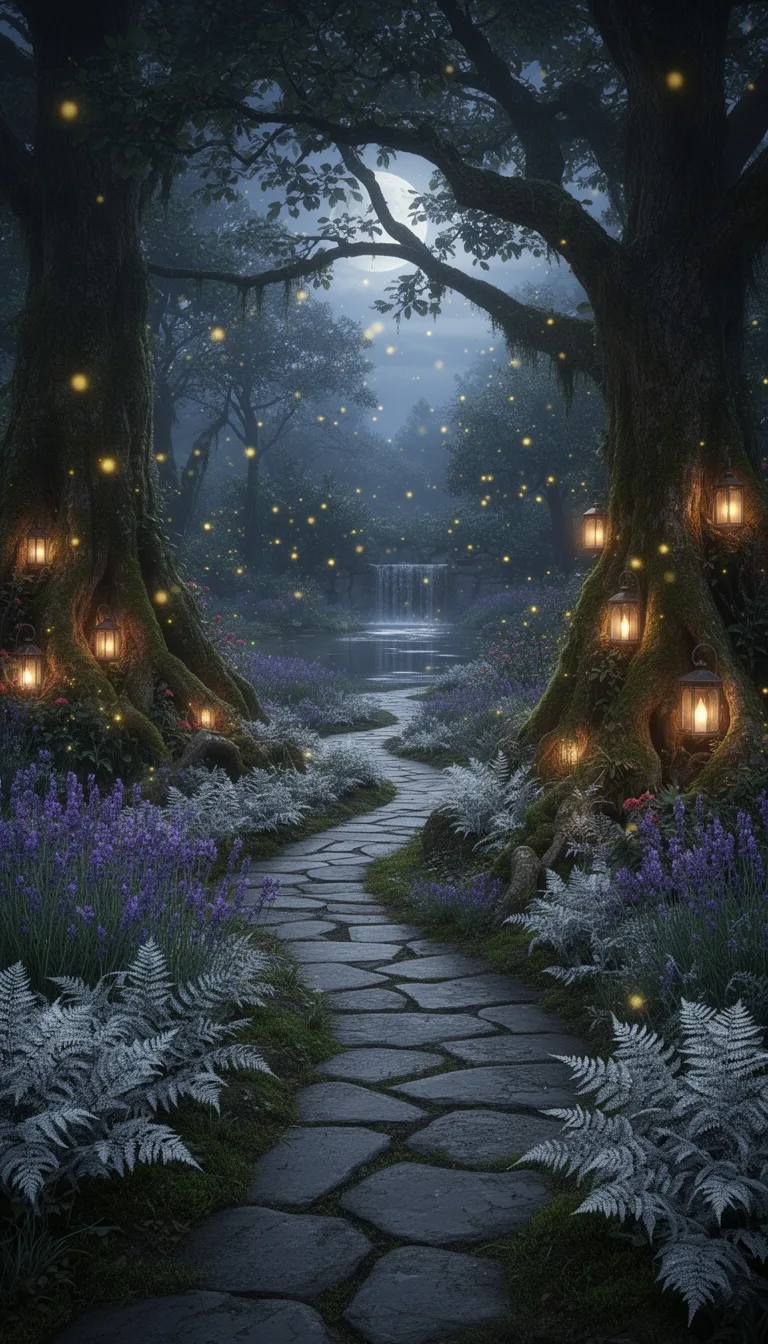
When you’re designing a garden path, curves offer a compelling alternative to rigid straight lines—they expand perceived space by guiding the eye on a longer visual journey and concealing what lies beyond each bend.
Organic curves mimic natural flow patterns, softening your landscape’s geometry while encouraging immersive exploration rather than direct transit.
You’ll discover that curved pathways create hidden pockets throughout your garden, generating mystery and depth that straight routes can’t achieve.
Gentle arcs provide psychological benefits too—they naturally slow movement and invite you to linger.
By looping around garden edges or encircling flower beds, you’ll increase visual intrigue and design complexity.
Use string line visualization techniques to test different curve shapes before installation, ensuring you achieve the sophisticated, flowing aesthetic you’re seeking.
Choose the Right Material: Sunlight, Climate, and Longevity

How will your chosen path material perform under your garden’s specific conditions? You’ll want to consider heat retention, durability, and climate compatibility.
Flagstone stays 15-20 degrees cooler than pavers in direct sun, making it ideal for barefoot comfort around pools. Limestone offers similar cooling benefits while withstanding freeze-thaw cycles. If you prefer pavers, choose lighter colors like buff or tan—they reflect more heat than dark shades.
For freeze-thaw climates, avoid gravel; it performs poorly in these conditions and requires refreshing every five years. Brick lasts decades with proper mortared installation, though it demands higher upfront investment.
Consider your region’s weather patterns and foot traffic volume.
Flagstone and brick endure extreme weather and heavy use for decades. Pavers accommodate individual freeze cycles, replacing damaged pieces as needed. Your material choice directly impacts maintenance frequency and long-term satisfaction.
Glow-in-the-Dark Pebbles for Magical Nighttime Ambiance

Once you’ve selected your path material, consider layering glow-in-the-dark pebbles to extend your garden’s usability into evening hours.
These phosphorescent aggregates absorb UV light during the day, then emit a soft luminescence after dark—creating a starry night effect that lasts for hours.
You’ll find options like Element Glo in firefly, glacier, and aqua colors, or Pure Garden’s blue pathway stones with metal stakes for standalone placement.
Installation varies based on your project scope: broadcast aggregates onto wet concrete for pathways, or embed them in small test areas first using a number 5 retarder to expose the top layer.
The result? Durable, visually striking pathways that safely guide you through your garden at night while requiring minimal maintenance.
Natural Stone Pathways for Timeless Garden Beauty
Why settle for temporary pathways when natural stone offers enduring elegance and structural integrity? You’ll create lasting garden beauty by selecting flagstone, bluestone, or slate—materials that withstand weather while maintaining flat, stable surfaces.
Begin by excavating 2-4 inches deep and installing geotextile fabric to prevent weeds. Compact a 2-3 inch base of crushed stone for drainage and stability.
Arrange your stones in your preferred pattern, spacing them for comfortable walking rhythm. Level each piece using a torpedo level, adjusting sand underneath as needed.
Fill gaps with polymeric sand or gravel, then tap stones into place with a rubber mallet. Slope stones slightly—one-quarter inch per foot—for water runoff.
Incorporate ground cover plants between stones for an integrated aesthetic. Your maintenance requires only periodic gravel additions and occasional stone repositioning, ensuring timeless appeal for years.
Wooden Tree Trunk Stepping Stones Add Woodland Charm
Where natural stone feels too formal for your garden’s personality, wooden tree trunk stepping stones deliver rustic authenticity and woodland character. You’ll harvest cedar slices from property trees or source logs from a tree surgeon, selecting pieces with neatly cut ends for stability.
Sort slices by thickness—they’ll taper naturally—then excavate your pathway and secure each slice with a sledgehammer, backfilling with sand.
Fill gaps between stones with gravel poured in thin layers for a solid surface.
Surround your installation with river rocks over landscaping fabric to suppress weeds.
Apply cedar-toned penetrating oil stain post-installation to enhance natural colors. This approach creates a dreamy woodland aesthetic, though you’ll navigate winter traction challenges and occasional stone shifting under lawnmowers.
Budget-Friendly Gravel Paths With Defined Edges
If you’re drawn to the rustic appeal of woodland stepping stones but need a more budget-conscious solution, gravel paths deliver substantial savings without sacrificing visual appeal.
You’ll create a defined pathway by:
- Marking your route with stakes and string, then digging a 100mm trench
- Installing weed mat, laying crushed granite or locally sourced gravel, and compacting with a hand tamper
- Edging with pressure-treated wood, recycled brick, or galvanized steel to contain material
For maximum durability, stabilize gravel with geo hex grids beneath the surface—this prevents shifting and erosion in high-traffic zones.
Stop gravel ½ inch short of edging tops for a finished appearance.
Renting compacting equipment and sourcing recycled materials keeps costs minimal while delivering a professional-quality result.
Recycled Pallets: Rustic Boardwalks on a Budget
How can you construct a durable boardwalk for under $100? You’ll source free pallets from local shops, then disassemble them using a crowbar and hammer. Level your ground thoroughly, removing debris and tilling soil. Lay boards on the prepared surface, spacing them with wood spacers and securing them with deck screws and eight-inch landscape pins. Cut boards to fit your path dimensions using a reciprocating saw.
| Phase | Materials | Method |
|---|---|---|
| Sourcing | Free pallets, scrap wood, 2x4s | Shops and garden centers |
| Preparation | Soil, grass killer, string line | Till and level ground |
| Assembly | Crowbar, hammer, deck screws | Disassemble and space boards |
| Finishing | Sealant, mulch, pea gravel | Apply protection and fill gaps |
Your completed path remains durable after three years of regular use.
Upcycled Cork Paths for Soft, Whimsical Texture
Why settle for rigid hardscape when you can craft a cushioned, textured pathway from discarded wine corks?
You’ll need approximately 200 corks per square foot.
Start by digging a 3-inch trench, laying landscape fabric, then adding a thin sand layer for leveling. Stand corks upright side-by-side and press them firmly into place.
The result?
A forgiving surface that rewards your feet and aging knees with gentle cushioning. Consider these design possibilities:
- Geometric patterns and spirals using varied cork heights for organic dimension
- Embedded borders between stepping stones for mixed-media visual interest
- Standalone pathways releasing faint vineyard aromas when rain falls
Over time, foot traffic polishes the surface while corks weather to silver-gray.
Apply clear outdoor sealant every few years in high-traffic areas. This upcycled solution combines sustainability with tactile comfort, transforming garden walks into sensory experiences.
Recycled Glass Borders: Shimmering Light Effects
Transform your garden’s nighttime ambiance by installing recycled glass borders that catch and refract light throughout the day and evening.
You’ll achieve this by digging an 8-inch trench along your pathway edge, positioning glass bottles neck-down and touching each other, then backfilling soil while exposing 2-3 inches of bottle bottoms.
The curved glass acts as tiny lanterns, capturing sunlight and transforming into emerald and amber gems.
Morning dew collects in these glass bowls, creating miniature water features during spring and summer months.
For walkable surfaces, embed palm-sized tumbled glass pieces into wet concrete or sand between stepping stones.
This approach provides sparkle and aesthetic appeal while remaining durable for heavy foot traffic.
You’ll create an enchanting, low-maintenance garden feature that’s also environmentally friendly.
Design Curved Paths That Lead to Secret Garden Features
While your recycled glass borders capture light and draw the eye downward, curved pathways guide visitors through your garden with intention, revealing hidden features one bend at a time.
Design curved paths that strategically obscure destinations, creating mystery and intrigue. Your layout should:
- Loop around focal points—seating areas, sunken patios, or flower beds—with the curve apex positioned to emphasize architectural features or decorative accents
- Encircle garden sections that aren’t immediately visible, encouraging exploration and slowing movement to appreciate plantings along the journey
- Define distinct backyard rooms where curves naturally transition between lawn, gravel, or paver surfaces
Layer edging with plants like lavender or ornamental grasses to soften boundaries.
This technique psychologically expands space while guiding foot traffic toward concealed destinations, transforming your garden into an interconnected series of discoveries.
Combine Multiple Materials for Visual Depth
How do you elevate a garden path from functional to visually captivating? You’ll combine contrasting materials that create depth and guide movement through your landscape.
Layer paving stones with gravel to establish clear transitions between garden zones.
Alternate flagstone with decomposed granite for smooth, walkable surfaces.
Integrate stepping stones set in bark mulch alongside concrete slabs, mixing textures that feel natural underfoot.
Edge pavers with low-growing flowers or ferns to soften hard lines. Incorporate reclaimed wood boardwalks with gravel in damp areas, blending rustic charm with practical drainage.
Consider recycled glass or colored pebbles sprinkled throughout to catch light and add visual interest. These material combinations—stone, gravel, wood, and plants—transform ordinary paths into distinctive landscape features while maintaining permeability and sustainability throughout your garden design.
Edge Your Path: Definition and Material Pairings
Once you’ve layered your materials for visual depth, edging becomes essential for maintaining those carefully composed surfaces.
Strategic edging prevents mulch migration, contains gravel, and defines clean borders that reduce long-term maintenance.
Your material selection shapes both function and aesthetics:
- Aluminum edging handles smooth curves effortlessly, resists rust indefinitely, and suits professional installations with 4-inch trenching ($11-19 per linear foot).
- Steel edging anchors high-traffic paths with maximum rigidity, develops attractive Corten patinas, and excels in commercial applications despite potential rust concerns.
- Stone or brick edging delivers traditional permanence spanning 20-50+ years, requires proper 4-6 inch aggregate bases, and typically costs $18-50 installed per linear foot.
Match your edging choice to your path’s primary use, climate conditions, and existing landscape character for cohesive, durable results.
Maintain Garden Paths: Material-Specific Care
Your garden path’s longevity depends entirely on material-specific maintenance tailored to its composition and environmental conditions.
Paved paths require debris removal and annual resurfacing evaluations every 3-5 years.
Gravel paths need seasonal erosion checks and regular refilling to stabilize surfaces.
Mulch paths demand annual refurbishment with chemical-free materials, weeded thoroughly before re-application.
Brick paths require algae and moss removal while avoiding slippery wet conditions through stabilized materials.
Stone paths need routine debris clearing, moss removal, and annual settling inspections with tripping hazard assessments.
Each material demands distinct attention: weeds and cracks in paved surfaces, gullies in gravel, material loss in mulch, shifting in brick, and settling in stone.
Prompt repairs within one week prevent compounding damage and safety hazards.
Install Your Path: Layout, Measurement, and Sequencing
Before you break ground, you’ll need to visualize exactly where your path’ll run and how it’ll function within your garden’s layout.
Mark your route using string lines, stakes, or a garden hose to establish clear sightlines before digging begins.
Plan your path dimensions and spacing carefully:
- Set standard path width between 24–36 inches for comfortable walking traffic
- Space stepping stones 3–6 inches apart to match natural stride patterns
- Position edging boards 1.2 meters apart, sinking them 300 millimeters deep for stability
Consider foot traffic flow between key areas—patio, shed, garden beds—to ensure your path serves practical purposes.
Avoid low-lying water-prone zones or incorporate proper drainage solutions.
Accurate measurement prevents costly mistakes during excavation and material installation phases.
Conclusion
You’ve just spent considerable effort planning, measuring, and installing your “secret” garden path—ironically visible from your kitchen window. Yet that’s precisely the point. You’ve meticulously selected materials, calculated drainage angles, and positioned glow-in-the-dark pebbles with technical precision, all to create a spontaneous, whimsical experience. Your friends’ll stumble upon it thinking they’ve discovered something magical, completely unaware you’ve engineered every charming detail. That’s the beautiful paradox of garden design.
The Only Tools You Need for a Thriving Garden 🌱
Whether you're a weekend gardener or growing daily — these hand-picked tools make every session faster, easier, and more satisfying.