
You’ll start by taking stock of your yard’s light and soil. Then, define zones for play, relaxation, or a pollinator garden. Clean beds first, amend the soil, and choose the right plants for your sun conditions. Add vertical planters and ambient lighting to create instant impact. A single choice about your garden’s purpose can set the tone for an entire season of enjoyment. Let’s figure out which direction is best for you.
Key Takeaways
- Assess your yard’s sun patterns and soil to define a garden style and layout.
- Prepare beds by clearing debris, amending soil with compost, and applying mulch.
- Add instant impact with container gardens arranged by the thriller-filler-spiller formula.
- Maximize space with vertical gardens using wall planters, trellises, and hanging baskets.
- Incorporate hardscape like pathways and a water feature to define and enhance outdoor living areas.
Take Stock of Your Yard and Define Your Vision
Before you dive into planting, grab a notebook and take a walk through your space to honestly assess what you’re working with. Note the sun’s path throughout the day to identify your sunniest and shadiest beds. Feel your soil—is it dense clay or loose sand? Check where water pools after rain. This isn’t about flaws; it’s about potential!
Now, define your vision. Are you craving a low-maintenance haven, a veggie patch, or a pollinator paradise? Jot down your dream list. Remember, your garden should fit your lifestyle, not fight it. Use your notes to sketch a rough layout, zoning areas for relaxation, play, or growing. This planning step saves you time, money, and regret later.
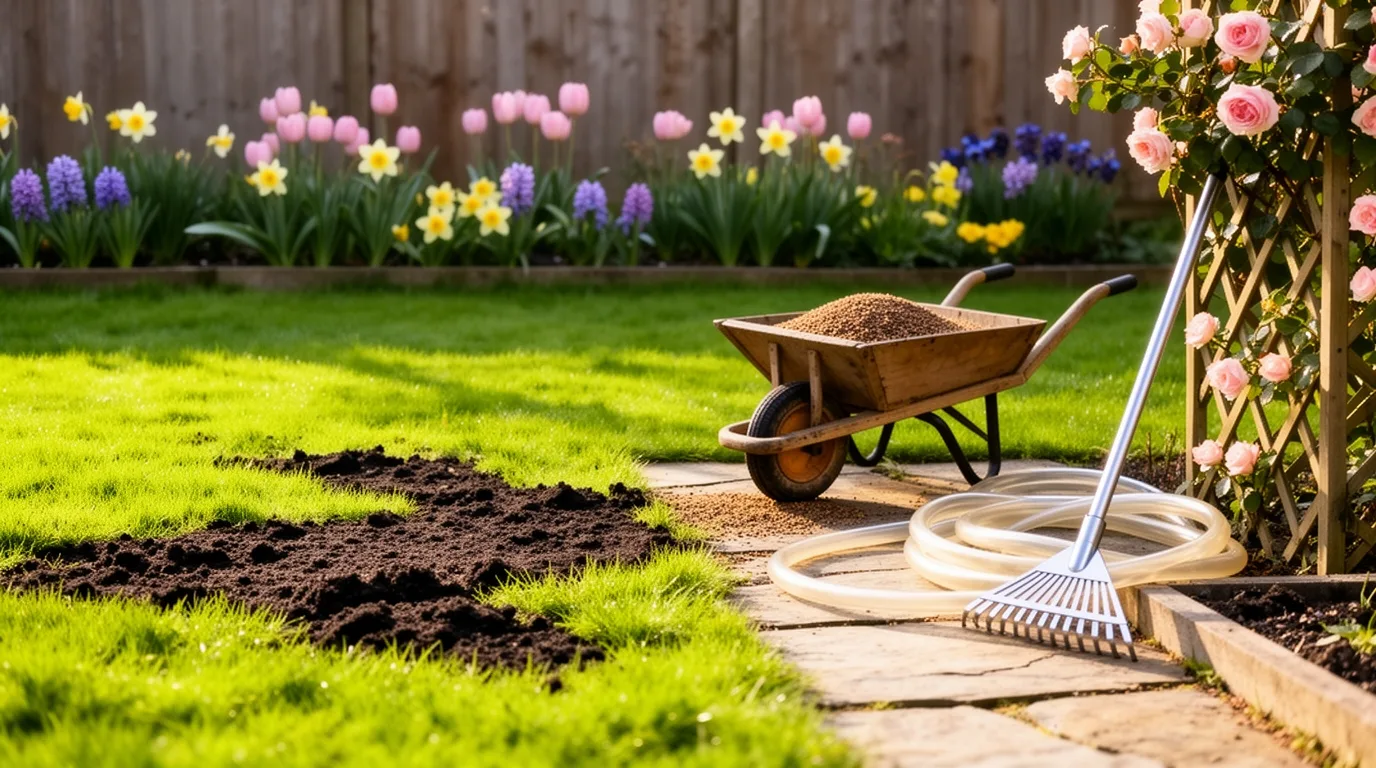
Start With a Thorough Spring Cleanup
Kickstart your garden season by tackling a thorough spring cleanup to clear the stage for new growth.
Begin by removing all the winter debris that’s smothering your soil and plants. Rake out fallen leaves and old mulch from flower beds to prevent mold and allow the soil to breathe.
Prune away any dead, damaged, or diseased branches from your shrubs and perennials, cutting just above a healthy bud. Don’t forget to cut back ornamental grasses and leftover perennial foliage to make way for fresh shoots.
Clear out last year’s annuals and any lingering vegetable matter from your garden beds. This essential work removes hiding places for pests and diseases, giving your garden a clean, healthy foundation.
Refresh Your Lawn With Spring Seeding and Care
Give your lawn the attention it deserves after winter by focusing on spring seeding and core care practices. Begin by gently raking to remove thatch and expose soil for new seed. Early spring’s cool, moist weather is ideal for germination, so choose a seed blend suited to your sun conditions.
You’ll see a thicker, healthier turf in just weeks.
- Dethatch and Aerate: Use a rake or dethatcher to clear dead grass, then aerate to relieve compaction. This lets water, nutrients, and new grass roots penetrate deeply.
- Overseed Bare Patches: Scatter seed generously over thin areas. Keep the soil consistently moist, not soggy, until the new grass is established.
- Apply a Spring Fertilizer: Feed your lawn with a slow-release, high-nitrogen fertilizer to promote strong, green growth and robust roots for the coming season.
Use Mulch to Suppress Weeds and Retain Moisture
After improving your lawn, turning to mulch can help keep your garden healthy by tackling weeds and locking in moisture.
You’ll want a two to three-inch layer, ensuring you don’t pile it against plant stems or tree trunks.
Organic mulches like shredded bark, wood chips, or straw are fantastic choices because they decompose, enriching your soil over time.
This barrier blocks sunlight from reaching weed seeds, dramatically cutting down on your weeding chores.
It also acts like a sponge, reducing water evaporation so you won’t need to irrigate as frequently.
Your plants’ roots stay cooler in summer and protected from temperature swings.
It’s a simple, effective step that makes your garden more resilient and beautiful.
Pick the Right Plants for Your Sun Conditions
Before you even think about picking out plants, take a moment to trace the sun’s path across your garden. You’ll need to know if a spot gets full sun (6+ hours), part sun (3-6 hours), or is mostly shaded. This isn’t just a detail—it’s the golden rule for plant happiness!
Matching a plant to its ideal light condition means you’re setting it up for vigorous growth and lush blooms instead of a struggle for survival.
- For Sunny Spots: Embrace sun-worshippers like zinnias, marigolds, and sun-loving herbs like rosemary. They’ll thrive with abundant light.
- For Part-Shade Areas: Choose versatile performers like coleus, impatiens, and many types of hardy geraniums.
- For Full Shade: Go for lush foliage plants like hostas, ferns, and astilbes that excel without direct sun.
Create Instant Impact With Colorful Container Gardens
Don’t underestimate the power of a single pot to transform your patio or doorstep instantly.
Choose vibrant annuals like petunias, marigolds, or calibrachoa for non-stop color.
For visual drama, employ the “thriller, filler, spiller” formula: a tall central plant, mid-height flowers to bulk it out, and trailing vines cascading over the edge.
Use a large container with drainage holes and fill it with quality potting mix, not garden soil.
Group pots in odd numbers and vary their heights for a curated look.
You can easily refresh a tired arrangement by swapping out one season’s plants for the next, keeping your entryway lively from spring through fall with minimal effort and maximum style.
Plant a Low-Maintenance Perennial Border
Imagine a garden border so reliable it returns with more vigor and beauty each year. You can achieve this by planting a low-maintenance perennial border this spring.
Focus on selecting tough, long-lived plants suited to your sun and soil conditions; you’ll save endless hours of work. Once established, they need far less watering and feeding than annuals. You’ll invest effort upfront, but you’re rewarded with a resilient, evolving display.
- Pick the Right Plants: Choose proven performers like daylilies, hostas, and coneflowers that thrive with minimal care in your climate zone.
- Prepare the Soil Well: Invest time in amending your planting area with compost; good soil is the foundation for healthy, drought-tolerant plants.
- Mulch Generously: Apply a three-inch layer of mulch after planting to suppress weeds and retain moisture, drastically cutting your maintenance.
Grow a Pollinator Garden for Bees and Butterflies
You can create a vibrant sanctuary that hums with life by dedicating part of your spring garden to bees and butterflies.
Start by choosing a sunny, sheltered spot. Plant in generous clusters to make flowers easier for pollinators to find. Select a variety of native plants with staggered bloom times, ensuring a continuous food source from early spring onward.
Essential picks include early-blooming crocus, lungwort, and lilac, followed by coneflowers, bee balm, and catmint for summer.
Avoid pesticides, as they harm these beneficial insects. Include a shallow water source with stones for landing spots.
Add Fragrant Spring Blooms to Engage the Senses
Building a garden for pollinators adds vibrant color and life; extending that sensory experience with fragrance creates an immersive spring haven.
You’ll want to layer scents by planting a variety of bloom times and placing fragrant species where you’ll encounter them most. Tuck intensely sweet flowers near seating areas, along pathways, and beneath open windows to let their perfume drift inside.
- Hyacinths: Plant these bulbs in fall for powerful, spicy-sweet spring spikes. They’re perfect in pots or garden borders.
- Lilacs: A classic shrub offering clouds of heady fragrance. Choose reblooming varieties for extended scent.
- Sweet Alyssum: This low-growing annual provides a continuous honey-like fragrance all season from delicate white blooms.
Build or Refresh Raised Beds for Vegetables
Elevate your harvest by constructing or rejuvenating raised beds, a foundational step for thriving vegetable gardens.
For a new build, choose rot-resistant cedar or composite lumber and locate a sunny, level spot. Aim for a width of four feet so you can reach the center from either side. Fill the frame with a rich, weed-free mix of topsoil, compost, and well-rotted manure.
If you’re refreshing existing beds, first remove any old plant debris. Loosen the compacted soil with a garden fork and top up the bed with several inches of fresh compost. This instantly boosts fertility and improves drainage.
Your plants will establish roots quickly in the warm, loose soil, leading to a stronger, more productive season.
Maximize Space With a Vertical Garden
Take your gardening to new heights by growing upwards, a brilliant solution for small patios, balconies, or any plot where ground space is tight. Vertical gardens dramatically increase your planting area by utilizing walls, fences, or freestanding structures.
You can grow a lush tapestry of herbs, leafy greens, strawberries, and even cascading flowers like nasturtiums.
- Install Wall Planters: Mount fabric pockets, wooden pallets, or tiered shelf systems directly onto a sunny wall. They’re perfect for creating a living wall of culinary herbs or salad greens right outside your kitchen door.
- Use a Trellis or Obelisk: Train climbing plants like peas, beans, cucumbers, or morning glories up these supports. This keeps vines tidy and makes harvesting a breeze.
- Hang Pots and Baskets: Suspend containers from overhead beams, railings, or a shepherd’s hook. Fill them with trailing tomatoes, petunias, or fragrant herbs to add layers of color and scent.
Design a Cozy Seating Nook for Relaxation
Often, the most rewarding part of a garden is a quiet spot where you can enjoy it. You can create a cozy nook by first finding a sheltered, level area—perhaps beneath a tree or against a sunny wall.
Define the space with potted plants or a low border of herbs to make it feel intentional. Incorporate softness underfoot with outdoor rugs or a patch of durable ground cover.
For immediate comfort, add plenty of cushions and throws in weather-resistant fabrics; you’ll want to sink right in. Then, enhance the atmosphere with ambient lighting like string lights or solar lanterns hung from branches.
This simple retreat becomes your personal haven for reading, sipping tea, or simply breathing in the spring air.
Select Outdoor Furniture for Your Style and Space
Whether you’re lounging solo or hosting friends, picking outdoor furniture that fits both your personal taste and the physical space available makes your garden truly usable.
First, measure your patio or deck and consider traffic flow.
Then, let your style shine—are you into sleek modern lines, rustic farmhouse charm, or colorful bohemian vibes?
Choosing pieces you love ensures you’ll actually use the space.
- Measure First, Buy Second: Grab a tape measure! Note your area’s dimensions, then subtract space for walking around. This prevents a cramped, cluttered feel.
- Prioritize Your Primary Need: Decide if you need a dining set for al fresco meals, deep-seated sofas for conversation, or a single, plush lounger for reading.
- Mix Materials Wisely: Combine textures like woven rattan, powder-coated metal, and solid teak. This adds visual interest and allows you to match durability needs with your aesthetic.
Incorporate Shade Solutions for Hotter Days
Beating the midday sun transforms your garden from a scorching retreat into a cool oasis where you can relax all afternoon.
Start by planting fast-growing deciduous trees like a red maple or a river birch; they’ll provide a lush canopy in summer but let in winter light.
For instant coverage, install a classic market umbrella over your dining set or a retractable awning on your house.
You can also get creative with a pergola draped in climbing vines or weather-resistant fabric.
For flexible, portable shade, a cantilevered sun sail is a fantastic choice—just anchor it securely.
These solutions protect you and your plants, making your entire yard more usable and enjoyable as temperatures climb.
Define Areas With Simple DIY Pathways
Guide your garden’s flow by creating simple DIY pathways that carve out distinct areas for lounging, dining, or playing. These routes add instant structure and charm, connecting your spaces while keeping your lawn or flower beds safe from foot traffic. You don’t need expensive materials or a professional; a weekend project can transform your entire yard’s feel. The key is choosing a style that complements your garden’s personality.
- Use Stepping Stones: Set large, flat pavers or cast concrete circles directly into your lawn for a whimsical, natural trail leading to a secluded seating nook.
- Lay a Gravel Path: Edge a narrow trench with inexpensive landscape timbers, fill it with crushed gravel or pea stone, and you’ve got a durable, drainage-friendly walkway to your dining patio.
- Create a Mulch Walkway: Define a curving bed edge with bricks or rocks, then lay down a thick layer of bark mulch for a soft, fragrant path through your flowering borders.
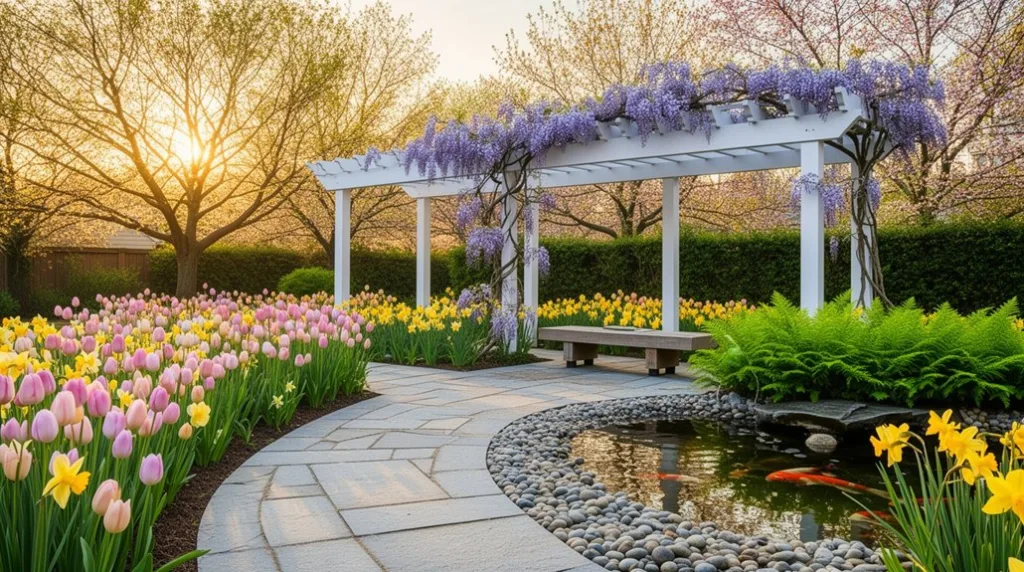
Install a Water Feature for Soothing Sounds
Introduce a gentle water feature to your garden, and you’ll instantly transform it into a serene retreat where the soothing murmur of water masks neighborhood noise.
You don’t need a large pond to achieve this; a simple bubbling fountain or a self-contained water basin works perfectly. Place it on a level surface near a seating area or along a pathway where you can easily enjoy its calming presence.
You’ll find installation is straightforward—many kits include a submersible pump and reservoir. Just plug it into a nearby outdoor GFCI outlet, fill it with water, and switch it on.
The gentle splash creates a peaceful ambiance that invites relaxation and turns your yard into a personal sanctuary.
Attract Birds With Feeders, Baths, and Shelter
Transform your spring garden into a vibrant hub of activity by inviting birds with dedicated feeders, baths, and shelters. You’ll create a lively sanctuary that offers you endless entertainment and natural pest control.
Start by choosing the right elements to meet their basic needs for food, water, and safety.
- Offer Varied Food Sources: Install tube feeders for finches with nyjer seed and platform feeders for cardinals with sunflower hearts. Don’t forget suet cages to attract energetic woodpeckers and nuthatches.
- Provide Clean Water: A simple, shallow birdbath is perfect. Place it in a quiet, open spot and refresh the water every couple of days to keep it inviting and hygienic.
- Create Natural Shelter: Plant native shrubs and install a few nesting boxes. This gives birds crucial cover from predators and a secure place to raise their young.
Add Ambiance With Strategic Outdoor Lighting
Illuminate your spring garden strategically at night to completely transform its atmosphere and extend your enjoyment outdoors. You’ll create focal points by uplighting a majestic tree or downlighting from a pergola. Use path lights to ensure safe navigation while adding a gentle glow. Layer these effects for depth; combine soft, diffused lanterns with pinpoint spotlights. Choose warm white LEDs for a cozy feel, and solar options for easy installation. You’re not just lighting a space—you’re crafting an experience.
| Purpose | Technique | Best For |
|---|---|---|
| Safety & Guidance | Low-level path lights | Walkways, steps |
| Dramatic Focus | Uplighting or downlighting | Trees, architectural features |
| Ambient Glow | Diffused lanterns or string lights | Patios, seating areas |
Create Garden Decor From Upcycled Items
While you’re planning your spring garden, you can also craft unique decor by upcycling everyday items, turning what might be trash into treasured focal points. It’s an incredibly rewarding way to add personality while being kind to your wallet and the planet.
Start by scouring your garage, basement, or recycling bin for potential. Look for items with interesting shapes or textures that can hold soil, support a plant, or simply catch the eye. With a little cleaning, a coat of outdoor-safe paint, or some strategic drilling, you’ll transform cast-offs into charming garden art.
- Old Boots as Planters: Give worn-out rain boots new life. Punch drainage holes in the soles, fill them with potting mix, and tuck in colorful annuals like petunias for a whimsical display.
- Pallet Vertical Garden: Stand a wooden pallet upright, staple landscape fabric to the back and sides, fill the slats with soil, and plant succulents or herbs in each opening for instant greenery.
- Silverware Wind Chimes: Bend vintage forks and spoons into unique shapes, drill small holes in the handles, and hang them with fishing line from an old branch or hoop to create melodic, sun-catching art.
Keep Your Garden Thriving With a Weekly Checklist
Consistently checking on your garden each week can make the difference between a space that merely survives and one that spectacularly thrives. Start by doing a thorough walk-through every seven days. You’ll inspect for pests under leaves, note any new weeds to pull, and check soil moisture by sticking your finger an inch deep.
Deadhead spent blooms to encourage more flowers and prune any damaged or diseased stems. Give your plants a drink if the soil feels dry, and apply a balanced, water-soluble fertilizer every couple of weeks to support vigorous growth. This simple, proactive routine helps you catch small issues before they become big problems, ensuring your garden stays vibrant and healthy all season long.
Frequently Asked Questions
How Do I Deal With Slugs and Snails Naturally?
Attract slugs with beer traps or kill them manually. Place copper tape around pots as a barrier and encourage ground beetles or birds as predators. Keep your garden tidy to remove their hiding spots.
What’s the Best Way to Water My Garden Efficiently?
Water deeply but less often early in the morning. You’ll encourage deeper roots and reduce evaporation. Use soaker hoses or drip irrigation, as they deliver water directly to the soil, minimizing waste and preventing leaf diseases.
How Can I Improve My Garden’s Clay or Sandy Soil?
You’ll improve clay or sandy soil by adding compost. For clay, mix in coarse sand to boost drainage. For sand, blend in organic matter to increase water retention. You’ll see great results quickly!
When Is the Right Time to Divide My Perennials?
Divide most perennials in early spring or fall. You’ll see the best results when you split them as new growth emerges or after they’ve finished flowering. This timing gives their roots time to establish.
Are Coffee Grounds Good for My Plants?
Yes, they’re good for acid-loving plants like azaleas. You’ll use them as a soil amendment or mulch. Don’t overdo it; mix grounds into compost first to avoid nitrogen issues in your soil.
Conclusion
Make a final walk-through with your weekly checklist, ensuring your lawn is watered and feeders are full. You’ll see how your defined zones, from those sunny pollinator plants to your cozy seating nook, truly come to life. Stay on top of deadheading and watering, and you’ll enjoy that vibrant, refreshing oasis you envisioned all season long. Your practical efforts have built a backyard that’s both beautiful and thriving.
The Only Tools You Need for a Thriving Garden 🌱
Whether you're a weekend gardener or growing daily — these hand-picked tools make every session faster, easier, and more satisfying.