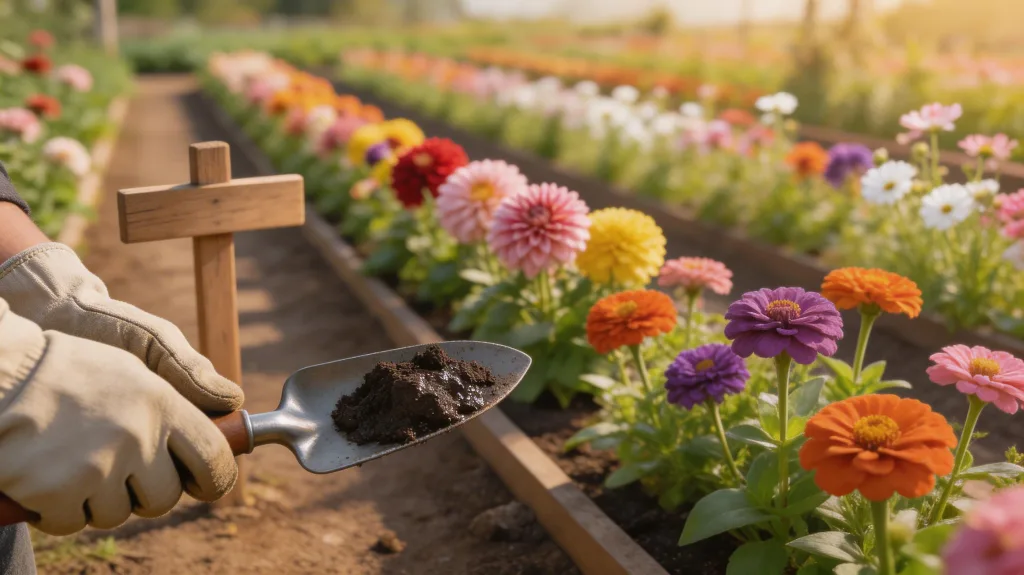
You’ve got the dream, but starting a cut flower farm feels overwhelming. Let’s break it down to the essentials. We’ll start with the three key questions you must answer before buying a single seed, and then walk you through choosing your plot and testing your soil. This practical guide will help you avoid common pitfalls and build a solid foundation for your first season of blooms.
Key Takeaways
- Test your soil and amend it with compost before planting any flowers.
- Start by growing easy, profitable flowers like zinnias, sunflowers, and cosmos.
- Create a planting calendar based on your frost dates to time your sowings.
- Install drip irrigation and weed daily to maintain crop health efficiently.
- Harvest blooms in the morning, condition stems in water, and sell locally.
How a Cut Flower Farm Operates: From Seed to Sale
From sowing the first seeds to delivering vibrant bouquets, operating a cut flower farm is a seasonal cycle of planning, nurturing, and harvesting.
Your year starts with selecting varieties you’ll grow. You plant seeds indoors or directly in prepared soil, timing it right for your climate. You’ll weed, water, and monitor for pests constantly.
When flowers bloom, you harvest them in the cool morning, using sharp snips and immediately hydrating stems. You then process them in your work space, stripping lower leaves and arranging them for market.
You sell directly at a farm stand, to local florists, or through a subscription service. It’s a hands-on process where you’re constantly learning from each season’s successes and challenges.
3 Questions to Ask Before Starting a Flower Farm
Before you dive into ordering seeds and preparing beds, you need to ask yourself some tough, practical questions about your goals and resources. Farming is a business, so you must define your ‘why.’ Is this a profitable venture or a passionate hobby? Your answer shapes everything.
- What’s your market? Who’ll buy your flowers? Research local demand at farmers’ markets, florists, or for event work before you plant a single seed.
- What’s your time commitment? Growing for market is a daily job, especially in peak season. Be honest about the hours you can dedicate.
- What’s your startup budget? Seeds, soil amendments, irrigation, and basic tools add up. Create a realistic financial plan to avoid early strain.
How to Find the Perfect Plot for Your Flower Farm
Once you’ve considered your market, time, and budget, you’ll need a place to grow. Start by assessing your own backyard. I grew my first dahlias in a sunny 20×20 foot patch.
If you need more space, look for a local community garden plot or ask friends or family about unused land. Renting a small acreage from a farmer is another great option.
Your key non-negotiable is full sun—aim for at least six to eight hours of direct sunlight daily. You’ll also need easy access to water.
Don’t get hung up on perfection; start with what’s available and affordable. A manageable, sunny spot with water nearby is a far better launchpad than a dream property you can’t afford or access.
How to Test Your Soil and Get It Ready for Flowers
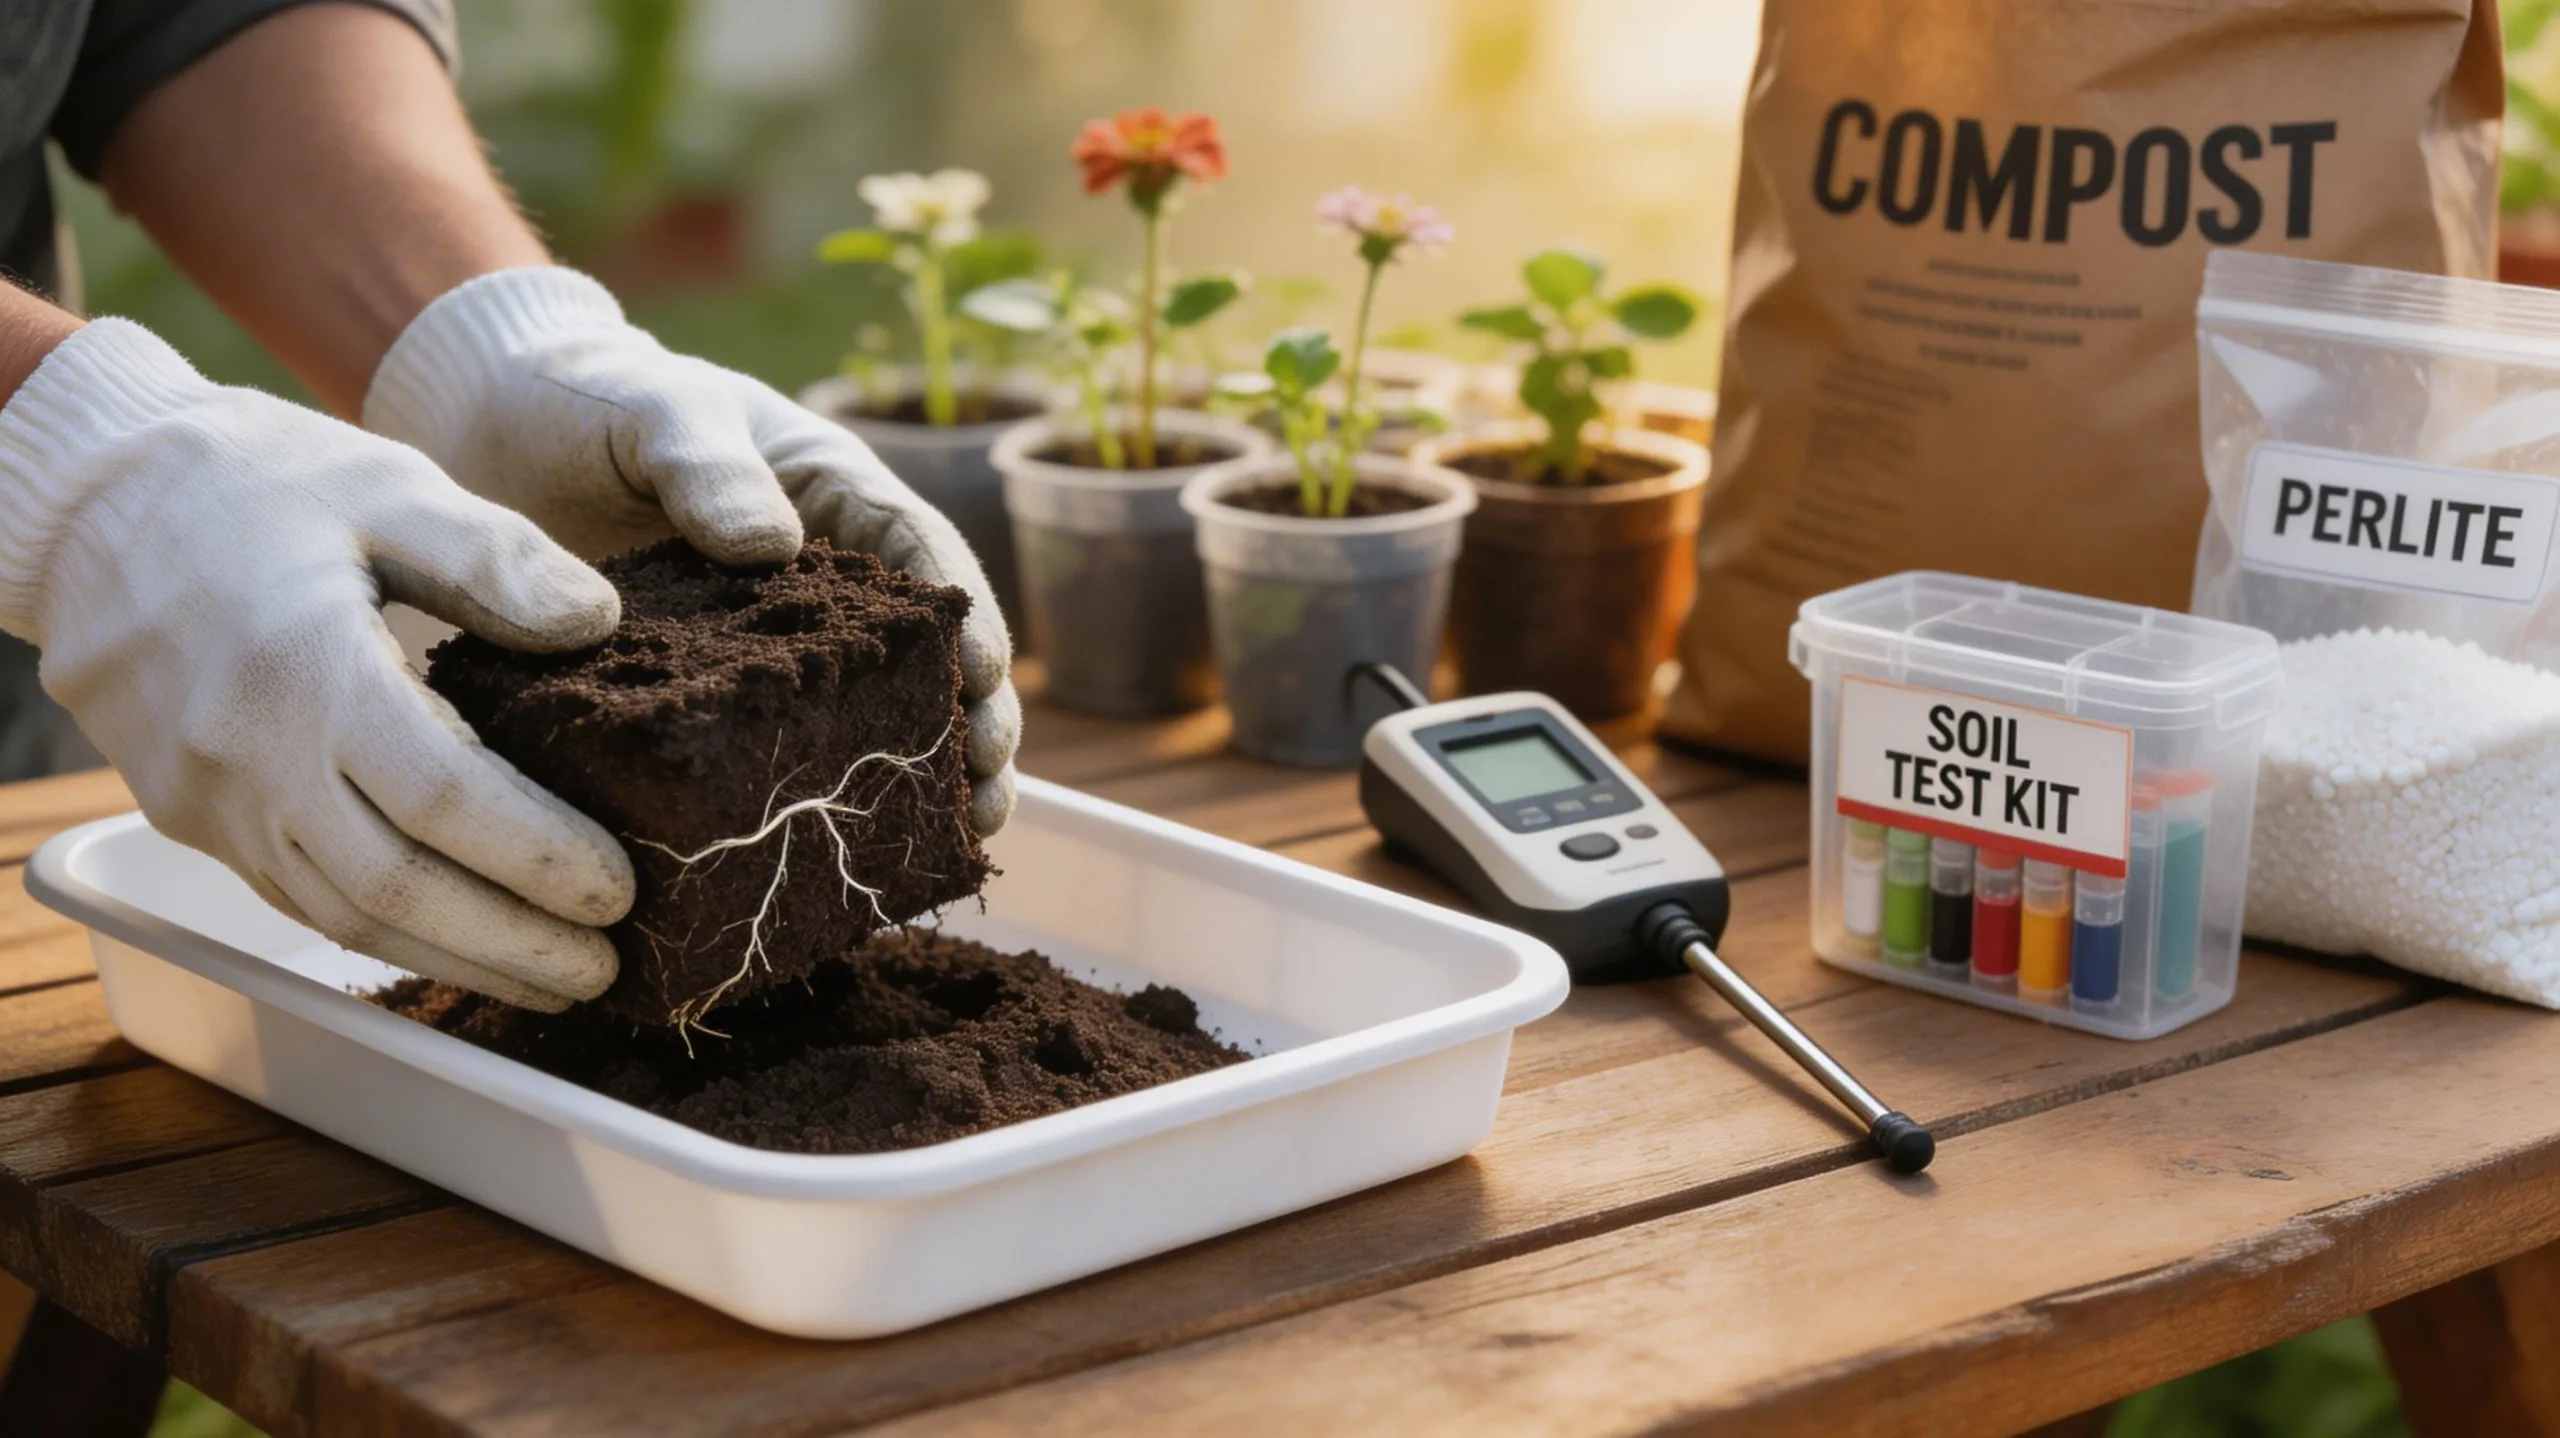
Testing your soil is the practical next step after finding your plot, because you’re not just planting in dirt—you’re building a foundation.
You can start with a simple DIY jar test to check your soil’s texture—whether it’s heavy clay, sandy, or ideal loam.
I always send a sample to my local cooperative extension for a professional nutrient and pH analysis; it’s affordable and tells you exactly what you need.
Once you have your results, you can get the ground ready.
- Amend based on your test. If your pH is off, you’ll add lime to raise it or sulfur to lower it, creating the right environment.
- Incorporate organic matter. Work in a generous layer of well-rotted compost or aged manure to improve soil structure and fertility.
- Loosen the soil. Till or double-dig your beds to break up compaction, giving those new flower roots an easy path to grow.
The Best Cut Flowers for Beginners to Grow
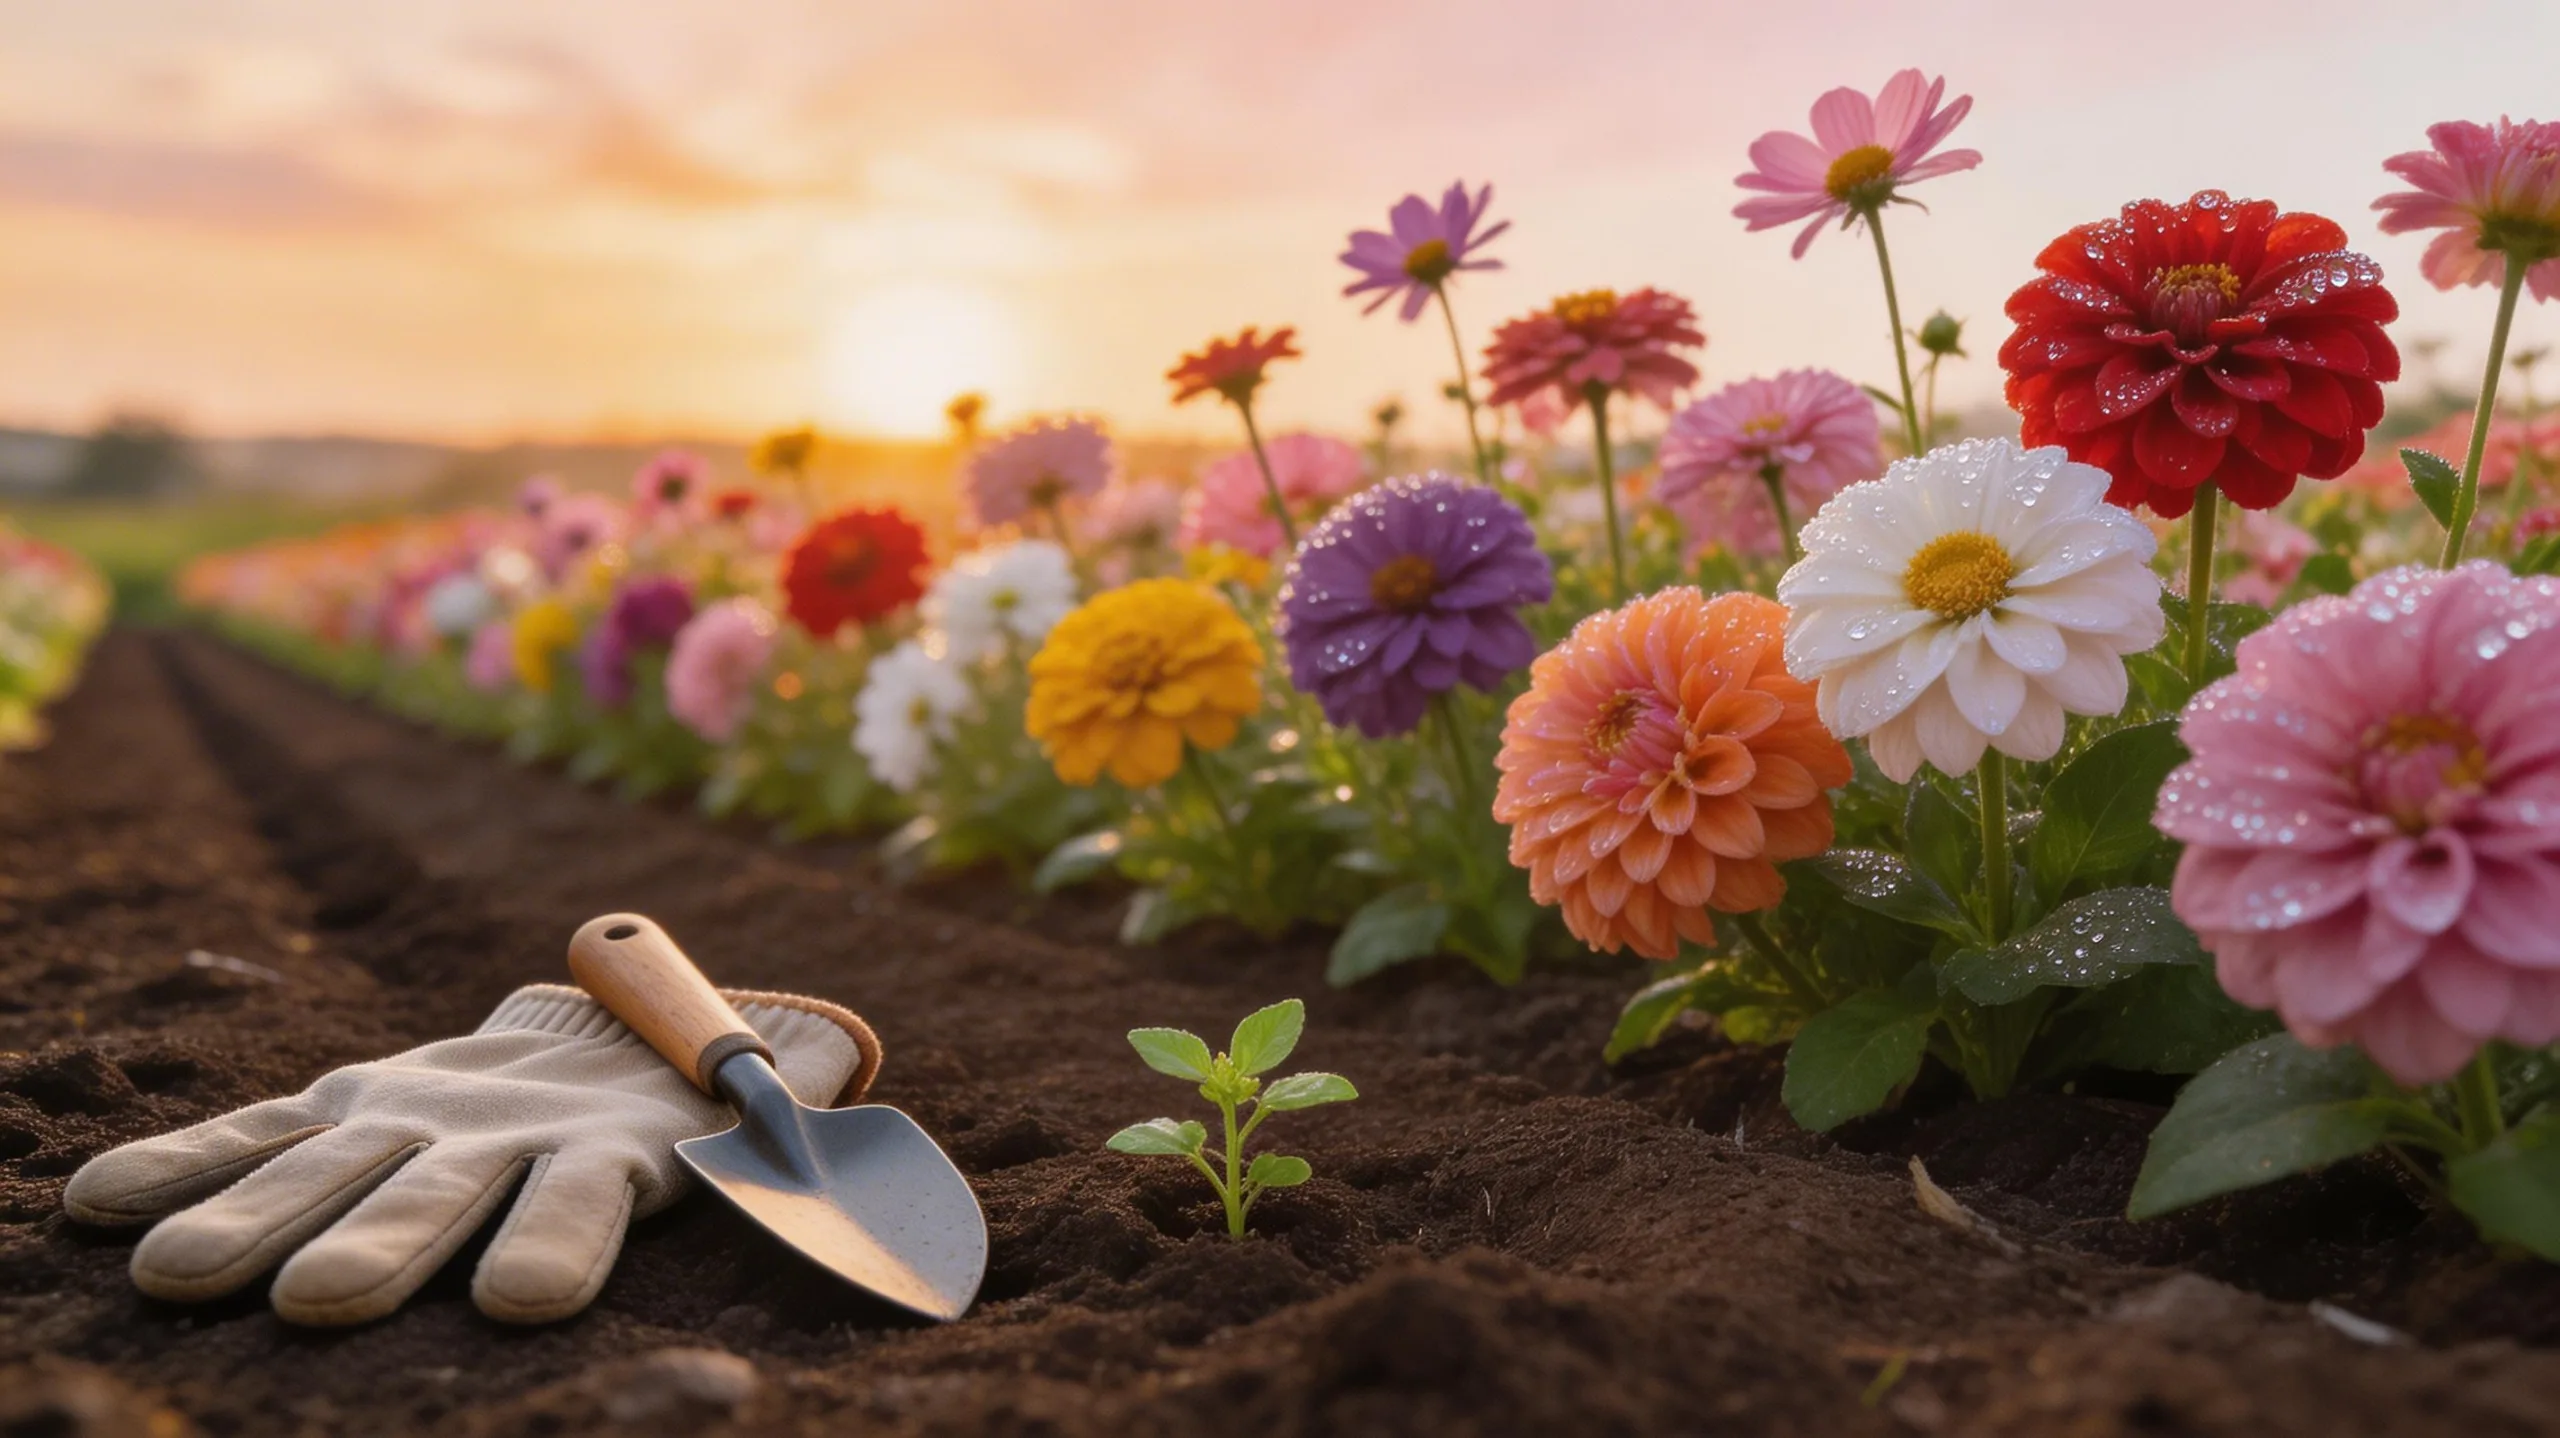
With your soil prepared, you can focus on choosing flowers that are forgiving and productive. Zinnias are my top recommendation. They thrive in heat, resist pests, and produce an enormous number of blooms from just a few plants.
Sunflowers are another excellent choice; they’re incredibly easy to direct sow and provide impressive, cheerful stems. For reliable color and form, consider cosmos. They’re drought-tolerant and will keep flowering if you regularly cut them.
Don’t overlook annuals like calendula and bachelor’s buttons; they’re hardy, self-sow readily, and offer beautiful, old-fashioned charm. These varieties are tough, require minimal fuss, and will give you a quick, rewarding harvest for your bouquets.
A Simple Guide to Starting Your Flowers From Seed
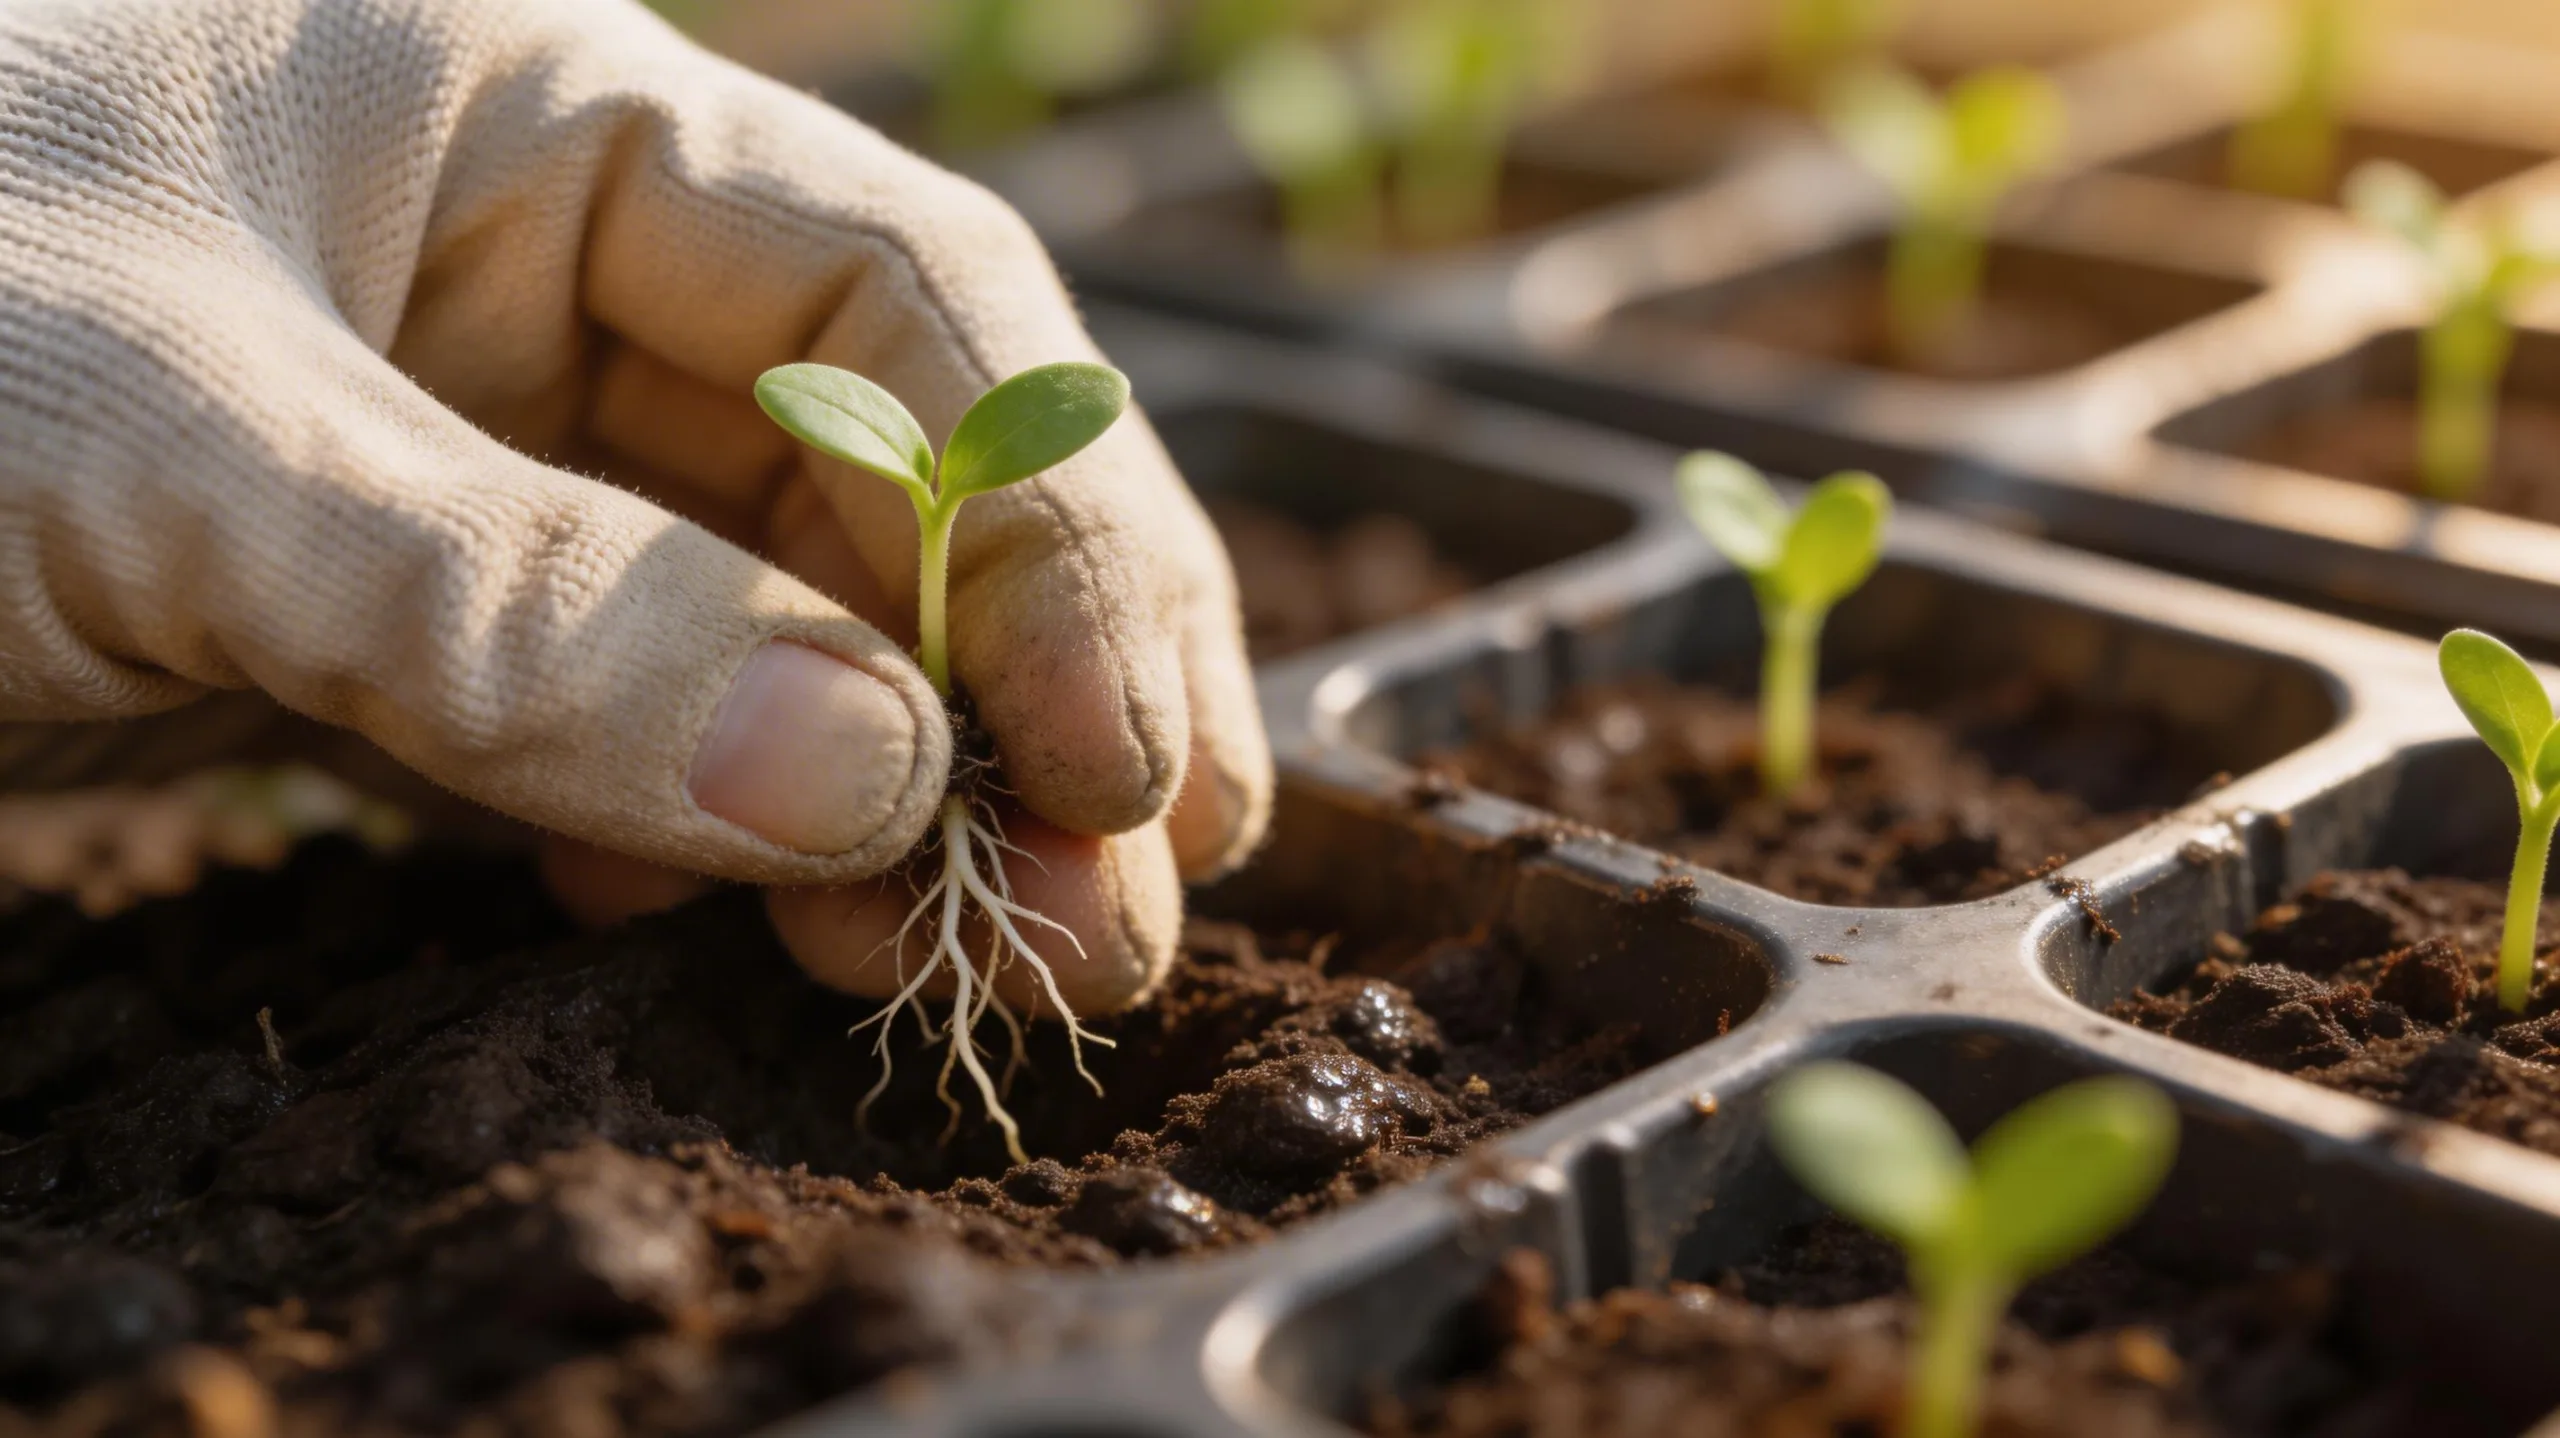
Mastering seed starting unlocks a world of floral variety and saves you money. You’ll find the best selection in seed catalogs.
My biggest lesson wasn’t starting everything too early; check each seed packet for timing. You’ll need a simple setup: seed-starting mix, containers, and a warm, bright spot. A heat mat really speeds up germination.
- Sow Smart: Don’t bury tiny seeds; just press them gently into the moist soil surface.
- Label Everything: Trust me, you’ll forget what’s what. Use plant labels from day one.
- Master Watering: Keep the soil consistently damp, not soggy. I use a spray bottle for tender seedlings.
Once they sprout, ensure they get plenty of light to grow strong and not leggy.
How to Create a Flower Farm Planting Calendar
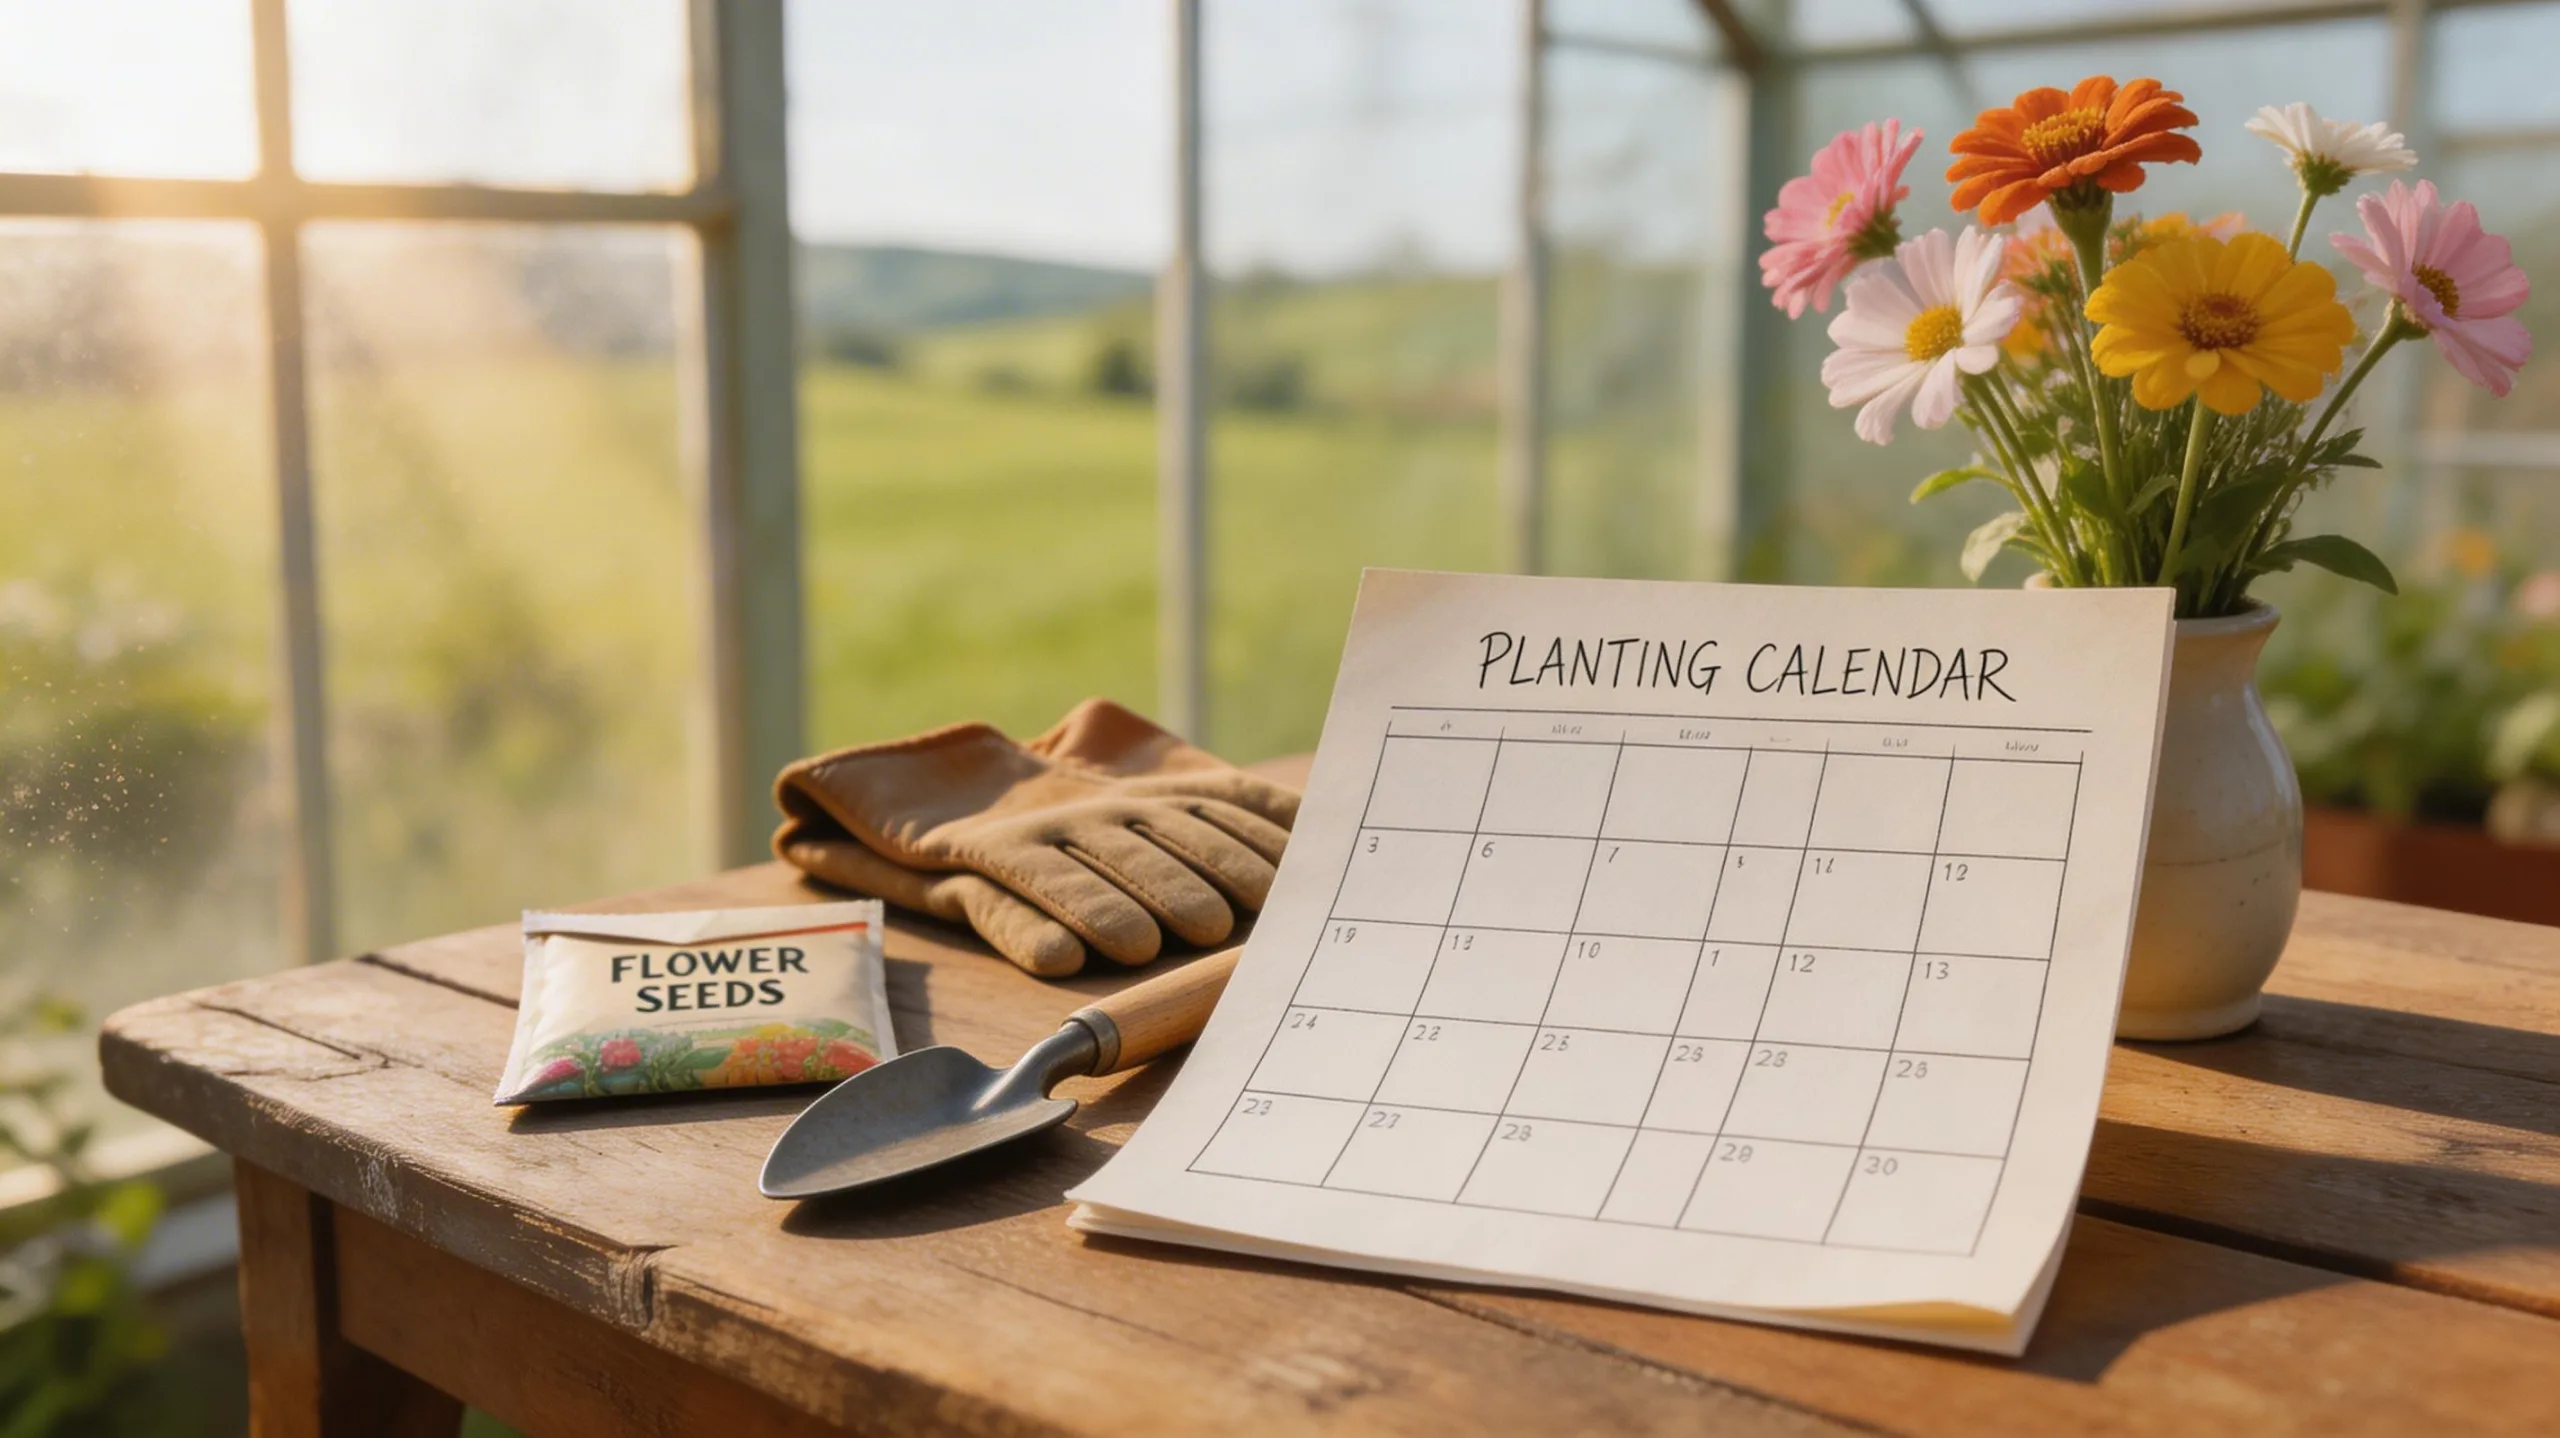
Creating a detailed planting calendar is your blueprint for a successful, season-long harvest. Start by listing every flower you want to grow. You’ll need to know each one’s days to maturity from seed or transplant and its frost tolerance. Group them by season—cool-season blooms like snapdragons for spring and fall, heat-lovers like zinnias for summer. I learned to work backwards from my first fall frost date. To visualize succession planting, here’s a simple framework for a few common annuals:
| Flower (Seed Start) | Target Bloom Period |
|---|---|
| Sweet Peas (Early Spring) | Late Spring Harvest |
| Sunflowers (Early Summer) | Late Summer Harvest |
| Cosmos (Mid-Spring) | Summer through Fall |
| Bachelors Buttons (Fall) | Early Spring Harvest |
This plan ensures you’re never without blooms and maximizes your field’s productivity.
Essential Tools for Your Cut Flower Farm
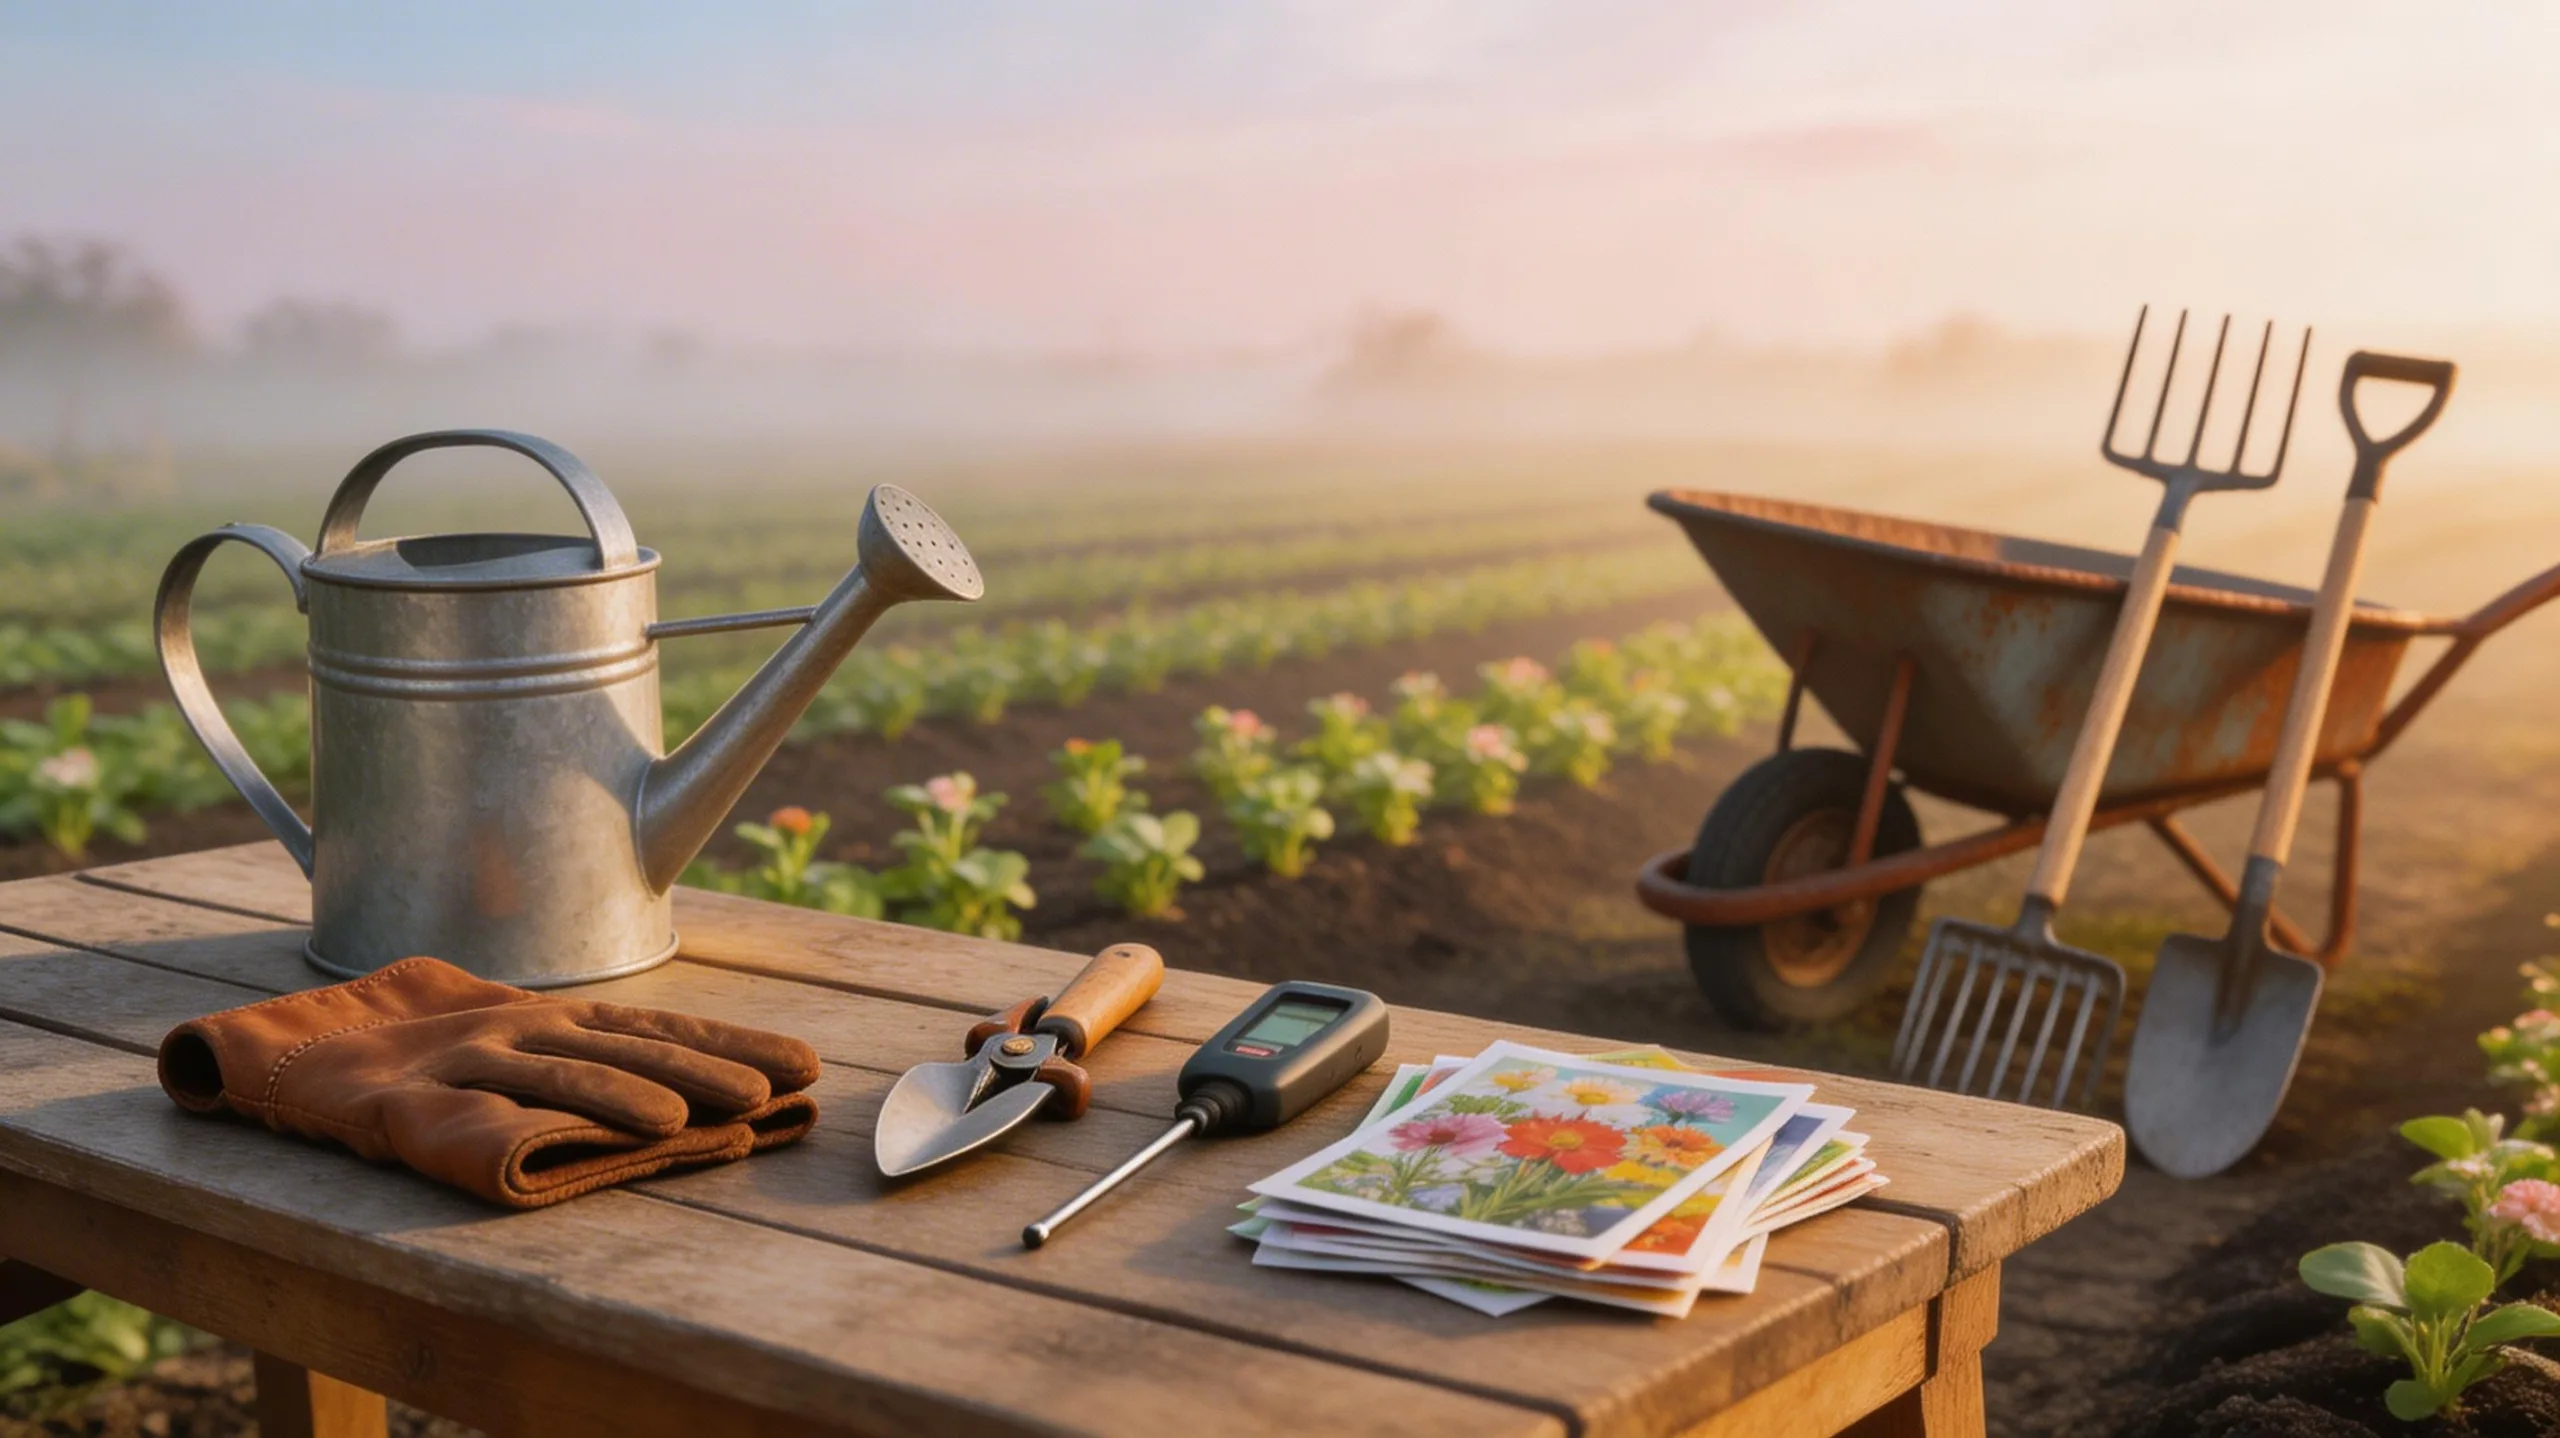
Your success on the flower farm hinges as much on smart tools as it does on good seeds. You’ll find a few reliable essentials make every task smoother, from planting to harvest. Investing in quality versions saves you money and frustration over time.
Here are three core tools I wouldn’t farm without.
- A Sharp, Comfortable Bypass Pruner: This is your most-used tool. You’ll snip stems daily, and a good pruner makes clean cuts that heal fast, keeping plants healthy.
- A Durable Garden Trowel: You need this for transplanting seedlings and digging small holes. Choose one with a sturdy blade and a handle that feels good in your hand.
- A Set of Harvest Buckets: Keep multiple clean buckets ready for gathering flowers. They protect your stems and let you organize different varieties as you cut.
The Right Way to Water and Feed Your Flowers
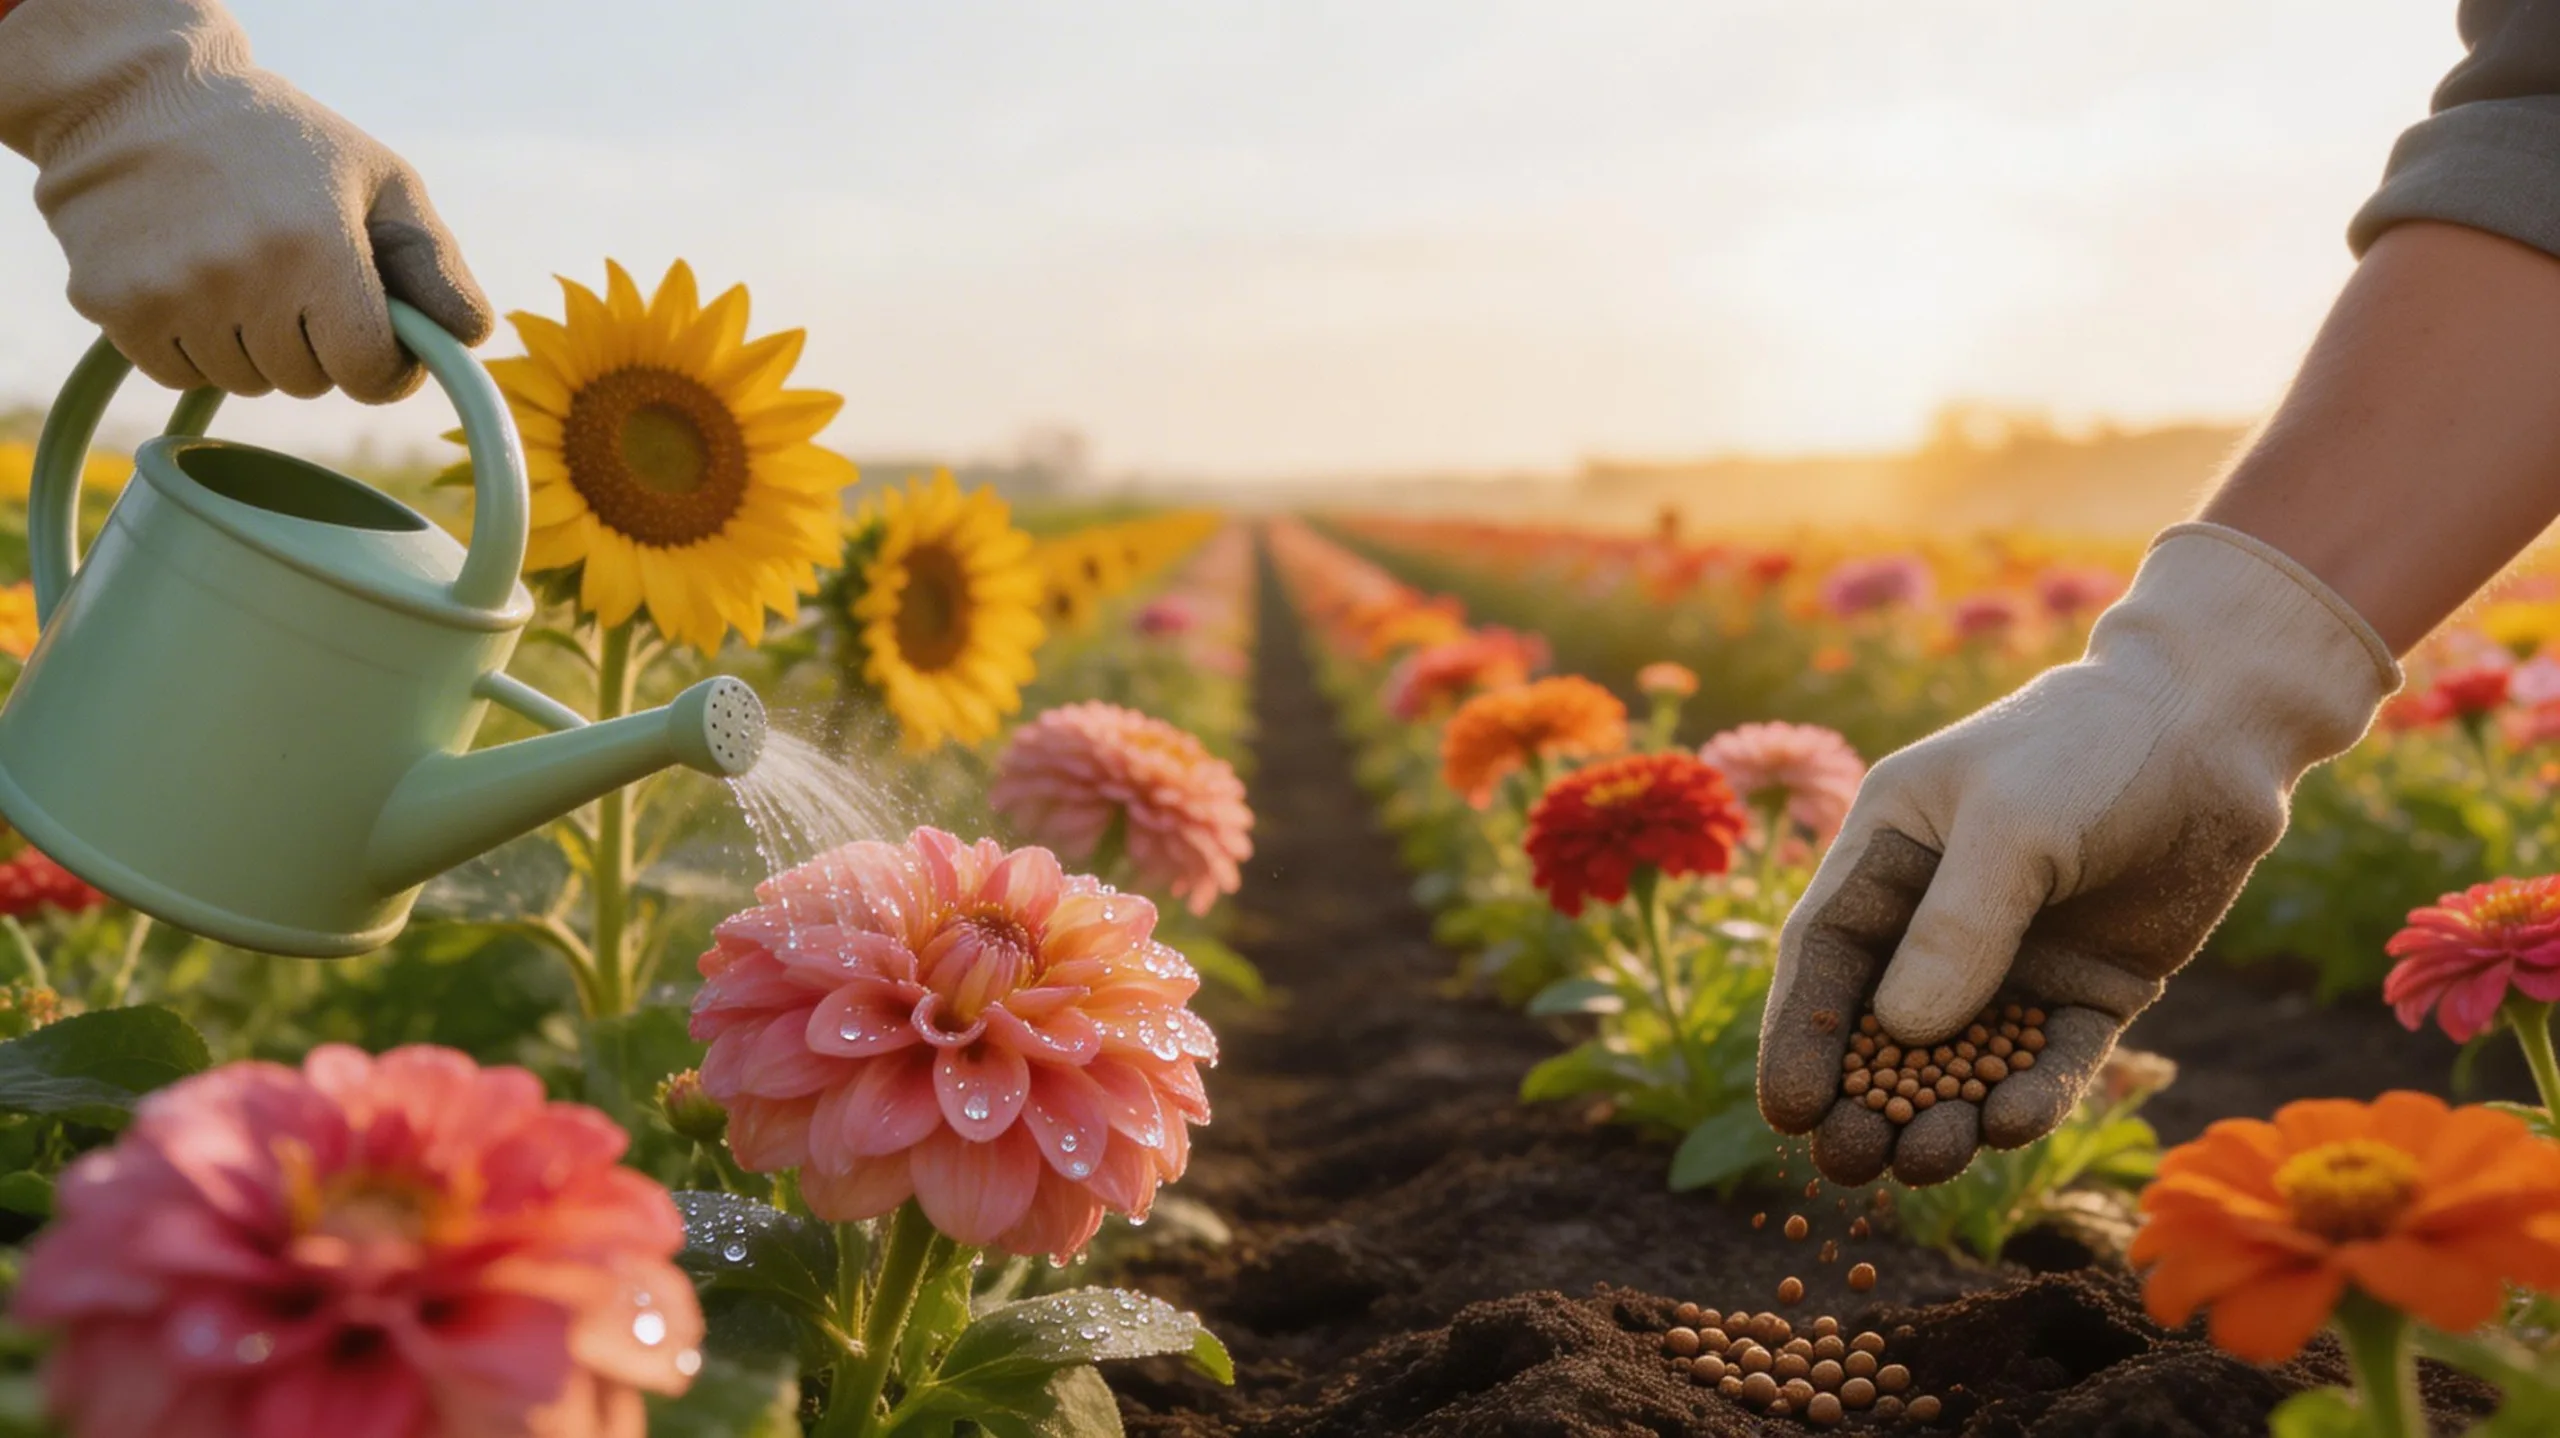
Truly beautiful blooms rely on a careful balance of water and nutrients, not just sunlight. Water deeply and less frequently to encourage strong roots; a long, slow soak is far better than a daily sprinkle.
I always check soil moisture an inch down before watering. For feeding, choose a balanced fertilizer and follow its schedule. I’ve found that over-fertilizing leads to leafy growth at the expense of flowers, so less is often more.
Water early in the morning so leaves dry quickly, preventing disease. Remember, container plants need more frequent watering and feeding than in-ground ones. Your specific flowers will have preferences, so always read the seed packet or plant tag for their ideal needs.
How to Manage Weeds and Pests Naturally
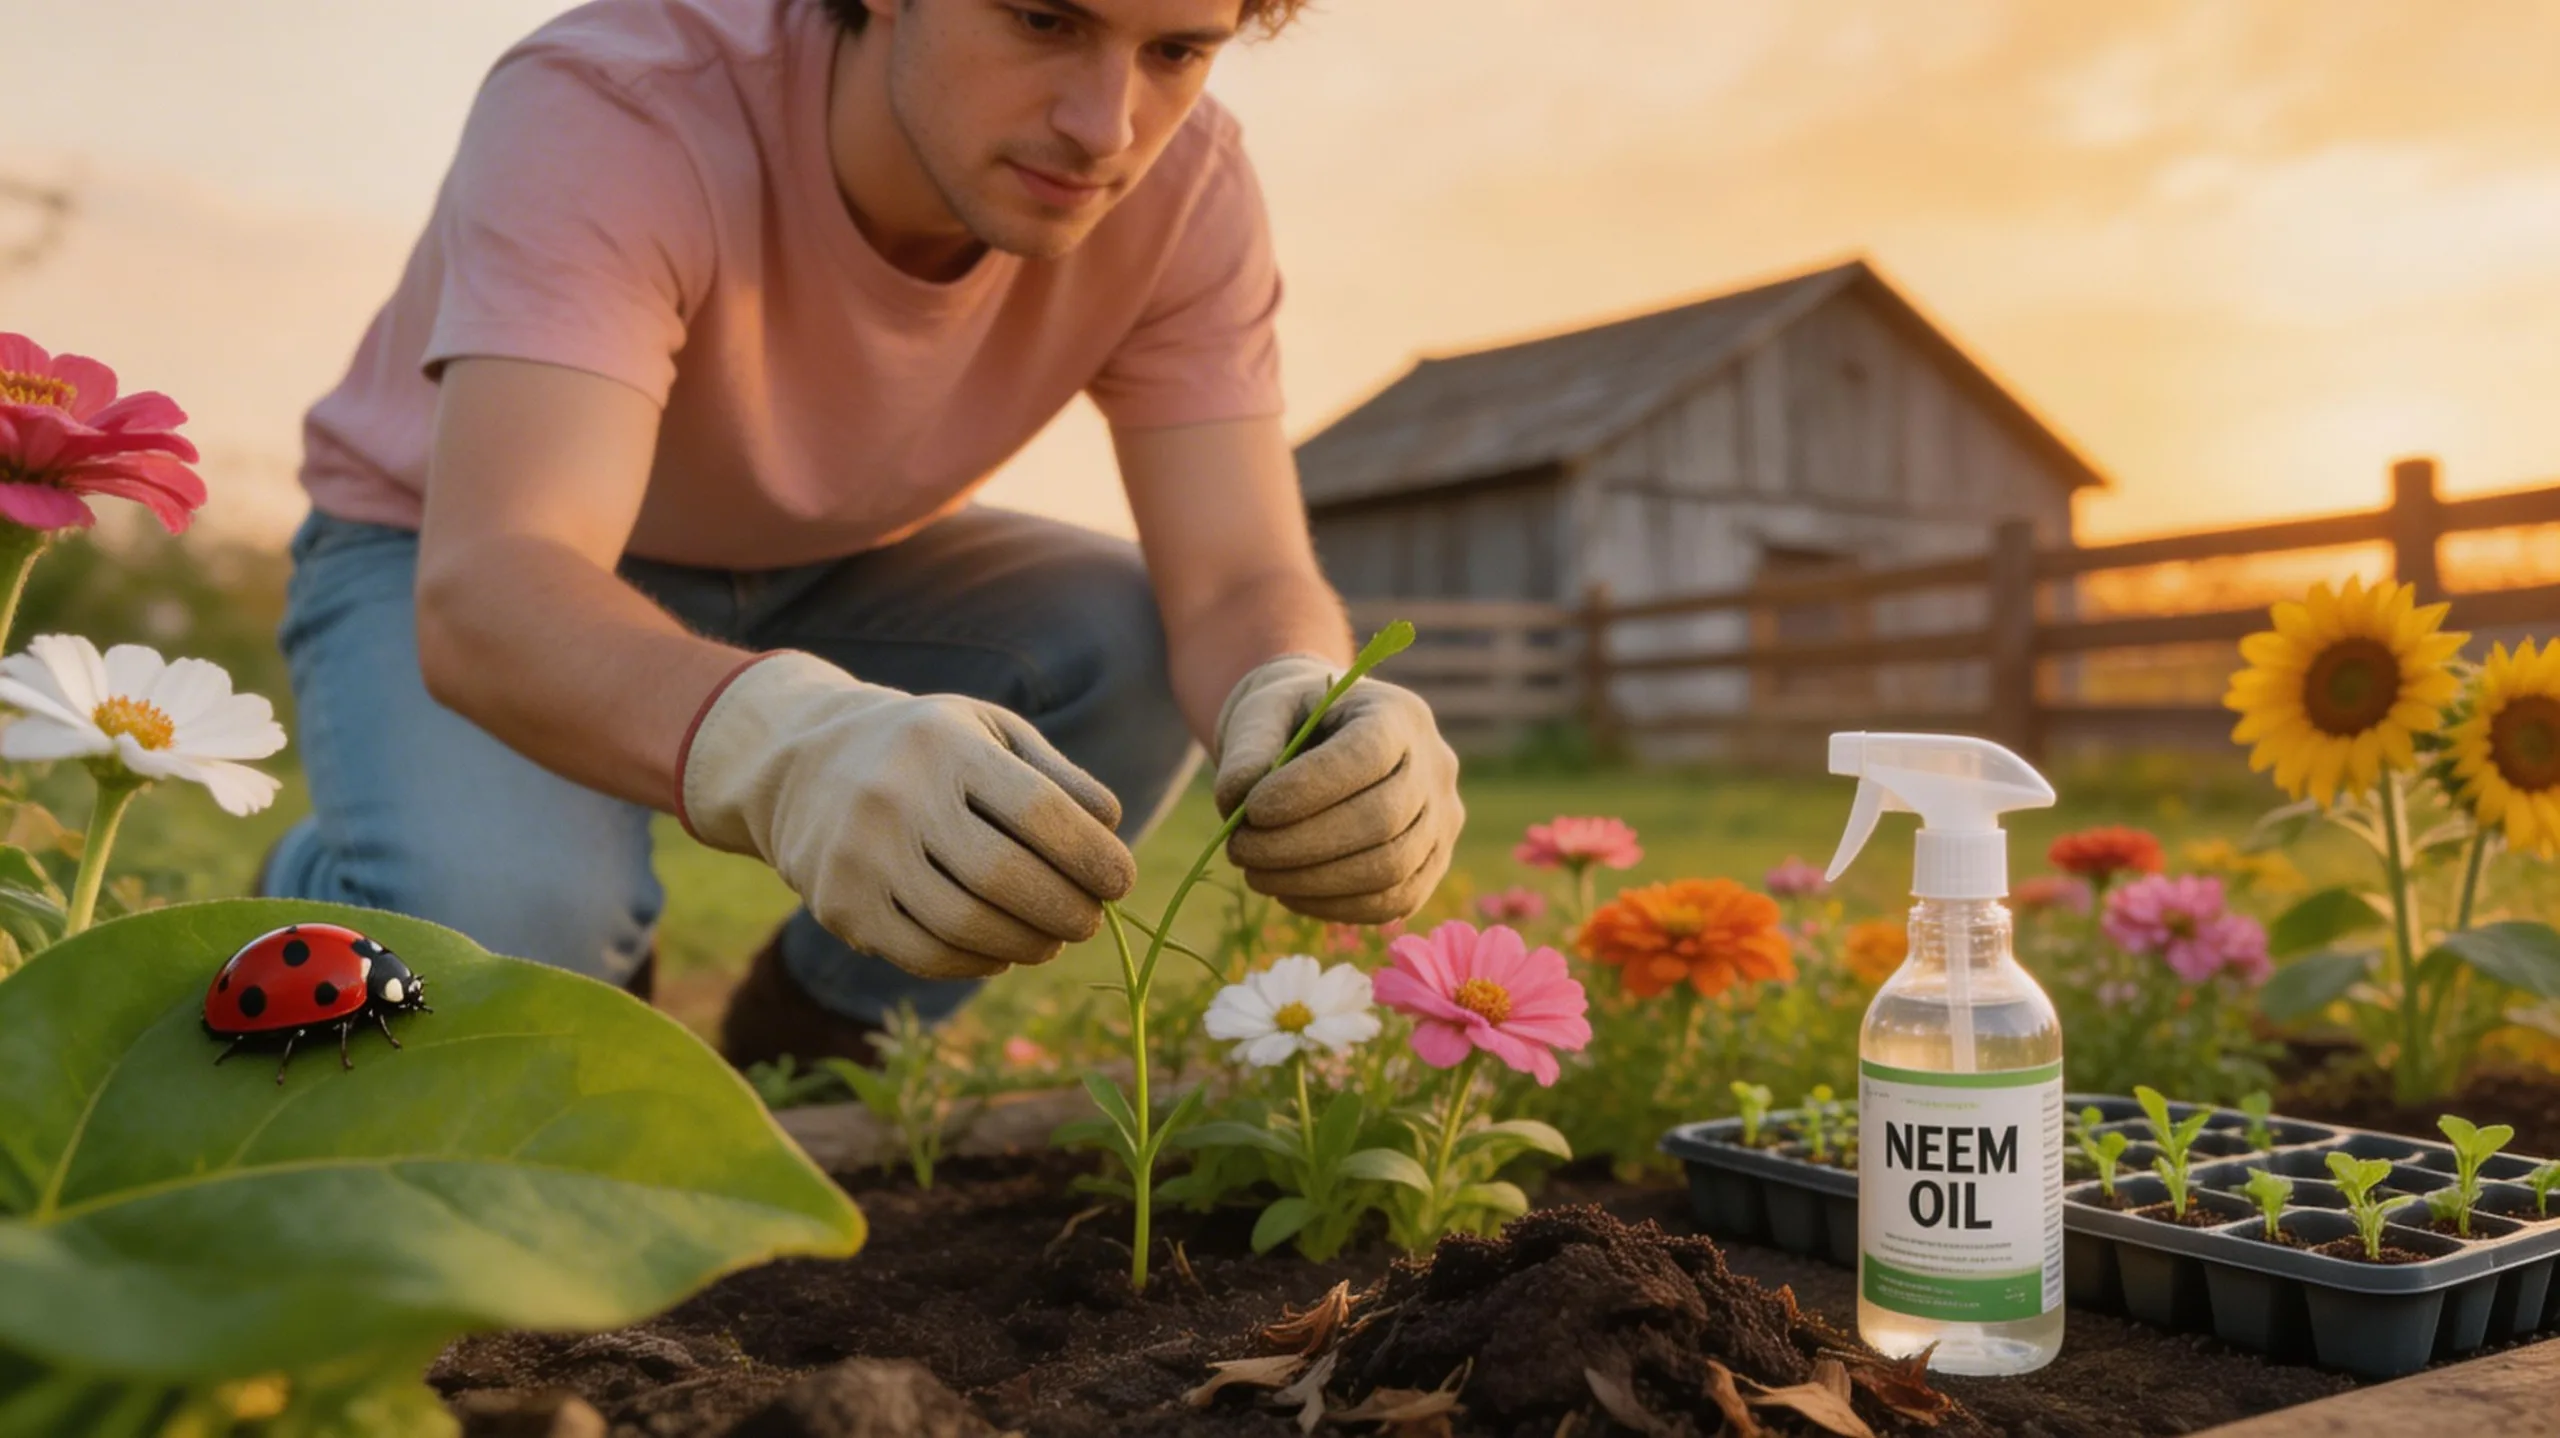
Tackling weeds and pests without harsh chemicals is easier than you think, and it starts with prevention. You’ll keep most problems at bay by building healthy soil and encouraging a balanced ecosystem in your flower beds.
I’ve found that consistent, simple practices make the biggest difference. Your three core strategies should be:
- Smother weeds with mulch. A thick layer of straw or wood chips blocks light from weed seeds and retains soil moisture.
- Handpick pests regularly. Make quick daily rounds to squish aphids or remove caterpillars before their population explodes.
- Plant trap crops and companions. Sacrificial plants like nasturtiums lure pests away, while herbs like basil can repel them.
When and How to Harvest Flowers for Maximum Vase Life
Harvesting flowers at the perfect moment and in the right way makes all the difference for how long they’ll shine in a vase.
Harvest in the cool morning or evening, not the hot midday sun.
For most blooms, you’ll pick them when buds are colored and just starting to open, not fully blown.
Use clean, sharp snips and cut at a 45-degree angle for better water uptake.
Immediately plunge stems into a bucket of cool, clean water you’ve brought to the garden.
Strip any foliage that would sit below the waterline in your bucket to prevent rot.
Get them into the shade quickly to prevent wilting.
You’ll notice a huge difference in their lasting power.
How to Process and Condition Flowers After Harvest
Get your flowers into water and out of the sun the moment you’ve harvested them. This first step is critical for stopping water stress.
I always carry a bucket of clean, room-temperature water to the field. Back in your processing area, you’ll condition them for longevity. Here’s my essential three-step process:
- Re-cut every stem underwater. Use sharp snips to remove an inch while the stem is submerged. This prevents air bubbles from blocking water uptake.
- Strip all foliage below the waterline. Any leaves sitting in water will rot, creating bacteria that shorten vase life.
- Let them hydrate deeply. Place your buckets in a cool, dark place for several hours or overnight before arranging. They’ll drink fully and become turgid.
Basic Flower Arranging and Bouquet Making for Beginners
Place a clean vase on your workspace and fill it with fresh water, because the first secret to a lasting arrangement is starting with a great foundation.
Now, gather your conditioned stems.
Start by adding your greenery or foliage to create a structural frame. I like to crisscross the stems so they support each other.
Next, place your focal flowers, like your biggest blooms, into this frame.
Work in odd numbers for a natural look.
Finally, add smaller filler flowers to complete the shape and hide mechanics.
For a hand-tied bouquet, hold your first stem and spiral others around it, securing with twine.
Always recut stems underwater before placing them in that fresh vase to maximize hydration.
How to Price and Sell Your Cut Flowers
Once you’ve grown and arranged beautiful bouquets, you’ll need to set prices that reflect your work’s value and attract customers. Start by calculating your costs, including seeds, labor, and packaging. Then, research what local florists and other growers charge for similar bouquets.
I’ve found a simple three-part strategy works best for sales:
- Price Bouquets by Stem Count: A common method is charging a base rate per stem, with premium blooms priced higher. A $5 per stem average for a 10-stem bouquet is a great starting point.
- Offer Multiple Price Points: Create small, medium, and large arrangements. This caters to different budgets and encourages customers to trade up.
- Sell Directly at Farmers Markets: This builds customer relationships and lets you get immediate feedback, which is invaluable for refining your product and pricing.
Avoid These 5 Common Flower Farming Mistakes
Steering clear of common pitfalls can make all the difference between a thriving flower farm and a frustrating hobby.
First, don’t skip soil testing. Poor soil equals poor blooms.
Second, avoid overcrowding plants; they’ll compete for light and nutrients.
Third, you must succession plant. Don’t sow everything in spring; stagger dates for continuous harvests.
Fourth, never underestimate your water needs. Installing drip irrigation early saves you from drought stress later.
Finally, don’t ignore your market. Grow what sells, not just what you like.
You’ll learn these lessons through experience, but anticipating them now saves time and money.
Your farm’s success hinges on these practical details.
Frequently Asked Questions
What Are the Legal Permits I Might Need?
Check your local and state regulations. You’ll likely need a business license and may need permits for things like water use or selling at farmers’ markets. Start with your city’s zoning office for the basics.
Can I Run a Flower Farm While Working Full-Time?
You can start small, like on weekends. Your season choice matters a lot; grow something forgiving at first. You’ll need a solid plan, as balancing both jobs is very demanding on your time and energy.
How Do I Handle Sales Tax for My Flowers?
First, check your state’s specific regulations for agricultural products. You’ll likely need to register, collect sales tax from customers, and file returns periodically. QuickBooks or a simple spreadsheet can help you track it.
Should I Form an LLC for My Flower Farm?
You’ll likely want an LLC for liability protection and tax flexibility. Start as a sole proprietor to test the market, then form one before scaling up. It’s fairly simple and worth it.
Is Flower Farming Profitable in the First Year?
It’s rarely profitable in year one. You’ll invest heavily in infrastructure and supplies. Focus on building customer relationships and a reputation for quality flowers, which become your real profit drivers later.
Conclusion
Remember, start small and focus on mastering a few easy, profitable flowers first. Your planting calendar is your roadmap, so follow it closely. You’ll learn the most by doing—harvesting in the cool morning and conditioning stems properly makes all the difference. Build relationships with your customers, price your blooms fairly, and don’t be afraid to learn from your inevitable mistakes. Every season you’ll grow more beautiful flowers and more confidence.
The Only Tools You Need for a Thriving Garden 🌱
Whether you're a weekend gardener or growing daily — these hand-picked tools make every session faster, easier, and more satisfying.