You’ll transform 300–500 square feet of sunny backyard into profitable blooms by selecting high-value focal flowers like dahlias and zinnias, layering fast-growing fillers such as ammi majus, and staggering plantings every 2–4 weeks for continuous harvest. Start with soil testing, raised 4–6 inch beds, drip irrigation, and succession sowings timed 12 weeks before your last frost date. Track costs around $4.51 per bunch while aiming for 140 bunches per bed. The real margin between breaking even and thriving hinges on your planning precision and seasonal adjustments.
Key Takeaways
- Start with 300–500 sq ft in full sun (≥6 hours daily) using 42-inch raised beds with 18-inch pathways for efficient access.
- Test soil in fall, amend with 3–4 inches compost, and install drip irrigation to ensure well-drained, nutrient-rich growing conditions.
- Plant high-value focal flowers like dahlias ($5–$7/stem) and zinnias, with fast-growing fillers (Ammi majus, nigella) for continuous harvests.
- Succession plant every 2–4 weeks to stagger blooms; start seedlings 8–10 weeks before planting for early season production.
- Expect $175–$385 first-year revenue from 300–500 sq ft with ~140 bunches per bed and variable costs around $4.51/bunch.
Assess Sunlight, Space, and Bed Orientation
Where should you position your cut flower farm?
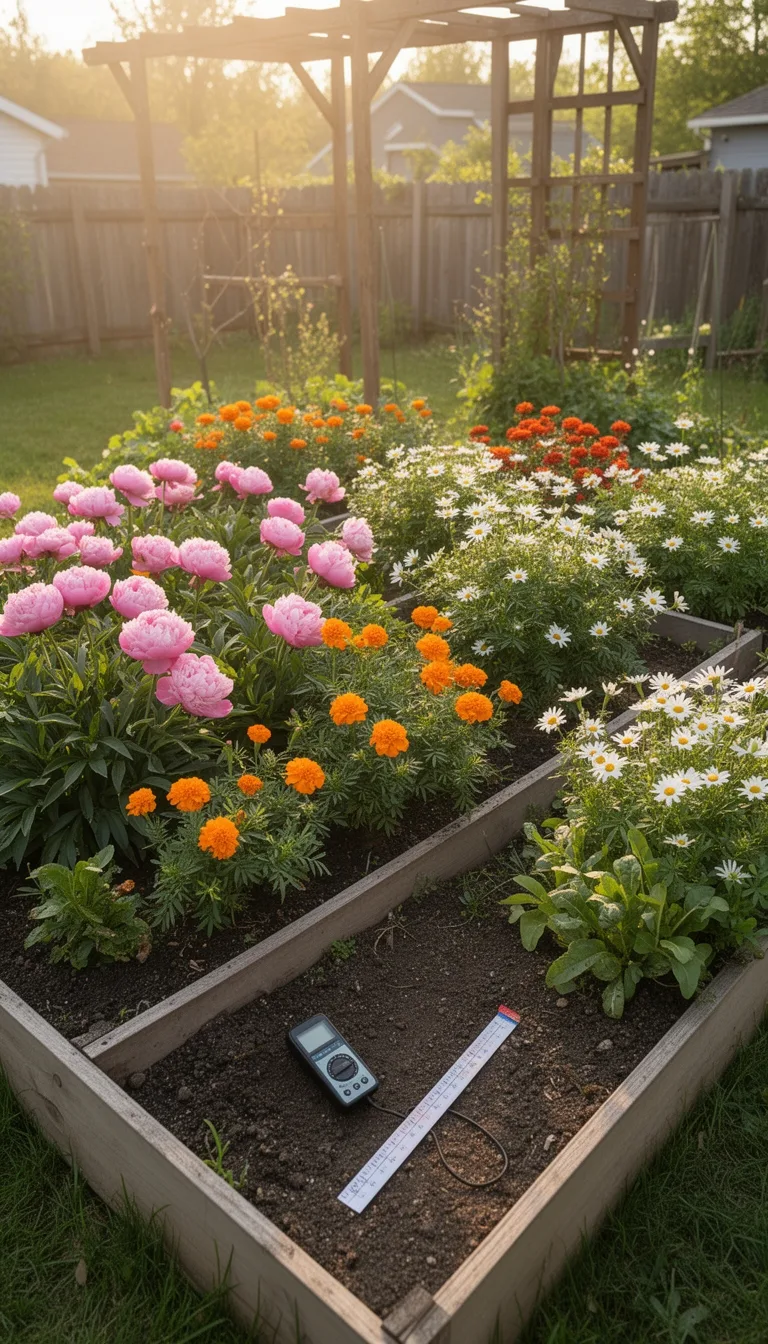
Start by prioritizing full sun exposure—most cut flowers need at least six hours of direct sunlight daily to thrive and produce quality blooms.
Scout your property throughout the day to identify areas receiving consistent, unobstructed light.
Next, plan your bed layout using 42-inch-wide growing beds separated by 18-inch walking paths.
This configuration maximizes your growing area while maintaining accessibility for harvest work.
Raise beds 4 to 8 inches high for proper drainage, burying drain lines 12 inches deep if needed.
Consider orientation carefully.
Account for seasonal sunlight patterns and incorporate wind protection into your site design.
Good airflow prevents disease while close spacing keeps your plants productive.
Well-draining soil supports root development and prevents waterlogging that can compromise bloom quality and plant vigor throughout the growing season.
Ensure easy access for workers and irrigation infrastructure nearby.
These foundational decisions determine your farm’s long-term success.
Calculate First-Year Income From 300–500 Square Feet
Once you’ve optimized your site layout and bed orientation, you’ll want to project realistic earnings before investing in seeds and supplies.
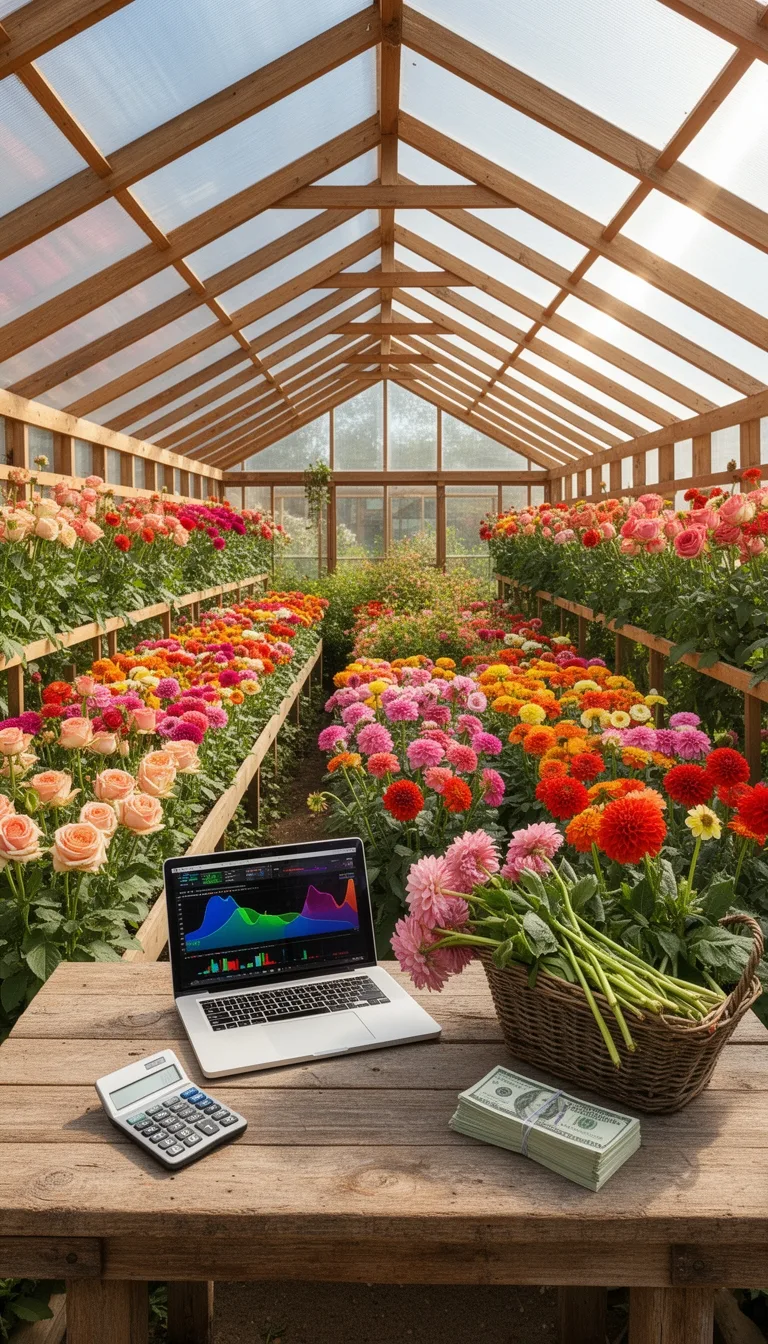
A 300–500 square foot plot scales down from acre benchmarks, generating roughly $175–$385 annually at the low end.
You’ll likely harvest 140 bunches per bed with proper spacing and care.
Factor your pre-harvest costs—typically $4.51 per bunch—against wholesale or farmer-florist pricing.
Seed-grown annuals like sunflowers and zinnias offer steady sales with minimal input. Drip irrigation systems reduce water waste and labor costs while maintaining the consistent moisture essential for healthy stem development.
Consider supplementing bouquet revenue through tuber or root sales during off-seasons, which can significantly boost first-year profitability.
Document every receipt this winter to calculate accurate variable costs before scaling up.
Choose High-Value Focal Flowers for Bouquets
Which flowers’ll give you the most return on your effort?
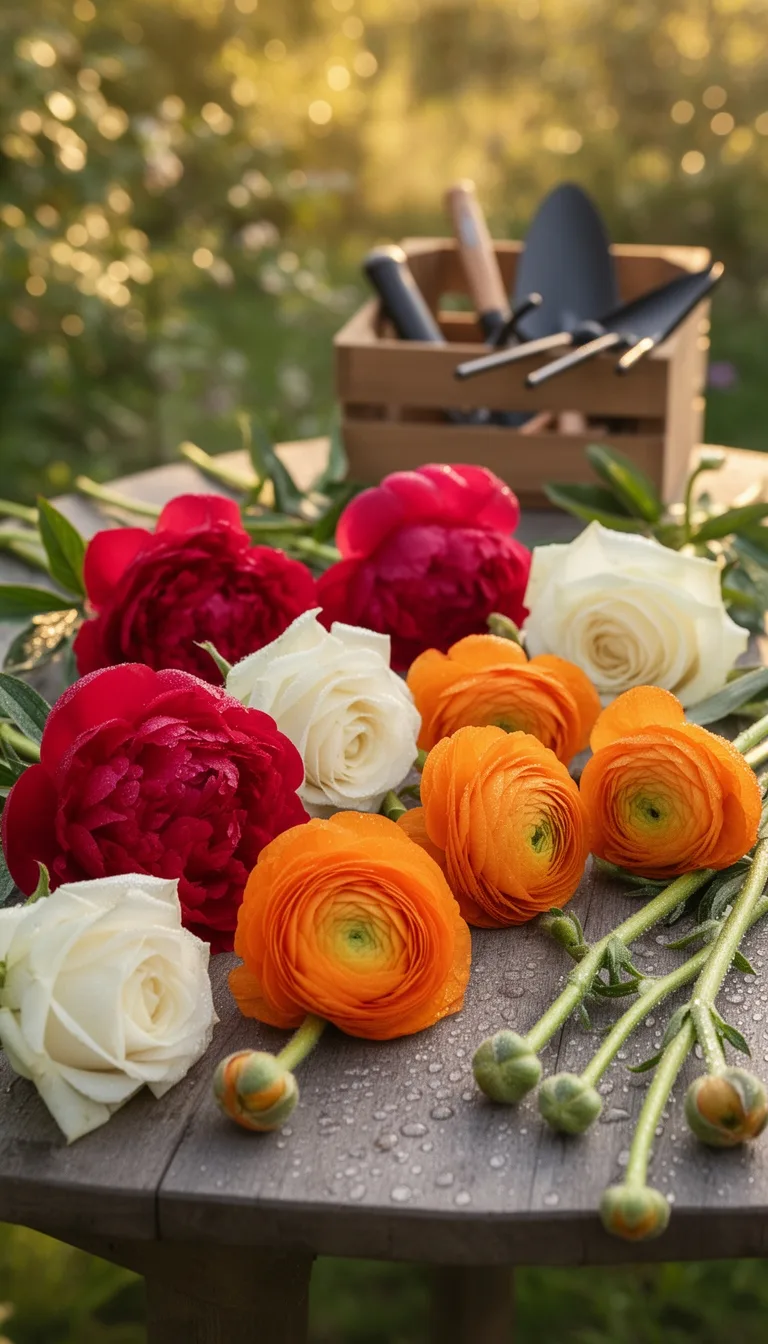
Focus on high-value focal flowers that command premium pricing and extend your harvest season.
Dahlias deliver exceptional profitability—priced at $5-7 per stem with plants yielding up to 10 flowers.
Varieties like Cafe Au Lait and Ice Cube produce 3-foot stems ideal for statement arrangements.
Sunflowers, particularly ProCut Gold, offer pollen-free uniformity and quick maturation for succession planting throughout summer. Succession planting enables you to stagger sowings every two weeks for continuous blooms from frost-free periods through fall.
Consider these focal flower strategies:
- Dahlias: Heavy bloomers from mid-August to first frost; fertilize for premium stem length
- Sunflowers: Essential cheerful cuts pairing seamlessly with zinnias and rudbeckias
- Zinnias: Texas-sized blooms up to 6 inches across in vibrant hues
These combinations create versatile, marketable bouquets while maximizing your garden’s productivity.
Select Fast-Growing Fillers and Foliage
How’ll you fill out those premium focal flowers into lush, market-ready bouquets? You’ll want fast-growing annuals like Ammi majus, nigella, and feverfew—all quick from seed with succession planting every 2-3 weeks for steady supply.
Bupleurum rotundifolium produces lime green-yellow flowers and germinates in dark conditions, while Bells of Ireland offers chartreuse blooms easily from seed. Succession sowing bupleurum weekly ensures continuous harvest through the season, maintaining reliable foliage availability for all your arrangements.
For perennial foundations, establish yarrow, which holds well when cut at pollen stage, plus raspberry foliage and ferns for lush base layers. Mountain mint grows as a long-lasting herbaceous perennial worth increasing for production.
Don’t overlook versatile foliage: Dusty miller ‘New Look’ yields silver leaves within four months, dill ‘Bouquet’ matures early with chartreuse umbels, and Euphorbia marginata provides summer filler with extended vase life when properly hydrated.
Plan Your Planting Calendar to Avoid Gaps
As you translate those carefully selected fillers and focal flowers into consistent weekly harvests, you’ll need a planting calendar that maps succession plantings across your entire growing season.
Start by identifying your last frost date—this becomes Week 0 for backward-counting your seed-starting timeline.
Count back 12 weeks to establish your initial sowing window, then factor in germination and transplant shock by adding one to two additional weeks.
Your master crop plan should document:
- Peak production windows (typically three to four weeks per variety) to determine planting intervals
- Succession intervals based on variety type: Cut and Come Again crops require three to four-week spacing; Single Cut varieties need one to two-week intervals
- Staggered starts preventing labor overwhelm while maintaining continuous blooms throughout your season
Use pencil-and-paper mapping initially, then advance to spreadsheets as complexity increases. Recording planting dates, bloom timing, and frost events builds historical data that refines your planting calendar across future seasons.
Forecast Bloom Timing Across the Season
Once you’ve mapped your succession plantings, you’ll need to layer in realistic bloom timing so you’re not caught with bare buckets when customers expect full harvests.
Spring bulbs like narcissus and tulips need 60 days of cold weather before March emergence. Dahlias planted in April require 90 days to flower, reaching peak production by mid-July.
Summer annuals—zinnias, cosmos, and celosia—dominate July through August, while cool-season varieties like scabiosa extend production six months with steady output. Remove waning spring flowers once temperatures exceed 80 °F to free space for succession plantings and maximize bed efficiency.
Plan for June’s spring-to-summer transition when early bloomers fade and succession plantings take over.
In autumn, enlarged dahlias and early mums capitalize on cooler weather.
Winter hardy options like viburnum and witch hazel bridge gaps through spring’s arrival.
Build 30-Inch Beds With Efficient Pathways
Your bloom timeline establishes what you’ll grow; now you’ll need the physical infrastructure to support it.
You’ll build 30-inch beds—the industry standard that balances planting density with ergonomic reach from pathways.
Construct raised beds from untreated wood, filling the bottom with logs and leaves for drainage and heat generation.
Top with 8-12 inches of quality soil.
Orient beds north-south for optimal sunlight exposure. Even <1% slope causes water pooling at row ends, so verify levelness and adjust for slope to ensure uniform irrigation.
Your pathway planning matters equally:
- Use 18-inch pathways alongside beds for comfortable weeding and basic tasks
- Widen to 24+ inches if you’re moving carts or hosting U-pick access
- Mark access points during initial space measurement
Use the 3-4-5 triangle method to ensure perpendicular alignment.
This foundation supports your weekly harvests efficiently and sustainably.
Test Your Soil Before You Plant
Before you fill those 30-inch beds with soil, you’ll want to understand exactly what you’re working with.
A comprehensive soil test reveals pH levels, macronutrients (nitrogen, phosphorus, potassium, calcium), and micronutrients (zinc, iron, copper, manganese) that directly impact flower vigor and yield.
Test in fall or winter, several months before planting.
Collect 20+ cores from 6-8 inches deep using stainless steel tools, then mix into a composite sample.
Avoid wet spots, compost piles, and recently amended areas. Stainless steel or chrome-plated tools prevent contamination from brass, bronze, or galvanized equipment that could introduce copper and zinc into your sample.
Labs will assess texture, organic matter, and nutrient exchange capacity for roughly $20-25 per sample.
Results guide your amendment strategy, ensuring you’ll supply exactly what your cut flowers need for optimal growth.
This single step prevents costly deficiencies later.
Fix Drainage and Boost Nutrients in Your Soil
Now that you’ve identified your soil’s nutrient profile and potential deficiencies, it’s time to build the foundation for thriving cut flowers.
Start by spreading 3-4 inches of compost evenly across your beds, then till it 6-12 inches deep to incorporate nutrients into the root zone.
Apply high-quality organic fertilizer at 1.5 lbs per 10 linear feet to establish baseline nutrient levels.
For drainage enhancement, construct raised beds 4-6 feet high and no wider than 4 feet.
Install drip irrigation systems to deliver water directly to roots while minimizing evaporation and nutrient loss. Early setup reduces labor and stress throughout the growing season by preventing seedling desiccation and the panic that follows delayed watering.
- Sandy soils require four drip lines spaced one foot apart
- Clay soils need two to three lines
- Place drip tape on the soil surface or 2-3 inches underground
This balanced approach ensures optimal moisture and aeration for your cut flowers.
Should You Direct Sow or Transplant Seedlings?
Once you’ve prepared your beds with optimal drainage and nutrients, you’re faced with a critical decision: should you sow seeds directly into the soil or start them indoors as transplants?
Direct sowing suits cosmos, sunflowers, and zinnias—it’s economical, eliminates transplant shock, and produces drought-tolerant plants with stronger root systems.
However, it demands consistent moisture and patience, typically requiring 100 days for blooms. To succeed with direct sowing, frequent watering is required for germination until seedlings are established.
Transplanting offers earlier flowering by weeks and reliability in short growing seasons, though it requires careful hardening off and daily indoor care.
For taproot plants like rudbeckia, direct sowing prevents root stunting.
Consider your climate, available time, and specific flowers.
Most beginners find success experimenting with both methods per season.
Space Plants for Maximum Yield in Tight Areas
With your seedlings hardened off and ready for the field, spacing becomes your next lever for maximizing productivity on limited acreage. Strategic plant density directly influences your yield without sacrificing quality or inviting disease problems.
Consider these spacing regimes tailored to your crops:
- 9×9-inch spacing suits 80% of your operation—zinnias, dianthus, snapdragons, and basil thrive here, yielding five rows per bed
- 6×6-inch spacing doubles production for single-stemmed varieties like lisianthus and flowering cabbage, fitting seven dense rows
- 12×12-inch spacing accommodates bulkier plants such as celosia and scented geraniums in four-row configurations
Zinnias prove exceptional for tight spaces, delivering outstanding productivity per square foot.
Dwarf sunflower varieties like Teddy Bear and ageratum maximize yields while minimizing spatial demands.
Ultra-tight spacing optimizes your limited growing area without compromising plant health or flower quality.
Succession-Plant Every 2–3 Weeks for Continuous Blooms
How do you ensure your flower beds never fall bare between harvests? Succession planting—sowing seeds at regular intervals—guarantees continuous blooms throughout your growing season.
| Crop | Interval | Sowings |
|---|---|---|
| Zinnias | 3–4 weeks | 3 |
| Stock | 2 weeks | 3 |
| Snapdragons | 3 weeks | 3 |
| Sunflowers | 7 days | Multiple |
| Bupleurum | 2 weeks | 4 |
You’ll stagger maturity by dividing your growing area into sections, planting each two to three weeks apart. Cut-and-come-again varieties require fewer sowings—typically three at 3–4-week intervals. Heat-lovers like zinnias start in late spring; cool-season crops like poppies go in earlier. Plan eight to ten weeks ahead for tray-started seeds, accounting for germination and transplant shock. This disciplined approach prevents gaps in production while maximizing your limited space.
Install Drip Irrigation for Cut Flower Beds
Because succession planting demands consistent moisture on a tight schedule, drip irrigation becomes essential—you’ll deliver water directly to plant roots while minimizing waste and disease pressure.
Start by laying out your irrigation grid, measuring plant spacing, and diagramming emitter placement for optimal coverage.
Install your main line by attaching a backflow preventer to your outdoor faucet, then connecting 1/4-inch or 1/8-inch plastic tubing to reach your beds.
For branch lines, you’ll:
- Insert tee fittings and secure them with band clamps at strategic points
- Punch holes using an emitter tool, then attach 1/8-inch feeder tubing
- Use 7mm barbs to connect drip tape, pushing firmly for watertight seals
Test all connections before operation, then flush your system every 4–6 months to prevent emitter clogging.
Stake and Net Flowers to Prevent Damage
Once your cut flowers reach near-full height but before buds open, you’ll need to install support systems that’ll prevent wind damage, rain lodging, and stem breakage—especially critical for top-heavy varieties like dahlias and peonies.
| Support Type | Best For | Installation |
|---|---|---|
| Single stakes | Tall perennials | 1-2″ from stem, 6″ deep |
| Ring supports | Peonies, dahlias | Early season, 360° coverage |
| Netting/grids | Mass plantings | Rebar stakes every 12 feet |
Tie loosely below flower buds using soft materials like garden ties or pantyhose strips. For windy conditions, use multiple stakes per plant. Install supports early when plants are small to avoid root disturbance. Pinch early-season growth to encourage bushier, sturdier stems that need less support. Position tall perennials in protected areas receiving at least 6 hours direct sunlight daily.
Prevent Pests in Cut Flower Beds Without Pesticides
Maintaining healthy cut flowers without synthetic pesticides requires a multi-layered approach combining beneficial insects, strategic plant placement, physical barriers, and regular monitoring.
You’ll establish a robust pest management system by implementing these strategies:
- Release beneficial insects like green lacewing larvae (1-5/ft²), predatory mites Amblyseius swirskii, and rove beetles Dalotia coriaria (100-500 per 1,000 ft²) to target thrips, aphids, and soil-dwelling pest larvae
- Deploy companion plants including nasturtiums as aphid traps, cilantro to attract beneficial predators, and mint family herbs to deter flea beetles and whiteflies
- Scout weekly using yellow sticky traps and white sheet tapping to monitor pest populations early
You’ll also apply floating row covers over vulnerable crops and remove infested foliage promptly.
Strong water sprays dislodge aphids from leaf undersides.
Remove weeds and debris that harbor overwintering pests.
This integrated approach maintains flower quality while building natural pest suppression.
Harvest at Peak Freshness for Longer Vase Life
Your pest management efforts preserve flower health in the field, but maximizing vase life depends on when and how you harvest.
Harvest early morning after dew dries, when flowers are fully hydrated and plant vigor peaks.
Avoid midday heat between 10 AM and 3 PM, which accelerates dehydration.
Match your cutting stage to flower type: buds for roses and lilies, half‑open for tulips, fully open for sunflowers.
Use sharp tools to make 45‑degree angle cuts, removing submerged foliage and side shoots.
Place stems in clean, cold water within minutes—this single step prevents moisture loss and wilting.
Add floral preservative to suppress bacterial growth.
Cool storage immediately after harvest maintains freshness and extends vase life significantly.
Set Up a Processing Studio or Barn
Because you’ve harvested flowers at peak freshness, you’ll now need a dedicated space where you can quickly process them before they lose vitality.
Your processing studio should include:
- Essential equipment: floral knife, rose stripper, buckets, floral food, and Crowning Glory sealant for optimal hydration
- Strategic layout: position buckets near water sources, set up a workbench for design work, and install proper lighting for defect inspection
- Climate control: maintain 32-35°F storage with 90% humidity and ensure insulation prevents temperature fluctuations
Begin by cutting stems at 45-degree angles to maximize water uptake.
Remove foliage below the waterline immediately to prevent bacterial growth.
Hydrate flowers in solution-filled buckets without delay.
Organize your workflow efficiently—separate usable pieces, maintain separate waste bins, and keep tools accessible.
Clean flooring allows easy maintenance, while proper electrical and water code compliance ensures safety and functionality.
Design High-Margin Bouquets
How can you transform modest flower costs into premium-priced bouquets?
Strategic design choices directly impact what customers’ll pay.
Incorporate parallel arrangements and linear elements—research shows these boost willingness to pay by $10.65 and $2.43 respectively at standard price points.
Prioritize radial symmetry over bilateral; roses command the highest beauty ratings at 4.36 on consumer scales.
Apply the 3:5:8 proportion principle for harmonious silhouettes—130cm height, 80cm width, 50cm depth creates visual balance.
Substitute lower-cost flowers matching color, size, and symmetry; consumers rate them equally to premium varieties.
Mix budget-friendly specimens into high-cost designs strategically.
Target 87% gross margins by using complementary or analogous color harmonies, which enhance perceived value without increasing material costs.
Price Bouquets Based on Time and Materials
Once you’ve mastered the design techniques that elevate perceived value, pricing becomes the mechanism that captures it. You’ll calculate costs by tallying material expenses and labor time, then applying markup formulas to ensure profitability.
Your pricing structure should reflect:
- Material costs: Wholesale prices for stems, fillers, and greens (peonies at $7.80, hydrangeas at $3.50–$7.50, baby’s breath at $14–$25 per bunch)
- Labor and design: Add 25% of subtotal for arrangement time and expertise
- Markup application: Use 3.5x multiplier for fresh goods, ensuring 2–3x markup at farmers’ markets
For example, a $27 wholesale bouquet multiplies to $94.50 retail.
Single-crop arrangements like tulips ($5 for six stems) or multi-crop designs ($5–$15) require different calculations based on stem count and bloom size, ensuring you’re compensated fairly for your horticultural skill and time investment.
Find Reliable Buyers for Cut Flowers
Where you’ll sell your flowers matters as much as how you grow them—your buyer network directly determines your revenue stability and profit margins.
You’ve got multiple pathways to explore.
Contact local florists and event designers directly, as they’re constantly seeking fresh inventory.
Kennicott Brothers operates distribution centers across the Midwest, Southeast, and East Coast—worth investigating for wholesale partnerships.
Online B2B marketplaces like TradeWheel and Go4Worldbusiness connect you with verified buyers seeking specific varieties.
Join the Association of Specialty Cut Flower Growers to access their supplier map and network.
Don’t overlook supermarkets and corporate event planners.
Start by identifying which flowers you’re growing, then target buyers specifically seeking those varieties rather than casting a wide net.
Build a Customer Base or Sales Channel
You’ll need to move beyond wholesale partnerships to establish direct-to-consumer channels that maximize your profit margins and build brand loyalty.
Start by leveraging social media platforms—Instagram and Facebook primarily—posting 2-4 times weekly during growing season.
Create a simple website with professional photography showcasing your blooms, farm location, and mission statement. Optimize with local keywords and SEO tags to increase discoverability.
Build your email list at farmers markets and community events, then deploy targeted campaigns focusing on single offerings like flower CSA subscriptions.
This concentrated approach drives higher conversion rates than scattered messaging.
Consider these revenue streams:
- Farmers market direct sales and sampling
- Email-driven flower CSA subscriptions
- Free giveaways attracting foot traffic and brand awareness
Each channel strengthens your local presence while generating consistent income.
Rotate Crops Annually to Maintain Soil Health
Because soil’s nutrient profile depletes with continuous flower production, rotating your crops annually—and ideally across a three- to four-year cycle—restores fertility while disrupting pest and disease cycles.
Intersperse nitrogen-fixing legumes like beans between heavy-feeding flowers such as zinnias and sweet peas.
Plant cover crops like clover and vetch to replenish depleted nutrients.
Vary your root depths across seasons; different crops reach different soil layers, preventing compaction and improving water retention.
This practice strengthens soil structure, increases microbial diversity, and enhances earthworm populations—all critical for nutrient cycling.
You’ll notice improved yields even during dry spells.
Additionally, rotating non-host plants naturally deters soil-borne pathogens and pests, reducing your reliance on chemical interventions while maintaining a sustainable, productive growing space.
Track Profitability in Your First Year
While crop rotation strengthens your soil’s long-term capacity, understanding your farm’s financial performance determines whether you’ll sustain operations beyond year one.
Track every expense meticulously from day one.
Your first-year costs—including infrastructure, seeds, and supplies—establish your baseline for profitability analysis.
Record harvest yields by bunch and multiply by your selling price to project income accurately.
Monitor your revenue streams across channels:
- Wholesale sales require significant time investment but generate substantial volume
- In-store sales provide steady, reliable income with direct customer engagement
- Direct retail at farmers markets maximizes profit margins per stem
Subtract total expenses from revenue to calculate your net profit.
Use spreadsheets to identify your top-performing crops like dahlias and ranunculus.
This data-driven approach reveals which plants deliver genuine profitability rather than mere sales volume, guiding your year-two planting decisions strategically.
Plan What Works and What Doesn’t
How do you know which layout, spacing, and varieties will thrive on your specific land? You’ll test systematically before committing resources.
Experiment with spacing variations—try 7×7 inches versus 9×9 inches—before installing landscape fabric. This reveals optimal plant density for your climate and equipment access.
Document which bed widths work with your tools and which orientations maximize sunlight.
Track days to harvest for each variety, noting regional performance against supplier data like Johnny’s Selected Seeds.
Group varieties by similar spacing and flowering timelines to streamline succession planting.
Record yield per row, vase life quality, and market response.
Use spreadsheets to compare profitability across crops.
This data-driven approach transforms guesswork into informed decisions, ensuring your second year builds on proven successes rather than repeating costly mistakes.
Decide Whether to Expand Year Two
Your first year’s data—yields, vase life, market feedback, and actual costs—now informs your biggest decision: whether to expand.
Before scaling up, analyze your financials honestly.
Apply realistic 15% growth factors to project year-two expenses against revenue projections.
Review which varieties performed best and which underperformed during seasonal gaps.
Consider these expansion factors:
- Acreage efficiency: Diversify across multiple crop types (tulips, dahlias, lisianthus) to manage June production lulls and maximize returns per square foot
- Market demand validation: Verify florist interest exists beyond your initial buyers; confirm you can fulfill larger orders consistently
- Infrastructure capacity: Assess whether your current greenhouse or field setup accommodates expanded production without compromising vase life or quality
Expansion succeeds when demand outpaces your production capacity, not vice versa.
Conclusion
You’ve got everything you need to launch your cut flower farm successfully. Start small, track what thrives in your space, and let your data guide expansion decisions. Like a garden that grows stronger with each season, your farm’ll develop its own rhythm—you’ll discover which varieties perform best, when to plant for continuous blooms, and how to maximize every square foot. Your first year’s foundation determines your long-term profitability.
The Only Tools You Need for a Thriving Garden 🌱
Whether you're a weekend gardener or growing daily — these hand-picked tools make every session faster, easier, and more satisfying.