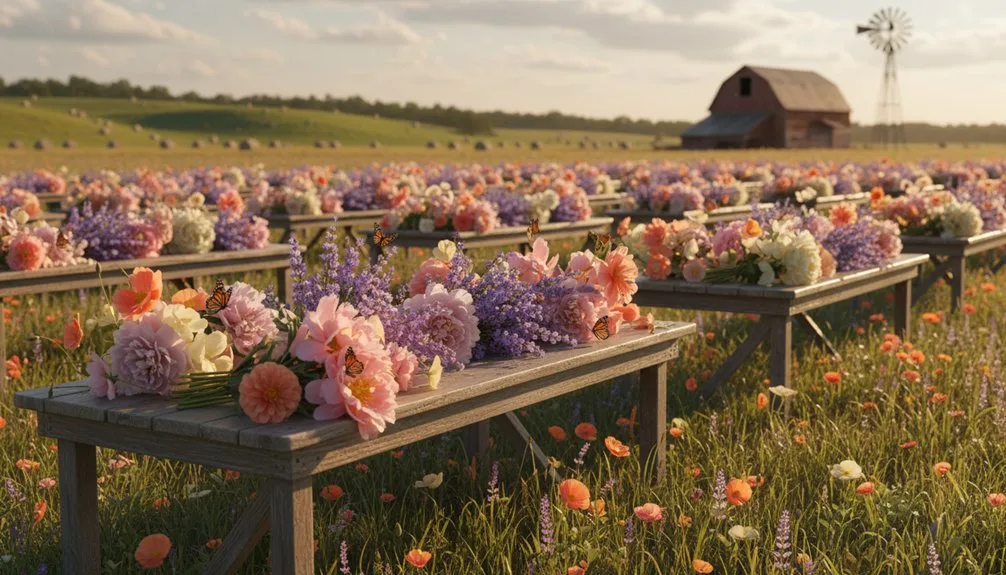
You’ll transform your backyard into a dream farm by starting with a sunny, south-facing site and well-drained soil. Design 12-by-4-foot raised beds using grid spacing—plant zinnias at 9-by-9-inch intervals, dahlias at 18-by-18 inches—to triple yields. Position tall flowers like dahlias at the back, snapdragons front-center, and lavender borders along edges. Install drip irrigation to reduce water use by 80 percent while maintaining consistent moisture. Stagger plantings every two weeks and harvest deeply each morning to encourage branching and continuous blooms throughout the season. Discover specific variety selections that’ll keep your vases overflowing.
Key Takeaways
- Design raised beds 12 × 4 ft with height-tiered plantings—tall dahlias rear, snapdragons mid, cosmos front—for professional visual impact.
- Space plants in grids (6×6, 9×9, 12×12, 18×18 inches) to maximize bloom output and suppress weeds naturally.
- Install drip irrigation systems with ¼-inch soaker lines grouped by water demand for consistent moisture and reduced disease.
- Stagger plantings across seasons—early zinnias/sunflowers, mid-summer celosia, late-summer dianthus—for continuous harvest and extended flowering cycles.
- Layer focal flowers, vertical spikes, textured fillers, architectural elements, and silvery foliage for rich, dimensional professional arrangements.
Choose a Sunny Site With Well-Drained Soil

Because cut flowers thrive on consistent energy and moisture management, you’ll want to start by selecting a location that receives 6–8 hours of direct sunlight daily.
South-facing slopes optimize sun exposure in northern hemispheres, while morning sun with afternoon shade protects heat-sensitive varieties in hot climates.
Test your site’s light patterns throughout the growing season to confirm adequate coverage.
Equally critical is drainage.
Well-drained soil prevents root rot and fungal diseases that devastate cut flower crops.
Sandy or loamy soils facilitate rapid water percolation, but heavy clay requires raised beds amended with perlite or vermiculite.
Aim for 1–2 inches of percolation per hour.
Avoid waterlogged sites entirely.
Conduct a soil test in fall or spring to verify pH levels between 5.5–7.0, ensuring optimal nutrient availability for robust flower development.
This foundation—abundant light and proper drainage—sets your garden up for vigorous, healthy blooms.
Design Your Cut-Flower Garden in 12-by-4-Foot Beds
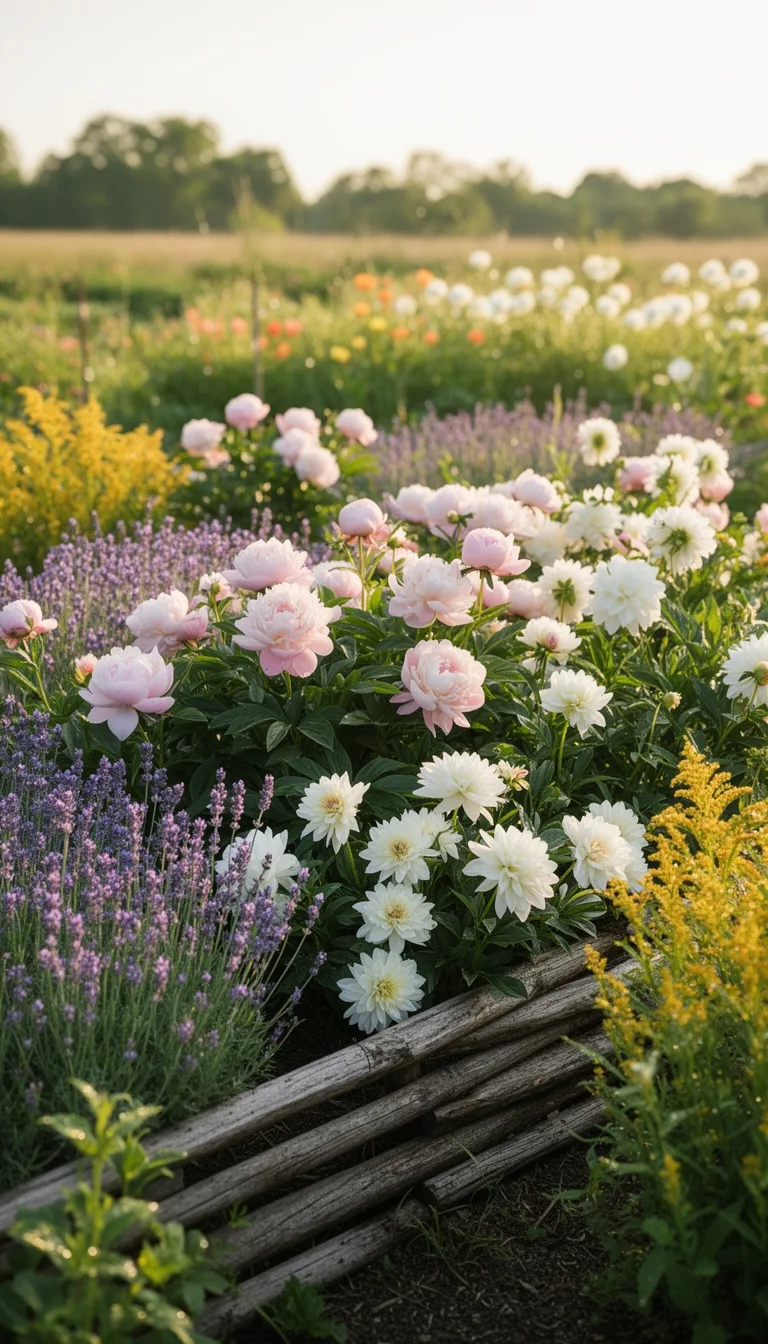
How should you organize a cut‑flower garden to maximize both productivity and accessibility? A 12‑by‑4‑foot raised bed provides the ideal foundation.
Arrange plants by height: position tall dahlias along the back, snapdragons toward the front, and cosmos along edges to prevent shading. Space plants 6‑8 inches apart with 12‑15 inches between rows for maintenance access. Conduct a soil test before planting to ensure your bed has well-drained, fertile soil suitable for cut flowers.
This layout yields approximately 30 plants per bed. Group plants sharing similar sunlight and water requirements together.
Use an overflow corner for zinnias, strawflowers, and gomphrena. Consider adding lavender as a perennial border on two sides for visual appeal and repeated harvests.
Define pathways with gravel, stone, or wood chips, maintaining 3‑4 feet width for comfortable movement.
This structured design transforms your bed into an organized, productive space while keeping plants within easy reach.
Map Your Layout on Graph Paper Before Planting
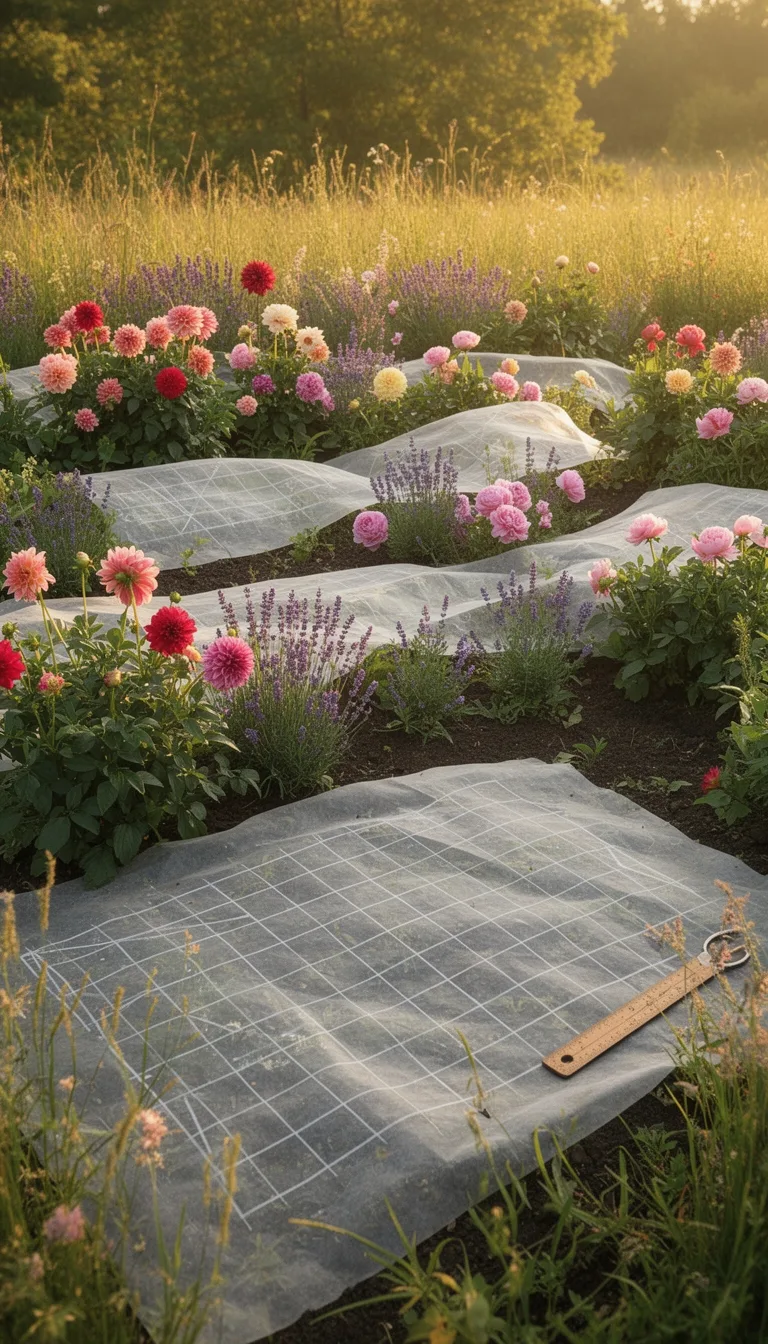
Before you dig a single hole, transfer your garden site’s dimensions onto graph paper to create a scaled design that’ll maximize both productivity and your work efficiency. Measure your space accurately, then sketch each bed—ideally 4×10 feet—with 3-foot-wide pathways between them.
Make sure your paths accommodate wheelbarrow access for harvesting and maintenance. Conduct a soil test for pH and nutrients to inform your amendment strategy before planting begins.
Mark taller varieties at the back to prevent shading shorter plants. Include exact seedling counts per section based on your chosen spacing.
For example, a 4×10 bed at 9×9 inch spacing holds 55 plants. This blueprint prevents overcrowding, ensures you’ll reach every plant from the paths, and gives you a realistic production plan before breaking ground.
Use Grid Spacing to Maximize Bloom Production
While traditional row planting wastes valuable bed space, grid spacing lets you fit significantly more plants into the same footprint and nearly double or triple your flower production.
Grid planting maximizes your growing area through strategic spacing:
- 6×6-inch spacing yields seven rows per 4-foot bed, ideal for lisianthus and celosia
- 9×9-inch spacing works for 80% of field crops, including zinnias and snapdragons—tripling snapdragon plants from 140 to 466 per 70-foot bed
- 12×12-inch spacing suits bells of Ireland and amaranth with four rows per bed
- 18×18-inch spacing accommodates sunflowers and dahlias with three rows per bed
- Closer spacing suppresses weeds by shading soil while preventing disease through improved air circulation
Using landscape fabric with grid holes ensures precise plant placement. Basil tolerates clusters as tight as 1–2 inches for maximum density in smaller spaces.
Adjust spacing based on your variety’s disease susceptibility and mature size for optimal results.
Position Tall Flowers at the Back to Prevent Shading
Arrange your tallest varieties—dahlias, sunflowers, and amaranth—along the back of your beds to shield shorter plants from shadow cast by their height and foliage.
This strategic positioning ensures front-row snapdragons and zinnias receive full sun exposure, maximizing bloom production across all layers.
Employ a north-to-south or rear-to-front arrangement, placing full-sun lovers like sunflowers at the northern edge.
For narrow beds up to four feet wide, this layout allows you to reach the center without leaning over tall plants, preventing light blockage.
Use graph paper to plan your height gradation before planting.
Tiered spacing—dahlias and cosmos at 18 inches, zinnias at nine inches—maintains airflow while optimizing light distribution. Consider pairing sun-loving herbs like basil and lavender in your mid-layer sections to add fragrance and foliage texture alongside your cut flowers.
This vertical stratification supports dense planting and continuous harvests without competition for sunlight resources.
Install Drip Irrigation for Efficient Watering
Once you’ve positioned your flowers for optimal light exposure, your next priority is delivering water efficiently to those carefully arranged plants.
Drip irrigation transforms your cut flower garden by reducing water usage by up to 80% while maintaining consistent soil moisture that prevents stress and strengthens root systems.
Here’s how to establish your system:
- Assess your garden’s water requirements and plant spacing needs
- Plan your layout, measuring distances from the water source to each bed
- Select ¼” soaker dripline for beds or individual emitters for specimen plants
- Lay tubes and secure them with transfer barbs along your mainline
- Check for leaks and adjust pressure seasonally
You’ll enjoy healthier blooms, reduced fungal diseases from dry foliage, and fewer weeds competing for nutrients. Grouping plants with similar water demands into the same zone enables you to schedule watering efficiently without over- or under-irrigating different flower varieties.
Pick Cut-and-Come-Again Annuals Like Zinnias
After you’ve established your drip irrigation system, selecting the right flowers makes all the difference in maintaining a continuous harvest.
Zinnias stand out as cut-and-come-again annuals that reward regular harvesting with abundant blooms throughout the season.
When you pick flowers consistently, you’ll stimulate side shoots and prevent seed formation, directing the plant’s energy toward flower production rather than reproduction.
Pinch young plants early to encourage branching and increase your yield.
Deadhead spent blooms promptly to maintain this prolific cycle.
Apply balanced fertilizer regularly to sustain blooming vigor, and provide deep, consistent watering through your drip system.
You’ll enjoy extended harvests from single plantings, ensuring steady supplies for arrangements while supporting pollinators with nectar and pollen. This longer ground presence creates a continuous food source for bees, butterflies, and beneficial insects throughout the growing season.
Select Multiple Flower Forms for Professional Arrangements
What transforms a simple bouquet into a striking arrangement?
You’ll need to combine diverse flower forms that work together harmoniously.
By selecting multiple shapes and textures, you create visual depth and professional polish that elevates your cut flowers.
Build your arrangements using these essential forms:
- Focal flowers: Bold, large blooms like Tomato Soup Coneflower or Benary’s Giant Salmon Rose Dahlias anchor your design
- Vertical structure: Delphinium spikes and Red Hot Poker provide height and movement
- Filler texture: Yarrow Flowerburst Red and Celosia plumes add volume and richness
- Architectural elements: Blue Glitter Sea Holly and Alliums contribute modern, geometric interest
- Foliage backdrop: Japanese Painted Fern fronds soften compositions with silvery elegance
You’ll achieve professional results by layering these complementary forms throughout your garden design. Asters deliver exceptional vase life of two or more weeks, making them reliable choices for arrangements that need to maintain their beauty through extended display periods.
Add Filler Flowers and Foliage for Visual Depth
How do you transform a sparse arrangement into a lush, professionally designed bouquet? You’ll add filler flowers and foliage that create visual depth and structure.
Consider classics like feverfew, bachelor’s buttons, and larkspur—all easy to grow from seed. For unique textures, try Bupleurum rotundifolium’s wiry stems or Bells of Ireland’s architectural forms.
Yarrow’s flat-topped heads last weeks in water, while Ammi majus provides delicate white lace perfect for weddings. Harvest yarrow during the coolest part of day to preserve its pollen and color.
Don’t overlook seed pod fillers like Nigella damascena or Jewels of Opar, which evolve throughout the vase life. Harvest at proper stages—half to three-quarters open—for optimal longevity.
Incorporate herb foliage like basil for coverage and fragrance. Succession sow every 2-3 weeks to maintain steady supply.
This layering transforms arrangements from sparse to professionally abundant.
Choose Perennials That Rebloom After Cutting
Once you’ve established your filler flowers and foliage, you’ll want to anchor your cutting garden with perennials that reward frequent harvesting by producing multiple bloom flushes throughout the season.
Reblooming perennials respond to strategic cutting by triggering lateral bud development and redirecting energy away from seed production.
You’ll achieve optimal results by:
- Harvesting deeply rather than just removing blooms to encourage vigorous branching
- Cutting in early morning when stems are well-hydrated
- Using sharp, sterilized tools to prevent disease transmission
- Establishing a consistent weekly harvest schedule
- Deadheading spent flowers to prevent reproductive cycle completion
Top performers include Salvia, Scabiosa, Delphiniums, Phlox paniculata, and sequential Lily plantings. These varieties establish reliably across USDA zones 3-10, delivering continuous blooms from early summer through fall with proper maintenance. More frequent cuts initiate increased flowering cycles that extend your garden’s productive season well beyond what occasional harvesting can achieve.
Stagger Plantings to Extend Harvests Through Fall
While reblooming perennials provide a reliable backbone for your cutting garden, you’ll extend your harvest window significantly by staggering plantings of quick-maturing annuals throughout the season.
Plant successive sowings every two to three weeks, focusing on fast-maturing varieties that deliver blooms within 60-90 days. This approach maintains continuous harvests from summer through fall’s cooler months.
| Planting Timing | Recommended Varieties |
|---|---|
| Early Summer | Zinnias, sunflowers |
| Mid-Summer | Celosia, snapdragons |
| Late Summer | Dianthus, lisianthus |
Use soil blocks for repeated sowings to minimize transplant shock. As earlier plantings fade, newer cohorts reach peak production. Support staggered beds with netting at 12 inches to stabilize plants against fall storms. Remove diseased or non-productive plants promptly to redirect energy toward vigorous specimens.
Deadhead Regularly to Keep Blooms Coming
To maximize blooms in your cutting garden, you’ll want to deadhead regularly—removing spent flowers before they set seed redirects the plant’s energy toward producing new blooms rather than wasting resources on seed development.
Deadheading Best Practices:
- Pinch or cut faded flowers with stem attached to eliminate unattractive headless stems
- Remove developing seed pods if you’ve missed faded blooms to still redirect energy
- Deadhead when bloom appearance declines; timing varies by species from daily to weekly
- Focus on annuals and long-blooming perennials like gerbera daisies, yarrow, and snapdragons
- Skip decorative-seeded plants like hydrangeas and azaleas with brief bloom seasons
Perform deadheading during routine garden grooming, simultaneously removing damaged foliage and inspecting for pests.
This consistent maintenance keeps your cutting garden producing continuous, high-quality flowers throughout the season.
Use Bloom Time Charts to Plan Continuous Harvests
How do you ensure flowers keep appearing in your vases week after week? You’ll create a bloom time chart that maps your varieties’ flowering windows throughout the season.
Divide each month into three sections—early (days 1–10), middle (11–20), and late (21–28+)—to track bloom patterns without complex calculations. This visual guide reveals gaps where flower availability drops, helping you select complementary varieties to fill those periods.
Note emergence dates, dormancy windows, cutback timing, and seed production alongside bloom times for comprehensive growing information.
Coordinate Colors and Seasonal Palettes
Once you’ve mapped your bloom times and secured continuous harvests, you’ll want to orchestrate your cut flowers into visually cohesive arrangements by strategically pairing colors throughout the season.
Select a color scheme that suits your aesthetic and garden’s natural light conditions:
- Complementary schemes (blue + orange, yellow + purple) create striking contrast
- Analogous palettes use three adjacent color wheel hues for harmonious appeal
- Monochromatic designs employ single-color variations for unified elegance
- Seasonal rotations shift from bright yellows and oranges in summer to burgundy and deep purples by fall
- Neutral anchors like white flowers balance bold color combinations
Incorporating foliage tones and quieter hues prevents visual overwhelm while maintaining interest.
Match your palette to seasonal availability—spring’s pastels transition into summer’s vibrant combinations, then autumn’s warm, moody tones.
This strategic coordination transforms your harvests into gallery-worthy arrangements.
Cover Pathways to Stop Weeds Before They Start
While your color palette keeps your cut garden visually stunning, managing the ground beneath your blooms requires equally thoughtful planning—and nothing undermines a well-designed garden faster than aggressive weeds competing for nutrients and space.
You’ll find that covering pathways prevents weeds before they establish. Landscape fabric anchored with 6-inch metal pins reduces weeding from four or five rounds to just two early seasons, dramatically cutting labor costs. Alternatively, scatter white clover seeds for living pathways that establish naturally, suppress weeds through fibrous roots, and provide early-season bee forage without irrigation or mowing.
| Method | Setup Time | Maintenance | Cost | Best Use |
|---|---|---|---|---|
| Landscape Fabric | Moderate | Minimal | Low | Perennial sections |
| White Clover | Low | None | Minimal | Drought areas |
| Solarization | High | None | Low | Pre-planting prep |
| Row Cultivation | Low | Moderate | Minimal | Vegetable crops |
| Mowing | Low | High | Minimal | Open fields |
Suppress Weeds With Landscape Fabric and Mulch
Landscape fabric and mulch create a two-layer barrier that’ll suppress weeds more effectively than either method alone, though you’ll need to understand their limitations to get lasting results.
Fabric degrades under sun exposure and clogs over time, blocking water and nutrients to your plants. Instead, use these proven strategies:
- Apply 3-6 inches of coarse wood chips for prolonged suppression
- Layer cardboard (2 sheets thick) beneath mulch as a natural, biodegradable barrier
- Refresh mulch annually to maintain effectiveness
- Remove weeds mechanically with a stirrup hoe before mulching
- Avoid fine-ground mulch, which decomposes within one year
This approach protects your cut flowers while enriching soil as organic matter breaks down, eliminating the environmental concerns associated with landscape fabric.
Plant Densely in Multiple Rows for Higher Yields
To dramatically increase your cut flower yields without expanding your garden’s footprint, you’ll want to abandon traditional single or double-row spacing and instead adopt grid planting—a method that can double or triple production in the same space.
| Spacing | Rows Per Bed | Best For |
|---|---|---|
| 6×6 inch | 7 | Lisianthus, flowering cabbage |
| 9×9 inch | 5 | Zinnias, snapdragons, dianthus |
| 12×12 inch | 4 | Bells of Ireland, celosia |
| 18×18 inch | 3 | Sunflowers, dahlias |
A 70-foot bed using 9×9-inch grids yields 466 snapdragons versus 140 from traditional rows. Dense planting suppresses weeds while encouraging taller stems. Stagger plantings for steady harvests rather than single bursts, ensuring continuous fresh blooms throughout your season.
Integrate Shade-Tolerant Species for Spring Harvests
How can you extend your cut flower season into spring when shade dominates much of your garden?
You’ll discover that shade-tolerant perennials unlock early harvests when sunnier beds still lie dormant.
Consider these shade specialists for reliable spring cutting:
- Helleborus hybrids bloom earliest, tolerating deep shade and resisting deer while requiring minimal maintenance
- Convallaria majalis thrives in dense shade, producing fragrant white bells perfect for delicate arrangements
- Mertensia virginica offers epoxy blue blooms in moist woodland settings, spreading for future seasons
- Polygonatum odoratum provides graceful, arching stems with variegated foliage ideal for sophisticated bouquets
- Astilbe chinensis flourishes at woodland edges, delivering vibrant flower spikes in partial shade
Plant these species in shaded areas you’d otherwise overlook.
You’ll harvest fresh stems throughout spring while establishing sustainable, multi-season production across your entire garden space.
Add Houseplants on Elevated Platforms for Late-Summer Gaps
As late summer’s bloom decline threatens your cutting supply, elevated platforms offer a strategic solution to bridge that seasonal gap.
Position houseplants in sleek, lightweight TruDrop planters with water level indicators for hassle-free maintenance.
Combine them with quick-growing cut flowers like zinnias, cosmos, and sunflowers to ensure continuous harvests through October.
Succession plant fast-maturing varieties alongside your houseplants, creating a reliable bloom pipeline during typically sparse months.
Tailor your soil mix in each platform to match specific plant requirements, maximizing both ornamental appeal and productivity.
This integration fills visual voids while maintaining your cutting schedule.
The elevated design reduces bending strain during harvest, and you’ll enjoy the mood-boosting benefits houseplants provide throughout the season.
Reserve Corner Sections for Experimental Varieties
While your elevated platforms handle late-summer consistency, corner sections of your cut flower garden serve a different purpose—they’re your testing ground for new varieties that might transform your entire operation.
Reserve these experimental areas to evaluate:
- Climate compatibility with your local conditions like Eskişehir’s specific growing season
- Pollinator attraction by trialing 10 varieties based on bee and butterfly value
- Stem length and vase life performance against your 30 cm and 6+ day standards
- Yield potential under your spacing and pinching protocols
- Disease susceptibility in your regional environment before scaling up
This strategic approach lets you gather reliable data without risking your main production beds.
You’ll identify high-performing varieties suited to your garden’s specific microclimates and customer demands before committing larger planting areas.
Conclusion
You’ve got all the ingredients to create your dream cut flower garden. By implementing these strategies—from selecting sun-drenched sites to strategic spacing and seasonal planning—you’ll be painting with flowers year-round. Start with your foundation beds, map everything out, then plant densely for maximum blooms. Don’t forget experimenting in corner sections; that’s where you’ll discover your signature varieties. Your garden’s success blooms from thoughtful design and consistent execution.
The Only Tools You Need for a Thriving Garden 🌱
Whether you're a weekend gardener or growing daily — these hand-picked tools make every session faster, easier, and more satisfying.