You’re looking to turn a plain garden strip into a living, winding pathway that feels both natural and intentional. By picking flagstone shapes that match your layout—irregular slabs for gentle curves or clean rectangles for straight lines—you can weave the stone’s color into the surrounding foliage. Adding low‑profile borders, thyme, or subtle lighting will keep edges crisp while maintaining a soft, organic vibe. The next steps show how each design choice balances aesthetics and practicality.
Key Takeaways
- Choose irregular, organic flagstones for winding garden paths to soften transitions and blend with natural surroundings.
- Match stone hues to nearby foliage—warm greys for sage, deep reds for roses, muted blues for lavender—to create harmonious color palettes.
- Lay a ¾‑inch crushed stone subbase with a 1–2 % slope away from structures for quick drainage and stable footing.
- Use coarse sand or angular gravel joints, tamped and lightly misted, to lock stones while allowing flexible movement and weed control.
- Add low‑profile borders and recessed LED lighting in gaps for defined edges, nighttime ambience, and enhanced safety.
Choose the Perfect Flagstone Shape for Your Pathway
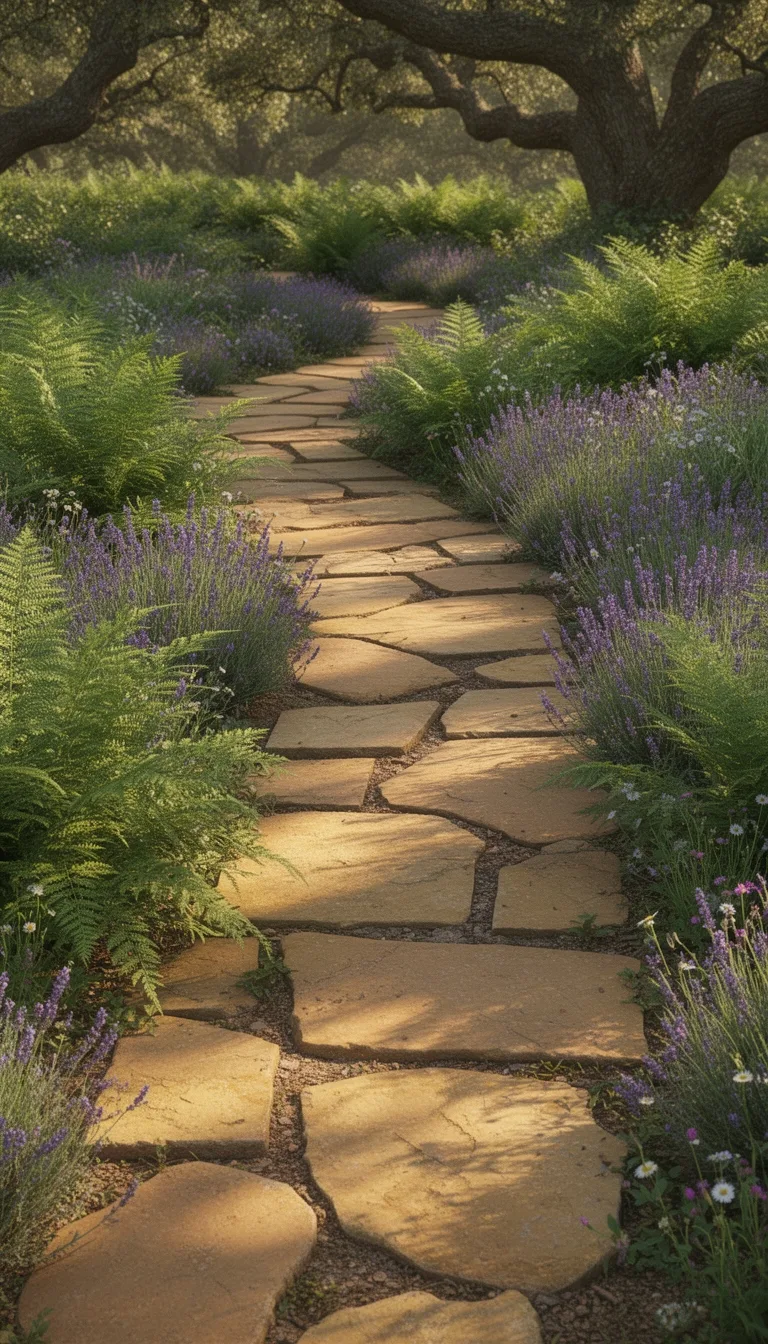
Which shape will best suit your garden’s flow and your personal taste? Start by walking the future route; notice curves, straight stretches, and any focal points.
If your garden winds, choose irregular, organic stones that mimic natural river rocks—these soften transitions and invite casual strolling.
For formal layouts with straight lines, opt for rectangular or square flagstones; they reinforce symmetry and make edging easier.
Consider size, too: larger slabs reduce the number of joints, ideal for wide paths, while smaller pieces fit tight turns and steep slopes.
Test a few stones in place before committing; lay them loosely to gauge spacing and visual balance.
Once you decide, mark the outline, level the base, and install the chosen shapes for a cohesive, inviting walkway.
Blend Flagstone Colors With Existing Plantings
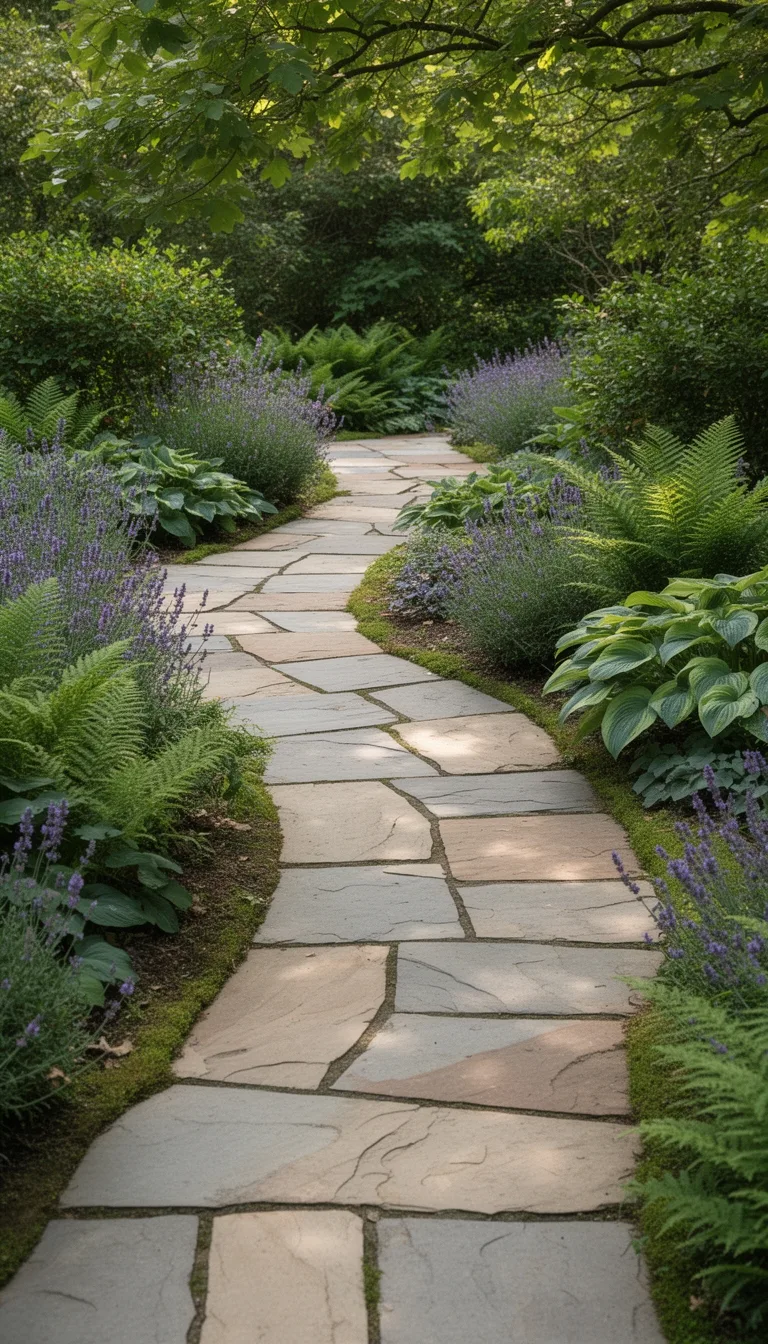
A harmonious garden starts with color, so match your flagstone’s hue to the surrounding foliage and blooms. First, walk your path at sunrise and note the dominant greens, purples, or yellows in your planting beds.
Then, select flagstone that echoes those tones—warm greys for sage, deep reds for roses, or muted blues for lavender. Finally, test a small section before committing, adjusting hue or placement until the stones feel like a natural extension of the garden.
- Identify the prevailing plant colors and note their intensity.
- Choose flagstone with complementary undertones, avoiding stark contrasts.
- Lay a test strip, observe how light shifts its hue, and fine‑tune your selection.
Create a Curvy, Meandering Flagstone Walkway
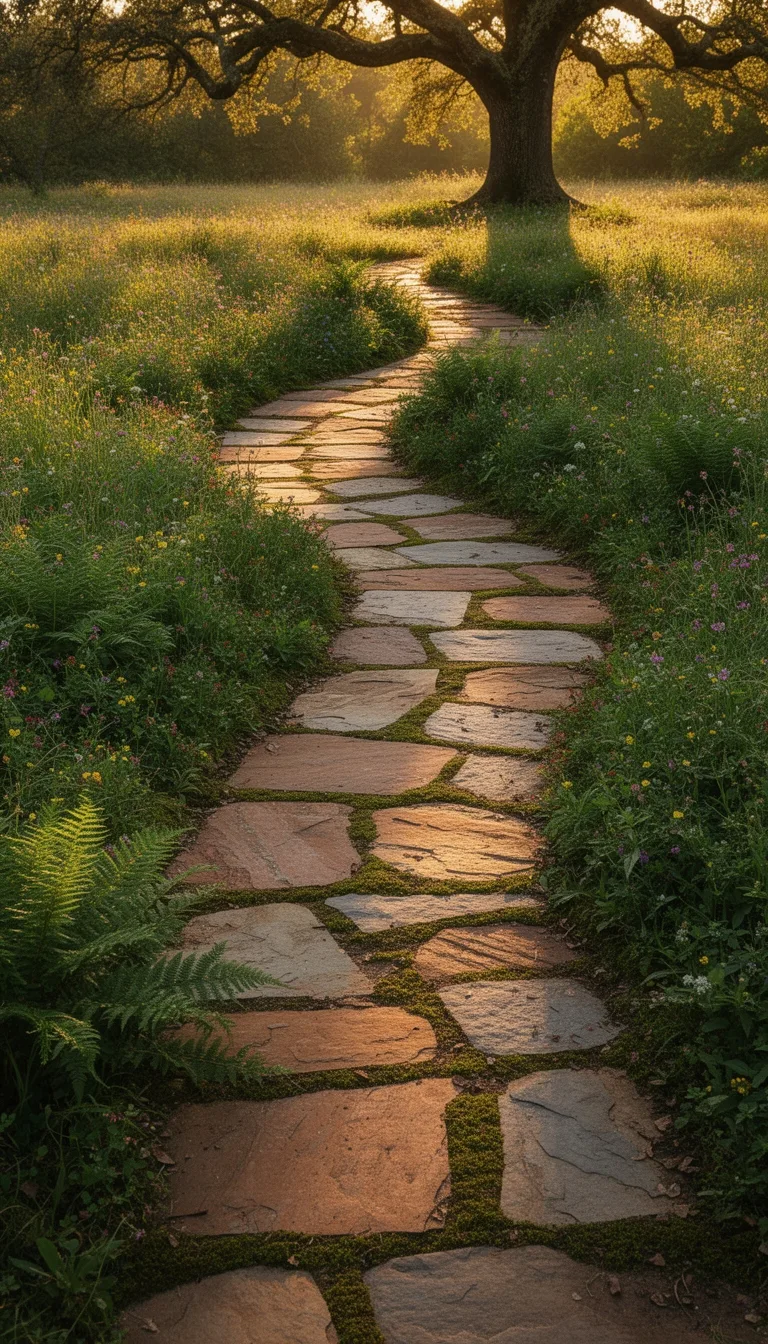
When you let the path snake gently through your garden, you’ll instantly soften the space and invite exploration.
Begin by sketching a loose S‑curve on paper, then transfer it onto the ground with a garden hose or spray paint. Choose flagstones that vary slightly in size and shape; this irregularity reinforces the natural feel.
Lay a sand‑base, then set each stone, leaving ¼‑inch gaps for joint‑filling. Use a rubber mallet to tap stones level, checking that the curve remains smooth and walkable.
Fill gaps with sand or fine gravel, sweeping excess away. As you work, step back often to ensure the meander flows with existing plantings, creating a tranquil, inviting stroll.
Use a Straight, Formal Flagstone Path to Highlight Focal Points
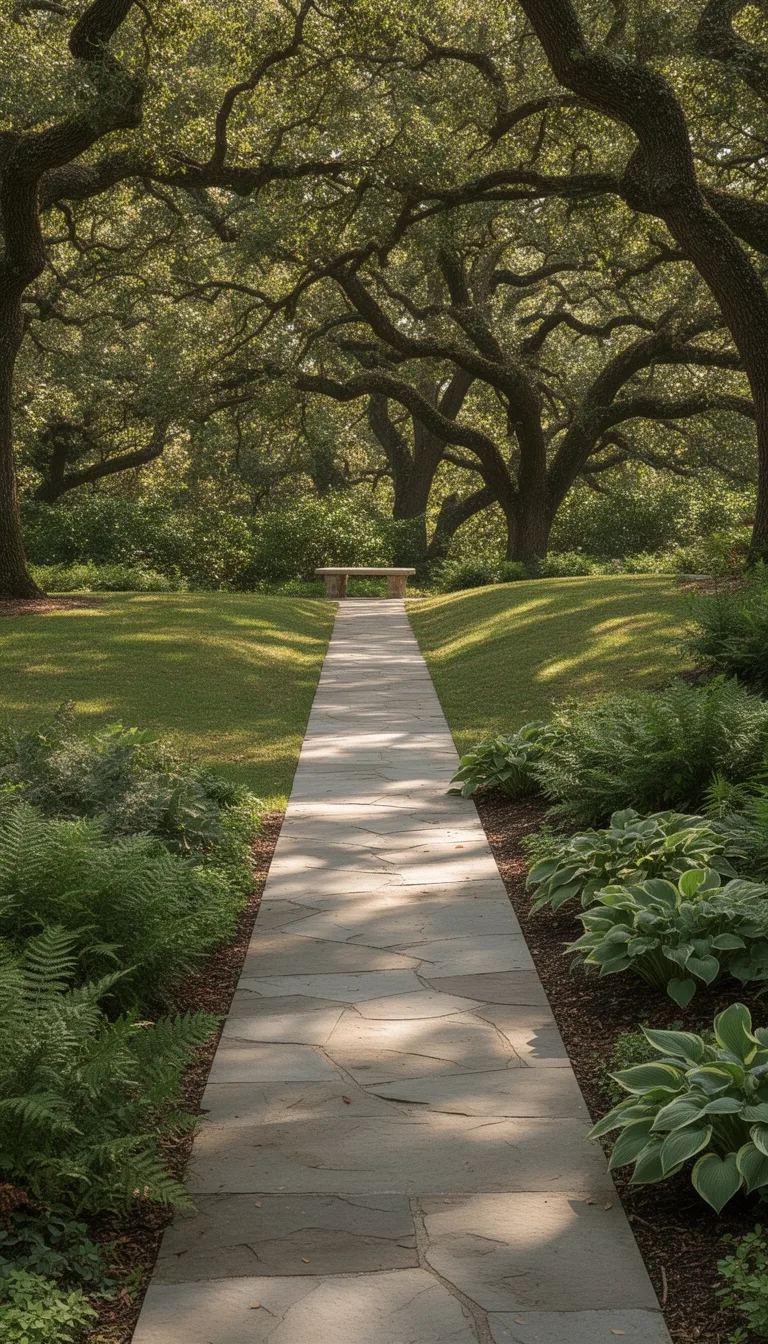
If you want a flagstone path that frames a garden sculpture, a formal straight line does the trick.
Lay the stones in a tight, uniform pattern to draw the eye directly toward the focal point.
Keep the width consistent, and use a subtle, natural‑tone mortar that blends with the surrounding soil.
This approach creates a clean, architectural feel while preserving the garden’s organic charm.
- Choose flagstones with similar thickness for even stepping.
- Align the path’s axis with the sculpture’s center.
- Add low, recessed lighting along the edges for evening emphasis.
Add a Low‑Profile Border to Keep Path Edges Defined
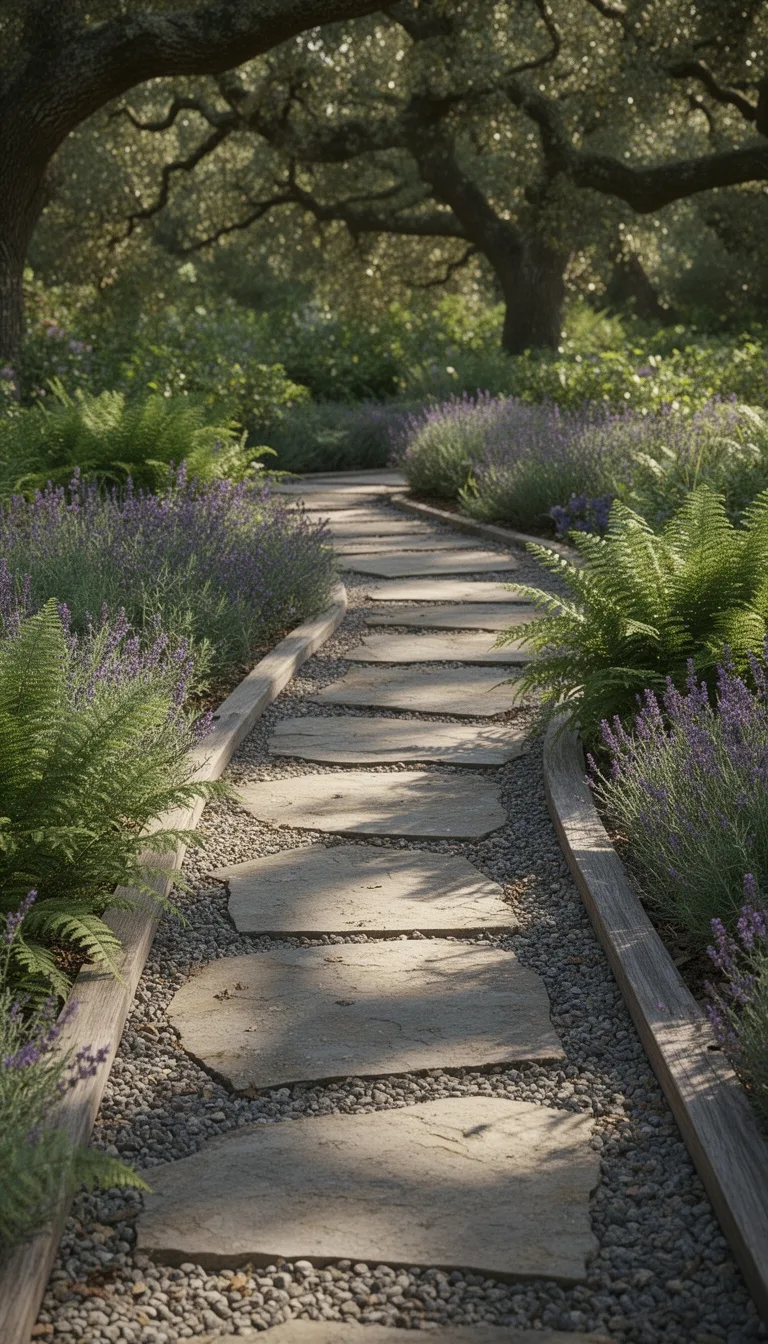
You’ve already set a clean, straight line of flagstones that draws the eye to the sculpture, and now a subtle border will keep that line crisp without disrupting the garden’s flow.
Choose a low‑profile material—metal, reclaimed brick, or stone edging—no higher than 2 inches. Lay it directly against the flagstone edge, spacing it evenly to guide foot traffic and prevent weeds.
Secure each piece with a thin concrete slurry or compacted sand, tapping gently with a rubber mallet for a flush fit.
If you prefer a softer look, plant a narrow strip of creeping thyme or low groundcover along the border; it will fill gaps and stay tidy with minimal trimming.
Check alignment often, adjust as needed, and enjoy a defined, seamless pathway.
Build a Rustic Stepping‑Stone Bridge Over Water Features
Lay a series of weather‑worn stepping stones across the water feature to create a rustic bridge that feels both functional and inviting. Choose stones with natural cracks and mossy patches; they’ll blend with the garden’s texture. Position each stone so its flat side faces upward, leaving a slight gap for water to flow. Secure them with a thin mortar mix that won’t dominate the stone’s character.
- Prep the base – clear debris, level the substrate, and lay a sand‑gravel bed for drainage.
- Set each stone – press firmly, check level, and stagger joints for stability.
- Finish with edging – add low‑profile metal or timber strips to keep stones from shifting.
You’ll end up with a sturdy, charming crossing that invites barefoot strolls and quiet reflection.
Install a Raised Flagstone Deck for Elevated Views
After the stepping‑stone bridge settles into its natural rhythm, elevate the garden’s perspective with a raised flagstone deck. First, choose a level site that offers a clear view of the surrounding foliage.
Lay a compacted gravel base, then add a reinforced frame of pressure‑treated lumber or steel brackets to support the stone weight. Position thick, flat flagstones in a staggered pattern, leaving a small gap for drainage. Secure each slab with polymer‑based mortar to prevent shifting while allowing water to seep through.
Install subtle side railings of reclaimed wood or wrought iron for safety and visual continuity. Finish by planting low‑grow perennials at the deck’s edge, creating a seamless transition between elevated walk and ground‑level garden. This approach gives you a sturdy, inviting platform that frames the landscape and invites quiet contemplation.
Mix Irregular Slabs With Uniform Tiles for Textured Contrast
A handful of irregular flagstone slabs paired with a grid of uniform ceramic tiles instantly creates visual depth and tactile interest.
You’ll start by laying a solid base, then arrange the stones in a loose, organic pattern. Fill the gaps with neatly spaced tiles to anchor the design and guide the eye. Keep the mix balanced: let the irregular pieces dominate, while the uniform tiles provide rhythm and stability.
- Choose stone shapes that vary in size but share a common hue.
- Align tiles on a straight line, spacing them 2‑3 inches apart.
- Use a polymer‑based sand to lock everything in place.
Follow these steps, and your pathway will feel both natural and refined, inviting barefoot strolls and quiet moments.
Light up Your Path With LED Strips Between Stones
When you slip LED strips into the gaps between flagstone slabs, the pathway instantly glows with a soft, inviting light that highlights each stone’s texture while guiding night‑time walkers. Choose waterproof, low‑voltage strips and map a power source at the start of the path. Cut the strips to fit each gap, secure them with silicone adhesive, and seal the edges with clear epoxy to keep moisture out. Connect the strips to a dimmable controller so you can adjust brightness for evenings, parties, or quiet strolls. Test the system before sealing all joints, then enjoy a safe, luminous walk that feels both magical and grounded.
| Feature | Recommended Spec | Why it Matters |
|---|---|---|
| Strip type | 12 V waterproof LED | Resists rain, lasts longer |
| Power source | Low‑voltage transformer | Safe for outdoor use |
| Adhesive | Silicone sealant | Holds strips, blocks water |
| Controller | Dimmable dimmer | Controls ambiance |
| Wiring | UV‑resistant cable | Prevents sun damage |
Fill Joints With Gravel for Better Drainage & Stability
Often, you’ll find that filling the gaps between flagstone slabs with gravel not only enhances drainage but also boosts the walkway’s stability.
Start by cleaning each joint, then pour coarse, angular gravel to a depth of about 2 inches. Tamp it gently with a hand tamper so the stones lock in place and water can flow through.
Finally, sweep the surface clean and consider a light sealant for extra cohesion.
- Choose the right grain size – ¾‑inch crushed stone drains quickly while staying in place.
- Compact in layers – Add gravel in ½‑inch increments, tamp each layer before adding the next.
- Maintain slope – Ensure a 1‑2 % gradient away from structures to direct runoff efficiently.
These steps keep your path dry, firm, and inviting for every stroll.
Secure Stones With Sand‑Set Joints for Long‑Term Stability
Secure your flagstone walkway by filling each joint with sand‑set material, which creates a flexible yet durable bond that accommodates slight movement while keeping the stones firmly in place.
First, sweep away loose debris and ensure the base is level. Then, spread a coarse sand mixture—preferably a blend of silica sand and fine gravel—over the entire surface.
Use a hand tamper or a plate compactor to press the sand into the gaps, achieving a tight fill. Sweep excess sand off the stones, then lightly mist the area with water to settle the particles.
Allow the sand to cure for 24 hours before walking on the path. Periodically re‑sand any settled joints to maintain stability and prevent weed intrusion.
This simple routine preserves the natural look while delivering long‑term strength.
Seal Your Flagstone Pathway: Boost Color & Weather‑Proof
If you want your flagstone path to stay vibrant and resist rain, sun, and freeze‑thaw cycles, applying a high‑quality sealant is the key step.
First, clean the stones thoroughly; a pressure washer removes dirt and algae, then let the surface dry completely.
Second, choose a breathable, UV‑stable sealant that enhances natural color without trapping moisture.
Third, apply the sealant with a low‑nap roller or brush, working in small sections to avoid lap marks, and let each coat cure per the manufacturer’s timing before adding another.
- Clean and dry the surface.
- Select a breathable, UV‑stable sealant.
- Apply in thin, even coats, allowing proper cure time.
Follow these steps, and your garden walkway will stay beautiful year after year.
Create a Stepping‑Stone Mosaic With Mixed Stones
After sealing your flagstone pathway, you can turn the same surface into a striking stepping‑stone mosaic using mixed stones. Begin by gathering river rocks, slate chips, and smooth pebbles in complementary hues.
Lay a thin layer of sand over the sealed flagstone, then press each stone firmly into the sand, spacing them evenly for a natural rhythm. Use a rubber mallet to settle stones without cracking the seal.
Fill gaps with sand or fine gravel, sweeping excess away. Water the mosaic lightly to settle the filler, then spray a clear, breathable sealant to protect the new texture. This method adds visual interest, tactile variety, and a playful path that invites barefoot exploration.
Blend Flagstone Edge With Mulch for Soft Transitions
By edging your flagstone with a gentle strip of mulch, you create a seamless, soft transition that cushions foot traffic and blends the hardscape into the garden.
First, choose a mulch type that matches your garden’s palette—cocoa, pine bark, or shredded hardwood work well.
Second, lay a 2‑inch‑wide band along the flagstone edge, tamping it lightly to keep it even and stable.
Third, maintain a slight slope away from the stones so water drains naturally and the mulch stays in place.
Steps to blend edge with mulch
- Select mulch color and texture that complement surrounding plants.
- Apply a uniform 2‑inch strip, compacting gently with a board.
- Grade the strip to direct runoff away from the flagstone.
These actions give you a soft, inviting border that enhances both safety and aesthetic harmony.
Maintain Your Pathway With Simple Cleaning & Re‑Leveling
Keeping your flagstone pathway clean and level ensures it stays safe and attractive year‑round.
Start by sweeping away leaves, twigs, and dirt with a stiff‑bristled broom; a garden vacuum works too. For stubborn stains, scrub with a mixture of mild soap and water, then rinse thoroughly.
Once dry, inspect each stone for settling. If any stone feels low, lift it gently with a flat pry bar, add a thin layer of sand or fine gravel, and tamp it down with a rubber mallet.
Re‑level the surrounding surface by brushing sand into gaps and smoothing with a board. Repeat this routine seasonally to prevent weeds, erosion, and uneven footing, keeping your garden walk inviting and durable.
Conclusion
Pick the shape, color, and layout that suit your garden’s vibe, then lay the stones on a well‑compacted base, fill joints with sand or gravel, and seal for durability. Add low‑profile borders, thyme, or lighting for charm and safety. Keep the path clean and level as needed, and let the natural stone blend seamlessly with your plants. Your garden walkway will feel both elegant and effortless.
The Only Tools You Need for a Thriving Garden 🌱
Whether you're a weekend gardener or growing daily — these hand-picked tools make every session faster, easier, and more satisfying.