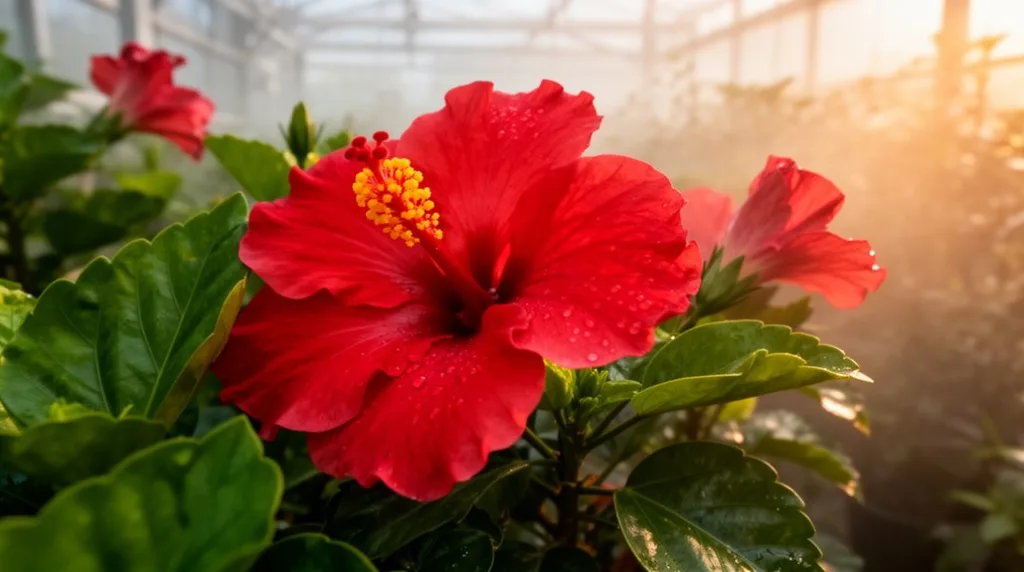
You’ll grow tropical hibiscus successfully by providing six to eight hours of direct sunlight daily, maintaining soil moisture through the finger-test method, and managing temperature between 65–85°F while protecting against frost and excessive heat. Water when soil feels dry 1–2 inches down, use well-draining potting mix, and feed every 2–3 weeks with half-strength fertilizer. Pinch new growth tips in spring and prune in late winter for bushier plants. The specific techniques for maximizing blooms and preventing common stress issues require deeper attention to placement and seasonal adjustments.
Key Takeaways
- Provide 6–8 hours of direct sunlight daily for optimal blooming and flower quality.
- Maintain temperatures between 65–85°F; protect from frost and temperatures below 50°F.
- Water daily during summer heat by finger-testing soil 2–3 inches deep for dryness.
- Use well-draining soil with 80% potting mix, 20% sand, and slightly acidic pH 6.5–6.8.
- Feed every 2–3 weeks with half-strength water-soluble fertilizer; use slow-release applications seasonally.
Why Tropical Hibiscus Needs 6-8 Hours of Daily Sunlight
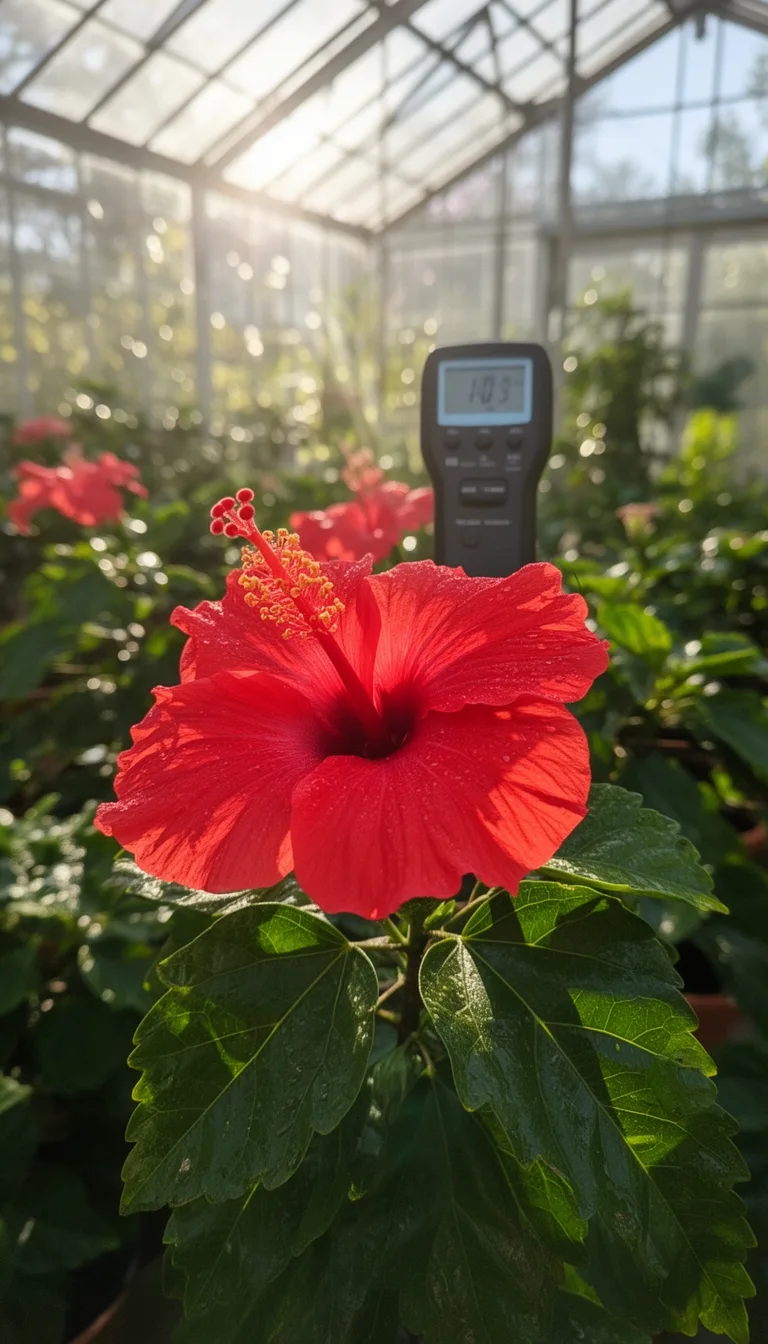
If you’re growing tropical hibiscus, you’ll need to provide at least six hours of direct sunlight daily to trigger reliable blooming.
This six to eight hour range maximizes flower production and enhances bloom size significantly.
You’ll notice that insufficient light—anything below six hours—reduces both the quantity and quality of flowers your plant produces.
The relationship between sunlight and blooms is direct: more light correlates with better flowering up to your plant’s optimal threshold.
Even indoors, you can achieve flowering with four to five hours of bright direct light, though two hours of direct sun will stimulate some blooming.
Don’t settle for partial shade, which results in fewer, smaller flowers and slower growth.
Your tropical hibiscus demands full sun conditions for peak performance and the spectacular flower display you’re seeking.
Protection from strong winds complements sunlight exposure and helps maintain optimal growing conditions for your tropical hibiscus.
Position Your Hibiscus to Maximize Blooms and Flower Size
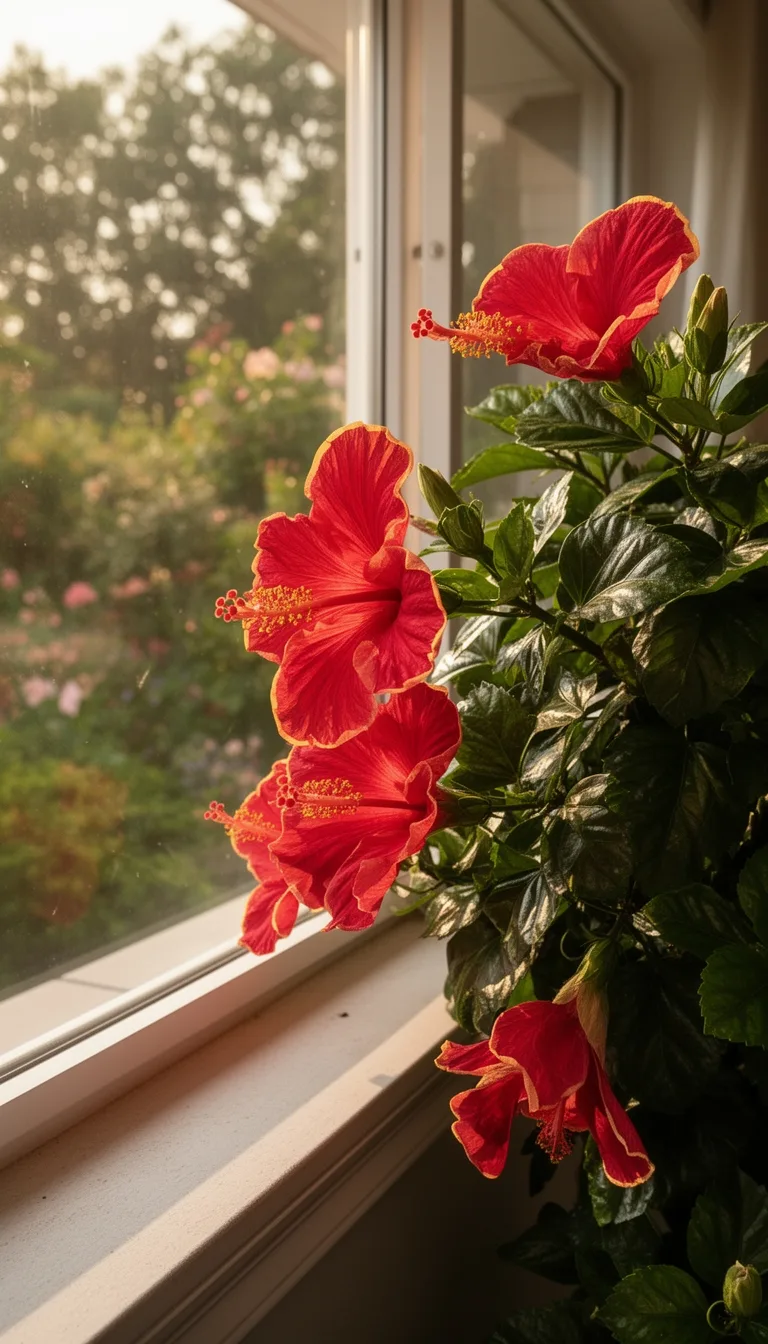
Since positioning directly influences both bloom production and flower size, you’ll want to carefully consider where you place your tropical hibiscus.
Select a south or west-facing location that receives optimal light while protecting your plant from harsh winds that damage buds and flowers.
Space plants 3-5 feet apart in landscape beds to ensure adequate air circulation, preventing legginess and disease.
If growing in containers, elevate pots to improve drainage and air flow beneath the roots.
Position your hibiscus near structures or fences that reflect heat and create stable microclimates between 55-85°F—these protected spots maximize flower production. Provide afternoon shade in hotter climates to reduce heat stress and prevent bud drop above 90°F.
Avoid areas prone to temperature dips below 50°F or extremes exceeding 90°F.
For indoor specimens, place near bright windows and rotate weekly for uniform blooming.
Provide Afternoon Shade in Hot Climates to Prevent Stress
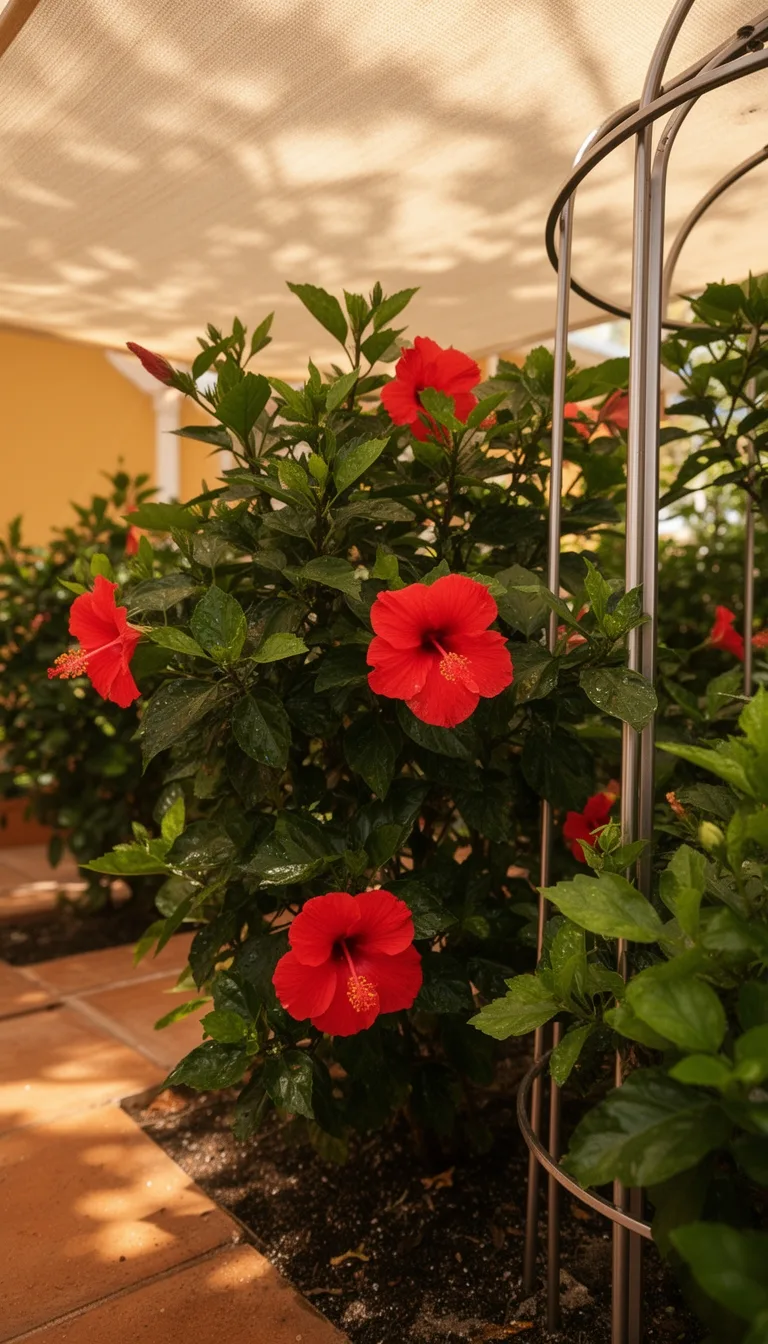
While tropical hibiscus thrives in abundant sunlight, you’ll want to provide afternoon shade in hot climates to prevent stress and damage.
In zones hotter than typical full sun tolerance, afternoon protection shields your plants from scorched leaves and bud drop.
Position your hibiscus where it receives morning sun and afternoon shade—ideal for hot, dry regions like inland California and Arizona.
You can achieve dappled shade by planting near leafy trees positioned to the southwest, or use structures that filter intense rays.
This approach reduces water demands and maintains lush foliage during peak heat. Ensure you maintain the six-hour full-sun threshold while providing shade to balance light exposure and prevent excessive stress.
Gradually acclimate your plants to their shade levels while maintaining consistent moisture to support healthy growth and robust blooming.
Choose South or West-Facing Windows for Indoor Hibiscus
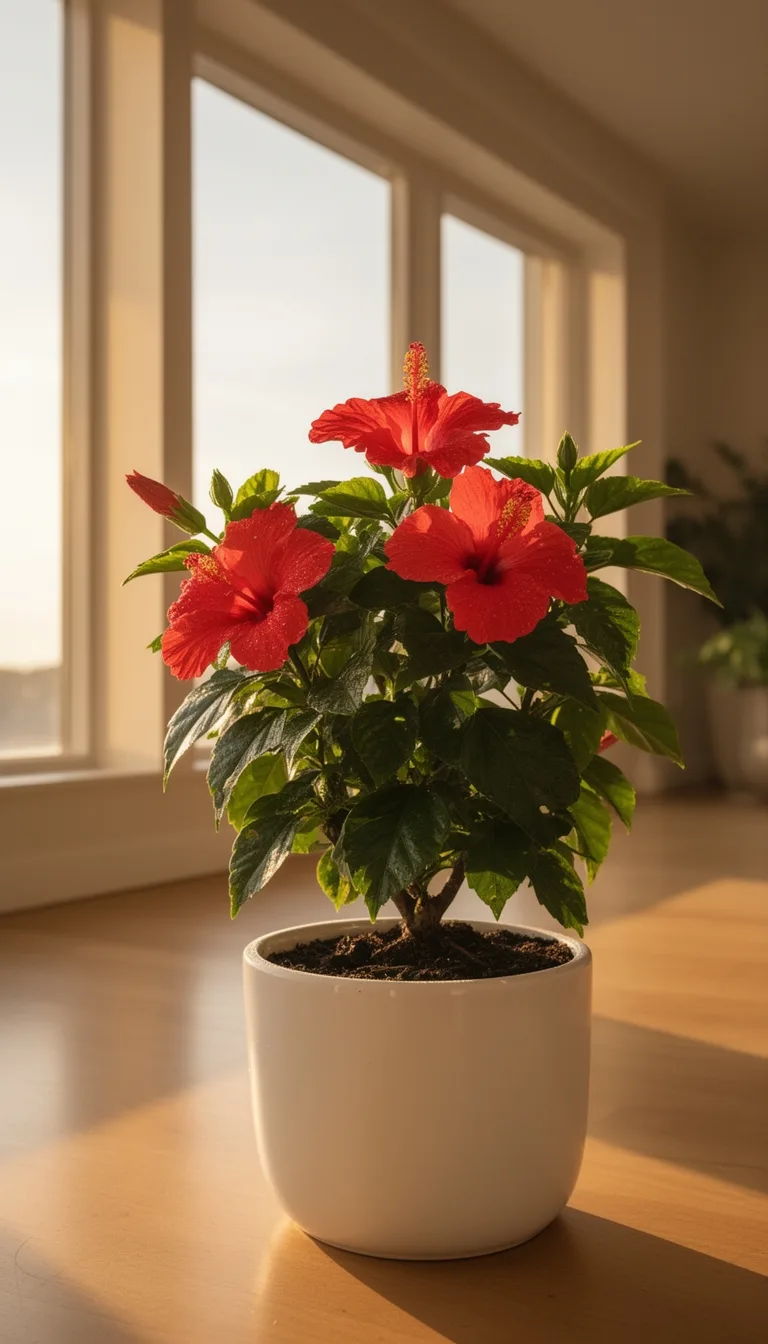
Where should you position your indoor tropical hibiscus to maximize light exposure? You’ll want to place your hibiscus near south or west-facing windows to ensure it receives adequate bright light for consistent growth and flowering.
| Window Orientation | Light Duration | Benefits |
|---|---|---|
| South-Facing | Maximum daily exposure | Mimics full sun; supports abundant blooms |
| West-Facing | 3-4 hours direct sun | Prevents leggy growth; maximizes daily intake |
| Supplemental Grow Lights | 12-18 inches above plant | Extends daylight for year-round flowering |
Gradually acclimate your hibiscus over 2-3 weeks by moving it from shadier spots first. Maintain temperatures between 65-85°F near windows for optimal growth. Tropical varieties require indoor protection when temperatures drop below 50°F to prevent cold damage and ensure survival. If natural light proves insufficient, combine grow lights with your window placement for best results.
Use the Finger Test to Check Soil Moisture Accurately
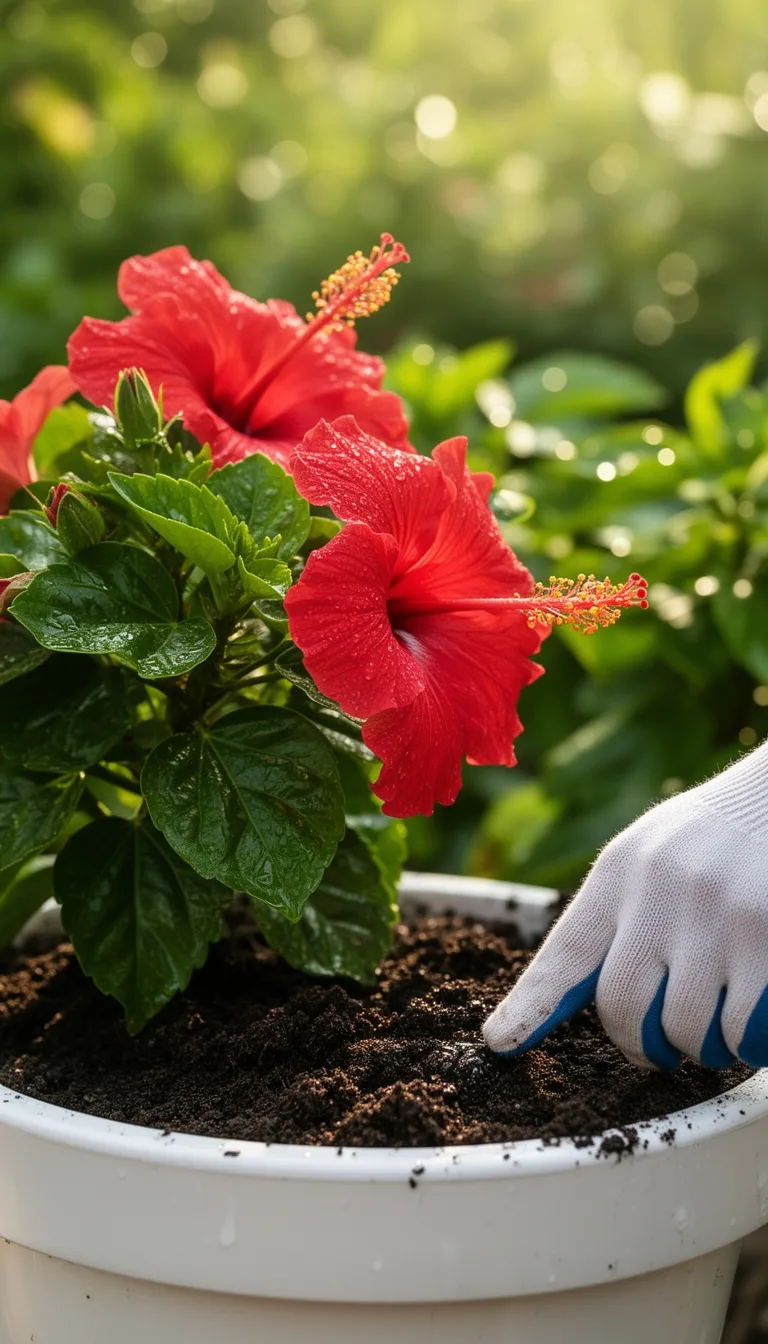
How can you determine when your tropical hibiscus truly needs watering? The finger test offers 79% accuracy when you follow precise protocols.
- Insert your index finger 2–3 inches deep into the soil
- Wait 3 seconds to assess the moisture level accurately
- Feel 1–2 inches down for dry soil before watering
- Push your finger 1–2 inches into soil to prevent overwatering
Hibiscus roots occupy deeper zones where moisture persists longer than topsoil. Testing only the surface inch misleads you about actual root zone saturation. Modern soil mixes can hide saturated conditions beneath surface cracks. For greater reliability during heating and cooling cycles, consider pairing your finger test with capacitive sensor checks every 3–4 days on symptomatic plants.
Track leaf response alongside soil feel over two weeks. When you notice yellowing, verify moisture at the 2-inch depth with a sensor. This combined approach eliminates guesswork and prevents root rot from uneven drying.
Water Daily During Summer Heat; Check Pot Size and Weather
As temperatures climb during spring and summer, your tropical hibiscus’s watering needs shift dramatically from cooler months.
You’ll need to water daily—or even multiple times daily during peak heat.
Saturate the soil completely to drench the entire root system, watering early morning before peak sun exposure.
Your pot size significantly impacts moisture retention.
Larger containers hold more soil and dry slower, reducing watering frequency.
Small pots require daily attention as they dry quickest.
Match your pot size appropriately to maintain consistent moisture without excess.
Weather conditions demand adjustment.
Hot temperatures and dry spells accelerate evaporation, necessitating thorough drenching.
High humidity and rainfall reduce frequency for established plants.
Check soil 1-2 inches deep to determine when watering is needed, adjusting based on whether the substrate feels dry or slightly moist.
Monitor conditions closely—in-ground hibiscus typically need three to four weekly waterings, while containers require more frequent checks during intense summer conditions.
Prevent Overwatering: Signs of Root Rot and Waterlogging
Despite your best efforts to keep your tropical hibiscus hydrated, you can easily swing too far in the opposite direction—and overwatering poses just as serious a threat as drought.
Watch for these critical warning signs:
- Yellowing leaves that progress upward from the plant’s base
- Dark, mushy roots instead of bright white ones
- Foul odors emanating from soil near ground level
- Wilting foliage despite wet soil conditions
To inspect roots, carefully remove your hibiscus from its pot and examine the root zone. Healthy roots appear white and fibrous. Dark, mushy sections indicate rot and require immediate pruning with disinfected tools.
Prevent overwatering by allowing the top soil layer to dry between waterings. Reduce frequency during cool weather. Mulch insulates roots and retains moisture in the soil, providing additional protection against waterlogging.
Ensure your pot has drainage holes and use well-draining soil. These measures protect your hibiscus from root rot and waterlogging.
Watch for Wilting: It Signals Thirst Before Damage Occurs
While root rot and waterlogging represent one extreme of hibiscus care, underwatering poses an equally critical threat that you’ll recognize through wilting. Wilting signals insufficient water uptake before permanent damage occurs, as leaves droop from turgor pressure loss in dehydrated cells.
You’ll notice this progresses from top leaves downward during hot weather, often worsening in afternoons due to rapid container evaporation. The key distinction: thirst‑induced wilting affects your entire plant uniformly with green leaves remaining intact, unlike disease‑related yellowing or veining.
Early wilting remains reversible with prompt watering—leaves firm up within hours upon rehydration. Check soil moisture deeper than the surface, and bottom‑water pots for even uptake. Distinguishing between thirst-induced wilting and disease-related wilting helps you respond with the appropriate treatment strategy.
Nighttime recovery confirms thirst rather than fungal issues, guiding your prevention strategy.
Select Well-Draining Potting Mix for Container Tropical Hibiscus
Since wilting signals thirst before irreversible damage occurs, you’ll want to prevent both extremes by selecting a potting mix engineered for drainage and moisture retention.
Create your ideal mix using these components:
- Combine 80% high-quality potting mix with 20% sand to enhance water permeability
- Blend peat moss and perlite for balanced moisture control and aeration
- Add composted bark for organic structure that prevents compaction
- Layer fine bark mulch on top post-planting to retain surface moisture
Avoid inexpensive mass-market mixes that hold excess water, causing root rot. Instead, choose premium formulations from reputable nurseries containing added nutrients.
Test permeability by moistening the mix—it should remain moist 8-10 inches deep without waterlogging.
Incorporate organic amendments such as worm castings or fully composted material to boost microbial activity and support nutrient cycling in your potting mix.
This foundation supports vigorous root development and long-term plant health.
Amend Ground Beds With 2-3 Inches of Organic Compost
Now that you’ve perfected your container mix, ground beds require similar attention to soil structure and fertility. You’ll want to amend your planting area with 2-3 inches of mature organic compost before planting your hibiscus.
Mix this compost thoroughly into your garden soil during spring planting to enhance soil structure and boost nutrient availability.
Incorporate the compost into your root zone’s top layer, ensuring even distribution across your entire planting area. This organic matter promotes lush growth and continuous flowering while supporting the acidic pH hibiscus prefer—ideally between 6.5 and 6.8.
For optimal results, combine your compost with peat moss, sand, and perlite to prevent waterlogging. After planting, apply a mulch layer to retain moisture and maintain soil temperature, creating the tropical conditions your hibiscus demands. Consider adding earthworm castings to your soil amendment for even larger plants and better blooms.
Plant in Late Spring for Stronger Cold Resistance
To maximize your tropical hibiscus’s cold hardiness, you’ll want to plant in late spring once nighttime temperatures consistently stay above 50°F and frost danger has passed.
This timing strengthens root development before winter arrives, allowing your plant to adapt gradually to cooler conditions throughout the growing season.
Late spring planting delivers several advantages:
- Roots establish deeply before cold stress occurs
- Plants develop vigorous growth for enhanced winter survival
- Adaptation period reduces cold damage risk in zones cooler than 10
- Plant health solidifies prior to indoor overwintering
Position your hibiscus in full sun with at least six hours of direct sunlight daily.
Maintain optimal temperatures between 55–85°F during establishment.
Monitor soil moisture carefully, watering when the top inches dry.
This strategic timing investment pays dividends through winter hardiness and long-term plant vigor.
Maintain Slightly Acidic Soil for Optimal Nutrient Absorption
Why does soil pH matter so much for your tropical hibiscus?
Because nutrients dissolve best and remain available in acidic water, directly affecting your plant’s health and vigor.
Your tropical hibiscus thrives in slightly acidic soil between pH 6.5 and 6.8, though it tolerates ranges from 5.5 to 7.0.
This optimal pH range enhances nutrient uptake and ensures proper chlorophyll production.
When pH falls outside this window, your hibiscus can’t absorb essential minerals like iron, causing malnutrition or toxicity.
Before planting, test your soil pH.
If needed, increase pH with lime or decrease it with soil sulfur.
Retest after two weeks.
For container-grown hibiscus, use potting soil specifically designed for acidic plants.
In high-alkalinity areas, apply acidifying fertilizers more frequently to maintain the slightly acidic conditions your hibiscus demands.
Apply Slow-Release Fertilizer Once at Season Start
Because your tropical hibiscus demands consistent nutrition throughout its growing season, you’ll want to establish a strategic fertilization schedule beginning in early spring.
Slow-release fertilizer provides sustained nourishment without overwhelming your plant’s root system.
Implement this four-phase approach:
- Apply slow-release fertilizer once at season start in early spring
- Fertilize again post-first bloom when energy demands peak
- Apply mid-summer doses to sustain flowering and growth
- Reduce applications in early winter as growth slows
Mix slow-release granules into moist soil at 3 tablespoons per application.
This prevents root burn that occurs with dry soil conditions.
The formula lasts 3-4 months, requiring fewer applications than liquid alternatives.
For potted hibiscus, follow package directions carefully, applying lightly and consistently throughout spring and summer months to maintain optimal nutrient availability.
Feed Monthly With Water-Soluble Fertilizer as an Alternative
While slow-release fertilizers offer convenience, water-soluble options give you precise control over nutrient delivery and allow you to adjust feeding frequency based on your plant’s growth stage.
During spring and summer, feed monthly with a balanced 20-20-20 or preferably a medium-low-high ratio like 17-5-24 to avoid phosphorus-induced bud drop.
Mix at half strength to prevent over-fertilizing.
In fall and winter, reduce applications to every four weeks.
For specific water-soluble mixes containing potassium nitrate, apply every 20-25 days.
Water thoroughly until solution drains from the pot’s bottom.
This approach delivers consistent nutrition while maintaining flexibility to respond to your hibiscus’s seasonal needs and growth patterns.
Feed Potted Hibiscus Every 2-3 Weeks at Half Strength
Potted hibiscus plants need more frequent fertilization than their in‑ground counterparts because container growing media depletes nutrients faster.
So you’ll want to feed every 2‑3 weeks during the active growing season using a water‑soluble fertilizer mixed at half strength.
Follow these application guidelines:
- Choose balanced formulas like 10‑10‑10 or an ideal NPK ratio of 17‑5‑24 with medium nitrogen and high potassium
- Dilute the fertilizer to half the recommended rate to prevent nitrogen burn
- Apply the solution to moist soil, pouring until excess drains from the pot’s bottom
- Reduce frequency to every 4 weeks during fall and winter months
This half‑strength, frequent‑feeding approach mimics continuous low‑dose nutrition while protecting roots from burn damage.
Water the Soil Before Fertilizing to Prevent Leaf Burn
Why’s pre-watering your hibiscus so critical? It prevents fertilizer burn by diluting concentrated salts before they contact roots.
Here’s your process: test the top inch of soil with your finger or a sharpened pencil to confirm moisture depth.
Water thoroughly until excess drains from the pot bottom—soil should be moist but not sopping wet.
Wait a few minutes, then apply your fertilizer 1-2 feet from the base to reach the full root system.
For water-soluble types, use a watering can after pre-moistening.
Follow with additional water to dissolve and distribute granules evenly.
Skipping this step causes salt buildup, root damage, and leaf tip yellowing.
Shallow tropical hibiscus roots are particularly vulnerable to chemical stress, making pre-watering non-negotiable for healthy blooms.
Keep Your Hibiscus Between 65-85°F for Healthy Growth
Temperature control is the cornerstone of tropical hibiscus success, and you’ll want to maintain a consistent 65-85°F range for optimal growth and blooming.
Deviations from this range trigger specific problems you’ll need to avoid.
- Below 65°F: Growth slows dramatically, blooming ceases, and continuous cool exposure below 60°F causes plant death.
- Above 85°F: Heat stress intensifies; temperatures over 90°F yellowing leaves and trigger bud drop.
- Exceeding 95°F: Flower buds drop rapidly, and prolonged exposure above 100°F severely reduces new bud production.
- Optimal positioning: Place your hibiscus near south or west-facing windows for stable warmth, using grow lights if needed.
Pair your temperature management with full sun exposure, steady moisture, and balanced fertilizer.
You’ll also want to reduce watering at the cooler end of your range to prevent root rot while maintaining higher ambient humidity for enhanced growth.
Protect From Freezing: Damage Occurs Below 50°F
While maintaining your hibiscus within the 65-85°F sweet spot keeps it thriving, you’ll also need to shield it from cold snaps that’ll cause serious damage below 50°F.
Leaf drop begins at 50°F, and chlorosis starts developing at this temperature.
Below 40°F, irreversible damage occurs rapidly.
Protect your hibiscus with frost cloth, which adds several degrees of freeze protection.
For added warmth, place Christmas lights beneath the cloth.
These methods allow your plant to survive temperatures in the mid-20s°F range.
During unexpected freezes, run sprinklers to keep plant temperature at 32°F—this minimizes damage.
If your hibiscus experiences mild cold exposure, monitor it closely.
Once temperatures rise above 65°F with adequate light, new leaves typically emerge within 3-4 weeks, signaling recovery.
Move Potted Plants Indoors When Night Temps Drop Below 50°F
As nighttime temperatures drop below 50°F in fall, you’ll need to move your potted tropical hibiscus indoors to prevent cold injury and growth cessation.
Timing varies by location, typically mid-September through November.
Act at least one week before your area’s first predicted frost to avoid freezing injury.
Before relocating, consider these critical steps:
- Monitor your local weather forecasts for frost warnings
- Prune your plant to fit indoor space while retaining new growth
- Inspect for pests before bringing it inside
- Choose a draft-free location away from heating vents and doors
While hibiscus tolerates temperatures down to 24°F short-term, cold injury occurs before frost arrives.
Moving indoors promptly ensures your plant maintains health and prepares for winter dormancy without stress or damage.
Acclimate Gradually Over 2-3 Weeks to Lower Indoor Light
Once you’ve moved your potted hibiscus indoors, you’ll need to acclimate it gradually to the lower light conditions of your home over 2–3 weeks.
Start by positioning your plant in partial shade, then progressively increase shade every few days until it reaches its final indoor location. This stepwise approach minimizes leaf and bud drop, which occurs when plants experience sudden light reduction.
Move your hibiscus to increasingly shaded areas—from filtered light under a shade tree to a shaded porch, then finally indoors. Gradual acclimation reduces stress‑induced foliage loss and accelerates recovery time.
Once acclimated, place your hibiscus in a south or west‑facing window to maximize available indoor light and support continued growth throughout winter.
Reduce Watering in Winter as Growth Naturally Slows
Because your hibiscus enters a dormant phase during winter months, you’ll need to significantly reduce its watering frequency to match its slower metabolic rate and lower water requirements.
During winter, adjust your watering schedule accordingly:
- Water every 7–10 days outdoors; reduce to once weekly indoors
- Check the top 1–2 inches of potting mix before watering
- Let soil dry slightly to touch before applying water
- Skip watering if soil remains wet to prevent root rot
Cooler temperatures and reduced light naturally slow your hibiscus’s growth and nutrient absorption.
This dormancy phase demands substantially less moisture than active growing seasons.
Indoor hibiscus especially need infrequent watering since environmental conditions further decrease water needs.
Monitor soil moisture consistently, as container size, humidity, and temperature variations affect drying rates.
Overwatering risks yellowing leaves, root rot, and disease, while underwatering causes wilting and bud drop.
Pinch New Growth Tips to Create Fuller, Bushier Plants
Now that you’ve established a sustainable winter watering routine, you can focus on shaping your hibiscus’s growth pattern through strategic pinching.
Begin pinching in spring when shoots reach 6–8 inches with at least six growth points.
Remove ¼ to 1 inch of soft foliage, cutting ¼ inch above leaf nodes at 45-degree angles.
Leave 4–6 leaves per branch. You’ll delay flowering by 2–3 weeks, but the payoff justifies the wait.
Pinched plants develop significantly more stems and branches, producing abundant blooms that compensate for slightly reduced individual flower size.
Select outward-facing nodes to encourage horizontal spreading and improve air circulation.
Allow six weeks between pinching and your desired bloom date for optimal results.
Prune in Late Winter to Promote Spring Growth and Compact Shape
Timing your pruning strategically determines how well your hibiscus responds to spring growth.
For indoor plants overwintered in cool locations, prune in late winter.
If you’re growing outdoors in cold climates, wait until spring after frost danger passes to prevent cold damage to fresh cuts.
Make precise cuts using sterilized, sharp pruners:
- Cut at 45-degree angles, 0.25 inch above outward-facing nodes
- Remove no more than one-third of total plant material
- Eliminate crossing branches, dead wood, and dense inner growth
- Direct cuts above nodes facing your desired growth direction
This approach activates dormant buds, improves airflow, and encourages branching.
You’ll achieve a fuller, more compact shape with increased flowering potential when warmer weather arrives.
Choose Containers 1-2 Inches Larger Than the Root Ball
Once you’ve pruned your hibiscus for optimal growth, you’ll need to select an appropriate container for planting or repotting.
Choose a pot that’s 1-2 inches larger than your hibiscus’s root ball in both diameter and depth.
This sizing provides adequate growing space without creating excessive soil volume that can lead to overwatering and root rot.
A 10-inch diameter pot works well for most tropical hibiscus varieties, offering convenient handling and long-term growth support.
Ensure your container has drainage holes; if it doesn’t, drill several holes before planting.
Add landscape rocks to the bottom for improved drainage and container stability.
Position your root ball so its top sits 1-2 inches below the pot rim, then fill with high-quality potting mix containing perlite and peat moss for optimal drainage and moisture retention.
Repot When Roots Circle the Container or Vigor Declines
As your hibiscus matures, you’ll eventually need to repot it when the root system becomes bound or the plant’s overall health declines.
Watch for these key indicators:
- Roots protruding from drainage holes or circling the pot’s interior
- Soil drying rapidly despite frequent watering
- Wilting leaves requiring daily water and yellowing foliage
- Reduced flowering despite bud development
Before repotting, withhold water for 1-2 days to ease removal.
Gently loosen circling roots at the bottom to encourage outward growth.
Inspect the root system for health and straighten any crooked stems during transfer.
Add sphagnum moss at the base to retain moisture, then water thoroughly.
Place your repotted hibiscus in bright, south-facing light.
Monitor watering based on leaf appearance and adjust frequency according to weather conditions.
You’ll notice improved vigor and flowering as roots expand into fresh soil.
Conclusion
You’ve got everything you need to transform your hibiscus into a thriving showstopper. By giving it six to eight hours of sunlight, monitoring soil moisture with the finger test, and pruning strategically, you’re creating ideal growing conditions. Don’t you want those vibrant blooms cascading from a full, healthy plant? Repot annually, pinch new tips for bushiness, and adjust for your climate. Your hibiscus’ll reward your attention with stunning flowers.
The Only Tools You Need for a Thriving Garden 🌱
Whether you're a weekend gardener or growing daily — these hand-picked tools make every session faster, easier, and more satisfying.