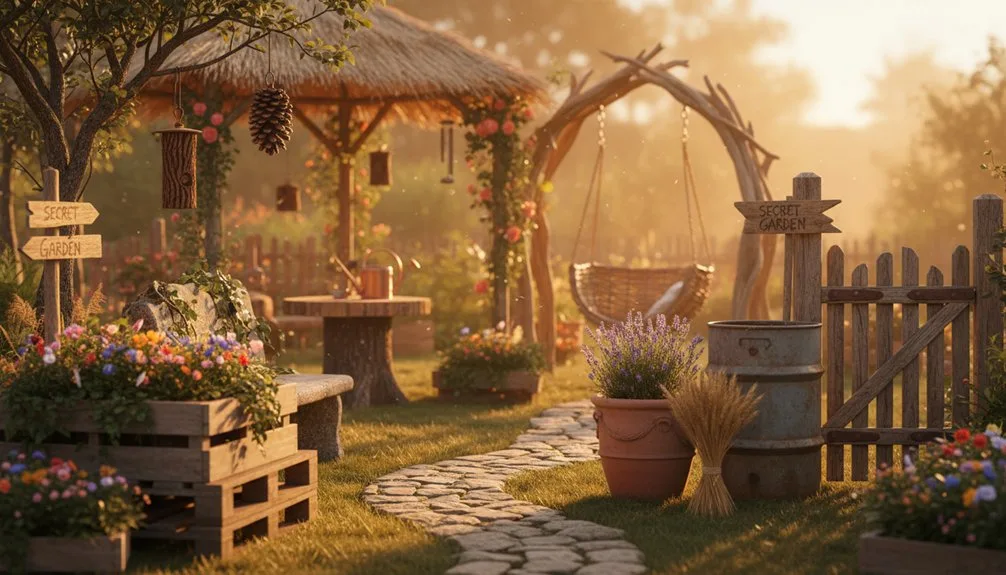
You can transform your garden into a rustic retreat by layering driftwood, stone, and weathered materials. Build textured pathways with chunky logs and irregular slate. Create raised beds and borders with stacked stones set into packed gravel foundations. Install driftwood trellises for climbing plants like sweet peas and beans. Add seating with untreated driftwood benches, construct stone fire pits, and anchor ambient lighting with driftwood lanterns. These materials improve with moss growth and patina, requiring minimal upkeep. Each element combines function with natural beauty, and there’s plenty more to discover about maximizing these rustic touches.
Key Takeaways
- Textured pathways using driftwood logs and irregular stone slabs create rustic visual appeal while providing functional garden navigation.
- Stone planters and raised beds with natural edging require proper foundation layers and drainage for long-term stability and plant health.
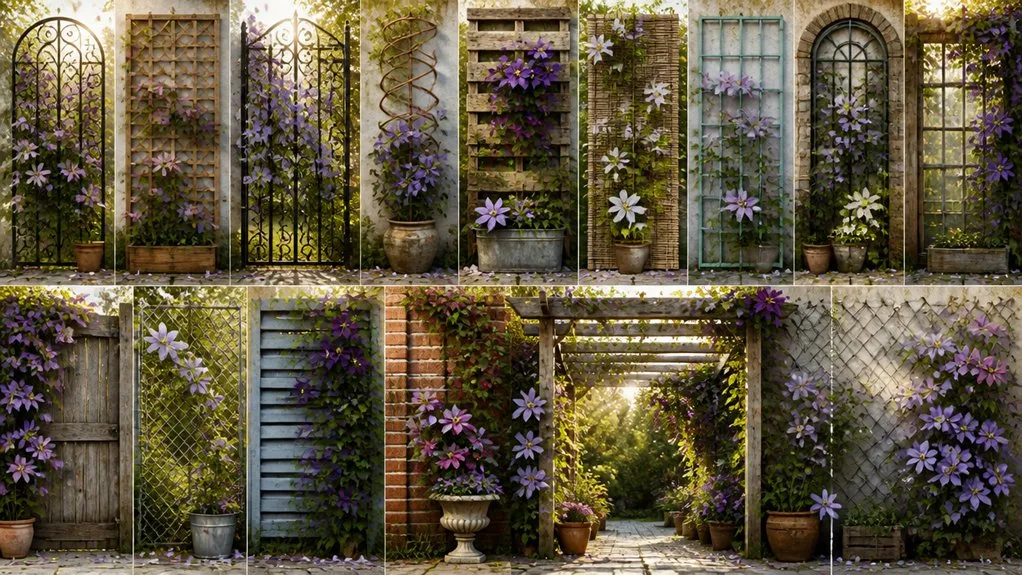
- Driftwood trellises support climbing plants like sweet peas, beans, and spinach while adding sculptural interest to sunny garden areas.
- Rustic seating and fire pits constructed from natural stone and untreated driftwood serve as functional gathering spaces and focal points.
- Driftwood lanterns, birdhouses, and plant hangers combine reclaimed materials with stone elements for ambient lighting and wildlife habitat features.
Create Textured Pathways With Driftwood and Stone

When you’re ready to transform your garden with a pathway that combines natural materials and visual interest, driftwood and stone offer versatile design possibilities that’ll suit any rustic aesthetic.
You can arrange chunky driftwood logs as borders with irregular stone slabs nestled into soft moss for an enchanting, low-maintenance look.
Alternatively, try checkerboard layouts combining weathered wood beams and slate in symmetrical patterns for modern rustic gardens.
For something more artistic, arrange stones in spiral configurations with driftwood sculptures or planters at the center.
You might also elevate pathways using soil mounds under each step, filled with decorative gravel or crushed shell. Before installation, mark your planned pathway with strings, stakes, or spray paint to visualize the layout and ensure proper drainage needs are addressed during base preparation.
Each approach transforms your garden into a functional yet visually compelling outdoor space.
Build Stone Planters and Raised Beds

Building stone planters and raised beds takes your rustic garden beyond walkways to create defined growing spaces that anchor your landscape.
You’ll transform raw earth into productive garden rooms by following these essential steps:
- Prepare your foundation by digging 6-12 inches deep and leveling the ground thoroughly for stability.
- Build your base layer using 4 inches of paver gravel topped with 2 inches of leveling sand, then compact with a plate tamper.
- Stack your stones by placing the first row partially underground, staggering joints in subsequent rows, and checking each stone’s level individually. Dig a 3 inch deep trench for your border rocks to ensure proper anchorage and prevent settling over time.
- Fill strategically with 12-14 inches of clear gravel for drainage, then add quality topsoil amended with compost for your plants’ success.
Install Natural Stone Edging Around Garden Beds
How do you transform a garden’s perimeter from soft, undefined edges into crisp, polished lines that frame your beds like a picture?
You’ll start by marking your perimeter with garden hose or spray paint, then dig a 7-inch-deep trench.
Lay packed gravel as your foundation, followed by 1 inch of leveling sand compacted smooth.
Select your stone—bricks, pavers, or natural blocks work well.
Begin installing from the most visible area, using a rubber mallet to drive stones firmly into place.
Bury more than half of each stone below grade for stability.
Use a carpenter’s level to verify alignment as you work.
Backfill soil firmly behind each stone.
Consider laying landscaping fabric beforehand to suppress weeds effectively long-term. Natural stone edging reduces soil erosion by containing soil within beds while creating a defined transition between your garden and lawn.
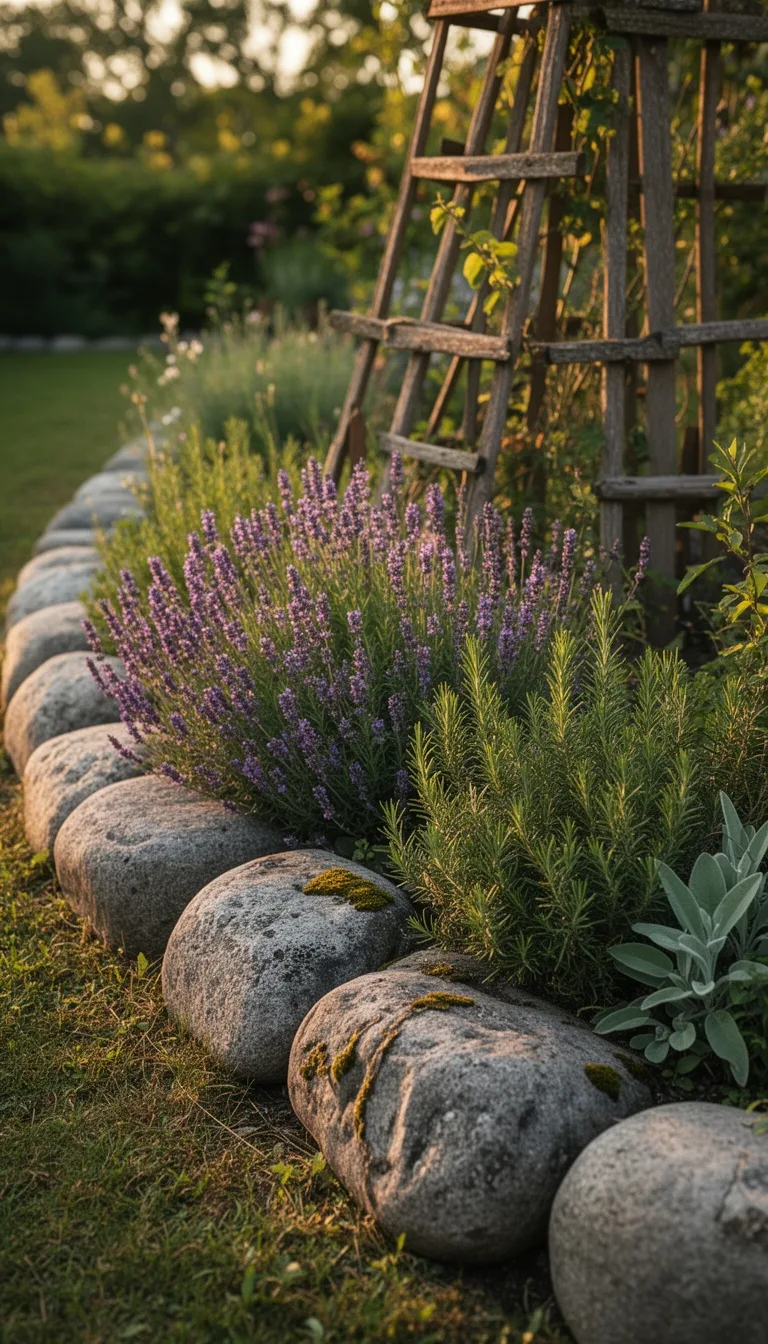
Choose Climbing Plants for Driftwood Trellises
Now that you’ve established crisp garden bed edges, you’re ready to add vertical elements that’ll draw the eye upward and maximize your planting space.
Driftwood trellises offer rustic charm while supporting productive climbers.
Consider these excellent options:
- Sweet peas deliver fragrant blooms and visual interest throughout the season
- Garden peas grow effectively vertically, producing abundant harvests without sprawling
- Climbing beans thrive on sturdy support, yielding nutritious crops efficiently
- Malabar spinach flourishes in sunny spots, offering succulent leaves with subtle saltiness
Position your driftwood trellis in direct sunlight, especially for heat-loving varieties like Malabar spinach.
Plant seeds or seedlings at the base after watering thoroughly.
The natural weathered appearance complements stone edging beautifully while supporting your edible garden’s vertical growth.
Design Custom Stone Mosaics for Garden Paths
With your vertical garden established, you’re ready to create eye-catching pathways that anchor your rustic landscape.
Start by excavating trenches 5½ inches deep and compacting a 2-2½ inch crushed rock base.
Spread a 3-inch mortar bed mixed to thick pudding consistency, covering approximately 3-4 square feet per bag.
Select smooth pebbles in contrasting colors, wetting them first to enhance visual distinctions.
Arrange your design—sunburst, spirals, or checkerboard patterns work beautifully—before embedding stones firmly into mortar.
Level everything with a wooden float, ensuring no sudden rises or dips.
Work on overcast days when you’ve got a 20-minute setting window.
Daily misting of stones after each section sets accelerates proper curing and prevents premature cracking.
Next morning, hose away excess mortar and scrub gently with a wire brush.
Cure sections overnight before continuing.
Build Rustic Garden Benches With Driftwood Frames
Why settle for mass-produced seating when you can craft a one-of-a-kind bench from reclaimed driftwood?
You’ll create a functional piece that tells a story while enhancing your garden’s rustic aesthetic.
Start by sourcing untreated driftwood, avoiding chemically-treated pieces from docks.
When selecting your materials, remember that natural driftwood supports ecosystems, so harvest responsibly and inspect for any contaminants before use.
Here’s your build process:
- Attach galvanized flanges to the driftwood underside for leg connections
- Assemble threaded pipes to flanges, adjusting for level stability
- Mount L-brackets to wall support beams, then secure the driftwood
- Cut angled leg joints for enhanced stability and visual appeal
Sand edges freehand for that natural, weathered finish.
Before finalizing assembly, verify there’s no wobble.
This rustic modern design works beautifully in entryways or garden spaces, combining durability with character that factory seating simply can’t match.
Create Intimate Fire Pit Seating With Natural Materials
As you gather friends and family around flickering flames, a thoughtfully designed fire pit becomes the heart of your garden—and the right materials transform it from functional to unforgettable.
You’ll build your pit with natural stone in four staggered courses, applying landscape adhesive between layers for stability.
Leave a gap in the second course to maximize oxygen flow and burning efficiency.
Position the circular pit to encourage face-to-face conversation while integrating built-in stone benches that wrap partially around it.
You can blend tree stumps and natural boulders into your seating arrangement for authentic rustic appeal.
Layer in crushed limestone gravel and define the perimeter with low stone ledges. The thermal mass of stone retains warmth into the evening, extending your time outdoors long after sunset.
At dusk, firelight softens stone edges, creating warmth and intimacy throughout your outdoor sanctuary.
Add Ambient Light: Driftwood Lanterns on Stone Bases
How do you transform your garden’s evening atmosphere without harsh electric lighting? Driftwood lanterns on stone bases deliver exactly that—warm, inviting illumination that complements your outdoor space naturally.
Start by gathering these elements:
- Weathered driftwood pieces with interesting twisted shapes
- Varied stone sizes for stable, visually organic bases
- Candles or solar lights to nestle within the driftwood
- Strategic pathway locations near seating areas
Anchor your driftwood holders securely into stone bases, ensuring stability against evening breezes.
Position these lanterns along garden paths to enhance both safety and aesthetic appeal. The combination of earthy tones and natural textures creates a rustic ambiance that blends seamlessly with your surroundings. For authentic Japanese-inspired options, consider hand-carved granite lanterns which follow exacting traditional specifications and offer timeless elegance to your garden design. You’ll discover that this eco-friendly approach transforms ordinary evenings into something genuinely magical and memorable.
Design Driftwood Sculptures That Anchor Your Garden
Where do you establish visual anchors that command attention throughout your garden?
Driftwood sculptures serve as powerful focal points that organize your landscape’s composition.
You’ll position standalone pieces among flowering perennials to create striking contrasts between aged wood and vibrant blooms.
As moss and patina develop over time, your sculptures gain character without demanding maintenance.
Consider stacking driftwood vertically to add architectural interest and height variation to flat garden beds.
You can mount pieces horizontally on fences to maximize visual impact in compact spaces.
Pair driftwood with stone bases or hand-stacked towers to establish natural balance and artistic cohesion.
These sculptural anchors guide visitors through your garden while showcasing weathered textures that improve with age.
For waterfront properties with accessible driftwood sources, assembling larger pieces into structural elements like arbors or split-rail gates eliminates the expense of treated lumber while creating substantial garden features.
Build Birdhouses and Perches to Attract Wildlife
When you’re ready to invite songbirds into your garden, reclaimed wood becomes your most sustainable building material. You’ll craft functional homes that blend seamlessly into your landscape while supporting local bird populations.
Start your project by gathering weathered cedar boards and old wood scraps, which develop natural patina over time. Using 100% reclaimed wood eliminates the need for new timber harvesting and reduces deforestation impact.
You’ll construct sturdy birdhouses using simple techniques:
- Score wood pieces with a table saw, then glue and brad them together for authentic board-like texture
- Cut entrance holes at precisely 1 inch, positioned 3.5 inches from the floor to deter predators
- Install drop-out floors for convenient annual cleaning and maintenance access
- Apply non-toxic urethane coating for year-round outdoor durability, following with yearly oil treatments
Mount your finished houses on trees, poles, or fence posts using single screws. You’ll attract robins, warblers, sparrows, and bluebirds while creating engaging garden focal points.
Hang Driftwood Plant Hangers With Stone Weights
Why settle for conventional plant displays when you can transform weathered driftwood into sculptural hanging gardens?
Start by collecting driftwood from local waterways or purchasing from garden centers, selecting pieces based on your desired plant capacity. Verify local regulations before harvesting driftwood to ensure compliance with environmental guidelines.
Drill appropriately sized holes using spade bits, then thread hemp cord through each hole, knotting above and below for security.
Alternatively, screw drawer pulls directly into the driftwood and attach macrame hangers for potted plants.
Incorporate stone weights into your design by attaching them to the cord’s lower sections, which stabilizes the hanger while adding visual texture.
Hang your creation on walls, chicken coops, or ceilings—positioning it in low-sun areas under overhangs protects your plants from harsh elements while creating striking focal points throughout your garden.
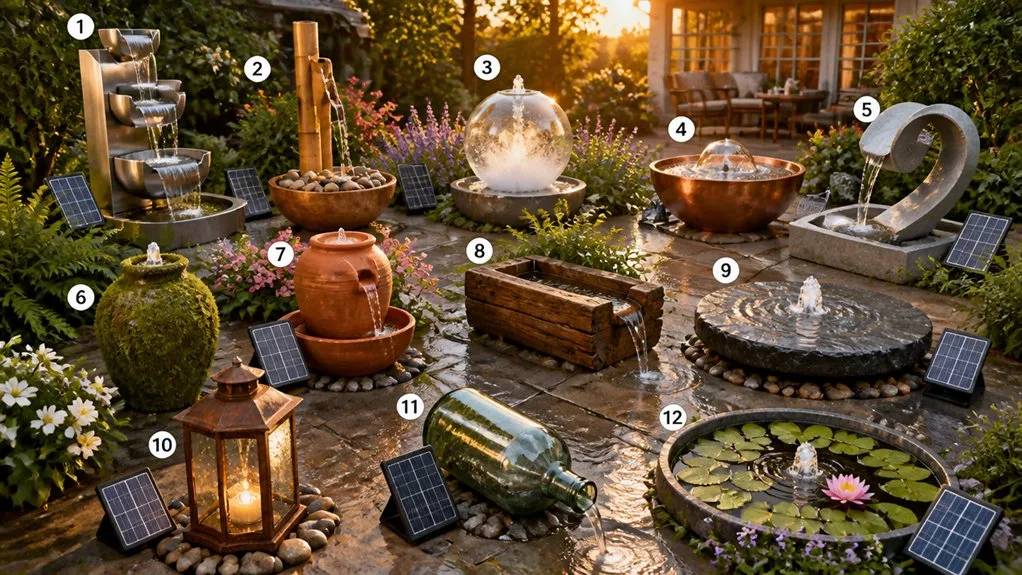
Install Water Features for Sound and Tranquility
How do you transform a quiet garden corner into a peaceful retreat? You install a water feature that engages your senses while adding rustic charm.
Start by selecting a level spot near an electrical outlet. You’ll need:
- A fountain kit containing pump, tubing, and reservoir
- Natural rocks and pebbles for authentic aesthetics
- Basic tools like a shovel, level, and tape measure
- Pond liner and electrical tape for secure connections
Dig a hole matching your reservoir size, then level the base carefully. Position the pump at the bottom and attach tubing securely.
Fill slowly, checking for leaks, then test the pump flow. Arrange rocks around components to hide them naturally. Soon you’re enjoying soothing water sounds that transform your garden into a tranquil sanctuary.
Weatherproof Driftwood for Year-Round Durability
Because driftwood’s already been conditioned by water, wind, and sun exposure, you’re starting with material that’s naturally resistant to the elements—making it ideal for rustic garden decor that’ll last through seasons without constant maintenance. To enhance this durability, apply Danish oil or teak oil with a cloth, wiping excess after 15-30 minutes.
You’ll need 2-3 coats with 12-24 hours drying between applications since driftwood absorbs deeply.
For maximum protection, follow oils with matte spray clear coats that cure in 24-48 hours and promote water beading.
The weathered surface absorbs less finish, preserving your driftwood’s sun-bleached tone while adding water resistance. This combination keeps your garden signs, planters, and displays protected year-round without altering their natural aesthetic.
Layer Textures: Mixed Stone and Driftwood Borders
When you’re ready to elevate your garden’s visual depth, layering driftwood and stone creates borders that feel both intentional and naturally evolved.
You’ll discover that combining these materials transforms ordinary garden edges into dynamic focal points.
Start by positioning your materials strategically:
- Anchor large rocks as base elements, then nestle smaller pebbles around them for stability
- Intersperse silvered driftwood pieces through stone arrangements to catch light and add texture
- Vary stone sizes from boulders to pebbles, creating dimension alongside weathered wood
- Arrange driftwood logs horizontally with irregular stone slabs to mimic natural forest trails
You’ll notice how organic wood contrasts beautifully against flowering perennials when positioned within stone-defined borders.
These mixed-material combinations require minimal maintenance while improving with age through moss growth and natural patina development.
Display Your Garden Style With Found Natural Materials
Why settle for mass-produced garden ornaments when nature’s already provided everything you need? You can transform your outdoor space by combining found materials that reflect your personal aesthetic.
Gather twisted branches to craft minimalist deer outlines or whimsical garden guardians.
Layer seed pods and dried botanicals along pathways for textural interest.
Create moss artworks on shaded walls using reclaimed wood as backing.
String dried citrus rinds into fragrant garlands that glow when backlit.
Assemble river stones into intricate mandala patterns directly on soil—no glue required.
Each element you select tells your story while celebrating nature’s raw beauty.
This approach costs nothing, generates zero waste, and produces genuinely unique focal points that evolve seasonally.
Your garden becomes a gallery of authentic, sustainable style.
Conclusion
You’ve sculpted a garden that breathes with nature’s own rhythm. Your rustic retreat doesn’t just sit there—it whispers stories through weathered stone and driftwood bones. Every pathway you’ve layered, every mosaic you’ve crafted becomes a tactile conversation between you and the earth. You’re not decorating; you’re orchestrating a living masterpiece. These natural materials don’t fade—they deepen, weathering into something more beautiful than perfection.
The Only Tools You Need for a Thriving Garden 🌱
Whether you're a weekend gardener or growing daily — these hand-picked tools make every session faster, easier, and more satisfying.