You’ve got a bouquet that could become a lasting centerpiece, but you’re not sure which drying method will keep its shape and color. From hanging blooms upside‑down in a dark, ventilated spot to using silica gel for vivid preservation, each technique offers a different balance of speed, texture, and visual impact. You’ll find practical steps for everything from quick microwave batches to long‑term airtight storage, so you can choose the approach that fits your space and timeline. The next tip will show you how a simple drying rack can make the process even easier.
Key Takeaways
- Hang flowers upside‑down in a dark, well‑ventilated space; they dry papery in 1–2 weeks.
- Oven‑dry at 95–110 °F on parchment, door ajar; small blooms need 45–60 min, larger up to 90 min.
- Bury blossoms in silica gel inside an airtight container; most dry in 3–7 days with vivid colors.
- Freeze flowers solid, then vacuum‑dry 12–24 hours for ultra‑detail, color‑retaining petals.
- Press between heavy books with parchment sheets; after 1–2 weeks they’re crisp for framing or collage.
Hang Flowers Upside‑Down for Natural Air‑Drying
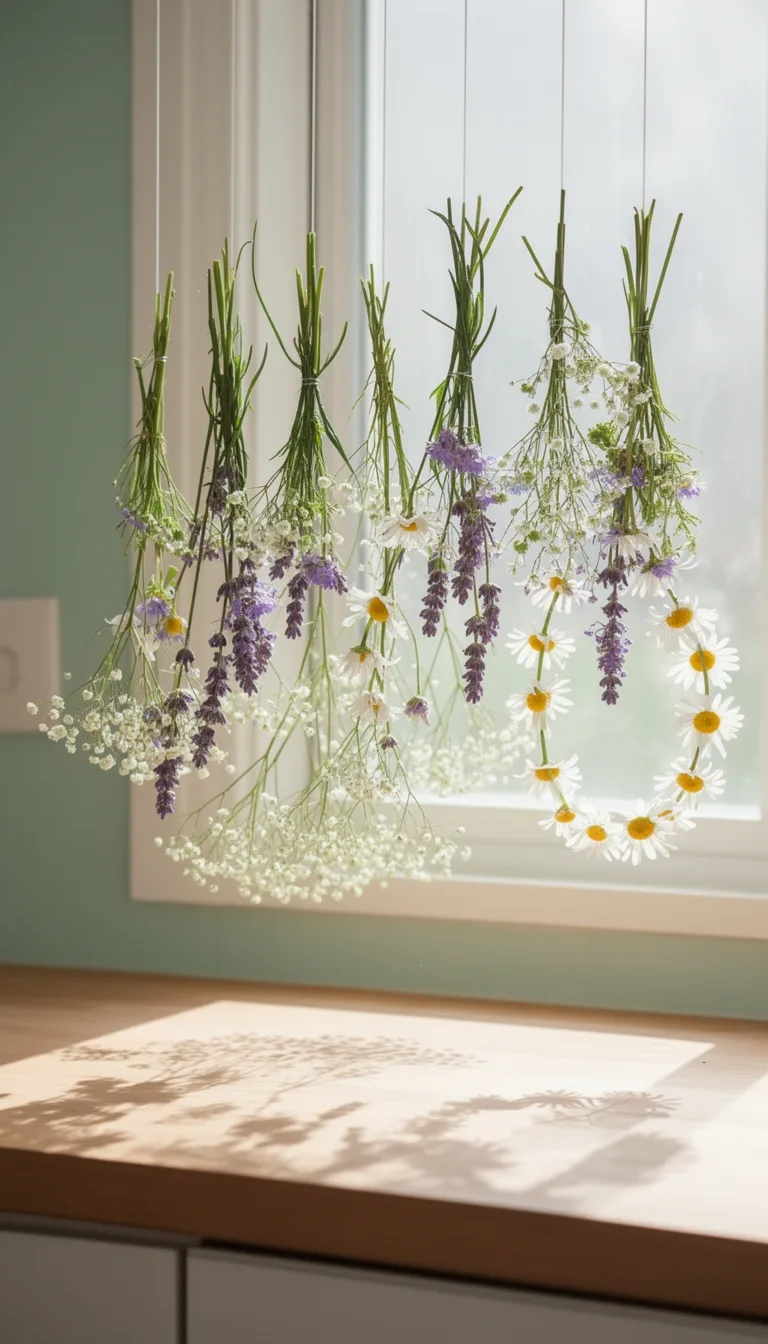
Hang your fresh blooms upside‑down in a well‑ventilated, low‑humidity spot, and they’ll naturally air‑dry within a week or two.
First, trim stems to about six inches and remove any wilted petals. Tie small bunches with twine or a rubber band, making sure the knot is loose enough not to crush the stems.
Choose a dark, dry area—like a pantry, attic, or closet—where sunlight won’t fade colors. Space the bundles so air circulates freely; avoid stacking them.
Check daily for mold; if you see any, increase airflow or relocate the flowers.
After drying, gently brush off dust with a soft brush. Store the dried stems in a sealed container to keep them crisp until you arrange them.
Press Flowers Between Heavy Books for Flat Art
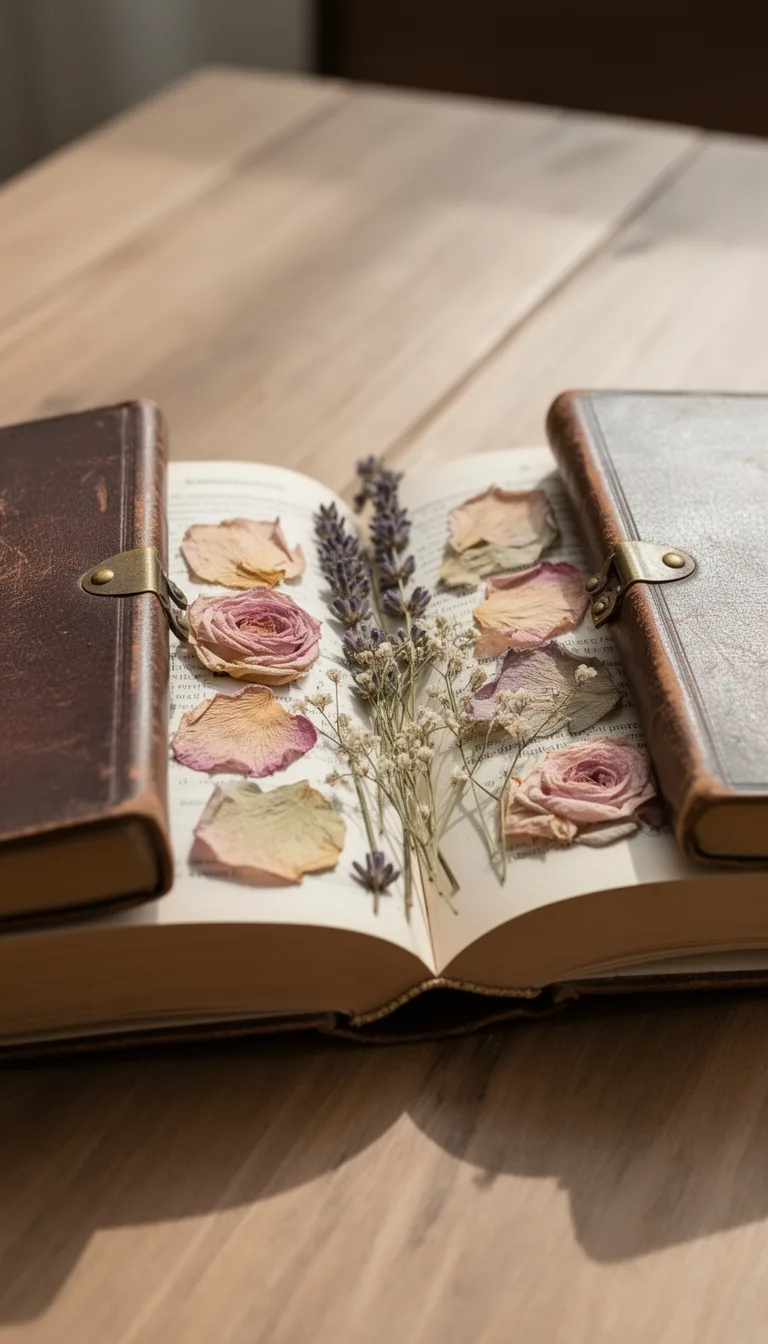
Lay the blossoms between two sheets of parchment and stack heavy books on top to flatten them quickly. Choose a clean, flat surface and gather a thick, sturdy book or two.
Place a parchment sheet on the bottom, arrange the flowers face‑up, then cover with another parchment sheet to protect the pages. Add the heavy books, pressing evenly across the whole area.
Let the set sit undisturbed for 1–2 weeks, checking weekly for dryness. When the petals feel crisp and the stems snap cleanly, they’re fully pressed.
Remove the books, peel away the parchment, and store the flat flowers in a dry, dark drawer or between additional parchment sheets to keep them from absorbing moisture. This method yields smooth, durable specimens perfect for framing, card‑making, or collage projects.
Preserve Color‑Rich Blooms With Silica Gel
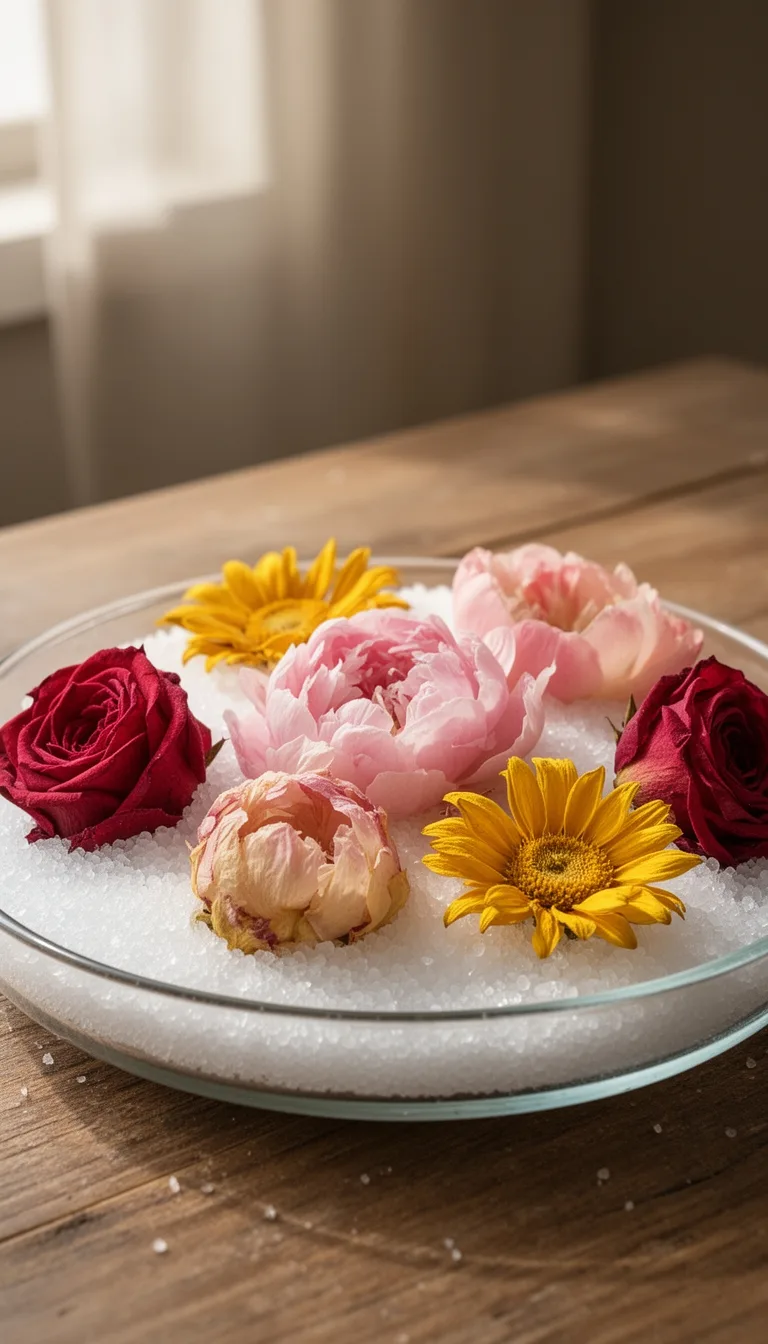
Seal the blossoms in a breathable container filled with silica gel to lock in vivid color while gently drying them. Choose a clear, airtight jar or a plastic box with a lid; the container should be large enough to spread flowers without crowding.
First, sift the silica gel to remove clumps, then pour a thin layer—about a half‑inch—into the bottom. Place each flower stem‑up, ensuring petals sit flat on the gel.
Gently cover the bloom with more gel, fully surrounding it but leaving the stem exposed for later removal. Close the lid and store the container in a cool, dark spot.
Check daily; most blooms dry in 3–7 days. Once the petals feel crisp, gently brush away excess gel, then display or preserve as desired.
Microwave‑Dry Small Batches Quickly
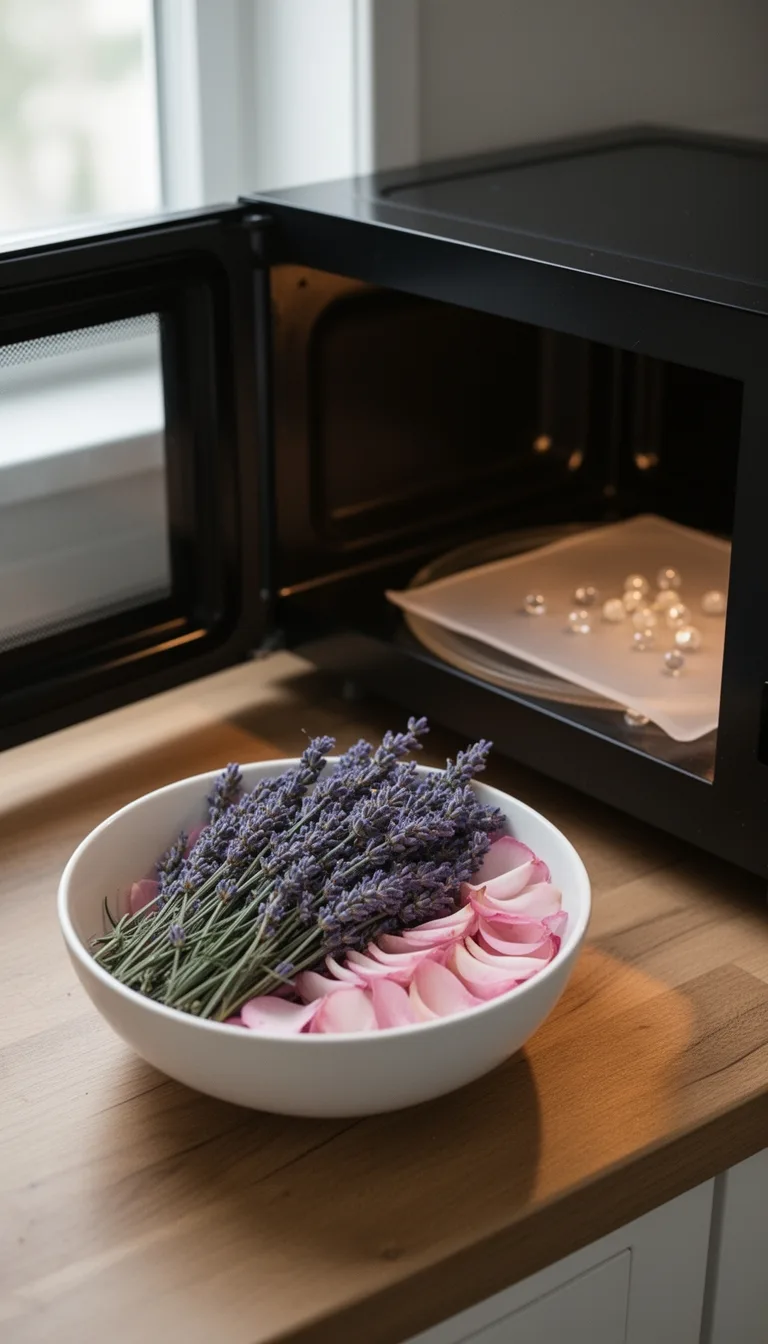
If silica gel gives you vivid, long‑lasting colors, a microwave can finish the job in minutes when you need just a few stems.
First, trim each stem to about three inches and remove excess foliage. Place the flowers on a microwave‑safe plate lined with a paper towel, spacing them so they don’t touch. Cover the tops loosely with another damp paper towel to trap steam and prevent scorching.
Set the microwave to low (30 % power) and heat for 30‑second bursts, checking after each interval. When the petals feel crisp and the stems are pliable, stop the cycle.
Let the dried flowers cool on the towel for a minute, then transfer them to a dry container. Store in a dark, low‑humidity spot to preserve color.
Oven‑Dry Flowers Fast and Evenly
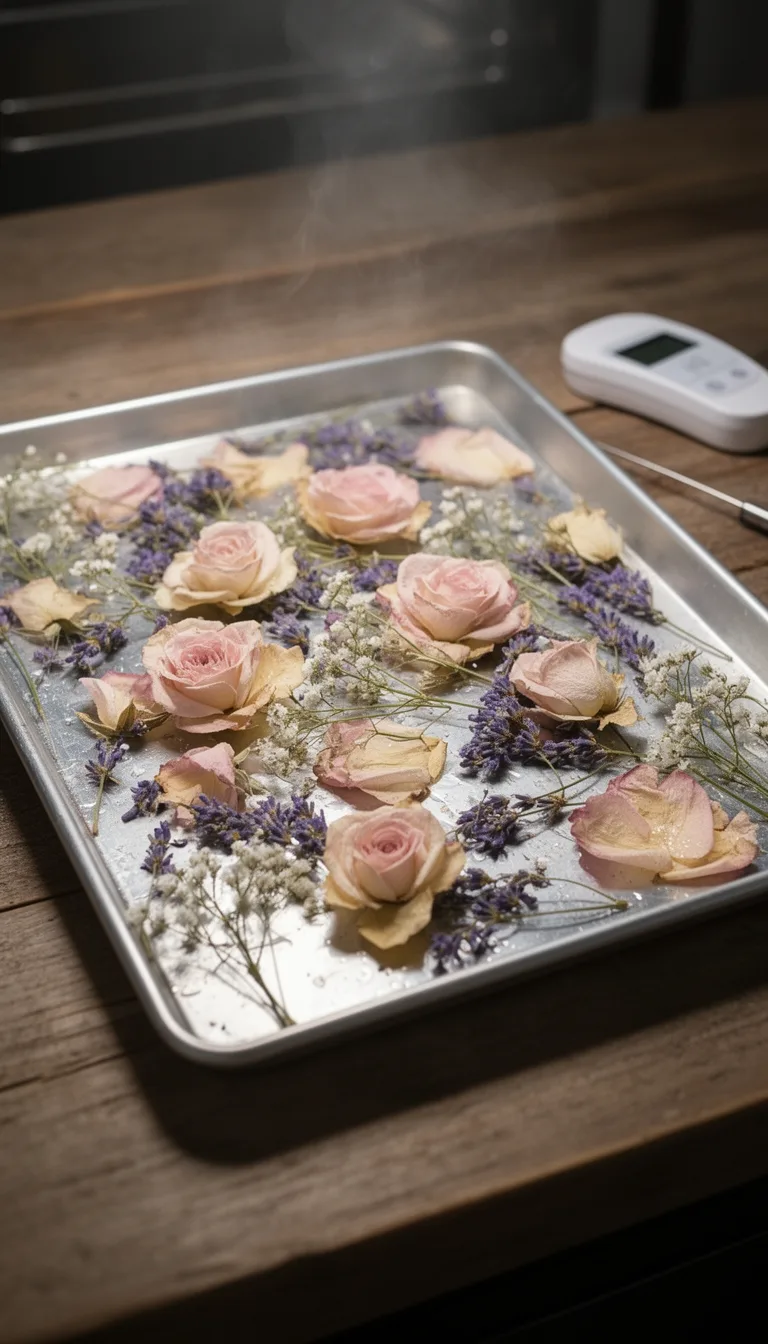
You can dry flowers quickly and evenly in an oven by spreading them in a single layer on a baking sheet lined with parchment paper, then setting the temperature to a low 95‑110 °F (35‑43 °C) and leaving the door slightly ajar to allow moisture to escape.
Pre‑heat the oven, then arrange stems with buds facing up for uniform airflow. Check after 30 minutes; most small blossoms finish in 45‑60 minutes, while larger petals may need up to 90 minutes. Rotate the sheet halfway through to prevent hot spots.
When petals feel crisp and brittle, turn off the oven and let the flowers cool inside to avoid sudden temperature shifts.
Store dried blooms in airtight containers away from direct light to preserve color.
Home‑Freezer Freeze‑Dry for Ultra‑Detail
Start by arranging fresh blossoms on a tray lined with freezer‑safe parchment, then place the tray in the coldest compartment of your home freezer and set the temperature to –20 °F (‑29 °C). Let them freeze solid for 4–6 hours. Next, transfer the tray to a deep‑freeze dryer or a sealed container with a vacuum pump; run the cycle for 12–24 hours until the petals feel papery and retain vivid color. Store the freeze‑dried flowers in a dry box away from humidity.
| Step | Time | Result |
|---|---|---|
| Freeze | 4–6 h | Solid, crisp |
| Vacuum | 12–24 h | Moisture removed |
| Inspect | 5 min | Papery texture |
| Package | 2 min | Protective bag |
| Display | — | Ultra‑detail decor |
Follow each step precisely; the rapid freeze preserves fine veins and subtle shading that other methods blur. Keep the freezer door closed to maintain temperature consistency, and avoid handling petals until they’re fully dried. This method yields museum‑quality blooms for wreaths, bouquets, and framed arrangements.
Airtight Storage With Desiccant for Long‑Term Freshness
Because moisture is the enemy of preserved blooms, storing your dried flowers in an airtight container with a desiccant keeps them crisp and vibrant for months.
Choose a clear plastic or glass jar with a tight‑fitting lid; the visibility lets you spot any humidity changes. Place a small packet of silica gel or a reusable desiccant pouch at the bottom, then layer the flowers on a piece of parchment paper to avoid direct contact.
Seal the lid firmly and keep the container in a cool, dark spot away from sunlight and temperature swings. Check the desiccant every few weeks—if it’s saturated, replace or recharge it.
This method locks out moisture, preserves color, and extends the decorative life of your dried bouquets.
DIY Wire & Cloth Drying Rack to Dry Flowers
With a few simple supplies—thin wire, a sturdy cloth, and some basic tools—you can build a compact drying rack that lets air circulate around each stem, speeding up the drying process while keeping flowers upright and intact.
Cut a 12‑inch length of wire, bend it into a rectangular frame, and secure the corners with pliers. Stretch a breathable cotton or muslin cloth over the frame, fastening it with small staples or a hot‑glue gun. Insert stems through the cloth, spacing them evenly so airflow reaches every petal. Hang the rack in a warm, dry room away from direct sunlight, and check daily for any mold or wilting.
- Wire frame dimensions: 12×8 in
- Cloth choice: cotton, muslin, or cheesecloth
- Staple spacing: ½‑inch intervals for stability
Apply Glycerin When Drying Flowers for Soft Petals
After setting up your wire‑and‑cloth rack, you can boost petal softness by soaking the stems in a glycerin solution before arranging them. Mix one part glycerin with two parts warm water in a shallow container; stir until clear.
Trim stems to 4–6 inches, submerge them, and let them sit 24–48 hours. Glycerin replaces water in the cells, keeping petals supple and giving them a slight sheen.
When the time’s up, remove stems, pat dry with a paper towel, and hang them back on the rack upside‑down for another 24 hours to let excess liquid evaporate. Check flexibility by gently bending a petal—if it feels springy, you’re done.
Store the dried blooms in a cool, dry place until you’re ready to arrange them.
Seal Dried Flowers After Drying for Dust Protection
Sealing your dried flowers is the quickest way to keep dust and moisture at bay, and a light spray of clear acrylic or a thin coat of diluted polyurethane does the job without altering color.
First, choose a well‑ventilated area and lay the blooms on a disposable sheet. Hold the spray can 12‑18 in. away and mist evenly, avoiding oversaturation that could warp petals.
Let the first coat dry for 10‑15 minutes, then flip the stems and repeat for full coverage. If you prefer brush‑on, dip a soft foam brush into a 1:4 water‑to‑polyurethane mix, glide a thin layer over each petal, and allow it to cure for an hour before handling.
- Use a clear acrylic spray for a quick, uniform finish
- Dilute polyurethane 1:4 with water for a brush‑on method
- Apply two thin coats, drying 10‑15 minutes between each
Conclusion
Now you’ve got a toolbox of quick, reliable methods to turn fresh blossoms into lasting décor. Pick the technique that fits your space and time—hang, press, silica gel, microwave, oven, or DIY rack—and follow the simple steps. Finish with a light acrylic spray and airtight storage, and your dried flowers will stay vibrant and intact for months, adding natural beauty to any room.
The Only Tools You Need for a Thriving Garden 🌱
Whether you're a weekend gardener or growing daily — these hand-picked tools make every session faster, easier, and more satisfying.