You’ve got a bouquet that’s already wilting, but you don’t have to let it go to waste. By air‑drying upside‑down, pressing between paper, or using silica gel, you can lock in shape and color with minimal cost and effort. Glycerin baths keep stems supple, while microwave bursts or epoxy casts give you quick, three‑dimensional keepsakes. The trick is choosing the right method for each bloom and avoiding mold, so you can enjoy lasting beauty without a studio.
Key Takeaways
- Air‑dry flowers upside‑down in a dark, well‑ventilated space at 65‑70 °F with low humidity to keep shape and color.
- Press petals between absorbent paper and a heavy book for 24‑48 hours until crisp, then store in protective sleeves.
- Use food‑grade silica gel in an airtight container, covering flowers for 3‑7 days, then keep in a moisture‑proof box.
- Soak blooms in a 1:2 glycerin‑to‑water solution for 2‑3 weeks, then hang to finish drying for flexible, long‑lasting specimens.
- Create resin casts or wax‑dipped bouquets, sealing them in glass domes with a humidity packet to protect from dust and mold.
Air‑Dry Flowers for Quick, Low‑Cost Preservation
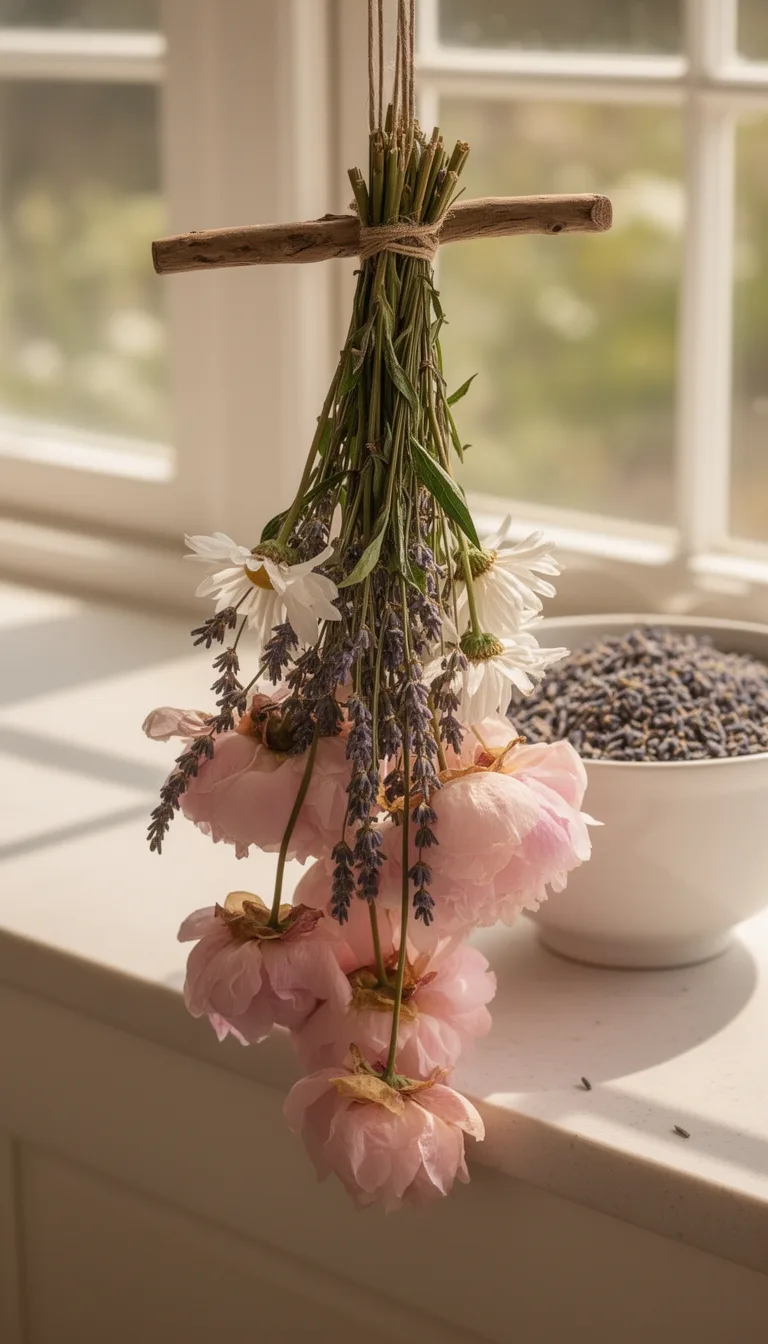
Typically, you’ll start by gathering fresh, healthy blooms and removing any excess foliage, then hang them upside‑down in a dark, well‑ventilated space; this simple, low‑cost method preserves shape and color while letting moisture evaporate naturally.
Choose a location with consistent temperature (around 65–70 °F) and low humidity to speed drying. Use a sturdy coat rack or a string line, spacing each stem at least an inch apart to prevent crowding.
Check daily for mold; if any appears, increase airflow or relocate to a drier spot. After one to two weeks, the flowers should feel papery and crisp.
Store the dried stems in airtight containers, or display them in vases, wreaths, or dried‑flower arrangements for lasting décor.
Press Flowers to Capture Flat, Artwork‑Ready Images
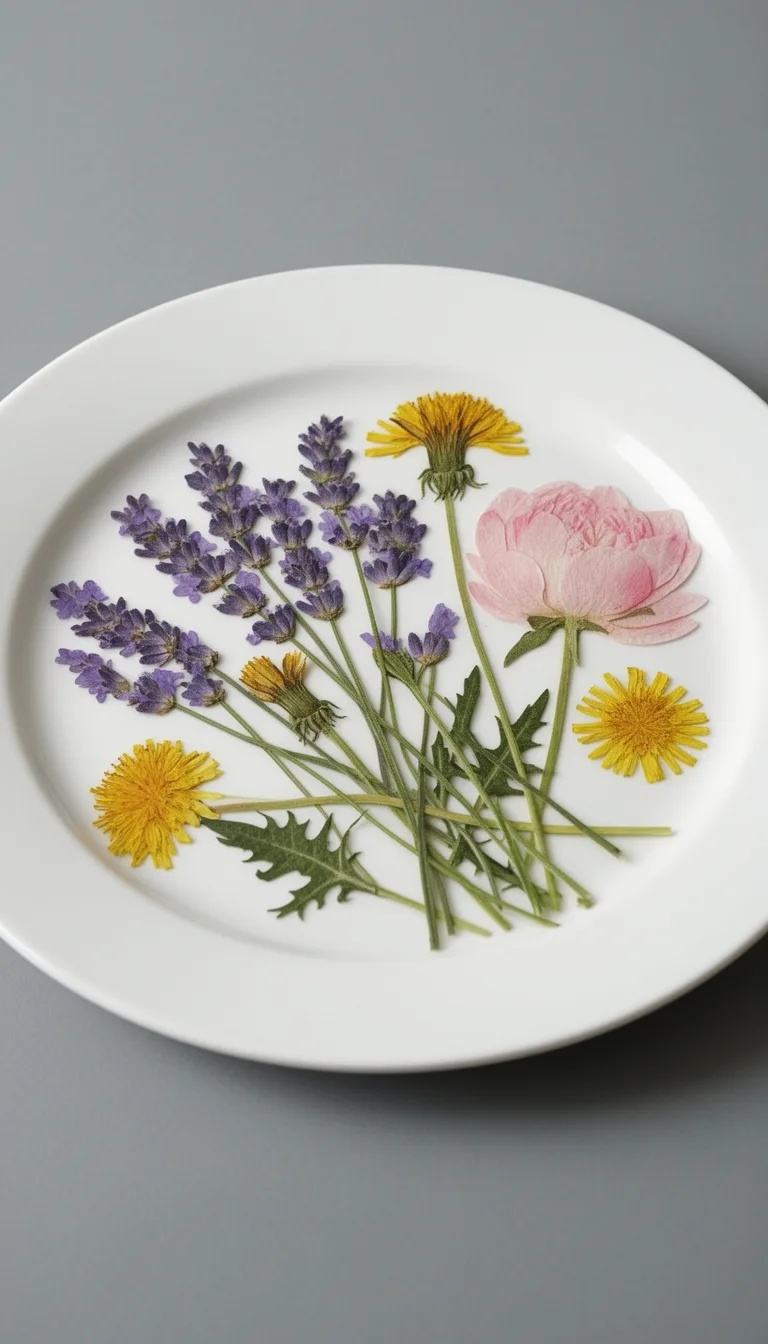
Pressing flowers turns delicate blooms into flat, artwork‑ready images that keep color and detail while fitting into frames, journals, or scrapbooks.
First, choose fresh, unblemished petals; avoid wilted or bruised pieces. Trim stems to a few centimeters, then arrange the flowers on a clean, absorbent paper, spacing them to prevent overlap.
Place a second sheet of paper on top, add a heavy book or a purpose‑built flower press, and leave it undisturbed for 24–48 hours. Check the dryness: petals should feel crisp and fully flattened.
Once dry, gently lift the top paper, use a soft brush to remove dust, and store the pressed flower in a protective sleeve or mount it directly onto cardstock. This method preserves vivid hues and fine veins, making each piece ready for framing, collage, or journal embellishment.
Use Silica Gel for 3‑D Shape Retention
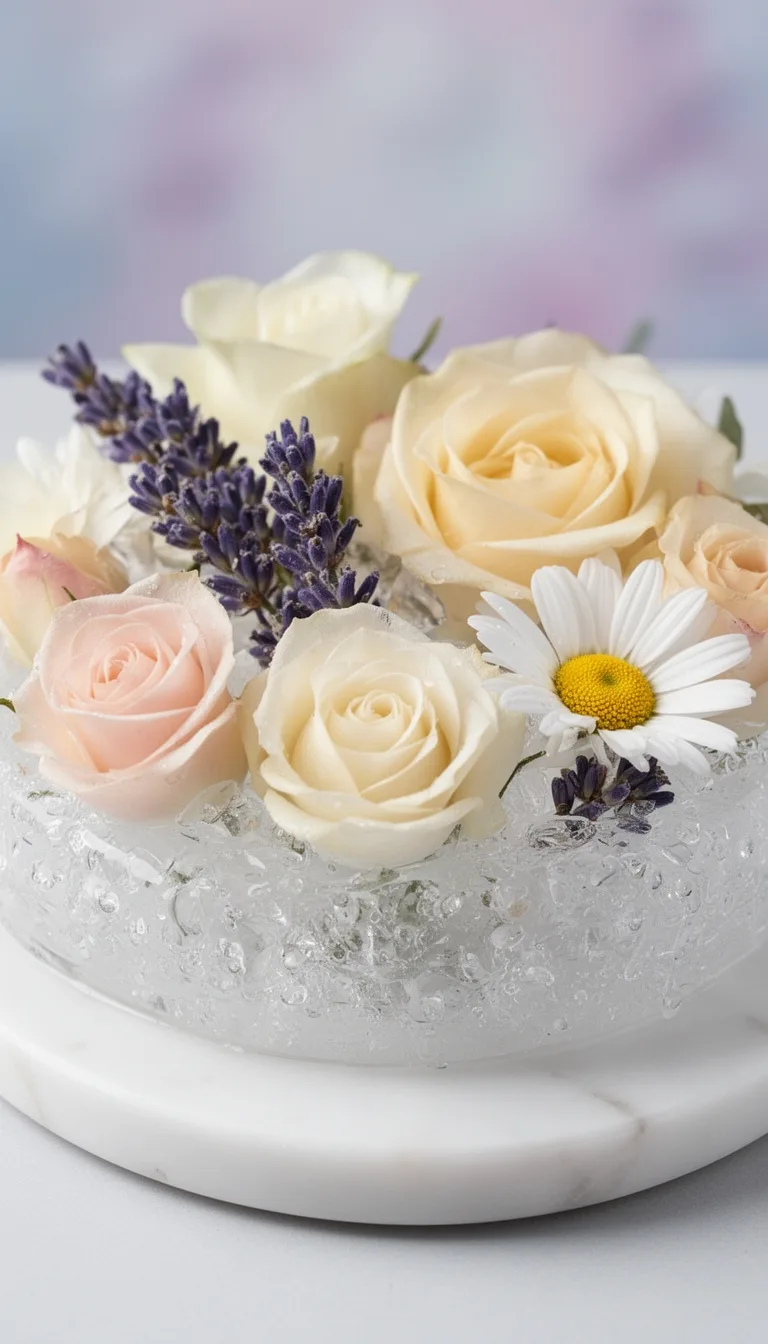
Seal your blooms in silica gel to lock in their three‑dimensional form and vibrant color. Choose a clear, food‑grade silica gel and a shallow, airtight container.
Trim stems to fit, then spread a 1‑inch layer of gel at the bottom. Gently nest each flower, arranging petals and stamens exactly as you want them to appear.
Cover the remaining flowers with another 1‑inch layer, ensuring no air pockets. Seal the lid and let the gel absorb moisture for 3‑7 days, checking daily for firmness.
Once petals feel dry and crisp, carefully lift each flower, brush off excess gel, and store in a moisture‑proof box. This method preserves shape, texture, and hue, making the blooms ideal for decorative displays, shadow boxes, or resin encasements.
Soak Flowers in Glycerin for Soft, Flexible Keepsakes
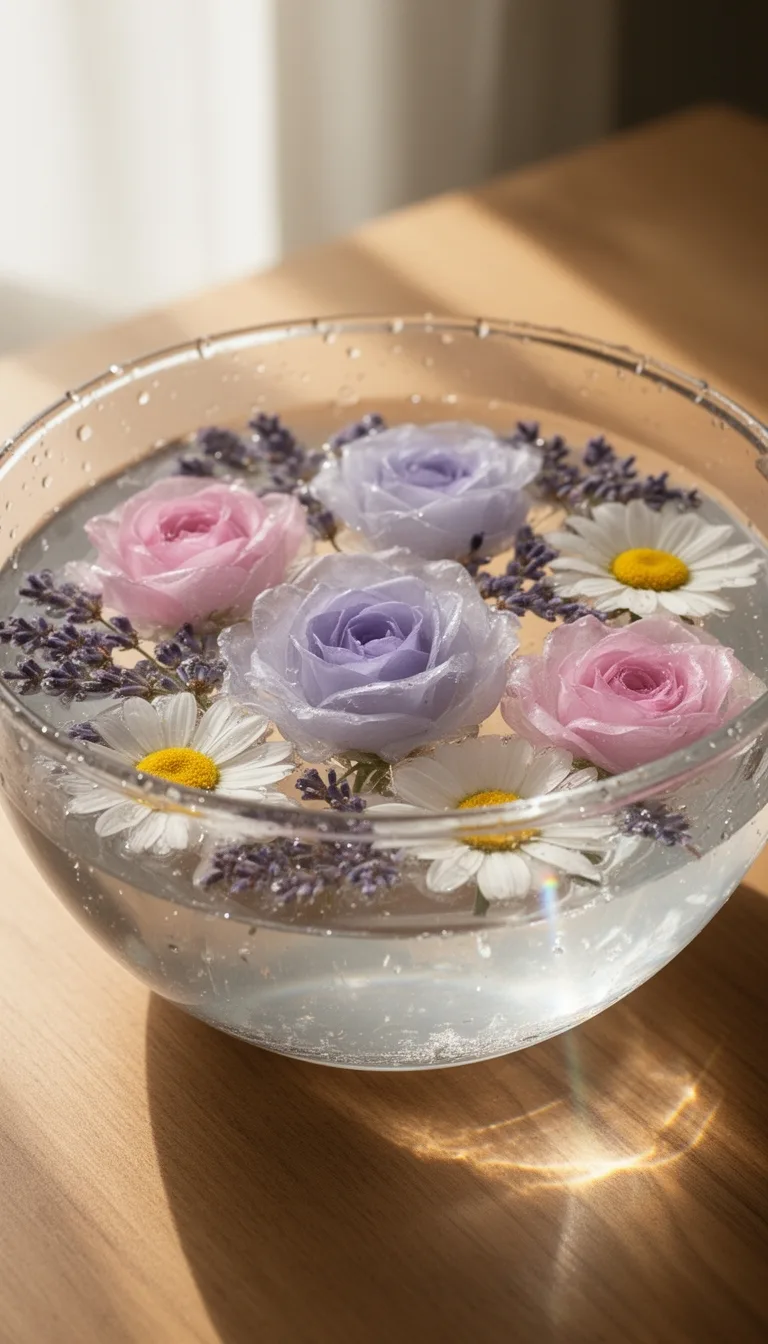
After the crisp, three‑dimensional results you get with silica gel, you can switch to glycerin when you want flowers that stay soft and pliable.
First, pick fresh, undamaged blooms; trim stems to two inches and remove excess foliage. Mix one part glycerin with two parts warm water in a glass jar, stirring until fully dissolved.
Submerge the flowers, ensuring petals are fully covered, and seal the jar. Let them soak for two to three weeks, checking weekly for firmness.
Once petals feel supple, remove them, pat dry with a paper towel, and hang them upside‑down in a well‑ventilated area to finish drying. The glycerin replaces sap, preserving color and flexibility, perfect for wreaths, bouquets, or decorative crafts.
Microwave Drying: Fast, Space‑Saving Technique
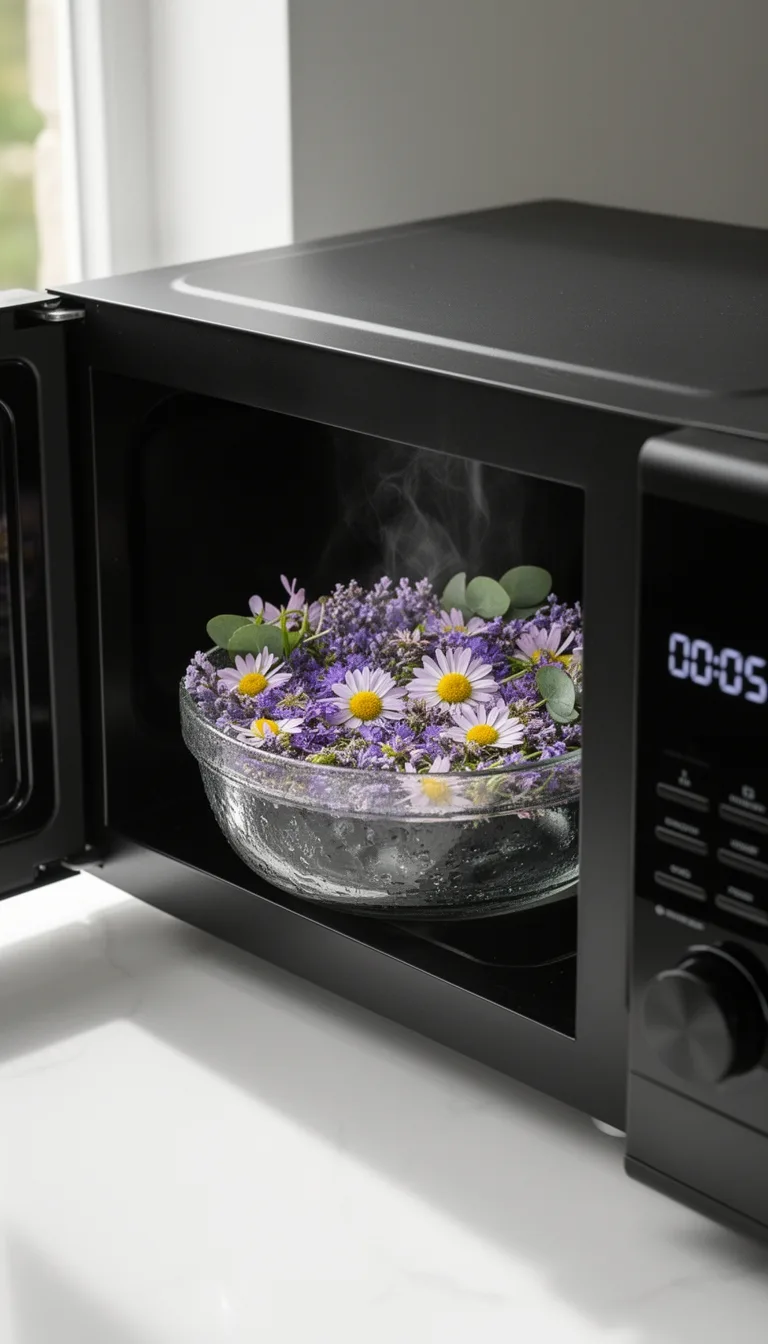
Microwave drying lets you preserve flowers in minutes rather than weeks, and it saves space by using a single kitchen appliance instead of bulky racks.
First, trim stems to 2‑3 inches, remove excess foliage, and pat petals dry. Place a single layer of flowers on a microwave‑safe plate lined with a paper towel, then cover with another towel to trap steam. Set the microwave to low (30‑50 % power) and run 30‑second bursts, checking for crispness after each interval. Rotate or flip petals to ensure even drying; total time usually 2‑4 minutes.
Once brittle, transfer flowers to a sealed container with a desiccant packet to prevent moisture re‑absorption. Store in a cool, dark drawer to maintain color and shape.
Freeze‑Dry Flowers for Ultra‑Realistic, Long‑Lasting Results
If you need a method that preserves both the vivid color and delicate texture of flowers for years, freeze‑drying is the answer.
You’ll start by selecting fresh, pesticide‑free blooms, then quickly flash‑freeze them in a deep freezer.
The sublimation stage removes moisture without collapsing cell walls, so petals stay lifelike and retain their original hue.
After the cycle ends, store the flowers in airtight containers with silica packets to guard against humidity.
- Preparation – Trim stems, remove excess foliage, and arrange flowers on a tray for even freezing.
- Freeze‑Dry Cycle – Use a home freeze‑dryer or a professional service; set the temperature to –40 °F and run the vacuum for 24–48 hours.
- Finishing Touches – Gently brush off any residual ice crystals, then seal in a UV‑protected box to maintain brilliance for decades.
Create a DIY Floral Resin Cast
When you’re ready to turn preserved blooms into lasting art, start by selecting a clean, level silicone mold and gathering a high‑clarity epoxy resin, a hardener, and a mixing cup. Measure resin and hardener in a 1:1 ratio, stir gently for 2‑3 minutes, then pour a thin base layer into the mold. Place your dried flowers on the surface, arrange them with tweezers, and cover with more resin until the mold is filled. Remove bubbles with a quick torch pass, let cure 24 hours, then demold and sand edges if needed.
| Step | Time |
|---|---|
| Mix resin & hardener | 5 min |
| Pour base layer | 2 min |
| Cure | 24 h |
Make a Hanging Herb‑Style Bouquet With Wax
Even though you’ve already mastered dried‑flower resin, creating a hanging herb‑style bouquet with wax adds a fresh, aromatic twist to your décor.
Start by gathering sturdy herb stems—lavender, rosemary, sage—then trim them to 8‑10 inches. Melt paraffin or soy wax in a double‑boiler, adding a few drops of essential oil that matches your herbs for extra scent. Dip each stem’s base into the wax, allowing a thin coating to form, then insert a small wooden dowel or metal hook before the wax solidifies. Hang the bouquet in a breezy spot; the wax holds the stems upright while releasing fragrance gradually.
- Wax temperature – keep it between 150‑160 °F to avoid scorching herbs.
- Coating thickness – aim for a 1‑mm layer; too thick can weigh stems down.
- Drying time – let the wax set for at least 30 minutes before hanging.
Preserve Flowers in a Clear Epoxy Tabletop
Start by selecting a clean, level tabletop and gathering the flowers you want to embed—fresh, dried, or pressed—then arrange them in a shallow dish to visualize the final design.
Next, sand the surface lightly to promote adhesion, wipe away dust, and tape the edges to protect surrounding furniture.
Mix clear epoxy resin and hardener according to the manufacturer’s ratio, stirring slowly to avoid bubbles.
Pour a thin base layer, let it cure for 10‑15 minutes, then gently place each flower, using tweezers for precision.
Add more resin until the surface is fully covered, smoothing with a spatula.
Remove trapped air with a brief torch pass or a vacuum chamber.
Allow the table to cure undisturbed for 24‑48 hours before polishing the edges for a glass‑like finish.
Turn Blooms Into Scented Potpourri
After your epoxy table has cured, you can keep the celebration going by turning the extra blooms into scented potpourri.
First, dry the petals. a low‑heat oven (150 °F) for 20 minutes, spreading them on parchment to avoid scorching.
Next, blend the dried flowers with a base of dried citrus peel, cinnamon sticks, and a few drops of essential oil—choose lavender for calm or citrus for energy.
Finally, store the mixture in airtight jars, letting the fragrance mature for a week before displaying.
- Drying method – oven vs. air‑dry; monitor humidity to prevent mold.
- Flavor balance – ratio of petals to spices; adjust oil drops for intensity.
- Packaging – glass jars with silicone seals; label with scent profile for easy reference.
Store Preserved Flowers in a Glass Dome for Display
Pick your preserved blooms and gently nest them inside a clear glass dome, then seal the dome to lock in humidity and protect the petals from dust.
Choose a dome with a snug, screw‑top or magnetic latch; this prevents air exchange while letting you admire the arrangement.
Before sealing, add a small humidity packet or a damp cotton ball in the base to maintain moisture without oversaturation.
Position the dome on a stable surface away from direct sunlight, which can fade colors and cause heat buildup.
Clean the glass regularly with a soft microfiber cloth to keep the view crystal‑clear.
If you need to rearrange, open the dome carefully, adjust the stems, and reseal promptly to preserve the controlled environment.
This method showcases your preserved flowers beautifully while extending their visual life.
Troubleshoot Common Issues and Extend Shelf Life
If your preserved blooms start to look dull or brittle, first check the humidity level inside their container; too much moisture invites mold, while too little dries the petals.
Adjust the environment by placing a small hygrometer nearby and using a humidifier or desiccant as needed.
Keep the display out of direct sunlight and avoid temperature swings; a stable 65‑75 °F range preserves color vibrancy.
Rotate the arrangement weekly to prevent uneven drying and to spot early signs of decay.
- Control moisture – seal the dome, replace the silica gel pack every 2‑3 months, and wipe any condensation promptly.
- Regulate temperature – use a room thermostat, avoid drafty windows, and store near a consistent heat source.
- Monitor pests – inspect for insects, apply a light dusting of natural insect repellent, and quarantine any affected stems immediately.
Conclusion
Now you’ve got 12 easy ways to keep your blooms beautiful, so pick the method that fits your space, budget, and style, and start preserving today. Whether you’re drying, pressing, or sealing, follow the steps, watch humidity, and rotate displays to prevent mold. With a little care, your flowers will stay vibrant and fragrant, turning any room into a lasting garden of memories.
The Only Tools You Need for a Thriving Garden 🌱
Whether you're a weekend gardener or growing daily — these hand-picked tools make every session faster, easier, and more satisfying.