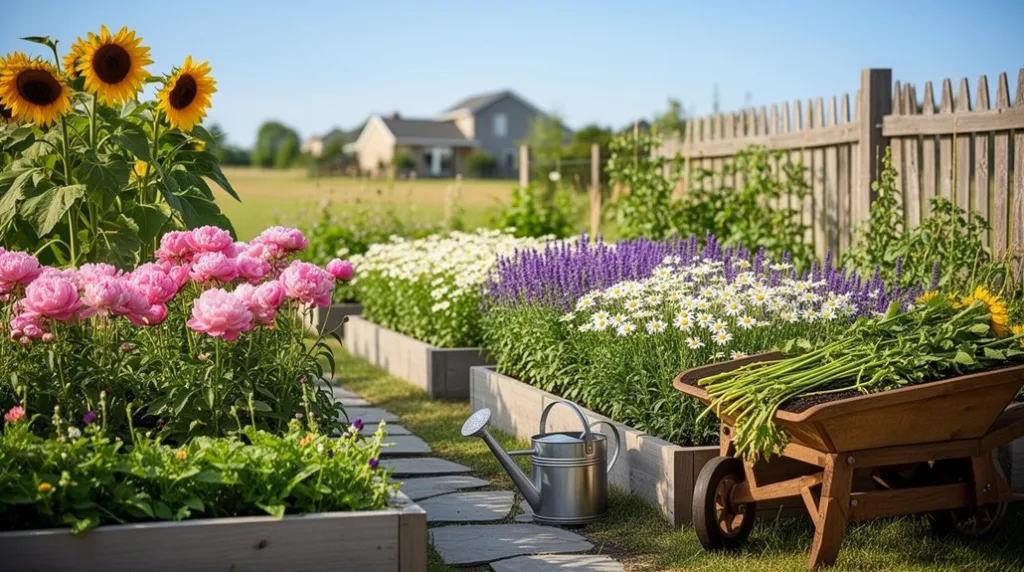
You’ll need to start by finding the sunniest spot in your yard, as most flowers require ample light. Testing and amending your soil is also a crucial first step many beginners overlook. Once you’ve handled these foundations, you can select easy flowers for continuous blooms, but there’s a key planning technique that separates a hobby from a viable farm.
Key Takeaways
- Choose a backyard spot with at least six hours of direct sunlight daily.
- Improve your soil with compost and amendments based on a professional soil test.
- Install drip irrigation or soaker hoses for consistent, water-efficient watering.
- Apply organic mulch to suppress weeds and conserve soil moisture.
- Harvest flowers in the morning for longevity and condition stems immediately in water.
Find the Sunniest Spot in Your Yard
Start by simply observing how sunlight moves across your yard over a few days. Don’t just guess; watch it from morning until evening.
Most cut flowers need a solid six to eight hours of direct, unfiltered sun to thrive and produce strong stems and vibrant blooms. Note where shadows from your house, fences, or trees fall and for how long.
You’ll likely find one area that’s consistently bright all day. That’s your golden spot. Even a few hours less of sun can make your plants leggy and your flowers sparse.
I’ve learned this the hard way. You can’t negotiate with a sunflower or a zinnia on this—they’ll simply tell you they’re unhappy by not performing.
Your entire season’s success hinges on this first, critical observation.
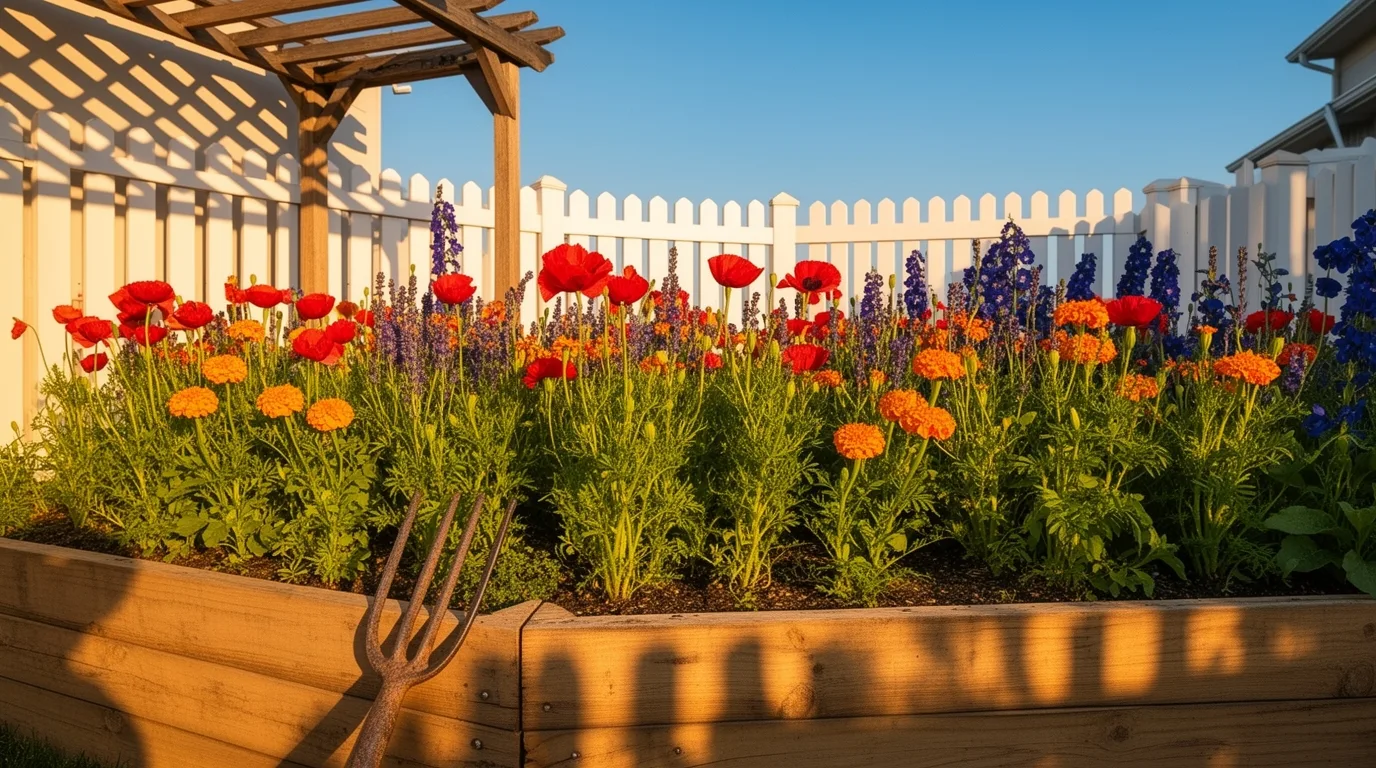
Choose Beginner-Friendly Cut Flowers
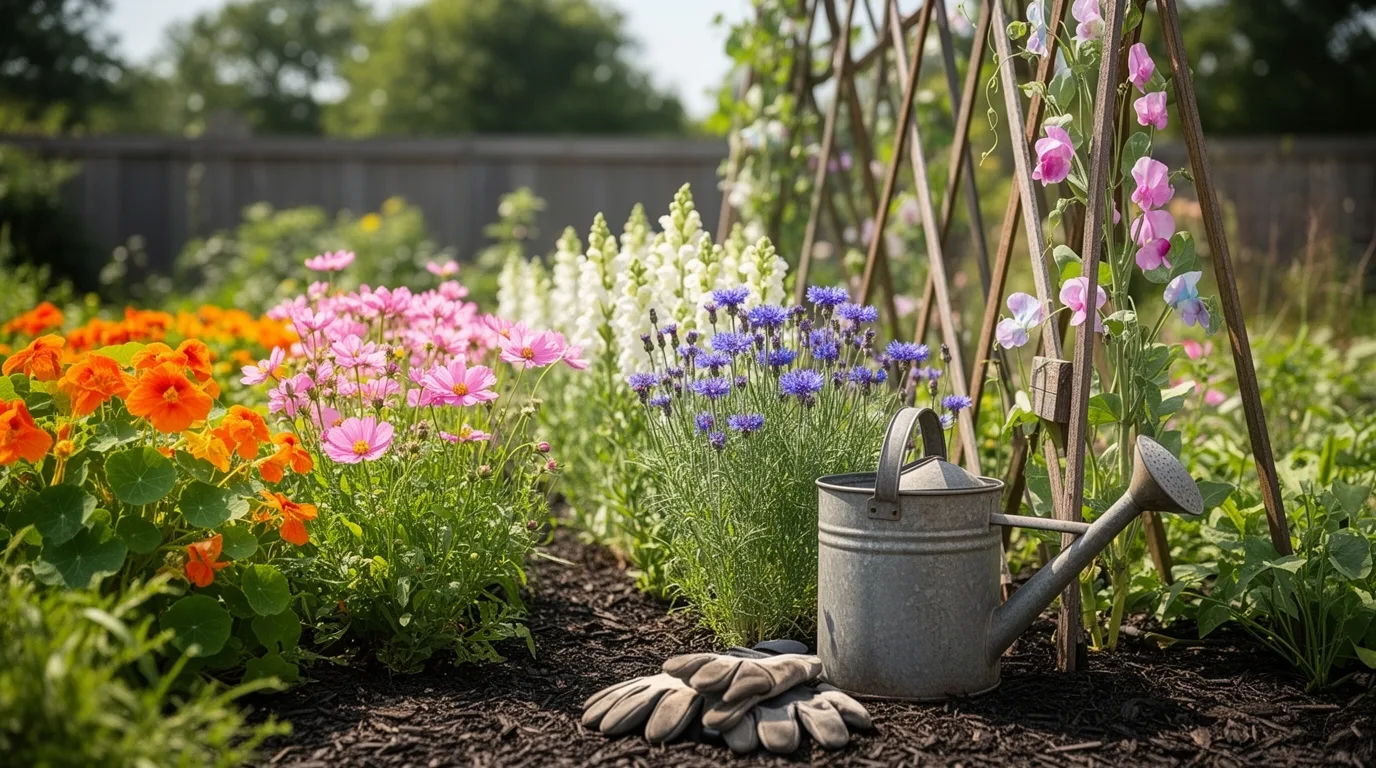
Having found the sunniest spot for your future cutting garden, let’s turn our attention to what you’ll actually plant there. You want flowers that are forgiving, produce lots of blooms, and handle your local climate. I always recommend starting with annuals; you get fast results and can learn without a long-term commitment.
- Zinnias: They thrive in heat, bloom prolifically from summer into fall, and you can pinch them back to encourage even more stems. Their bold colors are a staple in any bouquet.
- Sunflowers: Choose branching varieties like ‘Sunbright’ for multiple flowers per plant. They’re incredibly easy to direct-sow and their cheerful presence is unmistakable.
- Cosmos: These delicate-looking flowers are surprisingly tough. They tolerate poor soil, self-sow readily, and their airy stems add beautiful movement to arrangements.
Get Your Soil Tested First
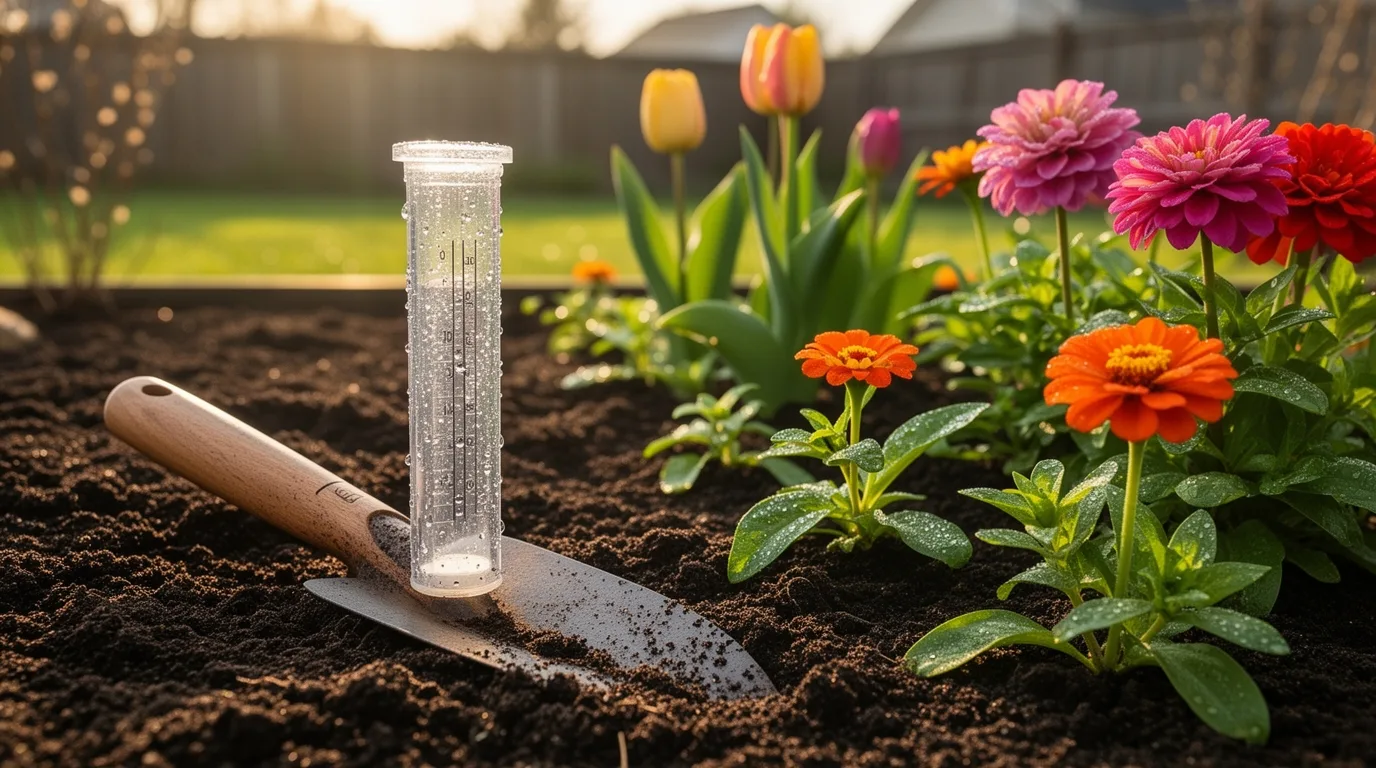
Now that you’ve chosen your flowers, you’ll need to prepare their home, and that begins with knowing what you’re working with—your soil. You can’t guess its pH or nutrient levels. I skipped this once and wasted a season on stunted plants.
Contact your local cooperative extension office for a cheap, professional test kit. You’ll collect samples from a few spots in your garden, mix them, and send them off. In a couple weeks, you’ll get a detailed report. It tells you exactly what your soil has and, crucially, what it lacks. Think of it as a medical check-up for your garden. That report is your roadmap; it takes the mystery out of soil preparation and saves you money on unnecessary amendments.
Amend Your Soil for Healthy Flowers
Amending your soil according to that test report is your first practical step. Don’t just guess; the lab’s recommendations tell you exactly what your plot needs. You’ll mostly be working organic matter like compost into your beds to improve texture and fertility.
I learned the hard way that skipping this leads to weak stems and poor blooms. Think of it as building a strong foundation for your flowers.
- Incorporate Compost Generously: Work in a 2-3 inch layer of finished compost across your entire bed. This boosts nutrient levels and improves both drainage and water retention.
- Adjust pH with Precision: If your soil is too acidic, add garden lime as directed. For alkaline soil, use elemental sulfur to gently lower the pH.
- Add Slow-Release Nutrients: Based on your test, mix in a balanced, organic granular fertilizer or specific amendments like bone meal for phosphorus.
Create a Planting Schedule for Continuous Blooms
Plan your planting dates to turn a single harvest into a season-long symphony of flowers. You won’t plant everything at once. Instead, you’ll use succession planting. For example, sow a batch of zinnias every few weeks from spring through midsummer. This gives you fresh, young plants ready to bloom as older ones fade.
I also group flowers by their bloom duration: quick annuals like cosmos fill early gaps, while perennials like dahlias provide later structure. Keep a simple calendar. Mark your first frost date and work backwards, noting when each variety needs to be sown or transplanted.
This planning feels tedious at first, but it’s the secret to having bouquets ready from June straight through October.
Source High-Quality Seeds and Starter Plants
Begin with seeds and plants from reputable suppliers—it’s your farm’s foundation. I learned cheap seeds often have low germination rates, wasting your time and space. Invest in quality from trusted growers or specialty flower seed companies. You’ll get vigorous plants that produce more blooms.
For beginners, buying a few starter plants gives you instant success while your seeds grow. Check local nurseries for healthy, disease-free transplants.
- Prioritize varieties known for excellent cut flower performance, like zinnias or snapdragons, over general garden types.
- Look for suppliers that clearly list germination rates and growing instructions specific to cutting.
- Join online gardening forums to get personal recommendations for the best seed sources from experienced growers.
Start Seeds Indoors for a Spring Head Start
If you want blooms weeks ahead of schedule, you’ll need to start your seeds indoors before the last frost. Check your seed packets to count back the right number of weeks. I use simple plastic cell trays filled with a sterile seed-starting mix. Keep the soil moist but not soggy, and a heat mat under the trays makes a huge difference for germination. Once sprouts appear, get them under bright grow lights to prevent leggy, weak seedlings.
| Task | Key Tool | Pro Tip |
|---|---|---|
| Sowing | Seed-starting mix | Don’t use garden soil; it can harbor diseases. |
| Warmth | Heat mat | Remove it after seeds sprout to avoid cooking them. |
| Light | Grow lights | Keep lights 2-3 inches above seedlings as they grow. |
| Watering | Spray bottle | A gentle mist prevents disturbing tiny seeds and roots. |
Harden off your seedlings for a week before transplanting them outside.
Prepare Your Garden Beds for Planting
Once your seedlings are hardened off and ready for the garden, their success depends on the quality of the ground you set them into.
Think of your garden bed as a seedling’s first home; you want it rich, fluffy, and welcoming.
This preparation step can’t be rushed. I’ve learned that skipping soil prep leads to weak plants.
Your goal is to create loose, fertile soil that drains well.
Start by removing any weeds or debris. Then, focus on these three essentials:
- Loosen the Soil: Break up compacted earth with a digging fork or tiller to a depth of at least 12 inches, allowing roots to spread easily.
- Amend with Compost: Work in a 2-3 inch layer of finished compost. This improves texture and adds vital nutrients.
- Level and Pre-Water: Rake the surface smooth and give the entire bed a good soak a day before transplanting. This settles the soil.
Transplant Your Seedlings Without Stress
Now for the most rewarding step: moving your precious seedlings into their permanent home.
I always choose a calm, cloudy afternoon to transplant, avoiding midday sun. Gently squeeze your seedling cell to loosen the root ball, then tip it out, supporting the stem base. Never pull a plant by its stem!
If roots are tightly circling, gently tease them apart to encourage outward growth.
Dig a hole slightly larger than the root ball, place your seedling at the same depth it was growing, and fill in with soil, firming it gently.
Water each plant immediately with a gentle shower to settle the roots and eliminate air pockets. This “transplant shock” step is crucial for a seamless transition into active growth.
Sow Seeds Directly in Your Garden Bed
Sowing seeds directly into your garden bed offers an easy and satisfying start for many flowers. You can avoid the fuss of indoor seed trays and transplanting. This method works best for hardy annuals like zinnias, cosmos, and sunflowers.
Prepare the soil by loosening it and removing any weeds. Check your seed packets for spacing and depth instructions—it’s crucial not to bury them too deep. You’ll thin the seedlings later to prevent overcrowding. My first direct sowing taught me the joy of seeing sprouts emerge right where they’ll bloom. Keep the area moist until germination.
- Scatter for a Natural Look: For flowers like larkspur or poppies, try lightly scattering seeds over a prepared area and gently rake them in.
- Use Succession Planting: Sow a new batch every few weeks for a continuous harvest; this is perfect for quick growers like calendula.
- Mark Your Rows: Use small sticks or labels so you remember what you planted and don’t accidentally weed out your seedlings.
Install Irrigation for Your Cut Flower Farm
You’ll often find that installing irrigation for your cut flower farm saves you countless hours and ensures your blooms get consistent water. I started with a simple soaker hose system; it’s affordable and delivers water right to the roots, keeping foliage dry to prevent disease. Drip irrigation is another great, efficient option. You’ll connect the main tubing to a timer on your faucet, so your garden waters itself even when you’re busy. Lay the lines along your rows when you first plant. Getting this set up early makes everything easier.
| Irrigation Choice | Why It Works |
|---|---|
| Soaker Hoses | Gentle, deep watering that conserves moisture. |
| Drip Lines | Precise control, ideal for long, straight rows. |
| Timer Attachment | Ensures consistency, your most reliable helper. |
Control Weeds Naturally With Mulch and Timing
Frequently, the best weed control starts before a single sprout appears. You outsmart weeds with timing and a good layer of mulch, saving you hours of back-breaking work. Apply a thick, 3-4 inch layer of organic mulch like straw, shredded leaves, or wood chips right after planting or when your seedlings are a few inches tall. This blocks the light weed seeds need to germinate. I’ve found that consistent mulching cuts my weeding time by more than half.
- Time Your Mulching: Lay mulch early, when the soil is moist but weeds haven’t yet emerged. Mulching over existing weeds just hides the problem.
- Keep it Thick: A thin layer won’t work. Maintain that 3-4 inch depth as material decomposes over the season.
- Use Cardboard: For a super-weedy area, lay cardboard under your mulch. It smothers everything and breaks down naturally.
Feed Your Flowers for Maximum Blooms
A consistent feeding schedule is the secret to transforming your healthy plants into a field overflowing with vibrant, long-lasting blooms. I learned this the hard way my first season when my zinnias grew tall but hardly flowered. Regular fertilization fuels that intense flower production. I rely heavily on organic options like compost tea or fish emulsion, applying them every two to three weeks. For heavy feeders like dahlias, I also mix a balanced organic fertilizer into the soil at planting. Always water well before and after feeding to prevent root burn and help nutrients absorb. You’ll see the difference in stem strength and bloom size.
| Flower Type | Key Nutrient Focus | My Go-To Feed |
|---|---|---|
| Dahlias & Sunflowers | Balanced (N-P-K) | Granular organic fertilizer |
| Zinnias & Cosmos | Phosphorus for blooms | Liquid fish emulsion |
| Peonies & Roses | Steady nutrition | Monthly compost tea |
| Annuals in Pots | Frequent feeding | Diluted liquid seaweed |
| Perennials in Spring | General boost | Top-dressing with compost |
Manage Common Pests Organically
Even the healthiest, well-fed flowers can attract unwanted visitors that threaten your blooms. Instead of reaching for harsh chemicals, you can manage them organically. Your first defense is a strong, healthy plant, so keep up with watering and weeding. Regularly inspect your plants, especially under leaves, to catch problems early.
Here are three effective organic strategies I rely on:
- Blast them off – A sharp spray of water from your hose dislodges aphids and spider mites quickly.
- Handpick large pests – It’s simple but works. Drop beetles and caterpillars into soapy water.
- Use insecticidal soaps or neem oil – These target soft-bodied pests without harming beneficial insects like ladybugs and bees. Always spray in the cool morning or evening.
Learn the Best Time to Harvest Each Flower
Harvesting your flowers at just the right moment makes all the difference for their vase life. You generally want to cut most blooms in the cool morning after the dew dries, when their stems are full of water.
For zinnias and dahlias, wait until the flower is fully open but the center is still tight. With snapdragons and delphiniums, harvest when the bottom third of the florets are open. Peonies are a special case; cut them in the “marshmallow” stage when the bud feels soft and shows color.
For roses, choose buds that are just beginning to unfurl. I always do a “wiggle test” on stems like scabiosa; if the flower head wobbles, it’s too immature.
Use the Right Tools for Harvesting Blooms
Proper timing is matched by the equipment you choose. I’ve learned that sharp, clean tools aren’t a luxury—they’re essential for healthy plants and long-lasting blooms.
Using dull scissors or pulling stems by hand damages plant tissue, inviting disease and hindering future growth. You’ll want a dedicated set just for harvesting.
- Florist Snips: Get a good pair. Their short, sharp blades offer control for delicate stems and tight spaces, giving you a clean cut without crushing.
- Bypass Pruners: Use these for woody stems like sunflowers or shrubs. The scissor-like action makes a precise cut that heals quickly.
- A Bucket of Water: Always carry one into the garden. Placing stems directly into water prevents air bubbles and keeps them hydrated from the moment you cut.
Process Flowers to Make Them Last Longer
Getting those fresh-cut blooms to your vase is just the start; what you do next determines their staying power.
First, strip all leaves that’ll sit below the water line to prevent bacterial growth.
Then, recut each stem underwater with sharp scissors—this keeps air from blocking the vascular system, letting the flower drink freely.
I always plunge them into a bucket of cool, clean water right after cutting.
For woody stems like roses, you can split the ends a bit to help uptake.
Some folks use floral preservatives; I find a drop of bleach and a spoon of sugar in the water works just as well to feed the flowers and keep the water clear.
Let them hydrate in a cool, dark spot for a few hours before arranging.
Design Bouquets With Your Homegrown Flowers
Unleash your creativity by starting with a simple plan—choose a color scheme, think about size and shape, and gather more blooms and foliage than you think you’ll need.
Hold a few key stems in your hand as a foundation, then add others one by one, turning the bouquet as you go for a rounded look.
Don’t be afraid to mix textures; spiky veronica with fluffy zinnias creates wonderful contrast.
Your garden provides the perfect inspiration, so trust your eye.
- Create a Focal Point – Pick one standout bloom, like a dinnerplate dahlia, and build around it.
- Employ the “Rule of Threes” – Grouping flowers in odd numbers is visually more appealing and dynamic.
- Use Filler and Foliage – Herbs like mint or silvery artemisia add scent and fill gaps beautifully.
Store and Condition Your Cut Flowers
Once your bouquet feels just right, keeping those flowers looking fresh means giving them a good start from the moment they’re cut.
Always use clean, sharp scissors or snips. I’ve found cutting in the morning when stems are hydrated works best. Get them into a bucket of lukewarm water immediately. Don’t let them sit out even for a minute.
Next, condition them in a cool, dark place like a basement for several hours, or overnight. This lets them drink up fully before arranging.
Remove any foliage that’ll sit underwater in your vase to prevent rot. For woody stems like lilacs, split the ends a bit with your knife to help them absorb more water. This simple routine really makes a difference.
Price Your Backyard Cut Flower Bouquets
Setting your bouquet prices requires balancing the value of your work with what customers in your area will pay. You can’t undervalue your time, seeds, and soil. Start by calculating your costs per bouquet, then add a fair hourly wage for your labor. I check what grocery stores and other local growers charge to gauge the market. Remember, your homegrown, specialty blooms are a premium product.
- Calculate Your Costs: Add up expenses for seeds, fertilizer, fuel, and vase or wrap for each bouquet. Don’t forget a portion of your water bill!
- Value Your Labor: Pay yourself for planting, harvesting, and designing. Even a small hourly rate makes your business sustainable.
- Research Local Prices: See what standard and premium bouquets sell for nearby. Your unique, fresh-picked flowers can often command a higher price.
Sell Flowers at a Local Farmers Market
Selling at a farmers market connects you directly with customers who appreciate locally grown flowers. You’ll get instant feedback and build a loyal following. First, apply for a vendor spot and understand their rules. Your market day setup is key—arrive early with a clean, attractive display. Keep your bouquets fresh in water until you’re ready to sell. I’ve found that offering a few small, affordable options alongside premium bouquets increases sales dramatically. Engage with everyone; tell them your flowers’ story.
| Item to Bring | Why It’s Essential | Pro-Tip |
|---|---|---|
| Bouquets in Water | Prevents wilting before sale. | Use recycled jars or buckets. |
| Clear Pricing Sign | Eliminates customer confusion. | Include bouquet sizes/names. |
| Cash & Change Box | Smooth, quick transactions. | Start with $50 in small bills. |
| Business Cards | Builds future customer connections. | Hand one out with each purchase. |
| Sun Protection | You’ll be standing outdoors for hours. | Bring a hat, sunscreen, and water. |
Sell Flowers Online or Through Local Florists
Expand your farm’s reach by setting up an online store or partnering with local florists.
I’ve found online sales through a simple website or social media let you pre-sell bouquets for weekly pickup or local delivery. This cuts waste since you only harvest what’s ordered.
For florist partners, start by dropping off a few sample bouquets. They’re often looking for unique, local blooms. You’ll need to establish your pricing and delivery schedule clearly. These channels build a consistent customer base beyond the weekend market.
- Build a simple online hub using platforms like Squarespace or even Instagram to showcase your weekly availability with clear photos.
- Create florist sample kits with your contact info, price list, and a stunning mixed bouquet to make a memorable first impression.
- Master local delivery logistics by mapping efficient routes for a specific day to keep flowers fresh and your fuel costs low.
Save Seeds From Your Best Plants
Hold onto a bit of next year’s potential by saving seeds from your top-performing flowers. It’s a thrifty way to replicate your favorites.
Start by letting a few blooms fade completely on the plant—you want the seeds to mature fully inside the dried pods or heads. I’ve found a dry, sunny afternoon is perfect for harvesting.
Gently collect the dry seed material into a paper bag or envelope, not a plastic one, to prevent mold. Then, label everything immediately with the variety and date.
Clean the seeds by removing any chaff, and store them in a cool, dark place. You’ll ensure you have proven winners ready for next season without spending more money.
Plan Your Next Year’s Cut Flower Garden
With the seeds from your best plants safely stored, you can turn your attention to sketching out next year’s garden layout. Grab a notebook and map your beds, considering what thrived and what struggled last season. I always rotate my crops, like moving sunflowers to fresh soil, to keep things healthy.
Your plan lets you order seeds early and stagger planting dates for a longer harvest. Think about these key points:
- Group by height: Place taller flowers like zinnias at the back of a bed so they don’t shade shorter varieties like marigolds.
- Schedule your blooms: Note each flower’s weeks-to-harvest to plant succession crops, ensuring you don’t have all your cosmos finish at once.
- Leave space for favorites: Dedicate a small section for experimenting with one or two new varieties you’re excited to try.
Frequently Asked Questions
What Is the Ideal Soil pH for Most Cut Flowers?
You’ll want soil with a pH between 6.0 and 7.0. Test your soil first; you can amend it to reach that ideal range. Most common cut flowers thrive in this slightly acidic to neutral zone.
How Do I Protect Delicate Seedlings From Extreme Weather?
First, you’ll create physical barriers. Use frost blankets overnight, shade cloths on hot days. Also, keep seedlings in a sheltered spot. You’ll move them easily as conditions change. Always monitor forecasts closely.
What Are the Signs That a Flower Needs Organic Pest Control?
Look for holes in petals, holes in leaves, black spots, sticky residue or wilting when you’ve watered. You’ll often see pests like aphids or caterpillars crawling. Then you’ll know you need organic pest control.
Can I Use Household Items for Flower Conditioning Instead of Commercial Products?
Yes, you can. Use bleach in water to disinfect stems or add a dash of sugar for food. A crushed aspirin might help too. You’ll find these simple tricks often work quite well.
How Do I Calculate Pricing for Bouquets Sold at a Farmers Market?
First, tally your material costs per bouquet. Factor in your labor—pay yourself hourly. Then, check competitors’ prices to stay competitive but value your unique blooms; you’ll want a solid profit margin.
Conclusion
Now you’ve got the tools! Start small, stay consistent, and learn by doing. Your biggest lessons will come from your own backyard. Keep notes on what sells and what thrives. Before you know it, you’ll be cutting armloads of blooms and building a loyal customer base. Here’s to your first profitable, beautiful season
The Only Tools You Need for a Thriving Garden 🌱
Whether you're a weekend gardener or growing daily — these hand-picked tools make every session faster, easier, and more satisfying.