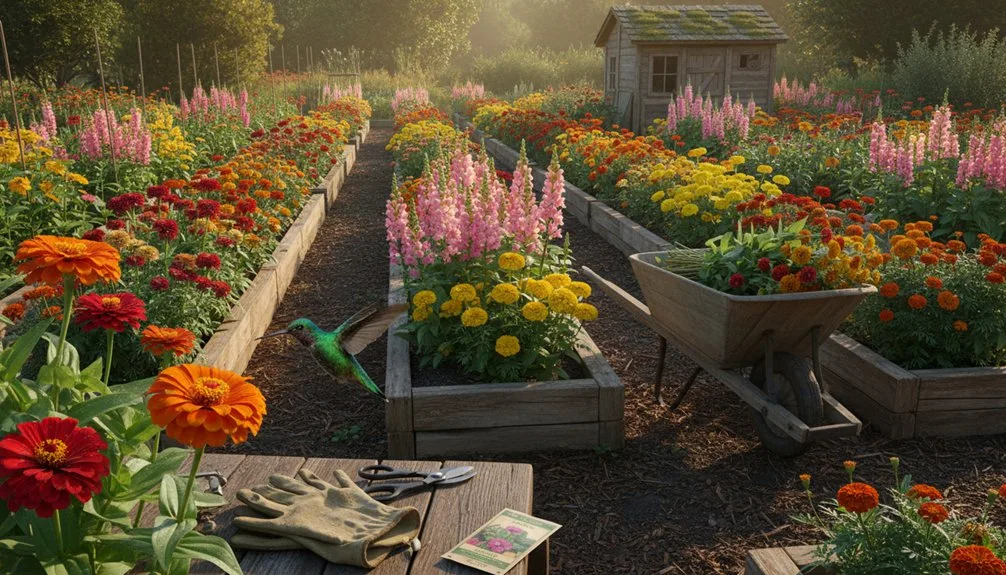
You’ll start by assessing your site’s sunlight—aim for six to eight hours of direct sun—then limit your first year to a quarter-acre. Test your soil, amend based on results, and invest in drip irrigation. Plant beginner-friendly flowers like sunflowers and zinnias using succession planting every two to three weeks. Harvest in early morning, condition stems immediately in cool water, and construct branded bouquets with fifty percent filler. Budget roughly ten thousand dollars for infrastructure, though you can start lean at fifteen hundred. Understanding your local frost dates and peak-season yields will shape your actual profitability timeline.
Key Takeaways
- Assess your property’s sunlight (6–8 hours minimum) at dawn, noon, and dusk to map ideal planting zones.
- Start with beginner-friendly flowers like sunflowers, zinnias, and dahlias; succession-plant every 2–3 weeks for continuous harvests.
- Prepare soil with lab testing; limit first-year planting to ¼ acre and use 30-inch raised beds oriented north-south.
- Harvest flowers early morning before 11 AM; condition stems immediately in cool water with sucrose solution.
- Budget $10,000 for year-one startup (seeds, soil, tools, irrigation, greenhouse); invest profits into cold storage and infrastructure.
Start Your Tiny Flower Farm: Size Your Space First
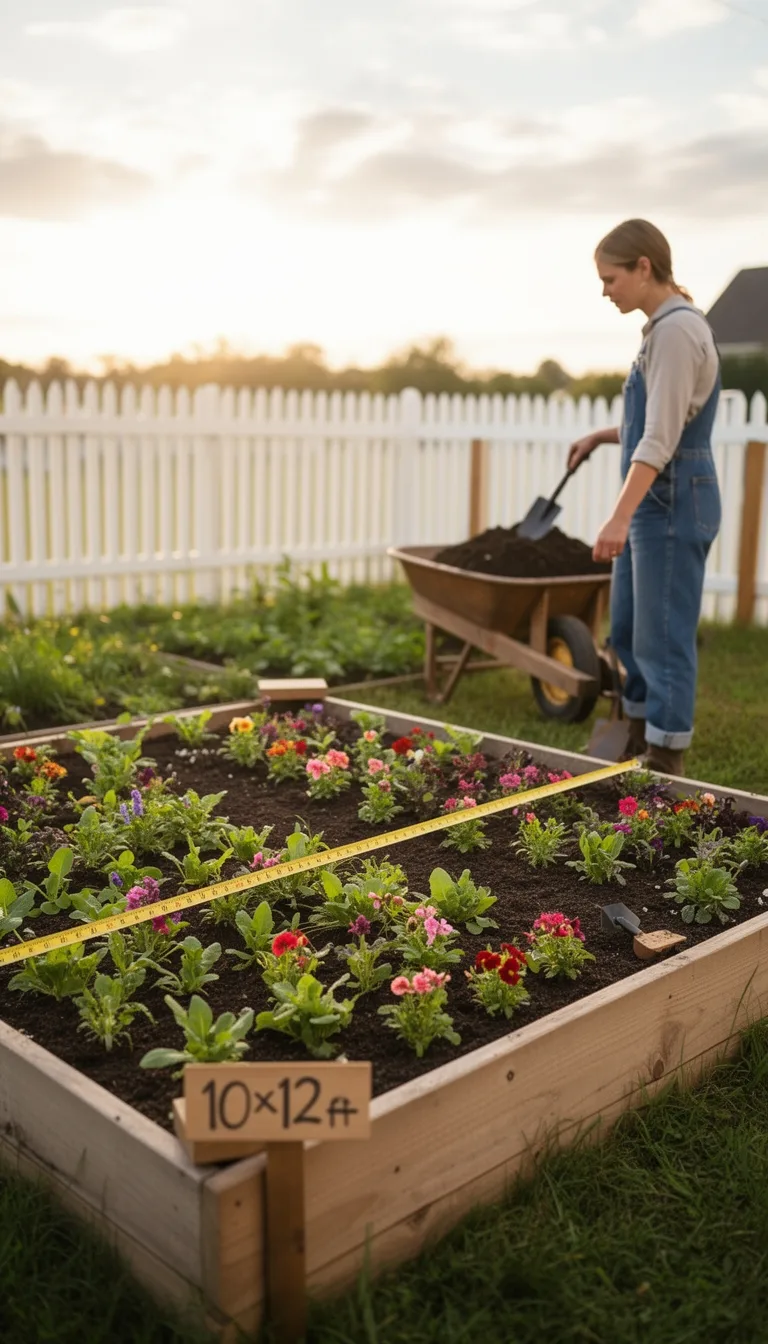
Before you plant a single seed, you’ll need to assess your yard’s sunlight exposure—it’s the foundation of your farm’s productivity.
Walk your property at morning, midday, and evening to map sunny and shady areas.
Most cut flowers need at least six to eight hours of direct sunlight daily, with morning sun and afternoon shade being ideal.
Next, measure your available space precisely.
Note structures, fences, trees, and terrain challenges like slopes or flooding-prone spots.
Identify opportunities—sunny corners, rich soil patches, flat areas. Use latitude and seasonal sun angles to analyze how shadows from buildings and trees shift throughout the year, ensuring you account for winter shadow patterns when planning row orientation.
For first-year growers, start with no more than a quarter acre of annuals.
Three hundred square feet generates a weekly bouquet; 1,600 square feet provides a substantial learning curve without overwhelming you.
Set Your Year-One Revenue Target and Bloom Schedule
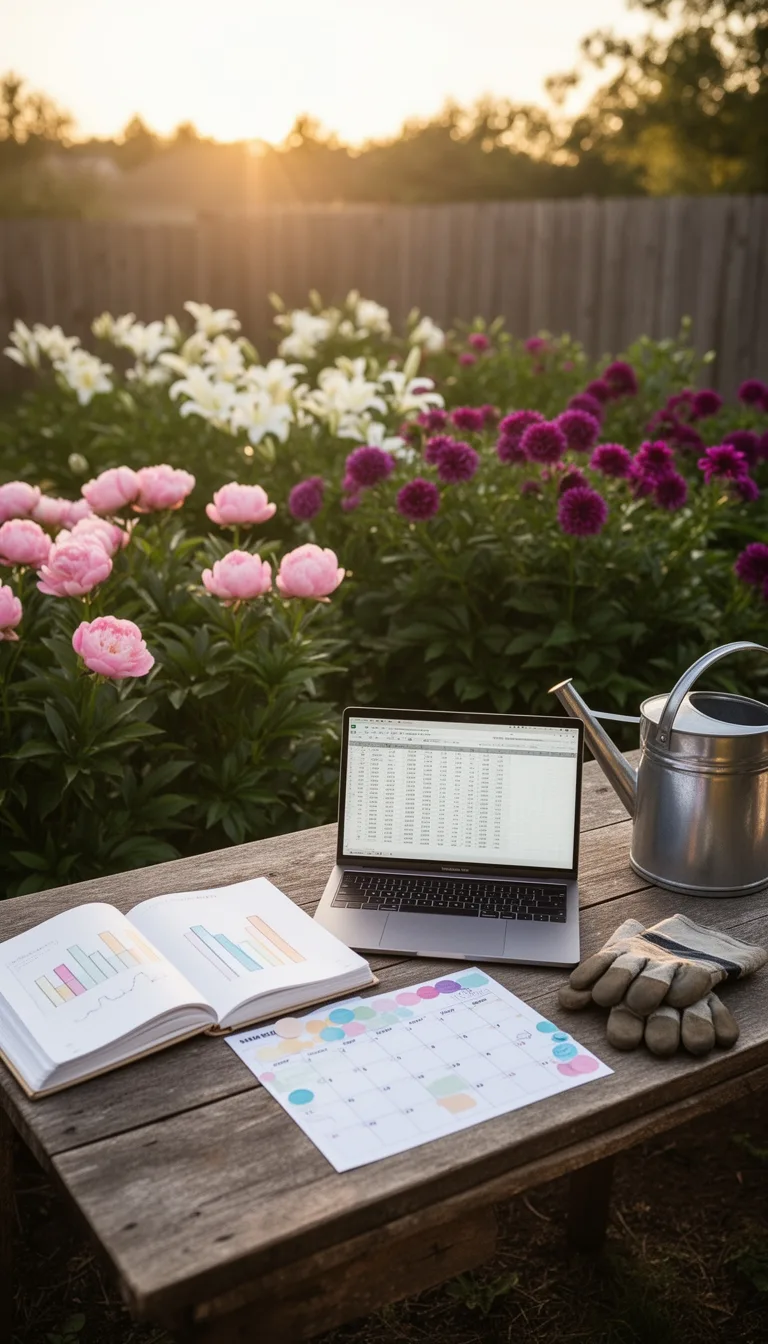
Once you’ve mapped your space and identified your sunny zones, it’s time to translate those square feet into realistic income projections and a planting calendar that’ll keep stems flowing from spring through fall.
Start conservatively in year one—aim for revenue targets based on stems produced per square foot during peak seasons rather than year-round capacity.
Build in backup plantings for crop failures. Relay planting with shallow-rooted, single-cut varieties like celosia and baby’s breath prevents row turnover and maximizes your harvest window without replanting entire beds.
Next, identify your region’s frost dates, then work backward using days-to-maturity from seed packets to establish planting windows.
Cold-hardy varieties like poppies extend your season on both ends.
Plan succession plantings every three to four weeks for Cut and Come Again varieties, every one to two weeks for Single Cut types.
Include focal flowers, fillers, and foliage for each month.
Budget for Seeds, Soil, Tools, and Infrastructure
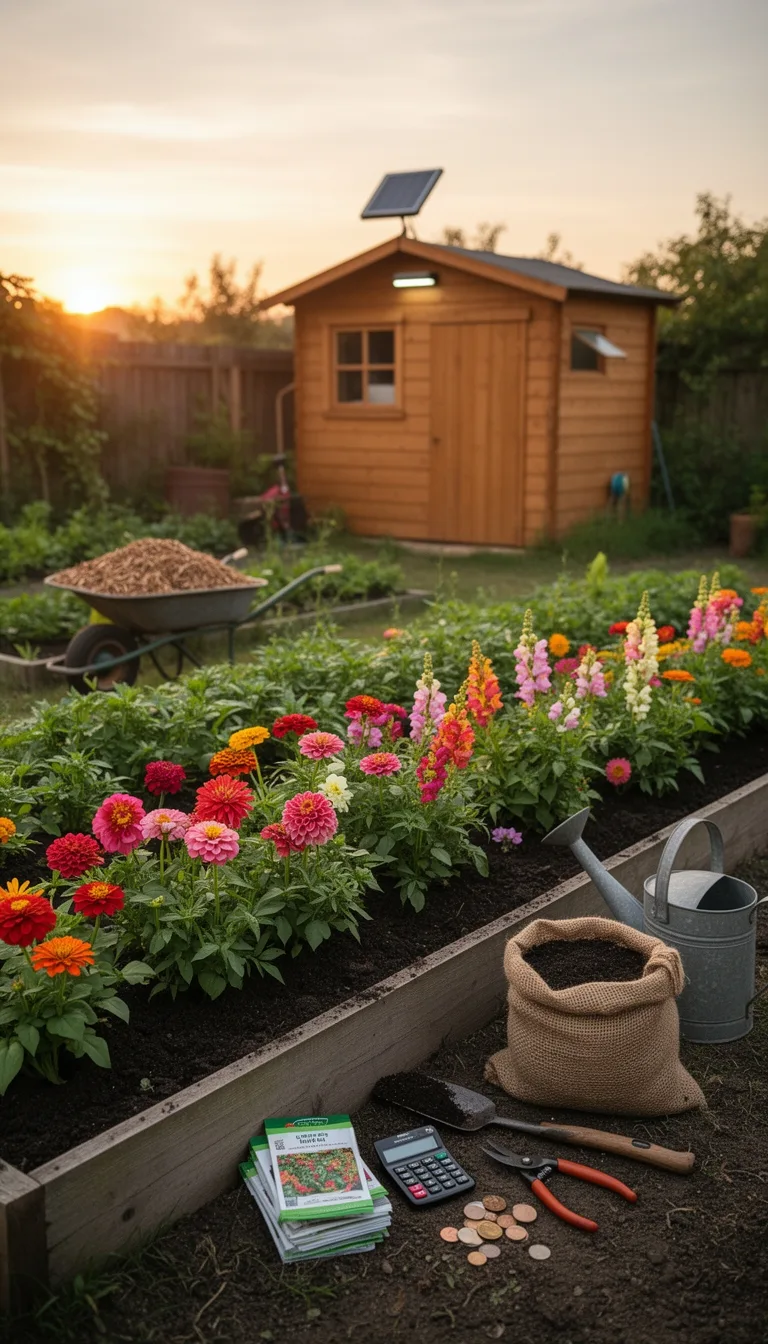
Your planting calendar is locked in, but you’ll need to back it up with actual dollars and equipment. Most backyard growers spend $10,000 minimum in year one, though you can start leaner at $1,500 if you’re strategic.
| Category | Budget | Connect |
|---|---|---|
| Seeds | $100–$500 | $500–$1,000 |
| Soil & Compost | $220–$320 | $1,230–$1,330 |
| Tools & Supplies | $500–$800 | $1,000–$1,500 |
You’ll invest heavily upfront in infrastructure—irrigation systems ($2,300), greenhouses ($6,300), and cold storage ($2,500). Add soil blockers, trays, and lighting for seed-starting. Factor in general supplies like hoses, thermometers, and buckets yearly. Prioritize quality soil over cheap batches; poor compost kills seedlings and wastes your season. Reinforce profits into infrastructure rather than taking on unnecessary debt to fund your operation sustainably from year one.
Pick the Five Best-Selling Beginner Flowers
Which flowers’ll actually turn a profit on your small farm? You’ll want to start with tier-1 cuts that combine beauty, productivity, and low maintenance.
Sunflowers anchor your program—plant 100,000 seeds annually like commercial growers do, focusing on varieties like ProCut Gold for uniform, pollen-free blooms. A greenhouse seed start 60 days before harvest ensures transplants are ready for mid-February planting in Zone 8b.
Zinnias offer rainbow colors and fast turnaround, making them ideal for beginners.
Rudbeckias demand minimal care while delivering consistent heat-tolerant harvests.
Snapdragons produce strong stems through multiple cuts, with Potomac Series and Rocket Mix performing as reliable workhorses.
Finally, dahlias command premium prices—$5-7 per stem—despite shorter vase life, yielding top harvests from mid-August through frost.
These five flowers establish your foundation, ensuring steady income while you develop skills and expand your operation.
Direct Sow vs. Start Indoors: Which Flowers Go Where
Now that you’ve selected your profit-driving flowers, you’ll need to decide how to get them into the ground—and that choice makes a real difference in your harvests and bottom line.
Direct sowing zinnias, cosmos, and sunflowers saves time and money while producing superior results.
These flowers resent root disturbance and thrive when sown directly into warm garden soil.
However, if you’re in a short-season climate, start petunias and snapdragons indoors to gain 50+ days of growing time.
Long-season flowers like eucalyptus absolutely require indoor starts.
Check your seed packets—they’ll guide you.
Consider your growing season length and climate conditions. Most cut flowers take approximately 100 days seed-to-bloom, so timing your planting method against your frost-free window is critical for maximizing harvests.
This strategic approach maximizes your yields and profitability without unnecessary labor.
Test Your Soil and Apply the Right Amendments
Before you plant a single seed, you’ll want to test your soil—it’s the foundation of a profitable cut flower operation.
Collect 20 cores from 0-15 cm deep near plant roots, removing the top 1-2 cm of mulch.
Mix these subsamples thoroughly into one composite sample, removing rocks and debris.
Send your sample for mineral soil analysis, which measures pH, organic matter, trace minerals, and nutrient levels.
This test reveals plant-available nutrients via chemical extraction, giving you accurate fertilizer recommendations.
Review your results carefully.
If your analysis shows high nutrient levels—over 30 ppm nitrate-N, 60 ppm phosphorus, 120 ppm potassium, or 100 ppm magnesium—reduce fertilizer applications.
Apply amendments based on lab recommendations to address deficiencies and adjust pH as needed. Avoid applying amendments immediately after soil testing, as this can skew future results and prevent accurate nutrient level tracking.
Gather Your Essential Tools and Growing Supplies
Once you’ve amended your soil based on lab results, you’ll need the right tools to plant, maintain, and harvest your flowers efficiently.
Start with essential cutting tools: floral snips for delicate stems, sharp pruners for woody varieties, and wire cutters for floral materials.
For planting, invest in a soil knife, pointy shovel, and hand digger to prepare beds and position seedlings.
Watering equipment matters too—choose between watering cans for small areas or drip irrigation systems for larger gardens. Drip-irrigation systems deliver water directly to plant roots while minimizing waste and promoting uniform hydration across your beds.
Don’t overlook post-harvest supplies: clean buckets, a wheelbarrow, and sharpeners to keep tools performing optimally.
Finally, grab landscape pins and garden markers to organize your plantings.
Quality tools reduce damage, save time, and ensure your flowers thrive from soil to vase.
Map Your 400-Square-Foot Layout for Maximum Yields
Your garden’s layout determines whether you’ll harvest a handful of stems or armfuls of bouquets each week.
Design your 400-square-foot space with 30-inch-wide beds oriented north to south for optimal sun exposure.
Use narrow pathways—no wider than 12 inches—to maximize planting area while maintaining access for harvesting.
Position taller varieties like sunflowers toward the north to prevent shading shorter plants.
Group species by water and sunlight requirements for efficient care.
Integrate vertical trellising for vining flowers such as nasturtiums and love-in-a-puff, directing growth upward to save ground space. Intensive planting methods allow you to cluster compatible species like basil even tighter than standard spacing to further boost your total stem production.
Space most flowers at 6 inches apart, adjusting to 9×9 inches in humid climates for better airflow.
This strategic arrangement yields consistent weekly bouquets from your compact growing space.
Stagger Your Plantings to Keep Blooms Coming
With your beds arranged and pathways optimized, you’ll quickly discover that a single planting produces flowers all at once—leaving you with gluts and gaps rather than steady harvests.
Succession planting solves this problem by staggering your sowings every 2-3 weeks, ensuring continuous blooms throughout the season.
Divide your planting areas into sections and sow each interval deliberately.
Use 14-day intervals for zinnias, cosmos, and scabiosa.
Plant sunflowers every 7 days for staggered maturity.
Track your plantings with a personalized spreadsheet to stay organized.
Mixing varieties with differing bloom schedules maximizes your productivity by ensuring year-round flower availability rather than seasonal gaps.
This approach transforms your workflow.
Instead of managing overwhelming harvests followed by bare beds, you’ll handle smaller, manageable batches consistently.
You’ll maintain bouquet-ready blooms weekly while reducing labor spikes.
Pinch Seedlings Early to Double Your Bloom Count
When your seedlings develop 2-3 sets of true leaves and reach 6-8 inches tall, you’ll pinch off the tender top growth just above a leaf node—a simple technique that redirects the plant’s energy from a single central stem into multiple side shoots.
This early intervention forces your zinnias, cosmos, sunflowers, and marigolds to branch aggressively, effectively doubling your bloom yield per plant.
Perform the pinch on a mild day to prevent water damage through open stems. Ensure sufficient foliage remains on the plant for photosynthesis to support continued growth after the pinch.
You’ll notice the main stem thickens, providing better wind and rain resistance.
The delayed initial bloom time pays dividends: you’ll harvest twice the stems and extend your flowering season considerably.
For continuous summer blooms, repeat pinching as new growth emerges throughout the season.
Grow Foliage and Greenery to Complete Your Bouquets
While flowers form the focal point of any bouquet, foliage and greenery create the structure and elegance that transforms a handful of stems into a professional arrangement.
You’ll want to grow perennial options like mountain mint, which yields huge amounts yearly with minimal fertilization, and sage varieties that supply steady greenery after their second year.
Applemint provides long, strong stems with velvety leaves perfect for elegant designs.
For added texture, grow wormwood for its silver-blue foliage—it’s drought tolerant and naturally insecticidal.
Harvest greenery early morning or late evening when stems are full of water.
Cut wormwood before sun exposure to prevent wilting.
These strategic plantings ensure you’ve always got professional-quality foliage on hand to complete your arrangements.
Harvest Flowers at the Optimal Bloom Stage
Now that you’ve got your greenery locked down, it’s time to focus on the stars of your arrangements—the flowers themselves.
Timing your harvest matters enormously. You’ll want to pick flowers at specific stages to maximize vase life and visual appeal:
- Harvest spike flowers when one-third to one-half of blooms open
- Cut roses at the soft crack before full bloom
- Select peonies at the marshmallow stage—soft and squishy
- Pick sunflowers when first petals lift off the center
Early morning before sunrise remains your ideal window.
Your flowers’ll be plump with moisture and less stressed.
Avoid the midday heat between 11 AM–3 PM when plants dehydrate rapidly.
Use sharp tools for clean 45-degree cuts, and strip lower leaves immediately.
Condition everything in cool, clean water right after harvesting to lock in freshness and longevity.
Keep Your Cut Flowers Fresh Longer (It’s Easier Than You Think)
You’ve harvested your blooms at peak perfection, but the real test begins the moment those stems hit water. Start with a vase solution containing 2% sucrose—it’ll maintain your flowers’ appearance while continuously nourishing them.
For maximum longevity, combine this with pulse treatment: a brief initial soak activates your blooms’ antioxidant defenses, significantly extending vase life and reducing ethylene damage.
Temperature matters tremendously. Store cut flowers at 3°C–4°C before arranging; this slows respiration and deterioration dramatically. When displaying, keep your vase in a cool spot away from direct sunlight and ripening fruit.
Don’t overlook filtration systems. Circulating water inhibits bacterial growth, eliminating the need for constant water changes. You’ll use fewer preservatives while extending freshness effortlessly.
Build Balanced Bouquets That Customers Want to Buy
Once you’ve mastered flower longevity, it’s time to arrange them in ways that’ll fly off your customers’ tables.
Strategic bouquet building balances visual impact with practical structure.
Follow this framework:
- Start with one focal flower—sunflowers, dahlias, or zinnias create your arrangement’s anchor
- Add 1-2 secondary flowers like snapdragons or cosmos for height and texture variation
- Fill remaining space with filler materials: ageratum, yarrow, or marigolds for volume
- Aim for 50% filler, 30% disk flowers, 20% focal and airy elements
Distribute blooms evenly throughout for symmetrical appeal.
Mix flower sizes—large focals, mid-sized secondaries, tiny fillers—creates visual depth customers crave.
Your arrangement’s architecture matters as much as flower selection.
This balance transforms individual blooms into cohesive, sellable bouquets.
Make Your Own Sleeves and Branded Packaging
How do you transform a simple bouquet into a branded product that commands premium prices? You create custom fabric sleeves that reflect your farm’s identity.
Start with a 7-by-11-inch paper template and a 20-by-20-inch fabric square like Essex Yarn Dyed Linen. Fold your fabric with right sides facing, pin your template, and cut carefully to create two pieces.
Embroider lazy daisy stitches on the front layer using all six strands of thread in your embroidery hoop.
Hem all edges, then sew your embroidered front to a plain front piece. Attach this assembled front to your back layer, leaving a 1-inch opening at the top for turning.
Fold your finished sleeve around stems and secure with coordinating ribbon or washi paper.
These branded sleeves elevate your bouquets instantly.
Sell Your Tiny Flower Farm at Farmers Markets
Where’s the real money in cut flowers? Direct sales at farmers markets. You’ll gross $500–$2,000 weekly by cutting out middlemen entirely.
Build your booth strategy around high-yield crops:
- Plant 100-foot zinnia rows for 1,000–3,000 stems per season
- Grow gomphrena for consistent 3,000–4,000 stems from minimal space
- Add herbs like basil and rosemary for foliage and fragrance
- Dedicate ¼ to ½ acre for reliable weekly inventory
Well-managed farms earn $25,000–$30,000 per acre through direct channels.
You’ll cultivate loyal customers who return weekly, valuing your flower quality and seasonal variety. Create compelling narratives around your blooms—tell the story of your harvest. Farmers markets foster relationships that wholesale never achieves.
Price Your Bouquets to Cover Costs and Profit
As you’re moving bunches of flowers weekly at the farmers market, you’ll quickly realize that pricing determines whether you’re building a sustainable business or just breaking even.
Start by calculating your cost per stem—divide total growing expenses by stem count.
Then apply the 2x markup standard for farmers markets, aiming for $25 per bouquet.
This covers direct costs, overhead, and waste while filtering for customers who value quality.
Don’t undercut yourself with budget pricing; a $5 bouquet signals low quality, while $25 signals gift-worthy.
If you’re hesitant about the jump, introduce premium options first.
Round numbers like $20 or $25 simplify customer decisions.
As you build reputation and demand, gradually increase prices 2-7% annually, pairing increases with better varieties or packaging to justify the shift.
Track Your Tiny Flower Farm’s Yields and Costs
You can’t improve what you don’t measure, and tracking yields and costs separates thriving flower farms from those that merely survive.
Start by recording stem counts immediately during harvest using tally marks and paper templates, then transfer data to spreadsheets weekly.
Track these essentials:
- Crop variety, planting dates, harvest dates, and bed locations
- Stems harvested per unit area to calculate yields accurately
- Costs per bed alongside yields for profit analysis
- Weather impacts and growing conditions affecting production
Use pivot tables to identify your top producers and spot succession gaps.
Compare expected versus actual yields—dahlias averaging 20 flowers per plant benchmark, for example. Calculate sellable stems and percent sold versus total yield.
This data reveals which crops deliver the best returns on your labor and space.
You’ll Likely Break Even in Year 3: Here’s Why That’s Normal
When will your backyard cut flower farm finally turn a profit? Most growers break even during year three, after absorbing substantial infrastructure costs across years one and two.
Your first-year backyard operation might generate around $8,600 in sales, but startup expenses—greenhouse construction, irrigation systems, and equipment—significantly reduce net profit.
Year two brings similar challenges as you continue investing in perennials and bulb crops that haven’t yet matured.
By year three, however, accumulated infrastructure supports profitable operations. Your established systems run more efficiently, and crops reach full production capacity.
This timeline isn’t failure; it’s normal.
Understanding this trajectory helps you manage expectations and plan finances accordingly. You’re not losing money—you’re building the foundation for sustainable, profitable years ahead.
Plan Your Year Two: Dried Flowers, Events, and Expansion
Three strategic moves’ll transform your year-two operation from surviving on fresh-cut sales alone to building genuine profitability.
First, introduce dried flower production.
You’ll access entirely different market segments with minimal extra labor—succession plantings of drying varieties extend your revenue stream through off-season months when fresh blooms decline.
Second, coordinate event bookings.
Large-scale floral events command premium pricing and demand higher volumes than farmers markets.
Plan your succession plantings backward from peak event seasons to ensure color-coordinated availability.
Third, optimize your land efficiency rather than expanding acreage:
- Install raised beds 4-8 inches high with 4-foot widths
- Use intense 7-by-7-inch spacing to maximize yield per square foot
- Add drip irrigation systems with timers for larger volumes
- Deploy support structures like wire mesh for tall varieties
This approach maximizes profitability through strategic planning, not scale.
Conclusion
You’ve built the blueprint for your blooming business. Starting small, you’ll steadily strengthen your skills and systems. Track your triumphs and troubles truthfully—they’ll teach you what works. Year one’s finances might feel fragile, but you’re fundamentally building something beautiful and profitable. You’re not just planting petals; you’re practically positioning yourself for sustainable success. Keep cultivating consistency, and your tiny farm flowers into a thriving venture.
The Only Tools You Need for a Thriving Garden 🌱
Whether you're a weekend gardener or growing daily — these hand-picked tools make every session faster, easier, and more satisfying.