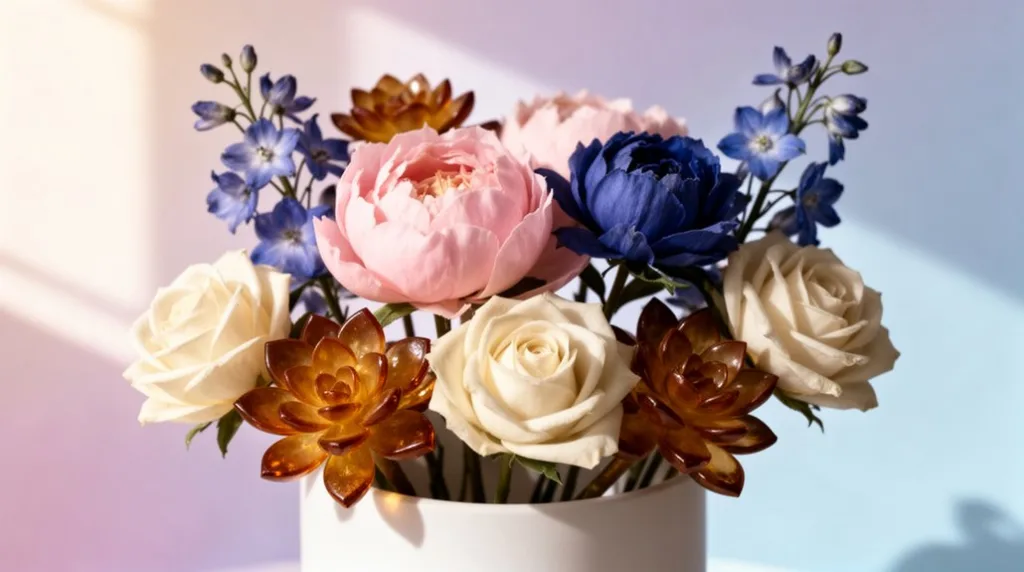
You’re looking for décor that stays fresh without the upkeep, and preserved flowers fit the bill perfectly. From sleek single‑stem vases that whisper minimalism to rustic terrariums brimming with moss and blossoms, each idea adapts to a season’s vibe. Imagine a floating arrangement in a glass bowl or a hanging glass orb garden for a bathroom—both low‑maintenance yet striking. The next step shows how to blend these concepts into a cohesive, year‑round aesthetic.
Key Takeaways
- Use UV‑protected glass orbs or sealed containers to preserve color and prevent fading.
- Rotate seasonal stems (e.g., pastel peonies in spring, burgundy dahlias in autumn) every 3‑4 months for fresh visual interest.
- Incorporate mixed‑media bases—reclaimed wood, brushed steel, or matte ceramic—to add texture and extend arrangement lifespan.
- Apply a clear sealant or preservative solution to stems before arranging, then keep water cool and change it weekly.
- Choose minimalist single‑stem displays in sleek vases for long‑lasting, low‑maintenance focal points.
Choose Your Preserved‑Flower Style
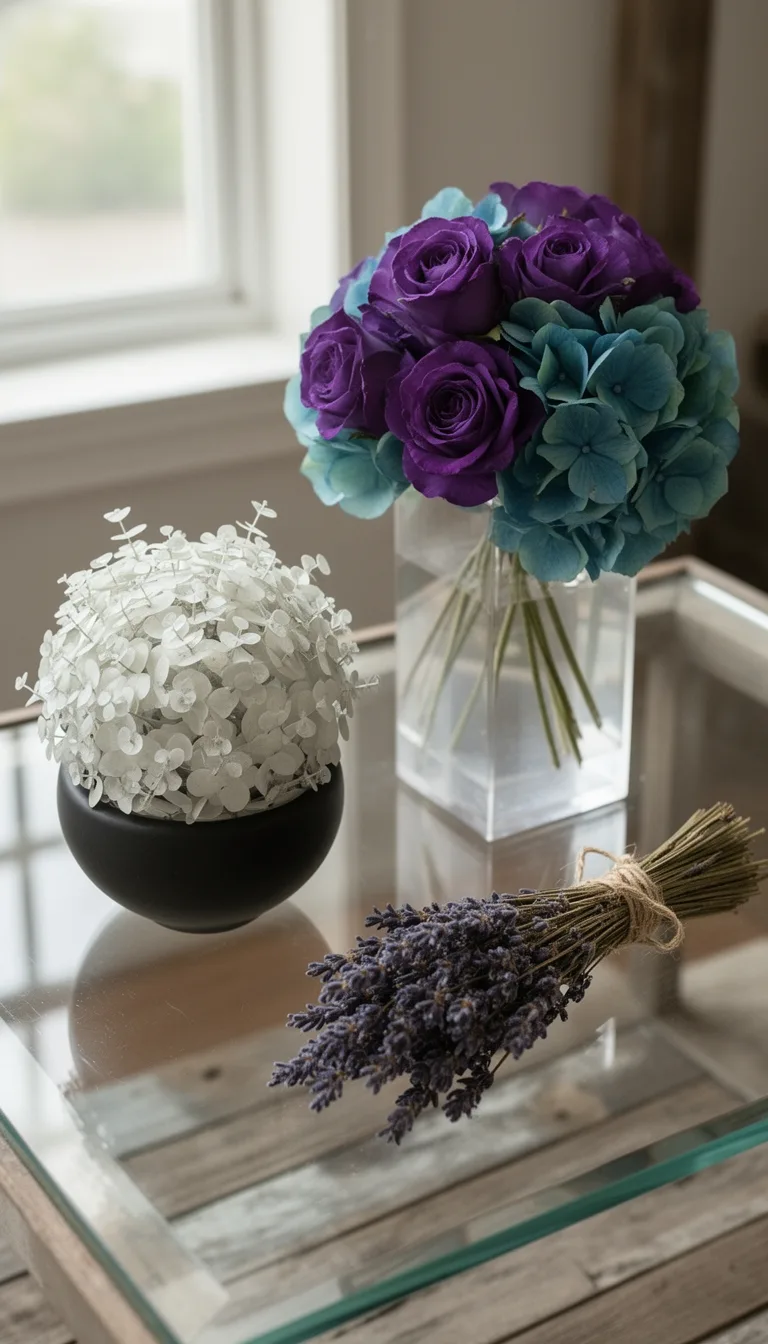
When you decide on a preserved‑flower style, consider the vibe you want to set for each season—whether it’s the fresh, airy feel of spring, the vibrant warmth of summer, the cozy tones of fall, or the crisp elegance of winter.
Start by matching colors to the calendar: pastel peonies for March, bold sunflowers for July, deep dahlias for October, icy eucalyptus for December.
Choose containers that echo the season’s texture; glass jars for spring’s lightness, woven baskets for summer’s rustic charm, ceramic pots for fall’s earthiness, metallic tins for winter’s sleekness.
Keep arrangements balanced: a focal bloom, two supporting stems, and filler foliage.
Rotate pieces as months change to maintain visual interest and to let each season shine through your preserved‑flower décor.
Make a Minimalist Single‑Stem Vase
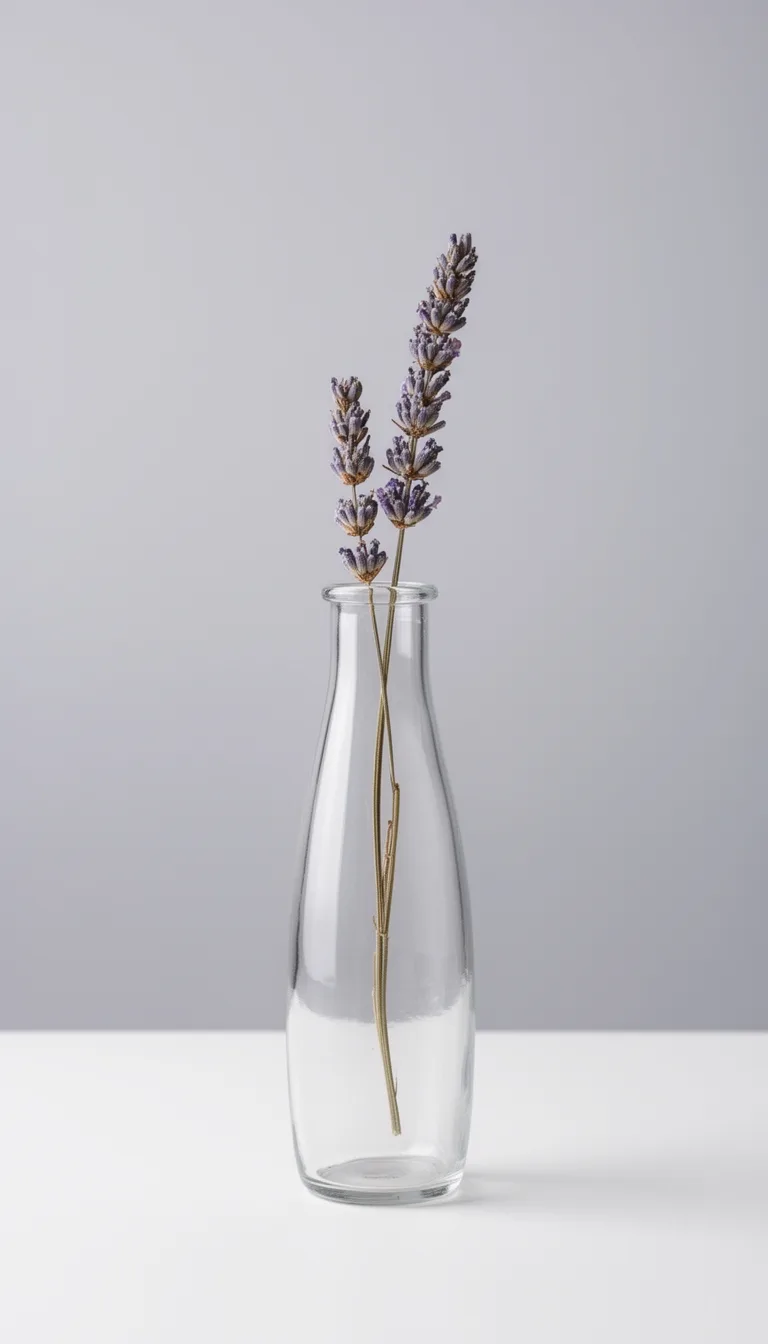
After picking a seasonal style, you can spotlight a single stem in a sleek vase to keep the look fresh and uncluttered.
Choose a vase that mirrors the season’s palette—soft gray for winter, pastel teal for spring, warm terracotta for fall.
Trim the stem to a crisp 8‑10 inches, then remove lower leaves that would sit in water.
Fill the vase with cool, filtered water and a pinch of preservative to extend longevity.
Position the arrangement on a light‑filled windowsill or a matte‑finished side table for maximum impact.
- Vase material – glass for transparency, ceramic for muted tones.
- Stem selection – pick a preserved bloom with a strong, straight stalk.
- Water care – change water weekly, keep temperature stable.
- Placement – avoid direct sunlight to prevent fading.
Build a Rustic Terrarium With Moss and Preserved Blooms
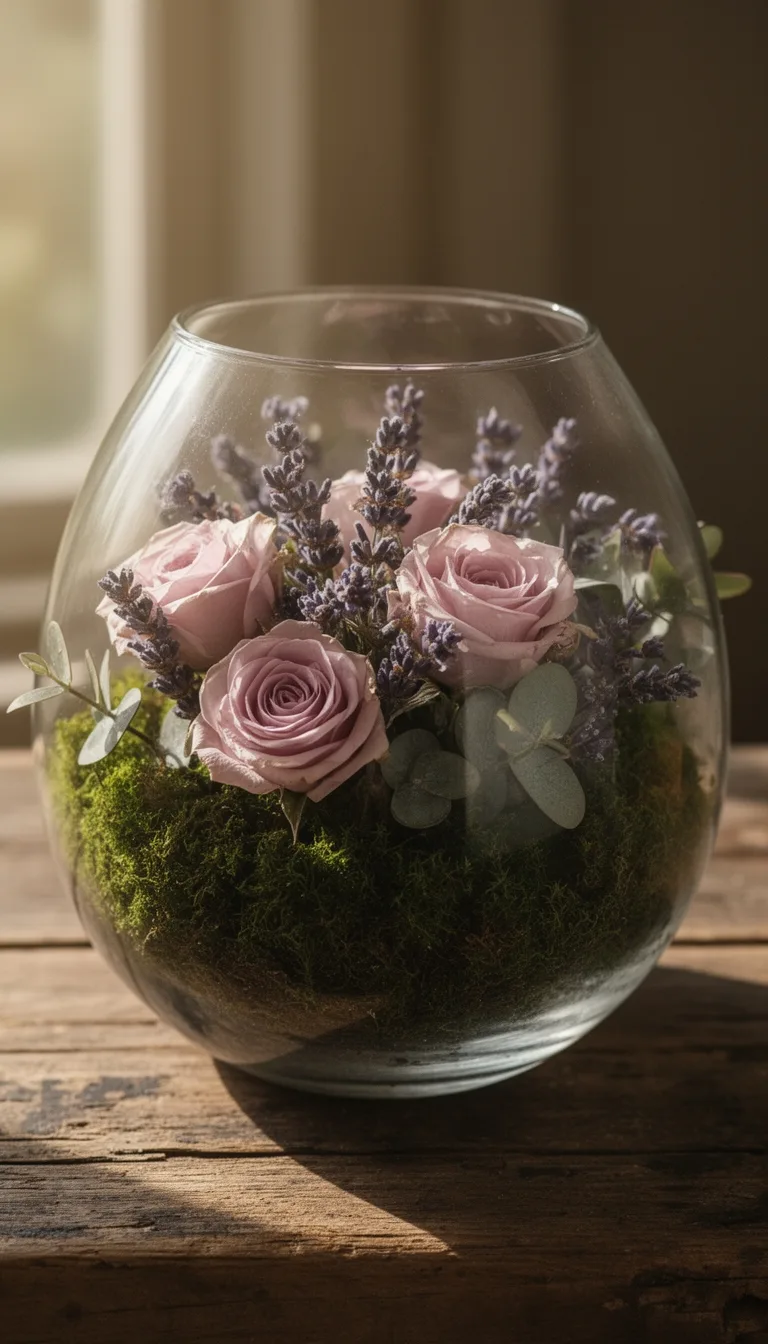
Gather a shallow, weathered glass container and line its base with a layer of soft, dried moss to create a natural cushion for your preserved flowers.
Choose a mix of autumn‑tone blooms—deep burgundy hypericum, muted sage eucalyptus, and gold‑tinged thistle—so the terrarium feels seasonal.
Trim each stem to fit the glass height, then arrange them in clusters, tucking tips into the moss for stability.
Add a few pine cones or tiny acorns for rustic texture, and sprinkle a thin veil of crushed amber glass shards for sparkle.
Light the piece with a warm LED tealight to highlight colors without heat.
Keep the terrarium out of direct sunlight to preserve the blooms, and enjoy a low‑maintenance, nature‑inspired centerpiece.
Create a Floating Floral Arrangement in a Glass Bowl
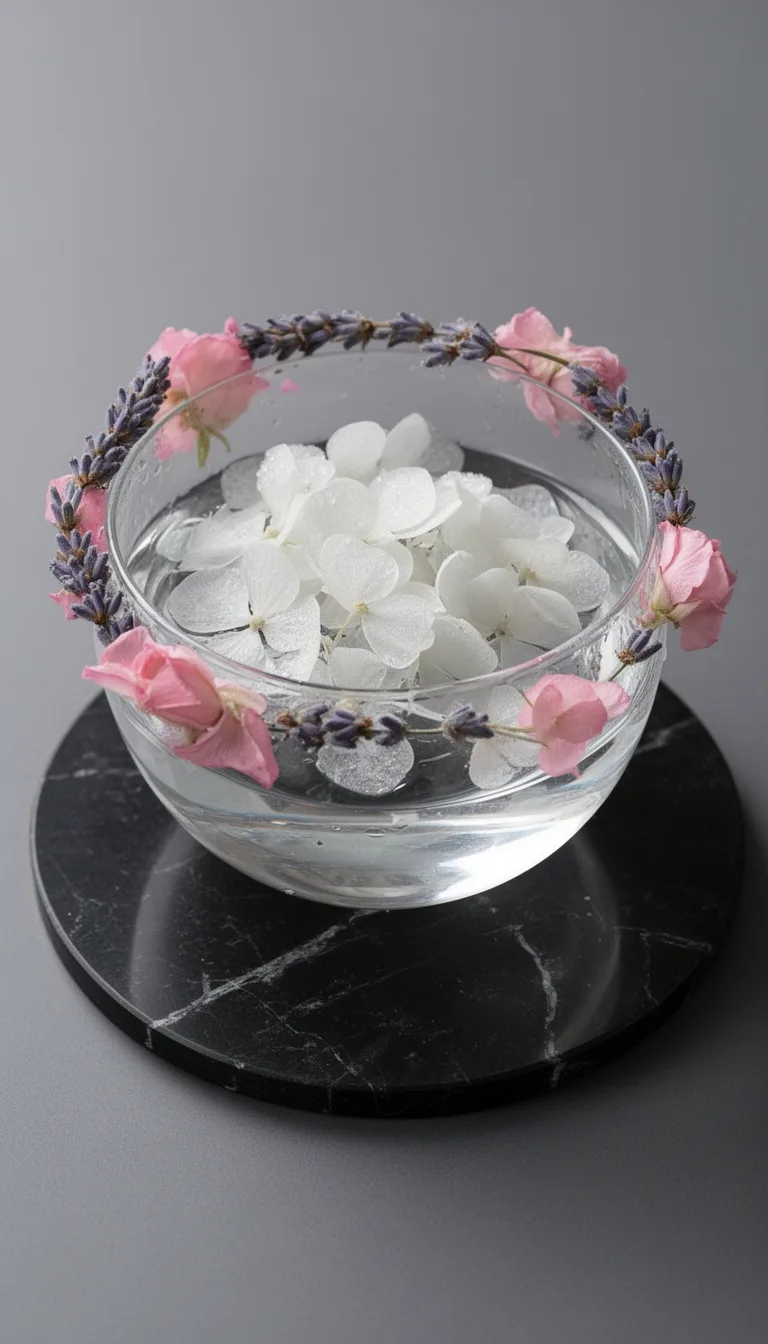
If you want a centerpiece that feels airy and elegant, start by filling a clear glass bowl with water just deep enough to submerge the stems of your chosen flowers.
Choose seasonal preserved blooms—think pastel hydrangeas for spring or deep‑red roses for autumn—so the arrangement matches your décor.
Trim stems to a uniform length, then gently arrange them upside‑down, letting each flower hover just beneath the surface.
Add a few floating accents like pastel slices or dried seed pods for texture.
Finish with a soft LED tealight to enhance the floating effect without heat.
- Select a bowl size that fits your table space.
- Use distilled water to prevent clouding.
- Arrange flowers in layers for depth.
- Replace water weekly to keep stems fresh.
Assemble a Layered Wall‑Mounted Flower Panel
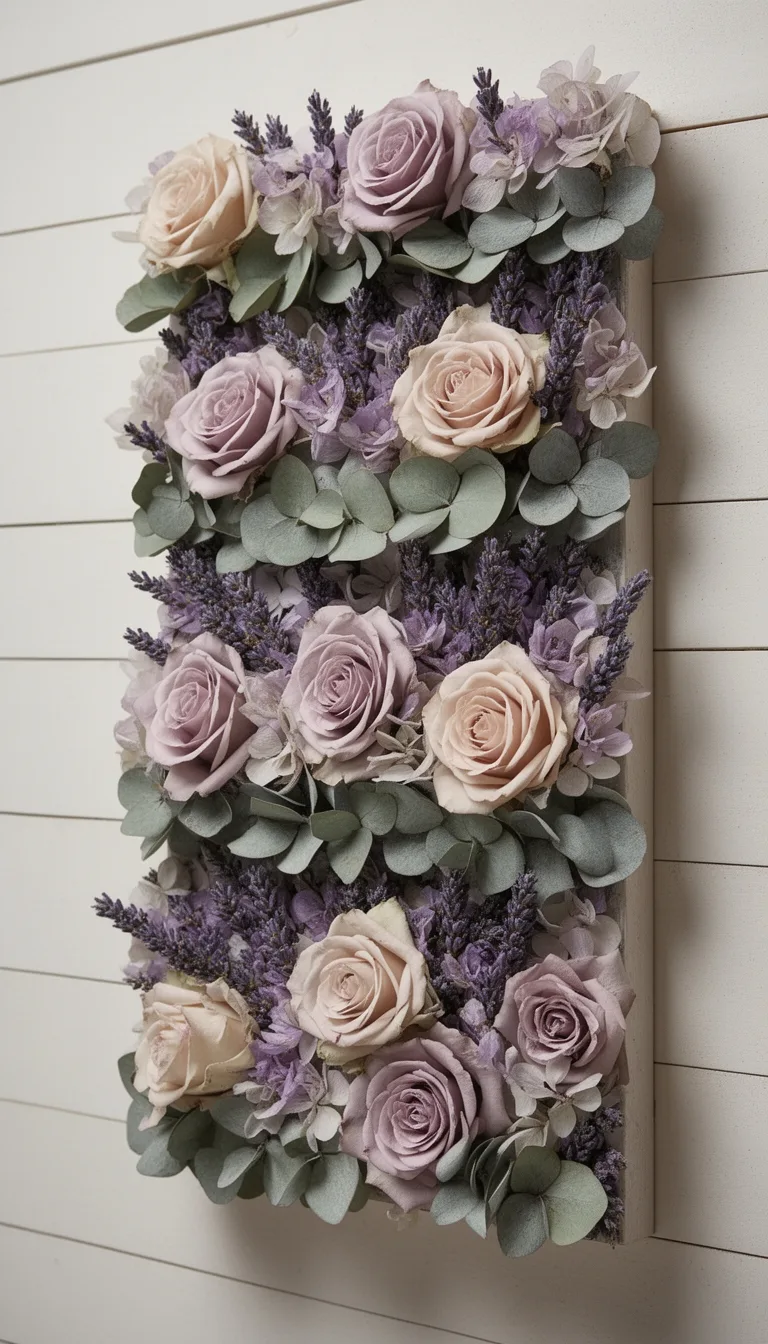
When you want a striking, space‑saving display, start by mounting a sturdy frame on the wall and attaching a series of shallow trays or wooden slats at varying heights.
Choose reclaimed oak or painted pine for a warm, seasonal feel, then secure each level with small brackets. Lay a thin mat of moss or burlap in each tray to cushion the flowers and add texture. Arrange preserved roses, eucalyptus, and autumn berries in overlapping layers, letting taller stems peek through lower ones. Use a hot‑glue gun to anchor stems gently, ensuring they stay upright. Finish with a mist of clear sealant to protect the arrangement. The result is a dynamic, layered panel that brings lasting color and natural charm to any room.
Craft a Mixed‑Media Centerpiece With Wood and Metal Accents
The layered wall panel you just built can become the centerpiece of a table by swapping the flat trays for a low‑profile base that blends reclaimed wood with brushed steel. You’ll keep the preserved blooms as the focal point while the mixed media adds texture and seasonal charm.
Choose a warm wood tone that echoes autumn, and let the metal’s sleek lines reflect winter light. Position the piece near a window for natural radiance, and you’ll have a versatile décor element that adapts through the year.
- Cut a 12‑inch reclaimed wood slab, sand smooth, and seal with matte varnish.
- Weld a brushed steel frame to the slab’s edges for stability and shine.
- Arrange preserved flower clusters in concentric circles, securing with clear epoxy.
- Finish with a thin layer of sand‑dusted wax to protect and enhance sheen.
Design a Seasonal Wreath Using Preserved Petals
Because preserved petals retain their color and texture year‑round, you can craft a seasonal wreath that looks fresh without worrying about wilting.
First, pick a sturdy base—grapevine, foam, or a metal hoop works well. Arrange a mix of preserved petals in your chosen palette: deep reds for fall, pastel pinks for spring, icy whites for winter.
Layer the petals with complementary greenery, dried berries, or small pine cones to add depth. Secure each element with hot‑glue or floral wire, keeping the pattern balanced but slightly asymmetrical for a natural feel.
Finish with a ribbon or burlap bow that matches the season’s vibe. Hang the wreath on a door, mantel, or wall, and enjoy a low‑maintenance, year‑round centerpiece that instantly sets the mood.
DIY a Preserved Flower Garland for Mantels
Stretch a sturdy wire or thin wooden dowel across your mantle, then pin preserved petals, foliage, and tiny ornaments along its length, securing each piece with hot‑glue or floral wire as you go. Choose a color palette that mirrors the season—rich burgundy and gold for fall, soft blush and ivory for spring. Keep spacing even, but allow occasional clusters for visual interest. Finish with a subtle sprig of evergreen or a miniature pinecone to anchor the theme.
- Select seasonal foliage – pick leaves that echo the current weather.
- Gather tiny ornaments – use pinecones, berries, or metallic beads.
- Arrange in layers – start with a base of larger petals, then add smaller accents.
- Secure with wire – wrap thin floral wire around each element for stability.
How to Hang Your Preserved Flower Garland Securely?
For a sturdy, season‑appropriate display, start by locating two solid anchor points on your mantle—such as the ends of a decorative trim or the brackets of a built‑in shelf—then thread a thin, coated wire or a flexible wooden dowel through the garland’s core and fasten it with small, unobtrusive hooks or adhesive strips that won’t damage the surface. Pull the garland taut, adjust spacing, and test stability before adding décor.
| Method | Ideal Spot |
|---|---|
| Wire + hooks | Mantel edge |
| Wooden dowel + clips | Shelf bracket |
| Adhesive strips | Glass front |
| Magnetic hooks | Metal rail |
| Velcro loops | Fabric drape |
Choose the method that matches your season’s vibe, keep the garland level, and enjoy a lasting, elegant display.
Make a Glowing LED Display Using Preserved Flowers
Turn your preserved‑flower garland into a soft, seasonal night‑light by threading flexible LED strip lights through the stems and securing them with clear silicone clips. Choose a warm‑white or pastel hue that matches the season’s palette, then plug the strip into a low‑voltage adapter for safety.
Arrange the garland on a mantle, window frame, or outdoor patio to amplify ambience, and dim the lights for a cozy glow. Keep the wiring hidden behind decorative trim or a simple wooden backing to maintain a clean look. This approach lets you showcase nature’s elegance while adding functional illumination that feels both modern and timeless.
- Select LED strips with adhesive backing for easy placement.
- Use silicone clips to anchor lights without damaging stems.
- Route power cords through a discreet conduit or decorative rope.
- Test brightness levels before final installation to suit the season.
Make Botanical Bookends From Pressed Blooms
Gather a few of your favorite pressed blooms, a pair of sturdy wooden or acrylic blocks, and some clear epoxy resin, then pour the resin into the block’s recessed cavity, arrange the flowers in a pleasing seasonal pattern, and let it cure to create elegant, nature‑inspired bookends that brighten any spring or autumn reading nook.
Choose blocks that match your décor; light pine works for a fresh spring vibe, while dark walnut suits a cozy fall setting.
Before pouring, dry‑fit the blossoms to ensure they sit flat and don’t shift.
Mix resin according to the manufacturer’s ratio, pour slowly to avoid bubbles, and use a toothpick to position any stray petals.
After curing, sand any rough edges, then place the bookends beside your favorite titles for a lasting, seasonal touch.
Add a Hanging Glass Orb Garden for Bathrooms
When you’re looking to bring a touch of greenery into a bathroom without sacrificing space, a hanging glass orb garden offers a sleek, moisture‑tolerant solution.
Choose a clear sphere that lets light filter through preserved succulents or air‑plants, and mount it with a rust‑proof hook near the vanity. The orb’s sealed interior protects delicate stems from humidity while adding a modern accent that mirrors seasonal tones.
Keep the design minimal: one or two stems per orb, and rotate the sphere quarterly to showcase fresh color palettes. This low‑maintenance display fits any décor, from spring pastels to autumnal golds, and instantly elevates the room’s vibe.
- Pick a UV‑protected glass orb.
- Use a stainless‑steel hanging kit.
- Fill with preserved succulents or air‑plants.
- Position near natural or artificial light.
Add a Geometric Concrete Planter Filled With Preserved Flower Stems
Glazing a sleek, geometric concrete planter with preserved flower stems instantly adds a modern, seasonal focal point to any room.
Choose a planter that matches your décor’s palette—soft gray, crisp white, or bold black—and fill it with stems that echo the current season’s hues. For spring, select pastel peonies and eucalyptus; for summer, bright orange roses and teal succulents; for autumn, deep burgundy dahlias and amber foliage; for winter, icy white hydrangeas and pine.
Arrange the stems in varying heights to create depth, then secure them with a clear, UV‑protected spray to keep colors vivid.
Place the planter on a side table, mantelpiece, or entry console to draw eyes and anchor your seasonal theme without constant upkeep.
Assemble a Vintage Frame Collage With Dried and Preserved Flowers
After styling your space with a geometric concrete planter, you can keep the seasonal vibe alive by arranging dried and preserved flowers inside a vintage frame collage. Choose a weathered wooden frame that echoes the season’s muted tones, then layer assorted blooms for texture and depth.
Keep the composition balanced by mixing tall stems with compact buds, and let natural light highlight the subtle hues. This DIY centerpiece adds a nostalgic charm while staying low‑maintenance, perfect for year‑round décor.
- Select a frame size that fits your wall space and supports a backing board.
- Arrange flowers on paper first to test spacing and color flow.
- Secure stems with floral wire or hot‑glue, preserving their orientation.
- Seal the collage with a clear, matte spray to protect against dust.
Create Outdoor Patio Lanterns Decorated With Preserved Petals
One simple way to turn your patio into a cozy, seasonal oasis is by crafting lanterns that showcase preserved petals.
Start with a clear glass or metal lantern, then gather petal‑filled tea bags, small vases, or decorative tins. Trim the petals to fit the lantern’s interior, arranging them in layers that catch the light. Secure the arrangement with a dab of clear-d glue or double‑sided tape, making sure the petals stay flat and evenly spaced.
Add a battery‑operated LED candle for a soft glow that won’t melt the flowers. Choose seasonal colors—rich reds for fall, pastel pinks for spring—to match your décor.
The result is a low‑maintenance, weather‑resistant accent that brightens evenings and highlights your preserved‑flower collection.
Conclusion
You’ve got a year‑round playbook for turning preserved blooms into effortless style. Mix minimalist vases for sleek mornings, terrariums for rustic charm, floating bowls for breezy evenings, and wall panels for bold statements. Hang glass orbs in bathrooms, slot concrete planters into modern spaces, and craft vintage frames for nostalgic corners. Whatever season, these low‑maintenance arrangements keep your home looking fresh, stylish, and effortlessly inviting.
The Only Tools You Need for a Thriving Garden 🌱
Whether you're a weekend gardener or growing daily — these hand-picked tools make every session faster, easier, and more satisfying.