You’ve got limited space and time, but you need maximum food. A truly smart layout is your secret weapon. It’s not just about what you plant, but how and where you arrange it. By zoning your beds for sun and water needs, you can stop fighting your garden and let it work for you. Discover how a few intentional design choices this spring can transform your harvest with less effort.
Key Takeaways
- Map sunlight to place heat-loving crops in full sun and use shade for greens.
- Design 4-foot wide raised beds oriented north-south for even sun exposure.
- Use polyculture by stacking tall and short plants to maximize space.
- Install drip irrigation near water sources to efficiently water thirsty crops.
- Rotate crop families annually in designated beds to maintain soil health.
How a Smart Garden Layout Boosts Harvests and Saves Work
Because you plan it before you plant, a smart garden layout directly increases your harvest while cutting down on the labor you’ll do all season.
You group plants by their water and nutrient needs, so you’re not dragging hoses or customizing fertilizer for every single row.
You design wide, permanent paths so you can easily wheel a cart to harvest heavy squash or deliver compost without trampling beds.
You’ll place tall crops like corn or trellised beans on the north side to avoid shading shorter sun-lovers.
This intentional placement lets every plant thrive while you minimize daily chores. You’ll spend less time weeding and watering, and more time actually picking your bounty.
A thoughtful plan turns effort into abundance from spring through fall.
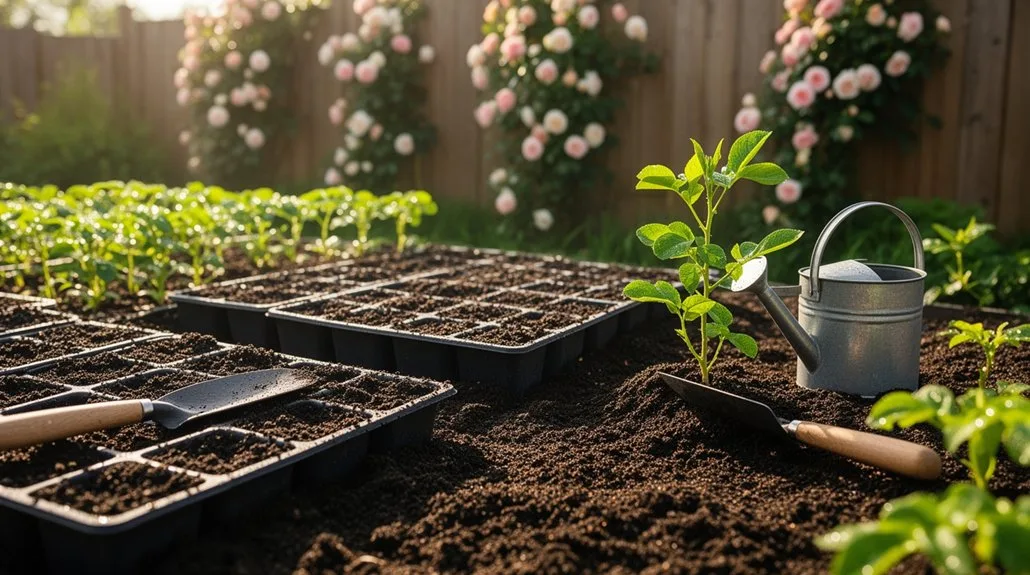
First, Map Your Sun, Soil, and Space
Having planned your layout to minimize work, the next step is to observe your specific garden site. Spend several days mapping the sun’s path. Most vegetables need at least six hours of direct light, so identify your sunniest spots for crops like tomatoes and peppers. Shadier areas suit leafy greens.
Next, test your soil’s texture and drainage. Grab a handful; if it forms a tight ball, it’s heavy clay. If it crumbles, it’s sandy. You’ll likely amend either with compost.
Finally, physically measure your available space. Use stakes and string to mark the perimeter and any paths. Understanding these three elements—sun, soil, and space—ensures you place each plant where it will truly thrive.
Choose a Classic In-Ground Row Garden
The classic in-ground row garden is the simple, straightforward image many envision. You’ll create long, parallel rows directly in your prepared soil, each separated by a walking path. This method maximizes sun exposure and air circulation for plants like tomatoes, beans, and corn.
You’ll use your pathways for weeding, watering, and harvesting without compacting your growing soil. Keep your rows running north to south so plants receive even sunlight. Space the rows based on your plants’ mature size; for example, you’d leave about three feet between tomato rows but only eighteen inches for bush beans.
It’s a scalable, efficient system that’s ideal for first-timers and for growing larger quantities of a single crop.
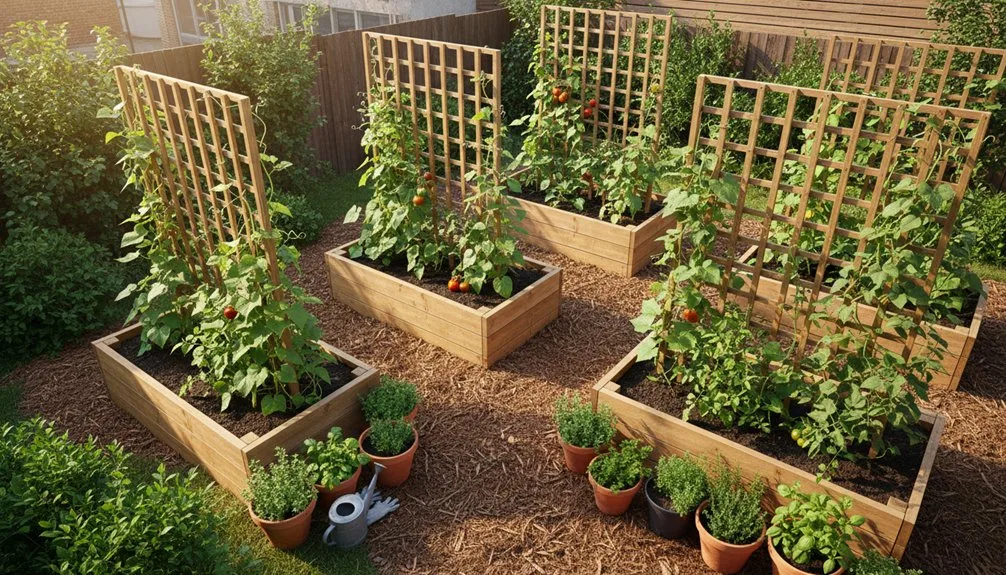
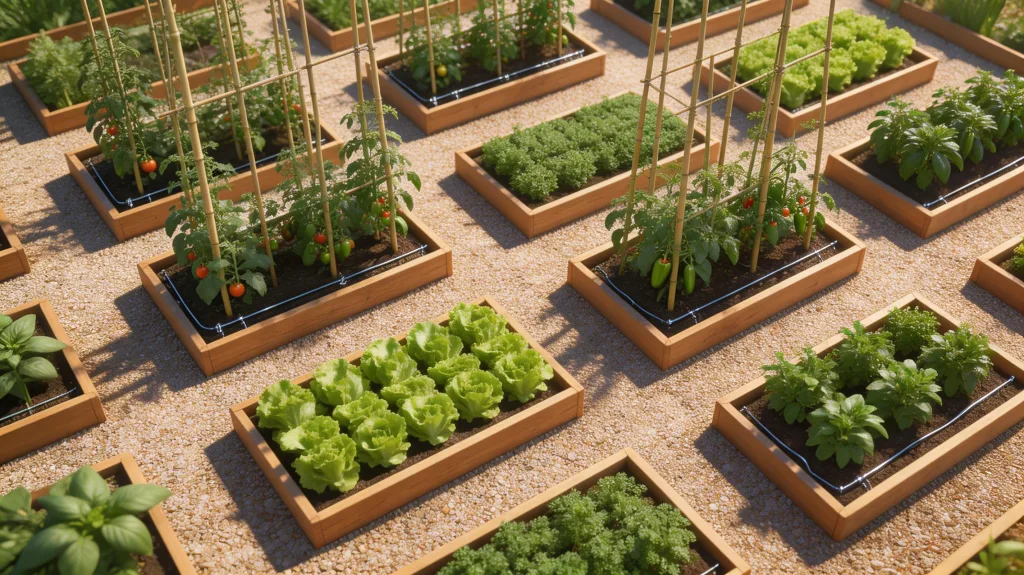
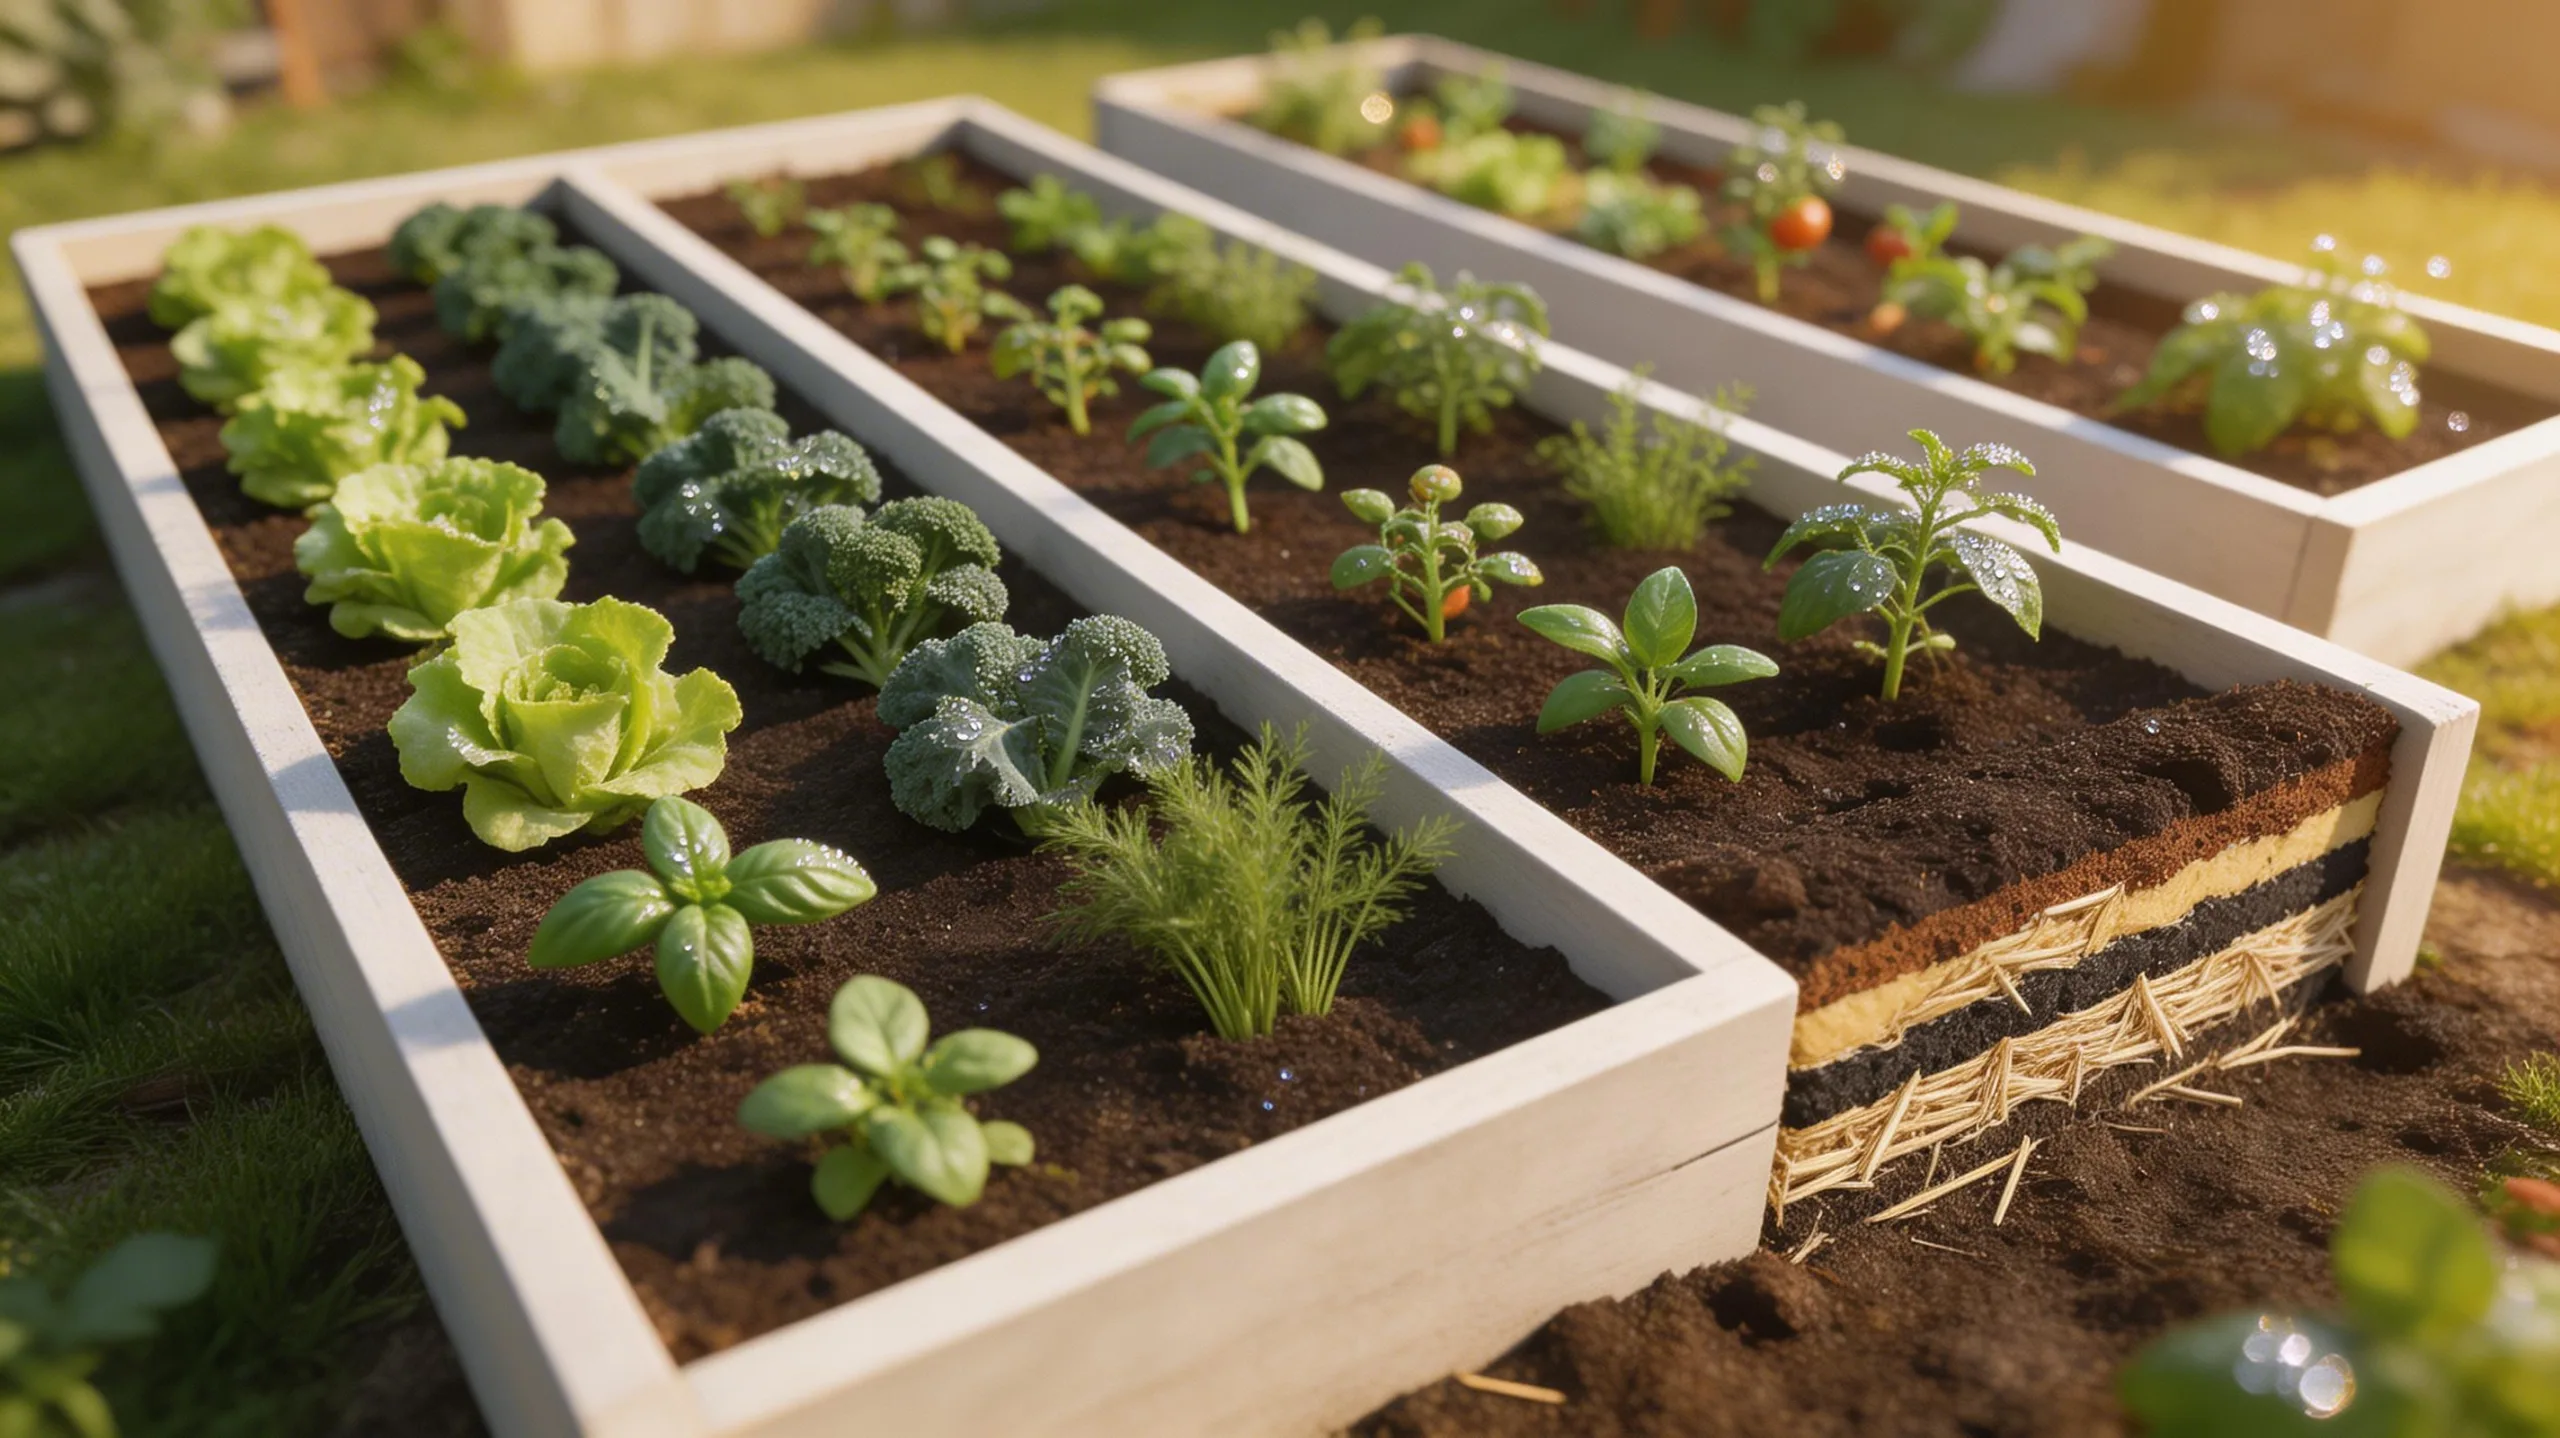
Build an Efficient Raised Bed Garden

While in-ground rows excel for large, single crops, building a raised bed garden concentrates your efforts into defined, manageable plots.
You start by constructing frames, typically 4 feet wide for easy access and no longer than 8 feet for convenience, from rot-resistant lumber or composite boards.
You’ll fill them with a custom soil mix, blending compost, topsoil, and other amendments for perfect drainage and fertility.
This setup warms faster in spring, extends your season, and gives you complete control over soil quality.
You’ll prevent soil compaction since you never walk in the bed.
Keep paths between beds clear and covered with mulch or gravel to suppress weeds and keep your feet dry while you tend your productive, organized garden.
Maximize Small Spaces With Square Foot Gardening

Square foot gardening offers a brilliant solution for maximizing your harvest from a tiny plot, even just a few feet across. You construct a 4×4-foot raised bed, dividing it into sixteen one-foot squares with string. Each square becomes a planting unit, dictating precisely how many plants go there. For example, you plant one tomato, four lettuce heads, or nine beet seeds per square, following spacing charts.
You’ll use a specific, rich soil mix—equal parts compost, peat moss, and vermiculite—to ensure fertility without deep digging. This method eliminates wasteful rows and lets you intensively rotate crops. You can harvest a square, add compost, and replant immediately with a different vegetable, achieving continuous yields from a minimal footprint.
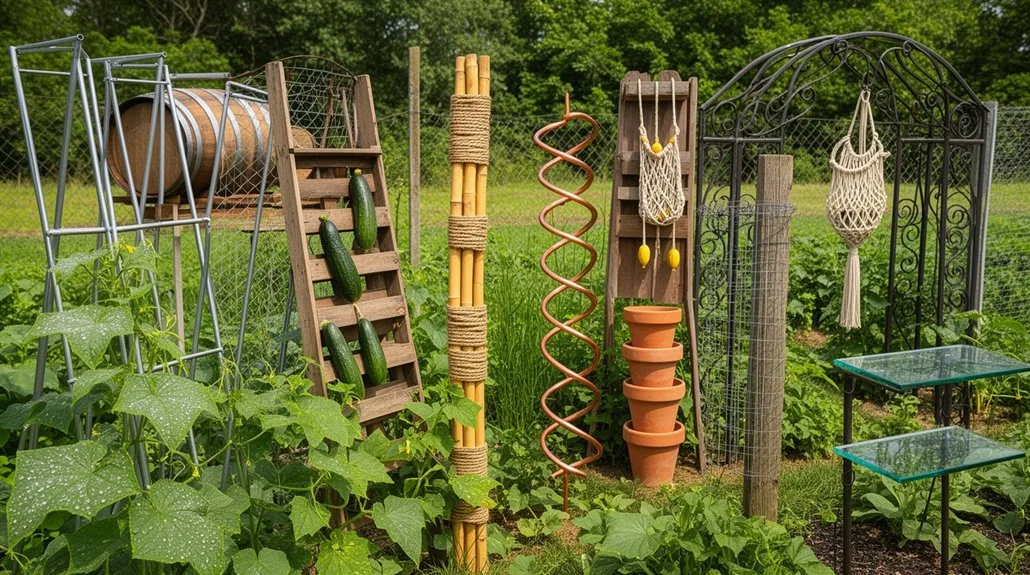
Grow More With Vertical Gardening Structures

Vertical gardening unlocks harvest potential by directing plant growth upward on structures like trellises, arches, and cages. You’ll increase yield per square foot, improve air circulation to reduce disease, and make harvesting easier. Train vining crops like cucumbers and pole beans onto a sturdy trellis. Use tomato cages for determinate varieties to keep fruit off the ground. Build an arch for beans or melons to create a beautiful, productive gateway. You must secure structures firmly, as a mature crop is heavy. Tie plants loosely with soft cloth as they grow, checking ties weekly to avoid constriction.
| Crop | Best Structure | Key Support Tip |
|---|---|---|
| Pole Beans | Trellis or Arch | Start weaving vines when young |
| Cucumbers | Strong Trellis | Use mesh for tendrils to grip |
| Tomatoes | Cage or Stake | Tie main stem, not branches |
| Peas | Netting | Support before first pods form |
Start a No-Dig, Low-Weed Lasagna Garden
You can build rich, ready-to-plant soil right on top of grass or weeds by layering organic materials in a ‘lasagna garden.’ This no-dig method smothers existing vegetation, encourages beneficial soil life, and creates a fertile, well-draining bed with minimal labor.
Start by laying cardboard directly on your lawn to block light. Soak it thoroughly. Then, add alternating 2- to 4-inch layers of ‘browns’ like fallen leaves or shredded newspaper and ‘greens’ like grass clippings or vegetable scraps.
Top everything with 4 to 6 inches of finished compost or topsoil. You can plant seedlings into this top layer immediately.
The lower materials will decompose over the season, feeding your plants and suppressing weed growth remarkably well.
Use Companion Planting for Natural Pest Control

After preparing your garden bed, you’ll want to protect your plants naturally. Companion planting strategically places certain plants together to deter pests, attract beneficial insects, and boost growth without chemicals. It’s a core layout principle that creates a resilient ecosystem. I’ve found it dramatically reduces aphid and beetle damage in my plots.
- Plant marigolds with tomatoes and squash; their strong scent repels nematodes and whiteflies.
- Grow basil near your peppers and tomatoes to improve their flavor and confuse hornworms and flies.
- Interplant nasturtiums with cucumbers and radishes; they act as a sacrificial trap crop for aphids.
- Pair carrots with onions or chives; the onion’s smell masks the carrot’s scent from root flies.
Rotate Your Crops for Healthier Soil

Rotating your crops each season is a powerful technique for preventing soil depletion and breaking pest and disease cycles.
Don’t plant the same vegetable family in the same bed year after year, as they drain specific nutrients and attract the same pests.
I follow a simple four-bed rotation over four years. Group crops by family: tomatoes, peppers, and eggplants (nightshades) go together; squash, cucumbers, and melons (cucurbits) are another.
After harvesting, move each group to the next bed. For instance, follow heavy-feeding tomatoes with soil-enriching beans, then follow with leafy greens.
This practice keeps your soil fertile and reduces your need for fertilizers and pesticides, giving you a more resilient garden.
Arrange Your Beds for Easy Watering and Harvesting

When planning your vegetable garden, positioning the beds for efficient access can save you countless hours and gallons of water. You’ll want paths wide enough for a wheelbarrow and beds narrow enough to reach the center from either side without stepping on the soil.
- Limit bed width to four feet, which allows you to comfortably harvest or weed from the path without compacting your growing medium.
- Orient beds near your water source and lay soaker hoses along their length before planting to target roots and minimize evaporation.
- Place tall or trellised crops, like pole beans, on the north side of shorter plants to prevent shading and make picking easier.
- Group plants with similar harvest frequencies together, creating dedicated zones for daily-pick crops like lettuces and herbs for swift, efficient gathering.
Layer Plants for a Productive Polyculture
Polyculture builds on that efficient layout by stacking plants in space and time, letting you harvest more from the same square footage. You’ll layer tall, sun-loving plants with shorter, shade-tolerant ones underneath. Plant your climbing beans up a cornstalk trellis and sow quick-growing lettuce at its base; you’ll harvest the lettuce before the beans shade it out.
In the same bed, tuck in shallow-rooted herbs like cilantro between deeper-rooted tomatoes. This vertical and horizontal layering mimics a natural ecosystem, suppressing weeds and conserving moisture. You’re also extending your harvest season by combining fast-maturing radishes with slow-growing carrots in the same row. It’s a dense, productive system that maximizes every inch.
Sketch Your Dream Garden Layout in 5 Steps
To bring your vegetable garden from vision to reality, grab a pencil and paper and follow these five practical steps for sketching an effective layout.
First, map your site’s physical boundaries, noting sunlight patterns and soil conditions.
Second, draw your beds, deciding on their shapes and sizes—common choices are rectangles or keyholes.
Third, assign plants to each bed, placing taller varieties like corn or tomatoes on the north side to avoid shading smaller plants.
Fourth, plan your pathways for easy access, ensuring they’re wide enough for you and a wheelbarrow.
- Plot your sun map: Track where full sun falls for heat-loving crops.
- Group by harvest time: Cluster quick radishes with slow carrots for efficient replanting.
- Include support structures: Mark where trellises for beans or cages for peppers will go.
- Note water sources: Position thirsty crops like squash nearer to your hose or irrigation.
Frequently Asked Questions
What Should I Plant if I Only Have Shade?
You should plant shade-tolerant crops like leafy greens, herbs, and root vegetables. Think of lettuce, spinach, kale, mint, and radishes; they often grow well with just three to six hours of sun.
How Do I Protect My Garden From Rabbits and Deer?
Build a tall fence to keep deer out; bury wire mesh a foot deep to block rabbits. Use motion-activated sprinklers or try commercial repellents, but you’ll need to reapply them after rain or watering.
Can I Grow Vegetables in Containers on a Balcony?
You can grow vegetables in containers on your balcony. Focus on dwarf varieties, use deep pots for tomatoes, and remember you’ll need to water more often than in a garden bed. Choose a sunny spot.
What Are the Easiest Vegetables for a Beginner to Grow?
Start with lettuce, radishes, or green beans. You’ll find they’re forgiving and grow quickly. Tomatoes and peppers also thrive if you give them consistent water and sun. Always use quality potting soil in your containers.
When Is the Exact Best Time to Plant Each Vegetable?
Check your local frost dates, then follow seed packet instructions precisely. You’ll plant cool-weather crops like peas early, but wait until all frost danger passes for heat-lovers like tomatoes and peppers.
Conclusion
Start sketching your layout today. By thoughtfully grouping plants by their needs and habits, you’ve turned complex chores into a simple routine. Your detailed plan is your best tool—it turns that dream of a low‑effort, high‑yield garden into your reality this season. Now, go get your harvest.
The Only Tools You Need for a Thriving Garden 🌱
Whether you're a weekend gardener or growing daily — these hand-picked tools make every session faster, easier, and more satisfying.