Dreaming of your own veggie garden but unsure where to start? You can succeed with a curated list of beginner-friendly vegetables. We’ve gathered 18 of the easiest options, from fast-growing radishes to reliable tomatoes, that forgive common mistakes. Get ready to discover which simple crops will give you the quickest rewards and set you up for a thriving garden all season.
Key Takeaways
- Start with quick crops like radishes and lettuce for fast results and motivation.
- Use loose, well-drained soil amended with compost for healthy root development.
- Plant in succession every 2-3 weeks for a continuous harvest all season.
- Provide simple supports like trellises for vining crops to save space.
- Water consistently at the soil level and harvest promptly to encourage production.
Start With Radishes for Almost Instant Results
If you want quick satisfaction, radishes are a great first choice because you’ll often see sprouts in just three or four days.
You can harvest crunchy roots in as little as three to four weeks, making them perfect for a first-timer’s quick win.
You don’t need deep soil or a lot of space; a container or a small garden patch works fine.
Just sow the seeds directly about half an inch deep and an inch apart in loose, well-drained soil.
Keep the soil moist, and you’ll thin the seedlings once they’re a couple inches tall.
You’re not just growing a vegetable; you’re building confidence with a crop that practically races from seed to salad.
Grow Lettuce for Your Fastest Homegrown Salad
Lettuce often gives you the quickest path from seed to your own salad bowl, sometimes in just 30 days. You can sow seeds directly into your garden or a container. Choose fast-growing ‘leaf’ varieties like Buttercrunch or Oakleaf for successive harvests.
Plant them in a spot with partial sun and keep the soil moist. You’ll thin the seedlings as they grow and begin harvesting outer leaves when plants are a few inches tall. This ‘cut-and-come-again’ method lets you enjoy fresh salads for weeks.
Lettuce thrives in cooler weather, so you can start early in spring or plant again in fall. It’s incredibly rewarding to snip your own crisp greens minutes before dinner.
Pick Spinach and Arugula for Cool-Weather Greens

Add more leafy excitement to your cool-season garden with versatile spinach and peppery arugula. They’re perfect to plant alongside your lettuce as they thrive in the same cool temperatures. You’ll harvest tender leaves in just a few weeks.
Spinach is a nutrient-packed classic for salads and cooking. Arugula adds a spicy kick that livens up any dish. Both can be sown directly in your garden as soon as the soil is workable in spring or again in fall.
| Spinach | Arugula |
|---|---|
| Prefers full sun | Tolerates partial shade |
| Harvest whole plant | Cut individual leaves |
| Sweet, mild flavor | Peppery, bold flavor |
| Great for cooking | Ideal for fresh salads |
Keep harvesting regularly to encourage new growth, and you’ll enjoy continuous greens.
Plant Kale and Swiss Chard for All-Season Resilience

Building on your cool-weather greens, you can establish a sturdy, nearly year-round harvest with kale and Swiss chard. These leafy powerhouses are champions of resilience, often thriving from spring through fall and even into mild winters.
You’ll love their forgiving nature and continuous yield; simply pick the outer leaves, and the plants keep producing. They’re perfect for building your gardening confidence.
For success, follow these simple tips:
- Plant in a sunny spot with nutrient-rich soil.
- Water them consistently to keep the soil moist.
- Harvest leaves when they’re young and tender for the best flavor.
- Protect them from summer’s peak heat with light shade.
You’ll enjoy fresh, homegrown greens for months!
Grow Peas in Cool Weather for a Sweet Harvest

Since you’ve mastered resilient greens, you’ll find peas are another rewarding cool-season crop that yields a sweet, early harvest. Plant them as soon as you can work the soil in spring, or in late summer for a fall crop. They thrive in cool temperatures and can even tolerate a light frost.
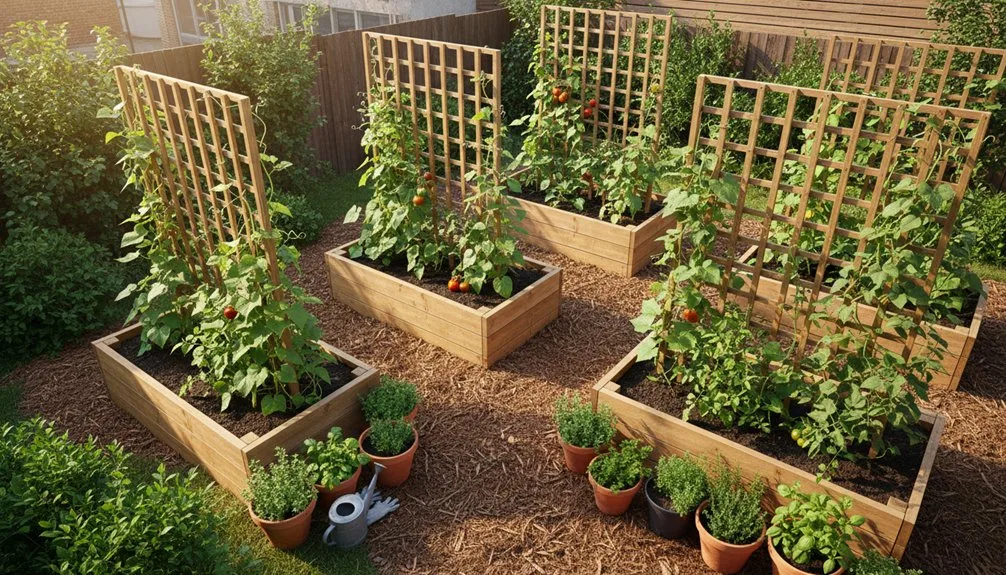
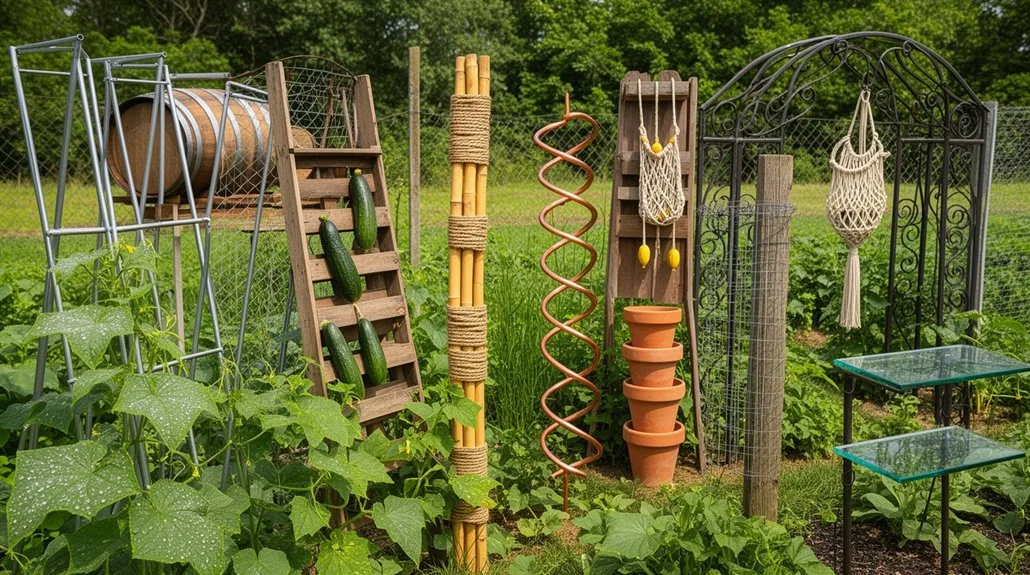
You’ll need to provide simple support for most varieties; a trellis of netting or twiggy branches works perfectly. Just sow the seeds directly into well-drained soil and keep them moist. You’ll watch the vines climb and soon be picking crisp, sugary pods. Nothing beats the flavor of home-grown peas eaten straight from the garden. They’re a fantastic, low-maintenance choice for your first cool-weather success.
Harvest Bush Beans Without Any Trellis Needed

Now you can look forward to harvesting your own bush beans, a wonderfully simple crop that grows without any trellis.
Their compact form means you can plant them directly in garden beds or even containers.
You’ll get a generous yield from these tidy plants in just about 50-60 days.
Harvesting them is a delight. Simply pick the crisp pods when they’re firm and before the seeds inside become visibly large.
For your best harvest, follow these simple steps:
- Pick beans when they’re about the length of your finger.
- Hold the stem with one hand and gently pull the pod with the other.
- Harvest regularly, every few days, to encourage more production.
- Enjoy them fresh, or store them in the fridge for a week.
Provide Cucumbers With Sun and Simple Support

If you want cucumbers to thrive, give them plenty of sun and a little support. They’ll need at least six to eight hours of direct sunlight each day. For support, a simple trellis, stake, or tomato cage works perfectly. Guiding the vines upward saves precious garden space, improves air circulation to prevent disease, and keeps the fruits clean and straight.
Just tie the main stem loosely to your support as it grows. You’ll find harvesting is much easier when the cucumbers hang down rather than hide in the dirt. Providing this basic structure encourages healthier plants and a more abundant, easier-to-pick crop. It’s a small effort for a big payoff in crisp, homegrown cucumbers.
Grow Prolific Zucchini and Summer Squash Varieties

You’ll often find zucchini and summer squash among the most generous producers in a beginner’s garden. Once they start fruiting, you’ll have a steady harvest if you pick them regularly.
They need full sun and well-drained soil enriched with compost. Give these space-loving plants room by spacing them about three feet apart. Their rapid growth makes them incredibly satisfying for new gardeners.
To ensure a great harvest, follow these simple tips:
- Check plants daily for mature fruits.
- Harvest zucchini when they’re 6-8 inches long.
- Use a sharp knife to cut the squash from the vine.
- Pick often to encourage more production.
You’ll be amazed by your bounty.
Choose Tomato Varieties That Thrive in Full Sun
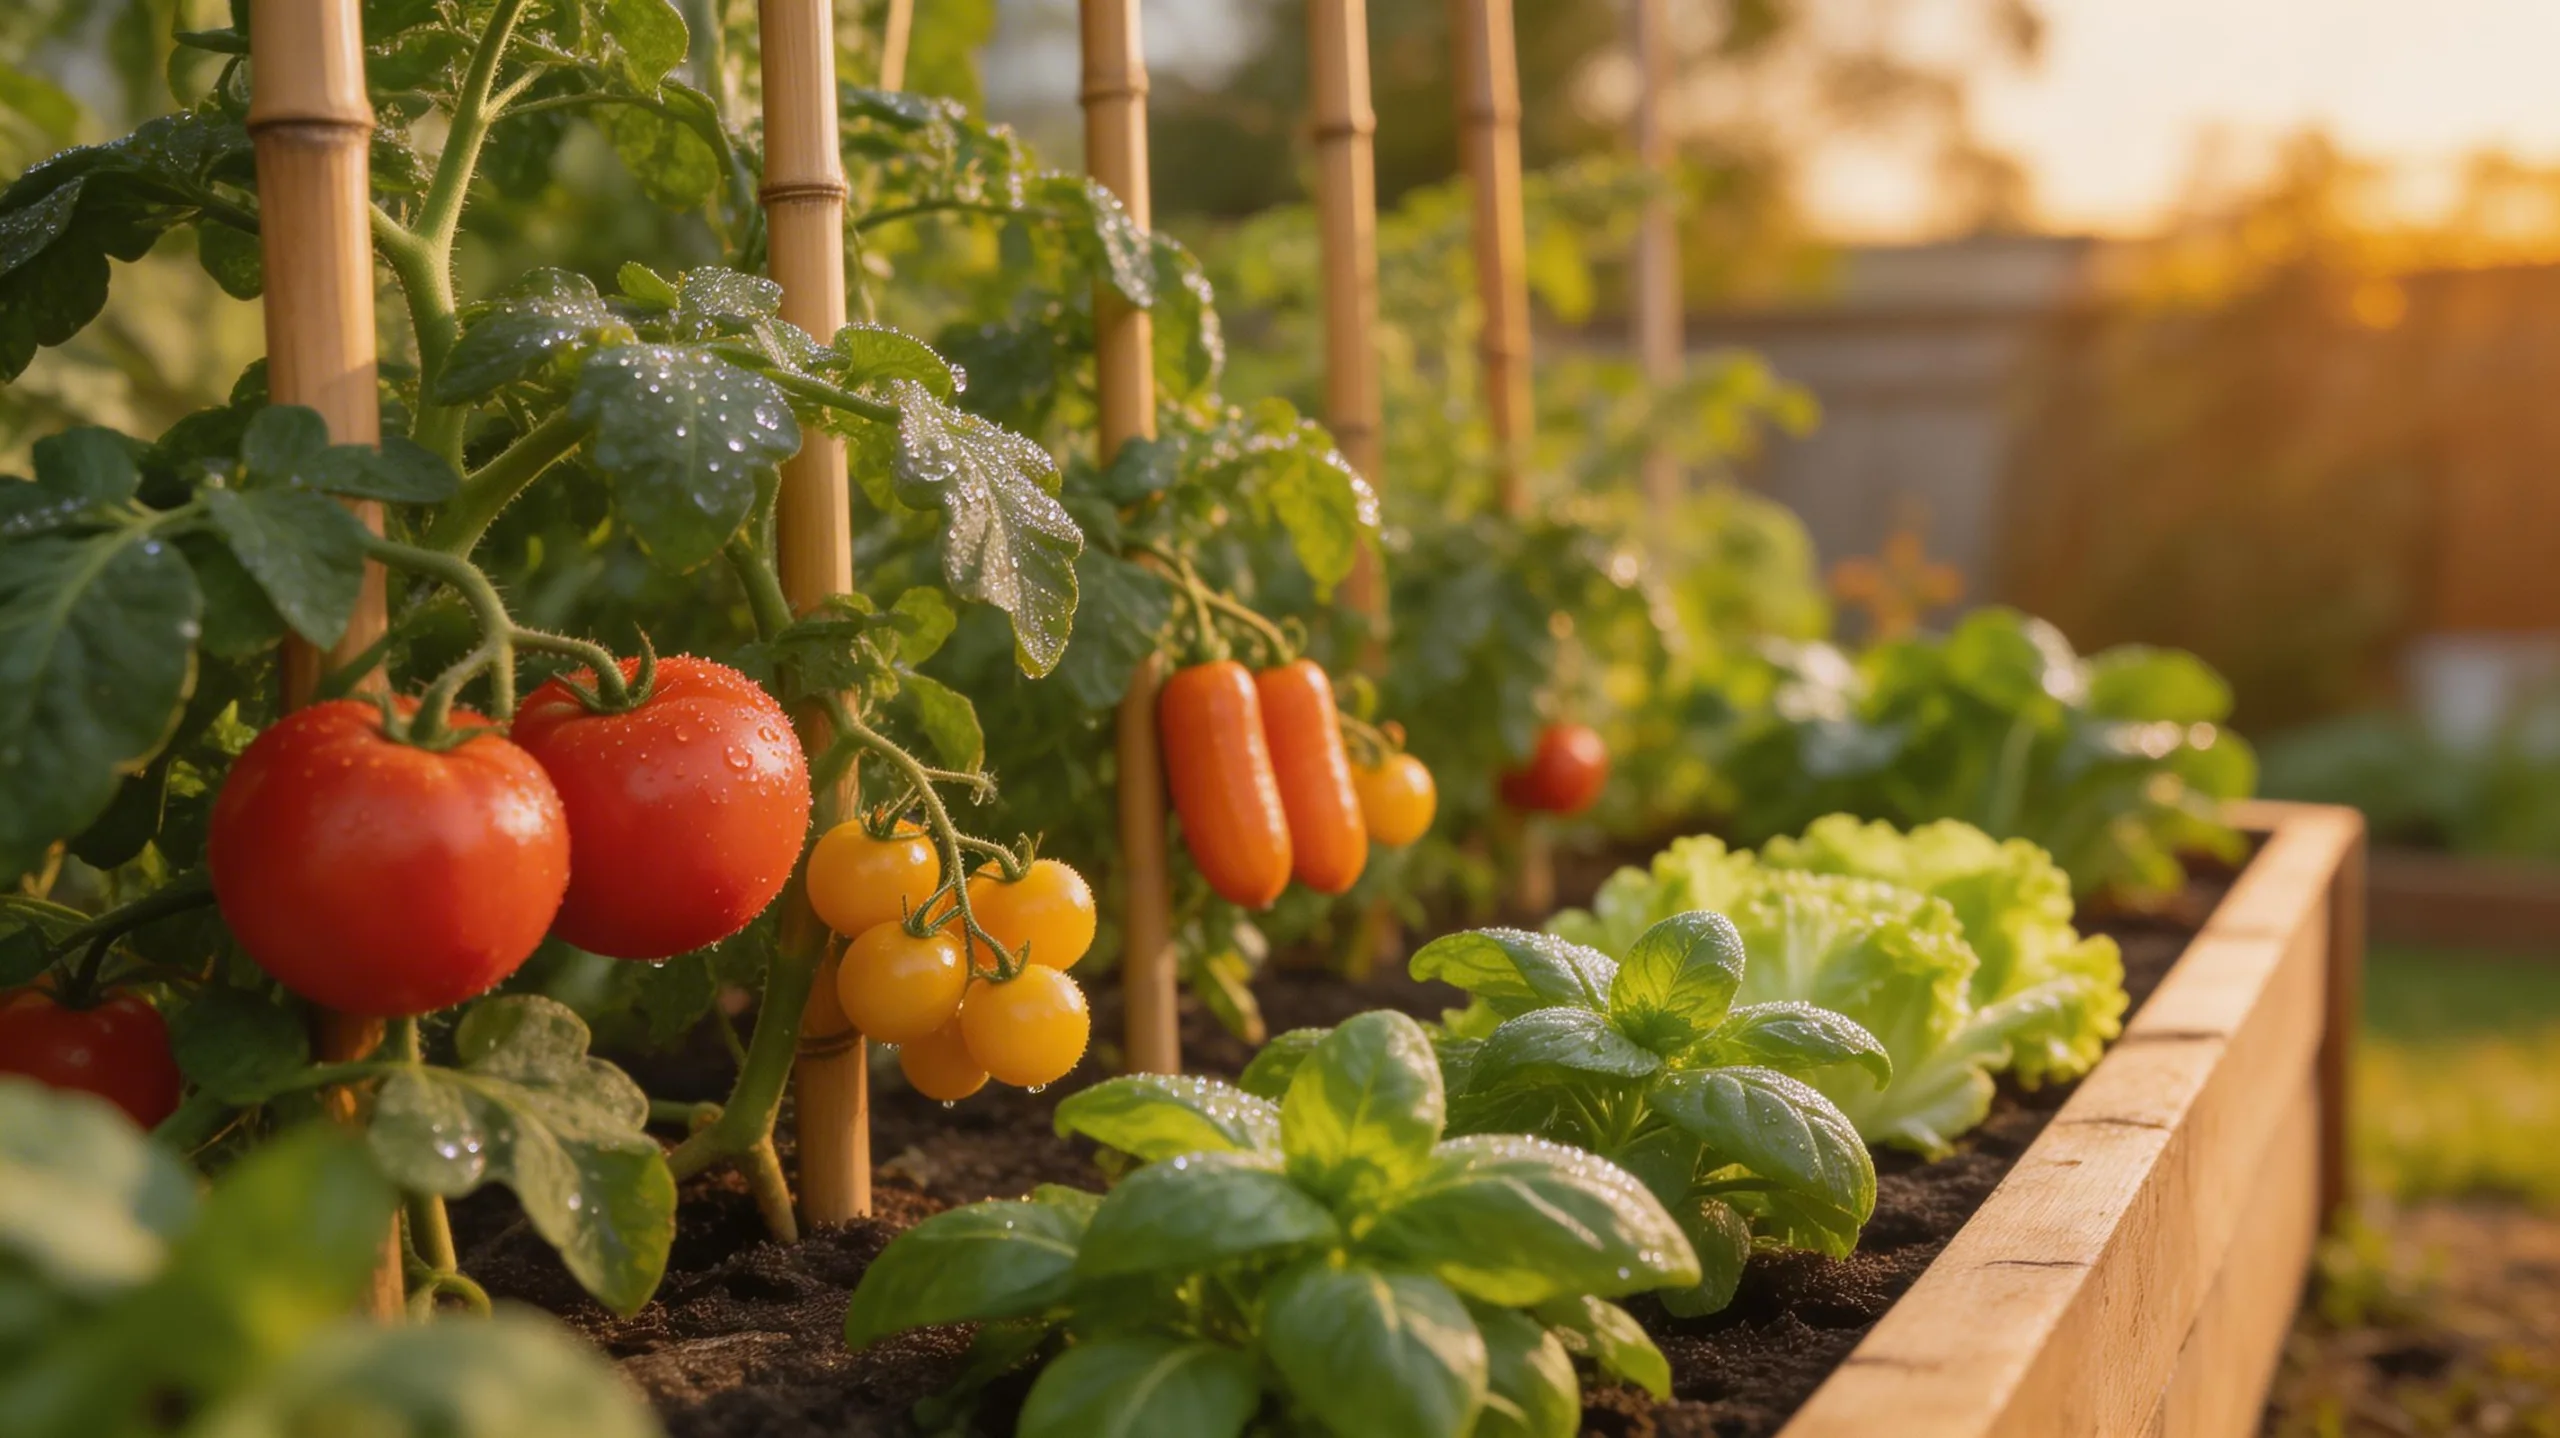
Just as zucchini rewards you with abundant harvests, tomatoes can become the star of your sun-drenched garden. They absolutely need a full-sun location—that’s at least six to eight hours of direct sunlight daily.
Start by choosing varieties labeled for your climate. For reliable, all-around performance, you can’t go wrong with classic ‘Celebrity’ or ‘Early Girl’. If space is tight, try compact determinate types like ‘Patio Princess’. For a continuous harvest, indeterminate varieties like ‘Sungold’ cherry tomatoes are prolific and sweet. Always check plant tags or seed packets for terms like “heat-tolerant” or “drought-resistant,” which are great for sunny spots.
With the right sun-loving choice, you’ll be picking juicy tomatoes all season long.
Grow Carrots and Beets in Loose, Well-Drained Soil

While tomatoes thrive under the sun, carrots and beets succeed beneath it, needing loose, well-drained soil for their roots to develop perfectly. Rocky or clumpy soil can cause forked or stunted roots.
To prepare your bed, you’ll want to loosen the soil deeply. Mix in some compost for nutrients and drainage, but avoid fresh manure as it can cause root branching. You can sow seeds directly outdoors.
The key steps are:
- Rake the soil to a fine, crumbly texture.
- Plant seeds shallowly, about a quarter-inch deep.
- Keep the soil consistently moist for good germination.
- Thin seedlings early so roots have space to swell.
You’ll be amazed at the sweet, homegrown crunch!
Replant Green Onions From Your Own Kitchen Scraps
Imagine turning leftover kitchen scraps into a fresh, ongoing supply! Green onions are the perfect start. Just take the white root ends you’d normally toss, ensuring they’re about an inch long.
Place these roots in a small glass with enough water to cover them. You’ll see new green shoots emerge in just days.
Once they’re a few inches tall, you can transfer them to a pot with soil for longer-term growth. Keep them watered and in a sunny spot.
You’ll be snipping fresh green tops for your meals in no time, and the plants will often regrow. It’s a wonderfully simple way to see instant gardening results and reduce waste.
Plant Potatoes in Containers or Garden Beds
Harvesting your own homegrown potatoes is both easy and incredibly rewarding. You can plant them in a simple container like a large pot or directly in a garden bed. Start with “seed potatoes” from a garden center, not grocery store ones. If planting in a container, you’ll fill it partway with soil, place your potatoes, and add more soil as they grow. This “hilling” method is key no matter where you plant, and it’s what makes potatoes so fun to grow.
For a successful harvest, just follow these simple steps:
- Plant your seed potatoes in loose, well-draining soil.
- Cover them with just a few inches of soil at first.
- As green shoots grow about 6 inches tall, add more soil around them.
- Repeat this hilling process until your container or bed is nearly full.
Grow Garlic With Just a Little Patience
Planting garlic is a fantastic project because it’s simple and the payoff is huge—you’ll get flavorful bulbs from just one clove.
You plant individual cloves in the fall, pointy-end up, about two inches deep.
They’ll need a cold period to develop properly, so don’t worry about winter.
Just give them a sunny spot and well-drained soil.
Your patience is key, as they’ll spend months growing roots before you see green shoots in spring.
Keep the area weeded and water them if the weather’s dry.
Come summer, the leaves will brown, signaling your harvest time.
You’ll gently lift plump, fragrant bulbs from the earth, ready to cure and enjoy.
Cultivate Easy Herbs Like Basil and Mint
Boost your cooking and confidence by growing beginner-friendly herbs like basil and mint. You’ll find they’re incredibly forgiving and deliver a huge payoff. Plant them in pots or a sunny garden spot after the last frost. You need to keep the soil moist but not soggy, and you’ll want to pinch off the tops regularly. This pinching encourages bushy growth and prevents early flowering.
For the best results, follow these simple care tips:
- Choose a location with at least six hours of sun daily.
- Water when the top inch of soil feels dry.
- Harvest leaves frequently to stimulate new growth.
- Plant mint in its own container, as it spreads aggressively.
You’ll love adding your own fresh-picked flavors to meals.
Maximize Your Harvest With Succession Planting
Extending your garden’s productivity is simple with succession planting. You sow small batches of seeds every few weeks instead of all at once. This staggers your harvests, giving you a steady supply of vegetables rather than one overwhelming glut. It’s perfect for fast-growing crops like lettuce, radishes, and beans. When you finish harvesting one row, you’ll have new seedlings ready to transplant into that space, keeping your garden full and productive all season.
| Vegetable | Succession Interval |
|---|---|
| Lettuce & Spinach | Every 2-3 weeks |
| Radishes | Every 10-14 days |
| Bush Beans | Every 3 weeks |
| Beets & Carrots | Every 3 weeks |
| Cilantro & Dill | Every 2-3 weeks |
You just need a simple plan and a little space to enjoy continuous fresh food.
Protect Your Plants From Common Beginner Pests
As your garden grows, you’ll likely encounter some pests, but you can easily protect your plants with a few simple strategies. You don’t need harsh chemicals; often, the best solutions are gentle and proactive.
Stay vigilant by regularly inspecting your plants, especially under leaves. A strong spray of water from your hose can knock many soft-bodied pests right off.
For a persistent problem, try these effective, beginner-friendly methods:
- Handpick larger pests like caterpillars and beetles directly into soapy water.
- Use row covers as a physical barrier to keep flying insects off your plants.
- Mix a soap spray with mild dish soap and water to deter aphids and mites.
- Attract beneficial insects like ladybugs by planting flowers such as marigolds nearby.
Water Your Garden the Simple, Effective Way
Watering your garden regularly sounds simple, but doing it effectively makes a big difference for your plants.
Focus on the soil, not the leaves. Your goal is to get water deep to the roots. You’ll want to water deeply and less frequently rather than giving a shallow sprinkle every day.
Check the soil’s moisture by feeling it a few inches down; if it’s dry, it’s time to water.
Early morning is best, as it reduces evaporation and prevents fungal issues.
Using a watering can, hose with a gentle nozzle, or a simple drip system lets you control the flow.
Consistent, deep watering builds stronger roots and leads to healthier, more resilient plants ready for harvest.
Know the Right Time to Harvest Each Crop
You’ve nurtured your plants with great care, and now you get to enjoy the reward: picking them at their peak. Harvest timing is crucial for the best flavor and texture. You’ll learn a lot by feel and look. Don’t guess—use these simple checks:
- Lettuce & Leafy Greens: Pick outer leaves when they’re large enough to eat, before the plant bolts and turns bitter.
- Tomatoes: Harvest when they’re fully colored and slightly soft to a gentle squeeze.
- Zucchini: Pick them small (6-8 inches) for tender fruit; big ones get seedy and tough.
- Root Crops (Carrots/Radishes): Gently brush soil from the top; they’re ready when the root’s diameter looks plump and full.
Taste-test often! Your garden’s fresh flavors are the perfect guide.
Frequently Asked Questions
How Do I Test and Amend My Soil?
Test your soil with a kit or send a sample to a lab. Then, you’ll amend it based on the results; just add compost to improve it or lime to raise a low pH.
What Is the Best Location for a Garden?
You need a sunny spot, getting at least six hours of direct light daily. Ensure it’s near a water source and has good drainage. Avoid low areas where water pools and stay clear of large tree roots.
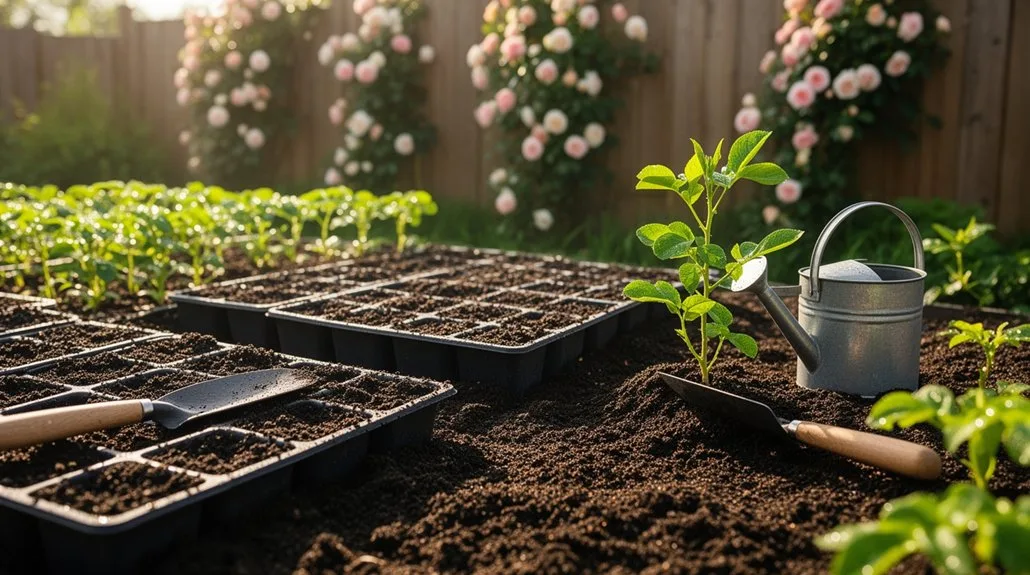
How Do I Start Seeds Indoors?
You’ll start seeds indoors using small containers with drainage. Fill them with seed-starting mix, plant seeds at their proper depth, keep the soil moist and warm, and then give them plenty of light once they sprout.
How Much Should I Fertilize My Plants?
Start with a half-strength, balanced fertilizer every few weeks. Always follow the package instructions because over-fertilizing can damage your plants. You can observe their growth and adjust as you learn what they need.
Can I Save Seeds From My Harvest?
You absolutely can. Start with easy ones like beans, lettuce, and tomatoes. Let a few plants mature fully, collect their dried seeds, and store them in a cool, dry spot for next season.
Conclusion
Remember, your garden is a journey. Start with a few of these easy veggies and learn as you grow. Don’t worry about perfection; just get your hands dirty and enjoy the process. Each harvest, big or small, is a triumph. You’ve got this! Here’s to the fresh, delicious rewards waiting for you just outside your door.
The Only Tools You Need for a Thriving Garden 🌱
Whether you're a weekend gardener or growing daily — these hand-picked tools make every session faster, easier, and more satisfying.