You might think starting a vegetable garden is complex, but it’s simpler than you imagine. You can begin with just a sunny spot and a few easy crops. The real trick lies in understanding your soil and climate to set yourself up for success from the very first season. Let’s explore how you can quickly establish a productive plot that builds your confidence and provides fresh food.
Key Takeaways
- Choose a sunny, well-draining spot near your water source to begin.
- Build fertile soil by mixing in several inches of compost or aged manure.
- Water deeply when the top two inches of soil become dry.
- Start with easy crops like radishes, lettuce, and bush beans.
- Use mulch to retain soil moisture and suppress competing weeds.
How to Start a Vegetable Garden in 5 Simple Steps
While starting a vegetable garden might seem daunting, you can successfully grow your own food by following just five key steps. First, you’ll pick a sunny spot with at least six hours of direct light.
Next, decide between in-ground beds or containers, ensuring they’ve good drainage.
Your third step is to source quality soil or compost to fill your chosen space; healthy soil is your garden’s foundation.
Fourth, select easy beginner crops like tomatoes, lettuce, or radishes from a local nursery.
Finally, plant your seeds or seedlings at the correct depth and spacing according to their packets’ instructions. By methodically tackling these fundamentals, you’re setting yourself up for a rewarding harvest.
How to Understand Your Garden Climate Zone
Have you ever wondered why some plants thrive in your neighbor’s yard but struggle in yours? It often comes down to climate zones.
Your garden’s specific zone dictates your average minimum winter temperature, which determines what can survive your coldest months. You can easily find your zone using online maps from resources like the USDA Plant Hardiness Zone Map. Just enter your zip code.
Knowing this number is crucial; it guides you to plants rated for your zone, saving you from heartache and wasted effort. Always check seed packets or plant tags for zone information.
This simple step ensures you’re working with nature, not against it, setting a solid foundation for your garden’s success.
How to Pick the Perfect Garden Location
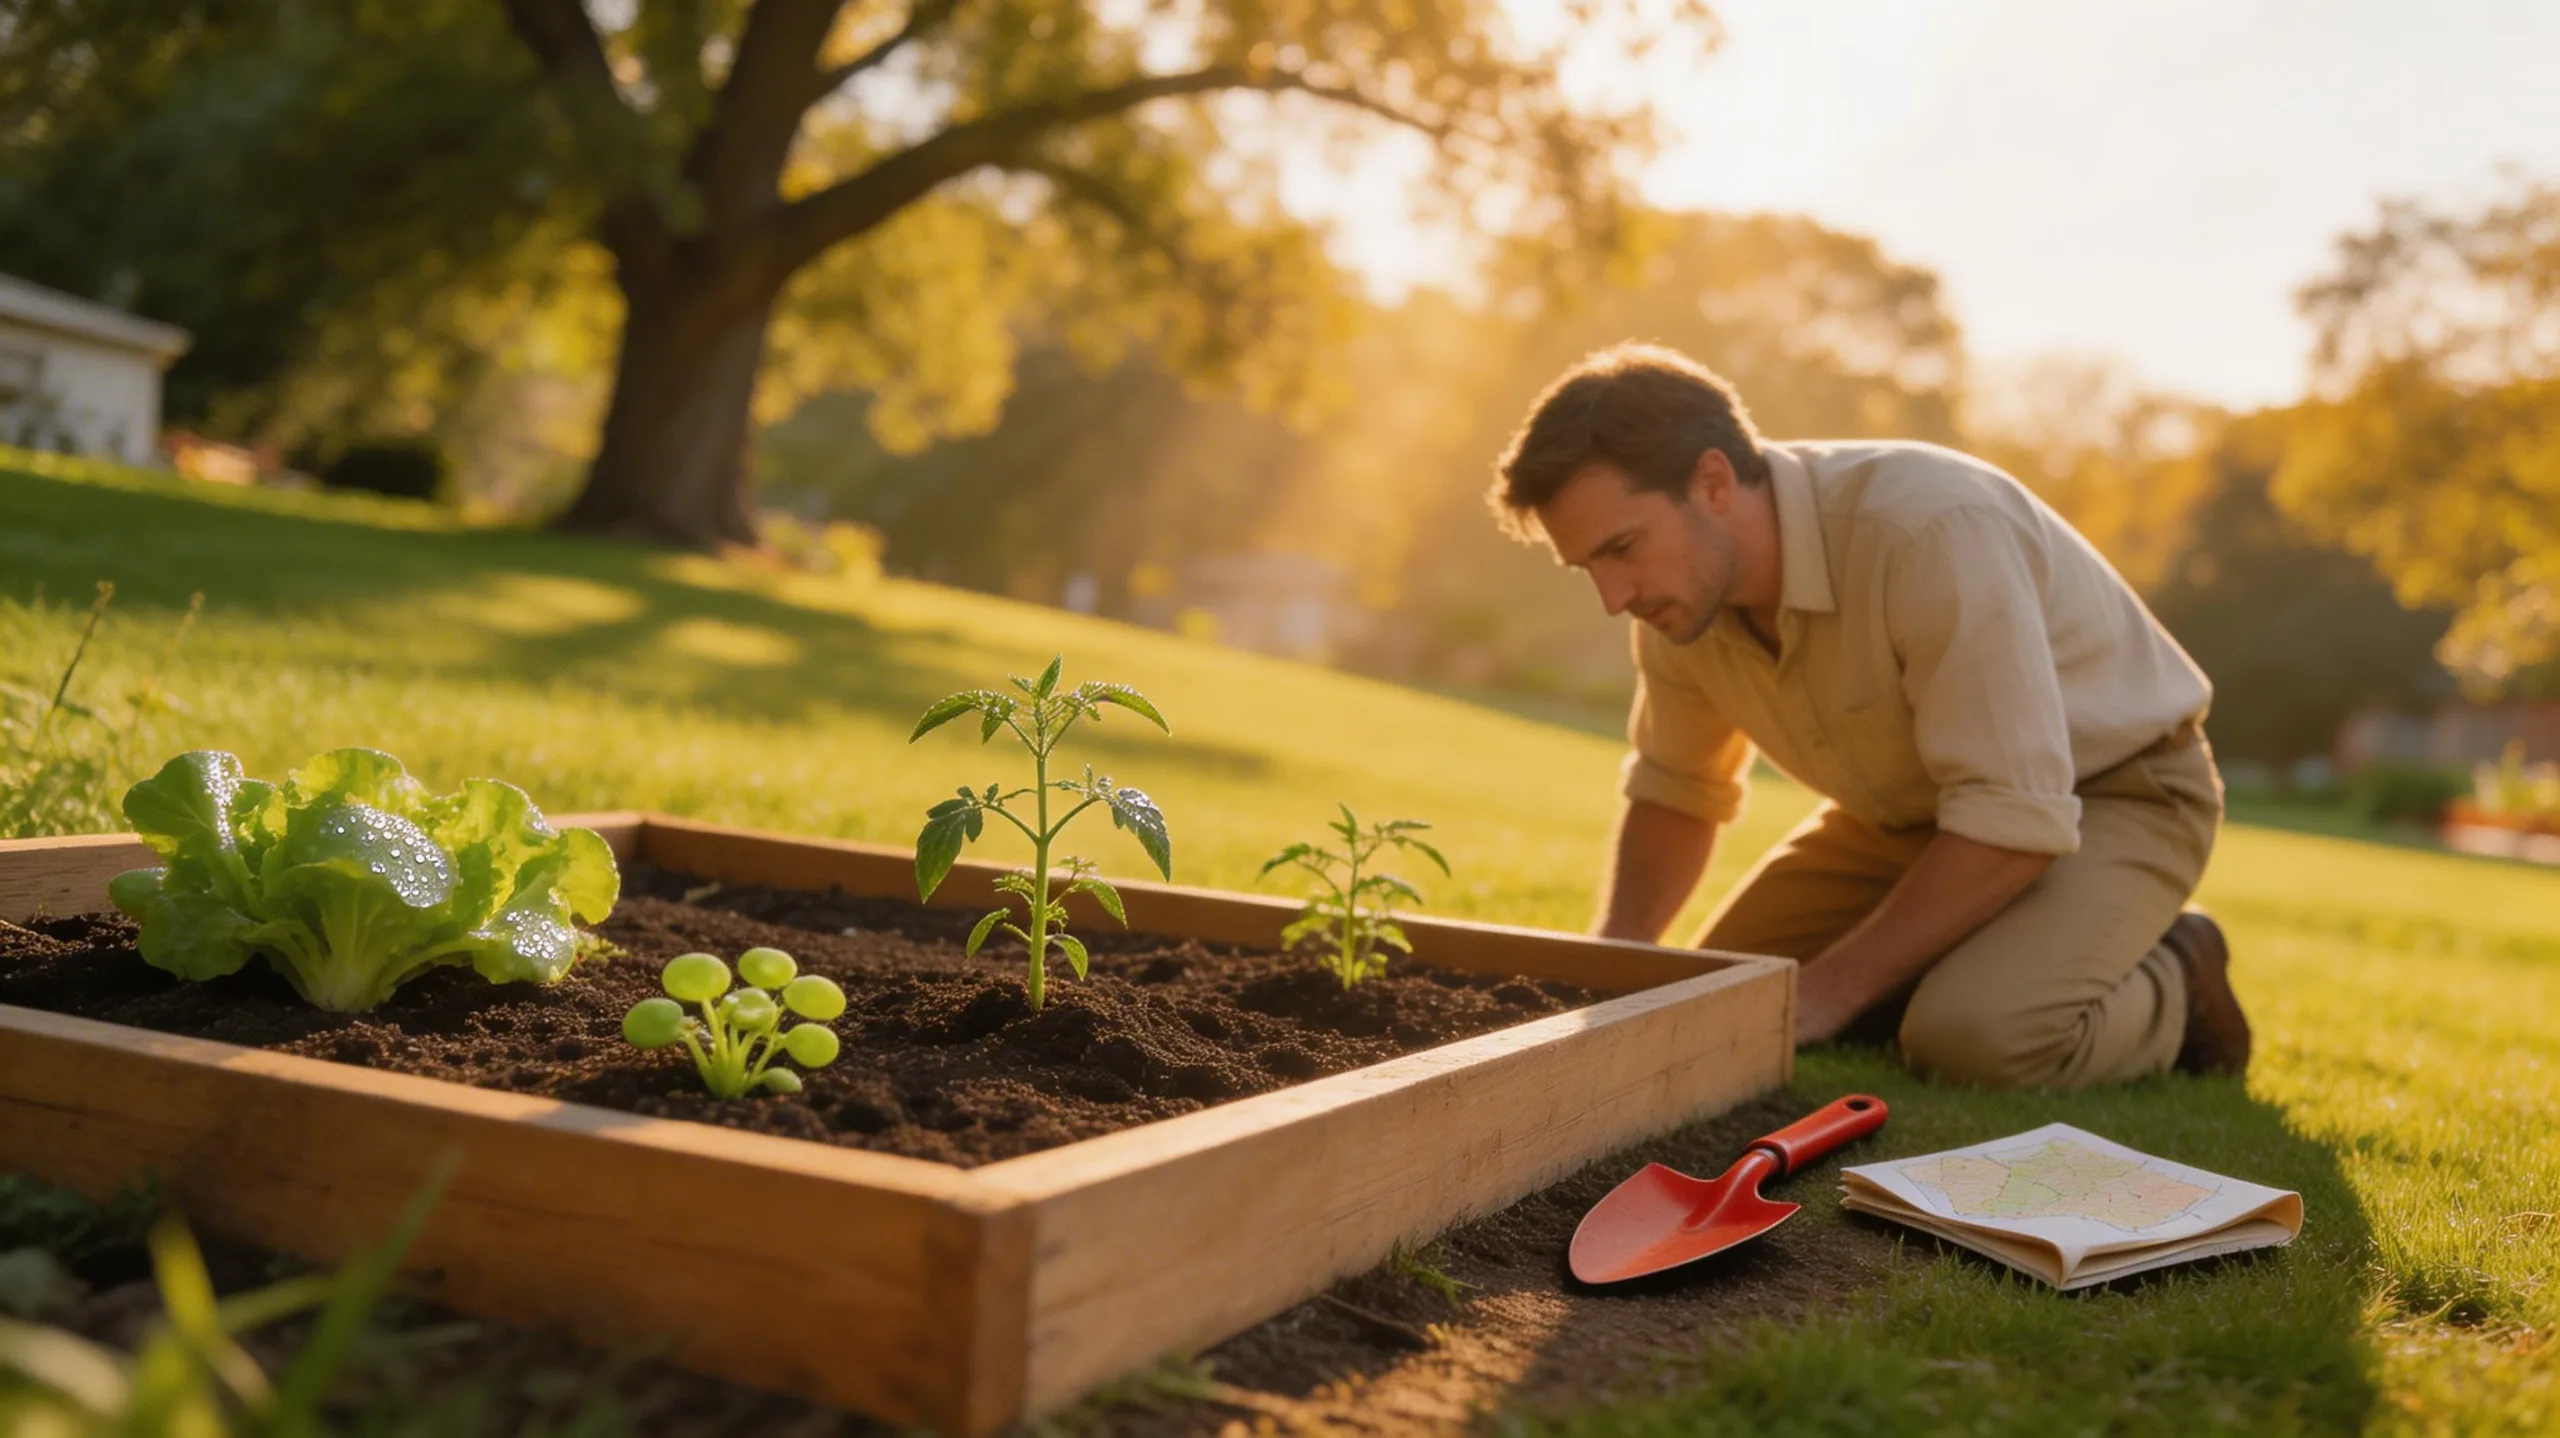
Choosing a location wisely often makes the difference between a struggling garden and a thriving one.
First, you’ll need full sun. Most vegetables require at least six to eight hours of direct sunlight daily. Watch your potential spot over a day to track the light.
Next, think about accessibility and water. Place your garden close to your house and near a water source; you’ll visit and water it more consistently. Ensure the site has good drainage—puddles after rain are a warning sign.
Finally, avoid areas with strong, prevailing winds or close to large trees and shrubs. Their roots will compete for water and nutrients, and they’ll cast too much shade on your sun-loving plants.
How to Check and Fix Your Garden Soil
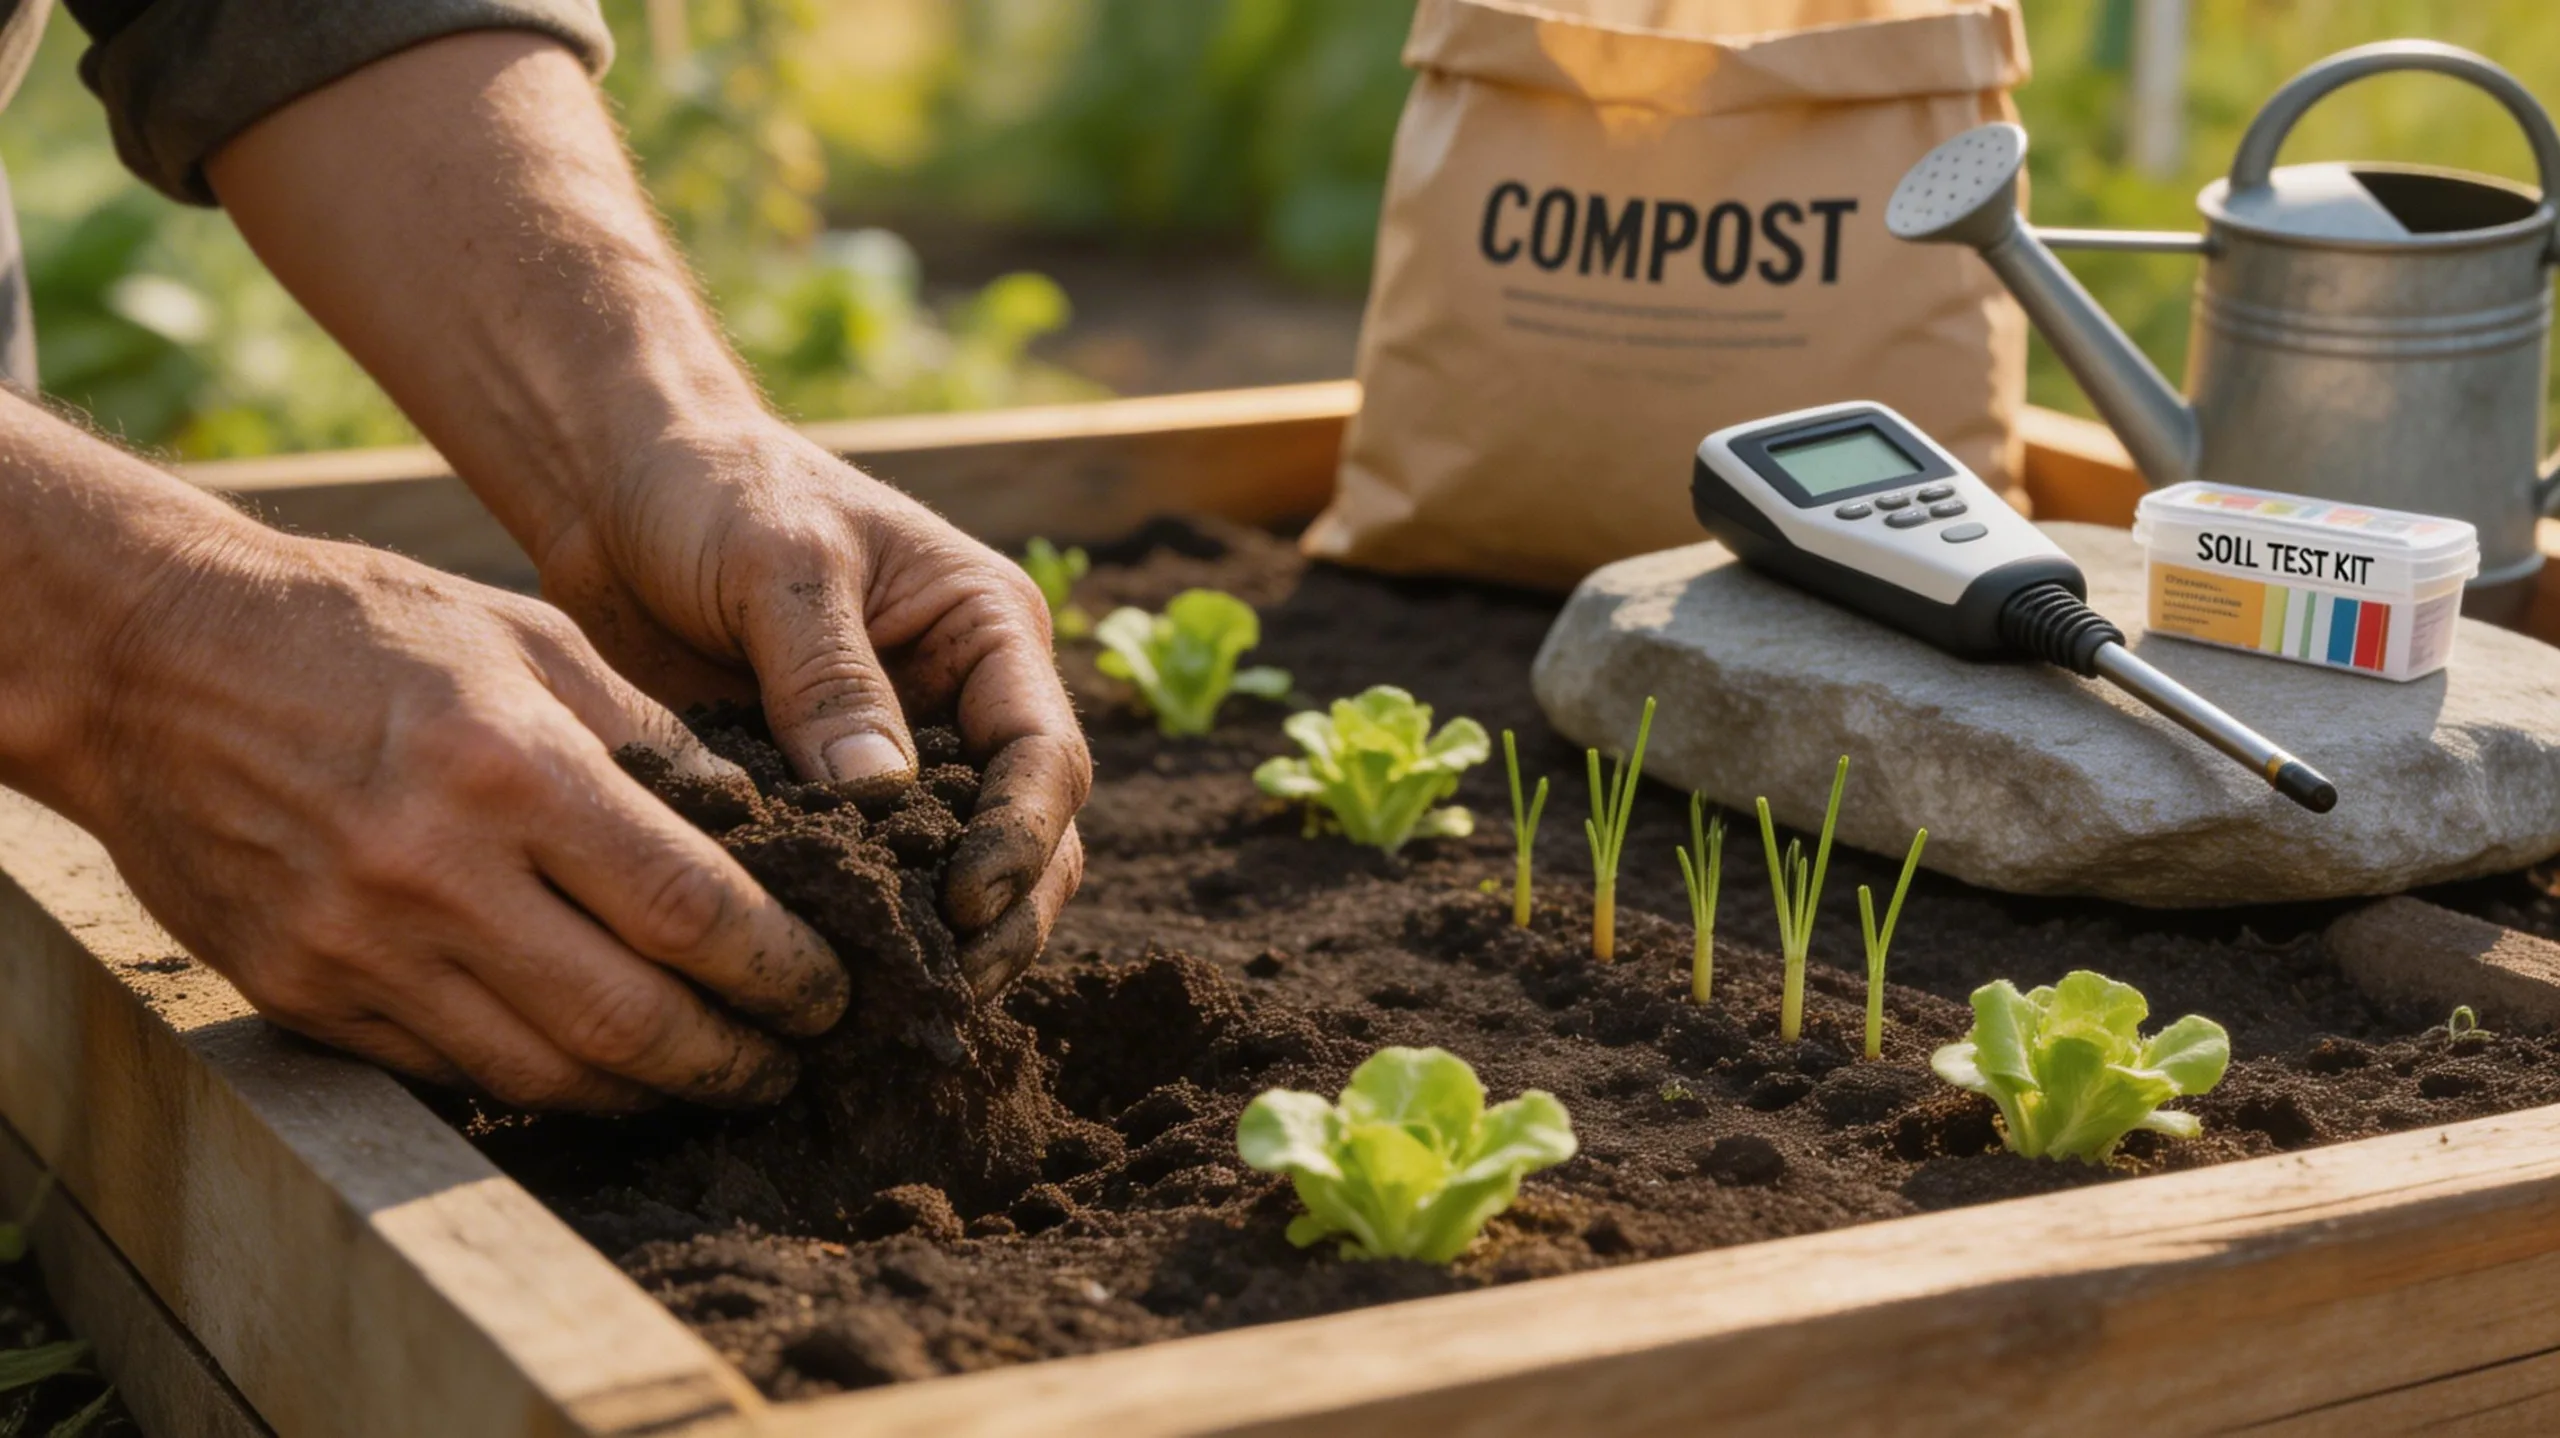
Now that you’ve picked a sunny, accessible spot, your next step is to understand the ground you’ll be planting in. Great vegetables need healthy soil. Start by grabbing a handful; it should feel crumbly and moist, not hard like clay or dusty like sand.
You can do a simple drainage test by digging a hole and filling it with water. If it drains too fast, your soil needs more organic matter to retain moisture. If it pools for hours, you need to improve aeration. Either way, the universal fix is to mix in generous amounts of compost. Compost enriches soil with nutrients and improves its texture, creating the perfect foundation for your plants to thrive.
7 Easy Vegetables for Your First Garden
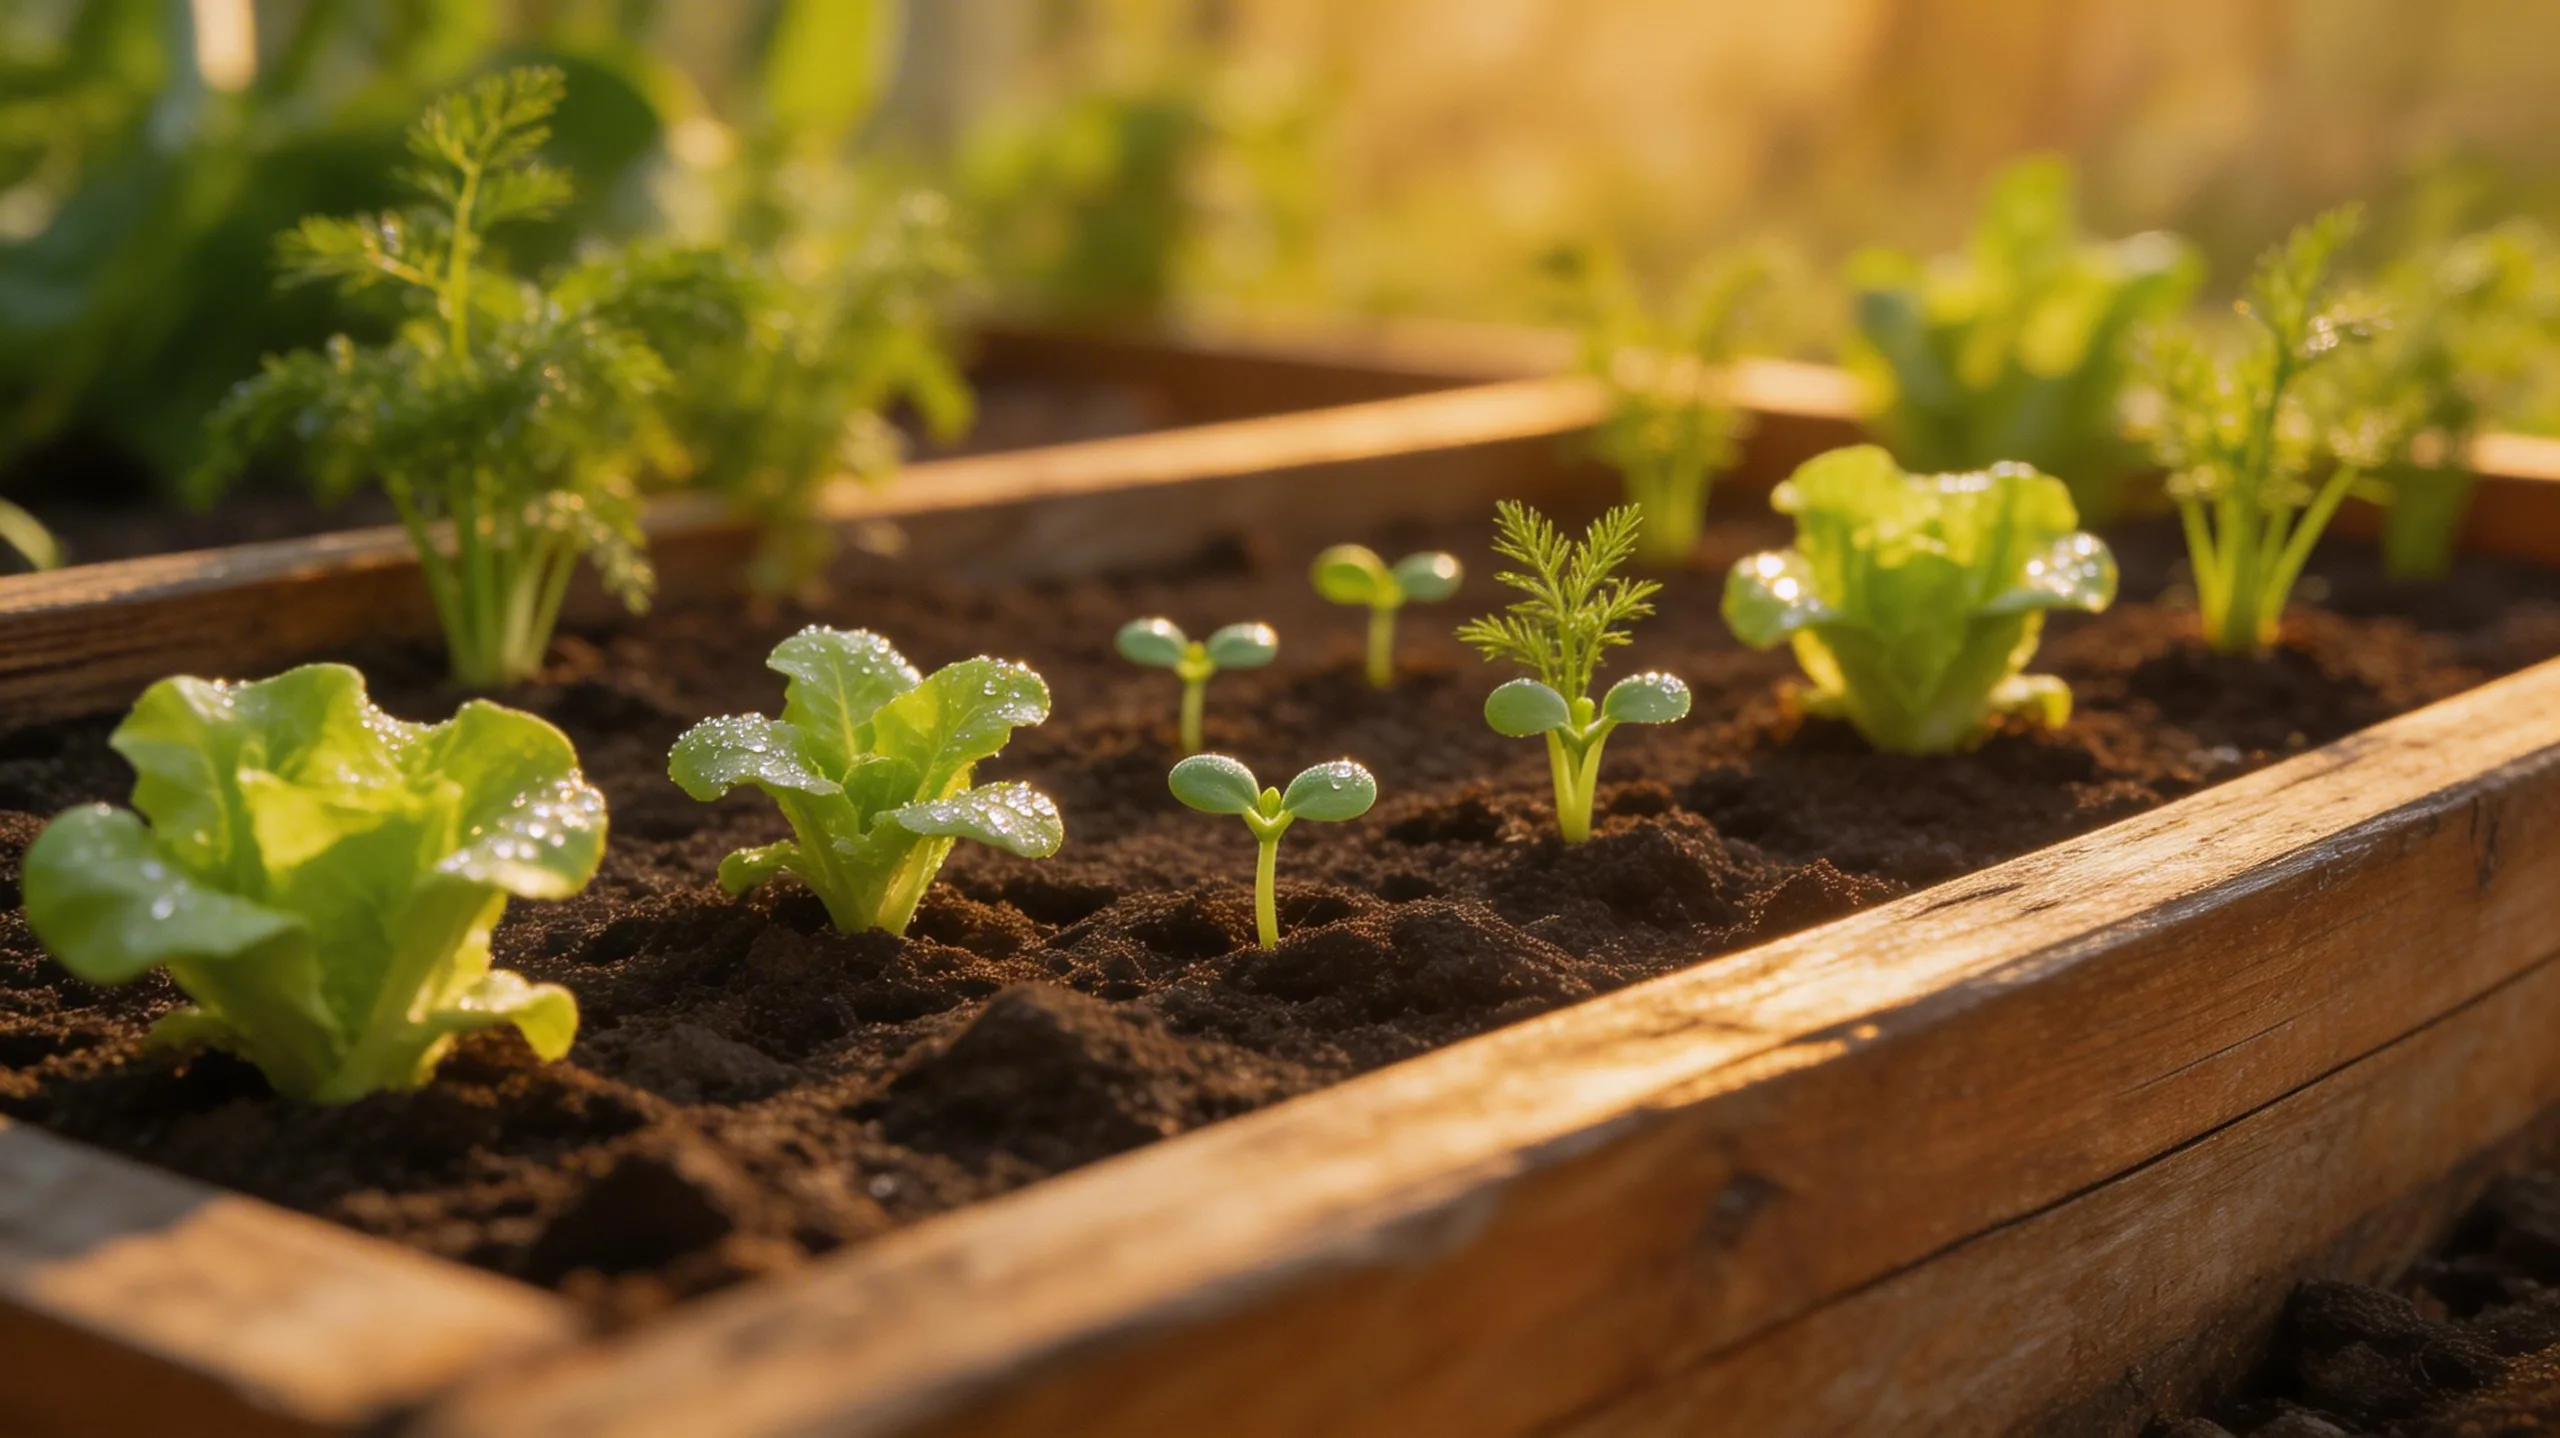
Starting your first vegetable garden brings excitement, but it’s smart to begin with plants that forgive a few rookie mistakes. You’ll build confidence and get a quicker harvest.
Focus on vegetables that grow quickly, tolerate varying conditions, and require minimal care. These reliable choices won’t leave you discouraged if your watering schedule isn’t perfect or pests appear.
Easy Vegetables for Your First Garden
- Radishes: They mature incredibly fast, sometimes in just 30 days, giving you an almost instant taste of success.
- Leaf Lettuce: You can harvest outer leaves as they grow, and it doesn’t require the meticulous care some vegetables demand.
- Green Beans: Bush beans are compact and productive, thriving in warm soil and rewarding you with a generous yield.
Should You Start From Seeds or Young Plants?
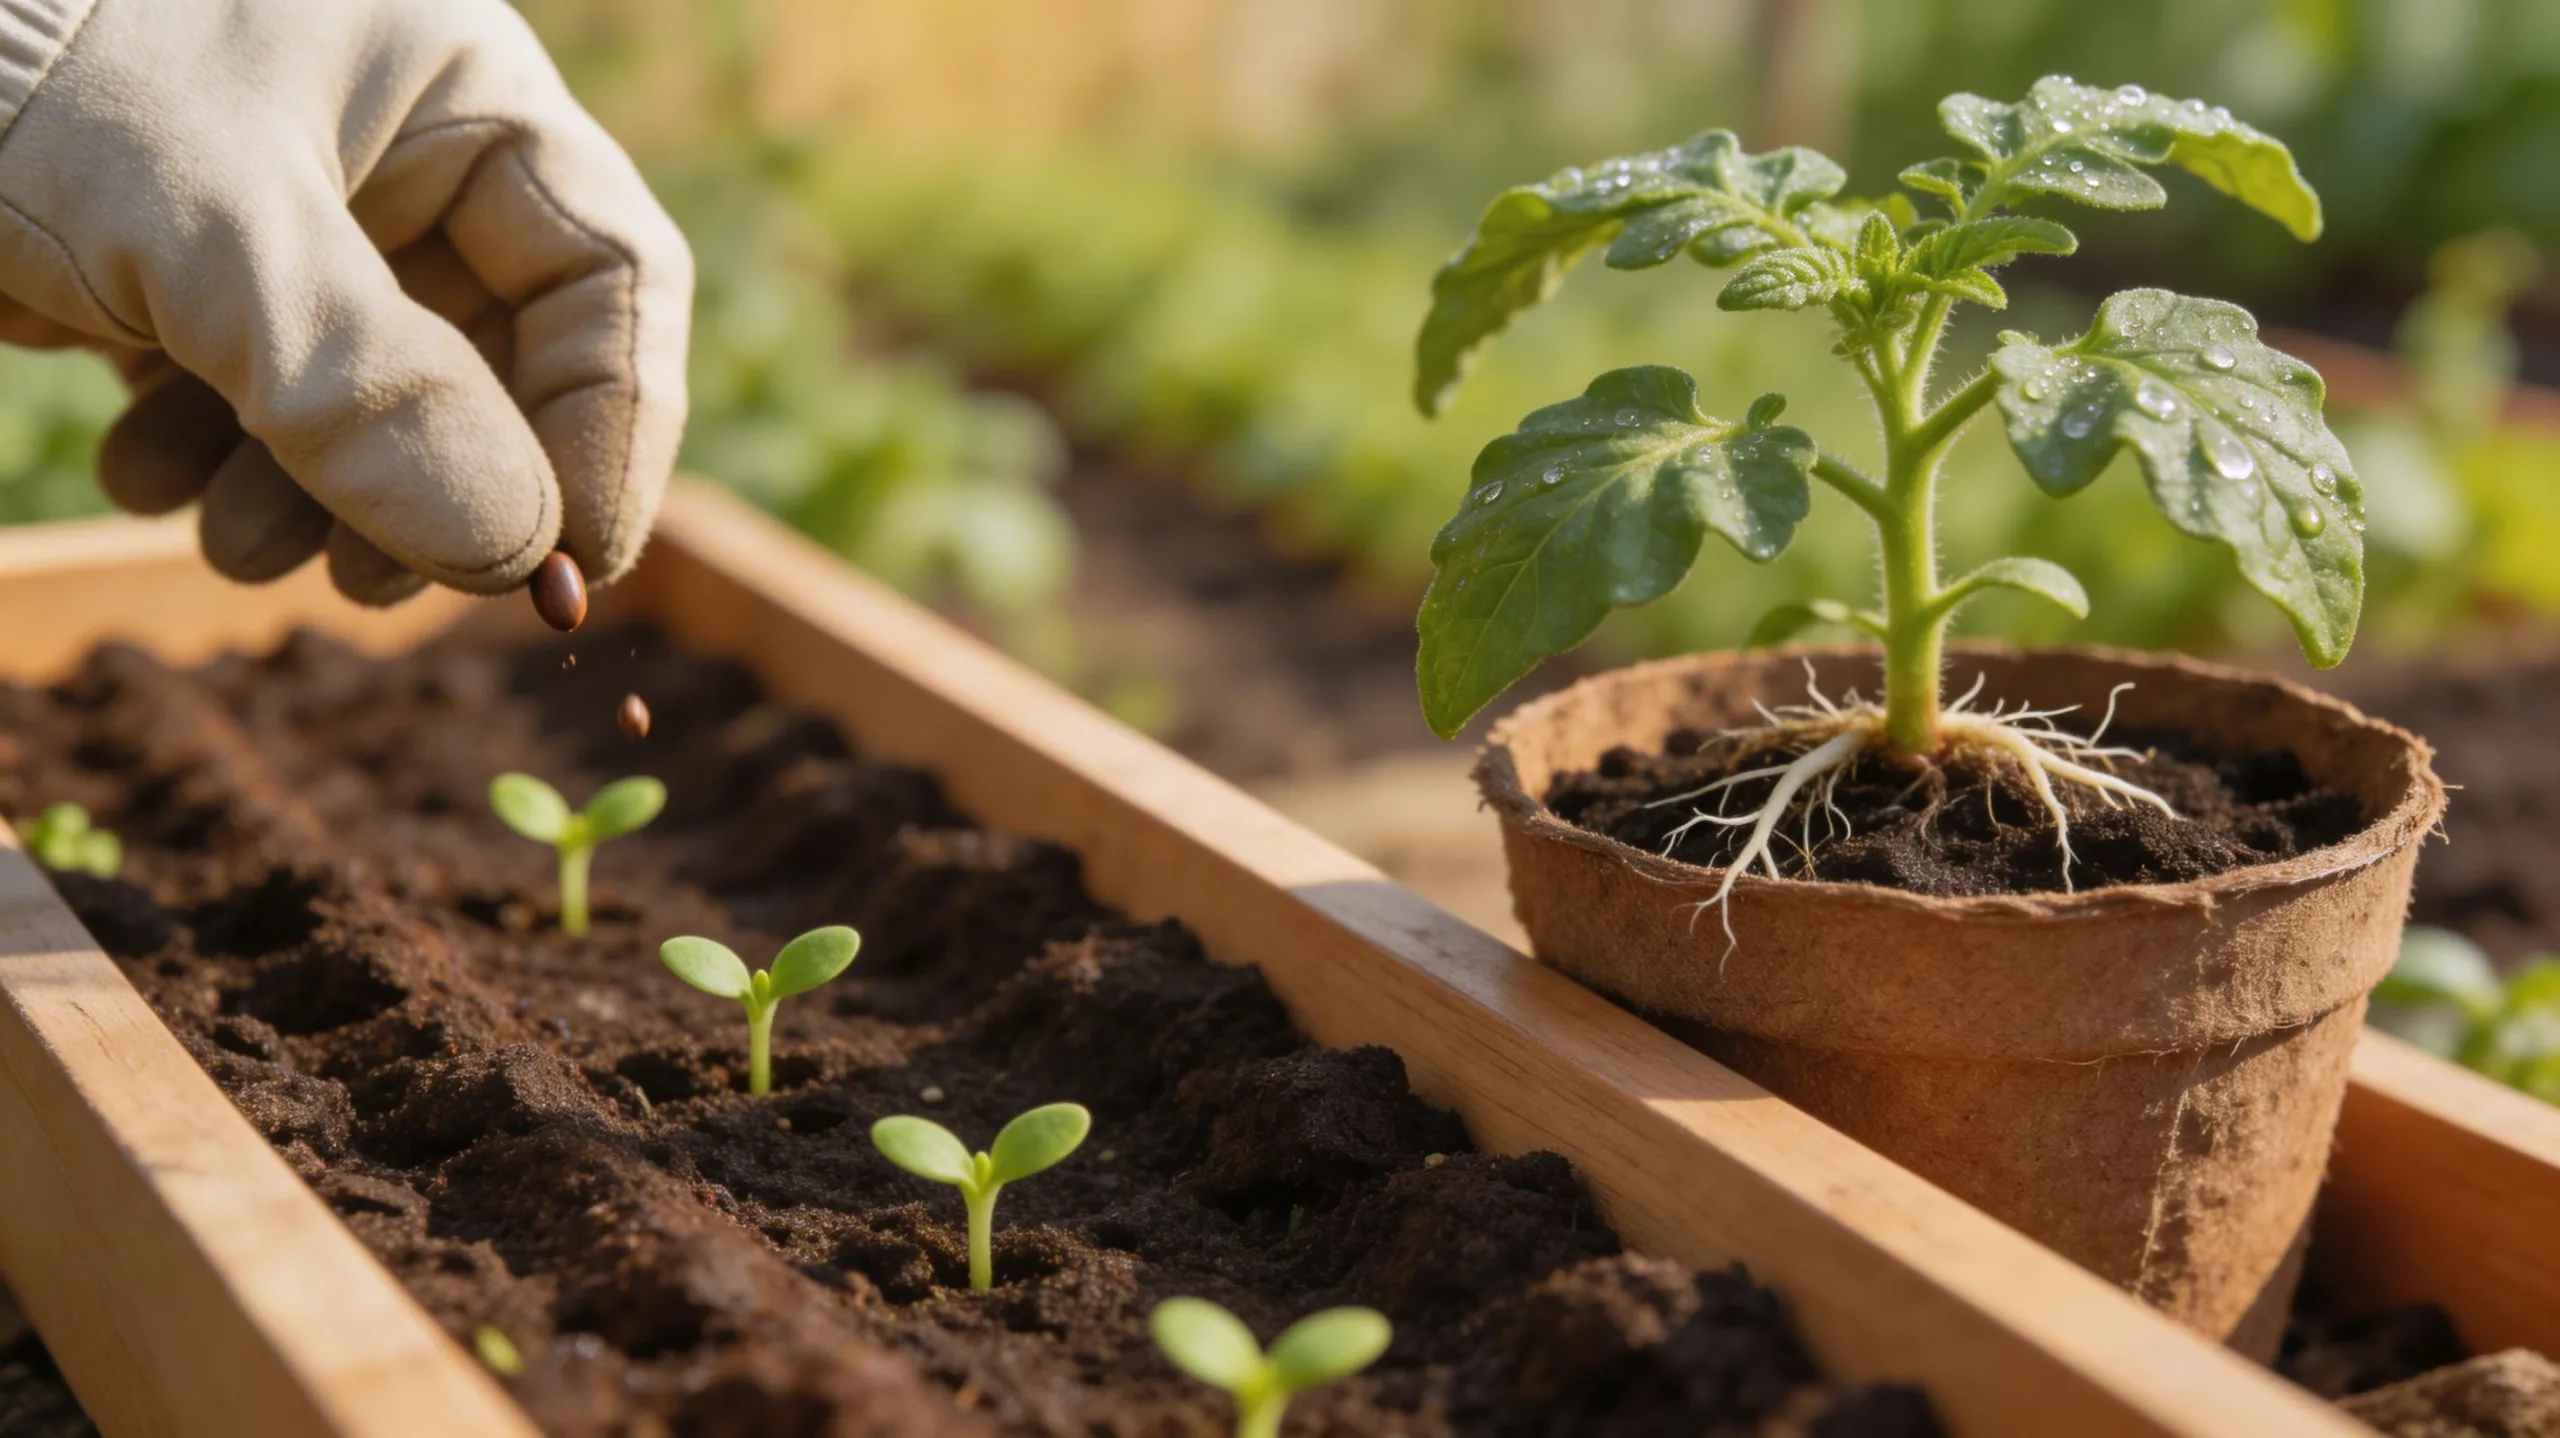
After picking easy crops to grow, you need to decide how to get those plants into your garden. You’ll typically choose between starting from seeds or buying young starter plants from a nursery. Seeds offer greater variety and lower cost, letting you grow unique heirloom tomatoes or specific bean types. This method requires more time, care, and patience, especially for beginners.
Starter plants provide a significant head start, reducing the waiting time for your first harvest. They’re more expensive but excellent for crops like tomatoes and peppers that have a longer growing season. For your first garden, a mix is smart: use starter plants for a few key items and sow easy, fast seeds like lettuce and radishes directly.
Essential Tools for Your New Vegetable Garden
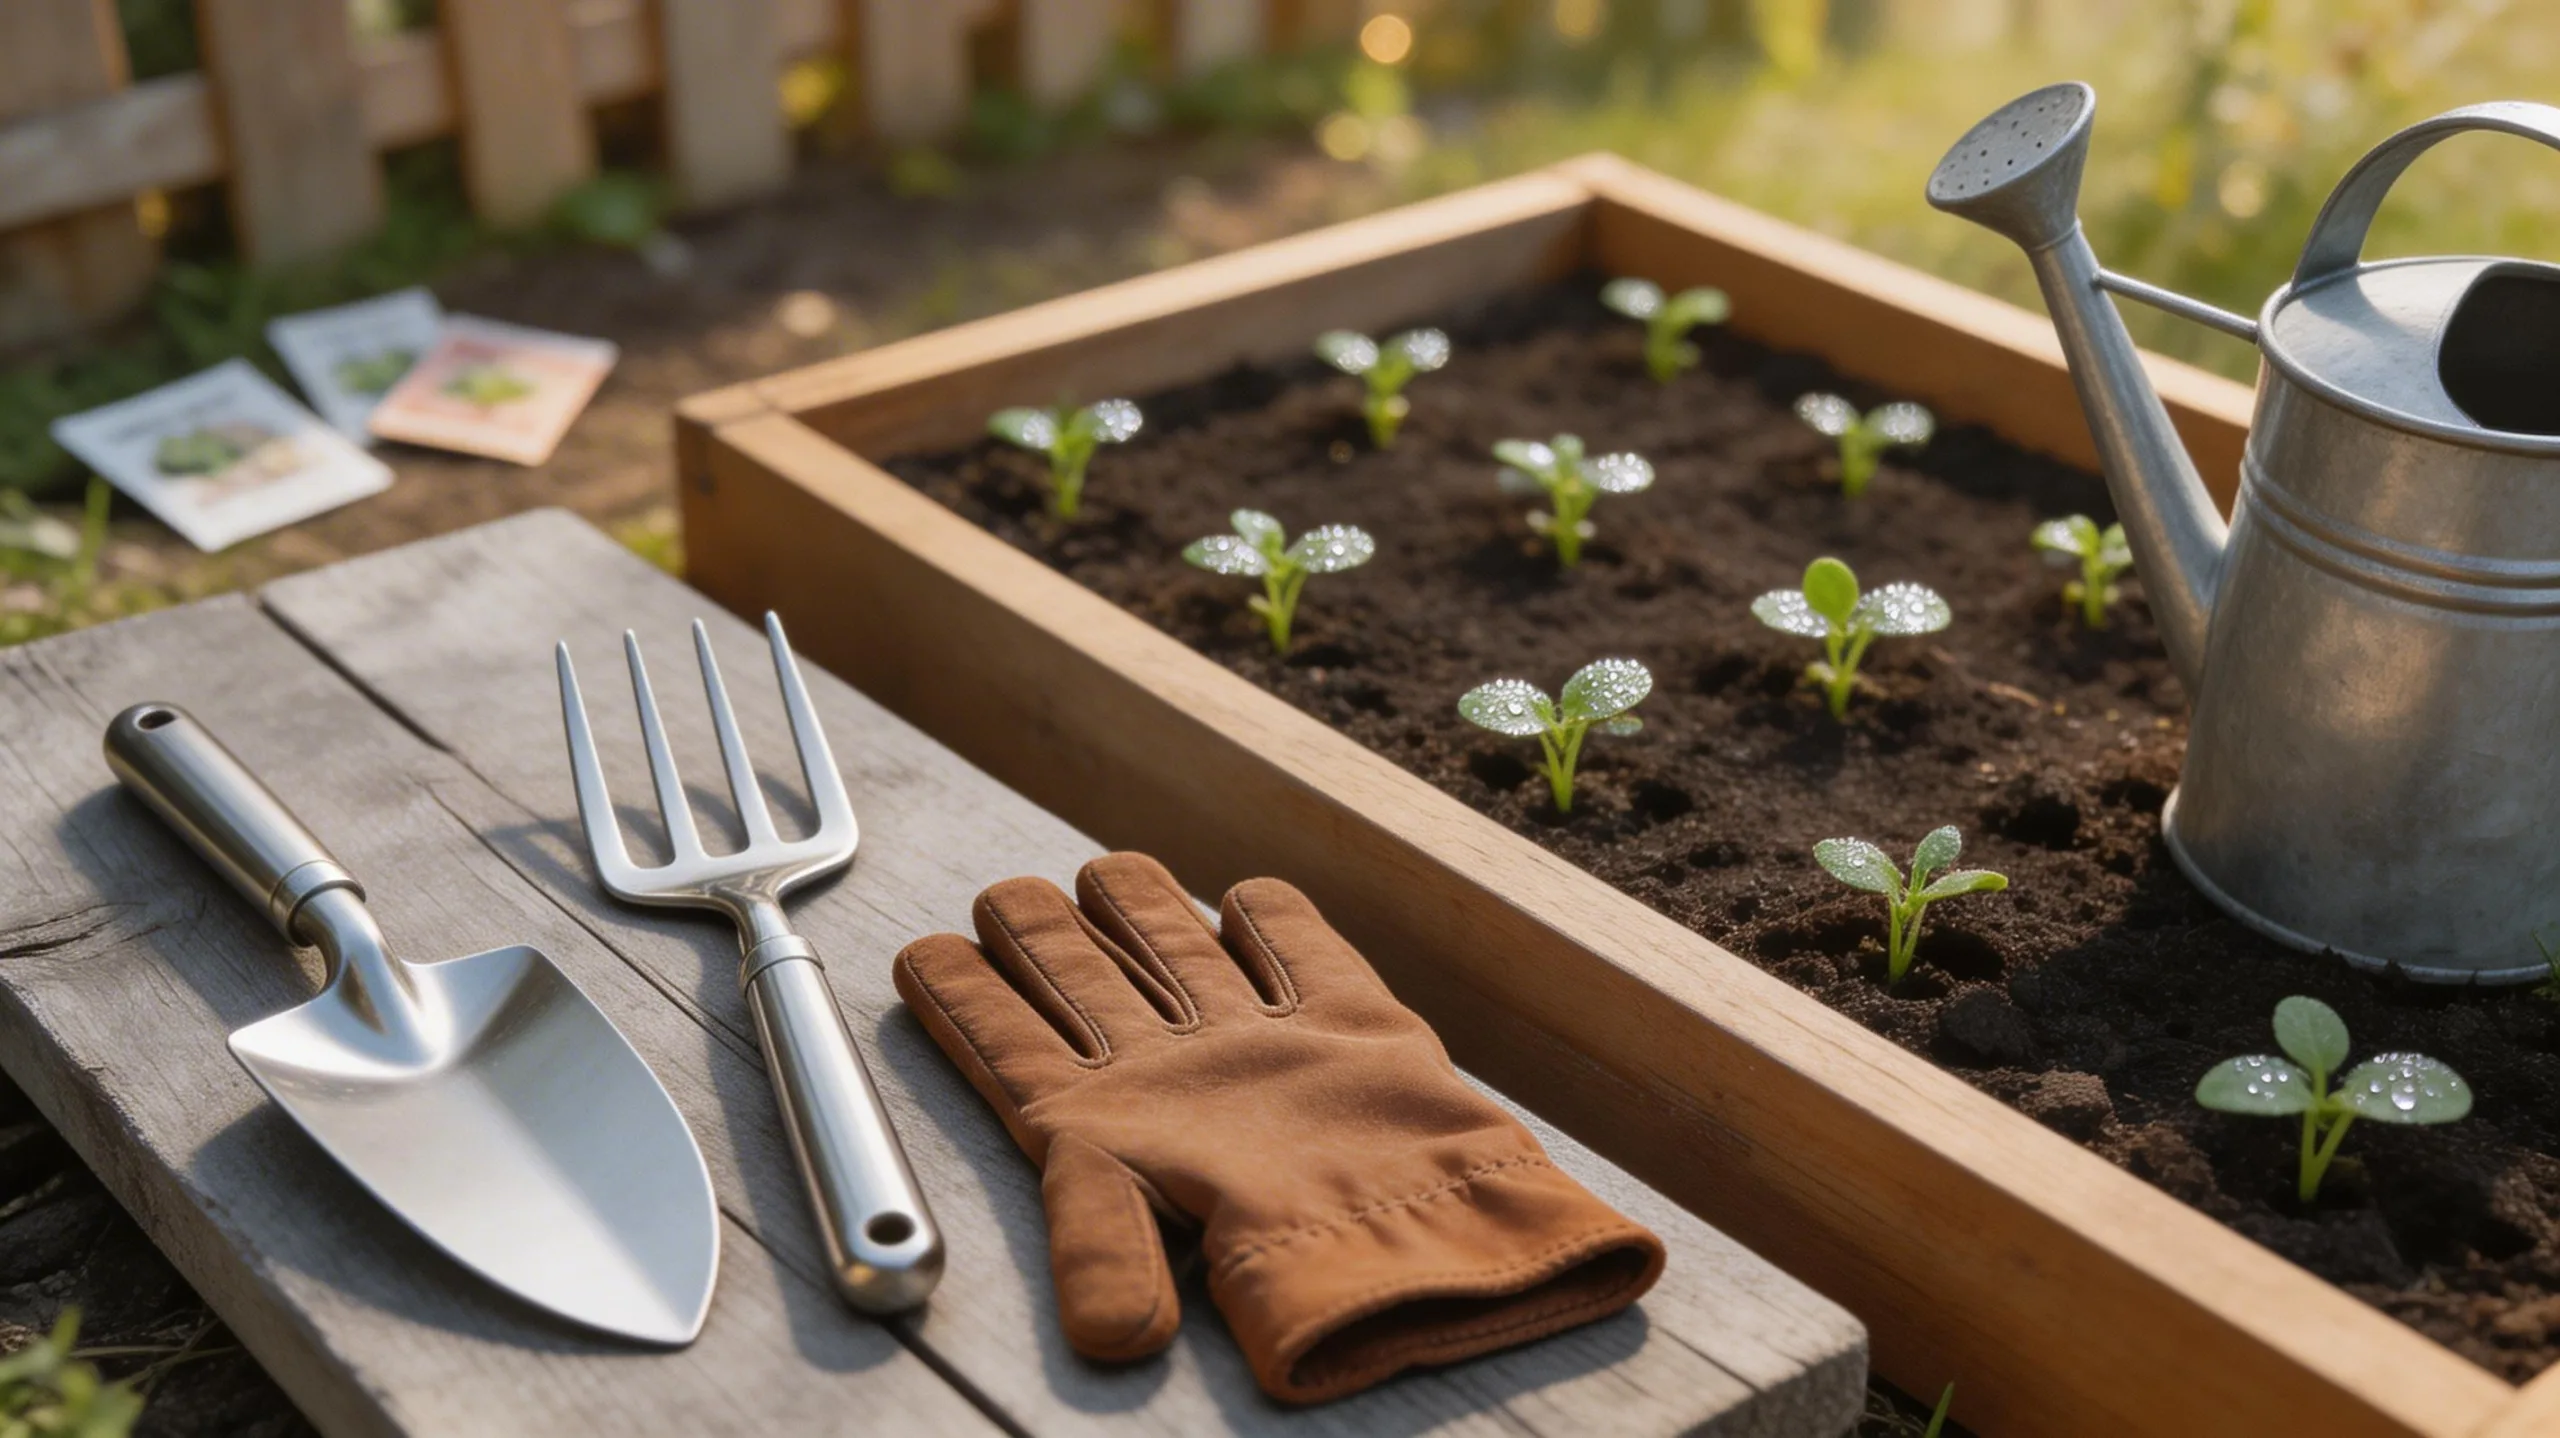
The essential tools for your new garden don’t need to be expensive or extensive. You can start with just a few reliable basics that’ll make your work easier and more effective.
Focus on quality, not quantity; a handful of well-made tools will serve you for many seasons.
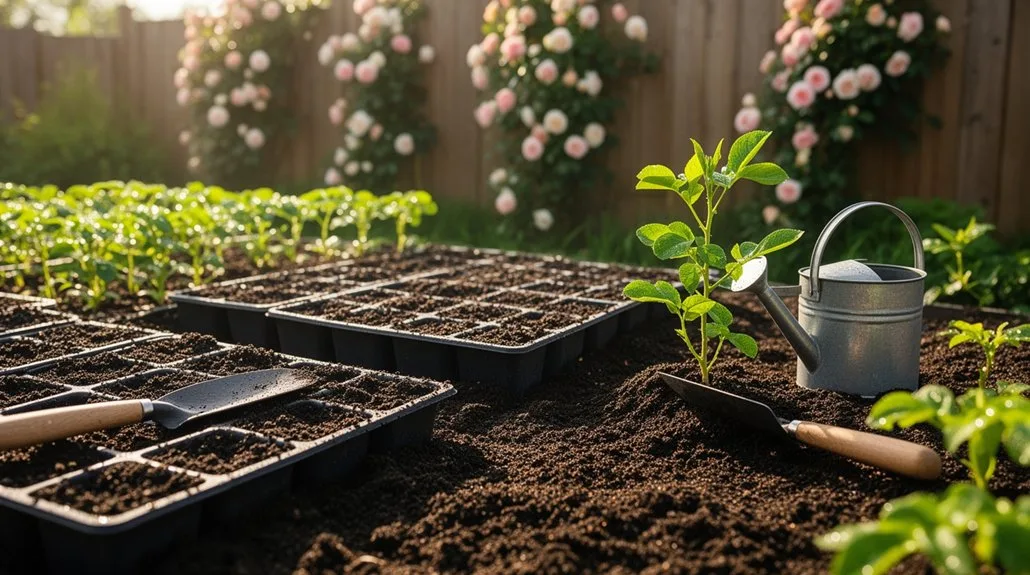
- A Hand Trowel: This is your go-to for planting seedlings, transplanting, and digging small holes. Look for one with a comfortable, sturdy handle.
- A Garden Fork or Spade: You’ll use this for turning soil, mixing in compost, and digging larger planting areas. A fork is great for breaking up clumps.
- Watering Can or Hose with a Gentle Spray Nozzle: Consistent, gentle watering is crucial. A nozzle that mimics rain protects delicate seedlings and soil structure.
How to Prepare Your Garden Bed or Container
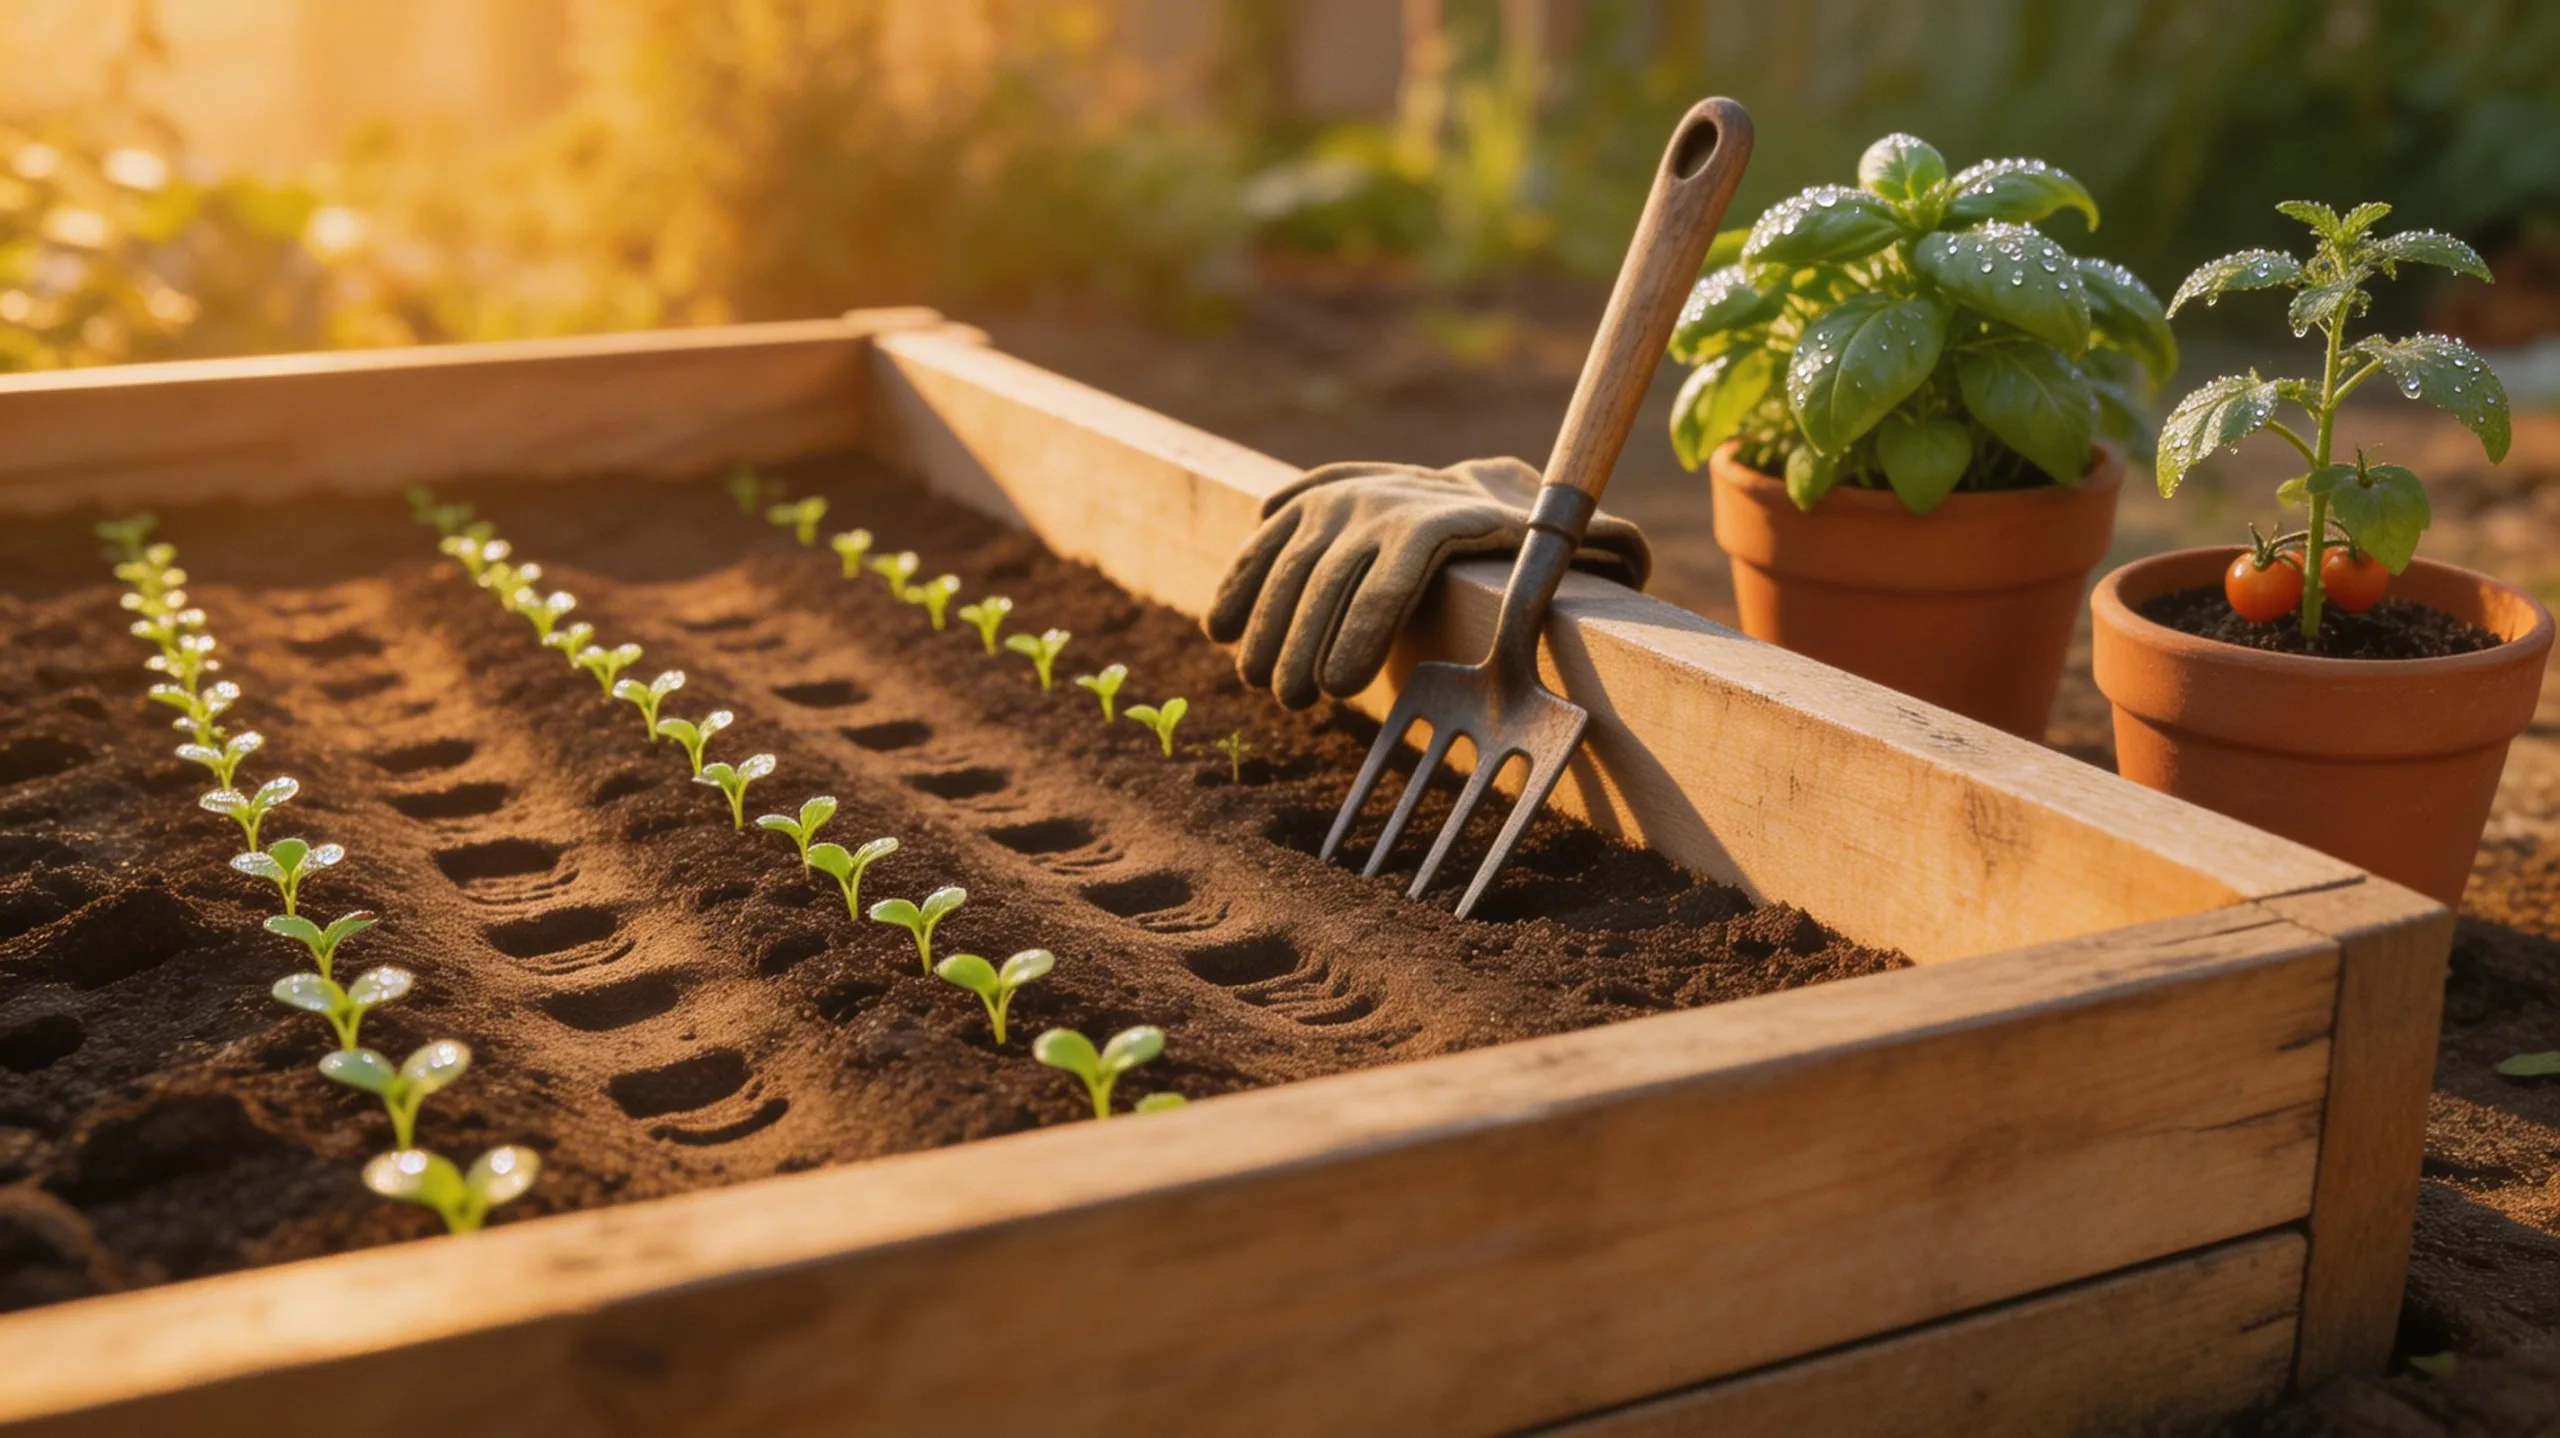
Whether you’re planting directly in the ground or filling a pot on a patio, creating a healthy home for your plants is your first real step toward a bountiful harvest.
For an in-ground bed, start by clearing all weeds and grass. Loosen the soil deeply with a shovel or garden fork to about 12 inches, breaking up large clumps. Then, enrich it by mixing in several inches of compost or aged manure; this improves drainage and provides nutrients.
For containers, ensure they’ve drainage holes. Fill them with a high-quality potting mix, never use dense garden soil. Pre-moisten the potting mix before planting.
In both cases, your goal is loose, fertile, and well-draining soil that gives young roots the perfect environment to establish themselves.
A Simple Guide to Planting Your First Vegetables
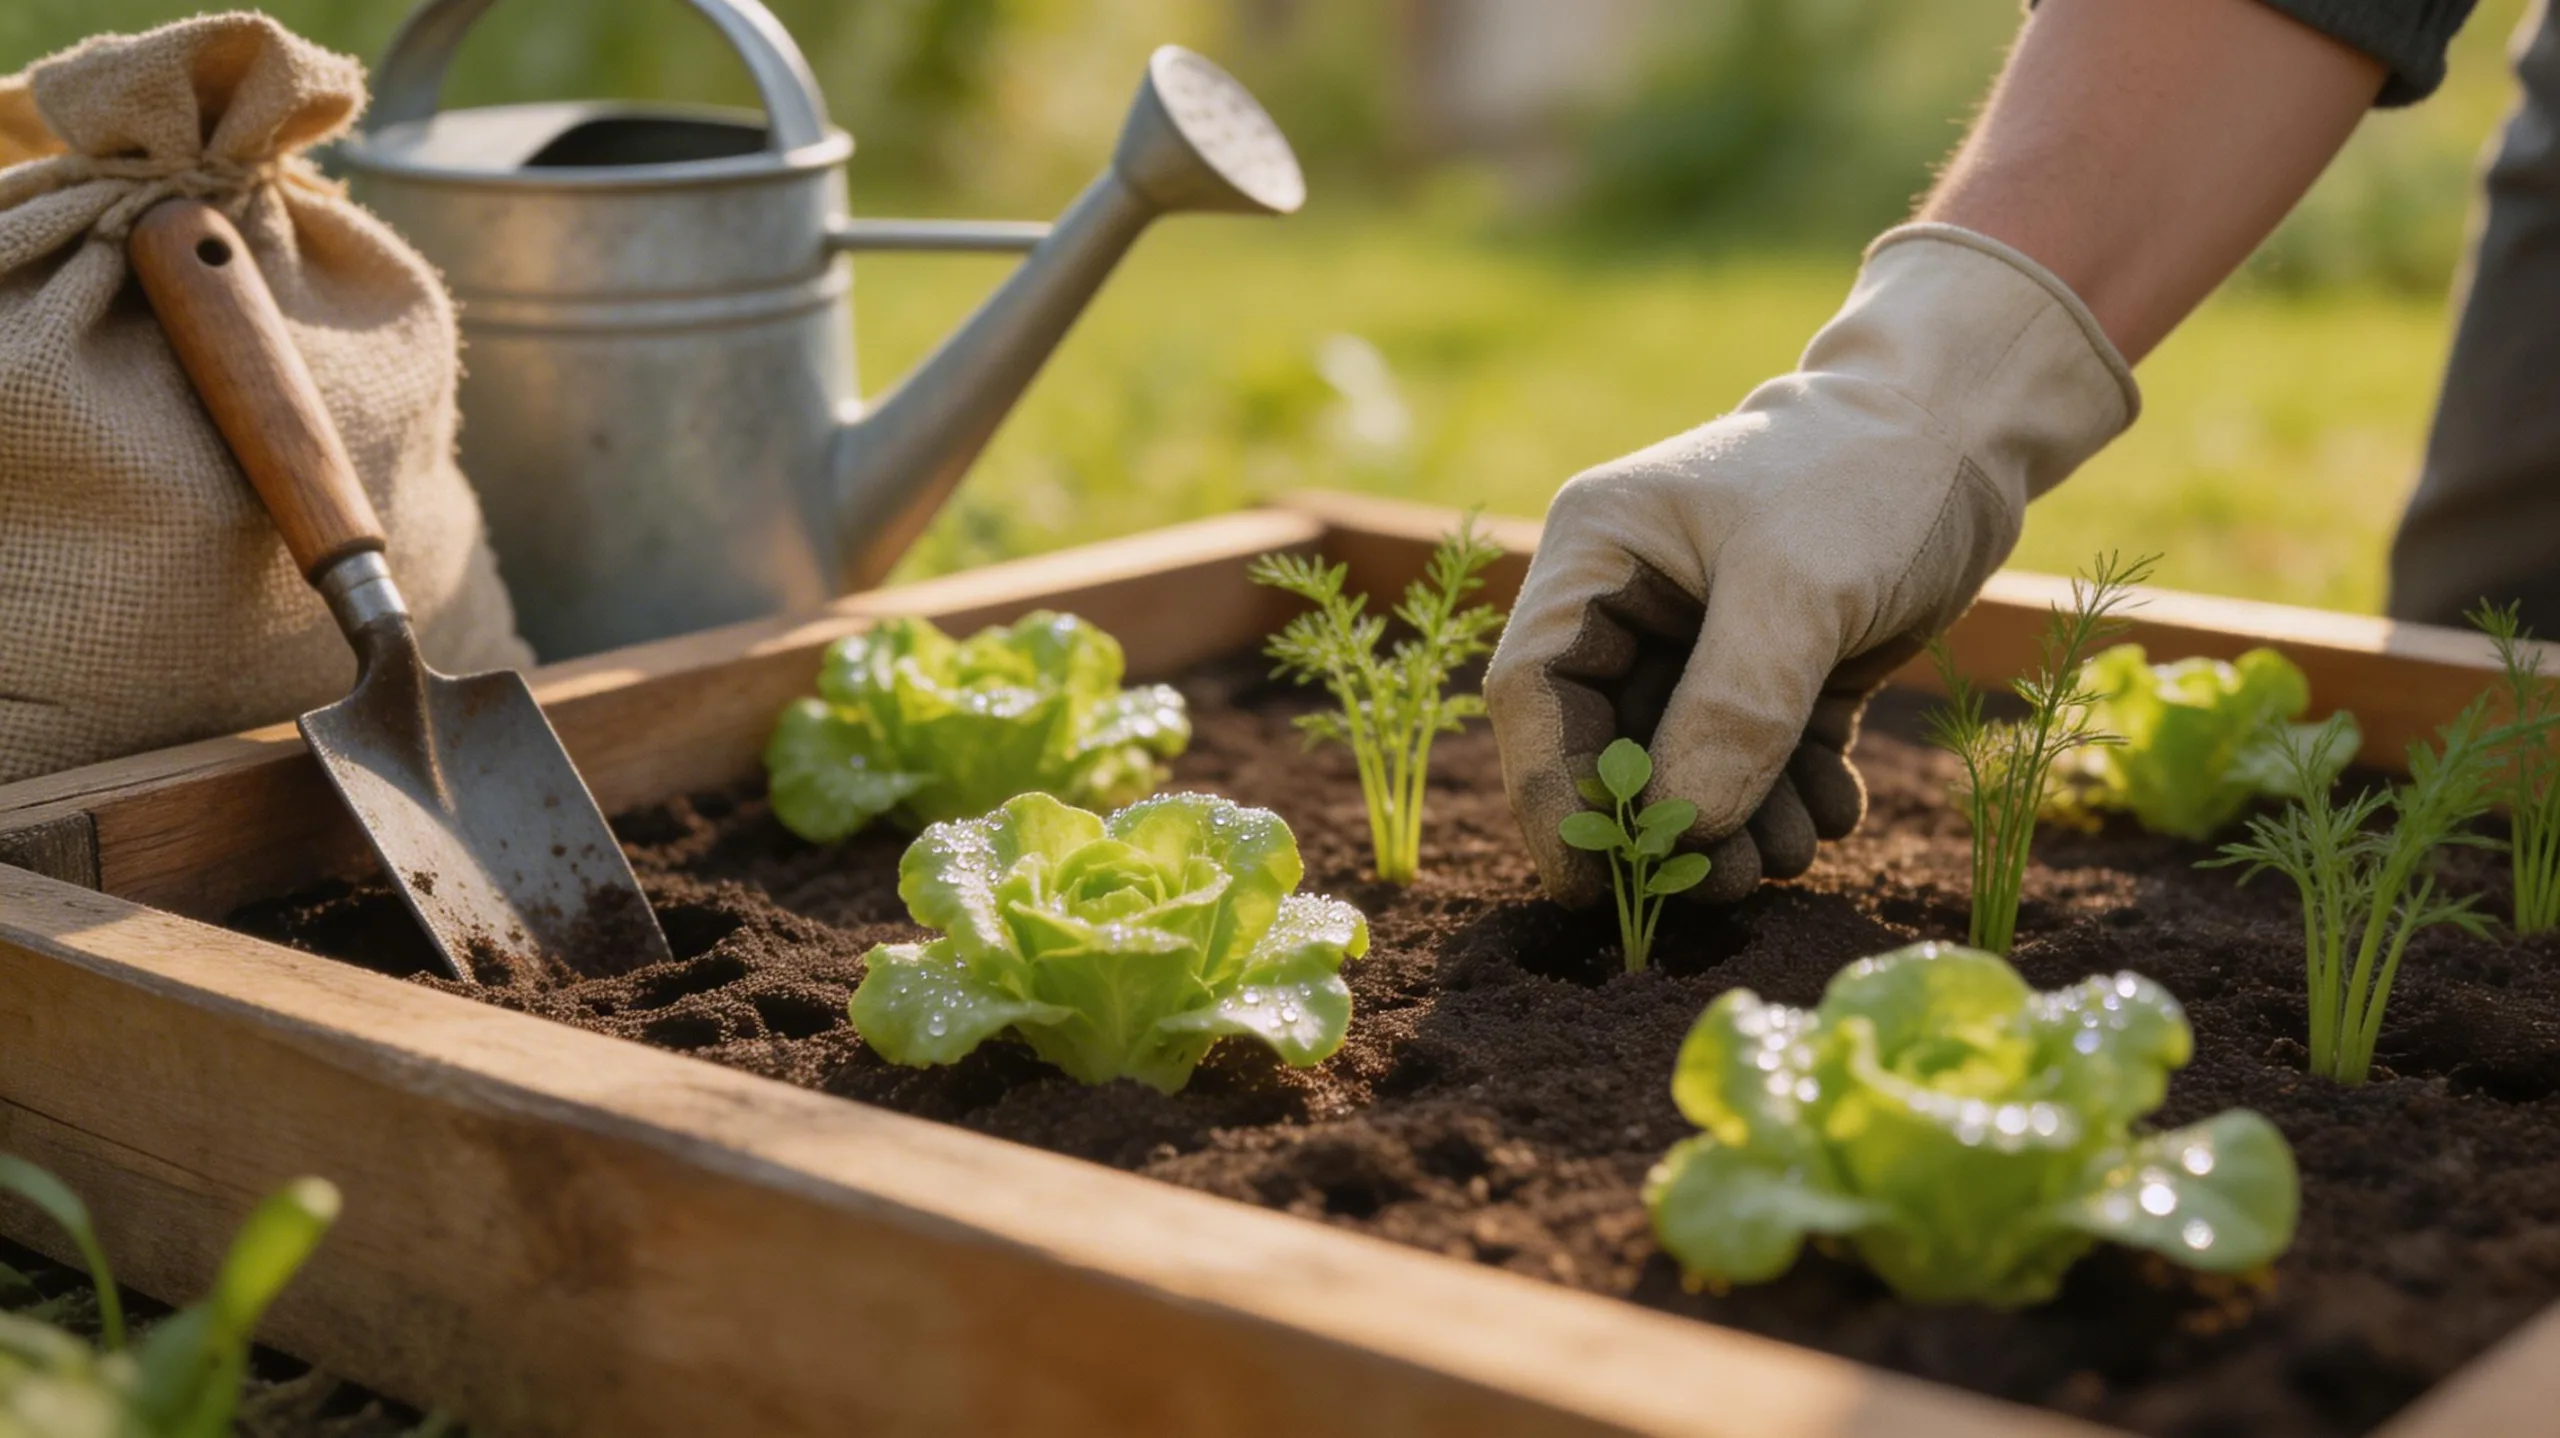
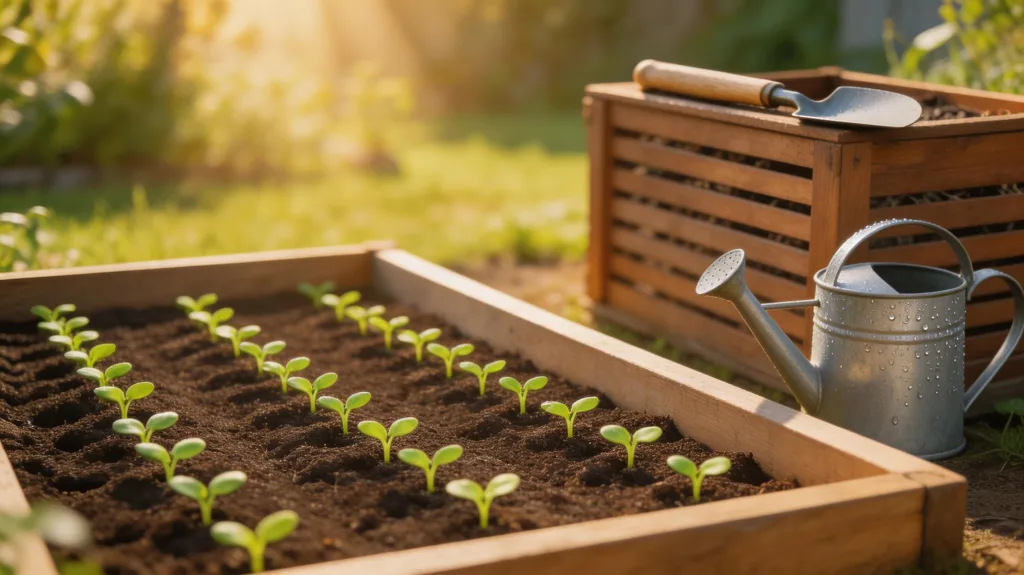
Now that your garden bed or container is ready, you can dive into the fun part: planting your seeds and seedlings. Start by checking seed packets or plant tags for spacing and depth requirements. You’ll want to plant seeds at the correct depth and give seedlings enough room to grow.
- Plant Seeds Carefully: Use your finger or a tool to create a small furrow, sprinkle seeds in, and cover them lightly with soil.
- Transplant Seedlings Gently: Dig a hole slightly larger than the root ball, place the plant in, and firm soil around the base.
- Label Everything: Mark what you planted and the date to track growth and avoid confusion later.
Water gently after planting to settle the soil around your new plants.
How Often Should You Water Your Vegetable Garden?
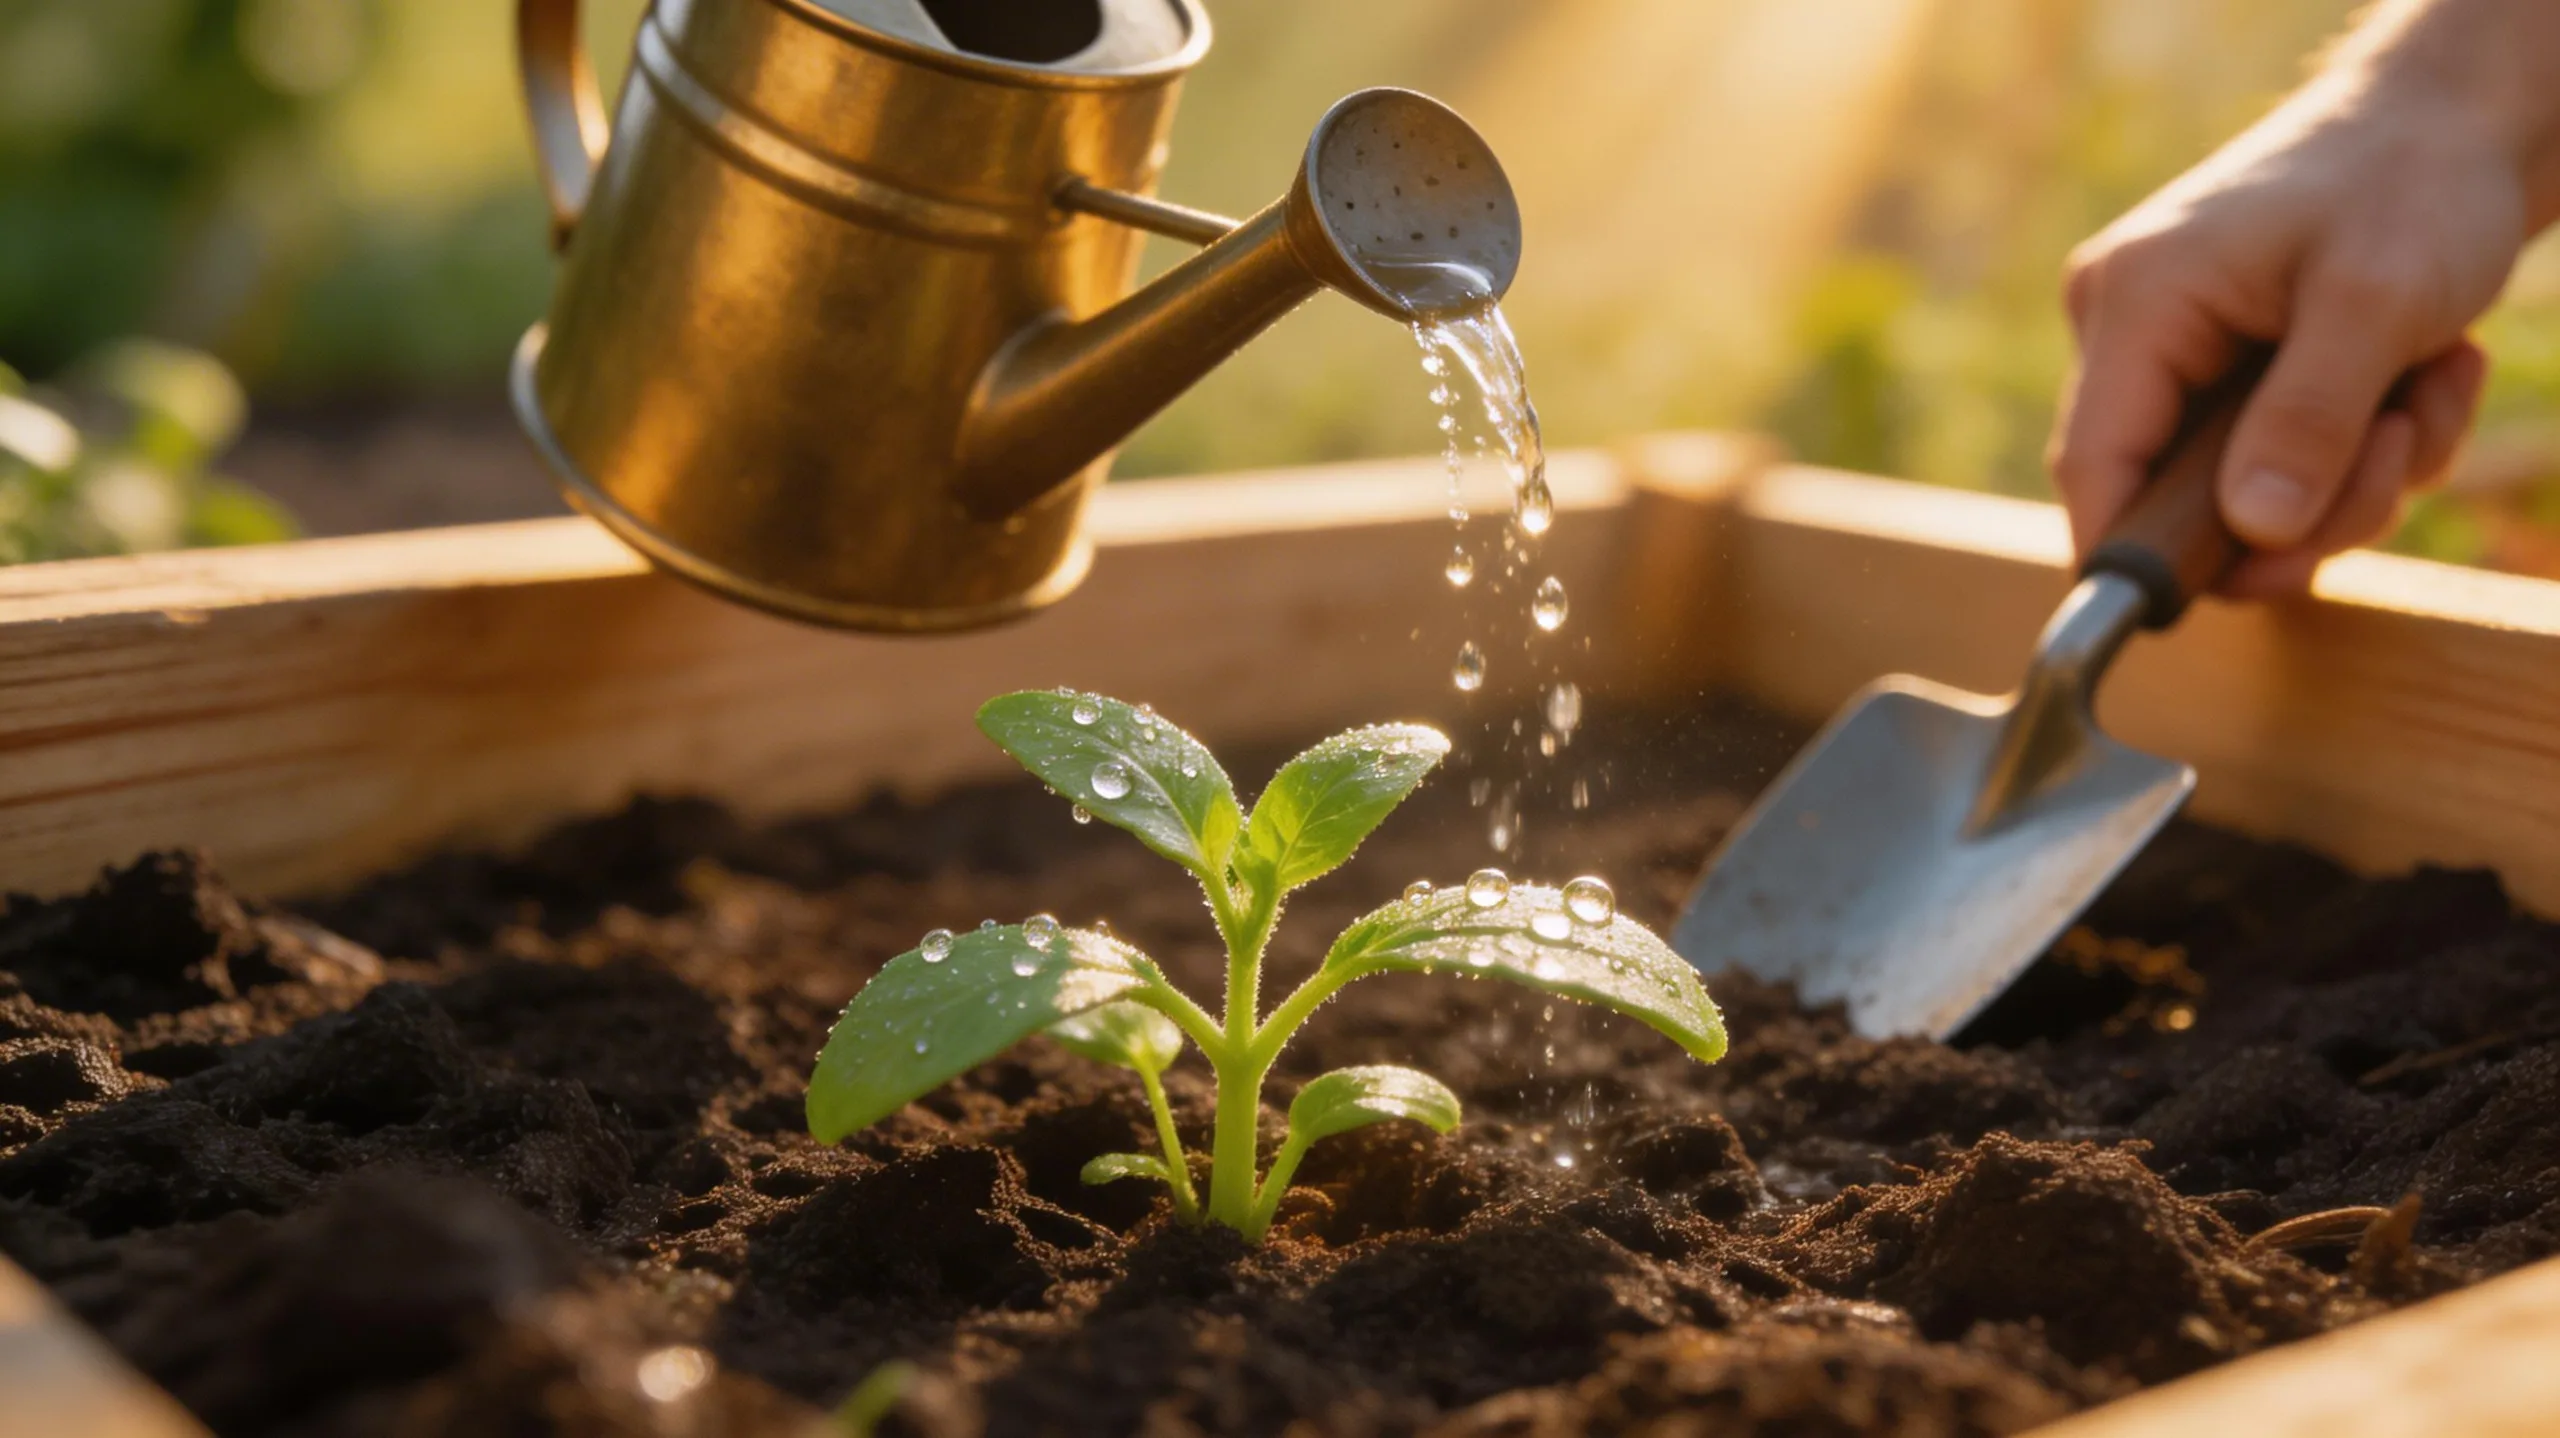
Once your seeds and seedlings are nestled into their new home, their immediate need becomes consistent moisture. Forget a rigid schedule; your watering frequency depends entirely on weather, soil, and plant type. Check the soil by pushing your finger about two inches down. If it feels dry, it’s time to water.
You’ll often need to water daily for new seedlings, then transition to deeper, less frequent soakings for established plants. Aim to water the soil deeply in the morning, which encourages strong roots and minimizes evaporation. Avoid light, daily sprinkles that only wet the surface.
Your goal is to keep the soil evenly moist, not saturated or bone dry, to support healthy growth without stressing your plants.
How to Feed Your Plants With Natural Fertilizers
Provide a steady supply of nutrients with natural fertilizers to build rich, living soil and fuel your garden’s growth. These materials feed both your plants and the beneficial microbes that create fertile earth. You’ll avoid chemical salts and nurture a resilient ecosystem.
Start by adding a few inches of compost when you prepare beds each season; it’s a complete, slow-release food. For a quick boost during the growing season, make a simple “compost tea” by steeping a shovel-full of compost in water. Your key is to observe your plants and replenish nutrients they actively consume.
- Compost: Your garden’s cornerstone. Mix it into soil before planting for balanced nutrition.
- Manure: Use aged, not fresh. Dig it into beds in fall or early spring for a powerful nitrogen kick.
- Plant Meals: Sprinkle bone meal (for phosphorus) or kelp meal (for trace minerals) around plants as a targeted supplement.
How to Identify and Control Common Garden Pests
Keeping your plants well-fed helps them thrive, and it also makes them less inviting to pests that seek out weak targets.
Start by inspecting leaves regularly, checking the undersides for eggs or insects. You’ll learn to spot common culprits: aphids are tiny and green, slugs leave shiny trails, and cabbage worms create holes.
For control, try physical methods first. Pick larger pests off by hand. Blast aphids with a strong water spray. You can also use barriers like floating row covers to prevent moths from laying eggs.
Introduce beneficial insects, such as ladybugs, that eat aphids. If you need a spray, opt for insecticidal soap, which targets soft-bodied pests without harming your plants.
Simple Weeding Strategies to Save You Time
To get ahead of weeds, you should tackle them early and often, since quick removal prevents them from taking over your garden.
A few smart habits will make this chore much easier and faster.
- Weed After Watering or Rain: Moist soil makes pulling weeds, especially annuals with shallow roots, effortless. You’ll often get the entire root system with a simple tug.
- Use the Right Tool: For small spaces, a simple hand fork works wonders. For larger areas or tough perennial weeds, a hoe lets you slice weeds off at the soil surface quickly.
- Mulch Heavily: Apply a thick layer (about 3 inches) of straw, shredded leaves, or wood chips around your plants. This blocks sunlight, smothering potential weeds before they can sprout.
How to Fix Common Beginner Garden Problems
Even though starting a vegetable garden is exciting, you’re bound to hit a few common snags that can discourage you if you’re not prepared. Diagnose problems quickly. Pale or spindly plants often need more sunlight, so relocate them next season.
Yellowing leaves can signal overwatering; let the soil dry slightly between waterings. For pests like aphids, spray plants with a diluted soap solution.
If seedlings suddenly die, you might’ve “damping off,” so ensure your soil isn’t too wet and use clean containers. Nutrient deficiencies cause odd leaf colors; add a balanced organic fertilizer.
Don’t panic if a plant fails—it’s a learning step. Most issues have simple fixes, and your garden will recover stronger.
When and How to Harvest Your Vegetables for Peak Flavor
Having addressed common problems, your focus now shifts to the rewarding moment of picking your produce. Harvesting at the right time is crucial for the best flavor and texture.
You’ll learn to judge readiness by sight, touch, and size rather than just the calendar.
- Leafy greens like lettuce and kale: Harvest outer leaves in the morning when they’re crisp. Snip them just above the base to encourage more growth.
- Fruiting vegetables like tomatoes and zucchini: Pick them when they’ve reached full, vibrant color and feel firm but slightly yielding.
- Root crops like carrots and radishes: Gently brush away soil at the shoulder; harvest when the root is the expected diameter.
Use a sharp knife or scissors for clean cuts to avoid damaging plants, and enjoy your harvest immediately for peak freshness.
How to Plan for a Continuous Vegetable Harvest
You can often extend your garden’s bounty through the entire growing season with smart planning and simple techniques.
First, practice succession planting. Don’t sow all your seeds at once; instead, plant small batches of fast-growing crops like lettuce or radishes every two weeks. This provides a steady supply rather than one massive harvest.
Second, interplant crops with different maturity rates. You can sow quick-growing spinach between slower-growing broccoli plants.
Third, after harvesting an early crop like peas, immediately replant that space with a heat-loving vegetable like beans.
Finally, choose vegetable varieties labeled as “early,” “mid-season,” and “late” to stagger their harvest windows naturally. Keeping notes will help you refine this process next year.
Beginner’s Guide to Container Vegetable Gardening
Diving into container vegetable gardening opens up fresh possibilities for growing food in small spaces. Your success hinges on three key elements: the right container, proper soil, and consistent watering. You’ll find it’s a wonderfully flexible and manageable way to start.
- Choose Your Pots Wisely: Ensure containers have adequate drainage holes. Larger pots hold more soil moisture, making them easier to maintain than small ones.
- Never Use Garden Soil: Fill pots with a high-quality potting mix designed for containers. It provides the necessary drainage and aeration that roots need.
- Master Watering: Check soil moisture daily. Containers dry out quickly, especially in sun. Water until it runs from the drainage holes, then let the soil dry slightly before watering again.
What to Grow in a Shady Garden Spot
Don’t let a shady garden spot hold you back; it’s a perfect opportunity to cultivate a range of delicious and resilient vegetables.
Many leafy greens actually prefer protection from intense afternoon sun. You’ll find great success with spinach, kale, lettuce, and Swiss chard. Arugula and mustard greens are also excellent, fast-growing choices.
For herbs, focus on mint, parsley, and cilantro.
While root crops need more light, you can try growing radishes and beets, as they’ll tolerate partial shade, though they may grow a bit slower.
Your key is understanding “partial shade,” which means about 3-6 hours of sunlight, preferably in the morning. Embrace these plants and you’ll transform that dim area into a productive, lush oasis.
How to Save Money on Your First Vegetable Garden
While making the most of a shady spot maximizes your space, starting a vegetable garden doesn’t have to strain your budget.
You can cut significant costs with a few strategic choices, turning your first season into an affordable learning experience.
The key is focusing your initial spending on essentials like good soil and seeds while getting creative with other supplies.
- Start from Seed & Swap: Purchase inexpensive seed packets instead of seedlings. Swap extra seeds with gardening friends to increase variety.
- Upcycle Containers: Use old buckets, wood crates, or even sturdy bags as planters. Just ensure they’ve drainage holes.
- Make Your Own Compost: Recycle kitchen scraps and yard waste into nutrient-rich compost, eliminating the need for store-bought fertilizer.
Essential Tips for a Low-Maintenance Vegetable Garden
A low-maintenance vegetable garden often starts by working with your space, not against it, saving you time and effort in the long run. Choose a sunny, level spot with easy access to water. Opt for varieties described as “disease-resistant” and “prolific,” like cherry tomatoes or zucchini, which reliably produce with less fuss.
Improve your soil once by mixing in generous compost; this builds fertility and improves drainage, reducing future needs. Mulch heavily with straw or shredded leaves to suppress weeds and retain moisture, minimizing watering chores. Finally, practice succession planting by sowing quick crops like radishes between slower growers; this maximizes yield from a single, well-prepared space without constant replanting.
How to Store Your Garden Vegetables to Last
You’ve grown a beautiful harvest, and now you’ll want to make it last. Proper storage is key to enjoying your produce for weeks or months.
Different vegetables have unique needs, so treat each type accordingly. Remember, you’re not just putting food away; you’re preserving your hard work and flavor.
- Cool and Dark: Store potatoes, onions, and garlic in a well-ventilated, dark place like a pantry or cellar.
- Cold and Humid: Keep leafy greens, carrots, and broccoli in your refrigerator’s crisper drawer to maintain humidity.
- Dry and Room Temp: Tomatoes, peppers, and basil last best simply left on your countertop away from direct sun.
Always check vegetables for any damage before storing and remove unhealthy pieces to prevent spoilage spreading.
How to Expand Your Garden Next Season
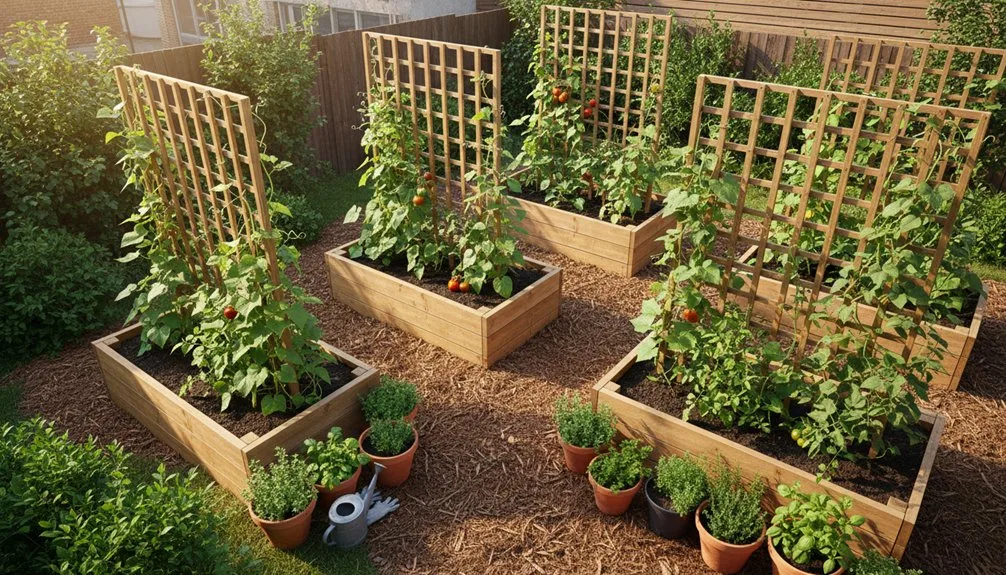
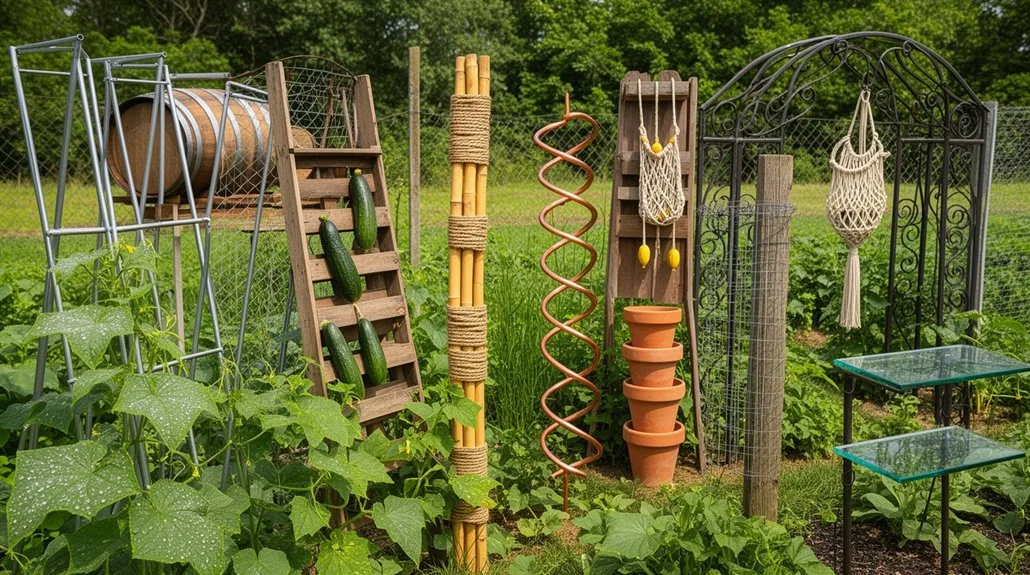
After storing your harvest to enjoy it longer, thoughts naturally turn to what you might grow next year. Expansion is about refining your space and trying new crops. First, evaluate this year’s successes and failures—grow more of what thrived. You can increase yield by adding raised beds or containers, or simply utilizing vertical space with trellises.
Consider these simple expansion strategies:
| Method | Action | Example Crops |
|---|---|---|
| Grow Up | Use trellises, cages, or stakes. | Pole beans, cucumbers, peas |
| Grow More | Plant another succession of fast growers. | Lettuce, radishes, spinach |
| Try New | Introduce one or two new vegetables. | Broccoli, peppers, carrots |
| Improve Soil | Add compost or plant a cover crop. | Clover, winter rye |
Focus on one or two changes to keep it manageable and rewarding.
Your Next Steps as a New Gardener
While planning your first garden might feel daunting, remember that every expert gardener began with a single seed.
Embrace your experience this season as the foundation for years of growth.
Your immediate next steps should focus on consolidating knowledge and preparing for future success.
- Review Your Notes: Reflect on what thrived and what struggled in your plot. This simple analysis is your most powerful tool for improvement.
- Connect with Community: Join a local gardening group or forum. Sharing successes and questions accelerates learning and builds confidence.
- Plan Your Progression: Based on your review, decide if you’ll expand space, try new varieties, or improve soil health next year. Set one clear, achievable goal.
Frequently Asked Questions
Can I Garden Without Pesticides?
Yes, you absolutely can garden without pesticides. Focus on healthy soil, choose pest-resistant varieties, and encourage beneficial insects. Try companion planting and handpick larger pests to manage problems naturally.
What Is Companion Planting?
Companion planting is pairing certain plants together. It’ll help your crops thrive by deterring pests, improving soil health, or attracting pollinators. For example, you can plant basil near your tomatoes to repel insects.
How Do I Deal With Slugs?
Handpick slugs at dusk or set beer traps. You can also spread crushed eggshells around plants as a barrier. Copper tape works too. They’re persistent, so you’ll need consistent methods.
Should I Rotate My Crops?
Yes, rotate your crops. It prevents soil-borne pests and diseases from building up. Try not to plant the same vegetable family in the same spot for at least three years. You’ll get healthier soil and better harvests.
Is It Safe to Use Rainwater?
Yes, it’s generally safe. Just collect it from a clean roof and use a covered barrel to prevent mosquitoes. You’ll avoid chemicals found in some tap water, which your plants will love.
Conclusion
Your garden journey starts now. Remember, you’ve already learned the keys: good soil, simple plants, and consistent care. Don’t be afraid to get your hands dirty and learn by doing. Each season, you’ll grow more food and confidence. Build on what works and try something new next year. You’ve got this—your own homegrown harvest is within reach.
The Only Tools You Need for a Thriving Garden 🌱
Whether you're a weekend gardener or growing daily — these hand-picked tools make every session faster, easier, and more satisfying.