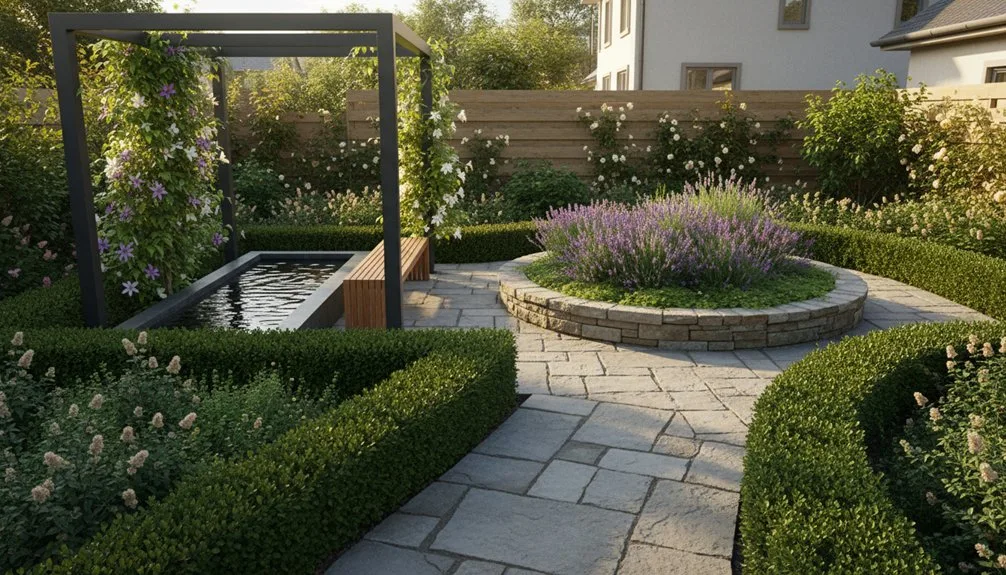
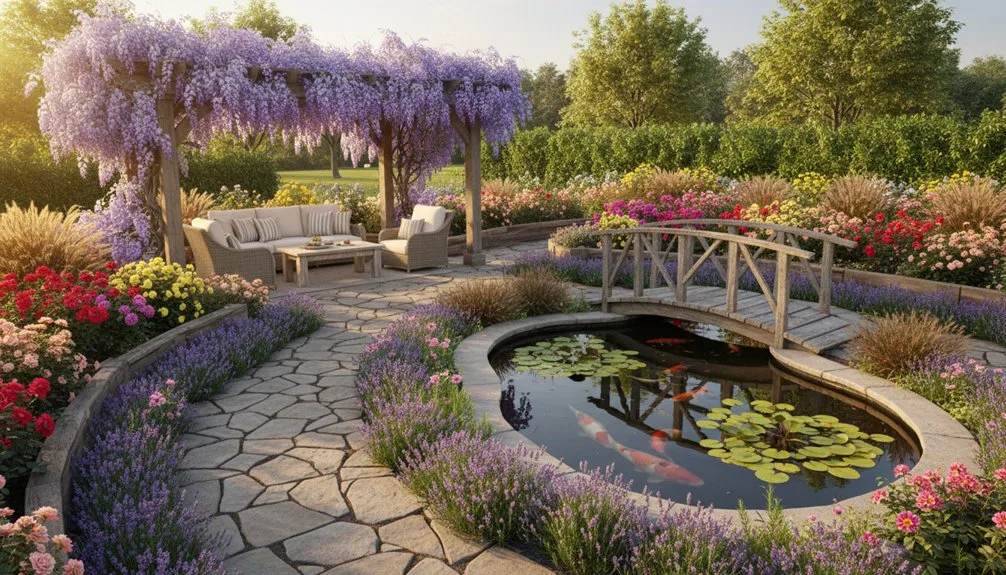
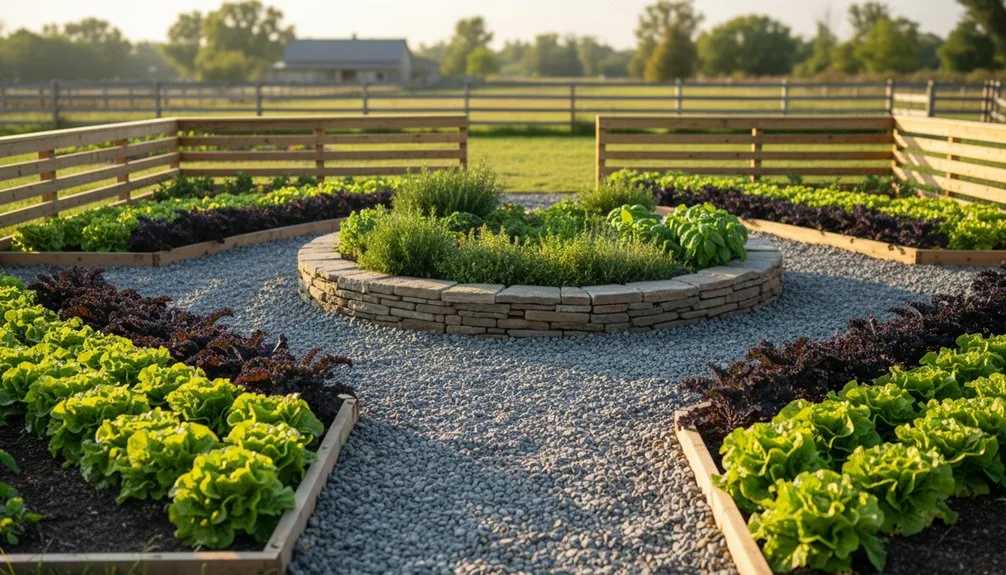
Imagine turning your backyard into a tidy, productive oasis where each bed serves a purpose and looks great. You’ll discover classic cedar raised beds, low‑box frames for wheelchair access, modular containers that snap together, and even self‑watering reservoirs linked to rain barrels. With tailored soil mixes, drip lines, and LED shelves, you can grow year‑round while keeping pathways smooth and accessible. Ready to see how each idea fits together and boosts both style and harvest?
Key Takeaways
- Use modular low‑profile raised beds (12‑18 in) with smooth lips for wheelchair or stroller accessibility and easy maintenance.
- Incorporate tiered vertical or ladder gardens on sturdy frames to maximize space and separate tall crops from herbs and lettuce.
- Choose well‑draining soil mixes (compost + coarse sand + perlite) and line beds with landscape fabric to prevent weeds and improve moisture control.
- Add built‑in trellises or lattice panels to raised beds for climbing beans, peas, cucumbers, and grapes, reducing soil erosion.
- Implement drip‑irrigation or top‑down watering systems with removable liners for efficient water use and quick soil refreshes.
Choose a Wooden Raised Bed – Classic Garden Bed Idea
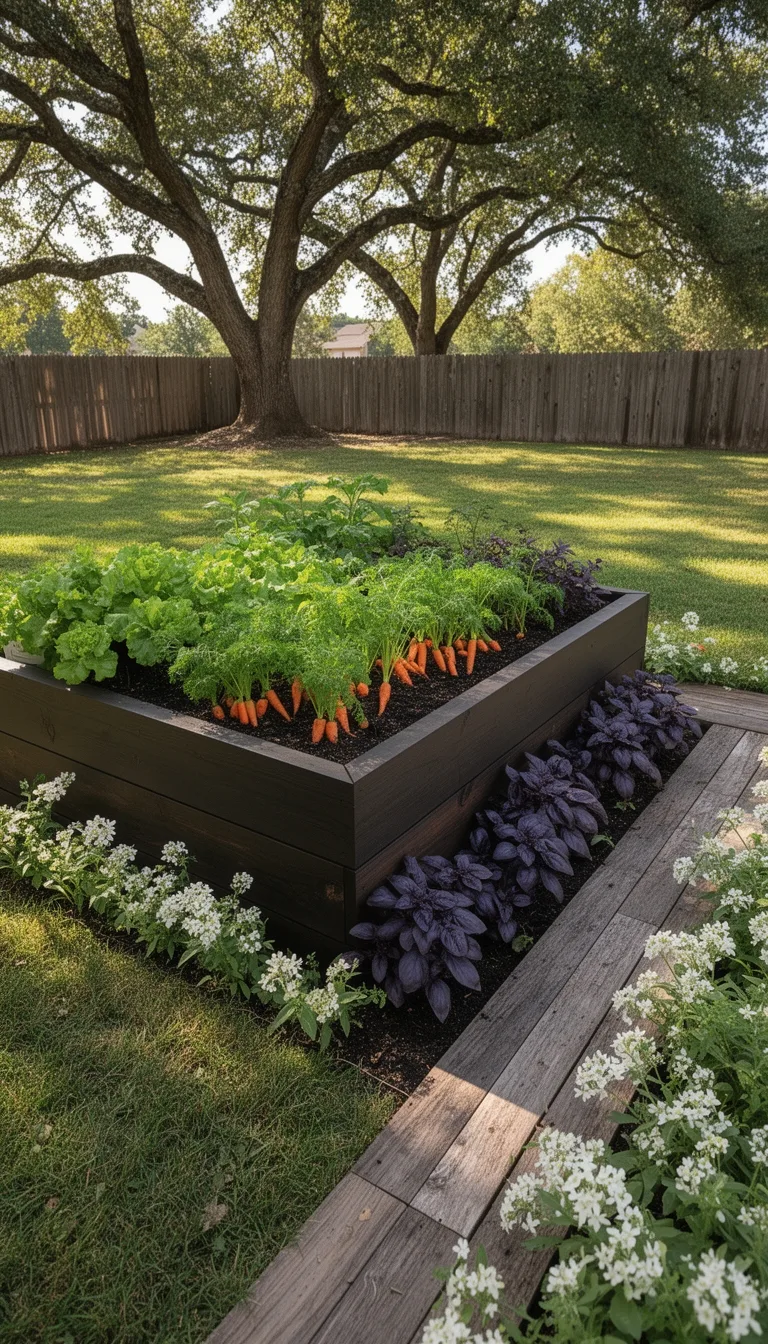
If you want a garden that looks polished and performs well, start with a wooden raised bed—it’s the classic garden‑bed idea that blends durability, affordability, and charm.
Measure your plot, cut cedar or redwood boards to a 4‑foot width for easy reach, and assemble with stainless‑steel brackets to prevent rust.
Fill the cavity with a 1‑part compost, 1‑part peat‑free peat, and 1‑part coarse sand mix for drainage and nutrients.
Line the bottom with landscape fabric to keep weeds out while allowing water flow.
Secure the bed to a level base using ground stakes, then mulch the surface to retain moisture.
This setup gives you a sturdy, attractive frame that ages gracefully, reduces soil compaction, and lets you tend plants without bending.
Build Tiered Vertical Gardens – Space‑Saving Garden Bed Idea
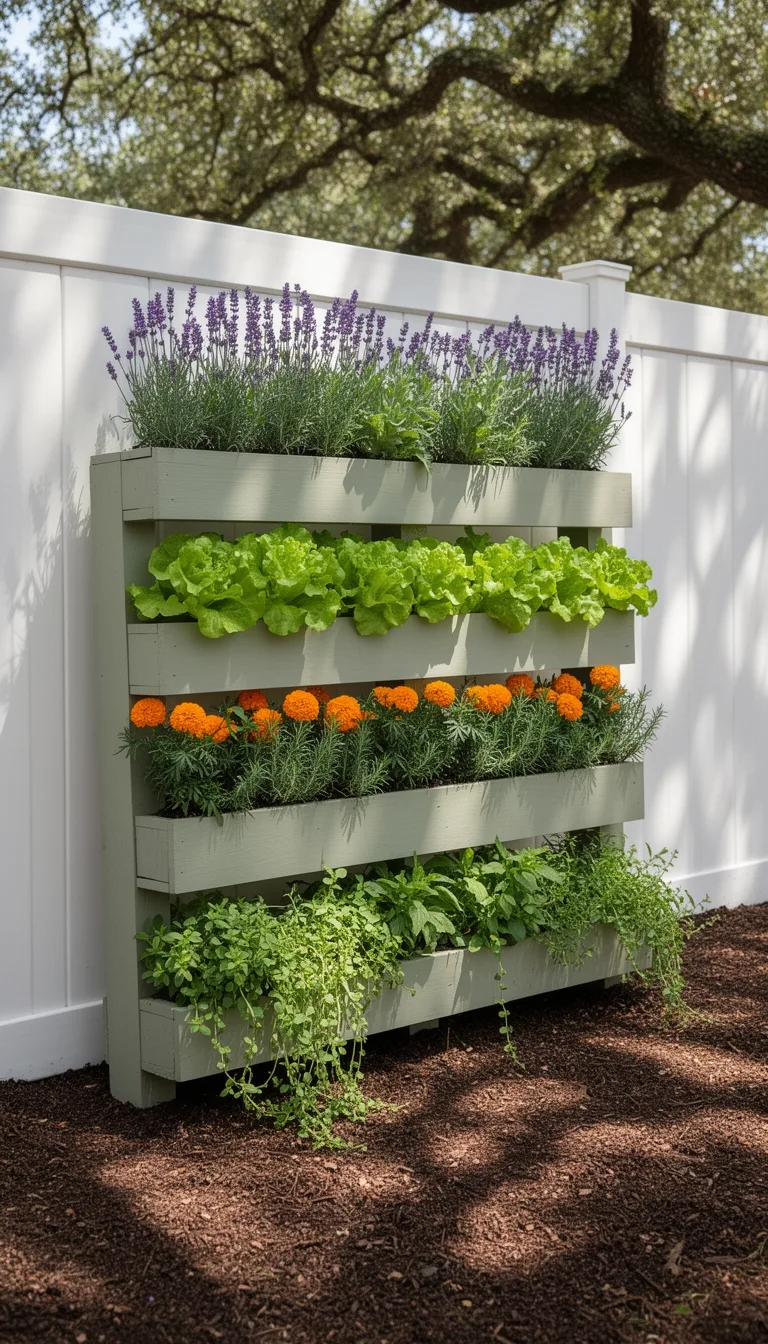
Creating a tiered vertical garden lets you maximize yield on a compact footprint, turning walls, fences, or balcony railings into lush, multi‑level planting zones.
You’ll start by selecting a sturdy frame—metal, reclaimed wood, or PVC—then attach planter boxes or pockets in staggered rows. Secure the structure with brackets or zip ties, ensuring each tier drains properly.
Fill the lower levels with nutrient‑rich soil, and plant taller varieties like tomatoes or peppers there, while herbs, lettuce, and strawberries thrive on the upper shelves.
Water with a drip‑irrigation line to conserve moisture and reduce runoff.
- Choose lightweight, reusable planter modules for easy rearrangement.
- Incorporate a built‑in trellis for climbing vines and vertical growth.
- Install a simple rain‑catch barrel to feed the system sustainably.
Install Modular DIY Containers – Flexible Garden Bed Idea
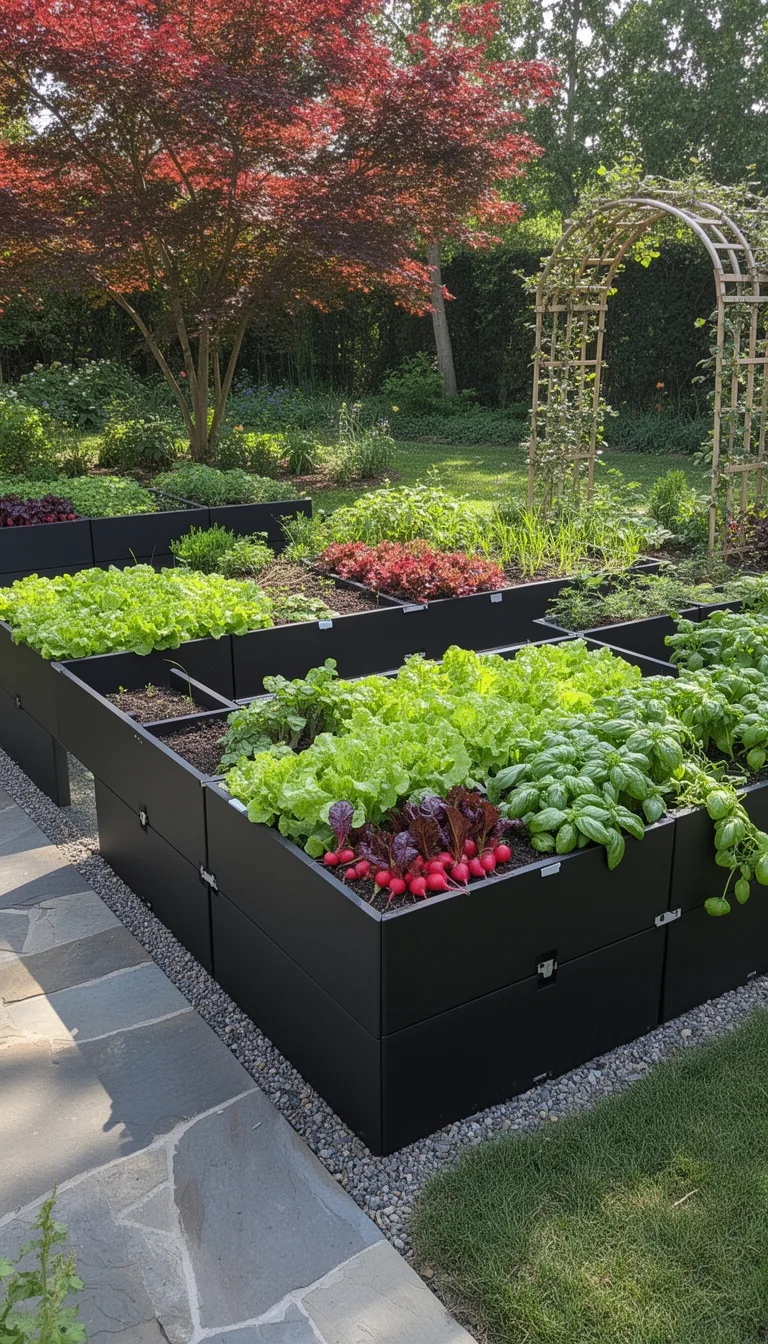
By arranging interchangeable, lightweight containers on a simple frame, you can tailor your garden’s shape and size to any space—whether it’s a sunny balcony, a narrow patio, or a sprawling backyard. Choose modular bins made of weather‑resistant plastic or reclaimed wood, snap them onto a galvanized steel grid, and secure with quick‑release clamps. Mix depths for root‑heavy veggies, shallow trays for herbs, and add a drip‑irrigation manifold for uniform watering. Swap out a container when a season changes, and reconfigure the layout in minutes without digging.
| Container Type | Ideal Use |
|---|---|
| 12‑inch deep box | Tomatoes, peppers |
| 6‑inch shallow tray | Lettuce, herbs |
| 8‑inch raised pot | Strawberries, dwarf beans |
This system keeps soil contained, improves drainage, and lets you expand or shrink your garden on the fly.
Build a Low‑Maintenance Kitchen Herb Bed
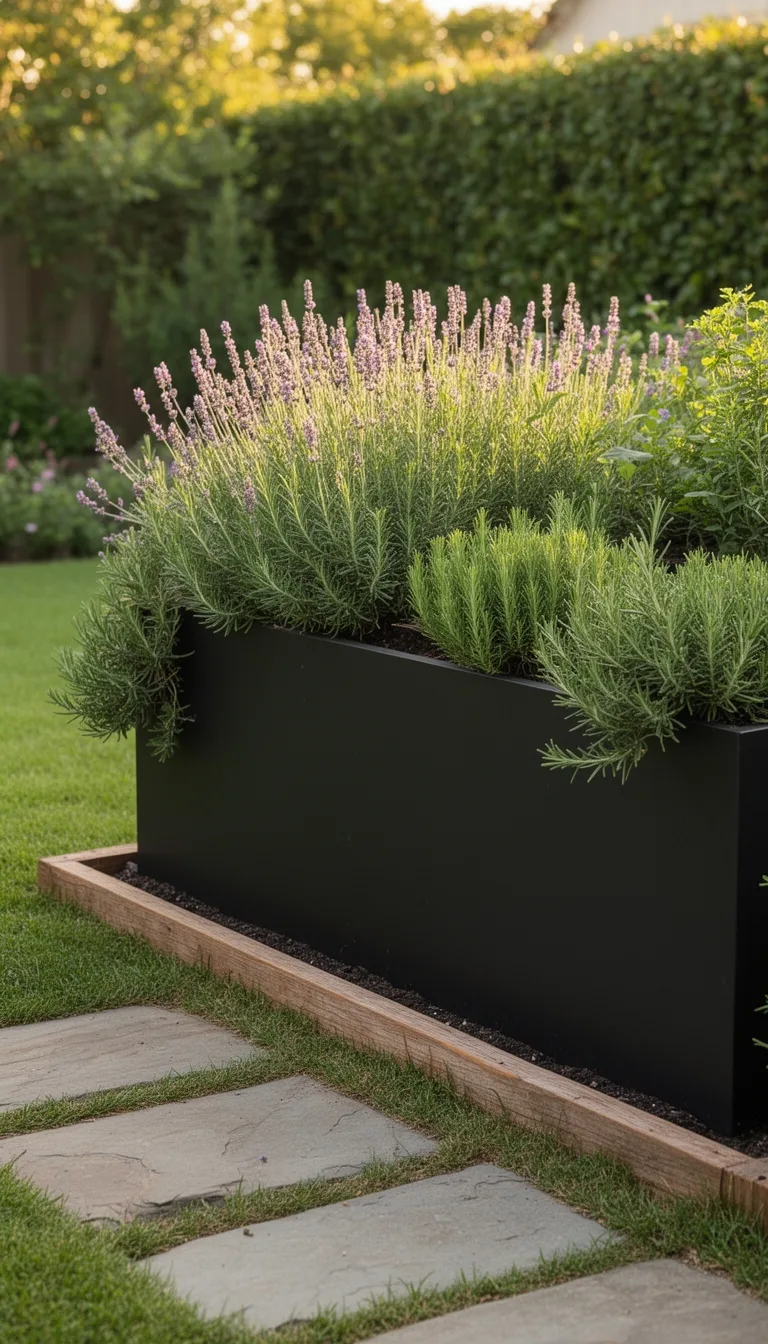
Switching from modular outdoor containers to a compact indoor herb garden lets you harvest fresh flavors right from your kitchen counter.
Choose a shallow, wide tray with drainage holes and line it with a breathable fabric to keep soil in place. Fill the tray with a light, well‑draining potting mix, then plant basil, thyme, and parsley in separate sections—these herbs thrive in similar light and moisture conditions.
Water sparingly; a spray bottle delivers enough moisture without oversaturating. Place the tray near a sunny window, rotate it weekly, and trim regularly to encourage bushy growth.
Your low‑maintenance herb bed stays tidy, productive, and always ready for cooking.
- Use a self‑watering reservoir beneath the tray for consistent moisture.
- Incorporate a small LED grow light to extend daylight during winter months.
- Add a decorative pebble top layer for aesthetic appeal and reduced soil splash.
Use Reclaimed Pallet Beds for Eco‑Friendly Garden Beds
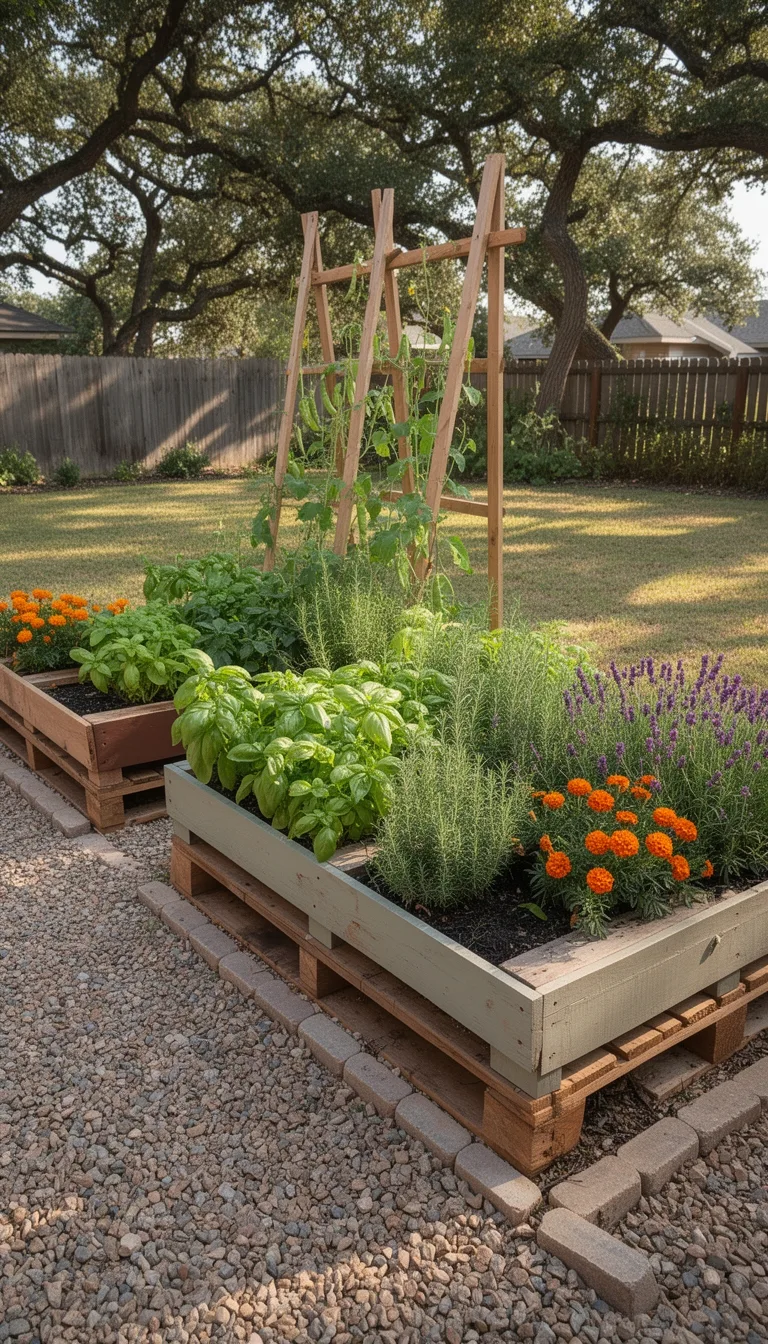
Turn a stack of reclaimed pallets into a sturdy, eco‑friendly garden bed and you’ll instantly cut waste while adding charm to your yard.
First, select pallets free of chemicals, sand them, and replace any broken slats. Lay the pallets side‑by‑side, secure them with galvanized brackets, and add a bottom layer of landscape fabric to keep weeds out.
Fill the cavity with a mix of compost, peat‑free potting soil, and coarse sand for drainage. Plant herbs, lettuce, or dwarf tomatoes, spacing them 6‑8 inches apart for airflow.
Water through a drip‑irrigation line threaded between the slats, then mulch with straw or wood chips to retain moisture. This DIY bed costs pennies, reuses material, and gives you a vibrant, low‑maintenance growing space.
Add Curved Paths Around Beds for Flowing Look
After your reclaimed pallet bed is set up, lay a gentle, winding path around it to guide the eye and make movement feel natural. Choose a material that matches your garden’s vibe—gravel, stepping stones, or reclaimed wood slabs work beautifully.
Keep the curve shallow, about a 3‑foot radius, so the path feels like a flowing ribbon rather than a sharp turn. Ensure the surface is level; use a compactor or sand base to prevent unevenness. Add low‑profile edging to keep mulch or soil from spilling onto the walk.
This simple curve invites you to linger, creates visual rhythm, and ties together the surrounding beds into a cohesive, inviting landscape.
- Use permeable pavers for drainage and easy maintenance.
- Incorporate subtle lighting along the curve for evening ambience.
- Plant low‑growing groundcovers beside the path to soften edges and suppress weeds.
Install a Self‑Watering Reservoir Bed for Drought‑Resistant Plants
Creating a self‑watering reservoir bed is a game‑changer for drought‑resistant gardening, letting you conserve water while keeping plants thriving with minimal effort.
First, dig a shallow trench 12‑18 inches deep and line it with a waterproof membrane. Add a layer of coarse sand, then a mix of peat‑lite and compost to retain moisture yet stay aerated.
Position a water‑storage tank or large barrel at the high end, connecting it to the bed with a simple drip‑line or perforated pipe. Install a valve or float‑controlled outlet so water releases slowly as the soil dries.
Choose drought‑tolerant perennials, succulents, and herbs; they’ll tap the reservoir during hot spells. Regularly check for clogs, refill the tank when low, and enjoy a lush, low‑maintenance garden.
Incorporate Stone‑Lined Herb Beds for Durable Borders
Durability meets flavor when you line your herb garden with stone, giving each plant a sturdy border that resists wear, suppresses weeds, and adds visual charm.
Choose a low‑profile stone that lets you see the soil while protecting roots. Lay a sand base, set the stones, then backfill with rich compost to keep moisture in and drainage smooth.
The stone edge creates micro‑climates that help basil, thyme, and mint thrive longer, and it reduces maintenance by keeping invasive weeds at bay.
You’ll love the clean lines and the way the stone reflects sunlight, highlighting the vibrant greens of your herbs.
- Use weather‑resistant flagstone or slate for longevity.
- Space stones 2–3 inches apart to allow root expansion.
- Seal joints with polymer sand to prevent erosion.
Add Integrated Seating With Built‑In Planters for Dual‑Purpose Areas
Stone‑lined herb beds already give you a tidy, low‑maintenance border, so why not let that same structure double as seating?
Build a low wall of concrete blocks or reclaimed brick, leaving a 12‑inch deep cavity for soil.
Fill the cavity with a mix of compost and sand, then plant compact herbs like thyme, oregano, or dwarf lavender.
The top of the wall becomes a sturdy bench where you can relax, read, or enjoy fresh aromas.
Add a drainage layer of gravel beneath the soil to prevent waterlogging, and install a removable tray for easy cleaning.
Use weather‑resistant sealant on the bench surface, and consider a built‑in cup holder or small table for drinks.
This dual‑purpose design maximizes space, enhances aesthetics, and keeps your garden organized.
Deploy Multi‑Tiered Ladder Gardens for Vertical Harvests
Elevate your garden’s productivity by installing a multi‑tiered ladder garden, a vertical system that stacks shallow planting trays on sturdy frames to maximize harvest space.
You’ll start by anchoring a weather‑resistant frame to a sunny wall or fence, then attach tiered trays at 12‑inch intervals.
Fill each tray with a light, well‑draining mix, and plant fast‑growing greens, herbs, or dwarf tomatoes.
Water from the top down, letting gravity feed lower levels, and prune regularly to keep airflow optimal.
This setup cuts foot traffic, reduces soil compaction, and lets you harvest a bounty within arm’s reach.
- Choose rot-resistant lumber or galvanized steel for durability.
- Use modular trays with built‑in drainage holes and removable liners.
- Incorporate a drip‑irrigation line with a timer for consistent moisture.
Construct Mulched Ground‑Level Beds to Boost Soil Health
After enjoying the space‑saving benefits of a ladder garden, you can further enrich your plot by building mulched ground‑level beds that nurture soil life.
Start by marking a rectangular area, then loosen the top 8–12 inches of soil with a fork or tiller. Add a 2‑inch layer of coarse organic material—straw, wood chips, or shredded bark—to improve drainage and create a habitat for earthworms.
Spread a thin (½‑inch) layer of compost over the mulch, then gently rake it smooth. Water the bed thoroughly to settle the layers and activate microbes.
As the mulch decomposes, it releases nutrients, retains moisture, and suppresses weeds, turning your garden into a thriving, low‑maintenance ecosystem.
Install Raised Fabric Grow Bags for Lightweight Mobility
Slip a few sturdy fabric grow bags onto a low‑profile frame and you’ll instantly gain a portable, lightweight planting system that can be moved with a single hand.
Choose UV‑treated, breathable fabric to protect roots while allowing excess water to escape.
Fill each bag with a well‑draining mix of compost, peat, and perlite, then sow your favorite herbs, lettuce, or dwarf tomatoes.
Position the frame on a patio, balcony, or garden path for easy access, and rearrange bags whenever you want to experiment with companion planting or seasonal rotations.
The modular design keeps soil health high and lets you harvest without heavy lifting.
- UV‑stable fabric prevents sun damage and extends bag life.
- Low‑profile frame fits under tables or benches for space‑saving storage.
- Removable liners simplify cleaning and allow quick soil refreshes.
Use Concrete Block Planters for Modern Minimalist Garden Beds
Set up sleek concrete block planters to create a modern, minimalist garden bed that feels both sturdy and stylish.
Choose uniform 12‑inch blocks, stack them two or three high, and secure each layer with mortar or garden‑grade adhesive for stability. Drill drainage holes in the bottom block, then line the interior with landscape fabric to keep soil from spilling.
Fill the cavity with a well‑draining mix of compost, sand, and perlite, adding a slow‑release fertilizer for nutrient balance. Plant low‑maintenance succulents, ornamental grasses, or dwarf herbs to maintain clean lines.
Arrange blocks in a straight row or offset pattern for visual interest, and edge the bed with mulch to suppress weeds and retain moisture. The result is a crisp, functional garden feature that requires minimal upkeep while delivering a contemporary look.
Use Raised Bed Kits With Built‑In Trellises for Climbing Plants
If you love the clean lines of concrete block planters, you’ll also appreciate how raised‑bed kits with built‑in trellises turn vertical space into a thriving garden for climbers. These kits combine sturdy frames, soil‑holding trays, and lattice panels in one package, letting you plant beans, peas, cucumbers, and grapes without extra structures.
You’ll save time assembling, reduce soil erosion, and keep vines tidy for easier harvesting. The trellis height can be adjusted to match plant growth, while the raised bed improves drainage and warms faster in spring, extending your growing season.
- Choose a kit with a corrosion‑resistant metal or cedar trellis for durability.
- Fill the bed with a light, nutrient‑rich mix to support vigorous root development.
- Install a drip‑irrigation line that runs along the trellis to deliver water directly to the foliage.
Create Companion‑Plant Zones to Maximize Yield in Each Bed
Often you can boost both flavor and harvest by arranging complementary plants together within a single raised bed. Start by mapping zones: place nitrogen‑fixing beans beside nitrogen‑hungry corn, and intersperse aromatic basil with tomatoes to deter pests and enhance taste.
Use low‑growth lettuce as a living mulch under taller peppers, keeping soil cool and moist. Plant carrots alongside onions; the onions repel carrot flies while carrots loosen soil for onions.
Space each pair according to their mature size, allowing airflow and sunlight penetration. Mark zones with reusable plant labels, and rotate crops annually to prevent disease buildup.
Build Interlocking Brick Paths Between Raised Beds for Easy Access
After arranging your companion‑plant zones, lay down interlocking brick paths to move between raised beds without crushing soil or stepping on seedlings. Choose a flat, well‑drained base of compacted sand or fine gravel, then snap the bricks together using a flexible joint compound that tolerates slight shifts. Align the pattern with your bed layout so you can walk straight from one zone to the next, and keep the path width at least 24 inches for easy wheel or tool passage.
Finish with a light sealant to resist moisture and weeds, and you’ll have a sturdy, attractive corridor that invites daily garden care.
- Use bricks with a textured surface for slip resistance.
- Incorporate a subtle curve to follow natural garden contours.
- Add low‑profile edging to define the path and keep mulch in place.
Design Low‑Box Raised Beds for Wheelchair‑Friendly Gardens
Start with a sturdy, low‑box frame—about 12‑18 inches high—so you can tend the garden from a seated position without straining. Choose rot‑resistant lumber, reinforce corners with metal brackets, and line the interior with weed‑proof fabric. Fill the box with a light, well‑draining mix of compost, peat, and perlite; this keeps soil loose for easy scooping. Add a short, smooth lip at the front edge to prevent wheels from catching, and install a low‑profile drip‑irrigation line for hands‑free watering. Position the bed near a paved pathway, ensuring a 36‑inch clearance for wheelchair maneuverability.
| Feature | Benefit | Why it matters |
|---|---|---|
| 12‑18 in height | Seated access | Reduces back strain |
| Smooth front lip | Wheel safety | Prevents snagging |
| Drip irrigation | Minimal effort | Saves time and water |
Place Rain‑Harvest Bins Next to Beds for Water Savings
By positioning rain‑harvest bins just a few steps from your garden beds, you’ll capture runoff instantly and slash your water bill.
You’ll notice the water level rise as soon as a storm hits, letting you fill a hose or watering can without waiting for a municipal supply.
Keep the bins on a slight slope toward the beds, and use a short, flexible hose to deliver water directly to the root zone.
This setup reduces evaporation, prevents puddling, and lets you reuse the same water for multiple plant cycles, maximizing efficiency and sustainability.
- Place bins on a raised platform to aid gravity flow.
- Connect a drip‑irrigation line with a shut‑off valve for precise dosing.
- Add a mesh screen to filter debris and keep the water clean.
Add LED Light Shelves to Raised Beds for Year‑Round Production
Snap on LED light shelves to your raised beds and you’ll instantly turn a seasonal garden into a year‑round production hub. Choose full‑spectrum panels that mimic sunrise to sunset, mounting them on sturdy brackets 12‑18 inches above the soil.
Connect the fixtures to a timer or smart plug, setting a 14‑hour photoperiod for leafy greens and a 10‑hour cycle for fruiting crops. Use waterproof, low‑heat LEDs to avoid root scorch and keep energy costs low.
Position the shelves so light spreads evenly across rows, reducing shadows that hinder growth. Pair the system with a simple moisture sensor to adjust watering when the lights raise transpiration.
With this setup, you’ll harvest lettuce, herbs, and even tomatoes throughout winter, maximizing space and yield.
Color‑Code Bed Markers for Quick Plant Identification
Often the simplest visual cue can save you hours of guesswork, and color‑coded bed markers do exactly that. Pick a bright palette, assign each hue to a plant family, and stick the markers at the edge of each row. You’ll spot tomatoes, beans, or herbs at a glance, reducing mis‑planting and streamlining harvest.
The system stays tidy even after rain because you can use waterproof plastic tags or painted wooden stakes. Rotate colors seasonally to match new crops, and keep a small legend on your garden shed for quick reference.
- Durable materials: UV‑resistant plastic or sealed wood survive sun and moisture.
- Consistent labeling: Write plant names on the marker’s back for backup identification.
- Flexible layout: Move markers easily when you re‑seed or expand beds.
Conclusion
You’ve got a toolbox of garden‑bed ideas that blend function, style, and accessibility. From classic cedar raised beds to low‑box frames for wheelchair users, each option lets you tailor soil, irrigation, and lighting to your space. Mix in modular containers, pallet gardens, or tiered ladders for vertical flair, and don’t forget rain‑harvest bins and LED shelves for sustainable, year‑round growth. With these designs, your backyard will be organized, productive, and truly yours.
The Only Tools You Need for a Thriving Garden 🌱
Whether you're a weekend gardener or growing daily — these hand-picked tools make every session faster, easier, and more satisfying.