Start by assessing your space’s sunlight—you’ll need 6+ hours for vegetables. Build a single 4×5 ft raised bed as your foundation; it’ll yield ~200 lbs using Mel’s Mix soil. Install vertical trellises for tomatoes and cucumbers to maximize height. Space your bed near a water source within 100 ft. Use succession planting with quick-maturing crops like lettuce and radish for year-round harvests. Layer in dwarf varieties and containers strategically. There’s a smarter approach to expanding beyond one bed that transforms tiny yards into abundant food sources.
Key Takeaways
- Twin parallel raised beds with central pathway maximize planting area while maintaining comfortable 4-ft reach from both sides.
- Install vertical trellises on both bed sides to double harvest of tomatoes, cucumbers, and beans in limited space.
- Use raised beds (12–18 in deep) for superior drainage, soil control, and ~30% higher yields per square foot.
- Apply square-foot grid planting: 16 carrots, 9 beans, or 4 lettuce per square for optimal density.
- Succession plant quick-maturing crops (radish, lettuce, spinach) every 2–3 weeks for continuous year-round harvests.
Assess Your Space: Size, Shape, and Sunlight
Before you design your backyard garden, you’ll need to thoroughly assess your space by measuring its dimensions, understanding its shape, and tracking how sunlight moves across it throughout the day.
Start by measuring your yard’s length and width with a retractable tape to calculate square footage.
For irregular shapes, imagine an enclosing rectangle and estimate the occupied percentage.
Sketch your layout, noting existing structures, slopes, and pathways that define contours.
Next, observe sunlight patterns across all sections—full sun areas receive six-plus hours, partial shade gets three to six hours, and full shade receives less than three.
Track these patterns seasonally since sun exposure changes throughout the year.
Map zones according to light intensity to guide which plants thrive where, ensuring successful placement in your compact space.
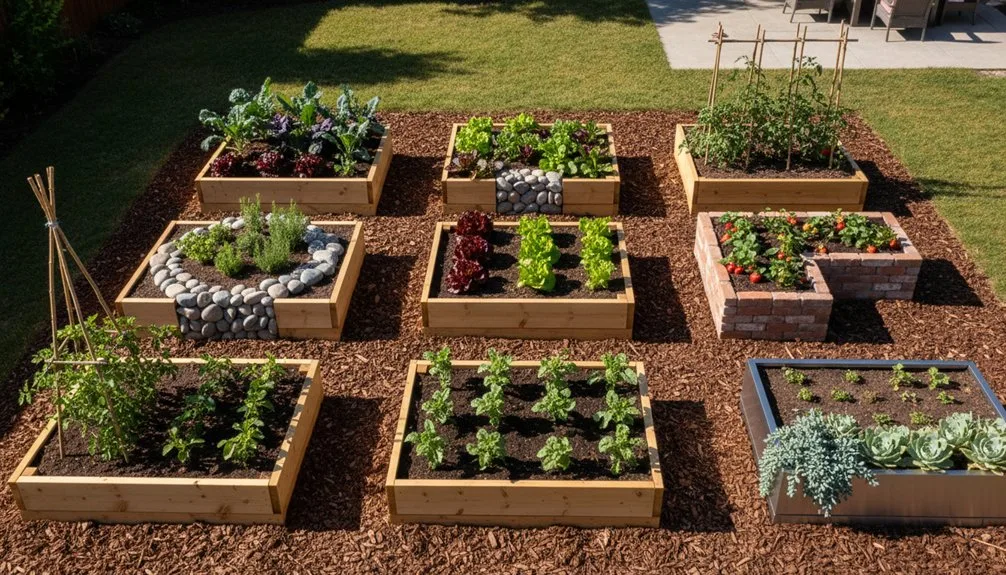
Start Small: The Single Raised Bed Foundation
Why complicate your first gardening venture? Start with a single raised bed to master the fundamentals without overwhelming yourself.
| Benefit | Impact | Why It Matters |
|---|---|---|
| Soil Control | Custom nutrient blend | Eliminates poor ground conditions |
| Drainage | 73% less water needed | Prevents root rot and saves resources |
| Yields | 30% more crops | Maximizes productivity per square foot |
| Pest Management | Natural elevation barrier | Reduces pest and disease pressure |
| Accessibility | 1-3 feet height | Minimizes back strain during tasks |
A single bed lets you experiment with soil composition, drainage systems, and planting density without massive investment. You’ll quickly learn what works for your climate and gardening style. This foundation approach builds confidence, allowing you to expand strategically once you’ve proven success.
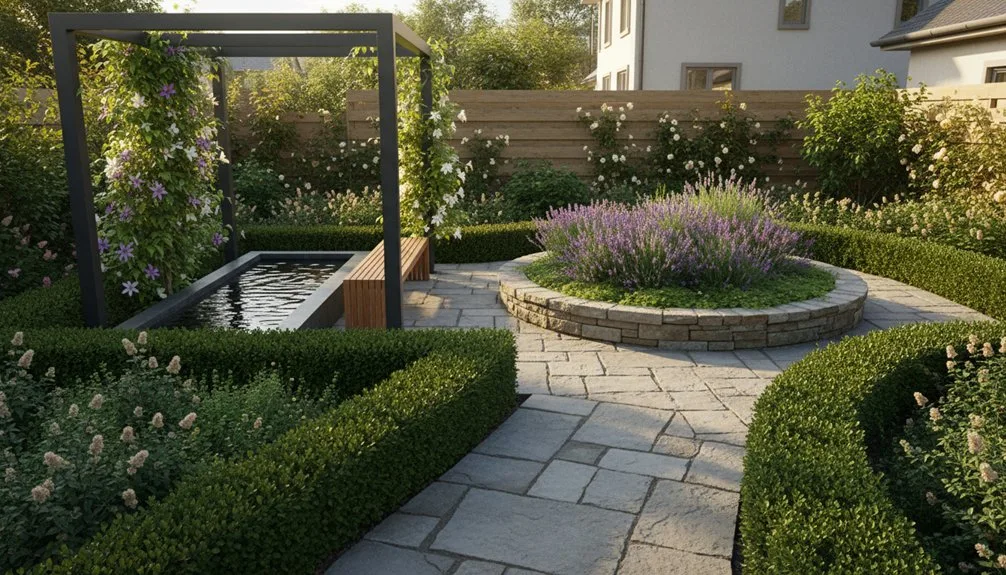
Border Gardens: Maximum Yield in Minimal Width

Border gardens transform narrow spaces into productive landscapes by layering plants strategically from front to back.
You’ll position low groundcovers like hardy geraniums at the front, mid-height perennials like Salvia in the middle, and tall elements such as Coreopsis or ornamental grasses toward the back.
Group 3-7 identical plants together for visual impact.
Choose clump-forming, drought-tolerant varieties that stay tidy without sprawling sideways.
Plant closely using cottage garden style to maximize your narrow width.
Install trellises to utilize vertical space effectively.
Add small flowering shrubs or ornamental trees for additional height.
Repeat varieties like Nepeta or Festuca glauca throughout for cohesion.
With thoughtful plant selection and layering, you’ll create a vibrant, manageable border that delivers maximum color and interest from minimal square footage.
Twin Garden Design: Double the Beds, Double the Harvest
How can you double your harvest without doubling your backyard? Twin garden design does exactly that. You’ll set up two parallel raised beds with a central path, maximizing your growing space efficiently.
| Feature | Benefit | Result |
|---|---|---|
| Vertical Trellises | Supports tomatoes, cucumbers on both sides | Doubled vertical harvest |
| Improved Airflow | Reduces disease between separated beds | Healthier plants, higher yields |
| Succession Planting | Harvest from one bed while second grows | Continuous yield year-round |
| Easy Access | 4-foot-wide beds allow comfortable reaching | Simpler maintenance and pruning |
Each bed enables crop rotation for continuous production. Train vining crops upward on shared trellises between beds. This setup transforms narrow backyards into productive growing zones, increasing your plantable area significantly without expanding your footprint.
Garden Trio Configuration: Long Spaces Made Simple
When you’ve got a long stretch of yard begging for productivity, three raised beds arranged in a row unlock possibilities that twin designs can’t match.
You’ll maximize your growing area by positioning beds along fence lines, limiting width to 2.5 feet for comfortable one-sided access.
This configuration works exceptionally well in side yards where extra length accommodates two complete trios—giving you six productive beds total.
Connect your trio beds with two arch trellises positioned at the ends, creating natural focal points while supporting climbing vegetables like tomatoes.
The repetitive pattern draws your eye along the garden’s length, encouraging flow and visual interest.
Stagger your plantings by height—tall plants toward the back, medium in the middle, low in front—to ensure every bed remains visible and accessible throughout the growing season.
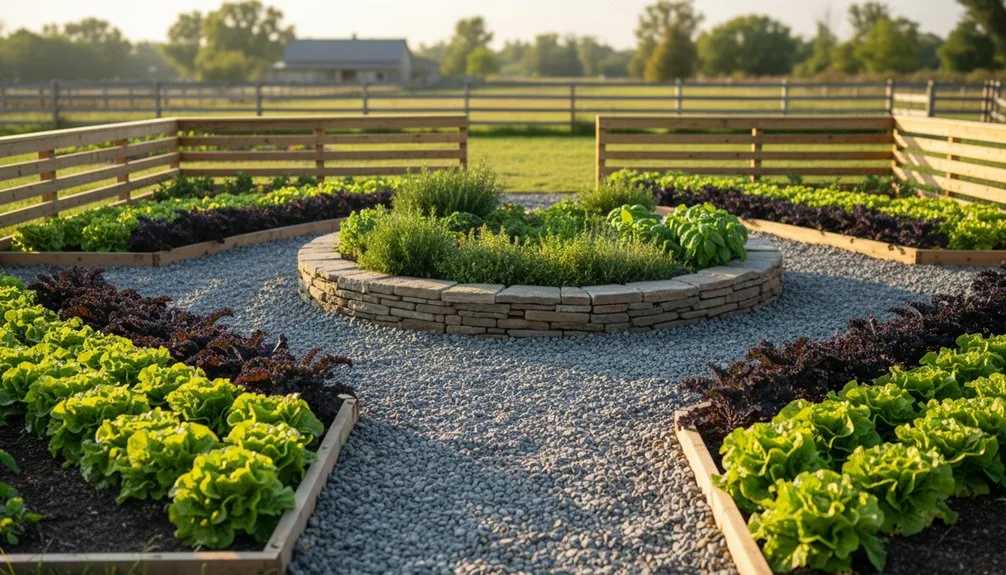
Four-Garden Classic: The Sweet Spot for Square Yards
If your yard’s more square than rectangular, you’ll find the four-garden layout offers advantages that linear configurations can’t provide.
This classic design divides your space into four equal beds arranged in a 2×2 grid, separated by intersecting T-shaped pathways that create a natural focal point.
You’ll need a minimum 20×20-foot area to accommodate beds, typically sized at 4×8 feet each, plus comfortable pathways between them.
This configuration balances accessibility with planting space, letting you cultivate vegetables, herbs, and flowers without feeling cramped.
Position one square as a terrace using gravel, brick, or turf for seating and rest areas.
Add edging with boxwoods or yews to define beds cleanly.
This symmetrical layout maximizes your square yard’s potential while maintaining elegant proportions.
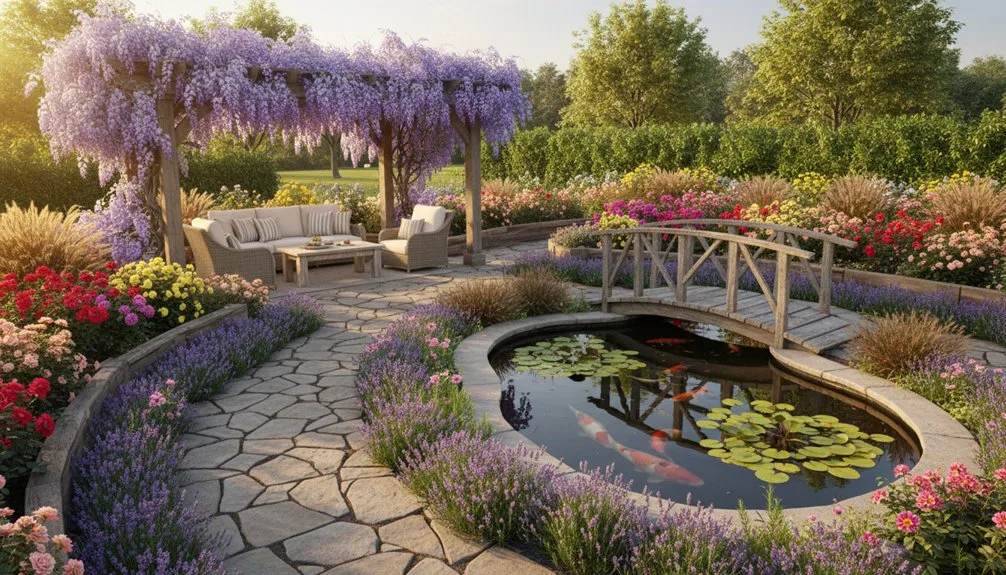
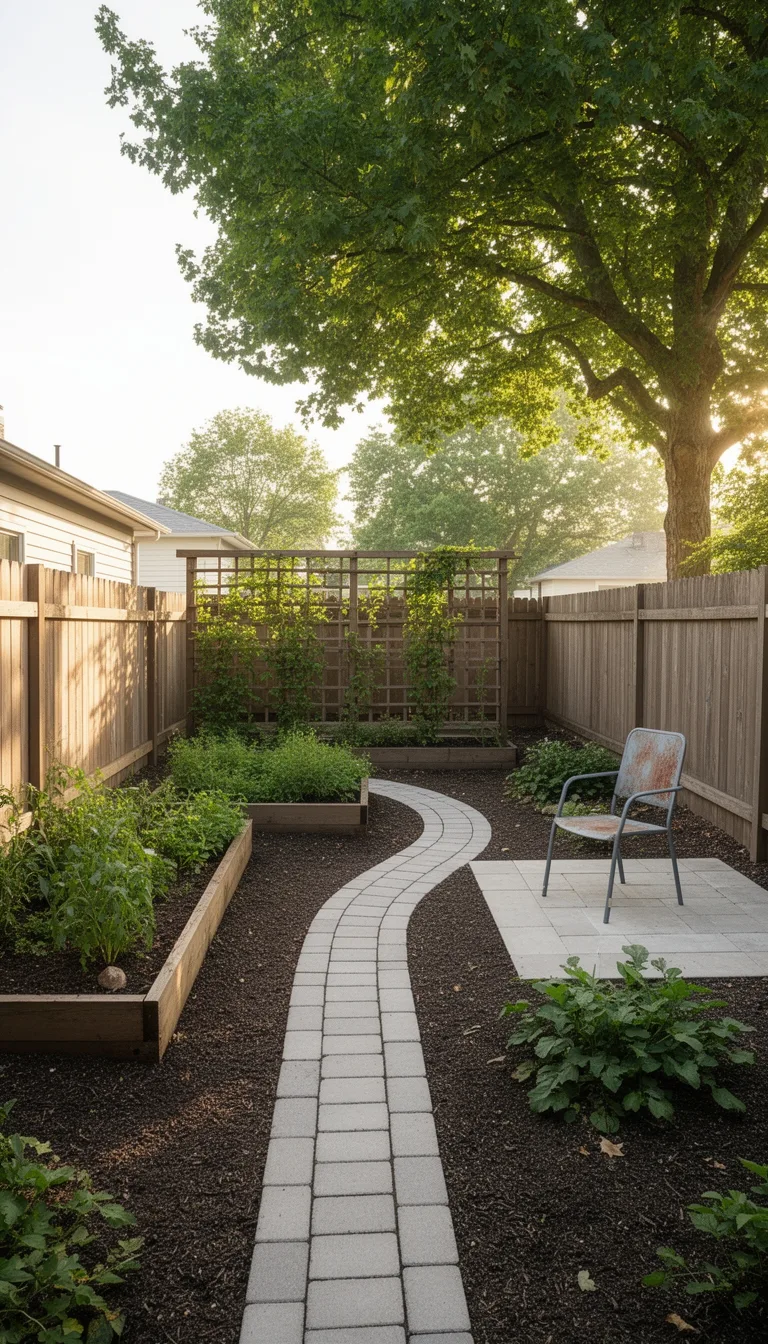
Curved Designs: Growing Food in Narrow Side Yards
Why do narrow side yards often feel like wasted space? You can transform them into productive growing areas using curved design strategies that maximize every inch.
Curved pathways work better than straight lines in tight spaces, widening access while adding visual interest. Here’s how you’ll make it work:
- Install 4-5 foot curved pathways that guide through planting beds without sharp angles
- Position vegetable patches in rear areas receiving 6+ hours daily sunlight
- Use vertical gardens on fences and raised beds for irregular spaces
- Plant single varieties around curves—daylilies, catmint, or dwarf hollies—to emphasize flow
Overlapping circular beds eliminate unusable small spaces. Position curved herb or cutting gardens closer to your house for convenient access. This approach transforms cramped side yards into functional, beautiful growing zones without wasting a single square foot.
Raised Beds or In-Ground: What Works in Small Spaces?
Once you’ve mapped your curved pathways and positioned your planting zones, you’ll need to decide how you’ll actually build them—and that choice significantly impacts your garden’s success in tight quarters.
Raised beds excel in confined spaces.
They warm faster, drain better, and let you control soil quality completely.
You’ll spend less time weeding and experience easier harvesting from standing height.
However, they dry out quickly and require more watering during summer.
In-ground gardens preserve moisture naturally and cost less initially.
They work best if your native soil is already fertile and well-draining.
They also provide unlimited root space for sprawling crops.
Your decision hinges on three factors: your soil’s current condition, available space, and what you’re growing.
Poor soil? Choose raised beds.
Solid earth and sprawling crops? Plant in-ground.
Bed Dimensions: Choose 4×4, 4×8, or 5×5 Feet
Three standard bed dimensions dominate small-space gardening because they balance growing capacity with practical accessibility.
You’ll find each option serves different needs:
- 4×4 Feet – Gives you 16 square feet with access from all sides, perfect for square spaces and DIY builds using standard lumber.
- 4×8 Feet – Balances planting space with the four-foot width that lets you reach the center from both sides without stepping in.
- 5×5 Feet – Approximates optimal reach distances while matching 6-inch row increments, minimizing waste in flexible construction.
- Width Considerations – Stay between 18-48 inches for manageable rows; keep length under 10 feet to prevent bowing.
Choose based on your available space, access requirements, and material options.
The four-foot width remains the standard for dual-side reach efficiency.
Smart Pathways: Navigate Without Wasting Space
Now that you’ve sized your beds for maximum reach and growing capacity, you’ll want to plan the pathways that connect them—and here’s where smart design really pays off. Efficient pathways eliminate wasted space while keeping your garden accessible and functional.
| Pathway Type | Best For | Key Benefit |
|---|---|---|
| Gravel | Budget-conscious gardeners | Affordable, drains well |
| Mulch | Wooded aesthetics | Natural appearance, free materials |
| Flagstone | Permanent solutions | Durable, beautiful long-term |
| Stepping stones | Quick installation | Elegant, minimal footprint |
| Wood | Wet areas, slopes | Versatile, attractive |
Choose materials matching your garden’s style and maintenance capacity. Gravel and mulch maximize growing area affordably. Flagstone offers permanence despite higher costs. Stepping stones work beautifully in tight spaces, spacing at six to eight inches apart for comfortable walking. Wood pathways adapt to slopes and moisture challenges. Your pathway choice directly impacts both usable garden space and daily accessibility.
Pack 200 Pounds Into a 5×5 Bed
Why settle for modest harvests when a single 5×5 bed can yield 200 pounds of vegetables?
You’ll maximize your space by implementing these proven techniques:
- Square Foot Grid System: Divide your bed into 25 one-foot squares, allowing you to plant 16 carrots, 9 bush beans, or 4 lettuce per square depending on your crop selection.
- Dense Seeding Strategy: Plant seeds closer than packet recommendations suggest, then thin seedlings later to fit more mature plants per square foot.
- Vertical Growth Layers: Install trellises for climbers like cucumbers, freeing ground space while adding height to your footprint.
- Quality Soil Mix: Use Mel’s Mix—equal parts peat moss, vermiculite, and compost—to support intensive production and nutrient availability.
These integrated approaches transform your modest bed into a prolific growing space.
Soil Depth Requirements: Shallow Beds Still Produce
Once you’ve optimized your planting density, soil depth becomes your next strategic decision—and here’s the good news: you don’t need deep beds to produce substantial yields.
| Vegetable Type | Minimum Depth | Optimal Depth |
|---|---|---|
| Shallow-rooted (lettuce, radishes) | 6 inches | 12 inches |
| Medium-rooted (beans, carrots) | 12 inches | 18-24 inches |
| Deep-rooted (tomatoes, squash) | 12-18 inches | 18+ inches |
The top six inches holds most nutrients your roots access. You’ll find that 12-15 inches minimum yields vegetables effectively, while 18 inches provides excellent drainage and space for medium roots. Shallow beds over gravel or cement work efficiently at 8-12 inches height. Double-digging aerates top layers for enhanced nutrient access. Even traditionally deep-rooted plants like tomatoes produce abundantly in 18 inches despite their 24-36+ inch potential. You’re not sacrificing yield—you’re maximizing your limited space strategically.
Water Access: Why Location Beats Size in Small Gardens
Where you place your garden matters far more than how large it is—and that’s because consistent water access determines whether you’ll actually harvest abundance or watch your plants struggle through dry spells.
Prioritize these factors when choosing your location:
- Position within 100 feet of your water source to maintain adequate pressure and volume
- Choose municipal water over alternatives like wells or rain barrels, which can’t sustain gardens during droughts
- Verify your faucet delivers 3-5 gallons per minute, the minimum for small garden coverage
- Plan hose routing with 5/8-inch or 3/4-inch diameter to prevent pressure loss
A small 10 ft × 20 ft garden near a reliable faucet outperforms a larger plot requiring extended hose runs.
You’ll conserve water and eliminate frustration.
Sun Mapping: 6+ Hours in Small Spaces
You’ve positioned your garden near reliable water—now you need to map where the sun actually lands.
Start by sketching your garden layout, then observe sunlight at 9:00 AM, 12:00 PM, 3:00 PM, and 6:00 PM on a mid‑summer day. Use colored pens—orange for full sun (6+ hours), pink for dappled light, and blue for shade. Note exact times on each sketch.
South‑facing areas receive maximum sun from sunrise to sunset, making them ideal for sun‑hungry vegetables like tomatoes and peppers. Northeast spots get morning sun before transitioning to shade. North‑facing zones typically stay shaded.
Layer your four daily sketches into one master map. This reveals cumulative exposure patterns and helps you place sun‑loving crops strategically, maximizing your small space’s productivity without costly relocations.
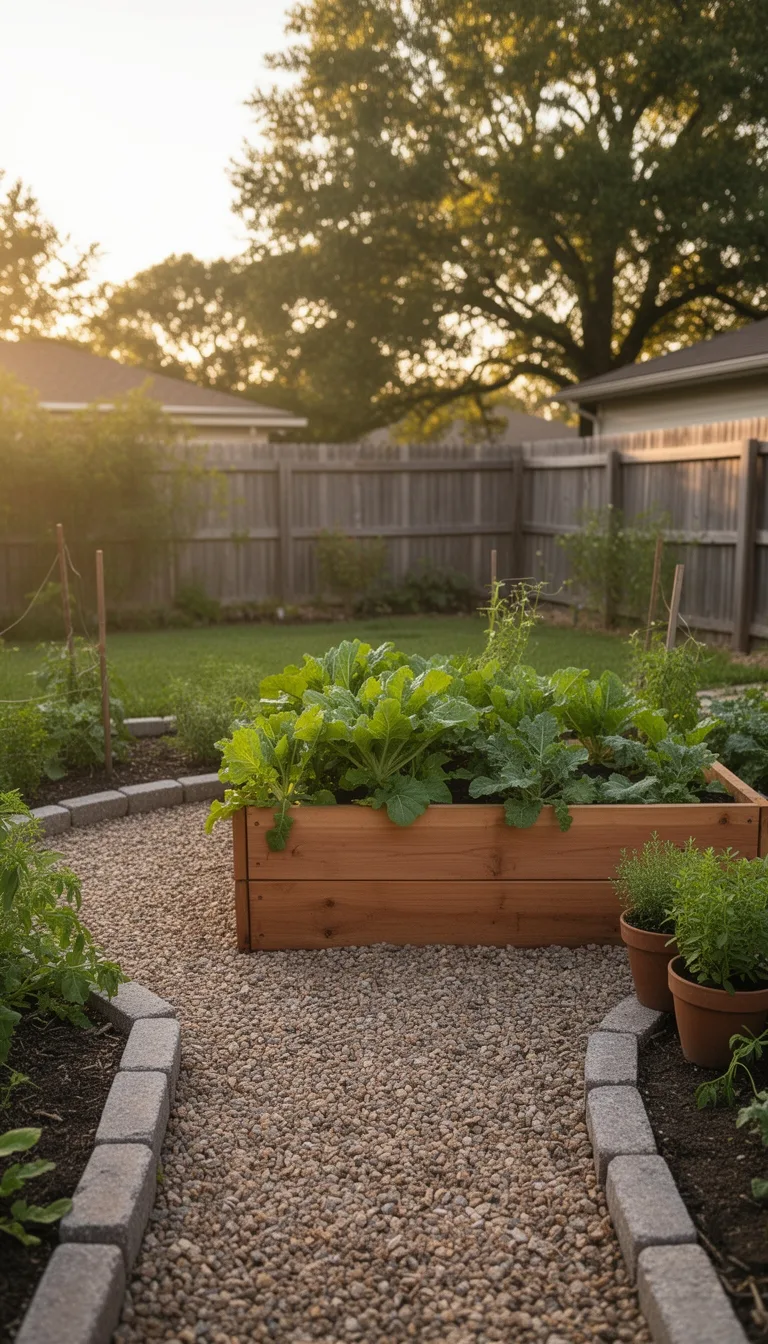
Centerpieces That Produce: Citrus Trees in Raised Beds
Anchoring your small garden with a productive citrus tree transforms a basic layout into a functional landscape that yields fruit year-round.
You’ll want to prioritize these essential elements:
- Build a 12–18 inch raised bed with cedar or redwood, sized 3–4 feet wide for easy center access and proper drainage.
- Prepare optimal soil using 40% topsoil, 30% compost, 20% peat moss, and 10% sand—maintaining a 6.0–7.0 pH range.
- Select dwarf varieties like Meyer Lemon or cold-tolerant Satsuma that thrive in constrained spaces without overwhelming your layout.
- Establish consistent care with weekly deep soaks, high-nitrogen fertilizer every 6–8 weeks, and spring pruning to maintain shape and productivity.
Position your raised bed in a south-facing spot receiving 6–8 hours of direct sunlight for maximum growth and fruit production.
What to Plant: Crop Selection for Small Spaces
After anchoring your garden with a productive citrus centerpiece, you’ll want to maximize your remaining space with crops that deliver abundant harvests from minimal square footage.
Cherry tomatoes, pole beans, and peas grow vertically, utilizing height rather than ground area.
Root crops like carrots and beets thrive in densely planted rows, yielding impressive harvests from compact spaces.
For quick returns, plant radishes, lettuce, and spinach—they mature in weeks and allow successive harvesting.
Container-friendly options including peppers, strawberries, and leafy greens adapt to pots or raised beds alongside larger plants.
Zucchini and green beans produce continuously throughout the season, rewarding frequent picking with increased yields.
This strategic combination of vertical growers, quick-maturing crops, and prolific producers transforms even small gardens into highly productive spaces.
Grow Food Year-Round in Tiny Spaces
How can you extend your garden’s productivity beyond traditional growing seasons?
You’ll maximize your tiny space’s potential by implementing strategic container placement and crop selection.
Here’s your year-round growing approach:
- Position containers near dark walls during winter to absorb and retain heat, then move them farther away in summer
- Choose crops suited to your local climate for continuous production in confined areas
- Utilize open patios to promote air movement and reduce disease risk year-round
- Select brassicas for ground-based systems, which outperform indoor and rooftop setups in urban environments
Build Beds on a Budget: Wood, Composite, and Recycled Options
You’ve got three solid options for building raised beds without breaking the bank: untreated cedar, composite materials, or recycled materials.
An 8×4 untreated cedar bed costs around $36.58 for materials—boards, screws, and balusters.
You’ll save money by having Home Depot cut lumber to size and selecting straight, knot-free cedar from the pile.
For budget-conscious builders, recycled materials offer the best value.
Layer cardboard from Amazon boxes on grass as a free base, then add leaf compost at $3-5 per trunkload.
Newspaper suppresses grass without excavation costs.
Metal beds start at $290 but provide durability.
DIY wood beds range $25-50 per square foot, making them ideal middle-ground solutions.
Remember: soil filling typically exceeds frame costs by five times, so budget accordingly.
Preserve Lawn While Growing Food
Want to maximize your garden without sacrificing the open lawn space your family needs?
You can strategically position beds to preserve central areas for play, pools, or seating.
Consider these efficient approaches:
- Border gardens along fences, driveways, or houses (minimum 1.5 feet wide, 6 feet long) keep lawns open while utilizing underutilized edges.
- Twin bed layouts pair two border gardens instead of isolating a single central bed, minimizing lawn disruption.
- Vertical growing with trellises, fence boxes, and pallets maximizes production without expanding ground footprint.
- Compact raised beds like 4×8-foot designs or pyramid planters fit efficiently while maintaining substantial lawn access.
Gravel walkways separate beds from structures, and low-growing varieties prevent shadowing issues.
This strategic planning yields abundant produce while keeping your yard functional.
From One Bed to Multiple Gardens
Starting with a single potager bed—one that combines vegetables, fruits, and flowers in a compact footprint—gives you a manageable foundation that you can expand strategically as your gardening skills and confidence grow.
You’ll maximize productivity by positioning your bed in a sunny spot receiving six hours of daily sunshine, then filling it with fast-cropping plants like spring radishes and ‘Nantes 2’ carrots.
As you gain experience, enlarge the borders around your initial bed to reclaim lawn or patio space.
Next, transition to multiple growing areas by adding tiered container staging.
This vertical approach lets you stack pots efficiently, multiplying your planting capacity without consuming additional ground space—a practical solution for small backyards.
Conclusion
You’ve just discovered that you don’t need acres to grow abundance—you’ll actually produce more food in your carefully planned backyard than your neighbor’s neglected quarter-acre. Those tiny spaces you’ve been avoiding? They’re goldmines. Your small garden won’t demand less work; it’ll demand smarter work. You’re trading square footage for intention, and that trade-off pays dividends. Start building today—you’ve got everything you need.
The Only Tools You Need for a Thriving Garden 🌱
Whether you're a weekend gardener or growing daily — these hand-picked tools make every session faster, easier, and more satisfying.