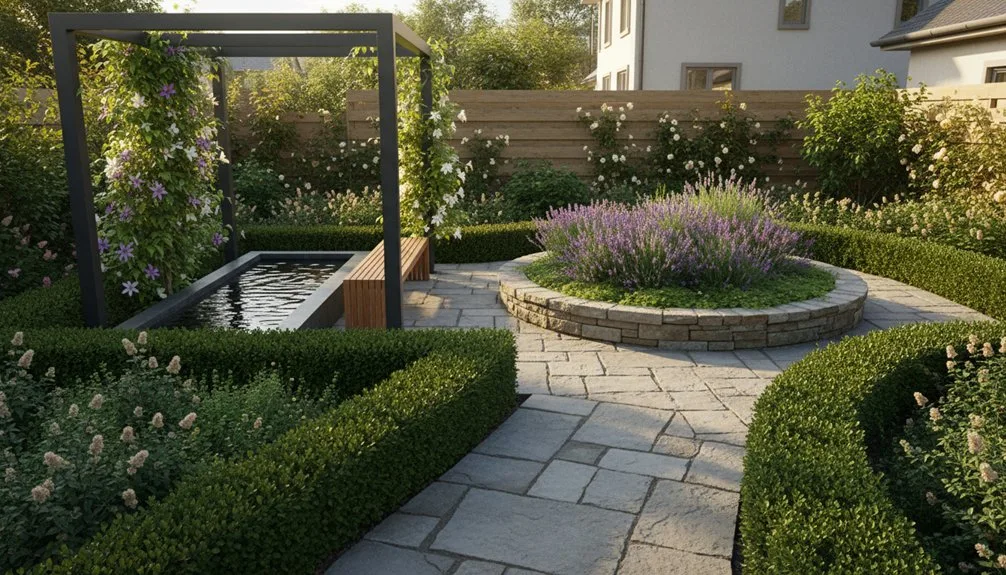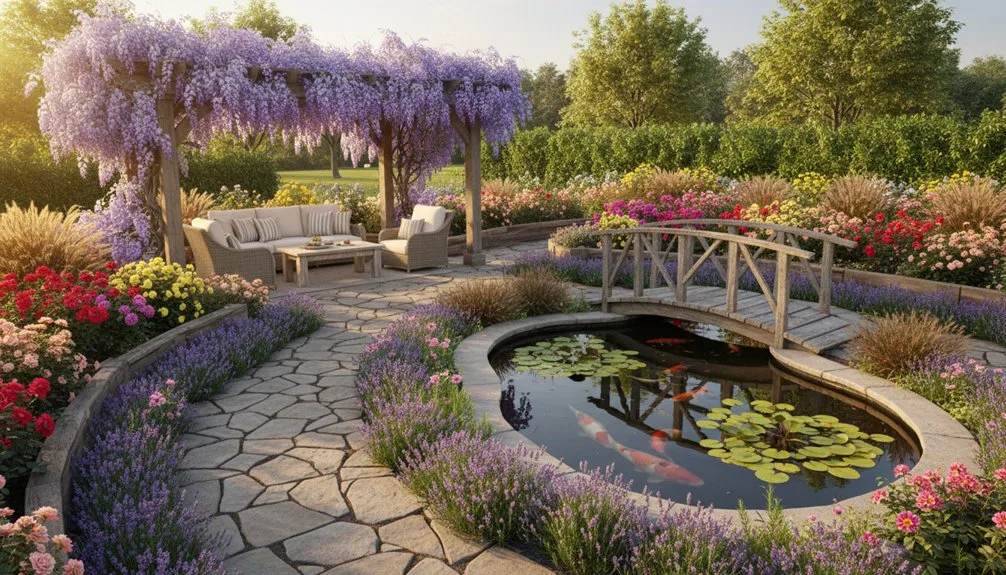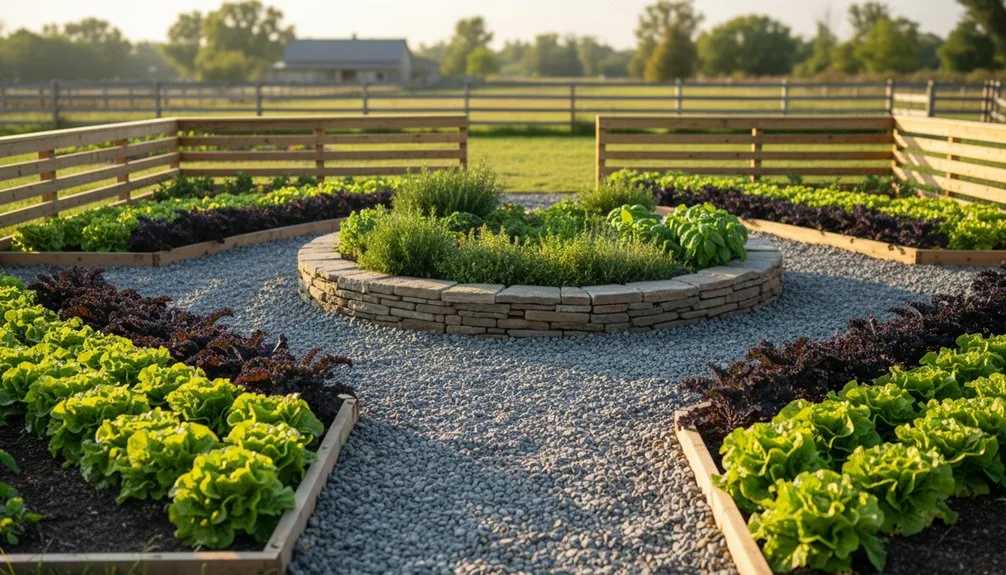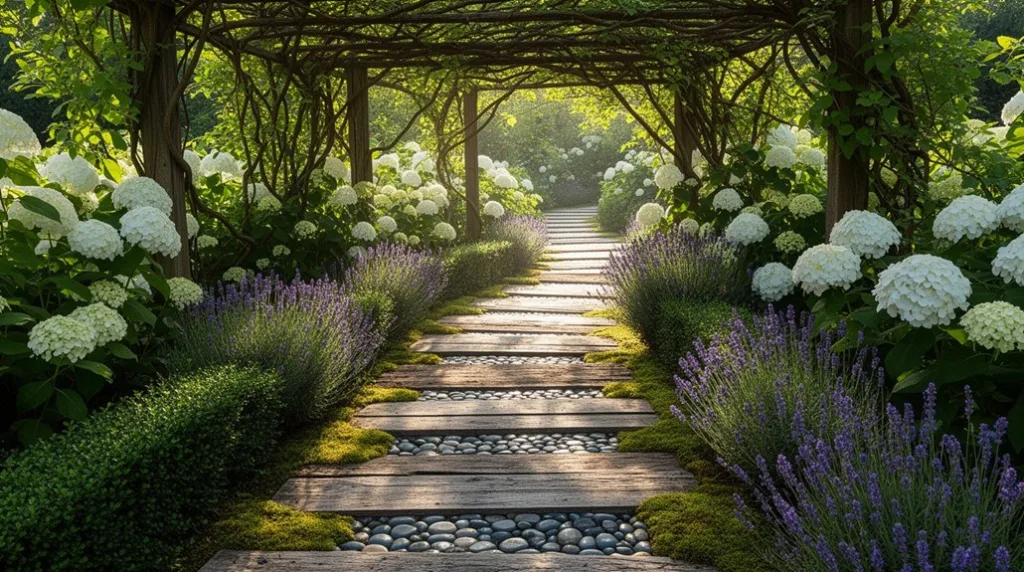
You’re standing at the edge of a garden that could become a walk of art, where each step tells a story of texture, scent, and light. Imagine curved stone slabs inviting a leisurely stroll, reclaimed brick whispering rustic charm, or a permeable raised deck that handles rain with ease. Mix aromatic herbs, seasonal blooms, and low‑profile hedges for definition, then accent with LED strips or decorative metal grilles for subtle drama. The next idea will tie these elements together, turning simple paths into unforgettable journeys.
Key Takeaways
- Choose a path style (stone slabs, reclaimed brick, mosaic tiles, wooden deck, or gravel) that matches the garden’s aesthetic and functional purpose.
- Prepare a well‑graded, compacted sub‑base with appropriate drainage (1–2% slope, geotextile fabric, and crushed stone) before laying any material.
- Use low‑profile edging or edging fences to define the path, prevent shifting, and maintain a clean visual line.
- Integrate seasonal flower borders and aromatic herb borders alongside the path for color, scent, and year‑round interest.
- Align path curves and material joints with garden focal points (arches, statues, perennials) to guide flow and enhance visual continuity.
How to Choose the Perfect Garden‑Path Style
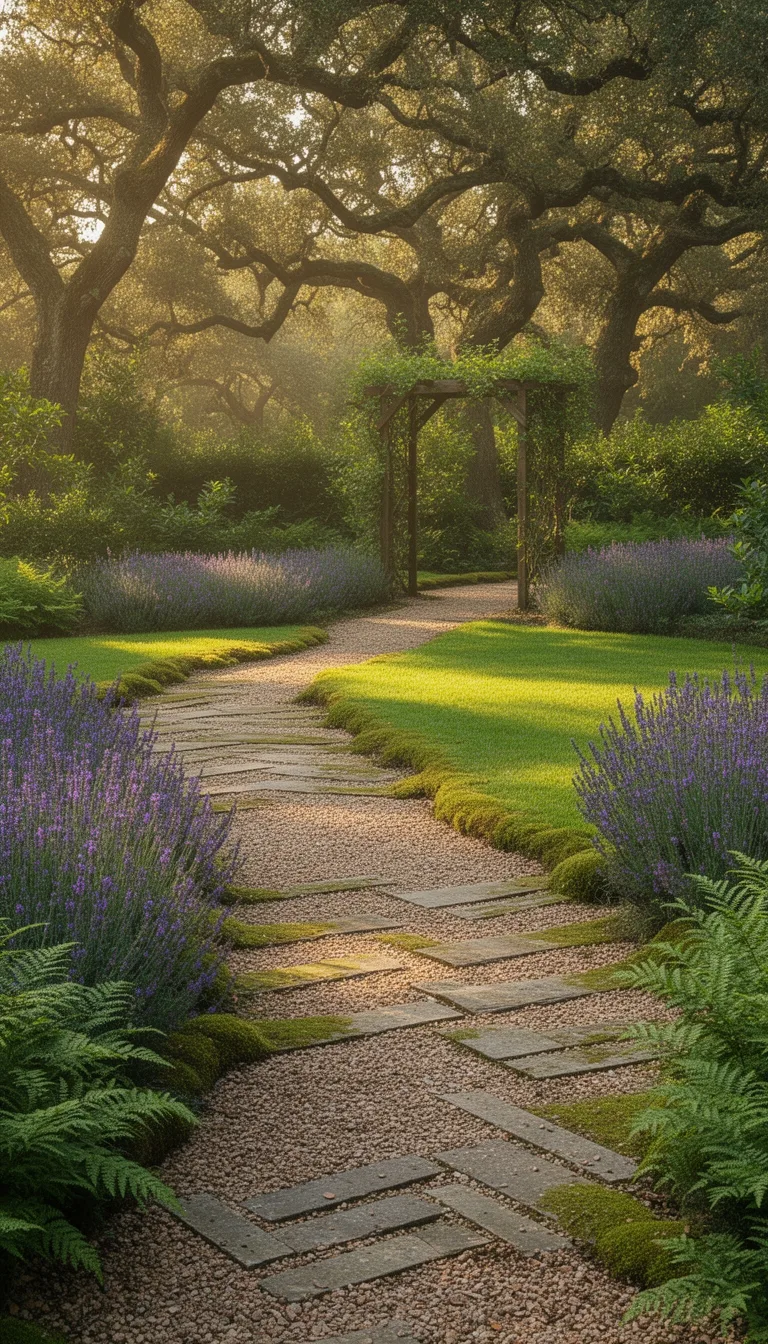
Choosing the right garden‑path style starts with visualizing how you want people to move through your outdoor space. Picture the flow: a gentle curve that invites lingering, or a straight line that guides purposefully.
Assess your terrain—slopes, soil, existing plantings—and match the path’s geometry to the land’s natural rhythm. Consider materials that complement the house’s architecture and the garden’s color palette; stone feels timeless, while wood adds warmth.
Think about width and stepping patterns to accommodate traffic and accessibility. Align the style with your garden’s purpose—whether it’s a contemplative stroll or a functional route.
Pick Modern Stone Slab Garden Path for Clean Lines
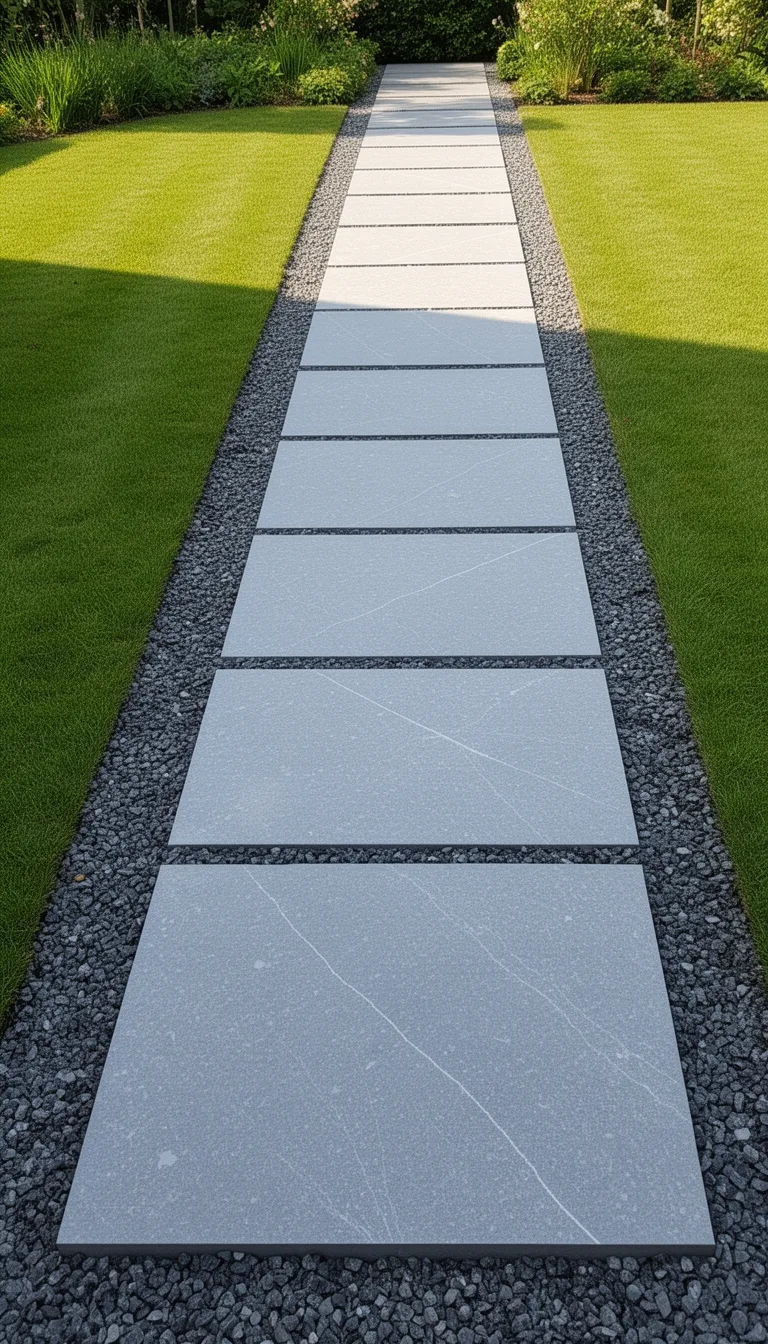
After you’ve settled on the overall path style, consider modern stone slabs to achieve clean, crisp lines that complement contemporary gardens. Choose slabs with uniform thickness and subtle texture; they guide the eye and provide a sleek foundation. Lay them on a compacted sand base, leaving narrow joints for drainage and a seamless look. Pair the stone with low‑profile edging to preserve the linear aesthetic while preventing displacement.
| Feature | Benefit | Typical Use |
|---|---|---|
| Uniform thickness | Consistent surface | High‑traffic walkways |
| Subtle texture | Soft slip resistance | Wet climates |
| Narrow joints | Minimal visual interruption | Minimalist designs |
| Low‑profile edging | Seamless transition | Modern landscapes |
Lay Rustic Gravel Border Garden Path for a Natural Feel
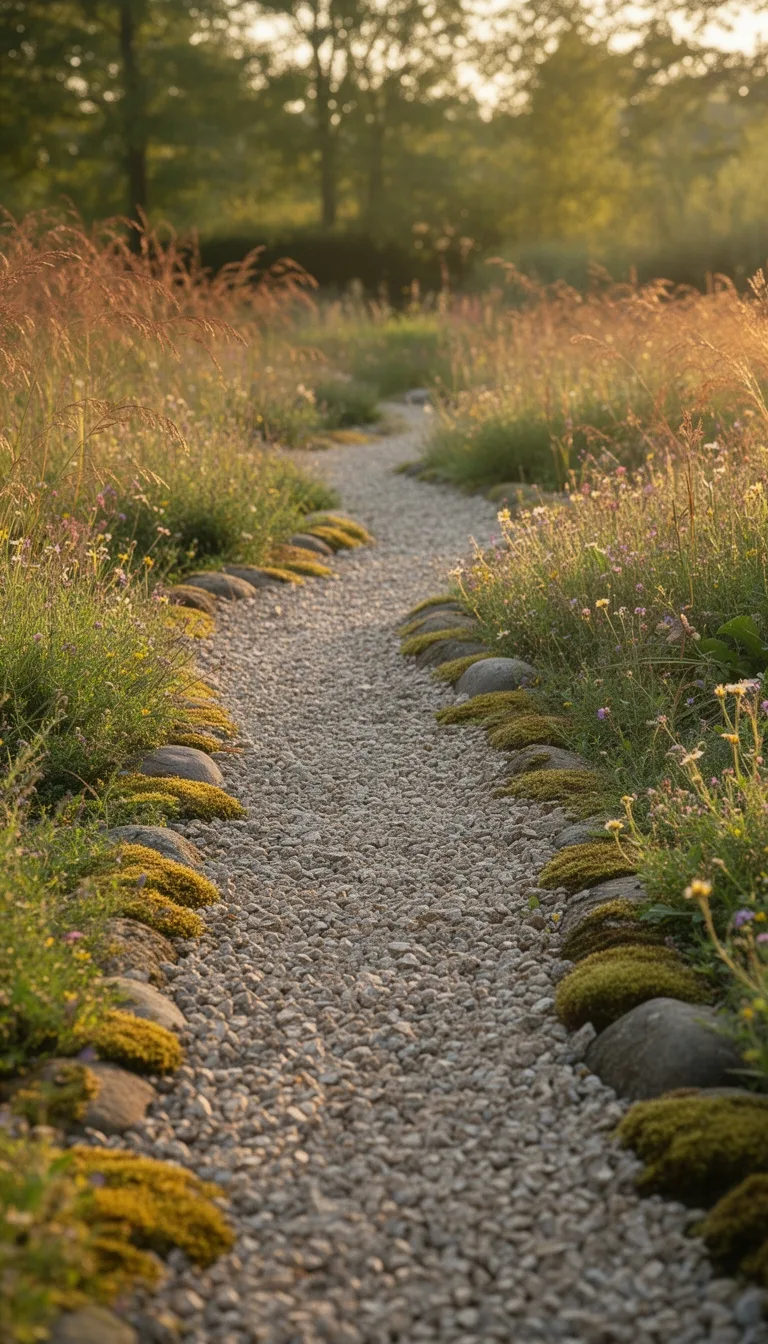
Embrace the rustic charm of a gravel‑bordered garden path to create a natural, inviting flow through your outdoor space.
First, outline the route with a garden hose or string, then dig a shallow trench 4‑6 inches deep. Lay a geotextile fabric to block weeds, and spread a 2‑inch base of crushed stone, compacting it with a plate compactor.
Choose medium‑sized, angular gravel in earth tones; it mimics riverbeds and blends with foliage. Edge the path with low metal or timber borders to keep the material in place and define the line.
Rake the surface smooth, then water lightly to settle the stones. Finally, add a few low‑grow herbs or groundcovers along the edge for texture, scent, and a living, ever‑changing border.
Install Curved Brick Walkway Garden Path to Add Flow
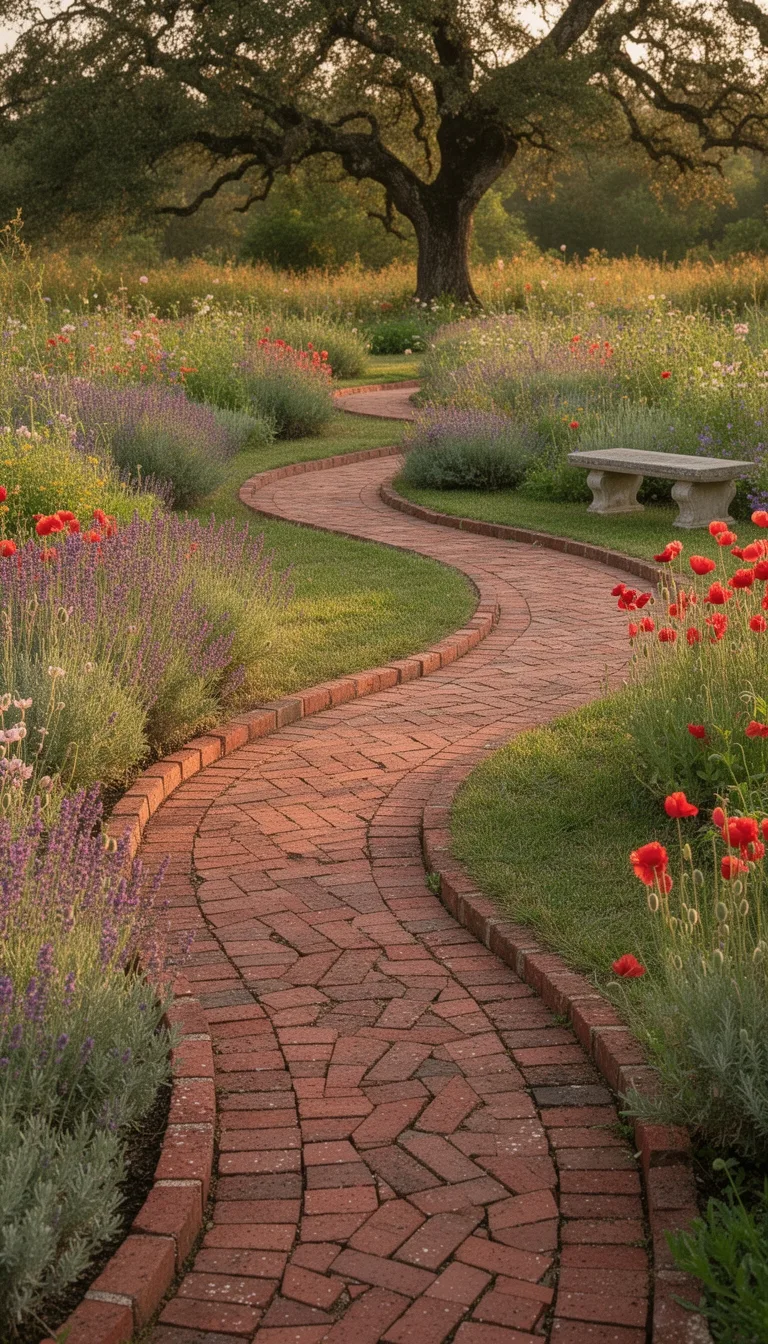
Lay a gentle curve of bricks along your garden’s natural flow to create a pathway that feels both elegant and inviting. Choose reclaimed red or terracotta bricks for texture, then lay a sand‑base, tamp it firm, and set each brick using a rubber mallet. Keep the curve shallow—about a 30‑degree sweep—to guide visitors smoothly while preserving sight lines. Seal the joints with polymer‑based mortar for durability and water resistance. Lightly brush a low‑grow thyme or moss between bricks for scent and soft color, enhancing the organic feel without overwhelming the design.
| Mood | Visual |
|---|---|
| Serene | Soft, winding line |
| Inviting | Warm brick hue |
| Curious | Hidden garden nook |
Create Mosaic Tile Garden Path Trail for Colorful Detail
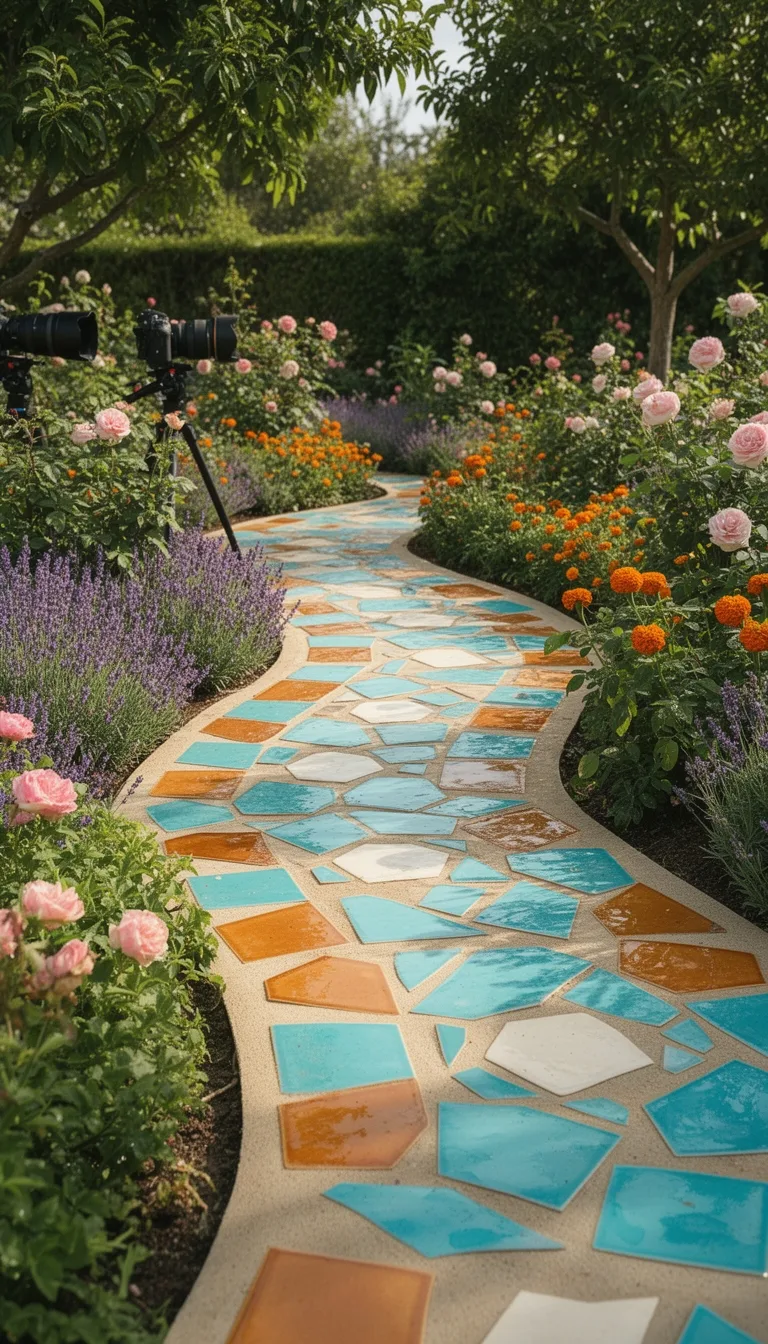
Switching from the gentle brick curve, you can inject vivid personality into your garden by laying a mosaic tile path.
Begin by sketching a simple layout on graph paper, then choose tiles that echo your plant palette—blues, yellows, and earth tones work well together.
Prep the subbase with compacted sand, ensuring a level surface.
Apply a thin mortar layer, press each tile firmly, and stagger patterns to avoid straight lines.
Fill gaps with grout, wiping excess with a damp sponge.
Seal the mosaic to protect against moisture and foot traffic.
As you step on the finished trail, notice how light refracts off the colored pieces, adding depth and movement to the garden’s flow.
This method blends art and function, creating a vibrant, low‑maintenance walkway.
Build Raised Wooden Deck Garden Path for Elevated Steps
Elevate your garden’s flow by constructing a raised wooden deck path that doubles as a set of gentle steps.
First, map the route, measuring length and rise to keep each step under 7 inches high and 10 inches deep.
Choose rot‑resistant lumber such as cedar or pressure‑treated pine, and cut joists to a uniform 2‑inch thickness for stability.
Lay a compacted gravel base, then install a moisture‑proof membrane before fastening the deck boards with stainless‑steel screws.
Space boards ¼ inch apart to allow drainage, and add subtle beveled edges for a soft visual transition.
Finish with a low‑VOC sealant to protect against weather while preserving natural grain.
The result is a sturdy, elegant walkway that guides foot traffic and enhances garden hierarchy.
Plant Low‑Growth Groundcovers Between Pavers for Weed‑Free Paths
Fill the gaps between your pavers with low‑growth groundcovers to keep weeds at bay while adding texture and color.
Choose varieties that stay under three inches, spread quickly, and tolerate foot traffic.
Prepare the soil, loosen it, and mix in compost for drainage and nutrients.
Plant in spring or fall, water thoroughly, and mulch lightly to retain moisture.
Once established, these covers create a seamless, green carpet that resists invasive weeds and enhances the path’s visual flow.
- Creeping thyme – aromatic, drought‑tolerant, pink blossoms.
- Irish moss – soft, bright green, thrives in shade.
- Sedum ‘Dragon’s Blood’ – succulent, red foliage, sun‑loving.
- Ajuga (Bugleweed) – glossy leaves, blue‑purple spikes, shade‑tolerant.
Maintain Groundcovers for a Clean Garden Path
Trimming and thinning your groundcovers regularly keeps the path looking tidy and prevents invasive weeds from slipping through. Use a hand shears or a lightweight electric trimmer to cut back any over‑grown blades to 2–3 inches, shaping the edges so they line the pavers neatly.
After each trim, rake the debris into a compost pile to enrich the soil and keep the walkway clean. Water the area deeply once a week, allowing the soil to dry between irrigations; this discourages shallow‑rooted weeds while encouraging healthy root depth.
Apply a thin layer of organic mulch annually to suppress seedlings and retain moisture. Inspect the path monthly for gaps, filling them promptly with fresh groundcover seedlings to maintain a seamless, aesthetically pleasing surface.
Add Pebble‑Rill Water Edge to Your Garden Path
After keeping your groundcovers tidy, you can enhance the walkway’s charm by adding a pebble‑rill water edge. This feature blends sound, movement, and texture, turning a simple path into a tranquil corridor. Choose smooth river stones, a shallow trench, and a low‑flow pump to create a gentle ripple that mirrors the sky.
The water’s edge defines the border, while the pebbles catch light, adding sparkle and tactile interest. You’ll notice birds pausing, children listening, and a cooler microclimate around the path. The design stays low‑maintenance, requiring occasional cleaning of debris and a periodic check on pump performance.
- Select uniform, rounded pebbles for a cohesive look.
- Excavate a shallow, linear trench lined with waterproof membrane.
- Install a submersible pump with adjustable flow to control ripple intensity.
- Fill the trench with pebbles, leaving a 1‑inch gap for water overflow.
Install LED Strip Lighting Along Your Garden Path
Illuminate your garden path with a seamless line of LED strip lighting, creating a gentle glow that guides footsteps after sunset.
Choose low‑voltage, weather‑proof strips that adhere to the edge of your walkway or tuck into a shallow channel.
Measure the length, cut at marked intervals, and connect with waterproof connectors.
Secure the strips with adhesive backing or discreet clips, ensuring even spacing for a balanced luminance.
Pair the lights with a motion sensor or dimmer to conserve energy and enhance safety.
Select a warm color temperature for an inviting ambience, or a cooler hue for a modern look.
Test the system before sealing, then conceal cables with mulch or stone edging for a clean, professional finish.
Construct Stone Stepping‑Stone Garden Path Through the Garden
Lay a series of flat, weather‑resistant stepping stones across your garden to create a functional, eye‑catching path that weaves through flower beds and lawns.
Choose stones with natural texture, level them on a compacted sand base, and space them evenly for a rhythm that guides foot traffic. Align each stone with the garden’s focal points—archways, statues, or blooming perennials—to enhance visual flow.
Keep the edges clean, fill gaps with fine gravel, and consider low‑profile edging to prevent shifting. This simple, durable solution adds charm, encourages exploration, and respects the landscape’s organic lines.
- Select stone size and shape
- Prepare a level sand substrate
- Position stones with consistent spacing
- Finish with gravel infill and subtle edging
Mix Concrete and Wood in a Multi‑Material Garden Path
Pairing concrete slabs with reclaimed wood boards creates a striking, multi‑material garden path that balances durability and warmth.
You’ll lay the concrete first, ensuring a level base and spacing joints for drainage. Then, insert wood boards between slabs, using stainless‑steel brackets to secure them without visible fasteners.
Choose weather‑treated timber; it resists rot and adds a natural hue that softens the concrete’s rigidity.
Align the wood grain with the path’s direction for visual flow, and stagger joints to prevent tripping hazards.
Apply a clear sealant to both materials for protection and easy cleaning.
This combination offers a tactile contrast, inviting foot traffic while showcasing sustainable design. The result is a functional, elegant walkway that endures seasons with minimal upkeep.
Plant Seasonal Flower Borders Along Your Garden Path
After the sturdy concrete‑and‑wood path is set, soften its lines with seasonal flower borders that bloom in rhythm with the year. Choose plants that thrive in your climate, stagger their planting so color shifts from spring’s pastel crocuses to summer’s bold coneflowers, autumn’s fiery asters, and winter’s hardy hellebores.
Keep the border width consistent, mulch for moisture retention, and water early to protect foliage. This living frame not only guides footsteps but also draws pollinators, adds texture, and reinforces the garden’s narrative.
- Spring – tulips, hyacinths, and primroses for a fresh start.
- Summer – lavender, daylilies, and salvia for heat‑tolerant color.
- Autumn – mums, ornamental kale, and goldenrod for warm tones.
- Winter – winter jasmine, snowdrops, and evergreen heuchera for subtle interest.
Use Reclaimed Paver Garden Path for Eco‑Friendly Charm
Reclaimed pavers bring history and sustainability together, turning discarded bricks, stones, or tiles into a charming, eco‑friendly garden path. You’ll select pieces with varied textures and colors, arranging them to echo natural stone patterns while preserving their story.
Begin by grading the base, compacting a layer of crushed stone for drainage, then lay a sand bed to level each paver. Space the joints uniformly, tapping them gently with a rubber mallet to settle them into place. Fill gaps with polymer‑sand to lock the stones, preventing weeds and erosion.
Choose a layout that guides foot traffic, creating gentle curves that soften hard edges. The result is a resilient, low‑maintenance walkway that celebrates reuse and adds timeless visual interest.
Install Raised Permeable Pavement Garden Path for Better Drainage
When you raise a garden path with permeable pavement, you instantly improve drainage while keeping the design sleek and functional. The elevated deck lets water flow beneath, preventing puddles and protecting nearby plant roots.
Choose a lightweight concrete mix with aggregate gaps, or reclaimed brick with a sand‑filled base, to maintain a natural look. Frame the edge with reclaimed timber or stone for seamless integration into the landscape.
This method reduces erosion, encourages groundwater recharge, and adds visual interest through subtle height variation.
- Select a permeable material – porous concrete, interlocking pavers, or gravel‑filled bricks.
- Build a supportive sub‑base – compacted crushed stone topped with a geotextile membrane.
- Install edging – timber, metal, or stone to hold the pavement in place.
- Add a gentle slope – 1–2% grade toward drainage zones for optimal water flow.
Add Decorative Metal Grille Over Gravel Garden Path
Lay a decorative metal grille over your gravel garden path to blend safety, style, and subtle shading in one elegant solution.
Choose a rust‑proof aluminum or wrought‑iron pattern that complements your home’s architecture; a simple diamond or wave motif adds visual interest without overwhelming the landscape.
Secure the grille with stainless‑steel anchors, spacing them evenly to prevent wobble and to maintain a uniform load distribution.
The metal creates a gentle shadow that cools the surface, reducing heat buildup on hot days while keeping the path stable under foot traffic.
As water drains through the gaps, the gravel beneath stays visible, preserving the natural texture you love.
This low‑maintenance upgrade enhances curb appeal, guides visitors, and offers a timeless, refined look that ages gracefully.
Integrate Aromatic Herb Narrow Pathway Along Your Garden Path
A fragrant herb strip can turn a simple garden path into a sensory corridor, complementing the sleek metal grille with scent and texture.
Choose low‑maintenance, aromatic herbs that thrive in your climate and fit the narrow width. Plant them in a defined, mulched strip that mirrors the grille’s linear rhythm. Keep the soil loose, water consistently, and trim regularly to maintain a tidy edge and prevent overgrowth into the walkway.
This living border invites pollinators, releases calming aromas, and adds a soft, verdant texture that balances the hard metal.
- Lavender – silvery foliage, soothing scent, drought‑tolerant.
- Thyme – low‑grow, aromatic, tolerates foot traffic.
- Mint – vigorous, refreshing, contains in a root barrier.
- Sage – silvery leaves, earthy aroma, attracts beneficial insects.
Finish the Path With a Low‑Profile Fence or Hedge for Definition
If you want the walkway to feel both defined and inviting, cap it with a low‑profile fence or hedge that mirrors the sleek line of the metal grille while adding a soft, natural edge.
Choose a wooden slat fence for subtle texture, spacing slats to echo the grille’s rhythm. Or plant a narrow boxwood hedge, trimming it to a uniform height of 30‑36 inches for a living border. Install the fence on concrete footings to prevent rot, and use root‑barrier edging for the hedge to keep roots from encroaching the path. Both options frame the walk, guide foot traffic, and create visual continuity with surrounding plantings. Maintain the fence with a protective seal and prune the hedge quarterly for tidy, evergreen definition.
Conclusion
You’ve got the tools and ideas to turn any garden path into a functional work of art. By picking the right style, mixing durable materials, adding fragrant borders, and lighting each step, you’ll create a route that feels both inviting and purposeful. Keep the design cohesive, maintain the surfaces, and let the garden’s natural rhythm guide you—your pathway will become a lasting, elegant spine that ties the whole landscape together.
The Only Tools You Need for a Thriving Garden 🌱
Whether you're a weekend gardener or growing daily — these hand-picked tools make every session faster, easier, and more satisfying.