If your balcony feels cramped, you can unlock surprising potential. We’ll show you twenty clever ways to use railing planters, tiered shelves, and upcycled containers to maximize every inch. Discover how the right potting mix and plant combinations create a lush, thriving display in the smallest spaces. Let’s explore how you can transform that overlooked nook into a vibrant green retreat starting today.
Key Takeaways
- Maximize vertical space with hanging pots, wall gardens, or tiered plant stands.
- Use railing-mounted boxes and corner-fitting containers for narrow ledges and balconies.
- Repurpose creative items like old colanders or wooden crates as unique planters.
- Layer clustered pots on pedestals for a lush, space-saving display.
- Select watertight containers to create small water gardens with floating plants.
Start With the Right Containers for Your Space
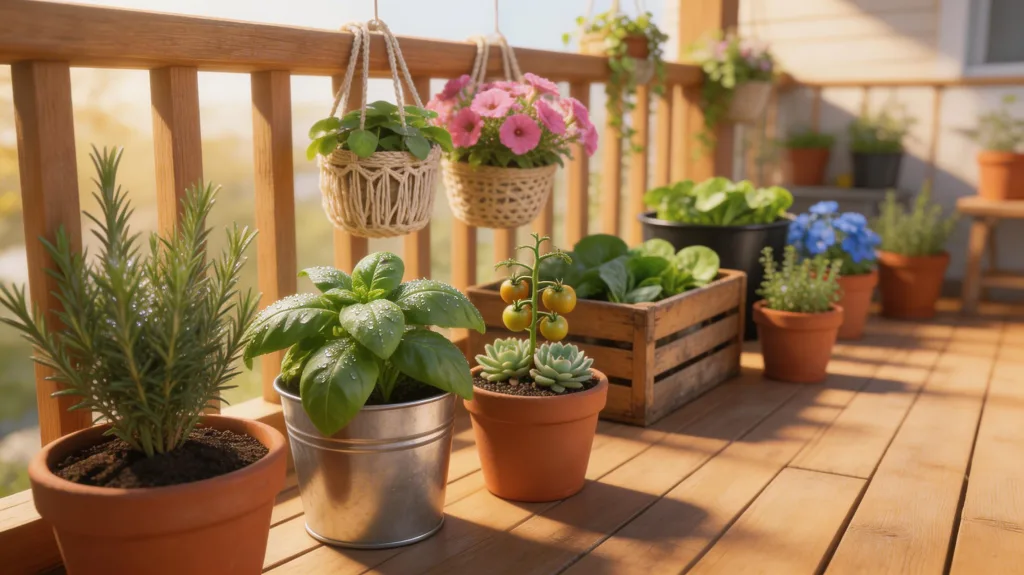
Begin by assessing your space, whether it’s a sunny balcony, a narrow ledge, or a tiny patio, because the best containers maximize every inch. Prioritize containers that fit snugly into corners or hang securely from railings.
You can use vertical space with tiered plant stands or wall-mounted pots to free up your floor. Consider long, narrow window boxes for ledges or tall, slender pots for tight spots between doors.
Look for containers with shapes that suit your plants; shallow bowls work for herbs, while deeper ones support tomatoes. Get creative with repurposed items like colorful buckets or wooden crates, but ensure they’re sturdy.
Matching your container’s footprint to your available area is your first essential step for a thriving, space-smart garden.
How to Choose Containers With Proper Depth and Drainage
Once you’ve found containers that fit your space, you’ll want to focus on what’s underneath—specifically, the depth and how well water can escape. Proper depth gives roots room to grow, preventing plants from becoming stunted. Excellent drainage holes are non-negotiable; they stop soil from getting waterlogged, which causes root rot. If your chosen pot lacks holes, you can easily drill them yourself. Remember, more holes are better than one.
- Match depth to plants: Shallow pots (6-8 inches) suit herbs and lettuces, while deep pots (12+ inches) are vital for tomatoes or peppers.
- Prioritize drainage holes: Multiple holes at the bottom are essential for any healthy container garden.
- Elevate your pots: Use pot feet or a stand to keep holes clear and improve air circulation.
- Add a drainage layer: Place a layer of coarse gravel or broken pottery shards over the holes before adding soil to prevent clogging.
Pick the Perfect Potting Soil for Your Containers
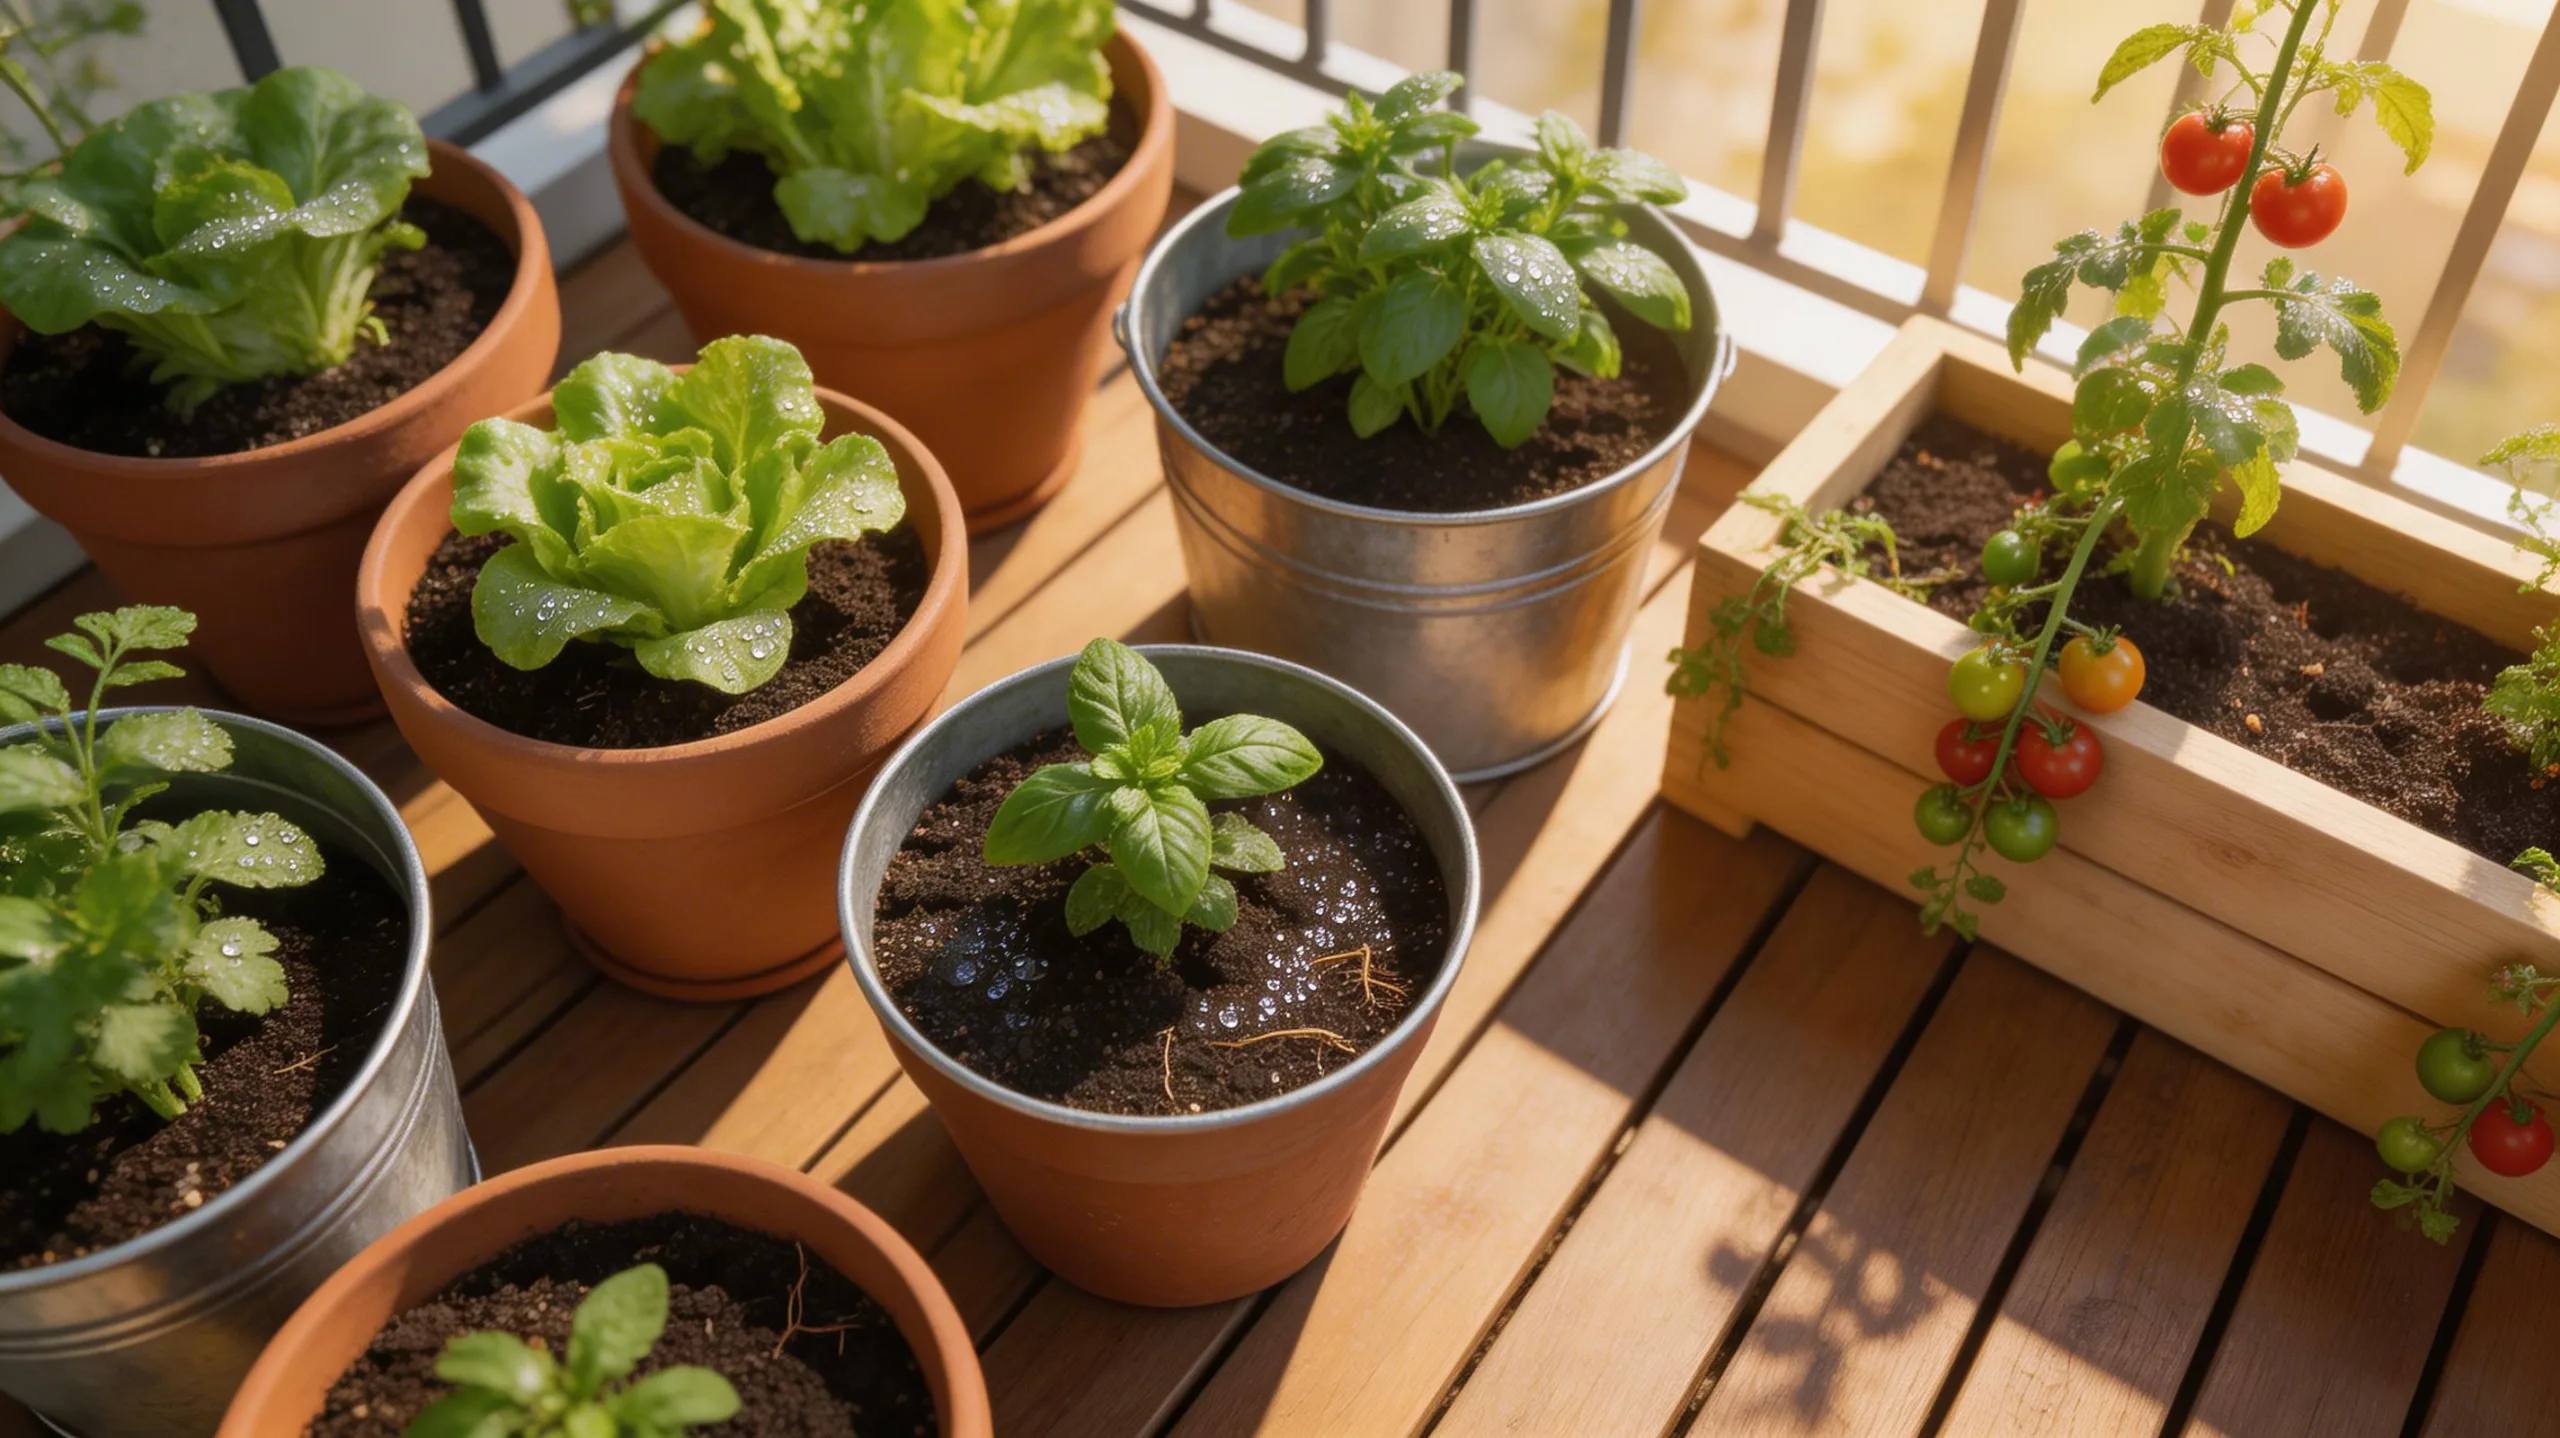
But what exactly makes potting soil so perfect? It’s all about structure! You need a mix that retains moisture and nutrients but still drains freely to prevent root rot. Garden soil compacts in containers, suffocating roots. Instead, choose a high-quality potting mix designed for containers. Look for a lightweight blend containing peat moss or coconut coir for water retention, perlite or vermiculite for aeration, and compost for slow-release nutrients. Always check that your mix is sterile to avoid pests and diseases. Here’s a quick guide to key ingredients:
| Ingredient | Primary Benefit |
|---|---|
| Peat Moss/Coir | Holds water & nutrients |
| Perlite | Improves drainage & aeration |
| Vermiculite | Retains moisture & minerals |
| Compost | Adds nutrients & improves texture |
| Sand | Enhances drainage in heavy mixes |
Fill your containers loosely, leaving an inch at the top for watering.
How to Choose Plants for a Thriving Container Garden
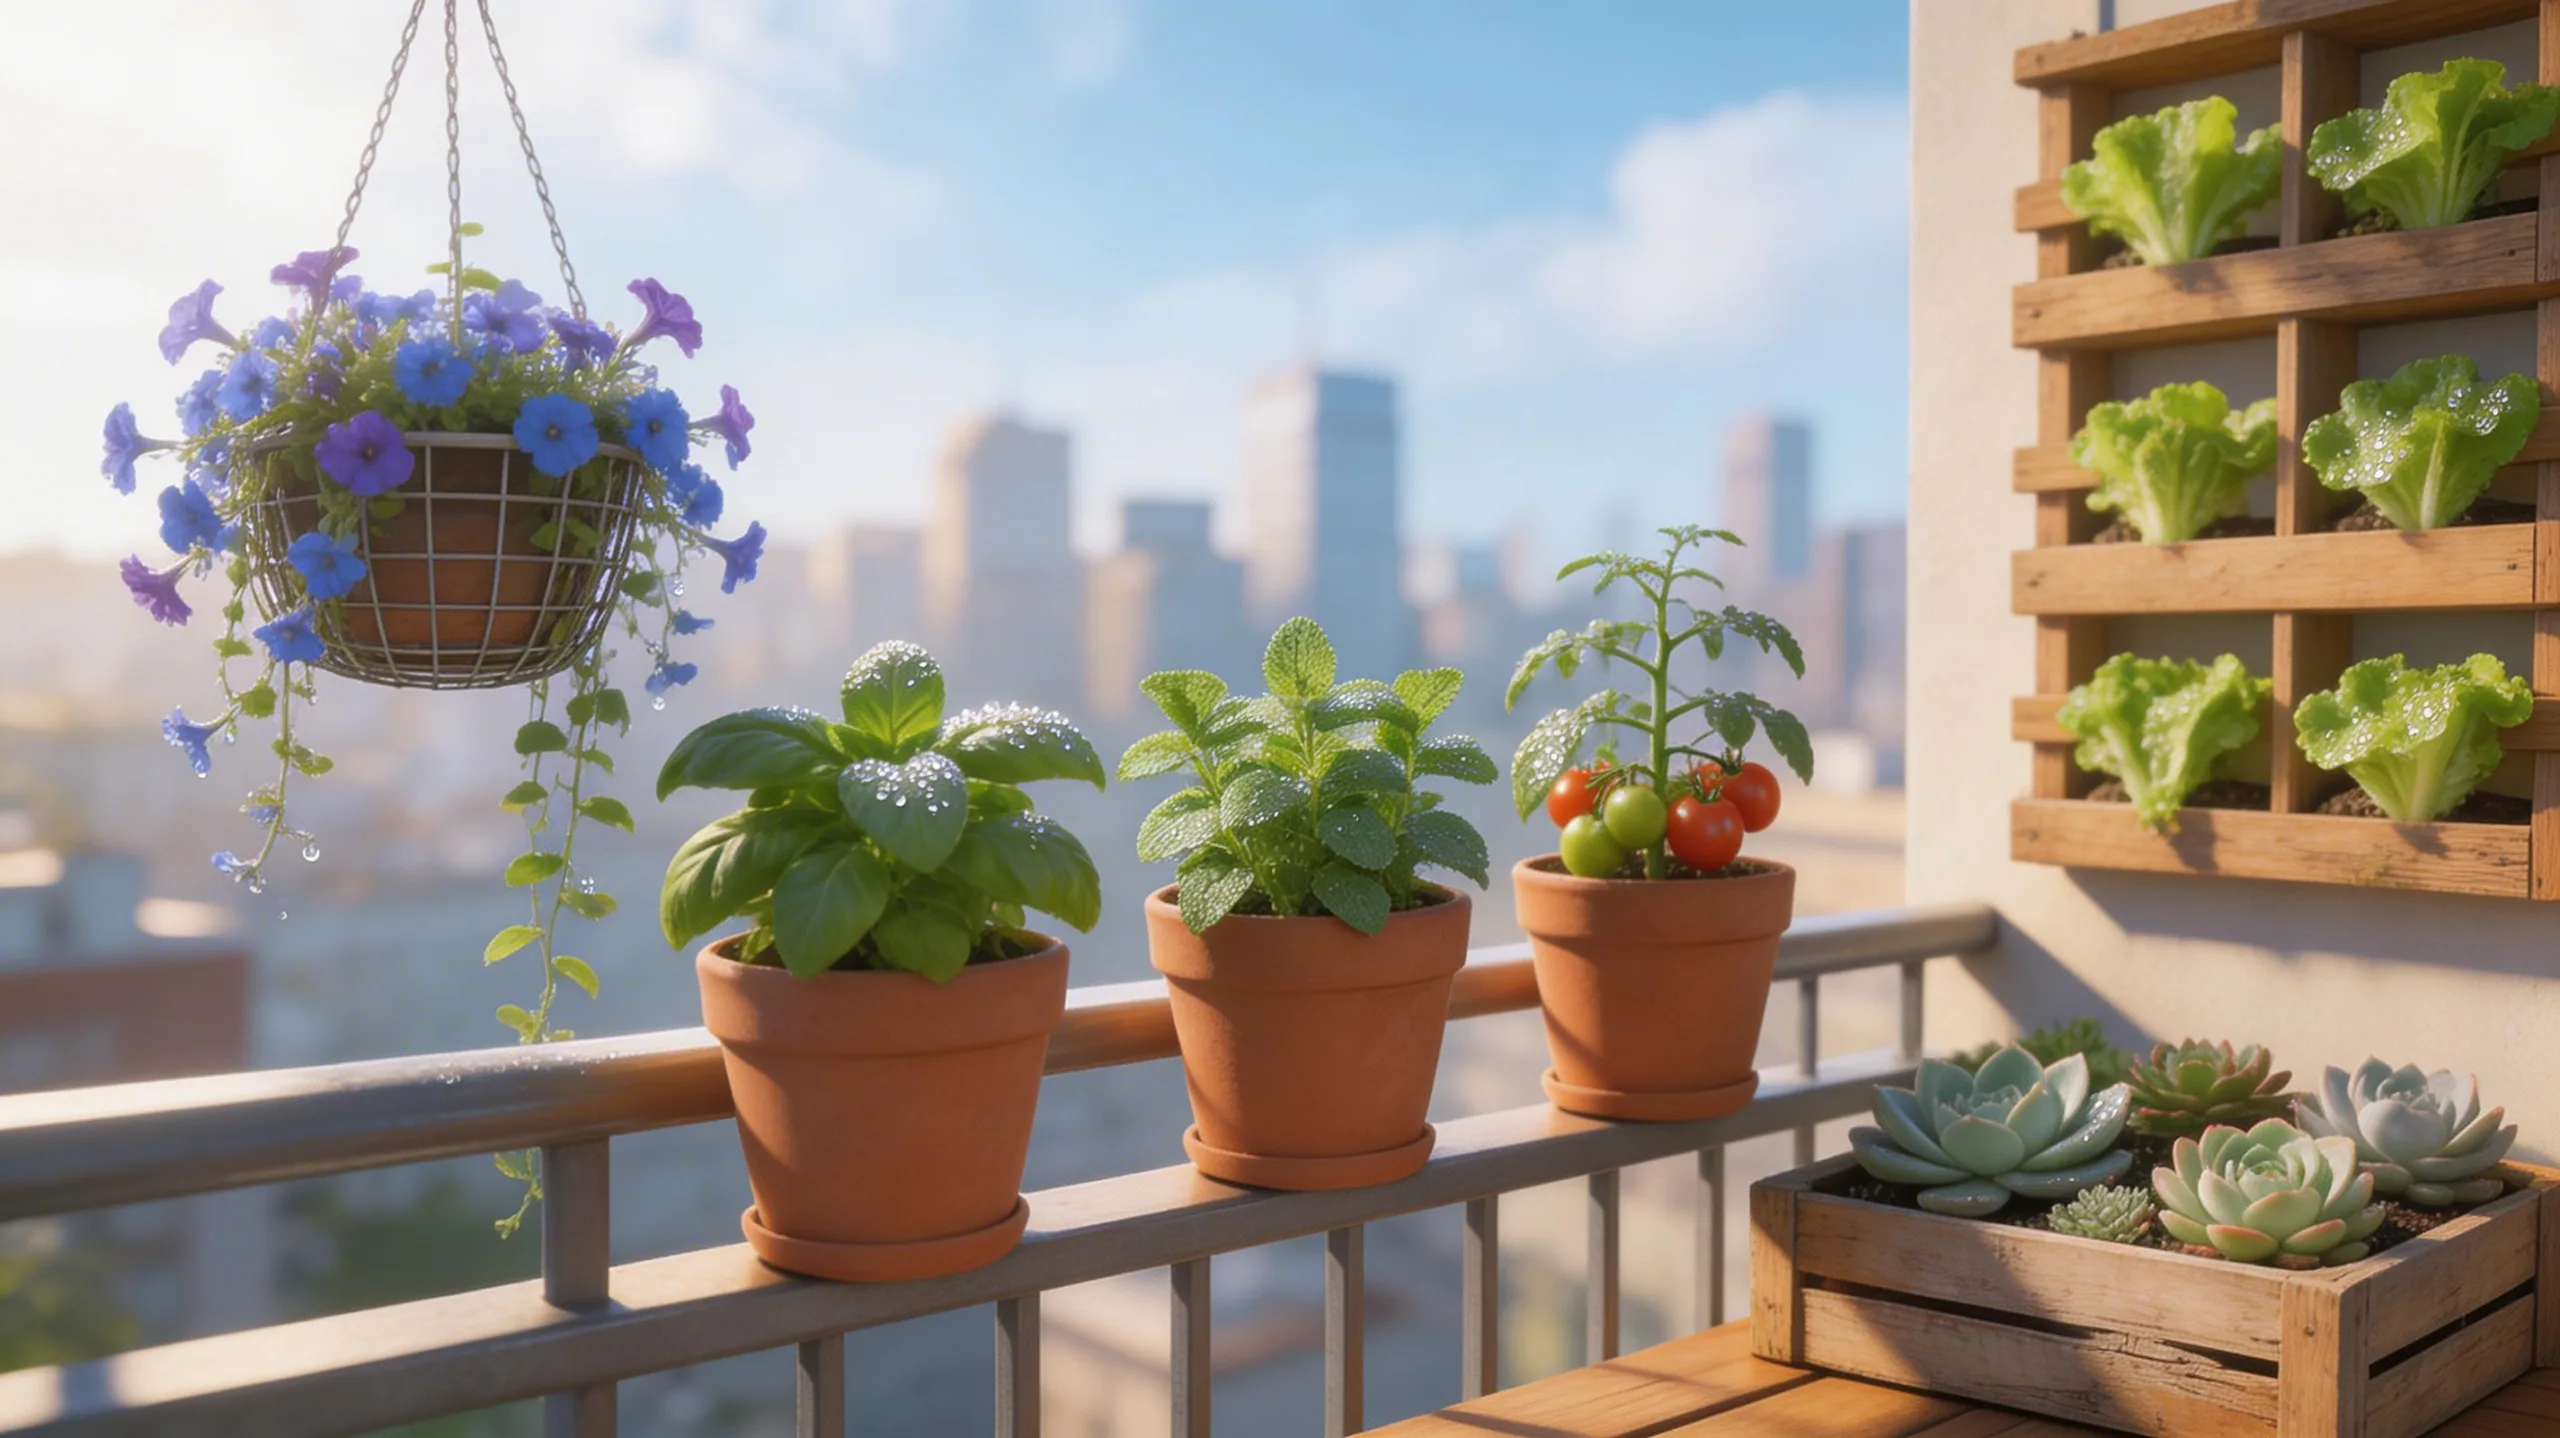
While you’ve set the stage with the perfect soil, your plants are the true stars of the container garden show. You’ll want to pick performers that thrive in confined spaces, considering their sun needs, root depth, and growth habits.
Start by deciding your garden’s purpose—do you crave a lush foliage display or a bounty of edible herbs? Always match the plant’s light requirements to your space’s conditions.
- For Sunny Spots: Choose drought-tolerant sun-lovers like succulents, sedum, or compact zinnias.
- For Shady Areas: Opt for foliage champions like coleus, ferns, or begonias.
- For Edibles: Select herbs like basil and thyme, or patio-type vegetables like cherry tomatoes.
- For Visual Impact: Combine thrillers (vertical interest), fillers (bulk), and spillers (soft edges) in one pot.
Best Practices for Watering Your Container Garden
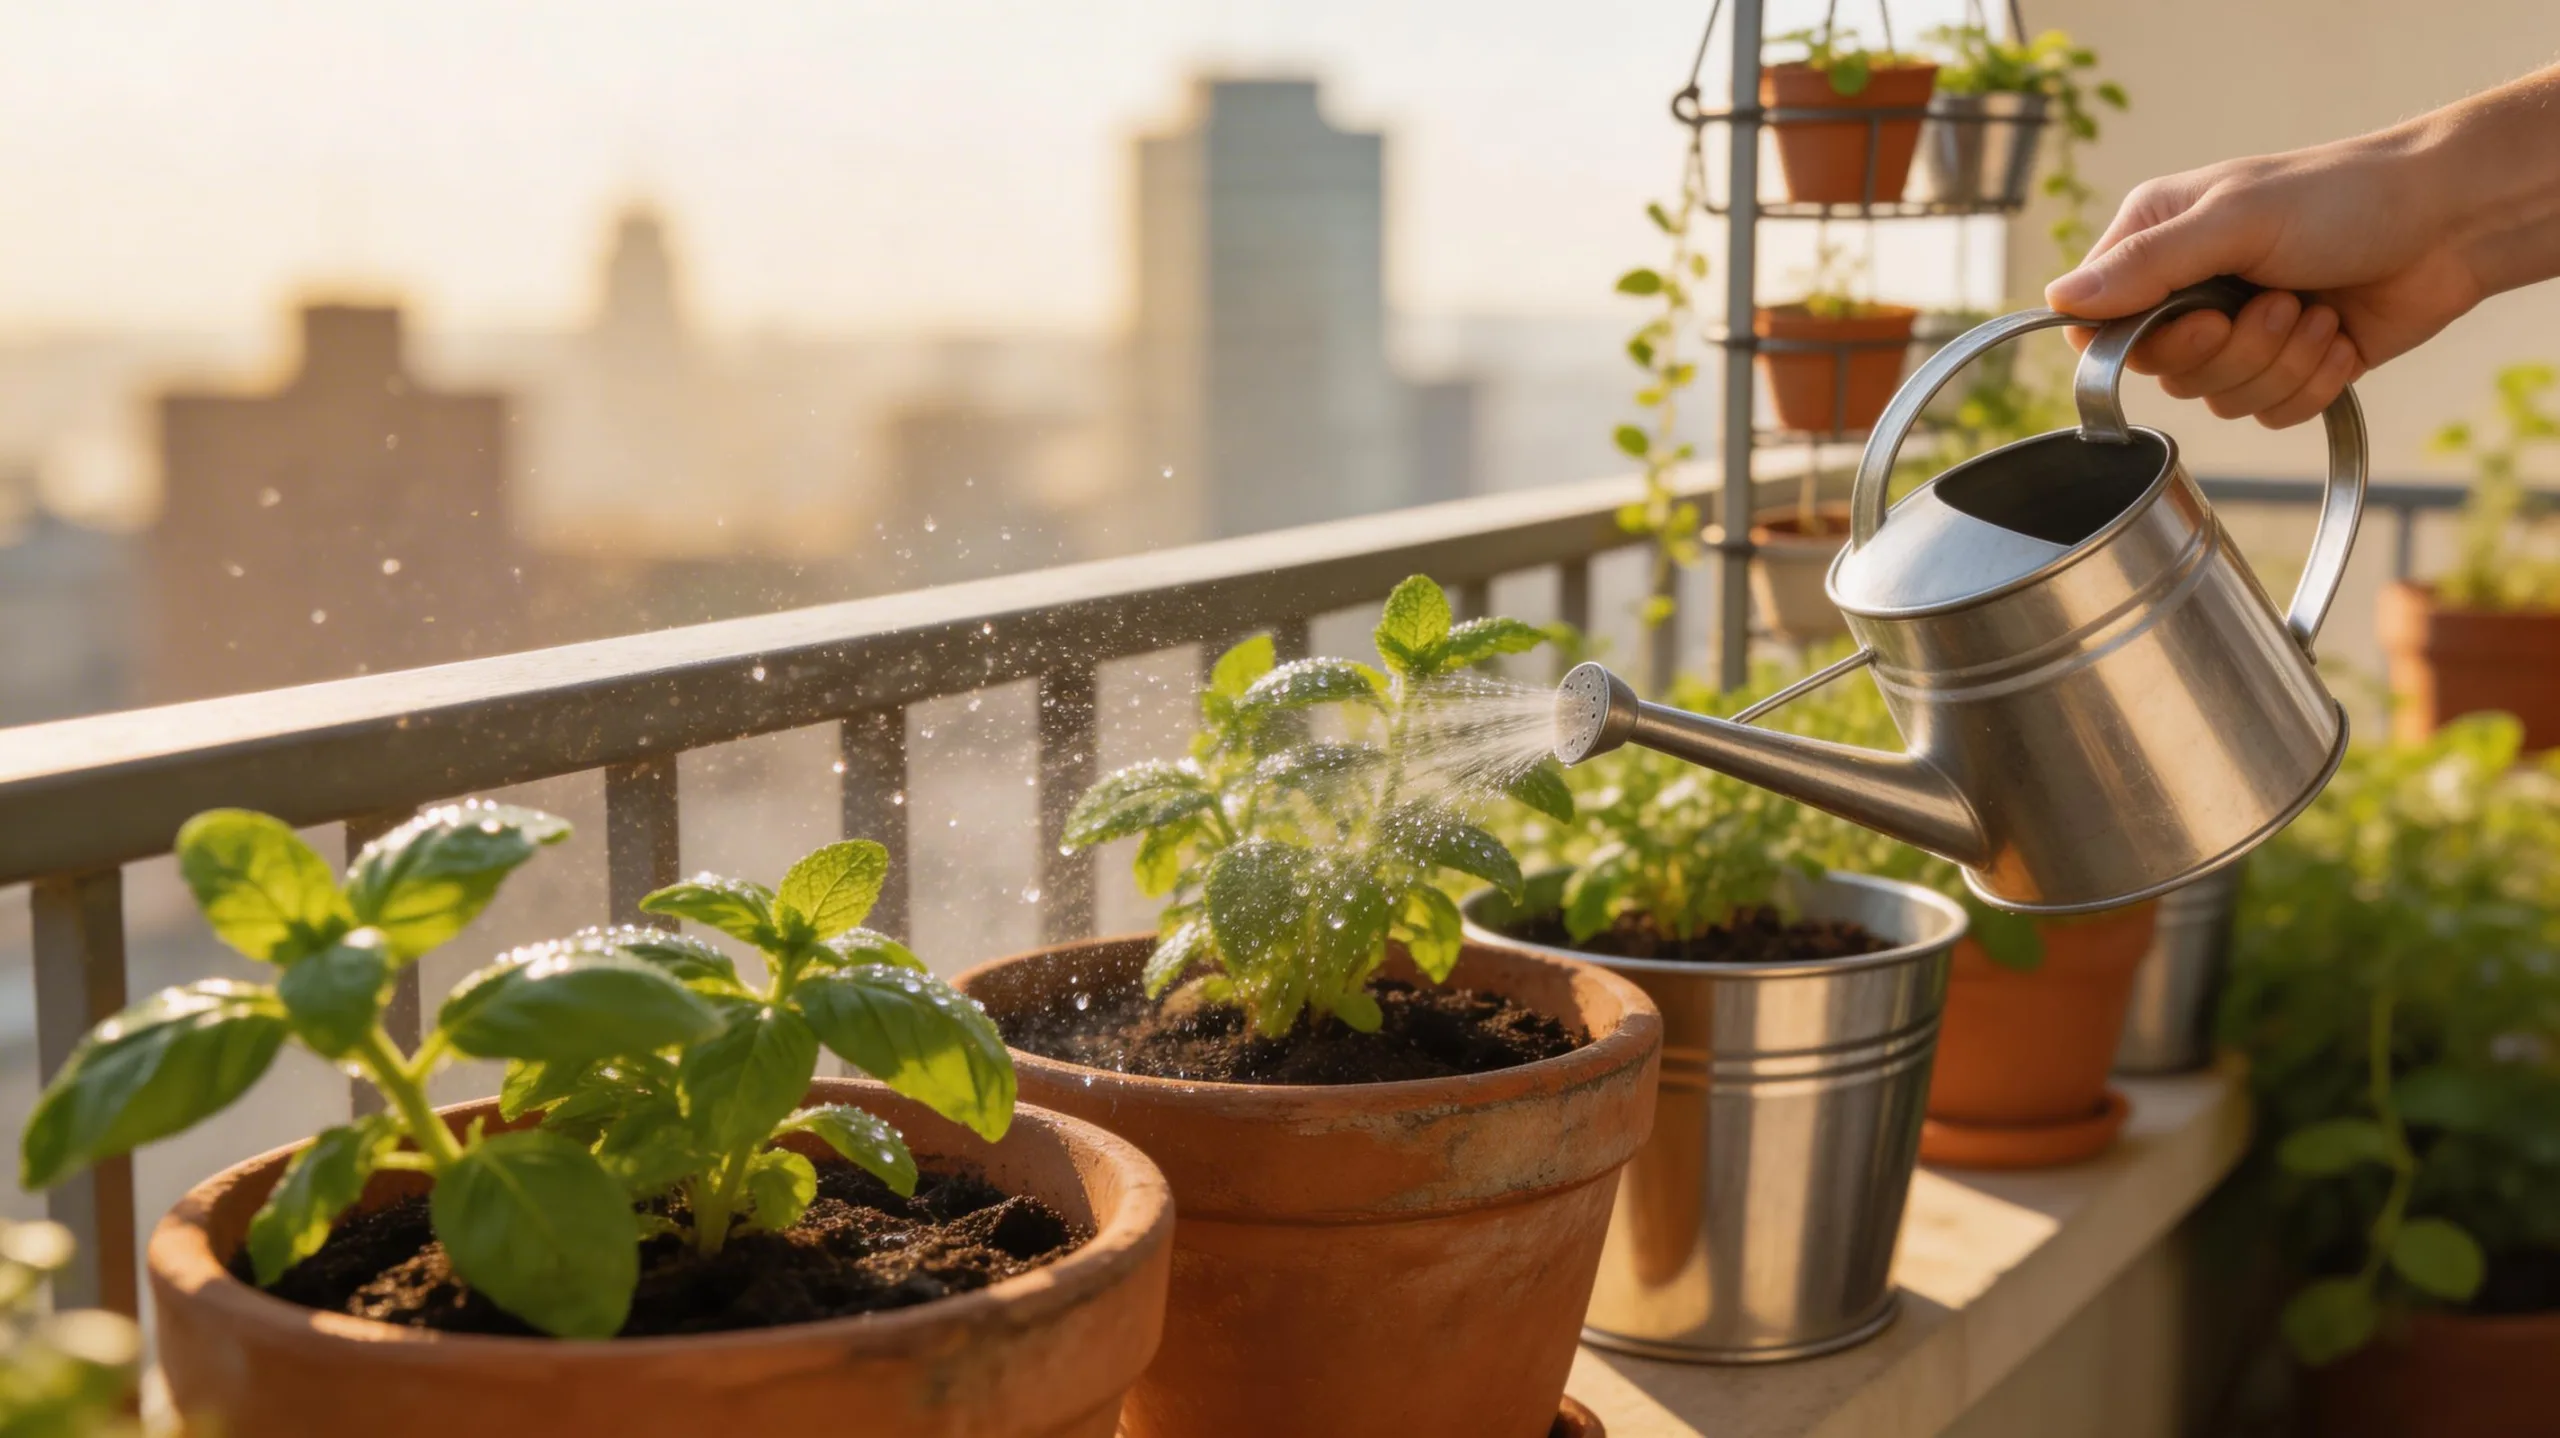
After selecting your ideal plants, their continued success in containers depends heavily on a consistent and attentive watering routine. Container plants can’t access groundwater, so you’re their sole provider.
Check moisture daily by sticking your finger an inch into the soil; it’s the best gauge. Water thoroughly until it runs freely from the drainage holes, ensuring the entire root zone is saturated. Don’t just sprinkle the surface!
Early morning is ideal, allowing foliage to dry and reducing disease risk. In hot weather, you might need to water twice.
Always tailor your schedule to the plant’s needs—succulents require less, while thirsty tomatoes demand more. Consistency prevents stress, so never let pots completely dry out or stay soggy.
How to Feed Your Container Plants for Healthy Growth
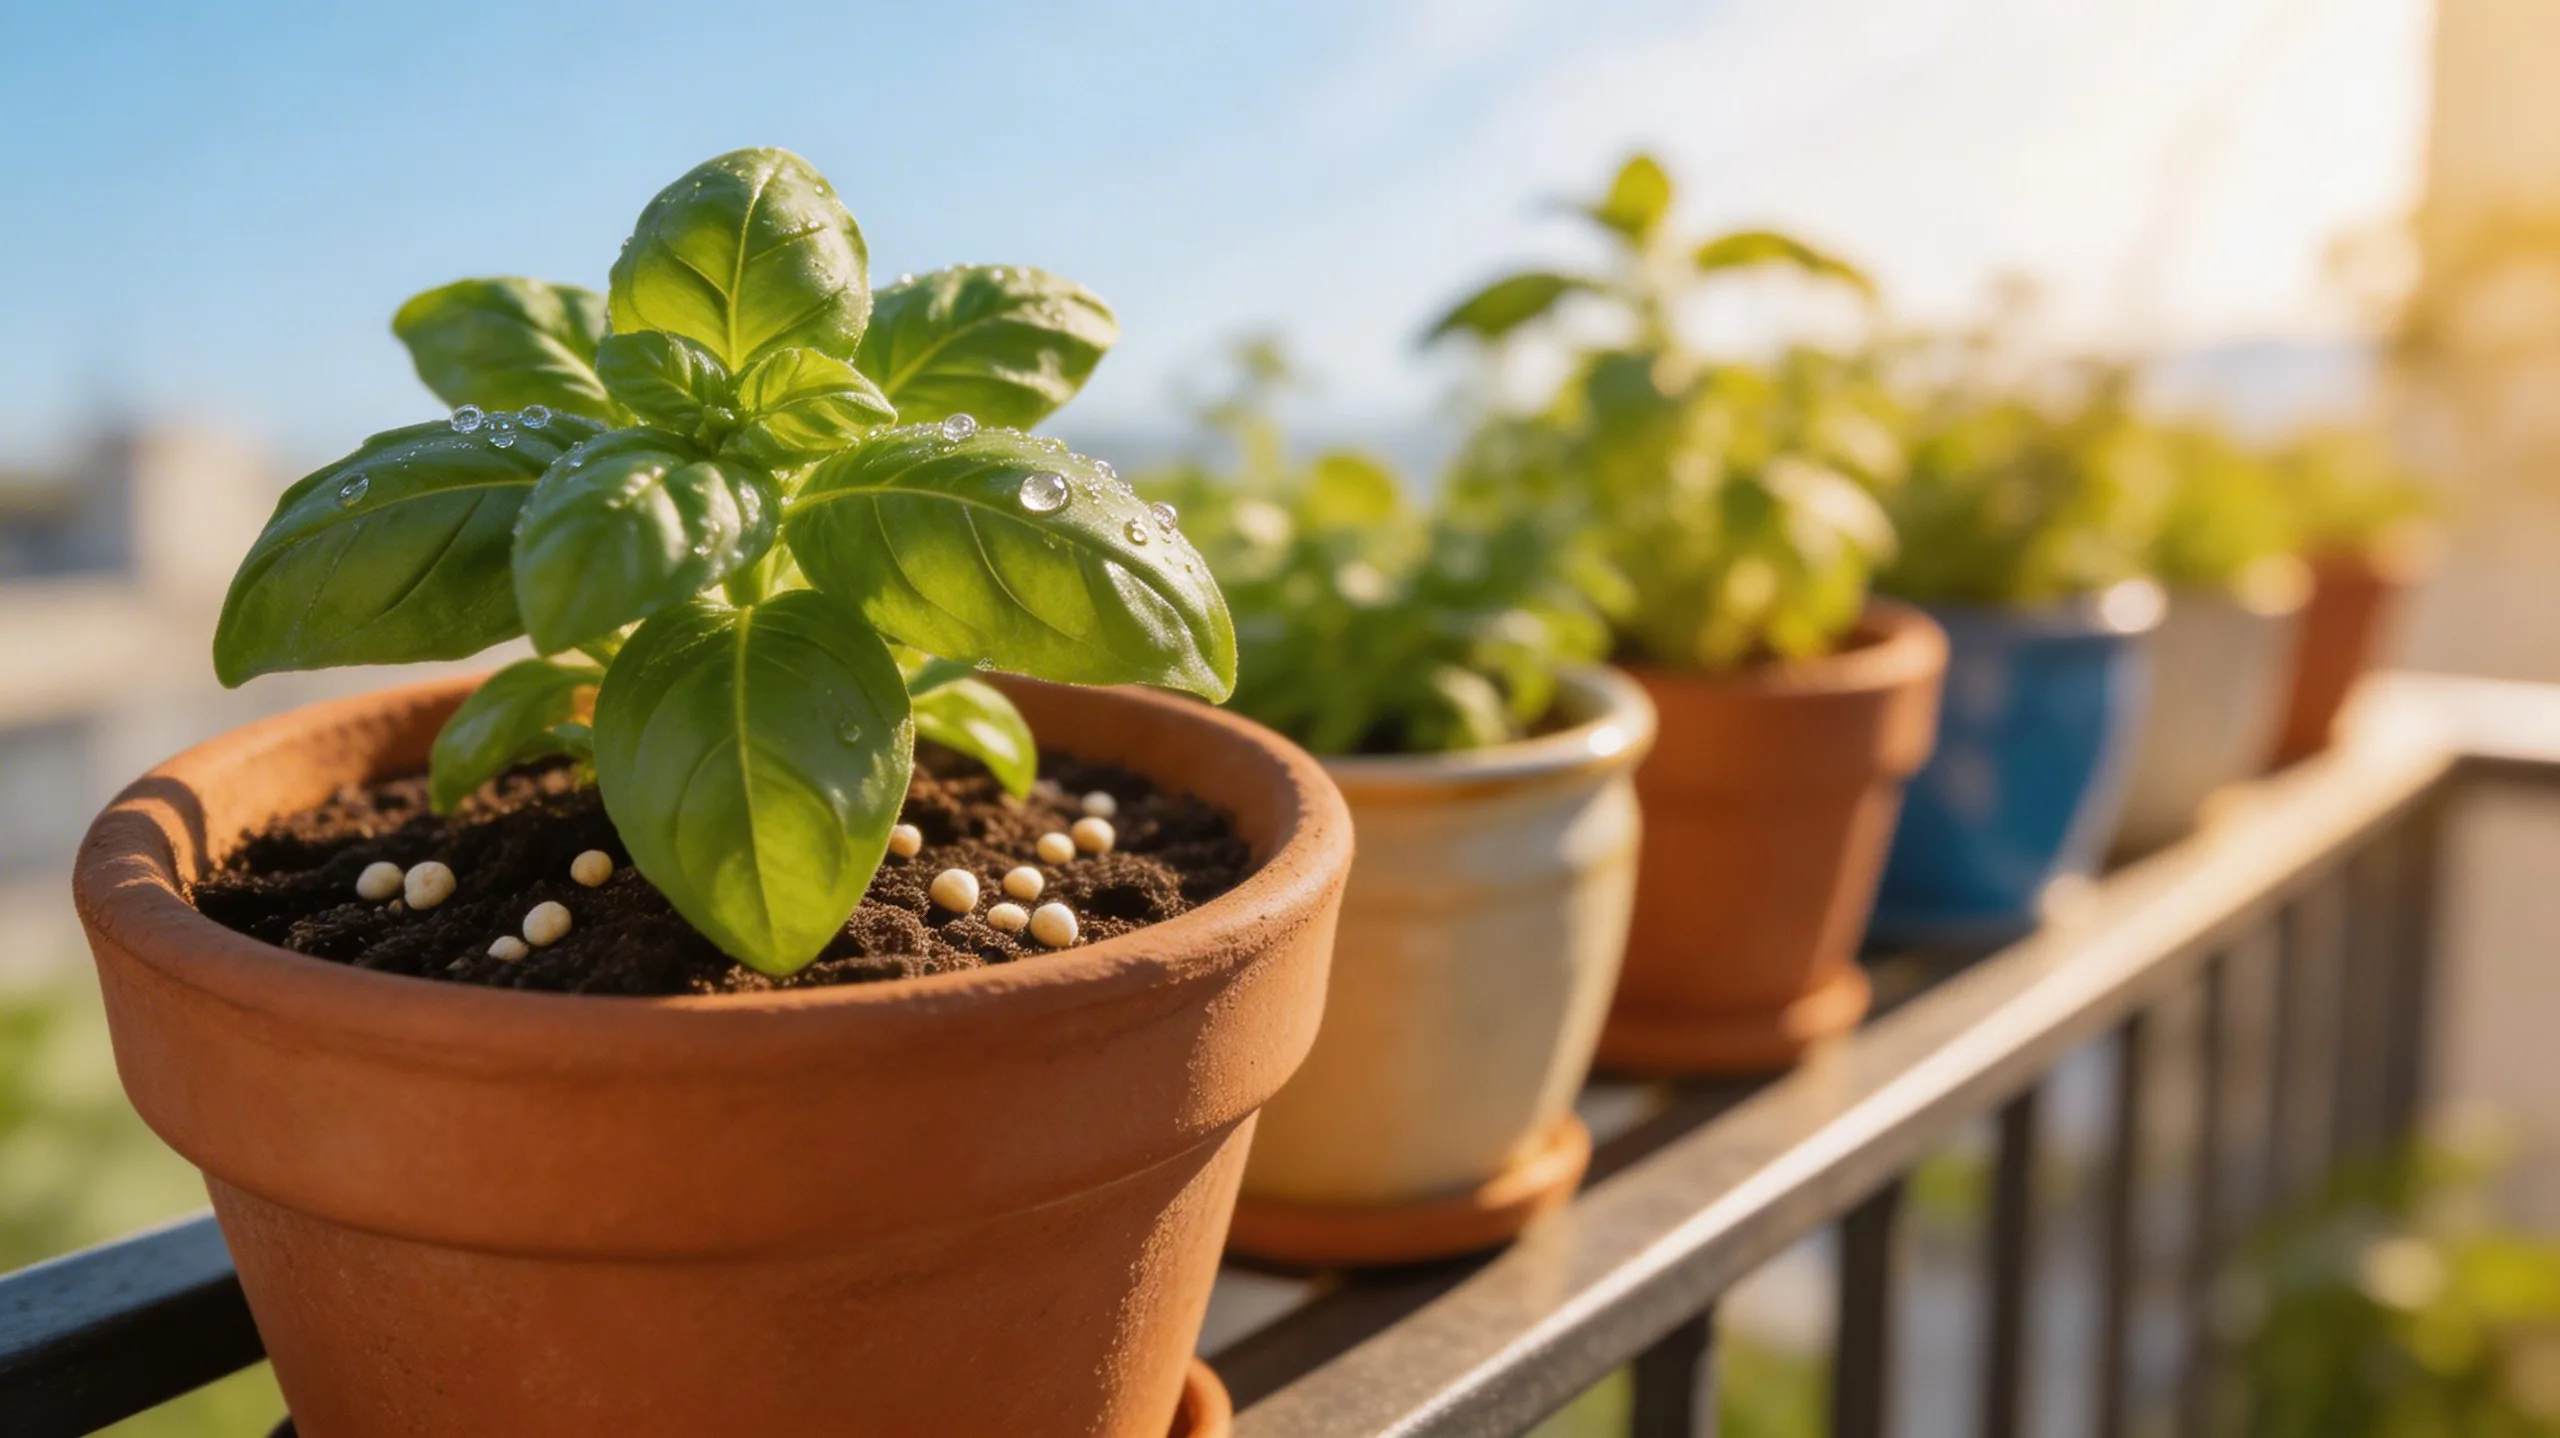
Just as a steady watering routine sustains your plants, providing the right nutrients fuels their vibrant growth and abundant harvests.
Container plants rely entirely on you for food, as frequent watering washes nutrients from the soil. You’ll need to replenish them regularly with fertilizer. Start feeding about two weeks after planting, then follow a consistent schedule.
- Choose the right type: Use a balanced, water-soluble fertilizer for quick feeding or a controlled-release granular formula mixed into your potting mix at planting time for steady, long-term nutrition.
- Follow the schedule: Feed most flowering and fruiting plants every one to two weeks during their active growing season; feed leafy greens and herbs every three to four weeks.
- Mix correctly: Always dilute liquid fertilizers according to package directions to avoid burning delicate roots with excessive salts.
- Time it right: Fertilize in the early morning and water the soil first to ensure even distribution and optimal uptake.
Simple Tips to Protect Containers From Pests and Disease
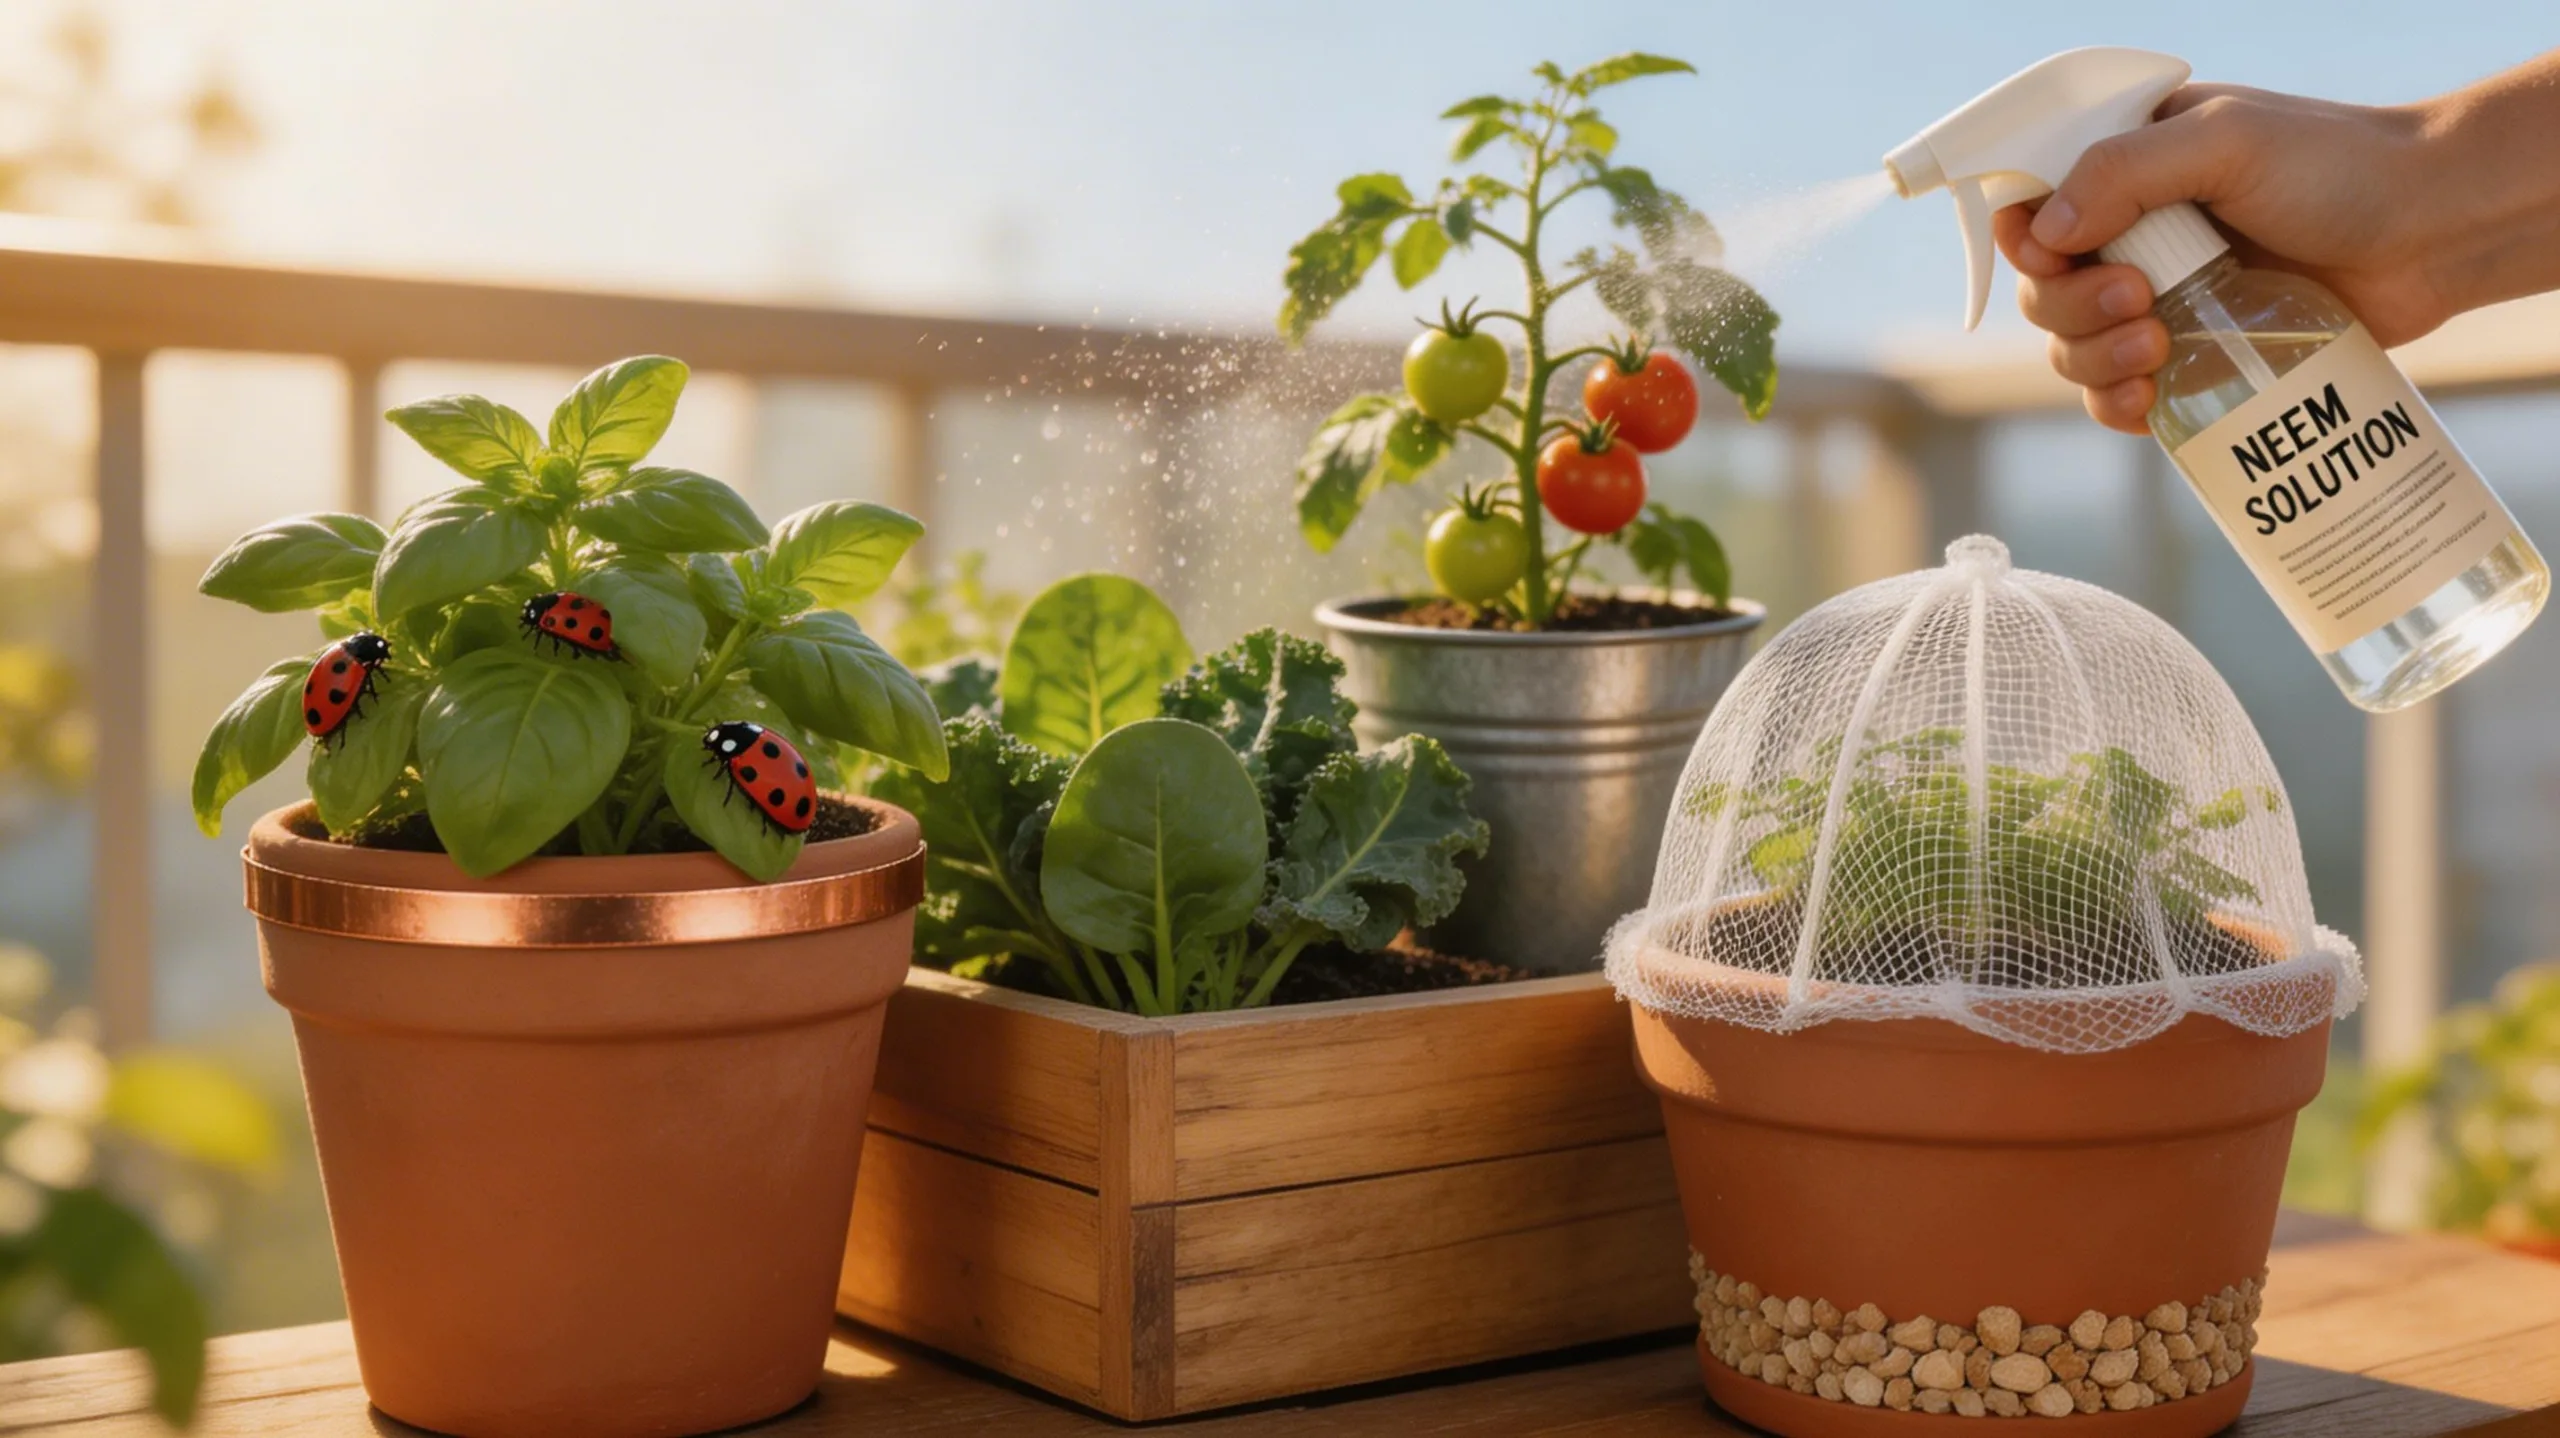
Often, the vibrant life in your container garden can attract unwanted attention from pests and diseases that thrive in confined spaces.
Start by choosing disease-resistant plant varieties and always use clean, sterile potting mix.
Keep your pots tidy; remove dead leaves and spent blooms promptly, as this debris harbors problems.
Ensure excellent drainage to prevent root rot.
Inspect your plants daily. Look under leaves for aphids or eggs and watch for discolored foliage.
If you spot pests, blast them off with a strong water spray or apply insecticidal soap.
For fungal issues, improve air circulation and avoid wetting the leaves when watering.
You can also mix a little neem oil into your routine as a fantastic organic preventative.
Design a Vertical Wall Garden for Tight Spots
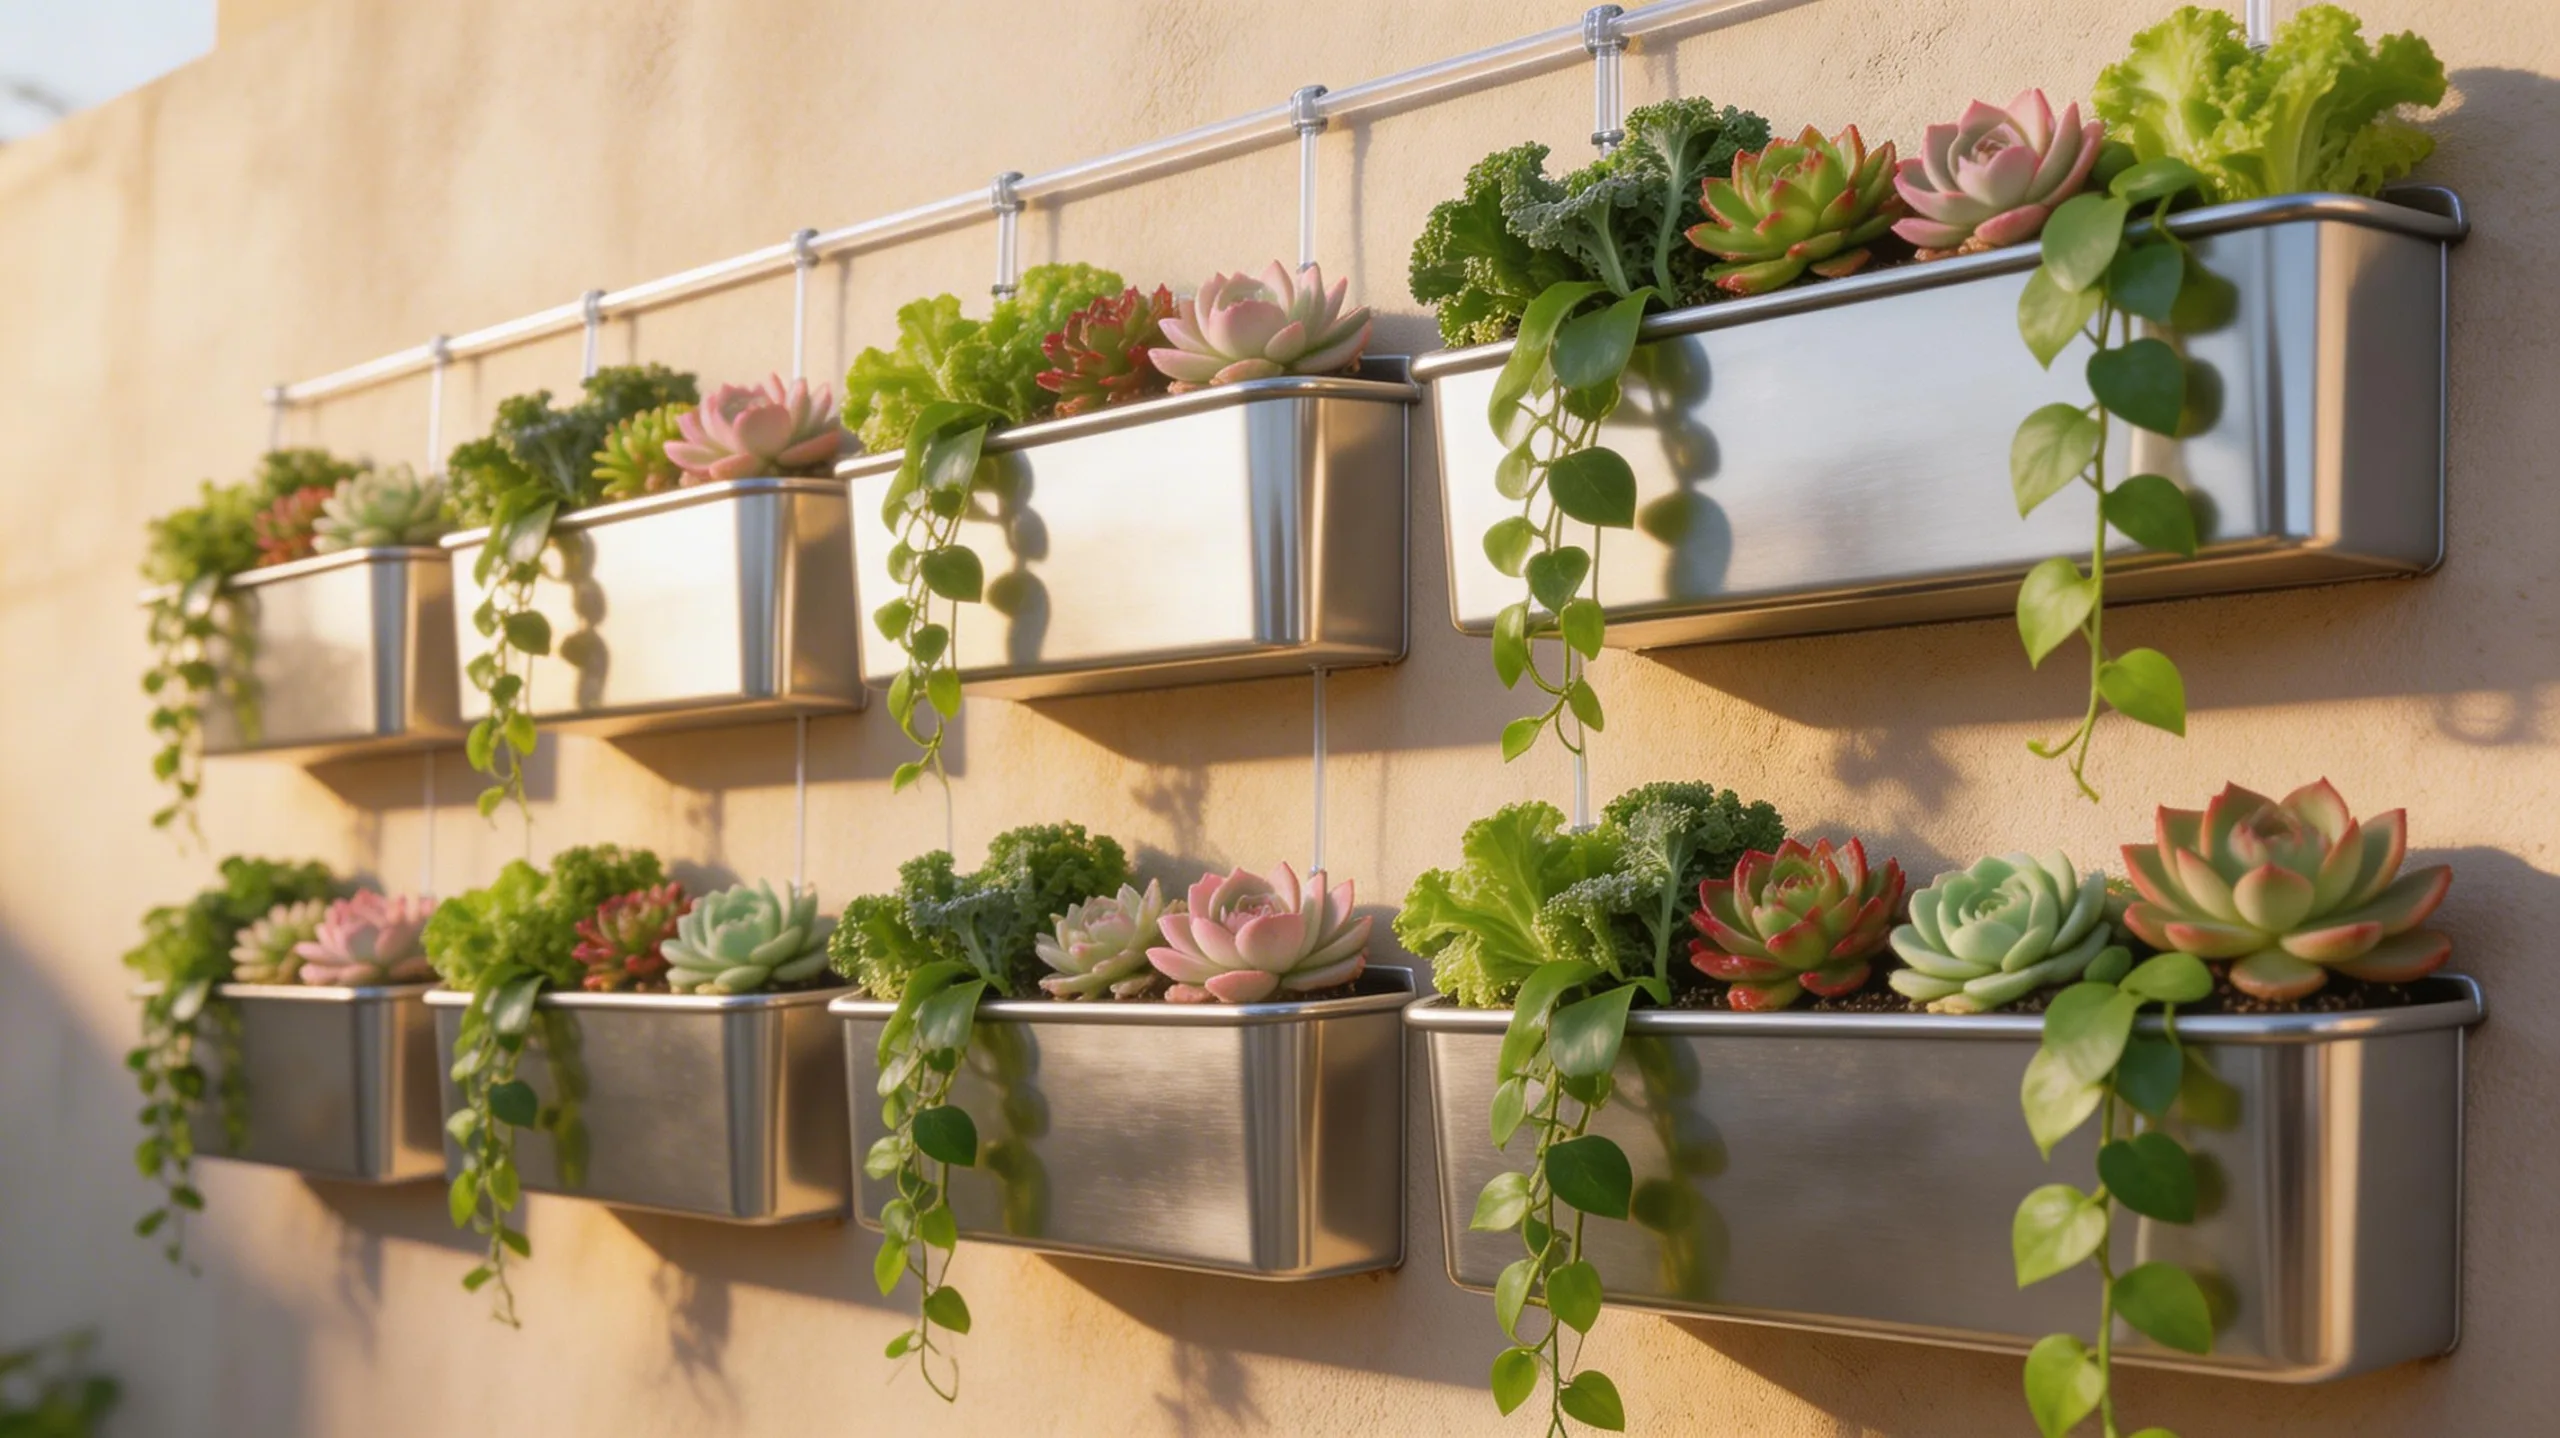
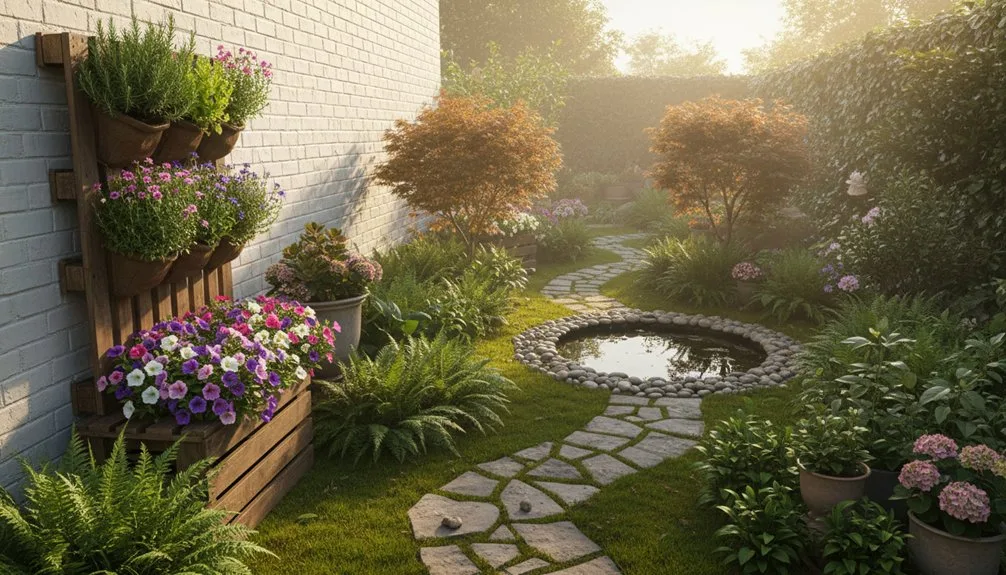
Beyond safeguarding your potted plants from pests, you can also maximize your growing area by turning a blank wall or fence into a lush vertical garden.
You’ll need a sturdy mounting system, like a framed panel, fabric pockets, or stacked planter boxes.
Start by selecting lightweight containers and plants suited for shallow soil.
Herbs, succulents, and compact annuals are perfect.
Pay close attention to watering; vertical setups drain quickly, so you might install a drip irrigation system.
This living wall not only saves space but also becomes a stunning focal point.
- Fabric Pocket Panel: An affordable, ready-made system perfect for herbs and small flowers.
- Pallet Garden: Repurpose a wood pallet by adding landscape fabric and soil to its slats.
- Stacked Crates: Mount staggered wooden crates to create a tiered planting effect.
- Wall-Mounted Pots: Use brackets to securely hang individual ceramic or plastic pots.
Hang Container Gardens From Railings and Eaves
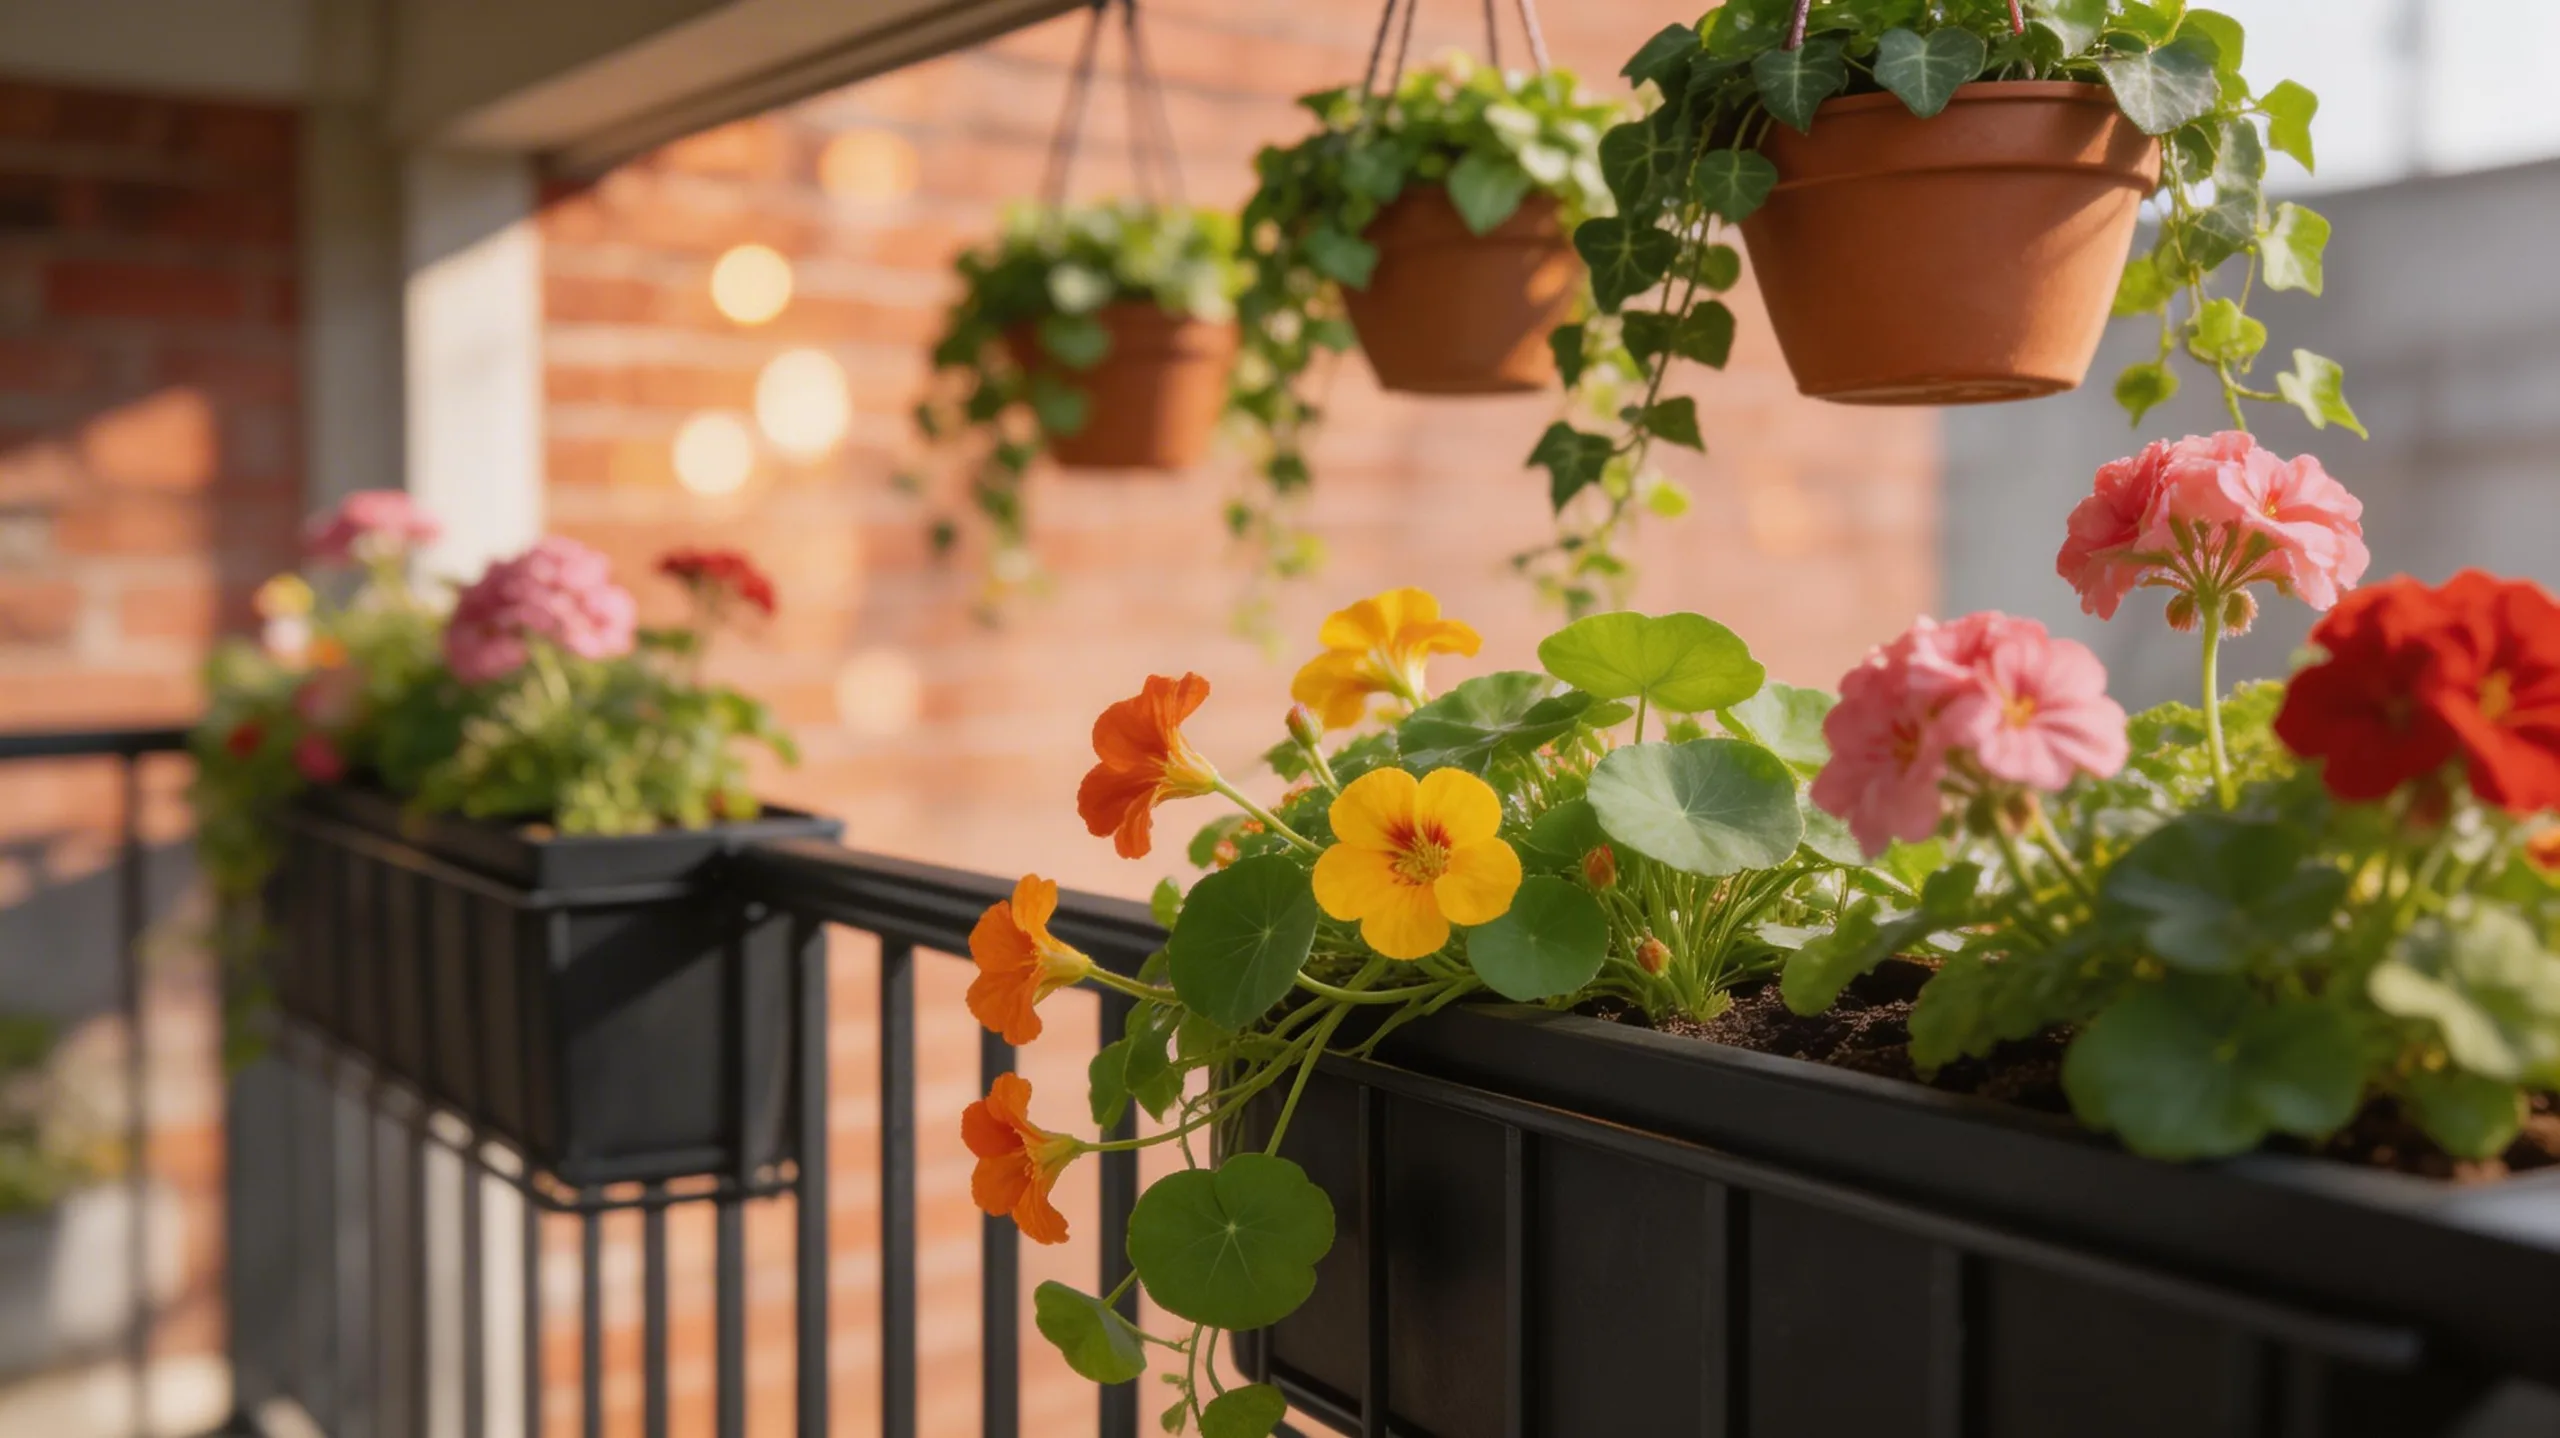
If you’re looking to free up floor and wall space, try suspending planters from the sturdy overhead structures you already have. Secure heavy-duty hooks into solid wooden eaves or use S-hooks over metal railing bars. For a cohesive look, you can hang uniformly spaced pots of trailing ivy, petunias, or strawberries, which will cascade beautifully. Always check the weight rating of your hardware and choose lightweight, durable containers like metal or resin. This method instantly adds lush, elevated greenery without using a single square inch of precious ground area.
| Structure | Best Hook Type | Ideal Plants |
|---|---|---|
| Wooden Eaves | Screw-in eye hooks | Fuchsias, Begonias |
| Metal Railing | Adjustable S-hooks | Sweet Potato Vine |
| Overhang Beam | Heavy-duty J-hook | Spider plants, Herbs |
Build a Tiered Stand for a Multi-Level Display
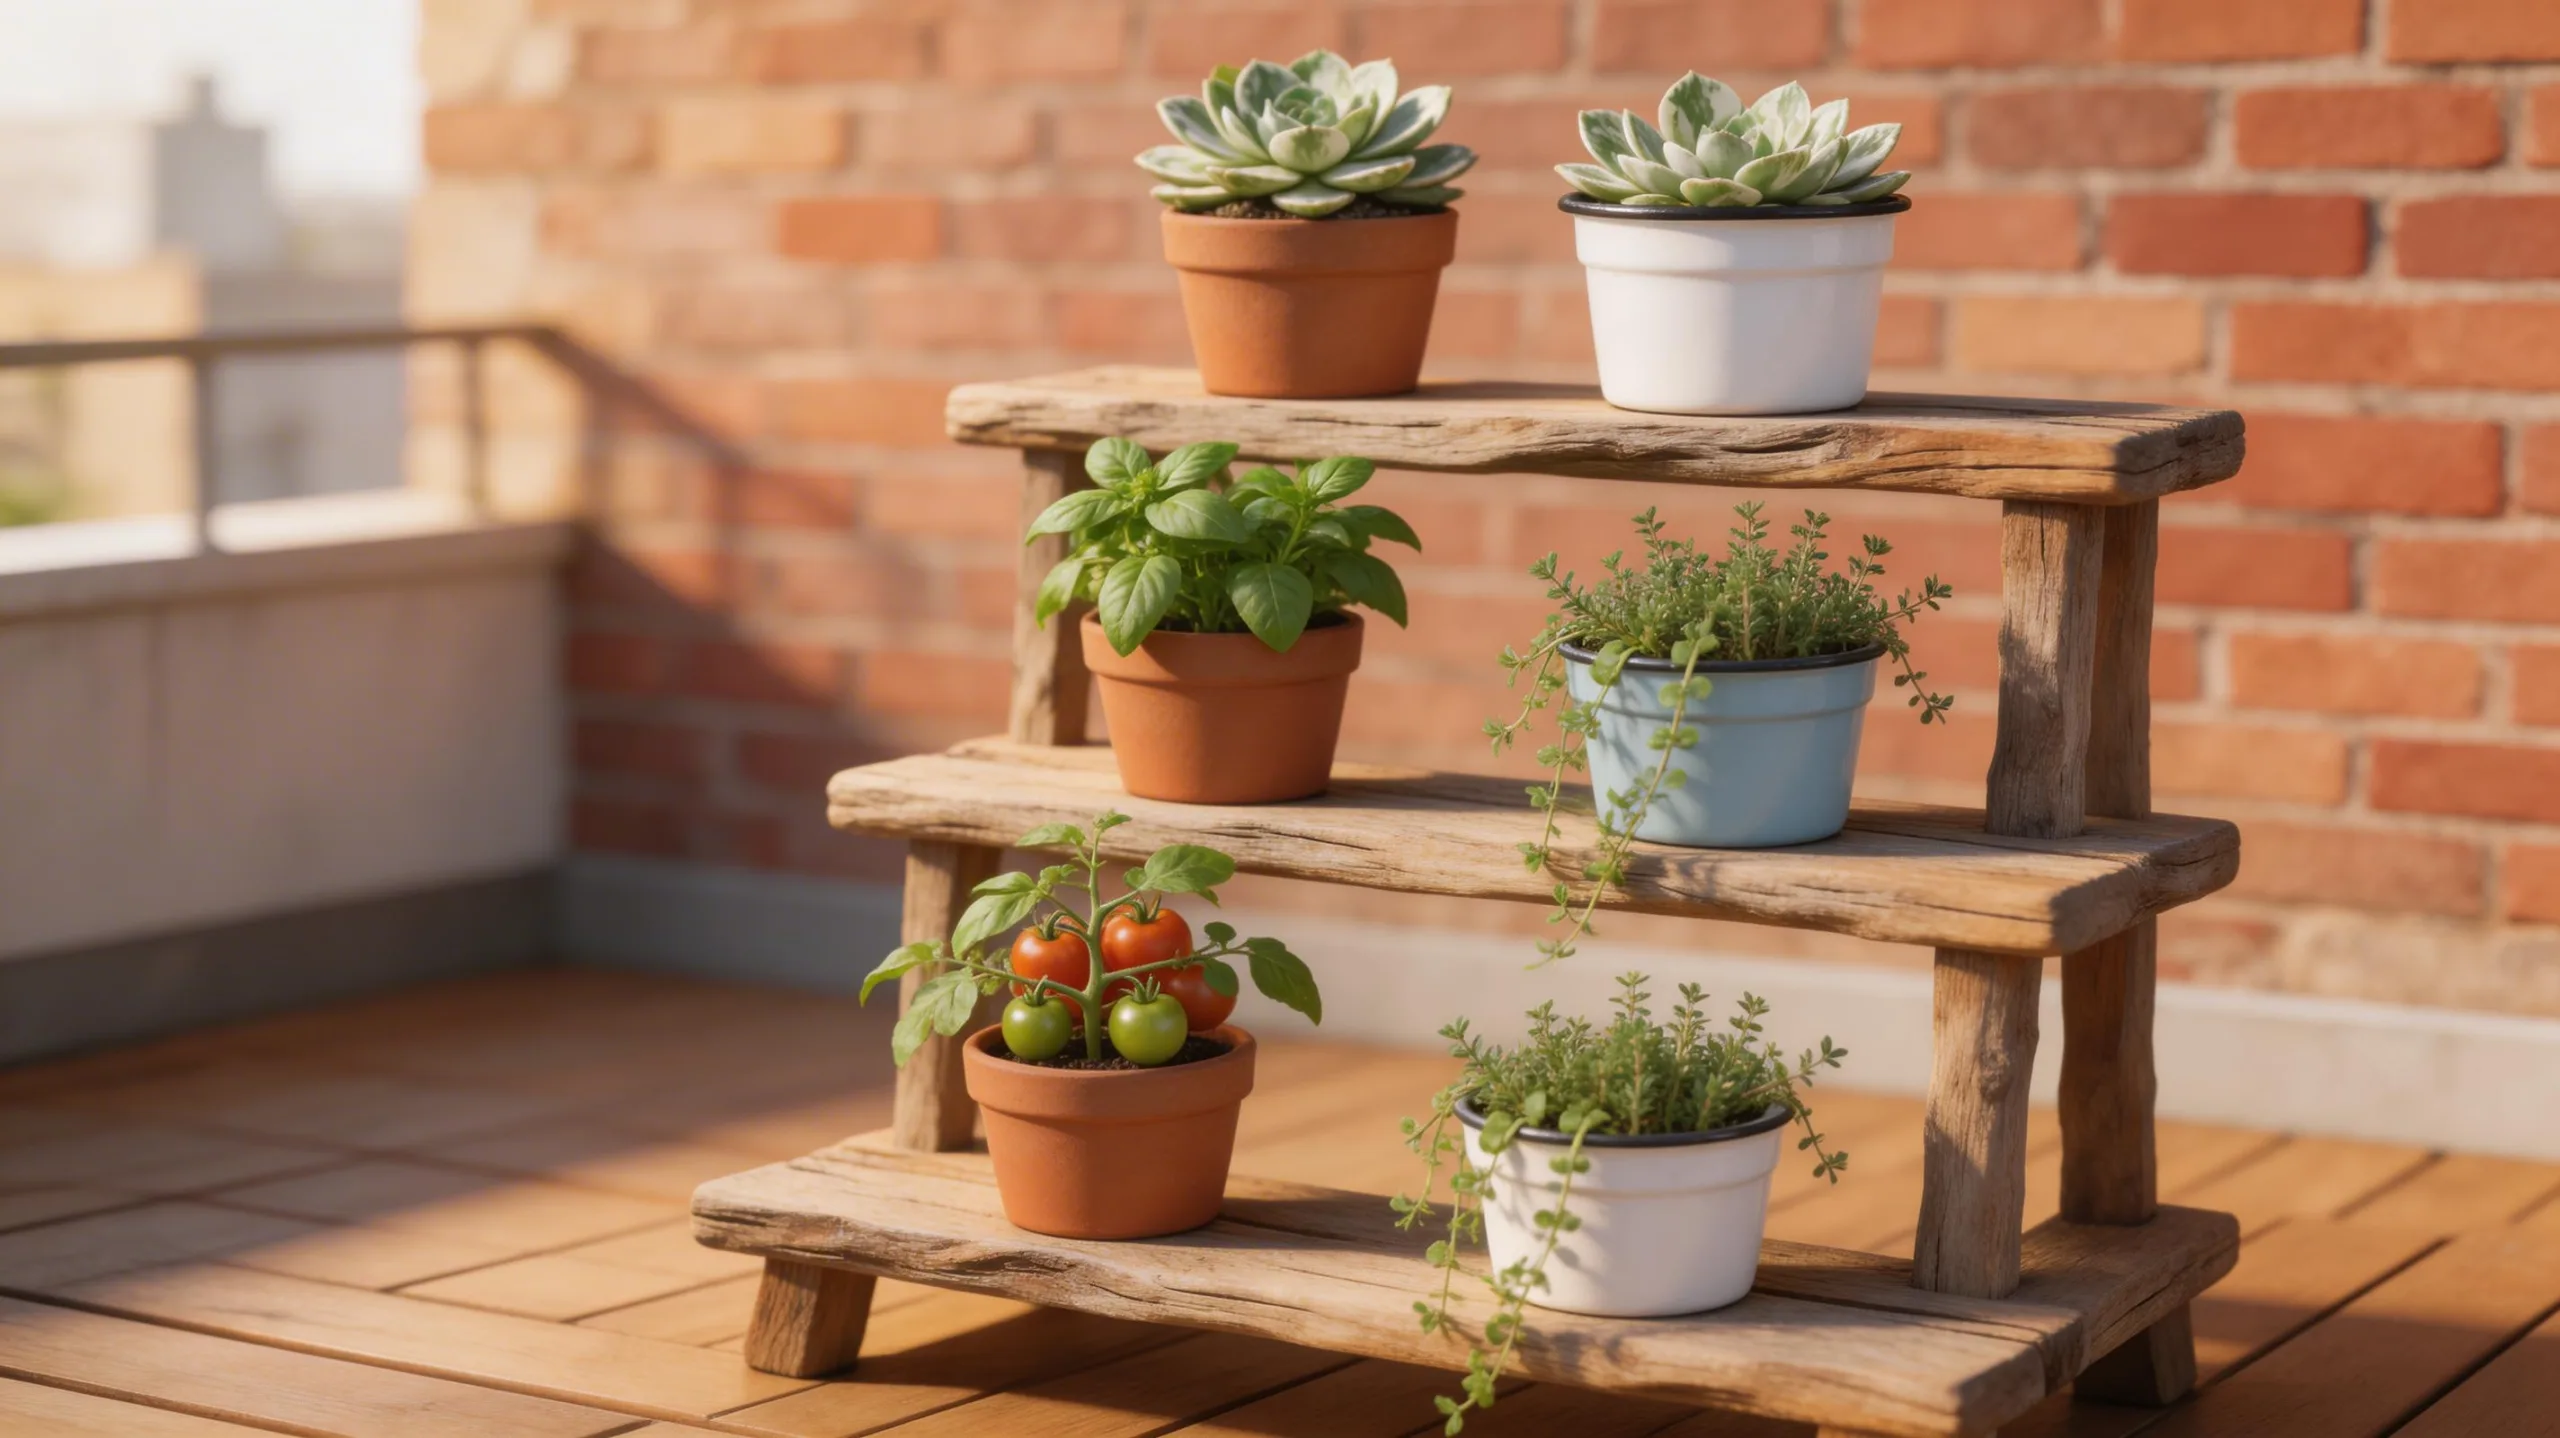
Maximize your vertical real estate with a DIY tiered stand, creating an eye-catching tower of plants that multiplies your growing area. You’ll build a sturdy frame using wood or metal, ensuring each tier securely holds your pots. Position taller plants at the bottom and cascading varieties on top for balanced growth and visual appeal.
This stand lets you group herbs, flowers, or succulents in one convenient, sun-catching spot.
- Construct three stepped platforms from reclaimed wooden planks for a rustic look.
- Use a simple metal shelving unit and paint it a vibrant color to match your decor.
- Stagger terra cotta pots on a custom-built, ladder-style stand for easy access.
- Arrange a collection of mixed foliage from shade-tolerant to sun-loving species on each level.
Use Rail Planters to Free Up Valuable Floor Space
Utilize overlooked railings and balcony edges by hanging planters to instantly elevate your small-space garden and clear the floor for other uses. You’ll create a vibrant vertical display without sacrificing a single square foot. For a secure setup, always opt for planters designed specifically for rails; they typically feature a sturdy, locking bracket or a hook-and-bracket system. You can then plant trailing petunias, compact herbs, or colorful annuals directly into these containers. Just be sure to check the planter’s drainage and use a lightweight potting mix to minimize stress on the railing. It’s a brilliantly efficient way to surround yourself with greenery.
| Planter Consideration | Pro Tip for Success |
|---|---|
| Mounting System | Choose locking brackets for wind resistance. |
| Weight Capacity | Confirm your railing can support a full, wet planter. |
| Plant Selection | Prioritize shallow-rooted or trailing varieties. |
| Sun Exposure | Match your plants to the railing’s light conditions. |
| Watering Access | Ensure you can easily reach all planters for care. |
Cluster Pots for a Lush, Layered Container Garden
Bringing together a collection of pots in a single grouping lets you create a dense, miniature landscape that feels abundantly full.
You’ll build visual depth by placing taller plants and pots at the back or center, then graduate down in size.
Use pots of varying heights, textures, and colors to add major interest, but unify them with a consistent color scheme or material.
This technique is perfect for mixing foliage types and bloom times, ensuring your display looks lush for months.
- Vary pot heights using upturned pots or bricks as pedestals to create elevation.
- Play with textures by combining glossy glazed pots with rustic terracotta and woven baskets.
- Employ the thriller, filler, spiller formula across multiple containers for a cohesive, professional look.
- Rotate pots seasonally to refresh the arrangement without repotting a single large container.
Grow a Lush Herb Garden on a Sunny Windowsill
With just a sunny window and a few small pots, you can cultivate a fragrant, fresh supply of culinary herbs right in your kitchen. Select compact herbs that thrive in containers, like basil, thyme, and parsley. Choose pots with drainage holes and fill them with a quality potting mix. Position them on a sill receiving at least six hours of direct sunlight daily. Water when the top inch of soil feels dry, but avoid soggy conditions. You’ll harvest leaves regularly to encourage bushier growth.
| Herb Selection Tip | Care Quick Guide |
|---|---|
| Basil: Needs ample sun & warmth. | Pinch off flower buds to prolong leaf production. |
| Thyme: Prefers drier soil. | Water sparingly; it’s drought-tolerant once established. |
| Parsley: Slow starter from seed. | Start with a nursery plant for quicker harvests. |
Snip fresh sprigs directly into your cooking for instant flavor.
Create a Fragrant Container Garden With Scented Herbs
Even if you only have a tiny balcony or patio, you can transform it into an aromatic retreat by planting a container garden full of fragrant herbs.
Choose a deep, well-draining pot to give roots ample space, and position it where it’ll receive at least six hours of sun. You’ll maximize fragrance and flavor by using a quality potting mix and pinching off flower buds to keep plants productive. Combine herbs with complementary scents for a layered sensory experience right outside your door.
- Sweet Perfume: Plant lavender or lemon balm for a calming, citrusy fragrance that fills the air.
- Culinary Aroma: Grow rosemary or thyme; their piney, earthy scents are released with every gentle brush.
- Evening Scent: Include night-blooming jasmine or intensely fragrant gardenia for a perfumed dusk.
- Touch-Release: Add mint varieties like peppermint; their scent explodes when you handle the leaves.
Plant a Salad Bar in a Single Shallow Trough
For a fresh, pick-and-eat harvest at your fingertips, a single shallow trough lets you cultivate a complete salad bar.
Select a container at least 6 inches deep and 18 inches long with excellent drainage. Fill it with a high-quality potting mix. You’ll plant a vibrant mix of fast-growing, compact greens. Sow seeds or transplant seedlings in blocks or rows. Combine different textures and colors: try crisp romaine lettuce, tender leaf lettuce like ‘Salad Bowl’, spicy arugula, and vibrant red-veined sorrel.
Tuck in some dwarf or ready-to-harvest varieties of spinach and kale for hearty leaves. Snip outer leaves regularly to encourage continuous growth, and keep the soil consistently moist. You’ll have fresh salads for weeks!
How to Grow Dwarf Fruit Trees in Containers
Dwarf fruit trees let you enjoy homegrown harvests from a balcony or patio. You’ll need a container with excellent drainage, at least 15-20 inches wide and deep, filled with a high-quality potting mix. Choose a naturally compact variety or one grafted onto dwarfing rootstock, like a ‘NectaZee’ nectarine or ‘Pixie-Cot’ apricot.
- Sunlight: Place your tree where it gets a minimum of six to eight hours of direct sun daily.
- Watering: Water deeply when the top few inches of soil feel dry, but never let the roots sit in water.
- Feeding: Fertilize with a balanced, slow-release formula in early spring and again in midsummer.
- Pruning: Perform light pruning in late winter to maintain shape and remove dead or crossing branches.
With consistent care, you’ll be picking fresh, sun-ripened fruit in just a few seasons!
Transform a Pallet Into a Vertical Strawberry Planter
If you’re craving homegrown strawberries but short on square footage, you can train them to grow vertically by repurposing a wooden pallet into a lush, productive garden.
First, select a pallet in good condition and line its back and sides with landscape fabric, stapling it securely to create planting pockets. Fill the entire pallet cavity with a premium potting mix, tamping it down firmly.
Then, carefully tuck strawberry plants through the fabric into the soil between the wooden slats on the front. Position your finished planter in a spot receiving at least six hours of sun daily.
Water it thoroughly from the top, and you’ll soon have a beautiful, space-saving cascade of berries.
Brighten a Shady Corner With Low-Light Container Plants
Even when a corner of your patio or balcony doesn’t get much sun, you can fill it with vibrant color by choosing container plants that thrive in shade. You’ll create a lush, inviting spot perfect for relaxing.
Success depends on selecting the right varieties and providing consistent moisture, as many shade-lovers enjoy damp soil. Use a high-quality potting mix and consider mixing different plants in one large pot for a stunning, textured display.
- Coleus: Prized for its spectacularly patterned foliage in shades of burgundy, lime, and pink; pinch off flower spikes to keep the plant bushy.
- Begonias: Offer waxy, beautiful leaves and continuous blooms; fibrous-rooted types like ‘Dragon Wing’ are particularly low-maintenance.
- Fuchsia: Features gorgeous, dangling blooms that attract hummingbirds; keep it well-watered and out of hot afternoon sun.
- Heuchera (Coral Bells): Provides a full season of interest with its ruffled, colorful leaves in hues from purple to amber.
Upcycle Household Items Into Functional Container Gardens
Beyond selecting the right plants, you can also creatively source your containers. Look around your home for items destined for recycling or the trash. An old colander becomes a perfect hanging basket with built-in drainage; just line it with moss. Give a weathered teapot a new life as a whimsical home for a succulent. You can drill drainage holes into a salvaged wooden crate or paint a cracked ceramic bowl to hide flaws. Even mismatched coffee mugs make charming pots for small herbs on a kitchen sill.
The key is ensuring your upcycled vessel can drain water properly, either naturally or via holes you add. This approach saves money, reduces waste, and adds unique personality to your garden space.
Keep a Container Water Garden on Your Patio
Transforming a patio container into a water garden brings a serene, aquatic element to your smallest outdoor space. You’ll need a large, watertight pot without drainage holes.
Start by placing bricks or stones on the bottom to create different planting levels, then add a small, recirculating water pump to keep it fresh and deter mosquitoes. Choose a sunny spot and fill it with dechlorinated water.
It’s surprisingly simple and deeply rewarding to maintain.
- Select Your Vessel: Use a glazed ceramic pot, half-barrel, or modern fiberglass trough for a stylish, leak-proof base.
- Add Oxygenating Plants: Submerge plants like anacharis or hornwort to keep the water clear and healthy.
- Include Floating Flora: Add water lettuce or dwarf water lilies for surface cover and beautiful blooms.
- Introduce a Focal Point: Place a small fountain head on your pump or add a single, striking papyrus plant for vertical interest.
Frequently Asked Questions
Can I Bring My Container Plants Indoors for Winter?
Yes, you can bring many container plants indoors for winter. You’ll need a bright spot, like a south-facing window. Check them for pests first, and reduce watering since they’ll grow slower inside.
How Do I Revive a Container Plant That Is Dying?
First, diagnose the cause. Trim any dead material, repot if roots are crowded, and ensure it’s getting adequate water, light, and drainage. You’re giving it a fresh start for recovery.
When Should I Repot a Plant Into a Larger Container?
Repot when you notice roots circling the pot’s bottom or emerging from drainage holes. You’ll also need to repot if growth has stalled. Do this in spring before the active growing season begins.
Can I Reuse Old Potting Soil From Last Year?
You can reuse last year’s soil. First, you must refresh it. Break up any clumps, remove old roots, and mix in plenty of new compost or slow-release fertilizer to replenish those vital nutrients.
Are There Container Plants Safe for Pets?
Yes, you can grow pet-safe container plants. Choose nontoxic herbs like basil or rosemary, or flowers like marigolds and sunflowers. Avoid lilies and oleander, and always check lists from ASPCA before you plant anything new.
Conclusion
Just start planting! Your balcony or patio holds endless potential. Mix clever containers with smart stacking to create a lush, layered garden. Remember, with the right soil, drainage, and a regular feeding schedule, even your smallest space can thrive. So repurpose those old buckets, hang those baskets, and enjoy turning every nook into a vibrant, green escape. You’ve got all the ideas you need.
The Only Tools You Need for a Thriving Garden 🌱
Whether you're a weekend gardener or growing daily — these hand-picked tools make every session faster, easier, and more satisfying.