Your backyard’s potential is unlocked by the path you choose to build. These fifteen ideas blend practical guidance with creative design, whether you’re drawn to rustic flagstone or a neat brick walkway. But selecting the right material is just your first step—what you do along the edges and after dark transforms a simple route into your garden’s defining feature.
Key Takeaways
- Choose materials to match your home’s style, from casual stepping stones to formal brick.
- Use proper edging and a compacted base for durable paths like gravel or pavers.
- Incorporate plants like creeping thyme or moss in path joints for natural charm.
- Select low-maintenance options like polymeric sand for pavers or replenish mulch yearly.
- Design for drainage with a slight slope to ensure your path stays functional.
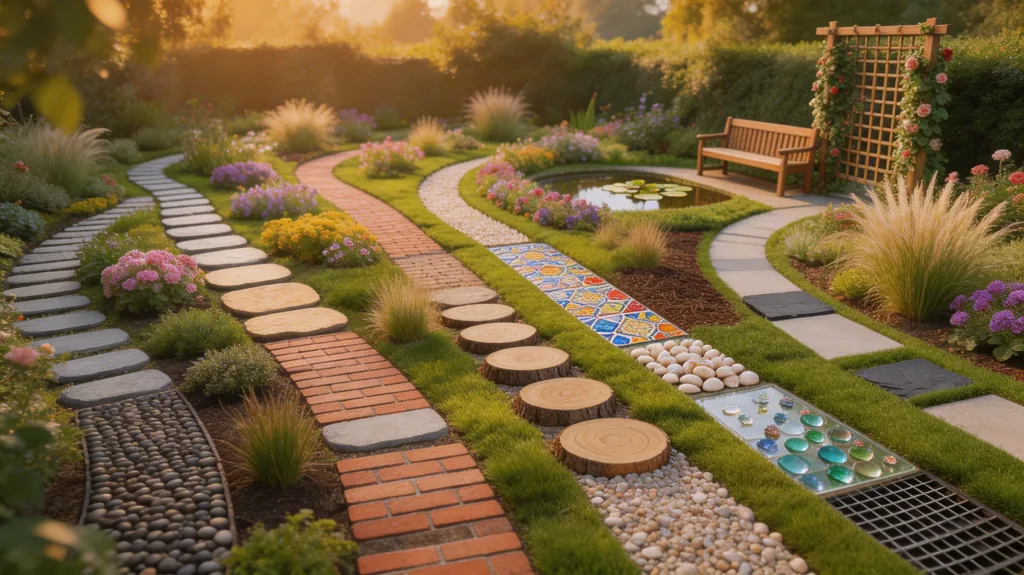
Your DIY Path Style Finder: 15 Ideas to Match Your Yard
Kicking off your project is all about finding the perfect style for your space. First, grab a notepad and analyze your yard. Is your garden cottage-core or modern? Is the soil sandy or clay-heavy? Your answers will guide your material choice.
You’ll want a path that complements your home’s architecture, not fights it. For a lush, informal garden, consider meandering flagstone or soft mulch. If you prefer clean lines, geometric concrete pads or straight gravel runs might suit you.
Don’t forget function—you need a stable surface for high-traffic routes. Your budget and skill level matter, too. Start simple with spaced stepping stones; you can always expand later. This initial planning ensures your path feels intentional and uniquely yours.
Classic & Crisp: The Brick Walkway
Since a brick walkway adds timeless charm, it’s a rewarding project that elevates your home’s curb appeal.
Start by marking your path’s outline with string and stakes.
Excavate about six inches of soil, then create a firm, level base using compacted gravel.
A one-inch layer of sand on top gives you a perfect setting bed.
You’ll then lay your bricks in your chosen pattern—like a simple running bond or classic herringbone—tightly together.
Use a level frequently to check for an even surface.
Once all bricks are placed, sweep polymeric sand into the joints.
A light misting with water activates the sand, locking everything solidly in place.
Your new path will last for decades with minimal upkeep.
Rustic Charm: Building a Flagstone Path
Lay out a meandering flagstone path to add natural, rustic beauty to your garden.
First, mark your route with a garden hose.
Excavate about four inches of soil, creating a slight slope for drainage.
Fill the trench with two inches of compacted gravel, then a one-inch layer of coarse sand. You’ll level this sand bed.
Now, arrange your flagstones, leaving gaps of one to two inches between them. Use a rubber mallet to set each stone firmly, checking for wobble with a level.
Fill the joints with sand or soil, and consider planting low-growing thyme or moss for extra charm.
This durable path blends seamlessly with your landscape, inviting you to wander and enjoy the view.
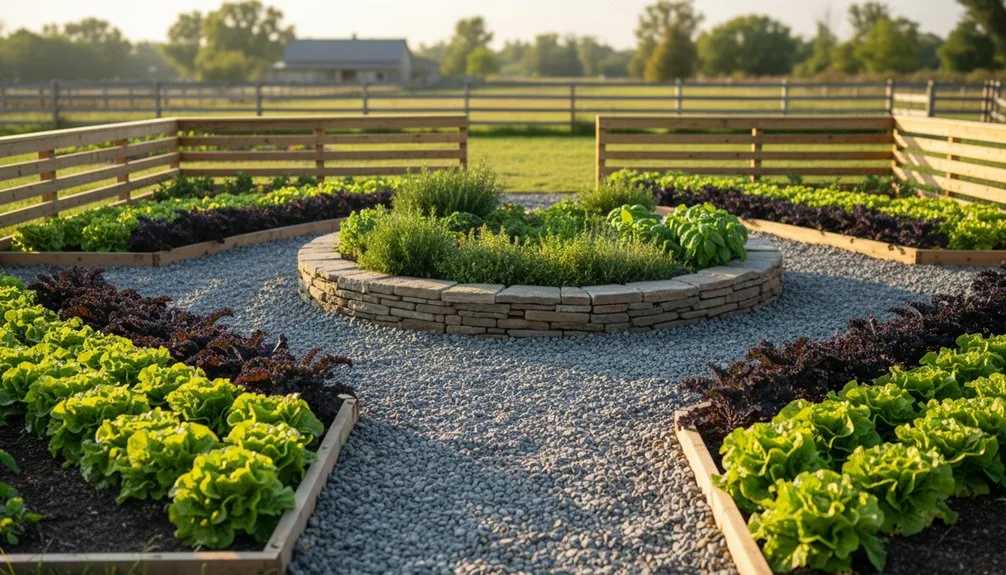
Budget-Friendly & Easy: The Gravel Garden Path

Transform a simple garden walkway with a gravel path that’s both economical and straightforward to install. You’ll need landscape fabric, metal or plastic edging, and your chosen gravel, like crushed stone or pea gravel.
First, outline your path’s shape with stakes and string. Dig out about three inches of soil within this area.
Lay down the landscape fabric to suppress weeds, then secure your edging along the sides.
Finally, pour and spread your gravel evenly to a depth of about two inches. You can rake it smooth and use a hand tamper to compact it for stability. The result is a permeable, low-maintenance path with a satisfying crunch underfoot that you’ll complete in a weekend.
Creative Curves: A Stepping Stone Path

For a garden path that dances with your landscape, consider using stepping stones to create a meandering, artistic walkway.
You’ll start by laying the stones directly on the lawn to plan your gentle, flowing curve. Walk the route naturally to space them comfortably for your stride.
To install, cut around each stone with a spade, remove the sod, and dig out about two inches of soil. Fill this recess with a layer of sand for a stable, level base. Settle your stone in place, checking it sits flush with the ground so your mower can glide over it.
The gaps between stones become perfect pockets for creeping thyme or moss, softening the path’s edges and blending it into the garden.
Modern Minimalism: A Concrete Paver Path

Craft a clean, geometric walkway by arranging crisp concrete pavers in a deliberate grid or striking pattern.
You’ll excavate the path area to about seven inches deep, then establish a solid four-inch gravel base for drainage. Tamp it thoroughly.
Next, add a one-inch layer of coarse sand, screeding it level.
Begin laying your pavers from one corner, maintaining tight, consistent joints; use spacers for precision.
Once all pieces are set, sweep polymeric sand into the joints. This special sand hardens when misted with water, locking the pavers securely in place.
The result is a sleek, low-maintenance path with strong visual impact. Its minimalist lines beautifully complement modern architectural styles and structured planting schemes.
Whimsical & Recycled: The Broken Concrete “Urbanite” Path

Some people give broken concrete a new purpose by creating a charming “urbanite” path. You’ll source pieces from old patios or sidewalks, breaking larger slabs into manageable, irregular shapes.
Begin by marking your route and excavating a shallow trench, then tamping down a gravel base for drainage. Dry-fit your pieces, arranging them like a puzzle with 1-2 inch gaps. Aim for a stable, level surface as you work.
Once satisfied, you’ll sweep a sand and soil mix into the joints, watering it down to help it settle and lock the stones in place. Low-growing plants like thyme or sedum will eventually creep into the cracks, softening the industrial look with greenery.
This project transforms waste into a unique, character-filled walkway.
Natural & Seamless: A Mulch or Wood Chip Path
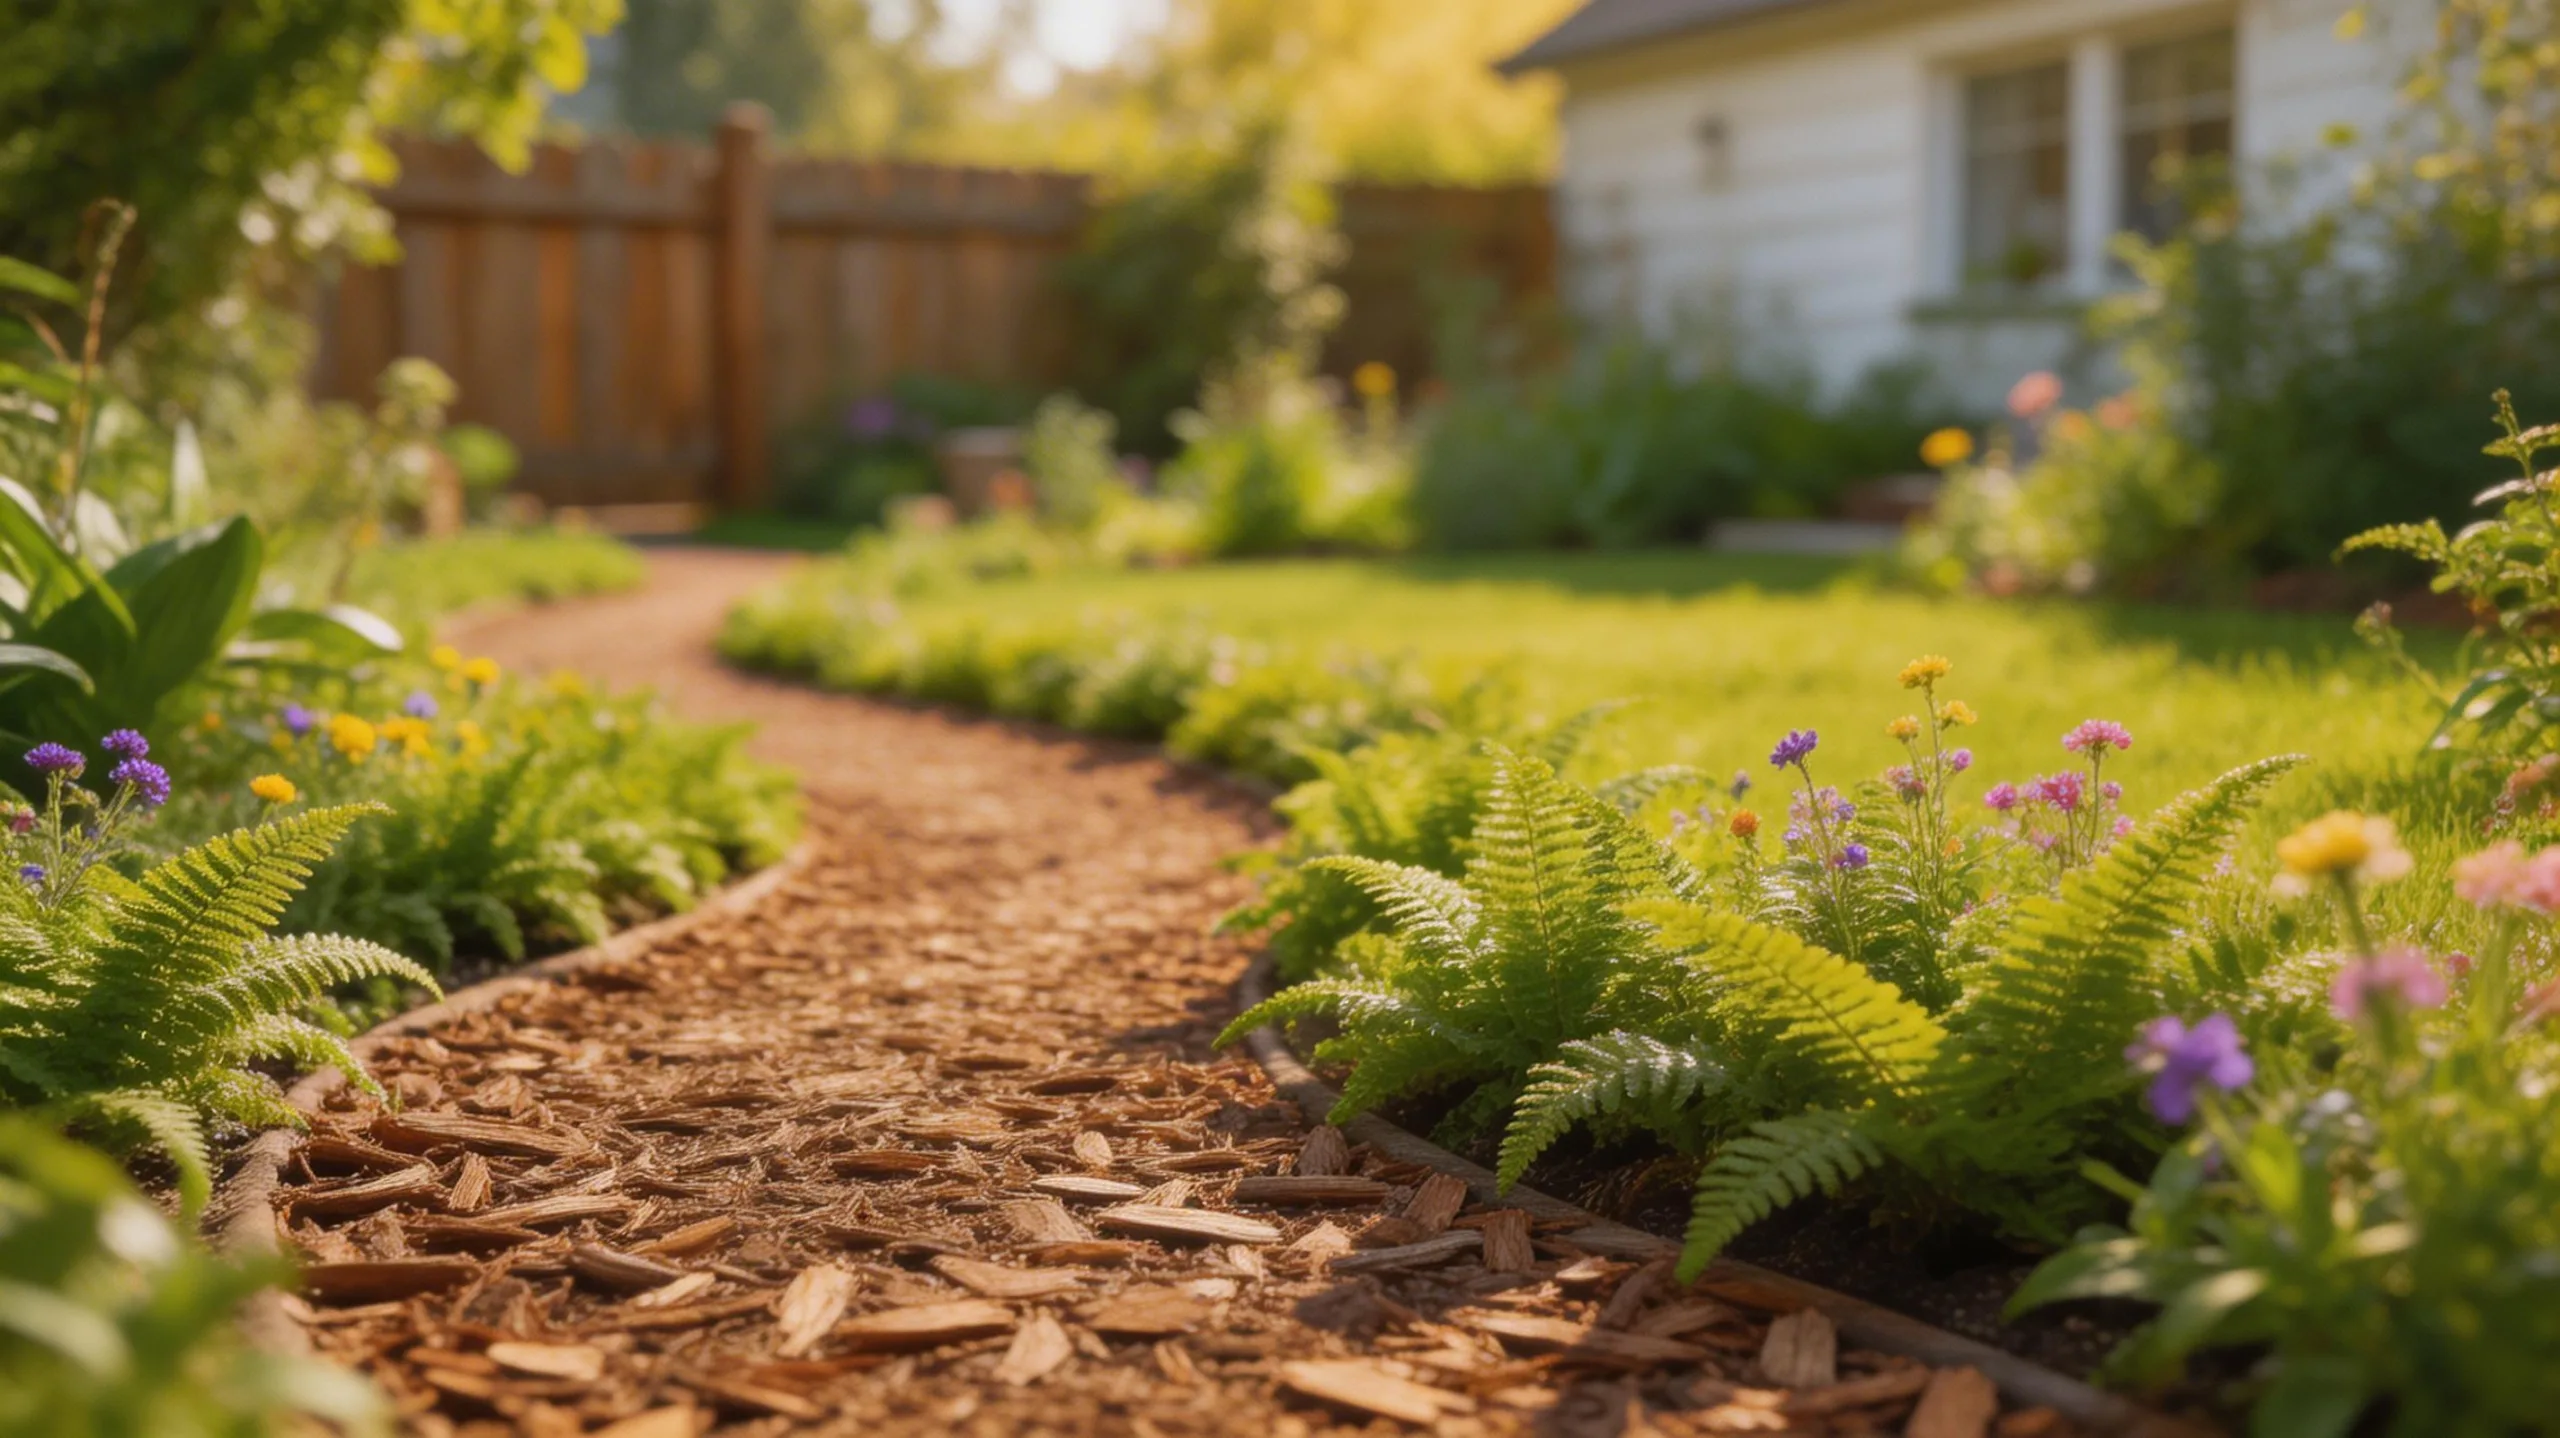
Creating a natural and seamless mulch or wood chip path offers a soft, organic walkway that feels like an extension of the garden itself. It’s a forgiving project for beginners.
You’ll first define the route with string or a garden hose, then excavate about three inches of soil. A permeable landscape fabric laid down suppresses weeds.
You simply fill the trench with your chosen material, which you’ll need to replenish as it decomposes. This creates a path that’s gentle on feet and beneficial for soil health.
- Choose Your Material: Opt for larger wood chips for longevity or finer mulch for a uniform look, ensuring it’s from a sustainable, untreated source.
- Define Firm Edges: Install flexible metal or plastic edging along the sides to contain the material neatly and prevent spreading into beds.
- Ensure Proper Drainage: Grade your excavated path with a slight crown or slope to prevent water from pooling on the surface.
- Calculate Your Volume: Measure your path’s length, width, and depth in feet, then divide the cubic feet by 27 to determine the cubic yards needed for ordering.
- Maintain Regularly: Plan to top-dress the path with a fresh one-to-two-inch layer of material annually to maintain its depth and appearance.
Beachside Vibes: A Pebble Mosaic Path

How can you capture the calming essence of a shoreline right in your backyard? You can create a pebble mosaic path that echoes the feel of a sandy beach. You’ll first excavate a shallow trench along your desired route and line it with landscape fabric to suppress weeds. Then, you pour in a bed of coarse sand as your base. The artistry comes with arranging your collected stones—use smooth river rocks, colorful gravel, or even sea glass if you’ve got it. You’ll set them into the sand, pressing them firmly to create patterns or simple, organic clusters. This path offers a delightful, textured walkway that’s both visually soothing and surprisingly durable.
| Design Idea | Material Suggestion |
|---|---|
| Wave Pattern | Alternating shades of gray & white pebbles |
| Random Beach Scatter | Mixed sizes of rounded river rocks |
| Coastal Color Pop | Incorporation of blue glass or ceramic pieces |
For Tight Spaces: The Simple Boardwalk Path

When you’re dealing with a narrow side yard or a slim passage between garden beds, you can install a simple boardwalk path to elevate both your feet and the space’s utility. Use pressure-treated lumber for durability.
First, level a shallow trench and fill it with gravel for drainage. Lay your sleepers directly on this base, spacing them evenly for a comfortable stride. You’ll secure them by driving long rebar stakes through pre-drilled holes. This design keeps mud off your shoes and creates a clean, navigable line through tight areas.
- Use a string line and level to ensure your boards are perfectly aligned and flat.
- Stagger board joints for added structural integrity and a more polished look.
- Leave a small gap between boards for water drainage and wood expansion.
- Sand the top edges slightly to prevent splinters for barefoot summer walks.
- Consider adding solar-powered stake lights alongside for evening ambiance and safety.
How Do You Choose the Right Path Material?
Picking the right material for your garden path shapes its look, feel, and function for years to come. First, consider your path’s purpose. Is it for high-traffic or a quiet, decorative stroll? Your budget and DIY skill level are equally crucial. Then, think about drainage and your soil type; you don’t want materials that shift or wash away. The aesthetic should complement your garden’s style, whether rustic, modern, or cottage-core. Use this comparison to guide your initial choice.
| Material | Best For | Key Consideration |
|---|---|---|
| Gravel | Informal, low-cost paths | Needs edging to contain stones |
| Flagstone | Natural, high-end look | Requires a level sand base |
| Stepping Stones | Casual, winding routes | Must be set flush for safety |
| Mulch | Temporary or woodland areas | Decomposes and needs replenishing |
| Pavers | Formal, high-traffic walkways | Demands precise installation for level finish |
You can find a durable, beautiful option that fits your project.
The Finishing Touch: Choosing Your Path Borders
Once you’ve settled on your path material, its edges define the walkway and keep it looking neat over time. A good border contains your gravel or mulch and creates a crisp line against the lawn. You’ll find many functional and decorative options; your choice can complement your path’s style. Consider the installation effort and longevity of each material before making your final decision.
- Metal Edging: Install powder-coated steel or aluminum strips for a sleek, modern look that lasts for decades.
- Plastic Edging: Use flexible, affordable plastic rolls for curving paths, securing them with ground spikes.
- Brick or Paver Borders: Lay bricks on their side or set pavers in a trench for a classic, substantial edge.
- Natural Stone: Place flat fieldstones or large river rocks along the sides for an organic, rustic finish.
- Pressure-Treated Timber: Secure wooden boards or railroad ties as a sturdy, economical border for straight sections.
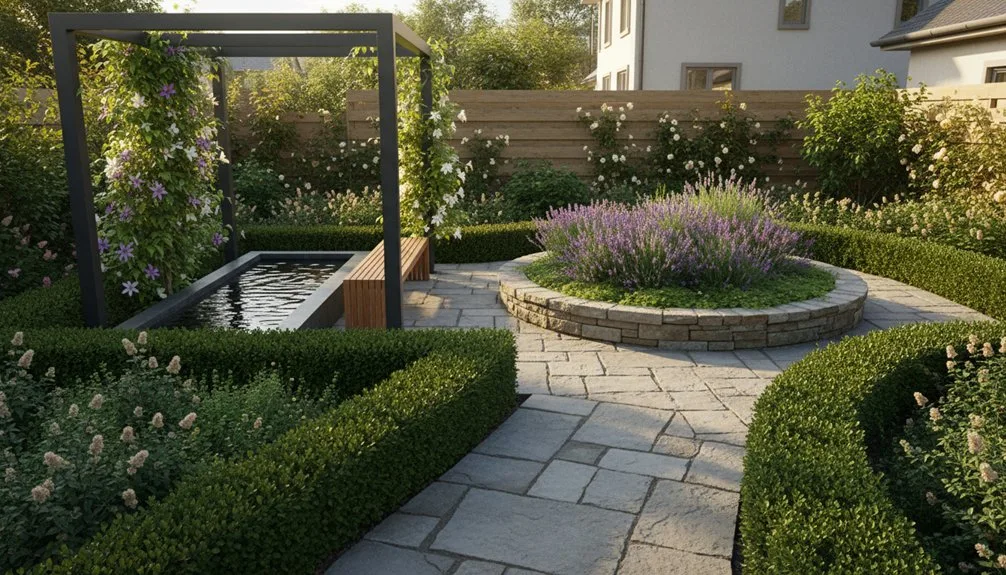
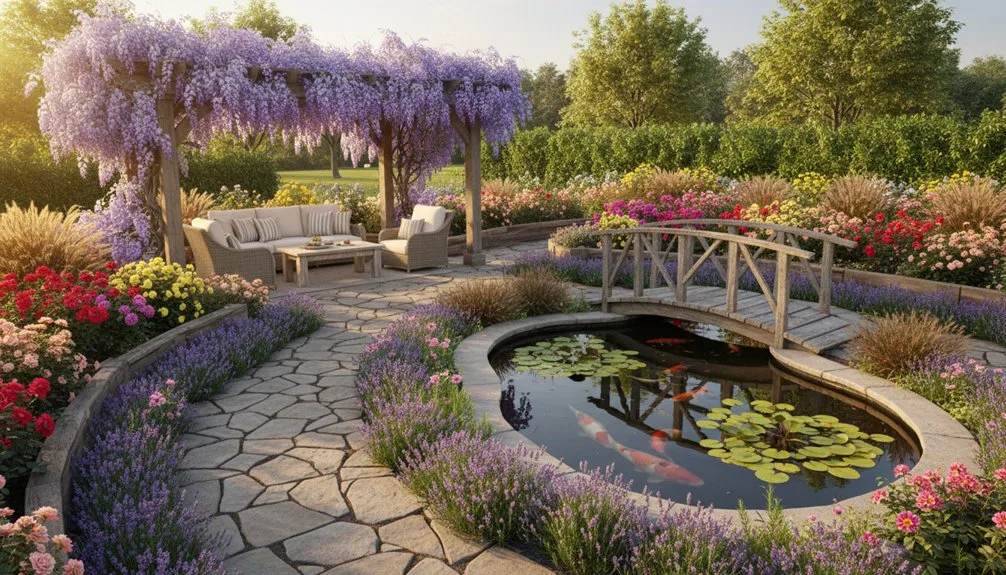
Softening the Edges: Planting Along Your Path
Planting along the edges of your new path turns a functional walkway into an inviting part of the garden. You’ll want to select plants that complement your path’s style and can handle some foot traffic. For a cottage feel, let low-growing herbs like creeping thyme or chamomile spill over the stones. If you prefer neat lines, compact perennials such as dwarf mondo grass or sedum work beautifully.
Ensure you leave enough space for plants to mature without completely overtaking the walkway. Mix textures and heights for visual interest, placing taller plants like lavender further back. Remember to amend the soil with compost at planting time and water them regularly until they’re established. This softens the hardscape and connects your path seamlessly to the surrounding beds.
Nighttime Magic: Adding Path Lighting
As dusk falls, your garden path shouldn’t disappear. Adding lighting extends its charm into the night, creating a safe, enchanting walkway.
Start by choosing low-voltage LED fixtures for safety and energy efficiency. You’ll embed them easily alongside your path.
Focus these lights downward to illuminate the walking surface without creating glare. Consider these key strategies:
- Stagger fixtures on alternating sides to create a natural, inviting rhythm.
- Use solar-powered stakes for a simple, wire-free installation in sunny spots.
- Install in-ground well lights to graze textured surfaces like stone or wood, adding drama.
- Highlight a focal point, like a sculpture or bench, to create a visual destination.
- Employ subtle path markers, such as low bollard lights, to define the route clearly.
Your evenings will transform with this guiding glow.
Keep It Beautiful: Maintaining Your DIY Path
A beautiful garden path requires regular upkeep to stay vibrant and safe under your feet. Start by sweeping it weekly to remove loose debris.
Check for weeds between pavers or gravel; pull them promptly to prevent roots from spreading and destabilizing your base.
Every season, inspect for settling stones or uneven surfaces, lifting and re-leveling them with a bit of fresh sand or gravel.
Pressure-wash stone or brick paths annually to lift dirt and algae, but test a small area first to avoid damage.
Replenish gravel paths by raking and adding a fresh top layer to maintain depth and appearance.
Seal natural stone to protect it from stains and weather, ensuring your charming path endures.
Frequently Asked Questions
How Do I Protect My Path From Weeds?
First, install a quality weed barrier fabric under your path’s gravel or mulch. Then, regularly sweep the surface to block seeds, and use a natural vinegar spray on any sprouts you spot, staying persistent.
What Is the Best Base Material?
Use gravel or crushed stone for drainage. Start with a compactable base layer of crushed granite, then add your decorative gravel on top. You’ll want a strong geotextile fabric beneath it to block weeds.
Can I Build a Path on a Slope?
You can build a path on a slope. You’ll need secure edging and to use materials like gravel or firmly-set stepping stones to prevent slippage. Adding steps or staggered levels will help manage the incline effectively.
Do I Need Planning Permission?
You generally don’t need it for basic garden paths. Check local rules about permanent structures or major grade changes. You can easily consult your council’s website to get clear, definitive guidance for your specific project.
How Do I Prevent Erosion on Gravel?
To prevent erosion, install a permeable base fabric underneath. You’ll stabilize gravel edges with bordering stones or timber. You should also install drainage channels and compact the gravel well during your placement.
Conclusion
You’ve got the plan; now make your path. Mix materials for character, secure edges for neatness, and add plants and lights for life. Remember, regular sweeping, refilling loose gravel, and checking settled stones will keep it beautiful for years. Your effort will build a journey through your garden that’s as practical as it is charming. Start your project this weekend
The Only Tools You Need for a Thriving Garden 🌱
Whether you're a weekend gardener or growing daily — these hand-picked tools make every session faster, easier, and more satisfying.