You’ll start by mapping your sunlight at different times—9 AM, noon, 3 PM, and 6 PM—to identify full sun, partial shade, and constant shade zones. Call 811 to locate underground utilities before digging. Arrange tall plants northward, shorter varieties forward to maximize light exposure. Use pathways to connect key zones, spacing them 2 feet wide for primary routes. Select starter herbs like basil and thyme, reliable greens like kale, and quick vegetables like radish. Label each bed with plant names, dates, and care requirements. Following this systematic approach transforms your layout into an organized, productive growing space.
Key Takeaways
- Map sunlight patterns at multiple times daily to identify full-sun, partial-shade, and shaded zones for optimal plant placement.
- Arrange plants by mature height: tallest rearward, shortest forward, maximizing sunlight exposure and visibility throughout the garden.
- Create pathways with clear primary (2-person width) and secondary (single-person width) routes linking garden zones for easy access.
- Start with beginner-friendly crops: basil, kale, spinach, radish, and cherry tomatoes that germinate quickly and require minimal experience.
- Mark plant spacing with stakes or paint before planting; use potted specimens to test layouts and prevent overcrowding.
Assess Your Garden Space: Sunlight, Shade, and Slope

Before you’ll need to map your garden’s microclimates by observing sunlight patterns throughout the day.
Identify full sun zones receiving six-plus hours of direct light, partial shade areas with filtered sunlight, and constant shade spots.
Document these patterns since they determine which plants you’ll place where.
Next, measure your garden’s dimensions using length times width for rectangular spaces.
For irregular shapes, imagine an enclosing rectangle and estimate the occupied percentage.
This square footage calculation guides your material purchases and plant quantities.
Finally, assess your slope.
Physical factors like grade affect water drainage and soil erosion, impacting plant health across sections.
Evaluate growing conditions holistically—sun exposure, shade patterns, soil composition, and moisture levels—before making layout decisions.
This comprehensive site assessment ensures successful garden planning.
Call 811 and Map Your Fixtures
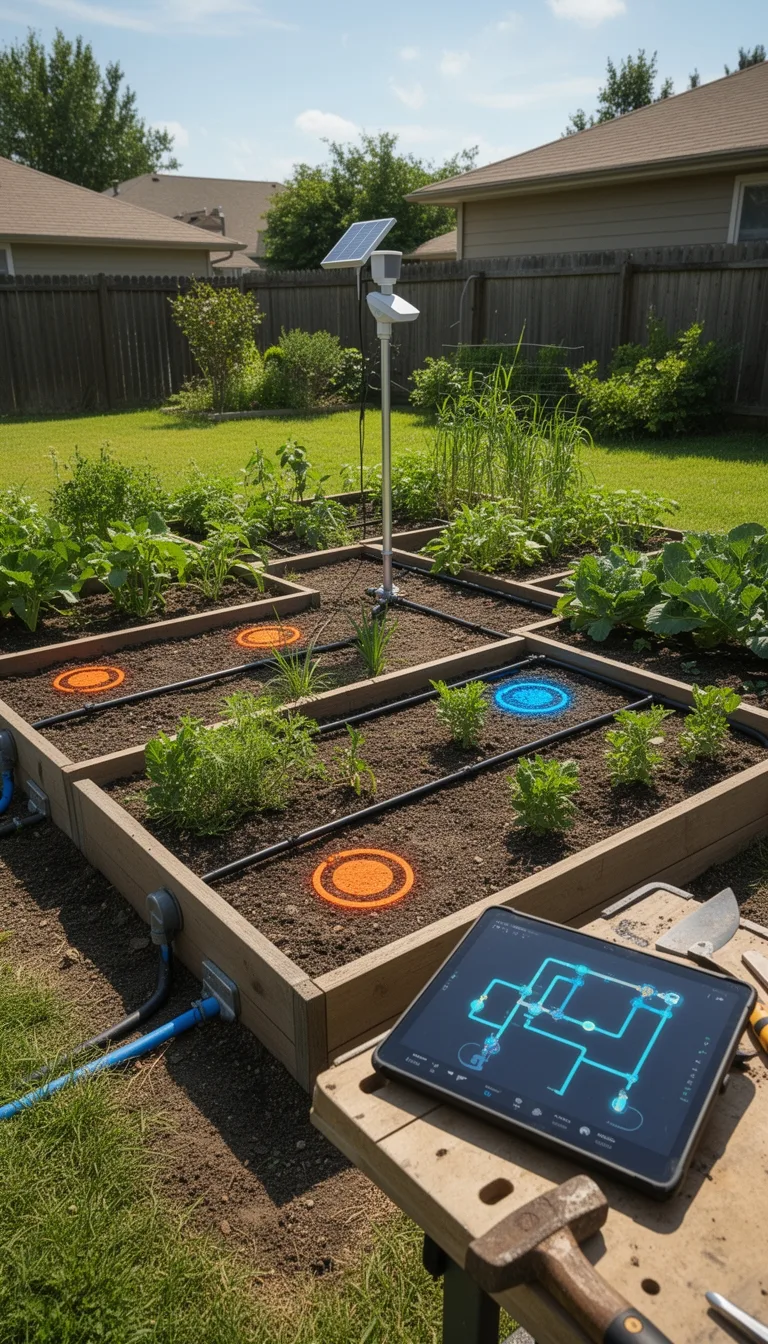
Why should you call 811 before you break ground on your smart garden?
This free utility locating service identifies underground cables, gas lines, and water pipes beneath your installation area.
You’ll dial 811 or visit their website to request marking.
Technicians arrive within a few days to spray-paint utility locations on your property.
Once utilities are marked, map all existing fixtures in your garden space.
Document irrigation lines, electrical conduits, drainage systems, and structural elements.
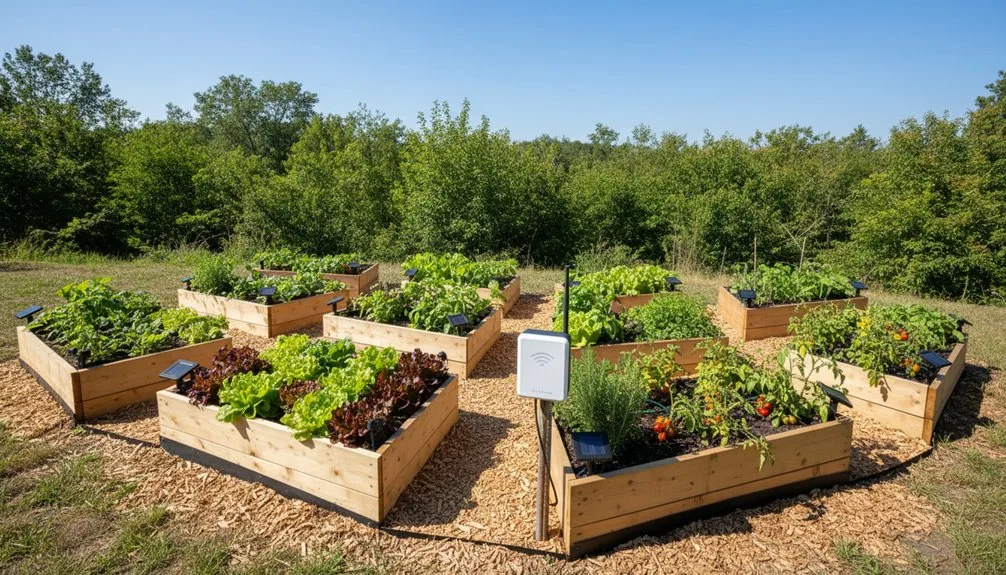
Use this mapped data to plan your smart garden layout strategically.
Position raised beds, sensor stations, and irrigation components away from underground utilities.
This prevents costly damage, ensures safety, and protects your smart garden infrastructure from interference or accidental disruption during installation and future maintenance.
Map Your Sunlight and Shade

With your utilities mapped and fixtures documented, you’re ready to assess how sunlight moves across your garden throughout the day and seasons.
Use your phone’s compass app to identify cardinal directions, since south-facing areas receive the brightest, most consistent light, while north-facing spots remain shadier, especially in winter.
Document sun patterns at four key times: 9 AM, 12 PM, 3 PM, and 6 PM. Photograph shadows on cloud-free days, repeating observations every two to three weeks from early spring through summer solstice. This captures seasonal shifts affecting plant placement.
Color-code your base map to distinguish morning, afternoon, and evening shadows. Digital apps like Shadowmap simulate 365-day projections if manual observation isn’t feasible. This precise data ensures you’ll position plants where they’ll thrive based on their specific light requirements.
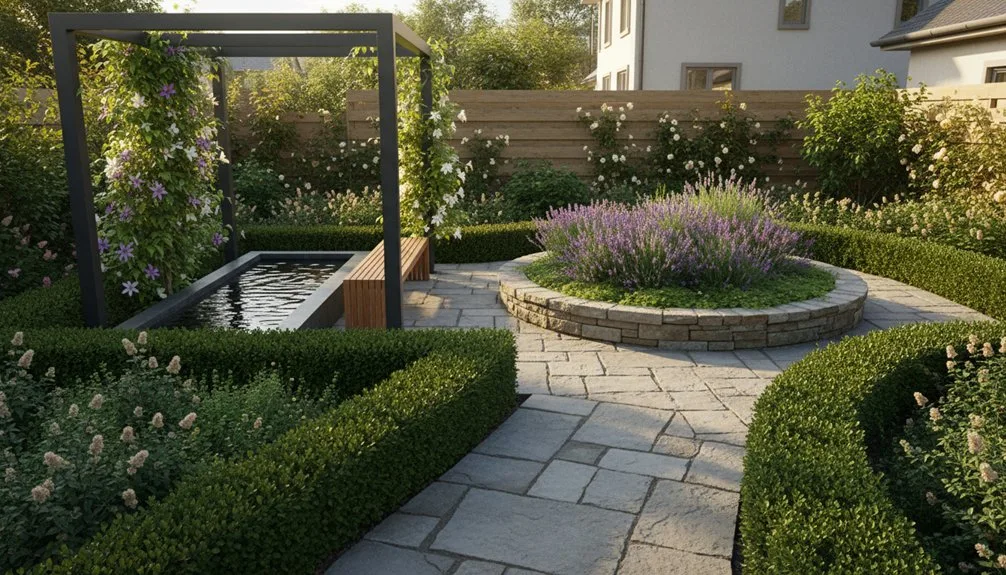
Plan Your Primary and Secondary Pathways
How you route pathways through your garden determines both functionality and aesthetic flow.
You’ll establish primary routes as main thoroughfares connecting key areas, then add secondary paths for exploration and maintenance access.
Consider these essentials when planning:
- Visual endpoints: Direct pathways toward focal points or specific garden zones to justify placement
- Natural contouring: Follow landscape lines and curve around beds rather than cutting straight through level areas
- Width specifications: Primary routes need generous width for two people; secondary paths accommodate single-person traffic
- Material selection: Choose gravel for informal styles, brick for formal designs, or pavers for versatility
- Strategic spacing: Position stepping stones at comfortable stride intervals with gravel or ground cover filling gaps
This layered approach creates logical traffic flow while maintaining organic plant forms and visual interest throughout your garden.
Choose Easy Starter Plants: Herbs, Greens, and Vegetables
Now that you’ve mapped your garden’s pathways, it’s time to select plants that’ll thrive in your space without demanding expert-level care.
Start with herbs like basil, sage, oregano, and thyme—they germinate quickly indoors and establish rapidly.
For greens, cultivate kale, Swiss chard, spinach, and bok choy, which transplant reliably despite varying sprouting speeds.
Vegetables like radishes (30-45 days), green beans, zucchini, and cherry tomatoes deliver fast results with minimal maintenance.
Begin peppers and eggplants indoors 45 days before your last frost for reliable transplants.
Integrate marigolds as pest-repelling companions throughout your layout.
This combination ensures productive harvests while you build gardening confidence and refine your techniques across seasons.
Match Plants to Sun and Soil Conditions
Your garden’s success depends on matching each plant’s light and soil requirements to its designated bed location.
You’ll maximize productivity by strategically positioning crops based on their specific needs.
- Position tall trellised plants on the north side to prevent shading shorter specimens
- Place shade-loving herbs like oregano between taller tomato and pepper plants for filtered light utilization
- Arrange greens and herbs on south-facing beds to maximize sunlight exposure
- Plot root vegetables and priority crops first on your garden map to ensure adequate space and soil depth
- Customize soil preparation for each zone—apple trees and lettuce require distinctly different soil conditions and nutrient protocols
These placement strategies prevent nutrient competition and water stress.
You’ll accommodate crop-specific soil demands while optimizing light penetration throughout your garden beds.
Sketch Your Garden Layout With Bubble Drawing
Why sketch before you build?
Bubble diagrams let you organize your garden without committing to precise measurements.
You’ll start with a base sketch showing immovable features—your house, driveway, existing trees, and utilities.
Overlay tracing paper to add circles representing functional areas like vegetable beds, patios, and pathways.
Arrange your bubbles strategically.
Position them based on adjacency needs; place your compost near the vegetable garden, for example.
Consider light exposure, soil quality, and airflow for each zone.
Use arrows to indicate circulation paths and connections between spaces.
Create multiple iterations.
Your first sketch rarely proves optimal.
Play with placements freely, experimenting with different configurations.
Once you’ve refined your bubble layout and achieved satisfactory flow, you’re ready to transition to detailed plans with specific plants and materials.
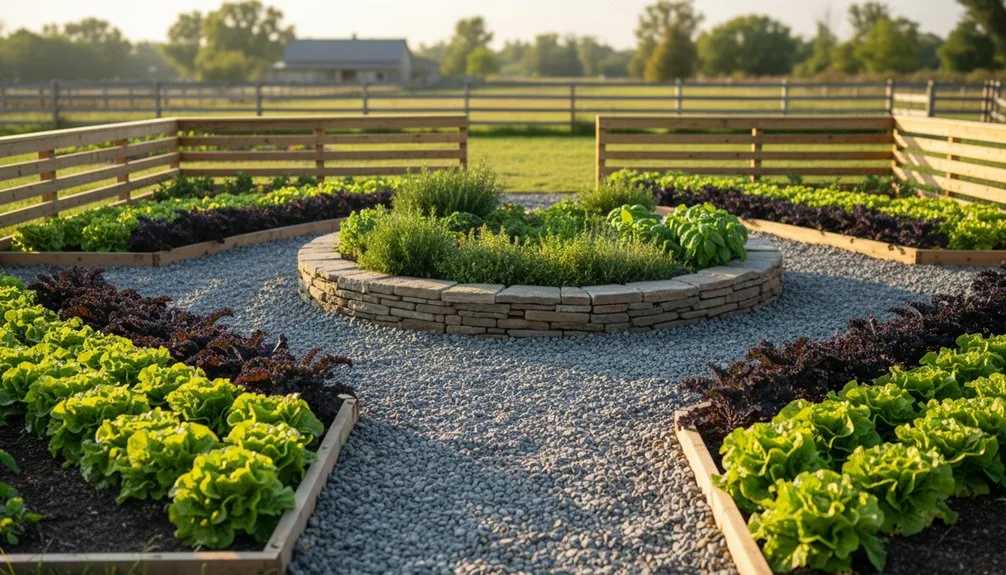
Design Your 10×10 Garden Zone
How you organize a 10×10 space—100 square feet—determines whether you’ll harvest abundantly or struggle with overcrowded, underperforming plants.
Strategic layout planning maximizes your productive area while preventing the most common beginner mistake: overcrowding.
You’ll position tall plants northward to avoid shading shorter varieties positioned south for maximum light exposure. This directional orientation ensures shade-sensitive crops receive adequate sunlight throughout the growing season.
Consider these essential design elements:
- Allocate space for walkways accommodating your maintenance tools—hand tools need minimal spacing, while wheelbarrow access requires expanded pathways
- Plan north-south orientation for optimal light distribution
- Account for seasonal maintenance and harvest logistics
- Substitute similar-sized plants without disrupting layout integrity
- Maintain spacing standards necessary for healthy plant performance
Your customized layout accommodates dietary preferences while preserving garden structure and ensuring consistent yields across the entire plot.
Arrange Your Garden Plants From Largest to Smallest
Arranging plants by mature height—tallest at back, shortest at front—prevents shading that’ll stunt growth and reduce yields. You’ll maximize sunlight access for every plant tier by planning based on mature dimensions, not current size.
| Plant Type | Spacing |
|---|---|
| Tomatoes | 18+ inches apart |
| Peppers | 1 square foot each |
| Cabbage/Cauliflower | 1 square foot each |
| Bush Beans | 4-9 per square foot |
Position climbing vegetables like cucumbers toward back on trellises. Place eggplant and peppers behind shorter varieties. Test placement by laying potted plants on ground before digging. Use graph paper to preview arrangements and mark spacing with paint or stakes. This front-to-back hierarchy ensures optimal growth conditions throughout your garden zone.
Enrich Your Soil and Clear the Space
Before you plant anything, you’ll need to prepare your garden bed by enriching the soil and clearing the space of obstacles and weeds.
This foundational work ensures your plants thrive in optimal conditions.
Start by establishing permanent beds and pathways to define your garden structure.
Then focus on soil enhancement:
- Add 1 inch of compost twice yearly using shredded leaves, rotted manure, or worm castings
- For heavy clay (over 50% clay content), incorporate 5-8 inches of organic matter
- Apply perlite or vermiculite to improve aeration and drainage
- Use acidic materials like coffee grounds to adjust alkaline soil pH
- Minimize tilling to preserve earthworm tunnels and mycorrhizal fungi
These amendments create air and water pockets, stabilizing microbial activity while building soil porosity and nutrient capacity for long-term garden success.
Plant Your Garden and Label Each Section
Once you’ve established your beds and enriched the soil, you’re ready to plant your garden strategically and create a labeling system that’ll help you track each section’s contents and progress.
Number each bed sequentially and sketch a map matching labels to locations.
Use durable materials like cedar wood stakes or metal labels to withstand repeated watering.
For budget-friendly options, repurpose plastic forks or yogurt containers marked with permanent ink.
Include essential information on each label: plant name, variety, planting date, and care instructions covering light, water, and humidity requirements.
Position stakes directly in soil for accessibility.
Update labels regularly as plants mature, and group plants by genus to simplify maintenance and ensure similar growing conditions across your sections.
Conclusion
You’ve mapped your sunlight; now you’ll plant with purpose. You’ve cleared your soil; now you’ll grow with confidence. Your 10×10 zone isn’t small—it’s manageable. Your starter plants aren’t basic—they’re strategic. You’ve labeled each section; you won’t second-guess placements. You’ve enriched your earth; you won’t battle poor drainage. Your pathways guide movement; your layout prevents crowding. You’re not gardening randomly—you’re executing systematically. Your smart garden works because you’ve planned deliberately, prepared thoroughly, and planted intentionally.
The Only Tools You Need for a Thriving Garden 🌱
Whether you're a weekend gardener or growing daily — these hand-picked tools make every session faster, easier, and more satisfying.