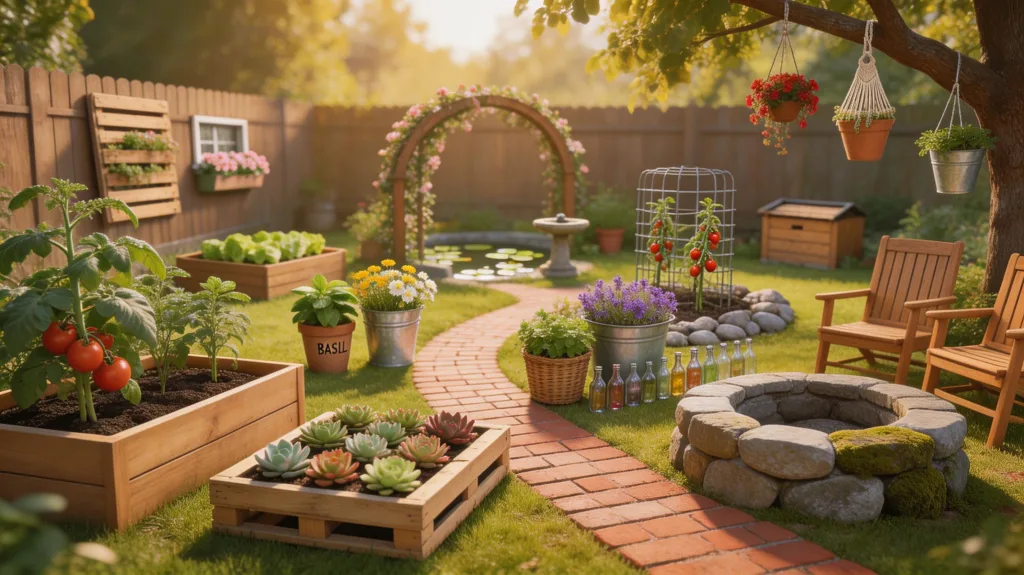
Your backyard’s potential is hidden in those spare pallets, old gutters, and empty totes. Imagine transforming them into a lush, functional oasis that saves you money and expresses your style. We’re exploring 20 projects, from self-watering planters to pollinator hotels, that build this reality. The first steps are simpler than you think, and the next idea might just solve your biggest garden challenge.
Key Takeaways
- Build raised garden beds from pallets and fill them with soil-compost for an easy start.
- Construct a vertical garden using gutter sections to grow herbs and save space.
- Create a self-watering planter from storage totes to conserve water and simplify care.
- Install a drip irrigation system with a timer for efficient, automated plant watering.
- Build a wooden garden bench or pallet privacy screen to add seating and structure.
Build a Simple Raised Garden Bed From Pallets
Grab a couple of pallets and transform them into a functional, raised garden bed in just an afternoon.
First, source pallets stamped with “HT” (heat-treated), as these are safe for gardening.
Disassemble them carefully, prying the planks from the stringers with a crowbar.
You’ll need twelve matching planks.
Cut four to your desired length for the bed’s ends, and use the remaining eight for the longer sides.
Pre-drill holes to prevent splitting, then screw the frame together at the corners using 3-inch exterior wood screws.
Don’t forget to line the interior with landscape fabric to contain the soil and deter weeds.
Finally, position your new bed in a sunny spot, fill it with a soil-compost mix, and you’re ready to plant.
Assemble an Affordable Vertical Garden With Gutters
Looking to maximize your growing space without sacrificing your patio? Assemble an affordable vertical garden using vinyl gutters.
You’ll start by cutting three or four gutter sections to your desired length—typically three feet works well. Drill drainage holes along the bottom every few inches.
Mount them vertically on a sturdy fence or wall using gutter brackets, spacing them about a foot apart for plant growth.
Fill each gutter with a lightweight potting mix, not heavy garden soil. Then, plant your herbs, lettuces, or strawberries. Their shallow roots thrive in this setup.
Since the gutters are narrow, regular watering is key; consider attaching them near a rain barrel for easy irrigation. This project turns unused vertical space into a lush, productive garden.
Make a Self-Watering Garden Planter From Storage Totes
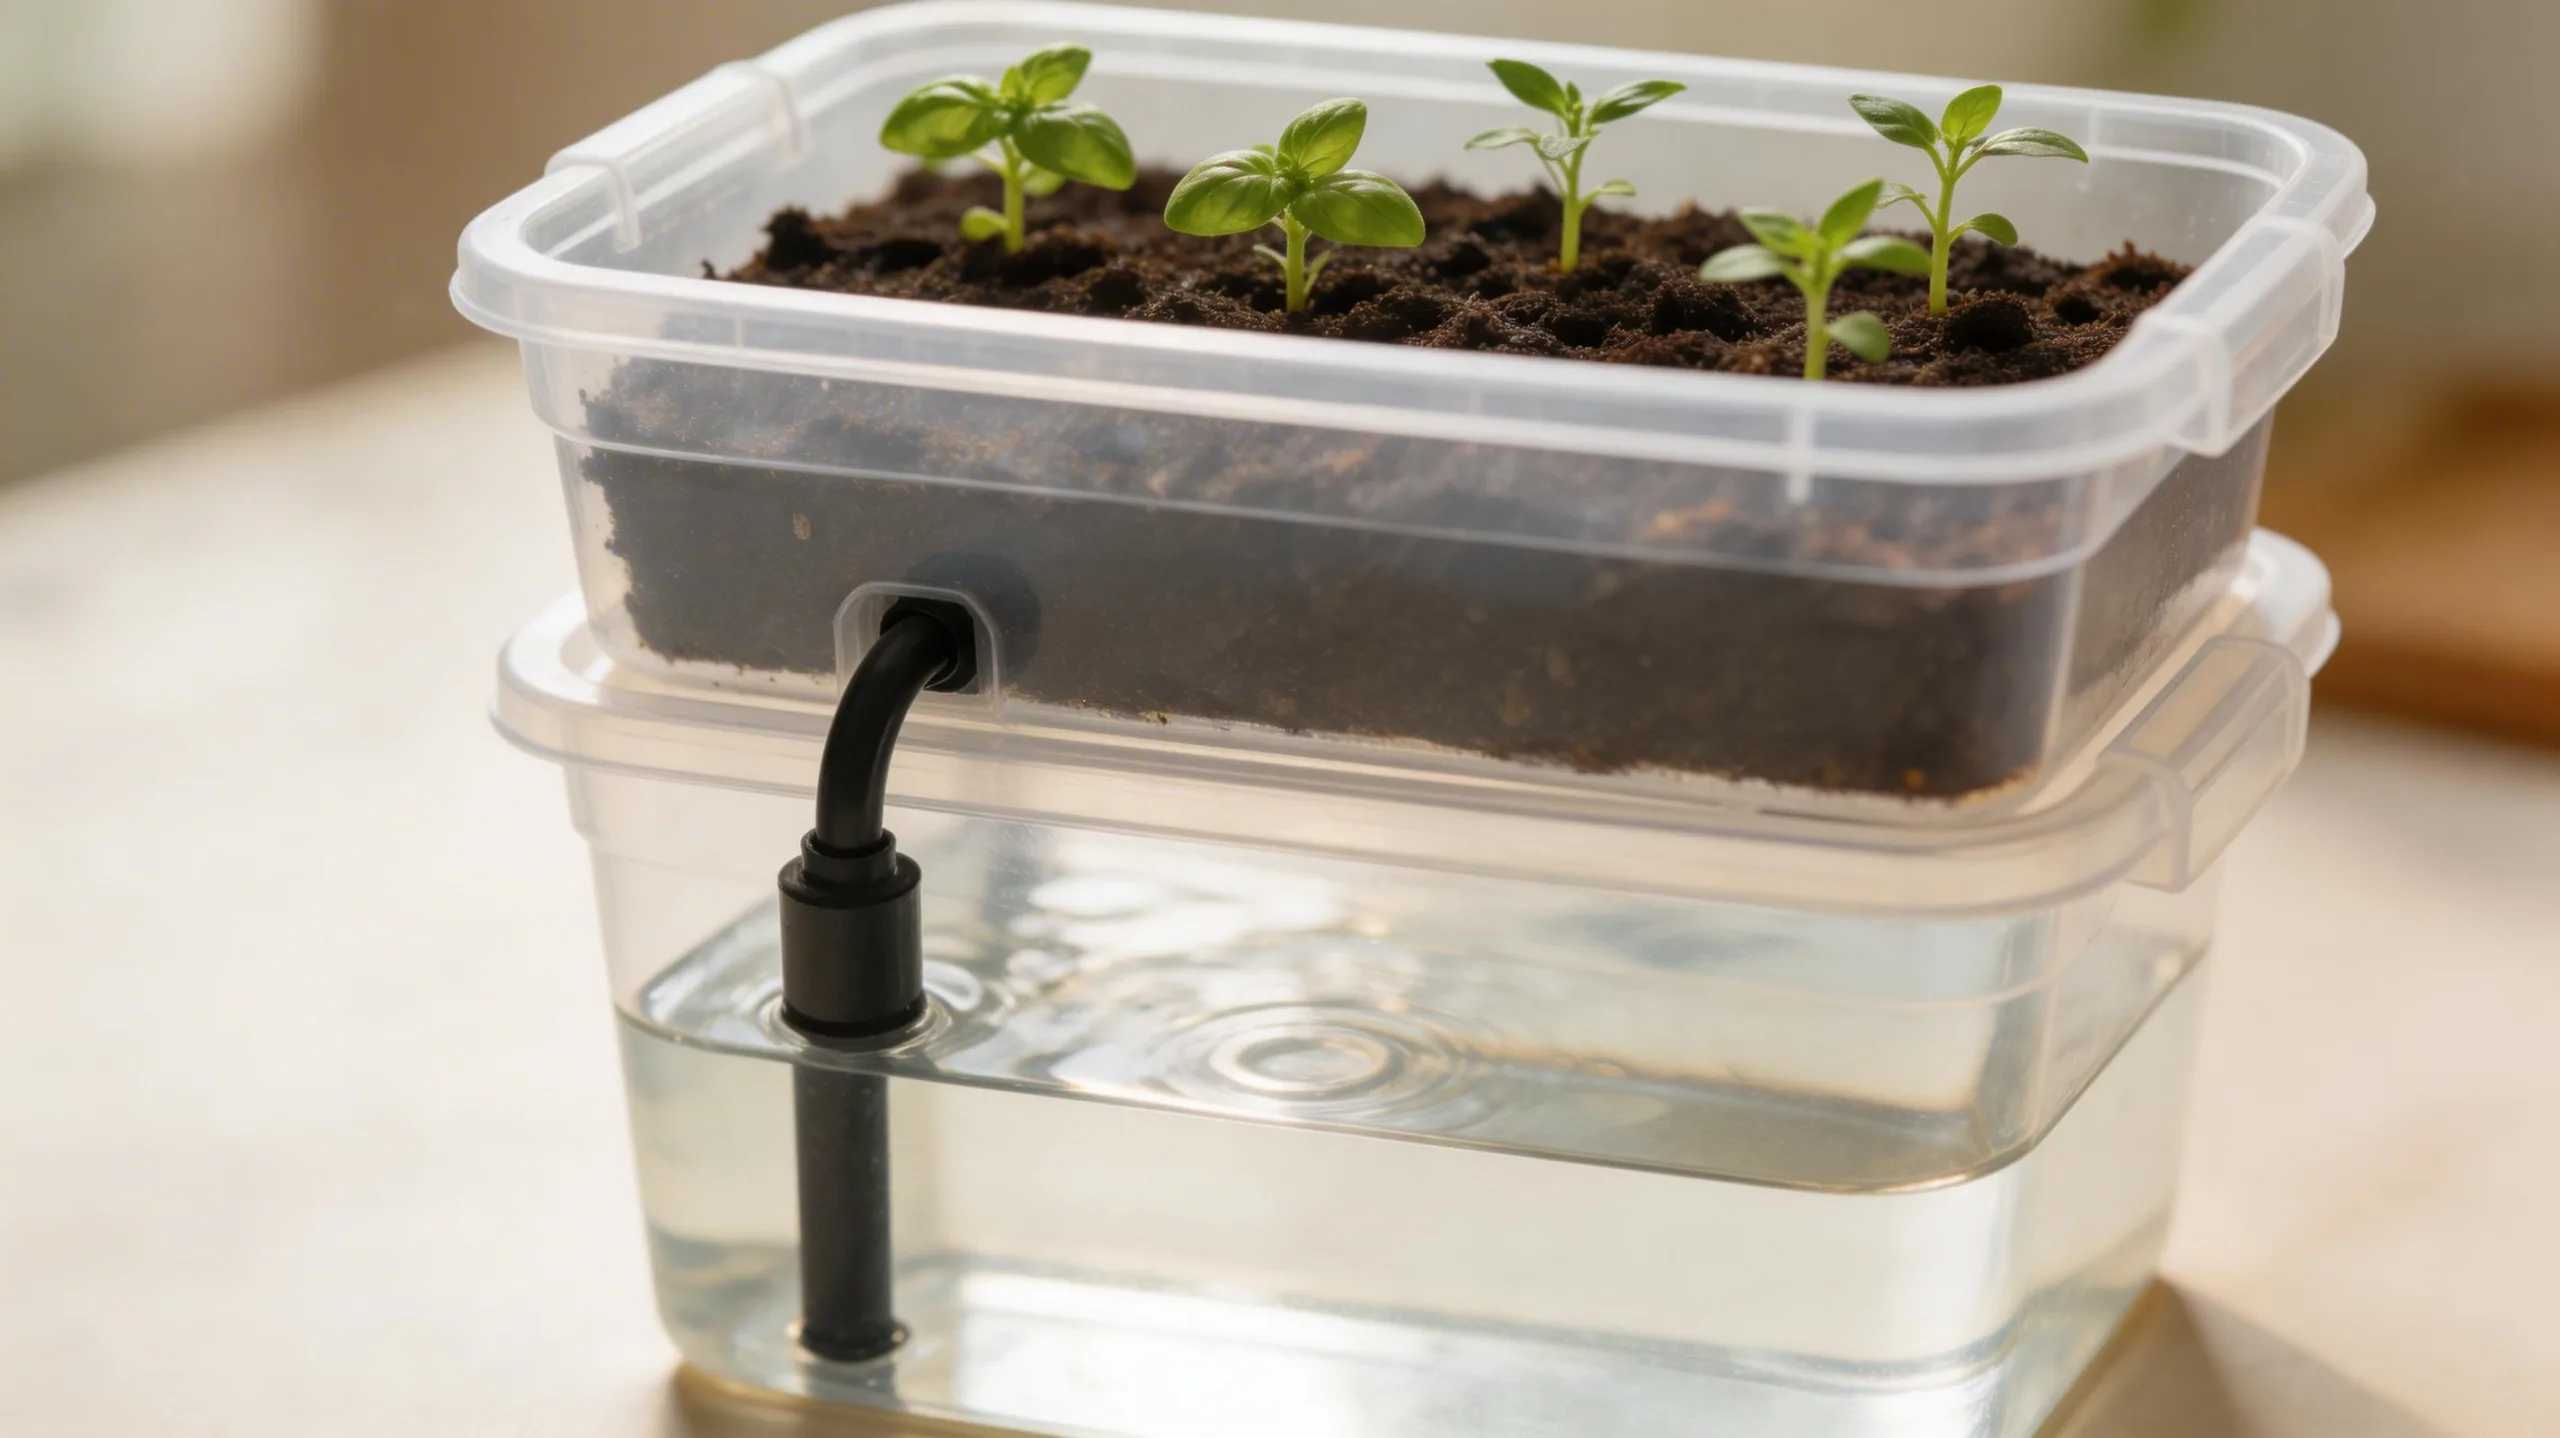
Transform large storage totes into a self-watering garden planter to conserve water and reduce maintenance. You’ll need two identical totes, a PVC pipe, a plastic bottle, and a drill.
First, designate one tote as the reservoir. Drill a hole in its side near the bottom and insert a short PVC pipe as your fill tube.
Next, cut the plastic bottle to create a wicking chamber; place it inside the reservoir tote and fill it with soil.
Then, stack your second tote—the planter box—on top. Drill numerous small drainage holes in its bottom, fill it with potting mix, and plant your seeds or seedlings.
The soil in the wicking chamber draws water upward from the reservoir, keeping roots consistently moist.
Build a Bee Hotel to Support Garden Pollinators
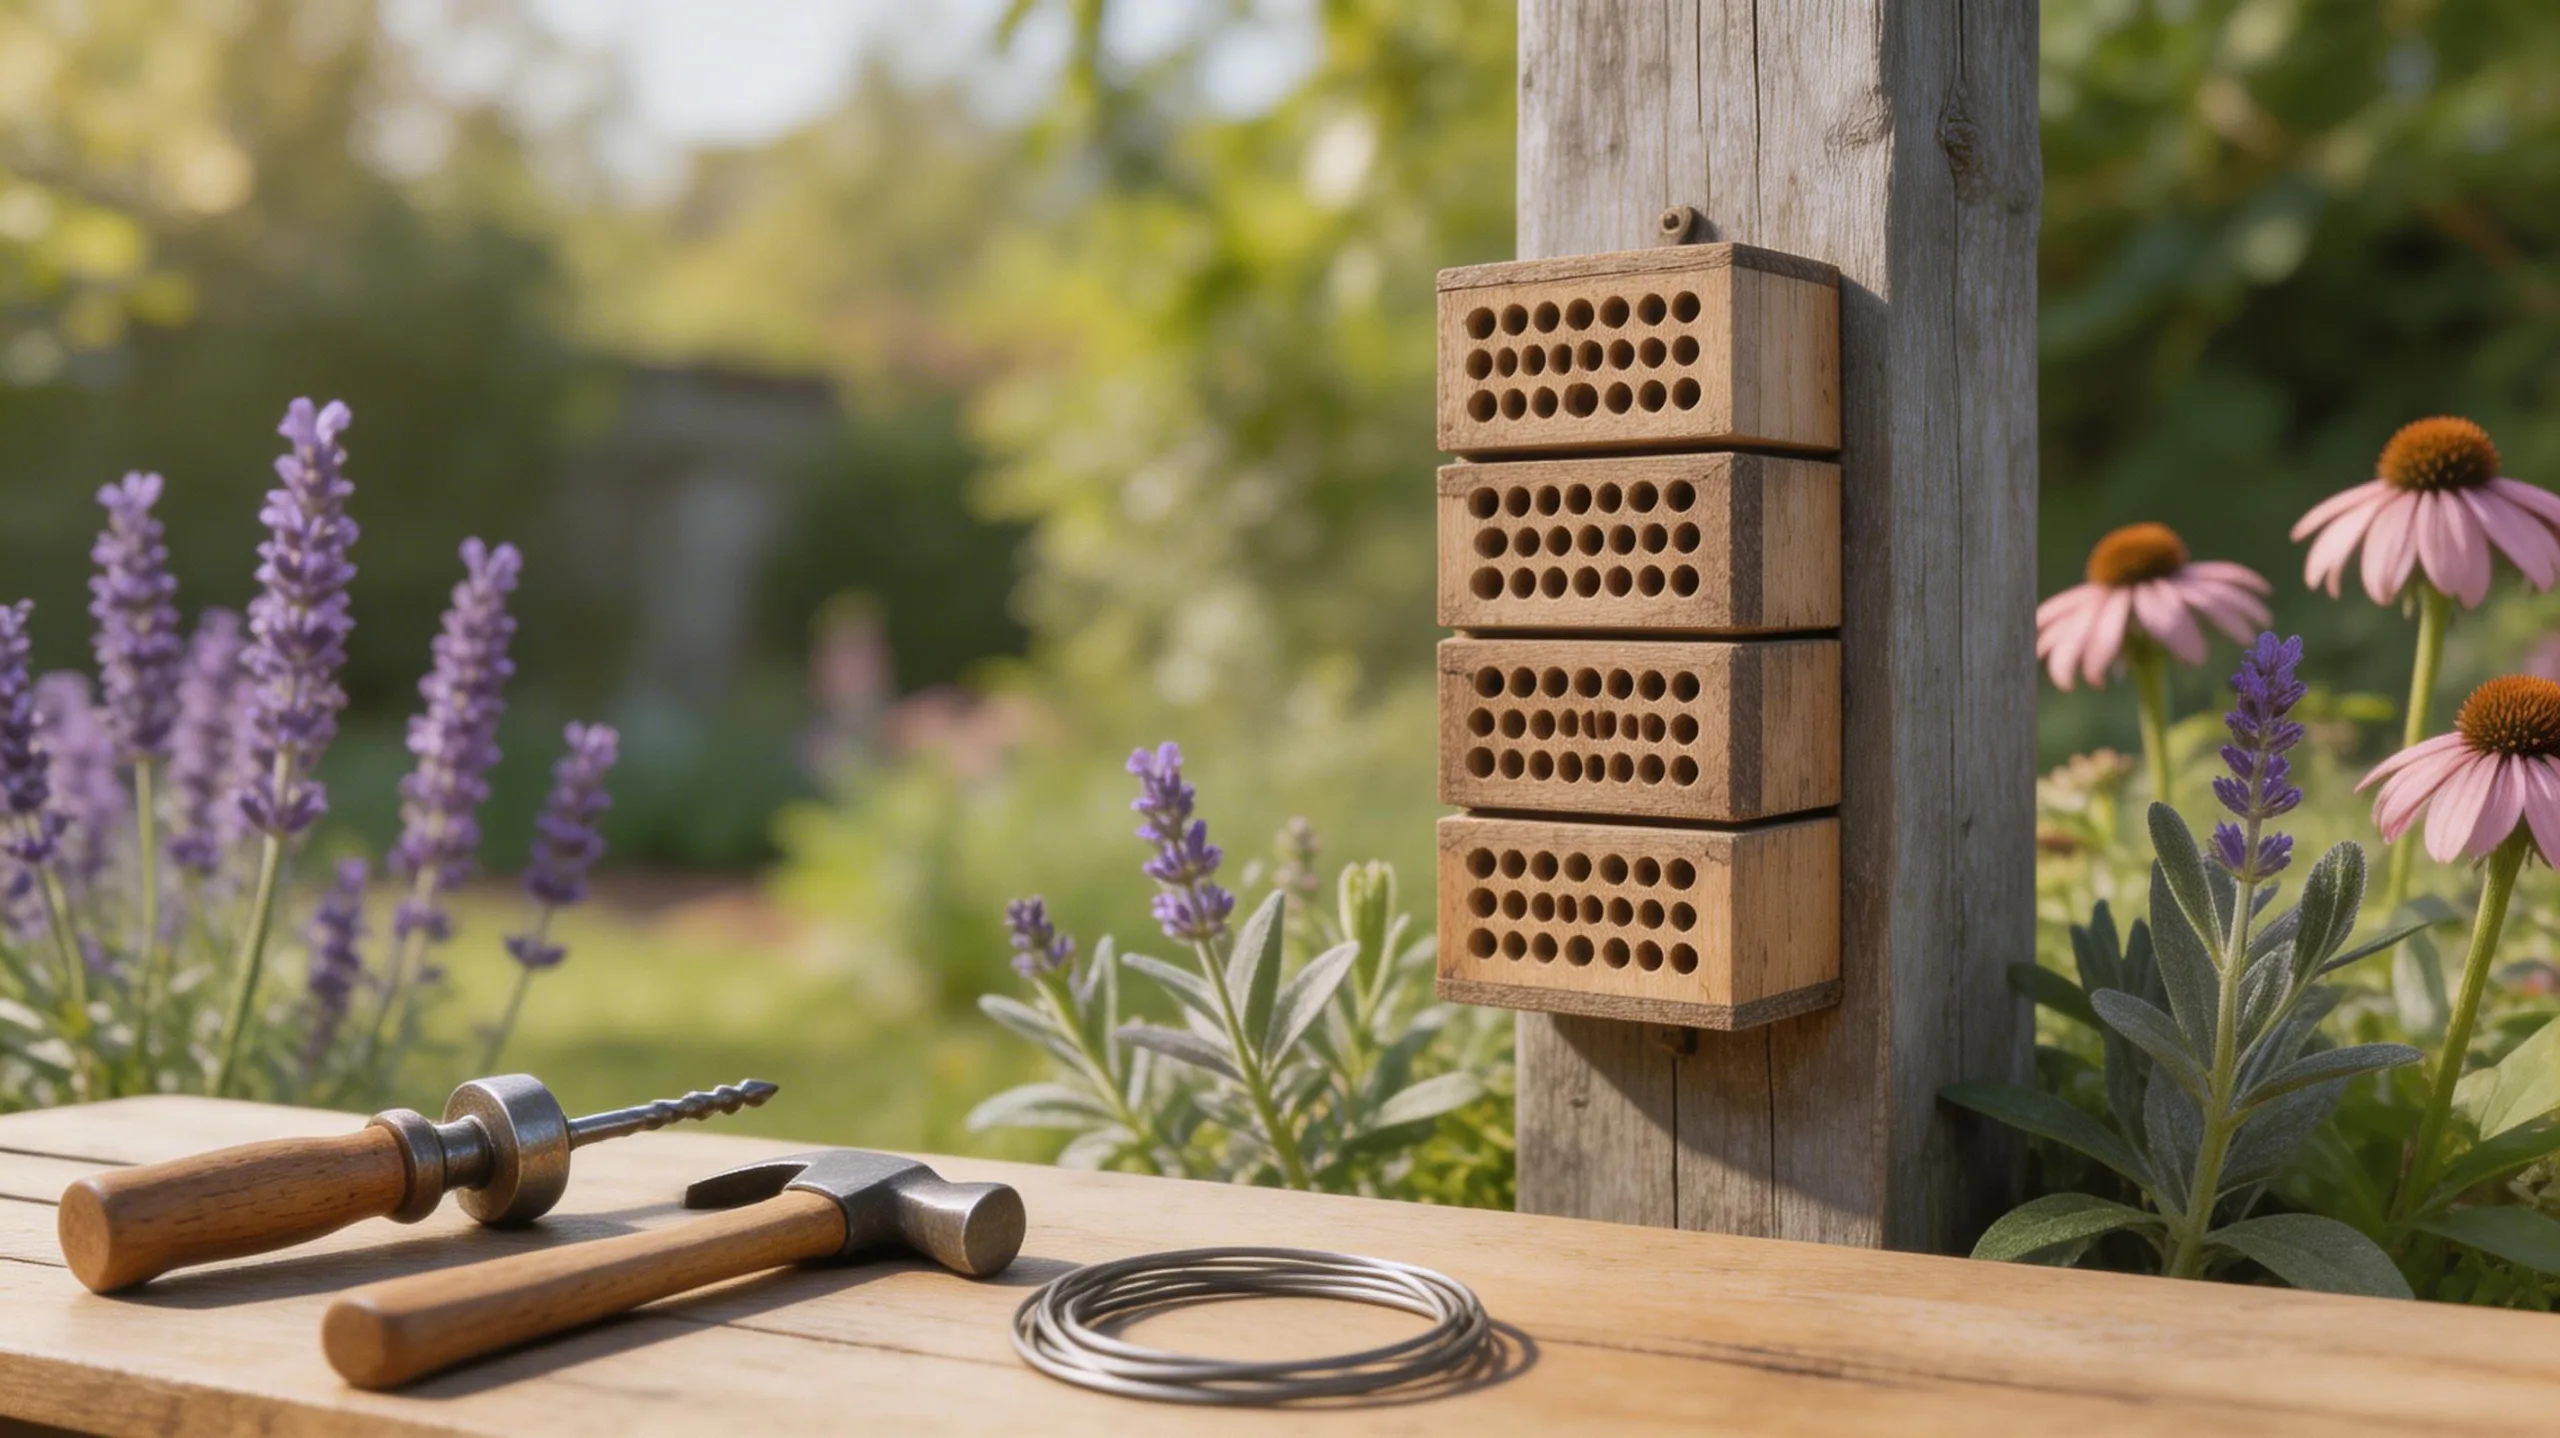
After making a self-watering planter to care for your plants, you can create a home for the pollinators that help them thrive. Constructing a bee hotel provides vital nesting sites for solitary bees, boosting your garden’s productivity.
You’ll need a simple wooden frame, which you can fill with various natural materials. Bundle hollow stems like bamboo or reeds tightly inside. Alternatively, drill different-sized holes into blocks of untreated wood; these become cozy tunnels.
Securely mount your finished hotel in a sunny, sheltered spot, facing southeast. Ensure it’s protected from rain and won’t sway in strong winds. Your crafted sanctuary will soon attract beneficial insects, turning your backyard into a vibrant, pollinator-friendly ecosystem.
Install a Simple Drip Irrigation System for Your Garden
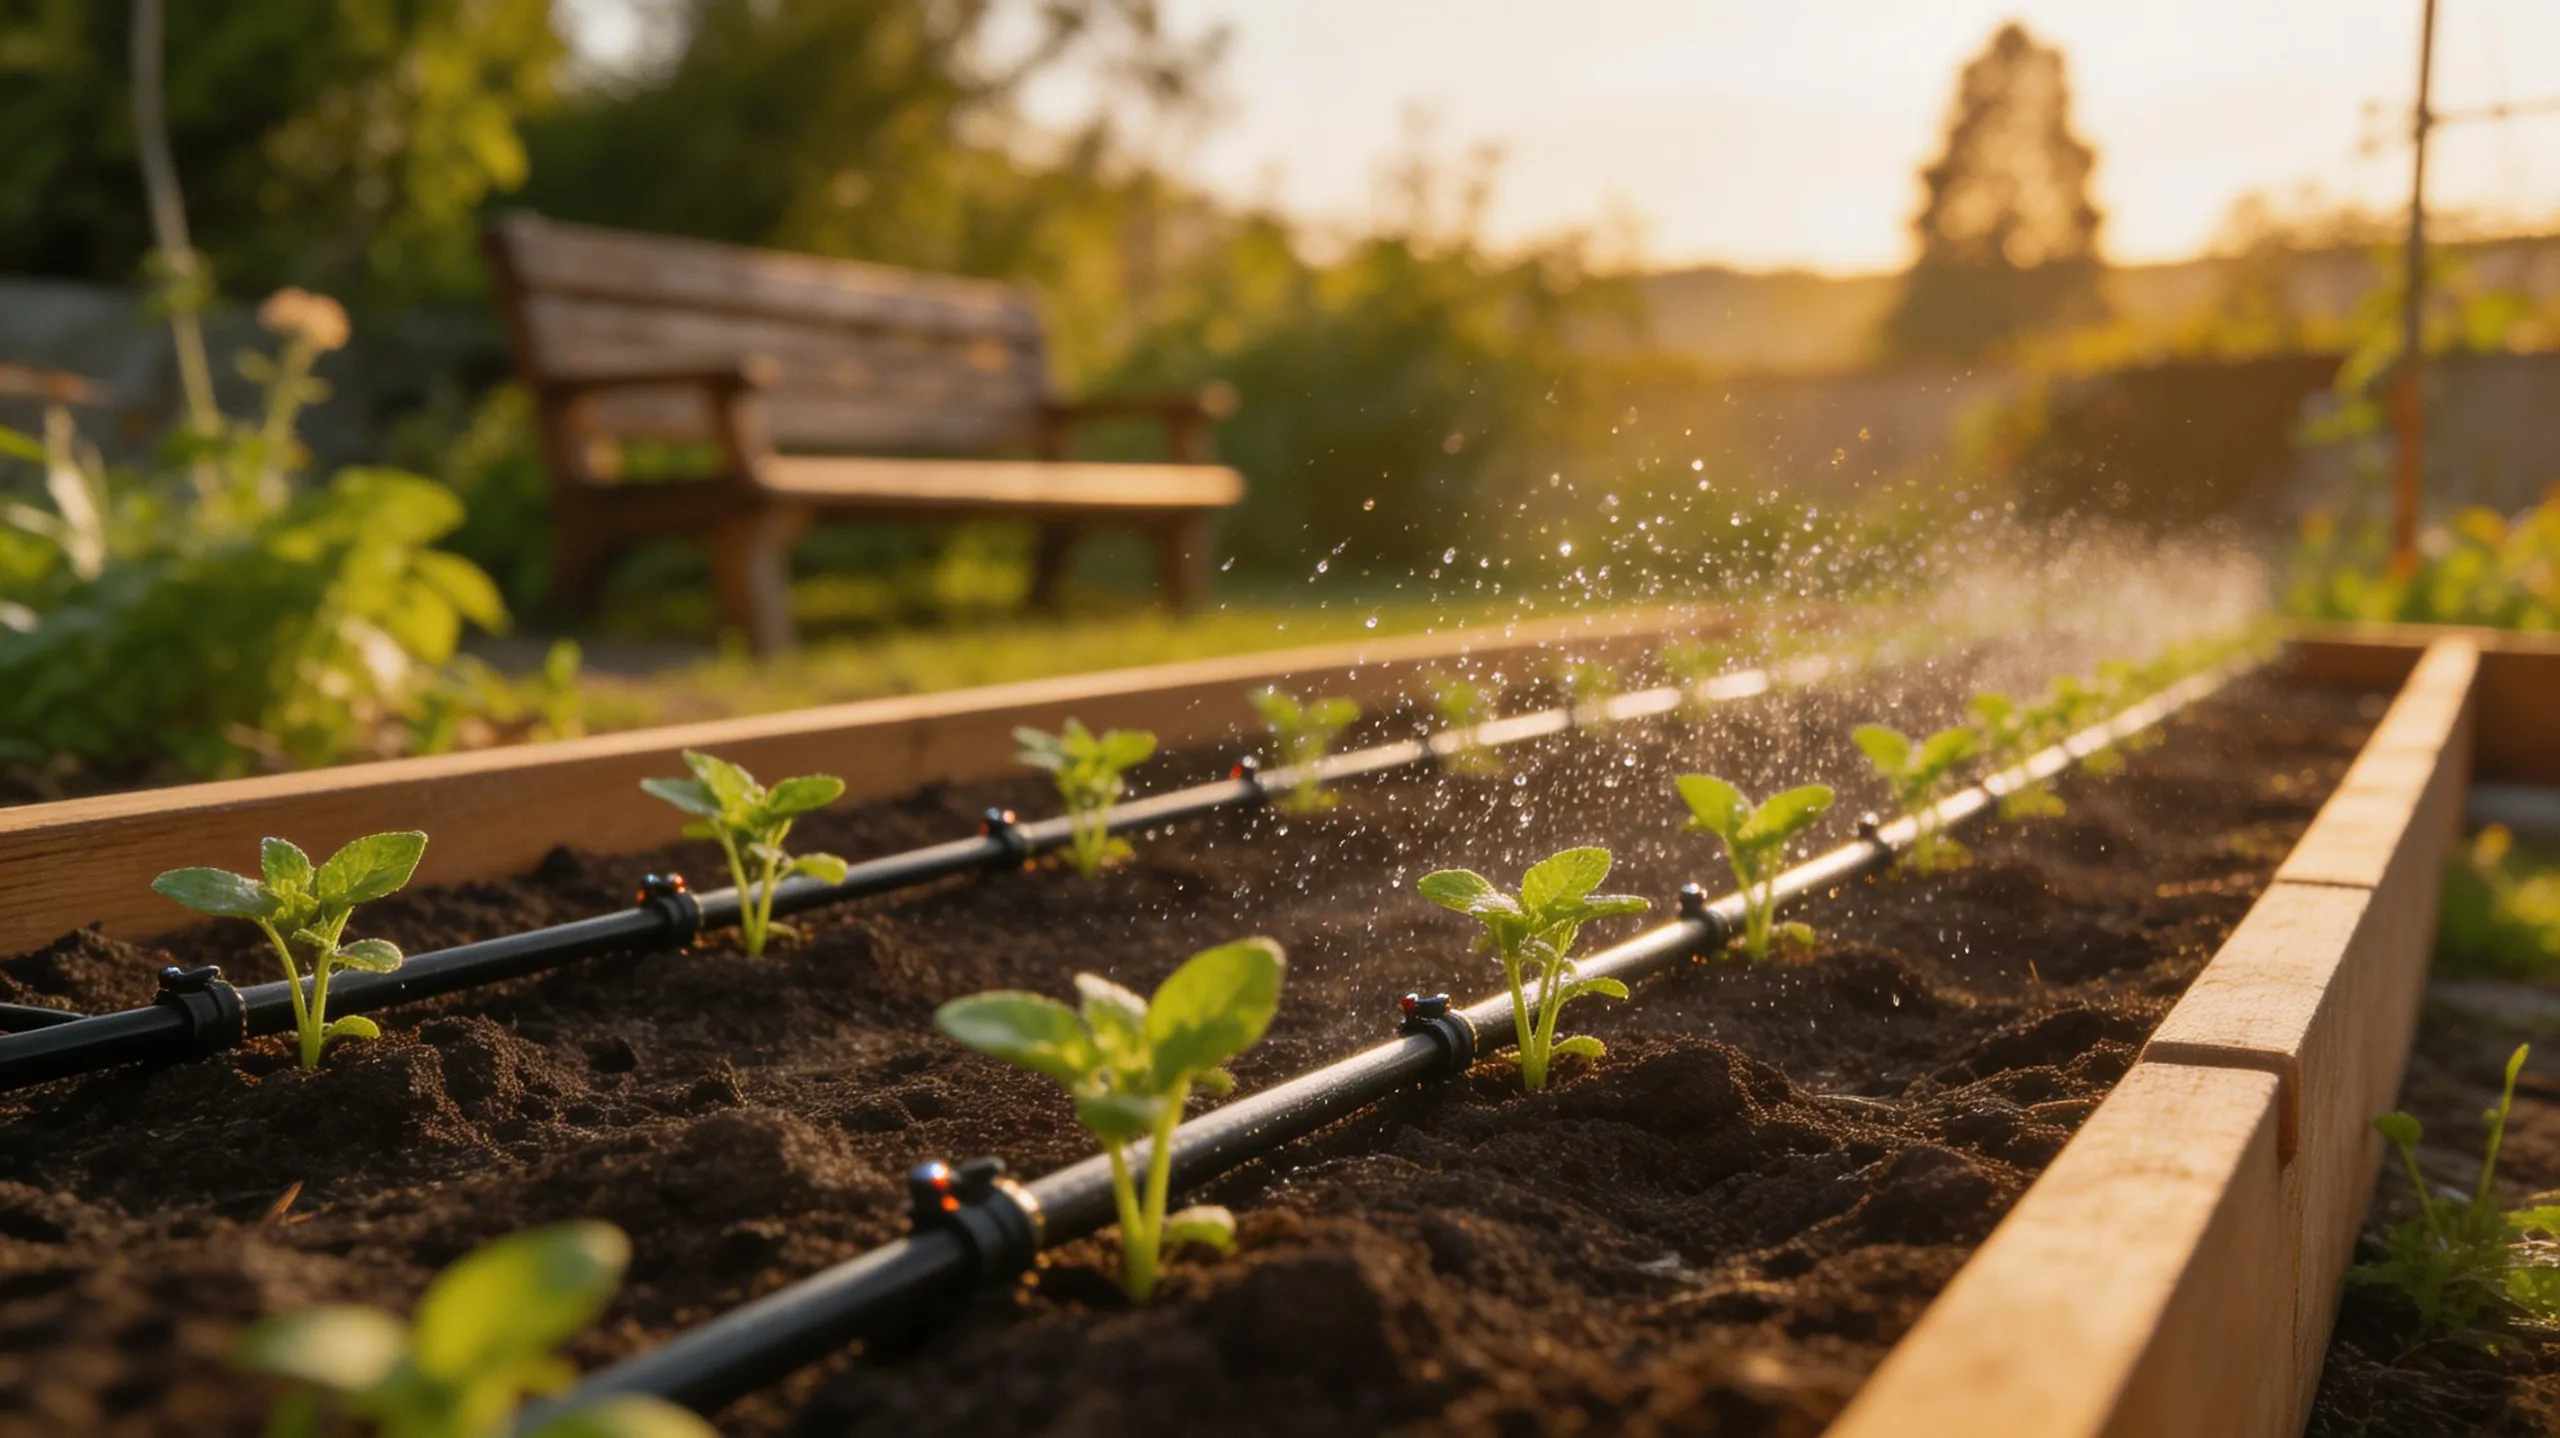
Give your garden a consistent drink without the daily chore by installing a simple drip irrigation system. You’ll conserve water and direct it right to the roots where plants need it most. Start by sketching your garden layout. You’ll need a timer, pressure regulator, backflow preventer, mainline tubing, and drip emitters. Connect your system to an outdoor faucet. Lay the mainline tubing along your beds, using stakes to secure it. Punch holes and insert emitters at the base of each plant. Finally, attach the timer and run a test. You’ll adjust the emitter flow rates and timer schedule based on your specific plants’ thirst.
| Component | Primary Function | Pro Tip |
|---|---|---|
| Timer | Automated watering schedule | Set for early morning watering |
| Pressure Regulator | Protects delicate emitters | Always install after the filter |
| Drip Emitters | Deliver water to plant roots | Use different GPH for varied needs |
Craft a Decorative Pebble Mosaic Pathway
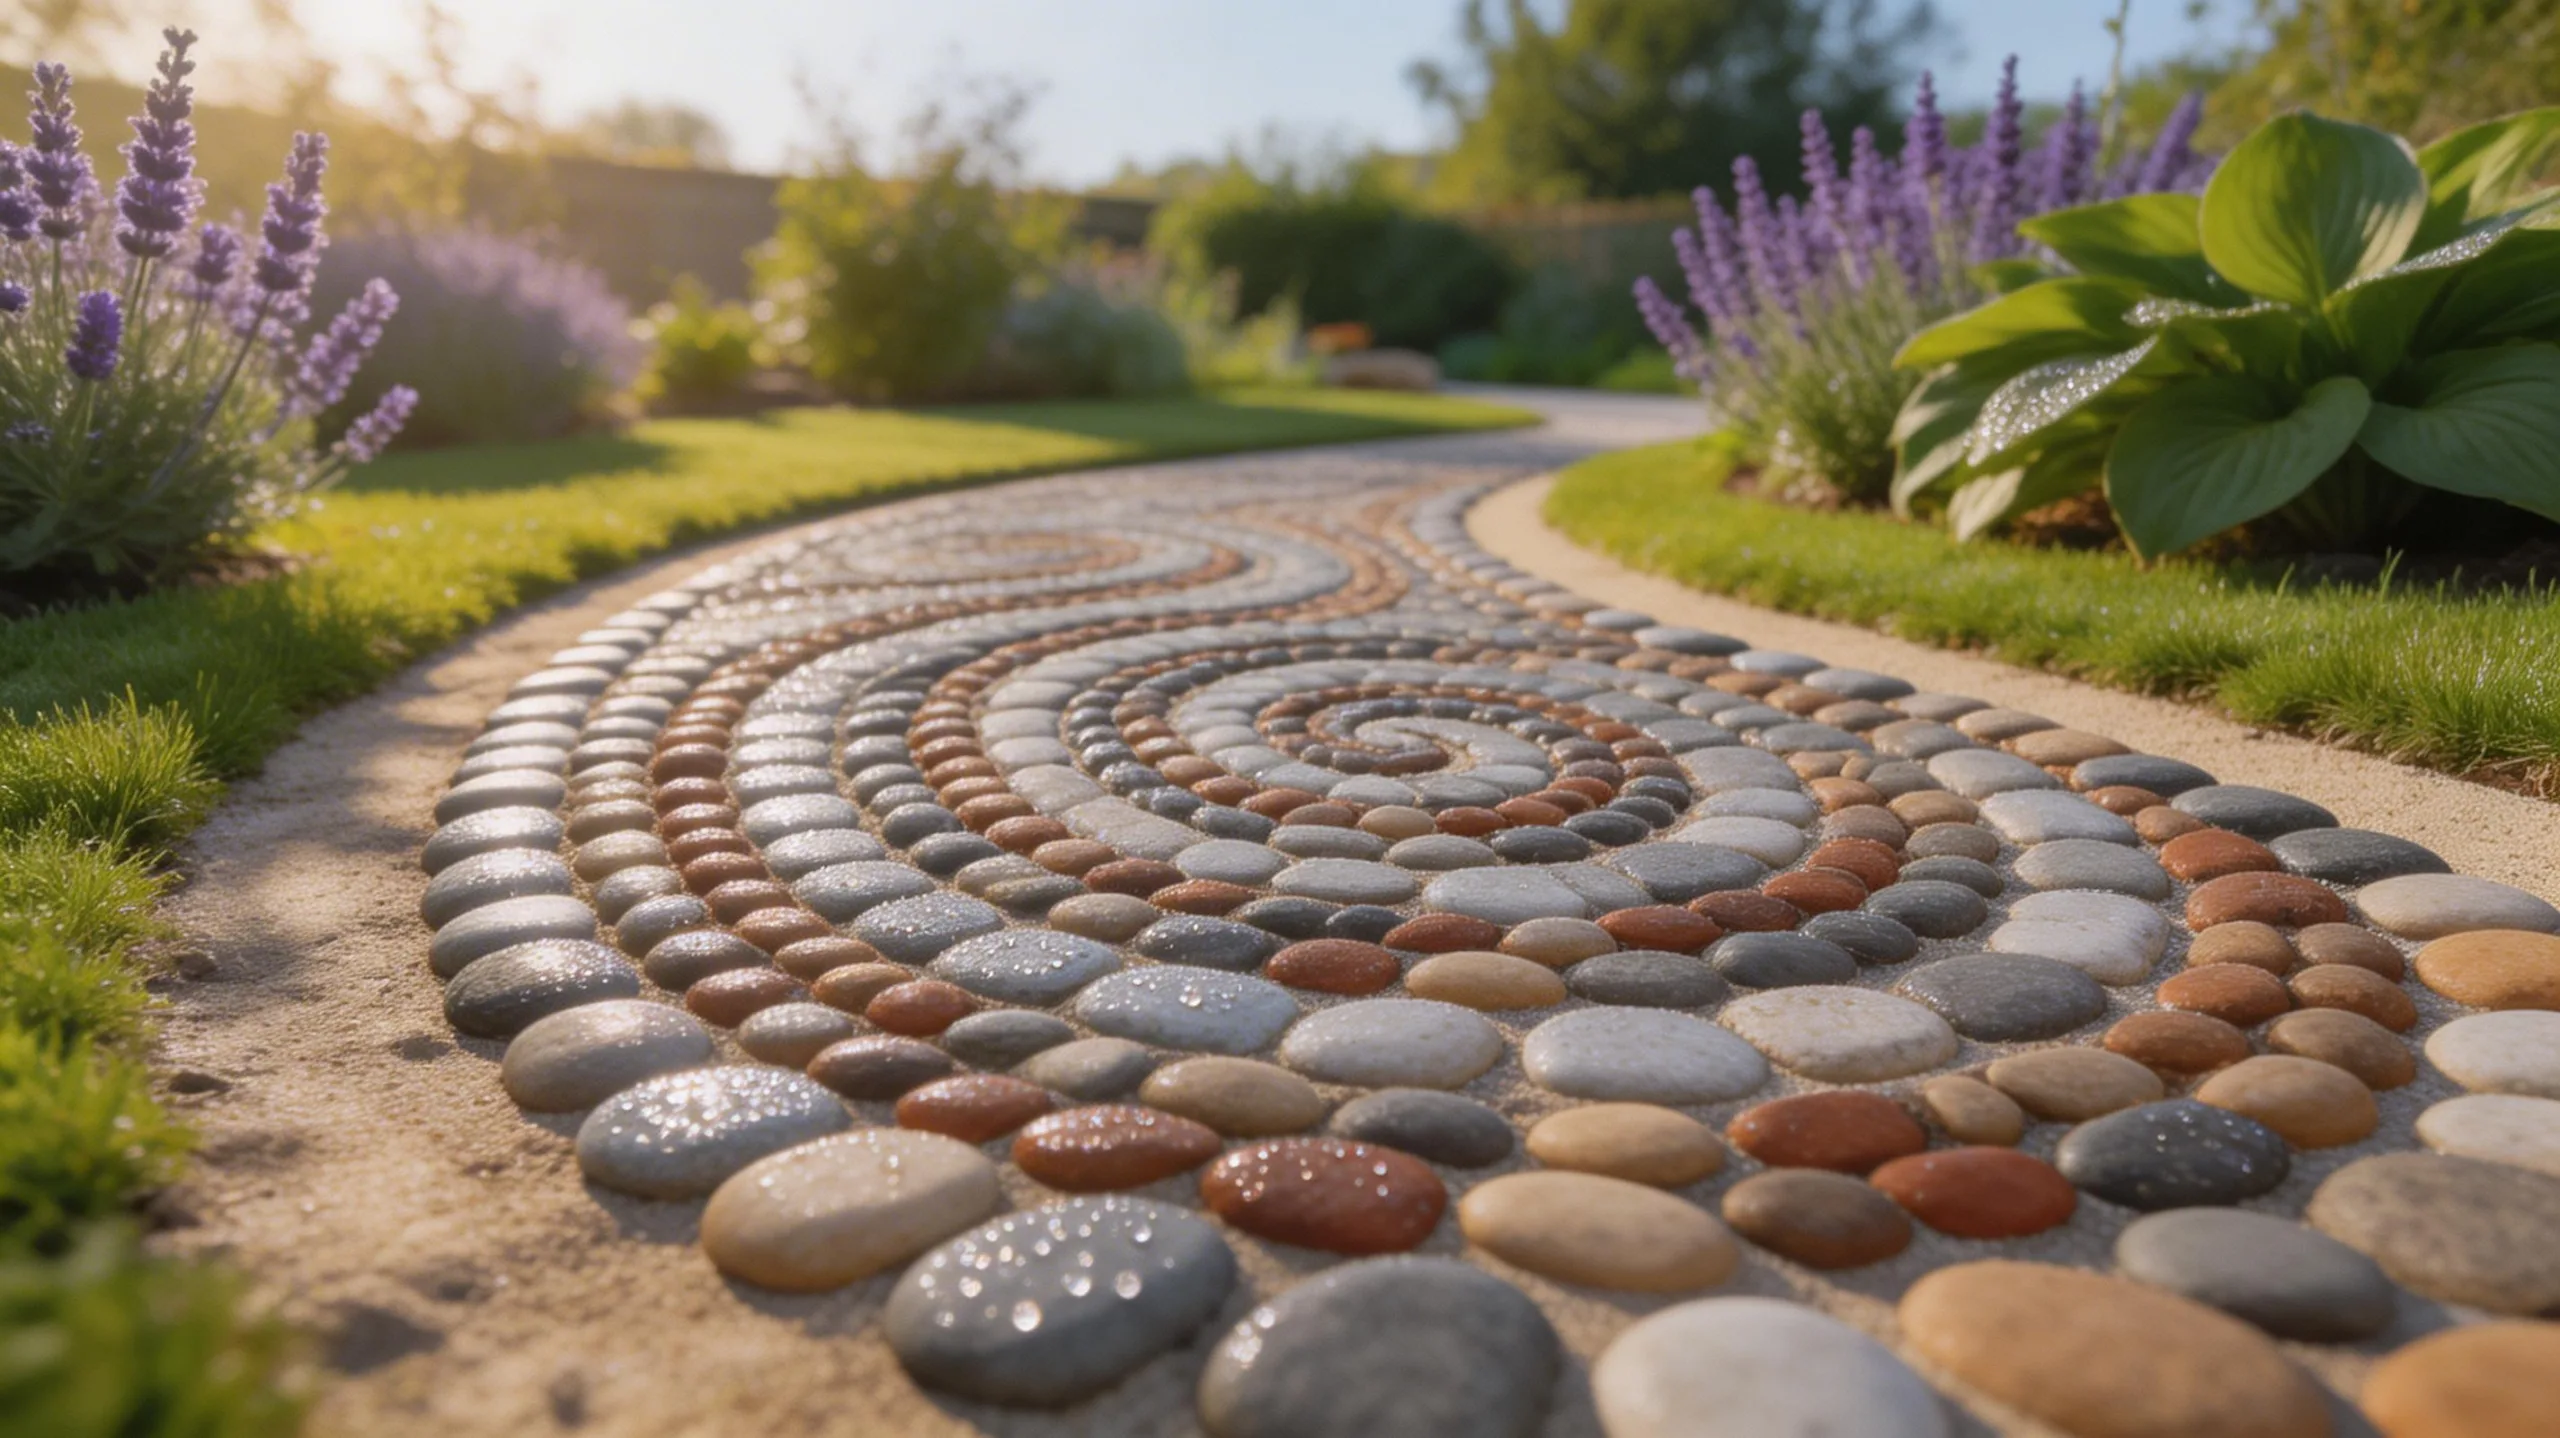
While your drip irrigation system efficiently waters the garden, you can enhance its beauty underfoot by crafting a decorative pebble mosaic pathway.
This project transforms a simple walkway into an artistic feature using stones you gather.
First, outline your path’s shape with a garden hose.
Excavate the area to a depth of about four inches, then compact a base layer of sand.
Next, arrange your pebbles directly into the sand, pressing them firmly to create your mosaic pattern.
Consider these key points for a durable and beautiful result:
- Select pebbles in various colors and sizes for visual interest.
- Use a simple, repeating geometric pattern for ease of installation.
- Ensure all stones are firmly seated to prevent shifting.
- Finally, sweep fine sand between the pebbles to lock them in place.
Install Solar-Powered Pathway Lighting
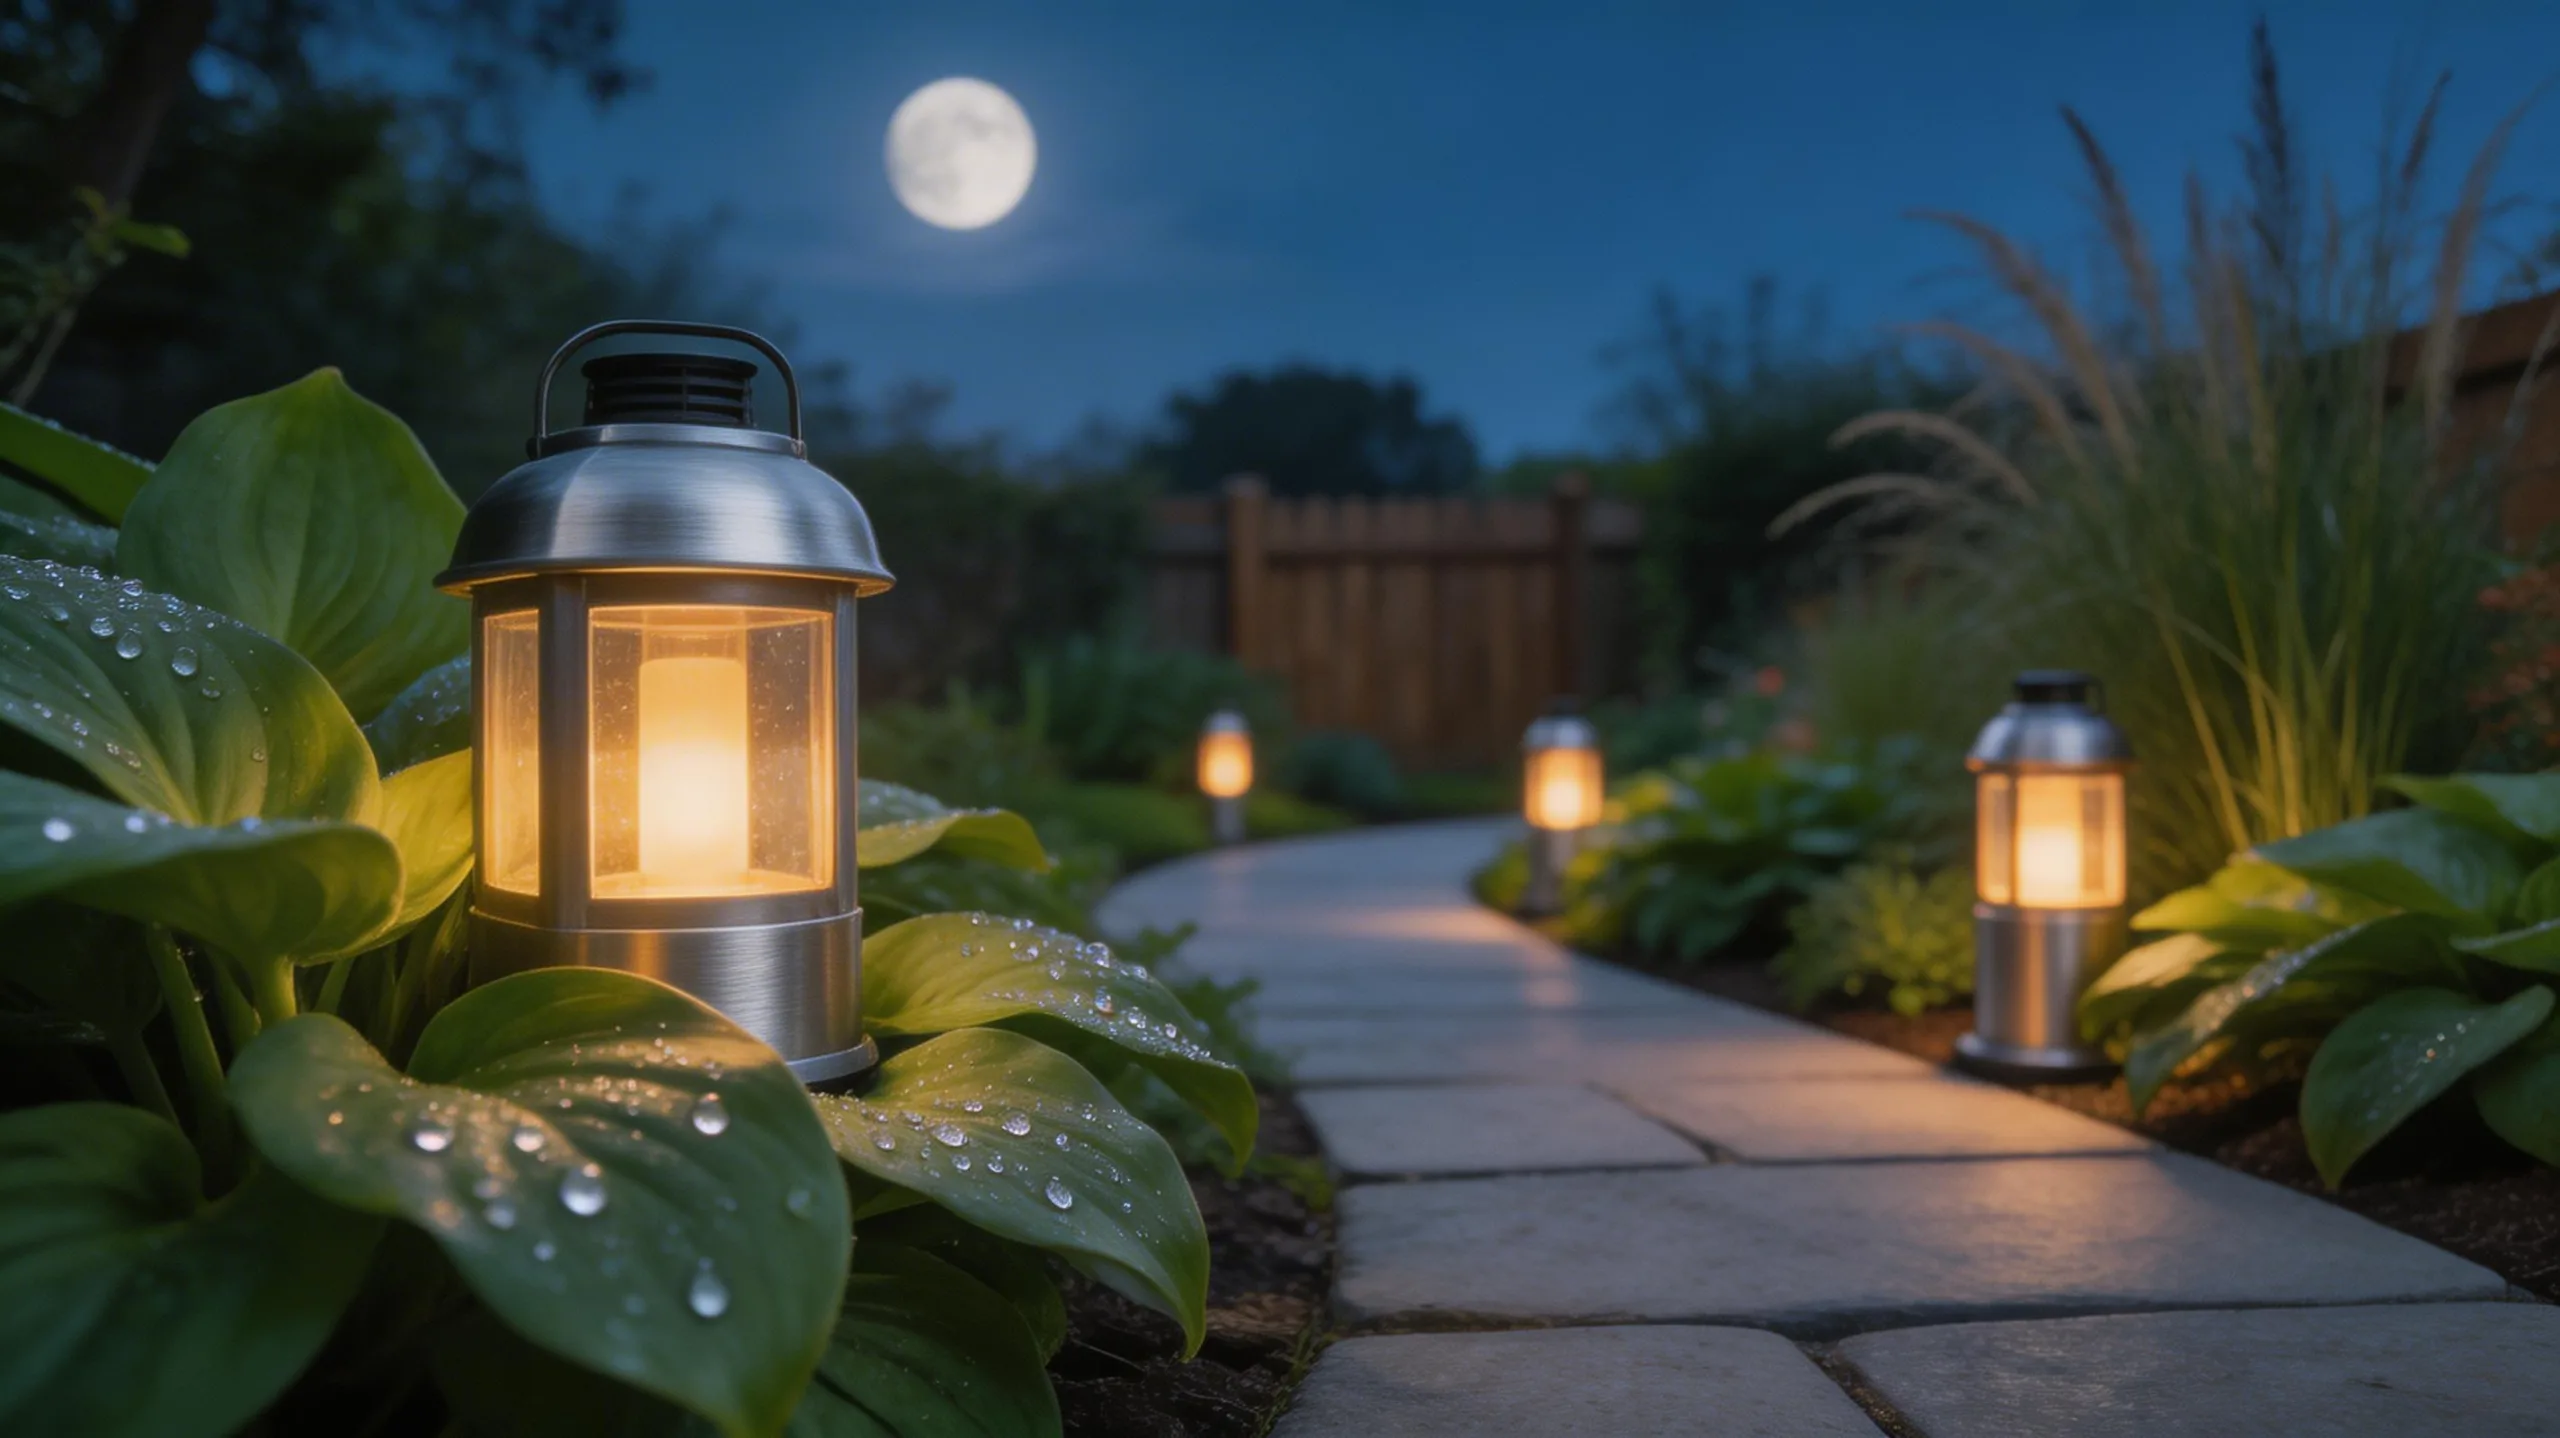
Brighten your pathway after dusk by installing solar-powered lights that’ll bring both safety and ambiance to your garden.
Start by choosing stake lights for soft ground or wall-mounted fixtures for bordering walls. Look for units with robust solar panels and durable, waterproof casings.
Space them evenly along your path’s edge, ensuring each light’s solar panel gets ample daytime sun, away from heavy shade.
You’ll simply push the stakes into the soil or mount the fixtures with provided screws—no wiring needed.
Come evening, they’ll automatically cast a gentle glow, highlighting your pathway’s contours and deterring trips.
They’re a zero-energy-cost upgrade that looks enchanting and makes your garden safely navigable all night.
Paint Your Own Garden Stepping Stones
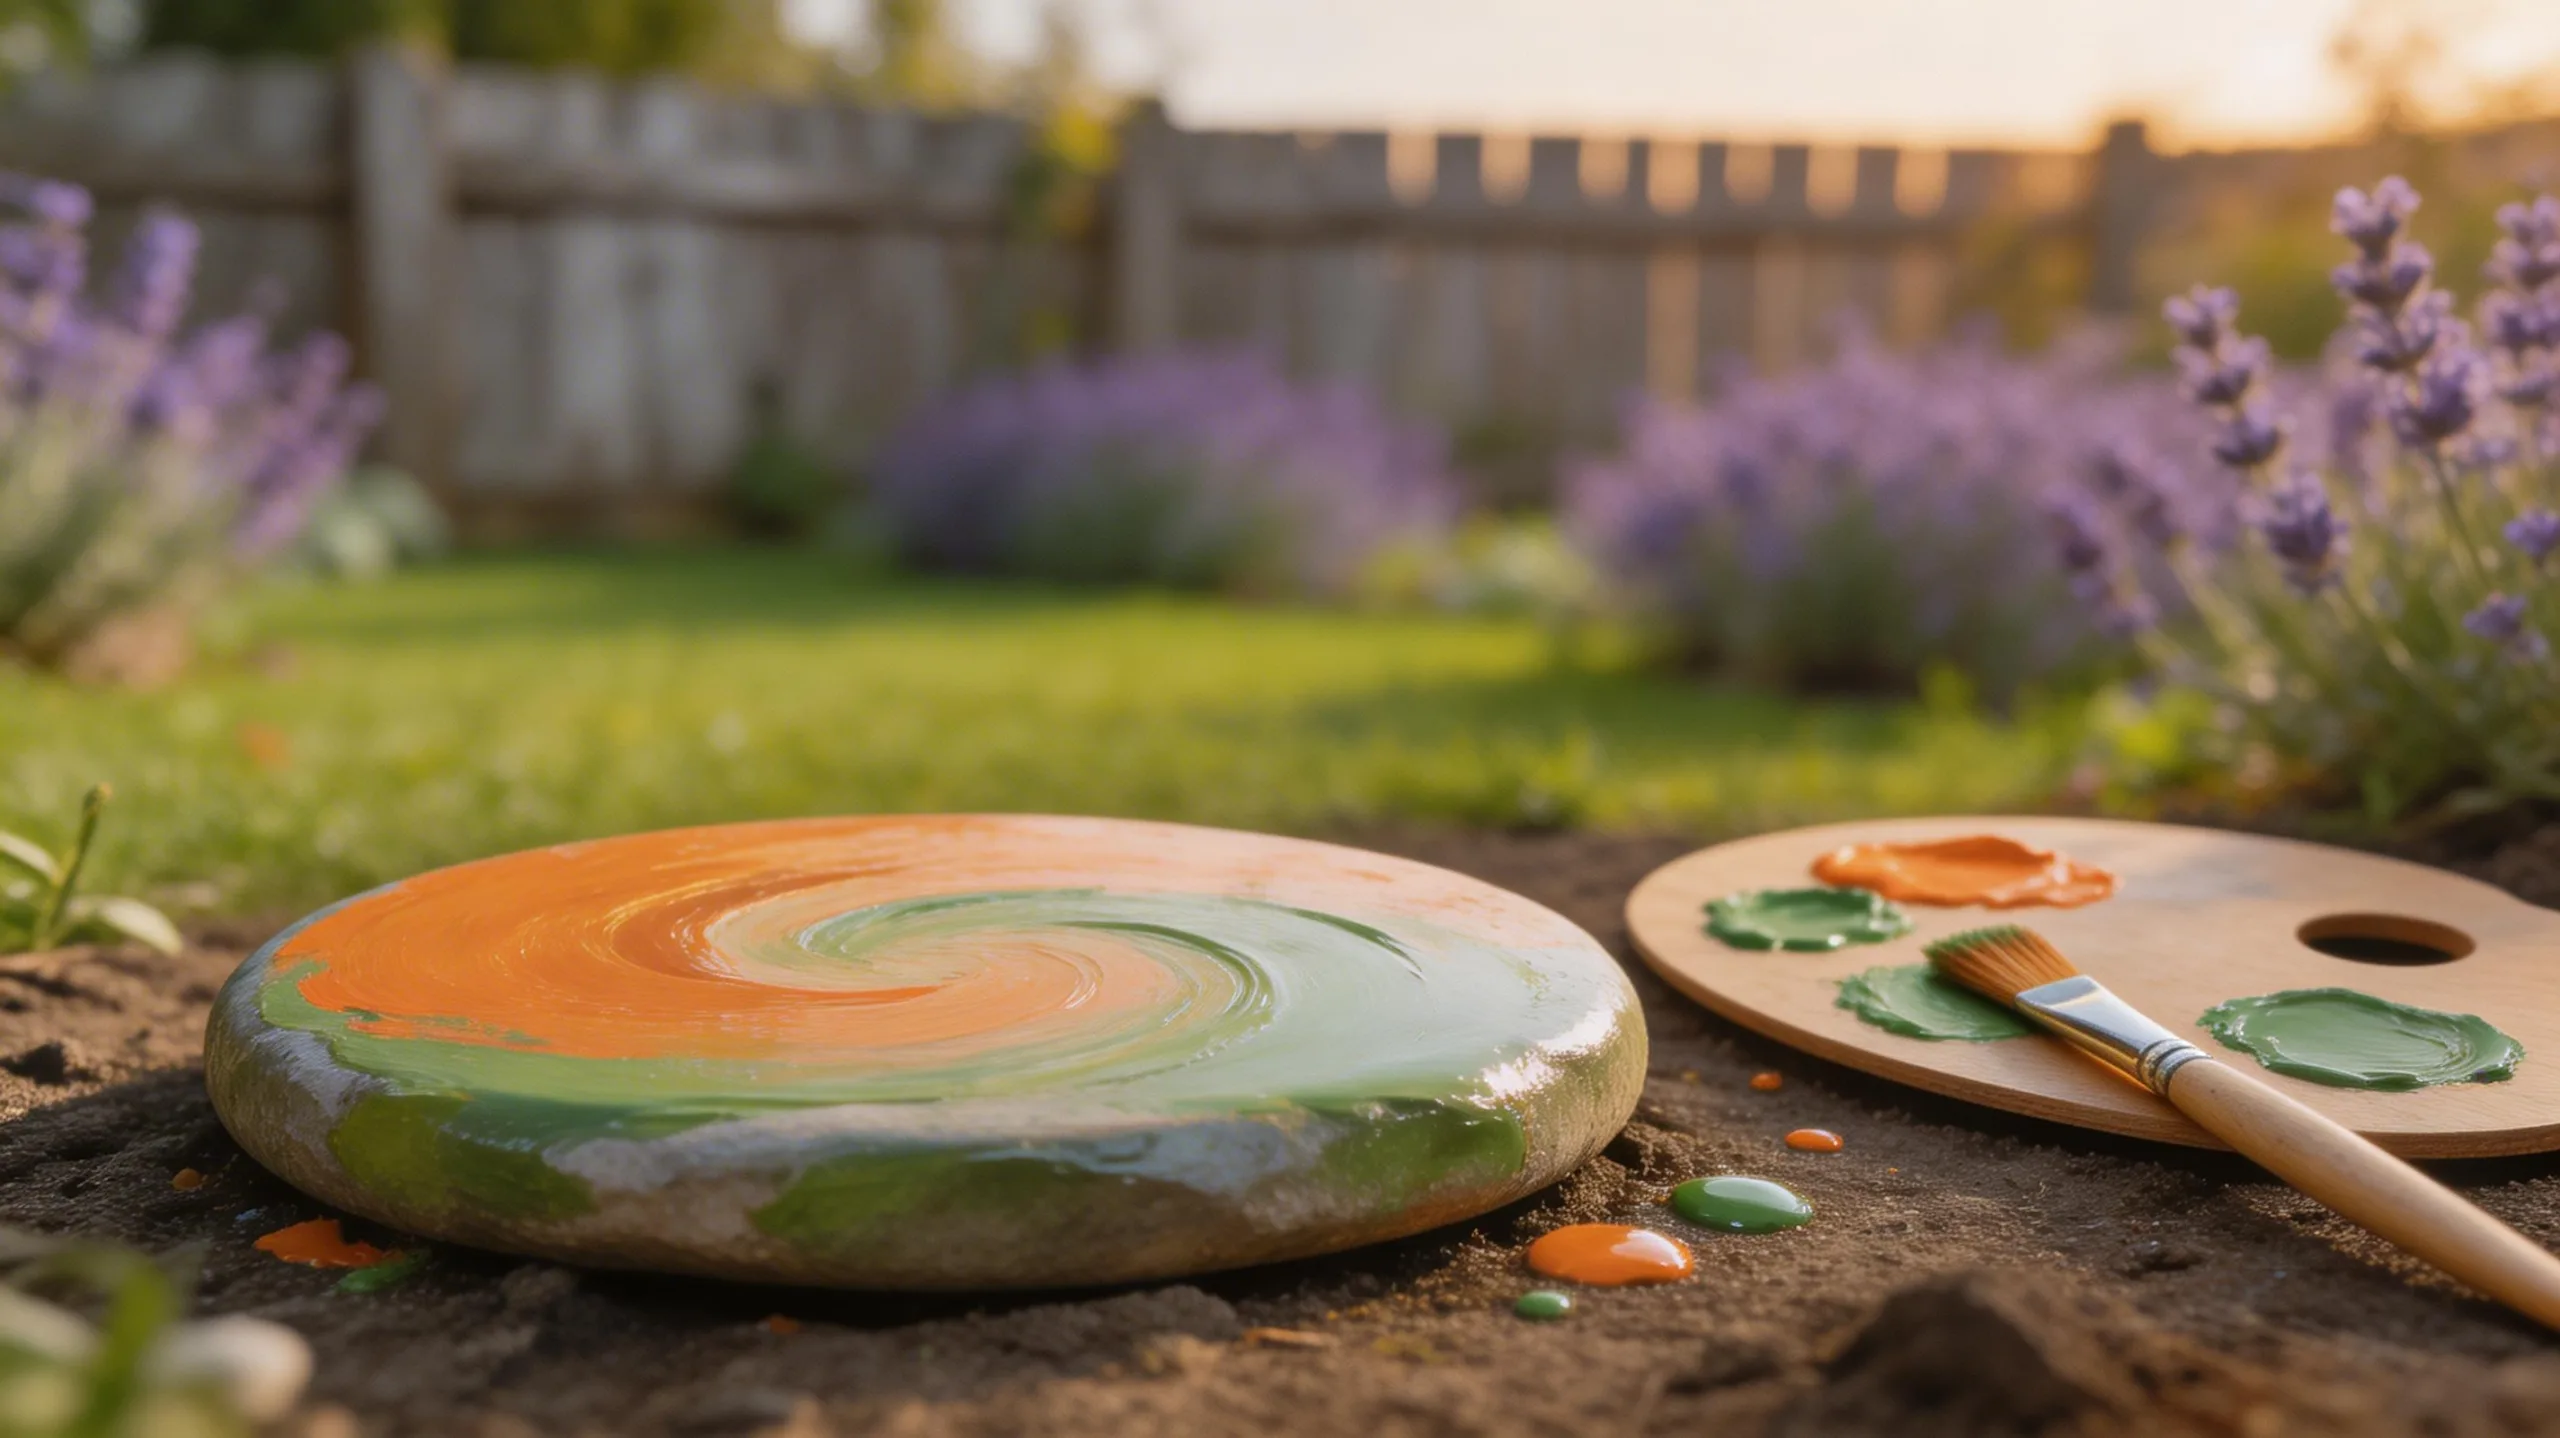
Adding a personalized touch underfoot, you can paint your own garden stepping stones to create colorful, artistic anchors in your landscape.
Start with plain concrete stones, ensuring their surfaces are clean and dry. You’ll need outdoor-rated acrylic paints, brushes in various sizes, and a clear sealant spray for protection. Sketch your design lightly in pencil first, then apply your base colors, working from the background forward. Allow each layer to dry completely.
For lasting results, follow these key steps:
- Prime the stone with a base coat for better paint adhesion.
- Use thin layers of paint to prevent cracking.
- Apply at least two even coats of weatherproof sealant.
- Let the sealed stones cure fully for 48 hours before placing them.
Your unique creations will guide guests through your garden with style.
Create Rustic Garden Edging From Recycled Bottles
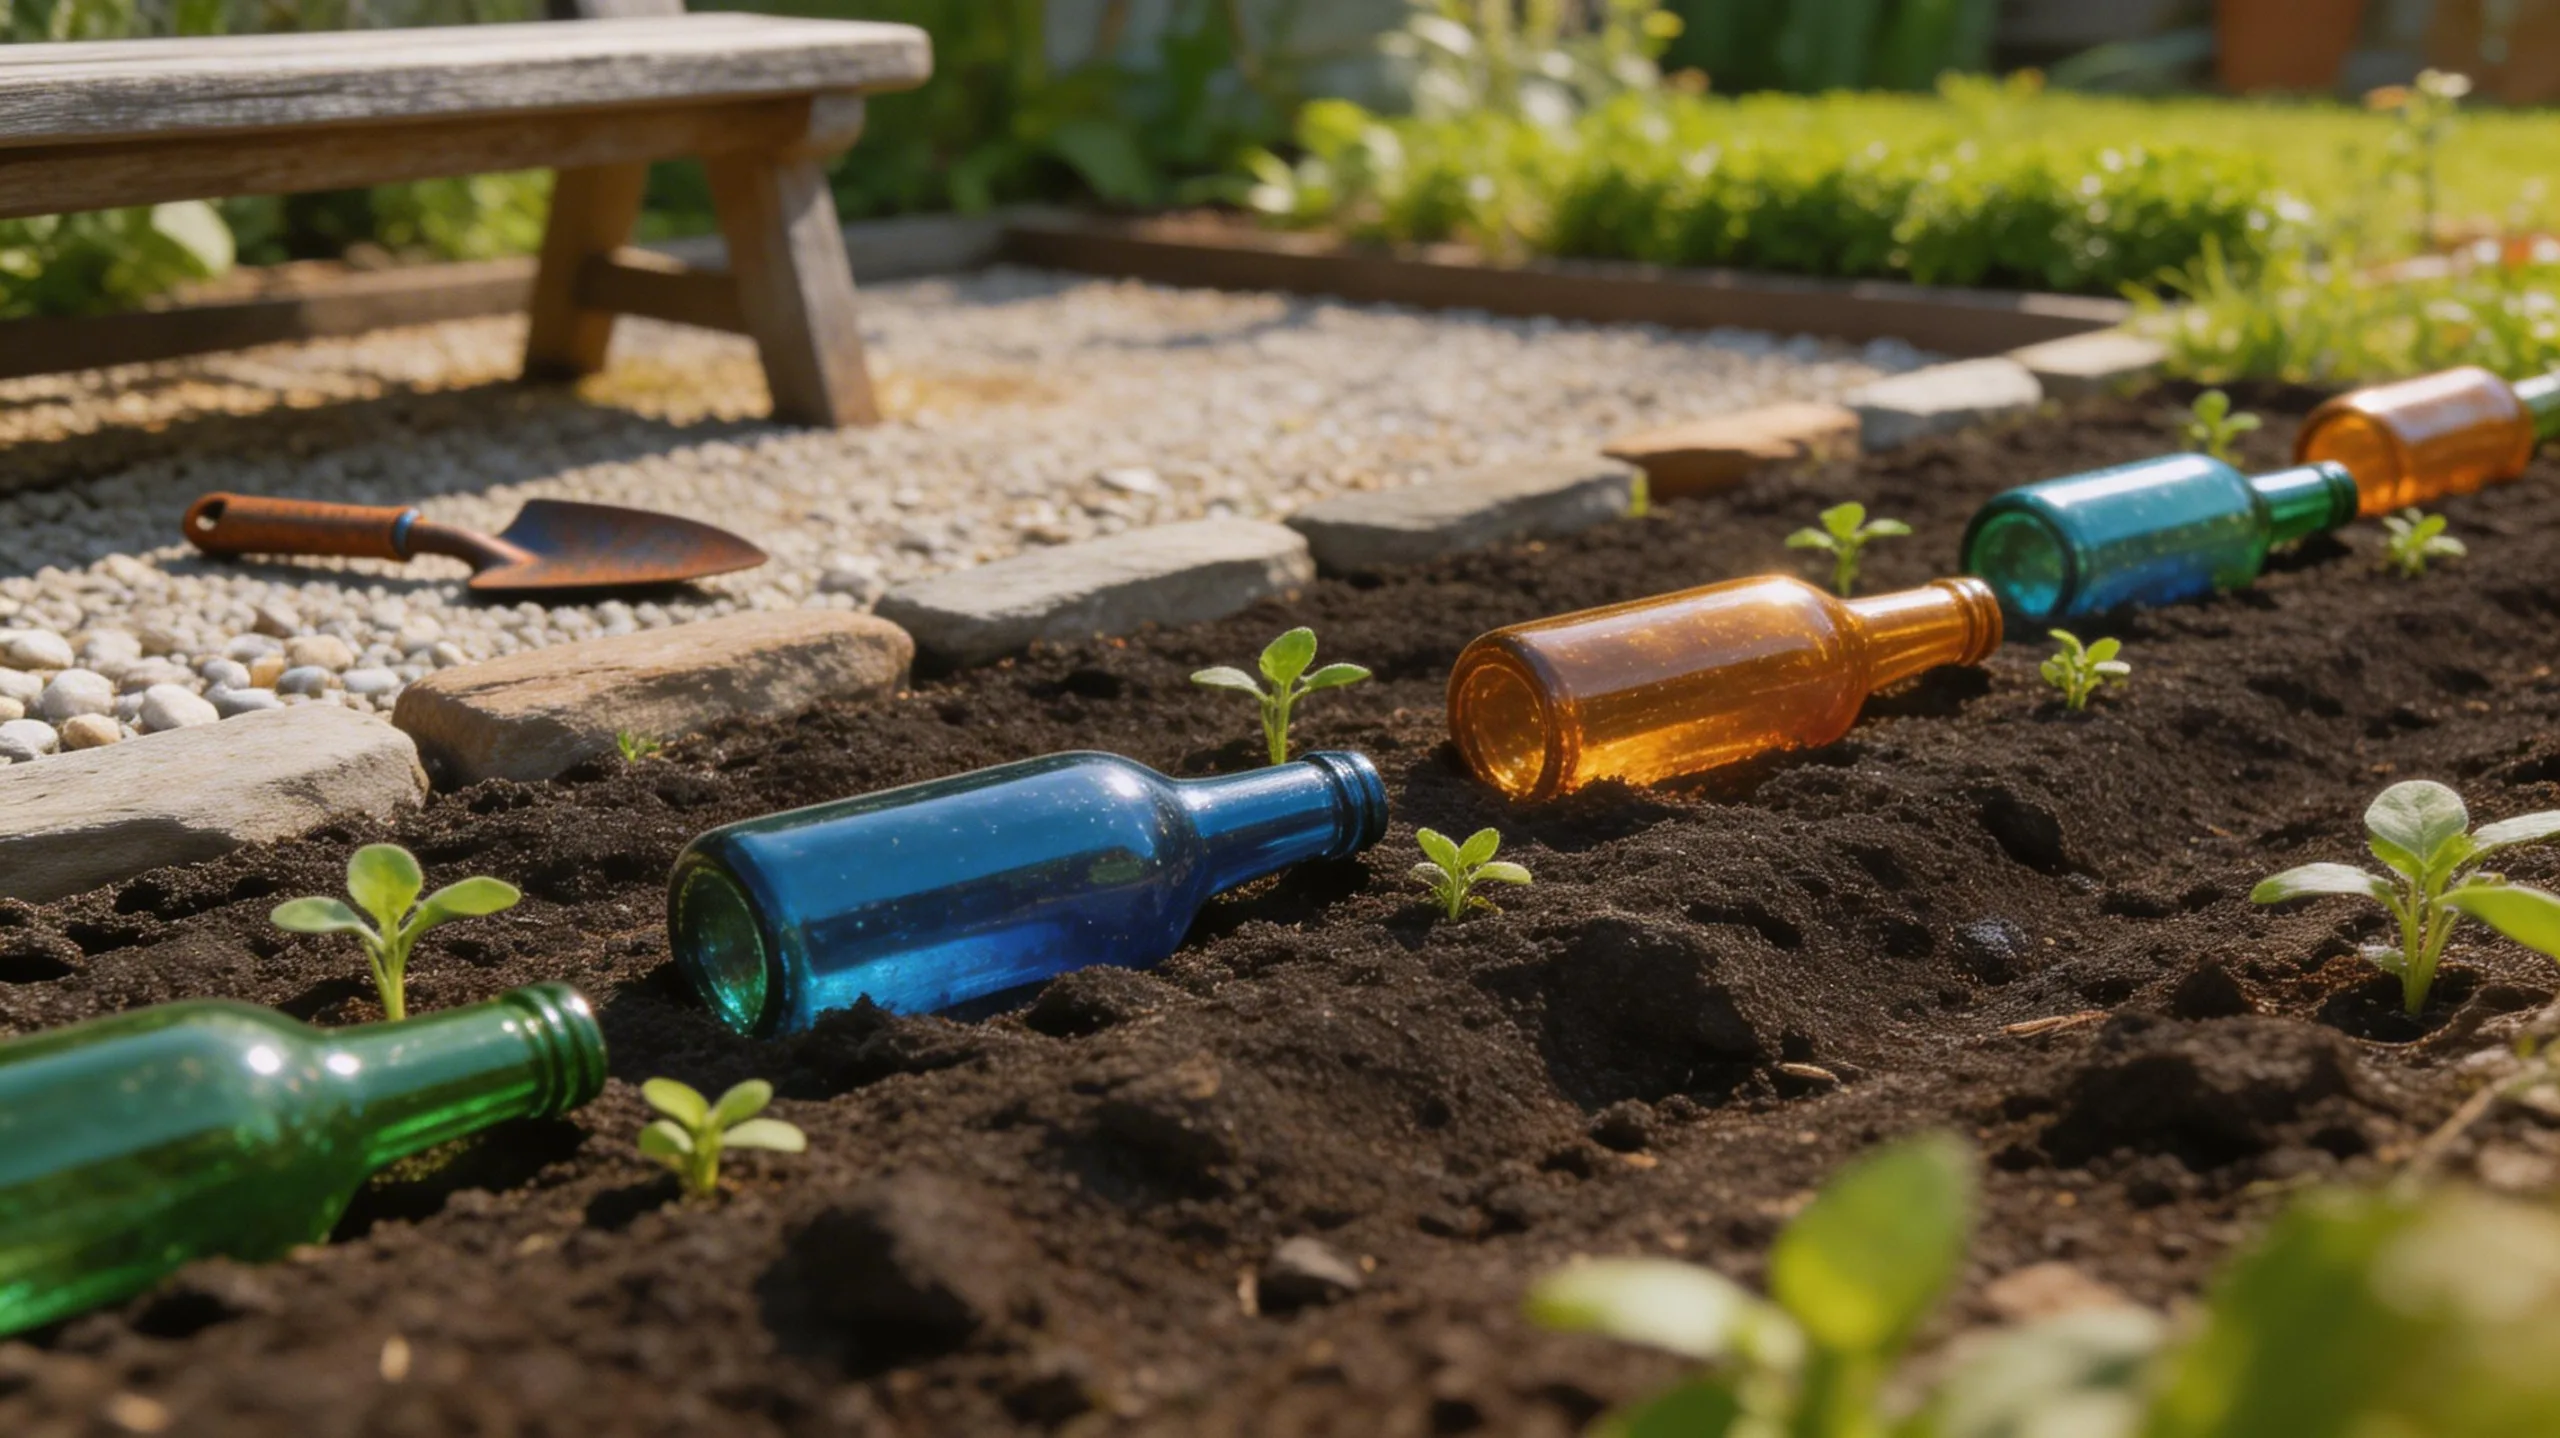
For a charming border that repurposes everyday waste, you can create rustic garden edging from recycled bottles. Collect glass or sturdy plastic bottles of similar size and color. Rinse them thoroughly, removing all labels.
Dig a shallow trench along your desired border line, ensuring it’s deep enough to hold the bottles securely upside down. Carefully invert each bottle and nestle it into the trench, pushing down until it feels stable. Pack soil firmly around each neck to lock them in place.
You’ll create a beautiful, undulating line that catches the light. This simple barrier defines flowerbeds while preventing soil erosion. It’s a wonderfully creative way to keep bottles from the landfill and add unique character to your garden paths.
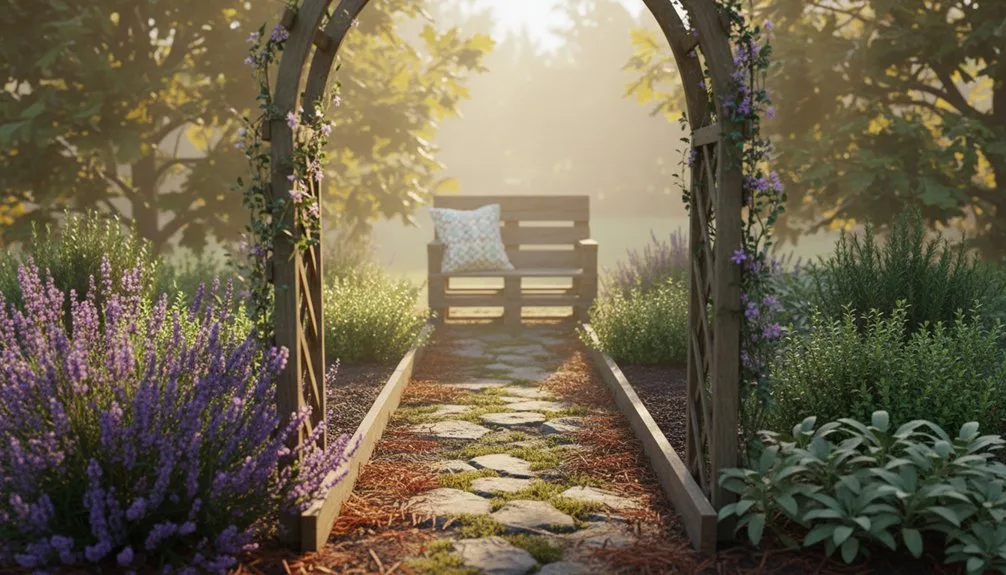
Make a Decorative Trellis for Climbing Vines
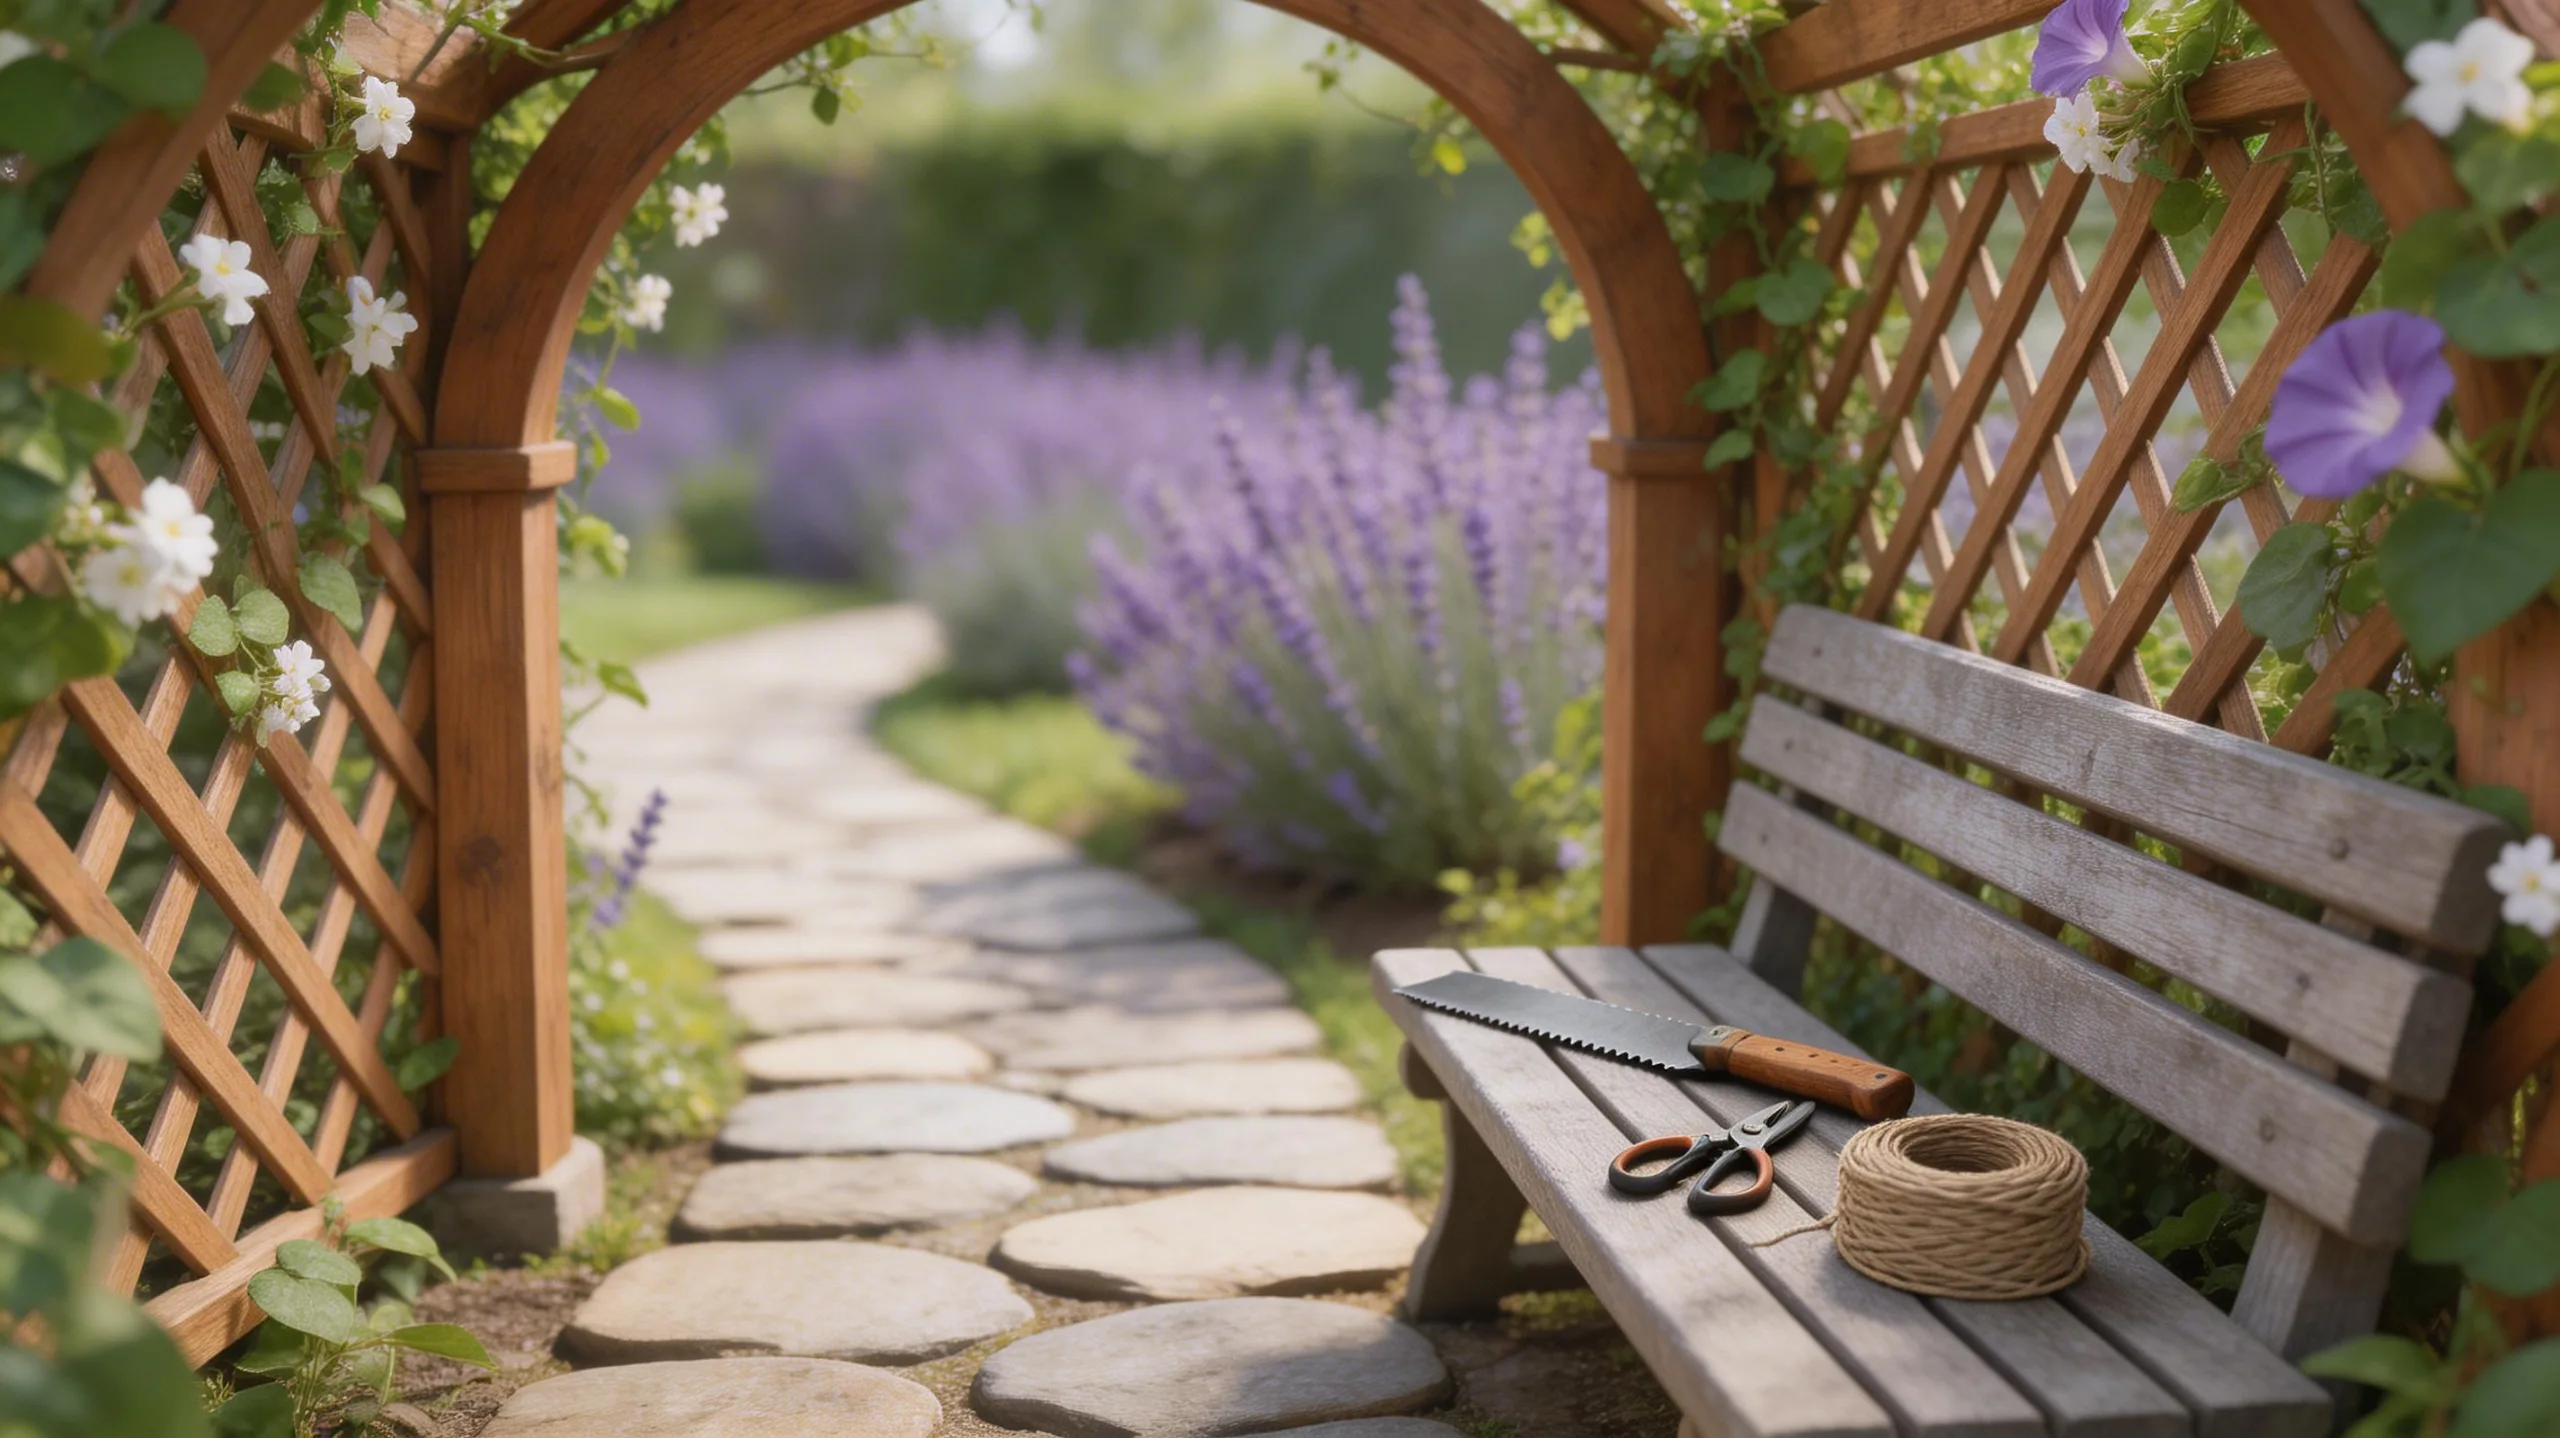
Transform a bare wall or fence into a vibrant vertical garden by crafting your own decorative trellis for climbing vines. You’ll turn a simple structure into a living sculpture.
Begin by measuring your space and sketching a design—geometric grids, arched tops, or whimsical shapes work beautifully. Choose durable, rot-resistant materials like cedar, redwood, or galvanized steel rods. For a wooden trellis, assemble your frame, then attach lattice or crisscrossed battens securely with exterior screws.
Finally, anchor it sturdily a few inches from the wall to allow for air circulation and vine tendrils to weave through.
Your construction choices directly impact the trellis’s success and beauty:
- Material Selection: Use cedar or metal for longevity against the elements.
- Design Spacing: Ensure grid openings are 4-6 inches for optimal plant support.
- Secure Attachment: Fasten to wall studs or fence posts for wind resistance.
- Surface Preparation: Apply a non-toxic sealant to wood for added protection.
Construct a Classic Wooden Garden Bench
Craft a timeless wooden bench to create a welcoming focal point in your garden, where you can relax and enjoy your outdoor space.
Start with weather-resistant cedar or pressure-treated pine. You’ll need basic tools: a saw, drill, and sander. Cut your lumber to size for the seat slats, legs, and support aprons.
Pre-drill holes to prevent splitting and assemble the sturdy frame first using galvanized screws. Attach the smooth-planed seat boards, leaving a small gap for drainage.
Sand every surface thoroughly to avoid splinters. Finally, apply a protective outdoor sealant or stain in your chosen hue.
This simple, sturdy build provides a perfect perch for quiet mornings with coffee or evenings watching your garden thrive.
Craft a Cozy Fire Pit From Pavers
Now that you’ve built a place to sit, you’ll want a warm gathering spot for those cooler evenings. Crafting a fire pit from concrete pavers is a simple weekend project that creates an instant backyard focal point.
First, choose a level spot at least ten feet from any structure. You’ll need about 24-30 standard rectangular pavers and a bag of paver base sand. For a sturdy build, follow these steps:
- Dig a shallow, circular trench about 6 inches deep and 3 feet wide.
- Fill the trench with a 2-inch layer of paver sand, tamping it flat.
- Lay your first course of pavers in a tight circle on the sand, checking for level.
- Stagger the second course on top for stability, and your pit’s ready for its first fire.
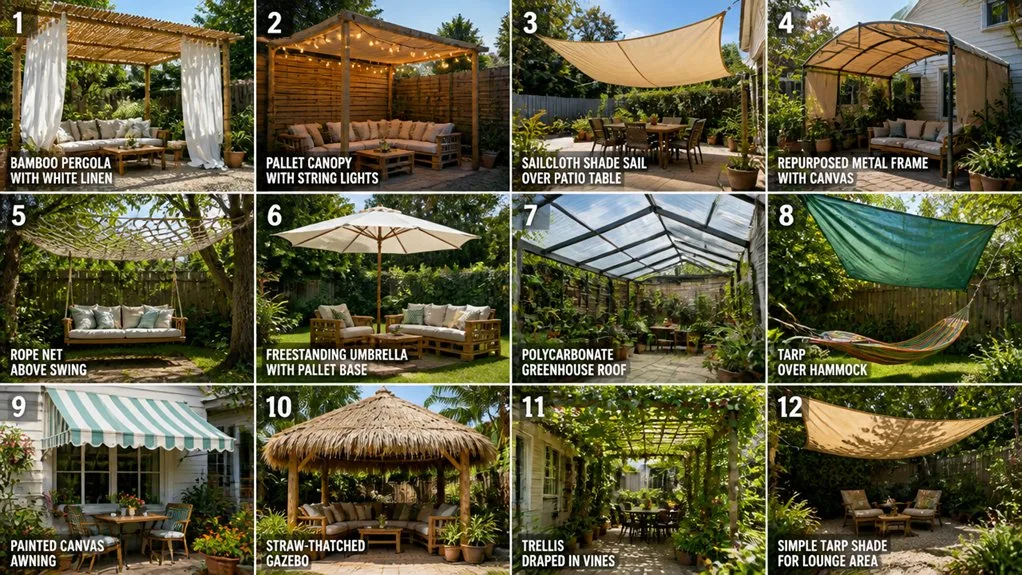
Sew a Simple Shade Sail for Your Patio
Soak up your patio without baking in the sun by sewing a simple shade sail.
Choose a durable, UV-resistant fabric like canvas or outdoor polyester.
You’ll cut a large triangle or square, leaving a four-inch border for a hem on all sides.
Fold the hem over twice to encase the raw edges, then pin and stitch it securely.
Next, create reinforced corners by sewing a sturdy fabric patch or a metal grommet into each point.
These are your anchor spots.
Finally, use strong rope or cable to attach each corner to existing structures like fence posts, your house, or a sturdy tree branch.
Just remember to install it with a slight dip to shed rainwater and prevent sagging.
Build an Easy Pallet Privacy Screen
To carve out a cozy corner on your deck or shield a garden bed, repurposing wooden pallets into a privacy screen offers a quick, rustic solution. You’ll need three pallets, exterior screws, and a drill. Sand them thoroughly to avoid splinters, then arrange them vertically side-by-side. Screw horizontal support boards across the back to join them into one sturdy panel.
For a personalized touch, consider these creative finishes:
- Stain or paint the wood in a color that complements your outdoor decor.
- Attach lattice panels to the front for climbing vines.
- Mount simple hooks to hang potted plants directly on the screen.
- Leave it natural and let the wood weather to a soft, silvery gray.
Anchor your screen by securing it to deck posts or sinking its supports into the ground.
Build a DIY Garden Water Feature From a Terra Cotta Pot
If you’re looking to add the soothing sound of flowing water to your garden space, a simple terra cotta pot can become a beautiful water feature. You’ll need a medium-sized pot, a small submersible pump, plastic tubing, a waterproof sealant, and decorative stones.
First, seal the pot’s drainage hole from the inside. Thread the pump’s tubing through the hole and secure it with sealant, ensuring it’s watertight.
Place the pump inside, fill the pot with water, and arrange stones over the pump to hide it. Position your pot where you want it, connect the pump to a power source, and let the water gently recirculate up and over the pot’s rim for a tranquil, bubbling effect.
Make Your Own Hanging Basket With Macramé
Crafting your own macramé hanging basket lets you add a personalized touch of bohemian flair to your patio or indoor space.
You’ll need a few simple supplies: cotton or jute cord, a metal ring, scissors, and a tape measure.
Start by cutting several long cords, doubling them for thickness, and attaching them to the ring with lark’s head knots.
The main body uses square knots, creating a sturdy diamond pattern that cradles your pot.
Remember these four essentials for a perfect result:
- Pre-measure cord: Always cut cords three to four times your desired finished length.
- Maintain tension: Keep your knotting tight and even for a uniform look.
- Secure the base: Finish with gathered knots to form a solid bottom for the pot.
- Test stability: Hang your empty basket and gently press the sides to check its strength before adding a plant.
Make a Succulent Wreath for Your Front Door
Transform your front door into a vibrant, living welcome with a DIY succulent wreath, a project that combines gardening with creative craft.
Start by gathering a wire wreath frame, sphagnum moss, and florist’s wire. Soak the moss, then pack it tightly into the frame, securing it with wire loops to create a moist, stable base.
Next, select a variety of small, hardy succulents like echeveria and sedum, ensuring they’ve established roots. Remove them from their pots and gently wrap their root balls in moss before inserting them into your prepared base.
Use more wire to anchor each plant firmly. Hang your wreath in a spot with indirect light and mist it lightly weekly; it’ll thrive for months, offering a unique, verdant greeting.
Turn a Tree Stump Into a Magical Planter
You can breathe new life into an old tree stump by turning it into a whimsical, natural planter that’s full of character.
First, use a drill with a large wood-boring bit to create drainage holes in the bottom of the hollow. Next, widen the interior with a chisel and mallet, removing any rotted wood. You’ll want a cavity deep enough to hold soil and plant roots. Fill the base with a layer of gravel for extra drainage before adding potting mix.
For a truly magical display, consider these planting ideas:
- Create a Miniature Forest: Use a mix of mosses, small ferns, and creeping groundcovers.
- Go Bright with Annuals: Pack in vibrant, shallow-rooted flowers like pansies or violas.
- Plant a Succulent Tapestry: Arrange various hardy sedums and sempervivums for texture.
- Cultivate Herbs: Grow a handy cluster of thyme, oregano, or chives right outside your kitchen door.
Upcycle an Old Ladder Into a Garden Plant Stand
Dust off that old wooden ladder leaning in your garage and give it a new purpose as a charming, vertical plant stand for your patio or garden. Start by lightly sanding it to smooth any rough patches, then apply a weather-resistant paint or stain in a color that complements your outdoor space.
Allow it to dry completely. Position the ladder where you want it, ensuring it’s stable on level ground. For safety, you can secure the top to a wall with a simple bracket.
Now, use each rung as a shelf for potted herbs, trailing succulents, or vibrant petunias. You’re not just saving an item from the landfill; you’re creating a beautiful, space-saving display for your favorite plants.
Craft Wind Chimes From Old Kitchenware
Gather those mismatched kitchen items hiding in your cabinets—like metal spoons, a whisk, or an old bundt pan—to create delightful music in your garden breeze. You’ll craft a personal symphony from what you already own.
First, choose a solid base, such as that bundt pan or a wooden lid. Then, arrange your noisiest treasures. For the best tones, vary the materials and lengths. Secure everything with sturdy nylon cord or metal wire, ensuring knots are tight. Hang your chime from a strong hook in a breezy spot.
For a successful project, follow these key steps:
- Select items with distinct sounds: metal, ceramic, and glass.
- Pre-drill holes in any pieces to prevent cracking.
- Space hanging elements to prevent constant tangling.
- Add a lightweight striker, like a cork or wooden bead, to gently tap the pieces.
Frequently Asked Questions
Where Should I Place a Bee Hotel?
Place your bee hotel facing southeast, get it at least three feet off the ground, and ensure it’s near pollen-rich flowers and a water source for the best resident attraction and protection from strong winds.
How Do I Choose Solar Light Brightness?
First, consider your space’s purpose. Use bright lights for paths, subtle ones for accents. Check lumens; higher numbers mean brighter illumination. Opt for LEDs—they’re energy-efficient—and remember you can adjust many models’ brightness later.
What Type of Paint for Stepping Stones?
You can use exterior-grade latex or acrylic paint for stepping stones. Choose a durable, weather-resistant masonry paint. Seal your creation with an exterior varnish afterwards. It’ll hold up beautifully against the elements.
Which Succulents Survive Indoors?
Try hardy succulents like Haworthia or Echeveria. They’ll thrive in your bright window. You must ensure they have sharp-draining soil and water them only when their soil feels completely dry to the touch.
What Cord Holds a Hanging Basket?
Use strong, weather-resistant jute or nylon cord. Create secure knots; you’ll tie them around the basket’s rim and anchor points. This ensures your basket hangs stably, supporting your plants’ weight beautifully through the season.
Conclusion
So, there you have it—twenty projects to truly transform your space. Grab your tools, reclaim some materials, and start building. You’ll craft both beauty and bounty, one practical weekend at a time. Your refreshed, personalized oasis, filled with your own handiwork, is just a few creative steps away. Now, get out there and make your garden dreams a tangible, thriving reality.
The Only Tools You Need for a Thriving Garden 🌱
Whether you're a weekend gardener or growing daily — these hand-picked tools make every session faster, easier, and more satisfying.