You’ll transform your small backyard by sketching sun zones, then strategically layering compact plants northward to avoid shadowing shorter crops. Install vertical towers or hanging planters to maximize limited space while improving air circulation. Use curved pathways that weave through raised beds, creating depth perception that makes your yard feel larger. Group plants by height—tallest rear, shortest front—and select drought-tolerant natives requiring minimal maintenance. Add a small water feature for intimacy. Layer seasonal bloomers to ensure year-round interest. There’s much more to discover about maximizing every inch.
Key Takeaways
- Assess sunlight patterns daily and position tallest plants northward to maximize light for shorter crops and vegetables.
- Design curved pathways weaving through raised beds to create visual depth and make small spaces feel larger.
- Layer plants by height: tall shrubs rear, medium grasses mid-ground, low herbs and sedums front for dimension.
- Install vertical tower systems or elevated containers to fit 40+ plants in minimal space with improved air circulation.
- Group plants by water needs and use drip irrigation with mulch to reduce watering by up to 80%.
Assess Your Space and Sunlight

Why’s sunlight so critical to a thriving backyard garden? Because it directly determines which plants’ll thrive and which’ll struggle in your space.
Start by sketching your garden layout and marking sunlight zones throughout the day. Observe multiple days, noting where direct sun hits from morning through sunset. Use cardinal directions as your guide: south-facing spots receive maximum exposure, while north-facing areas stay shaded.
Account for shadows cast by structures and trees—they’ll shift seasonally.
Most vegetables need 6-8 hours of direct sun daily. Tomatoes and peppers demand full sun, while leafy greens tolerate partial shade with 2-6 hours.
East-facing areas offer morning sun without afternoon scorch, suiting sensitive varieties. West-facing spots deliver intense afternoon heat for resilient plants. Match your plant selections to these conditions for optimal growth and yields.
Plan Your Layout Before Planting Anything
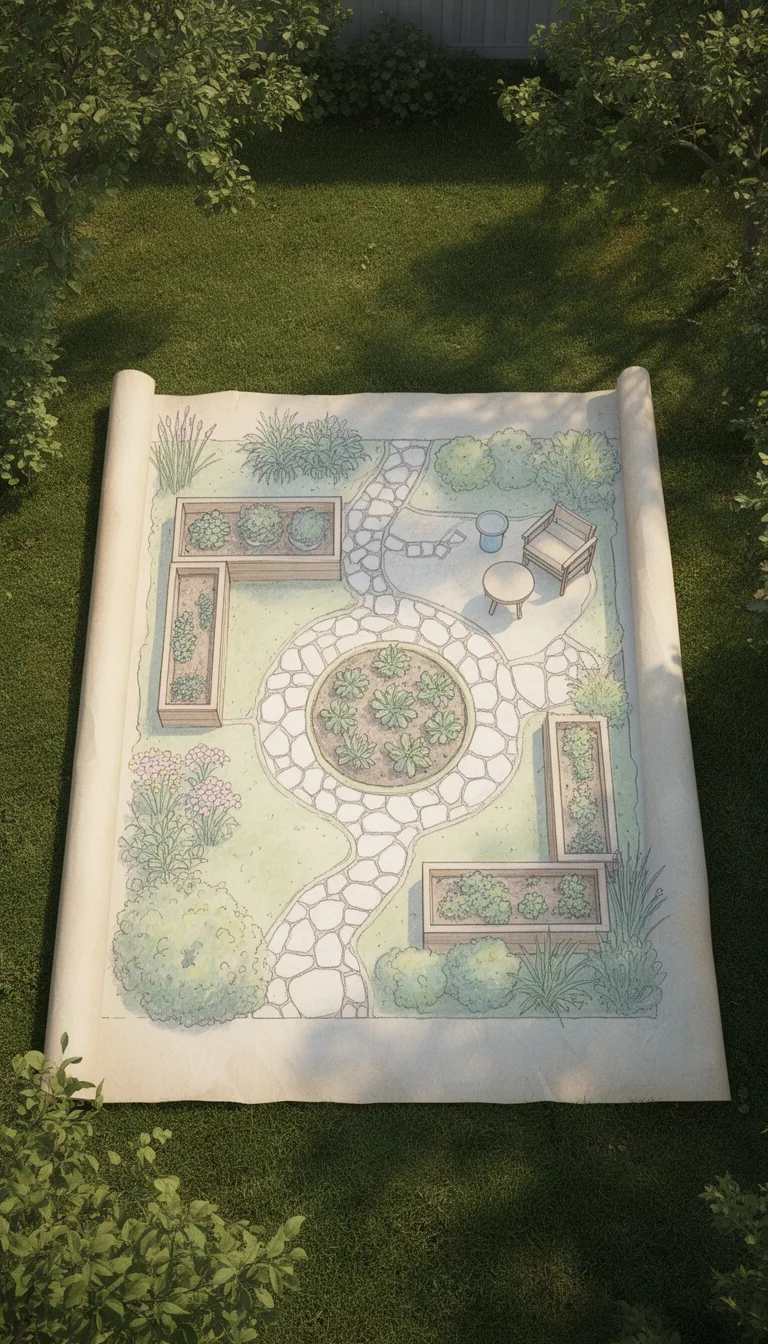
Before you dig a single hole, sketch out your garden layout on paper to avoid costly mistakes and wasted space.
Start by measuring your area and mapping it into 10×10 foot plots for manageable zones.
Divide your narrow space strategically:
- Assign distinct purposes to each zone, such as a relaxation area with a fountain or fire pit
- Position tallest plants on the north side to prevent shading shorter crops
- Layer plants vertically using A-frames or trellises to maximize growing space
- Design pathways that weave through beds rather than consuming valuable planting real estate
Once you’ve mapped zones and planned heights, arrange plants in triangles instead of rows to optimize spacing.
Position fruit and root crops first, then fill gaps with low-energy leaf crops like lettuce.
This intentional planning transforms tight quarters into productive gardens.
Start Small With Vertical Growing Systems
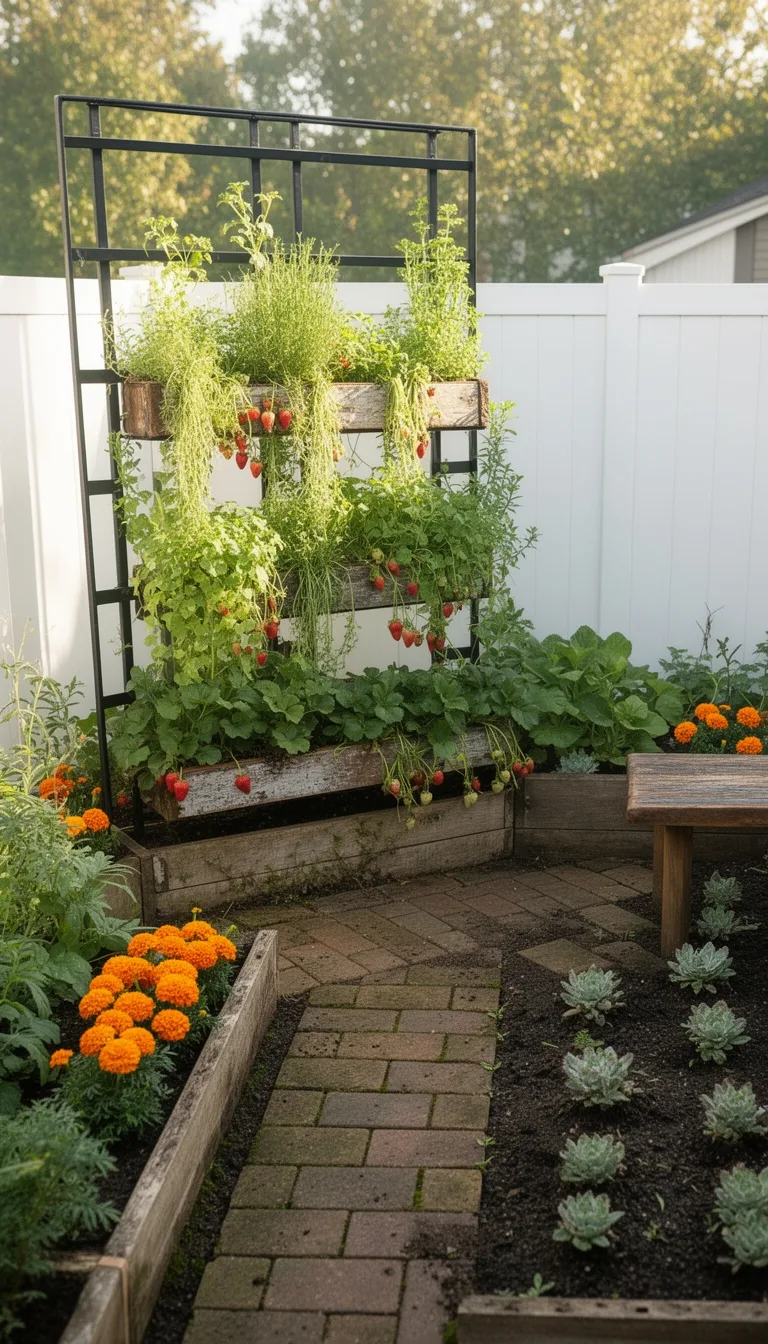
When you’re working with limited ground space, vertical growing systems transform your backyard by stacking plants upward instead of spreading them outward.
Tower systems let you fit 40 to 66 plants within a 24-inch diameter—ideal for patios or small yards.
You’ll enhance air circulation, reducing fungal diseases and pest problems while boosting sunlight exposure.
Elevated plants stay healthier and produce uniform fruits.
Consider hydroponic towers to slash water usage by up to 95% compared to traditional gardens.
The setup also lowers your labor costs through automation and eliminates soil mess.
Start with one or two tower systems to learn the basics, then expand as you gain confidence.
This approach maximizes your yield without sacrificing your limited outdoor space.
Select Compact, Low-Maintenance Varieties for Small Spaces
How do you maximize visual impact without overwhelming your limited space? You’ll want to select plants bred specifically for compact growth and minimal maintenance demands.
Consider these proven options:
- Dwarf shrubs like Pittosporum ‘Golf Ball’ and Gem Box Ilex reach only 2-3′ tall, requiring no shearing
- Compact evergreens such as Tortuga Juniperus stay drought-tolerant and disease-free once established
- Low-growing perennials including Hardy Geranium ‘Boom Chocolatta’ deliver early season color without sprawling
- Drought-tolerant succulents like Lemon Coral Sedum thrive in poor soil with minimal watering
These varieties won’t demand constant pruning or dividing.
They’ll fill your garden densely while staying manageable. Focus on plants offering multiple seasons of interest—foliage color changes, fragrance, or extended blooms—so your small space delivers year-round appeal without requiring extensive upkeep.
Layer Plants by Height for Depth and Drama
The secret to making your small garden feel expansive? Strategic layering by height.
Position your tallest plants—viburnums, hydrangeas, or conifers exceeding 6 feet—toward the rear as your backdrop. This anchors your design and creates immediate depth.
In your midground, place medium shrubs and grasses spanning 2–6 feet. Canna lilies work beautifully here, offering textured foliage that transitions your eye downward.
Finally, edge your beds with low-growing plants like thyme, lavender, and creeping sedums, keeping them under 2 feet.
This three-tier approach ensures optimal light and water reach every plant. You’ll avoid overcrowding while maximizing visual interest.
The varying heights create dramatic dimension, transforming modest square footage into a garden that feels far larger than it actually is.
Your small space suddenly commands attention through smart vertical organization.
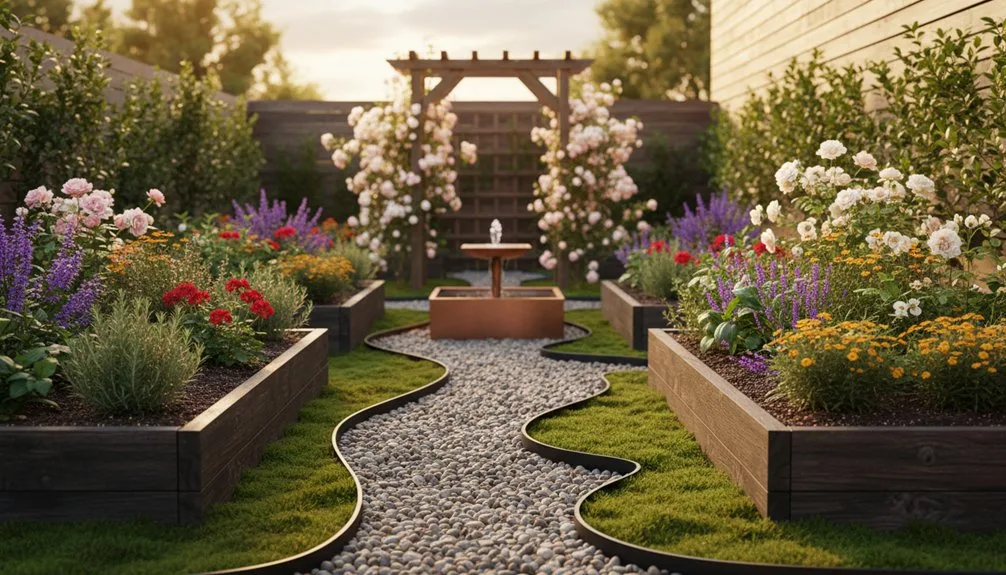
Install Raised Beds Along Garden Edges
Now that you’ve planned your vertical layering, it’s time to build the infrastructure that’ll support it.
Position your frames along your backyard’s perimeter to maximize limited space efficiently.
Here’s what you’ll do:
- Enlist a helper to move heavy frames into position along garden edges
- Staple hardware cloth to frame bottoms before placement to block persistent roots
- Add bracing rods on metal beds to resist soil pressure from edges
- Install protective strips around top edges post-assembly to prevent rust and injury
Once positioned, you’re ready to fill and plant.
Start layering soil, position your seedlings strategically per your height plan, and water consistently.
Your edge-positioned beds create defined garden zones while protecting your lawn from encroachment.
Choose Native Plants for Sustainable, Low-Water Growth
Why settle for thirsty ornamentals that’ll drain your water bill when native plants thrive with minimal intervention?
Native species adapted to your local climate need far less watering once established, thanks to their deep root systems and natural resilience to regional rainfall patterns and temperature swings.
You’ll slash fertilizer and pesticide expenses since these plants evolved alongside local pests and soil conditions.
They simply outcompete weeds and resist diseases that plague non-native ornamentals.
Beyond cost savings, native plants build healthier soil through relationships with beneficial fungi and microbes, creating crumbly earth that infiltrates water efficiently and supports earthworms.
Your maintenance shifts from constant correction to simple observation.
Choose natives, and you’re investing in a self-sustaining garden that rewards you with abundance while asking remarkably little.
Use Containers for Flexible Garden Arrangements
Container gardening transforms limited spaces into productive growing zones—whether you’re working with a tenth-floor balcony, a narrow porch, or a postage‑stamp patio.
You’ll discover flexibility that traditional gardens simply can’t match.
Position your containers strategically to maximize sunlight and adjust seasonally.
Move pots indoors during winter, extending your growing season significantly.
Rearrange them for aesthetic appeal or to isolate struggling plants from pests.
Key advantages you’ll experience:
- Elevated pots reduce back strain by up to 50%, making gardening accessible for everyone
- Custom potting mix improves growth 30% over poor garden soil
- Easily relocate plants to shade or sun as needs change
- Fewer soil‑borne pests and diseases than in‑ground gardens
You’ll control every variable—soil quality, drainage, nutrients—while maintaining portability perfect for renters and homeowners alike.
Create Curved Paths to Expand Your Footprint
While containers give you flexibility in arranging individual plants, curved paths transform how you experience your entire backyard by guiding your movement through the space.
Curved paths make small yards feel larger by leading your eye on longer journeys and creating mystery around hidden garden pockets.
You can test curve shapes using a hose or string before laying materials.
Use durable options like mortar-set bricks on slopes or large rectangular stones for smooth surfaces.
A backwards ‘S’ shape visually widens narrow gardens.
Plant lush hostas or ornamental grasses along curve edges to soften transitions, and add focal points at curve apexes.
These paths naturally guide you between patios, steps, and gates while promoting better flow through your compact space.
Build a Keyhole Garden for Easier Access
How can you maximize every inch of a small backyard while minimizing the physical demands of gardening?
A keyhole garden offers the answer.
This circular raised bed features a central composting basket that transforms kitchen scraps into nutrient-rich soil while you grow.
The keyhole-shaped notch provides critical access benefits:
- Reach all plants without stepping on soil or straining your back
- Adjust height up to 3 feet for your mobility needs
- Eliminate bending and kneeling through thoughtful design
- Access the entire bed from a single wedge pathway
You’ll construct this garden using recycled materials like stones, bricks, or wire mesh.
Layer twigs, manure, compost, and topsoil inside for optimal drainage.
Plant densely with vegetables and herbs, then add kitchen scraps to the central basket regularly.
This sustainable approach reduces waste while delivering year-round productivity in minimal space.
Incorporate Hardscaping for Structure and Function
Once you’ve maximized your growing space with a keyhole garden, it’s time to add hardscaping—the structural backbone that transforms a cramped yard into a purposeful outdoor room.
Curved pathways using paving stones or crushed gravel create depth perception, making your compact space feel larger.
Layer mixed materials—different colored pavers and patterned stones—to add visual interest without consuming extra square footage.
Install retaining walls with masonry blocks to break up terrain and emphasize specific areas.
Ground hardscaping elements with low shrubs and flowers along edges, blending structure into your landscape.
Maintain a consistent stone palette throughout to unify separate entertaining zones visually.
This intentional framework gives your small backyard both function and intentional design.
Go Xeriscape to Reduce Watering in Compact Gardens
Why does your small backyard need constant watering when you could design it to thrive on rainfall alone?
Xeriscaping transforms compact spaces into water‑efficient gardens that slash your bills by up to 80% while requiring minimal upkeep.
Start by selecting drought‑tolerant plants suited to your climate:
- Native plants like cacti and sage thrive with little supplemental water
- Group plants by water needs through hydrozoning to prevent overwatering
- Add mulch and organic matter to retain soil moisture and suppress weeds
- Install drip irrigation or soaker hoses for targeted watering that cuts waste
You’ll dramatically reduce maintenance costs—fewer mowing sessions, no chemical fertilizers needed, and decreased equipment expenses.
Your compact garden becomes resilient during dry spells while increasing property value in water‑conscious communities.
Group Plants by Type to Make a Bolder Statement
While drought-tolerant plants keep your water bill low, strategic grouping transforms those individual specimens into a cohesive landscape that catches the eye.
You’ll create visual impact by clustering plants of the same type together—mass plantings of coneflowers, catmint, or black-eyed Susans deliver bold color pops that fragmented placement can’t achieve.
Apply odd-numbered groupings as your framework.
Arrange three plants in triangular patterns or arcs to guide the viewer’s gaze naturally across your garden beds.
For larger spaces, split six plants into two groups of three, spacing them apart for rhythm and depth.
Repetition unifies your design.
Use one recurring plant as a thread throughout your layout, reinforcing cohesion while building dramatic texture or color emphasis across your compact space.
Arrange Movable Elements for Multiple Uses
Because small backyards demand versatility, you’ll want to prioritize furniture and structures that adapt to different seasons and activities.
Movable elements transform your space efficiently without permanent commitment.
Consider these adaptable solutions:
- Containers and planting stands rearrange easily for seasonal changes and maximize vertical growing space
- Retractable awnings and pergolas create flexible shade that you adjust year-round for comfort
- Seating with integrated storage serves multiple functions while hiding clutter and reducing visual bulk
- Hammocks and swings remove quickly, freeing ground space when you need room for entertaining
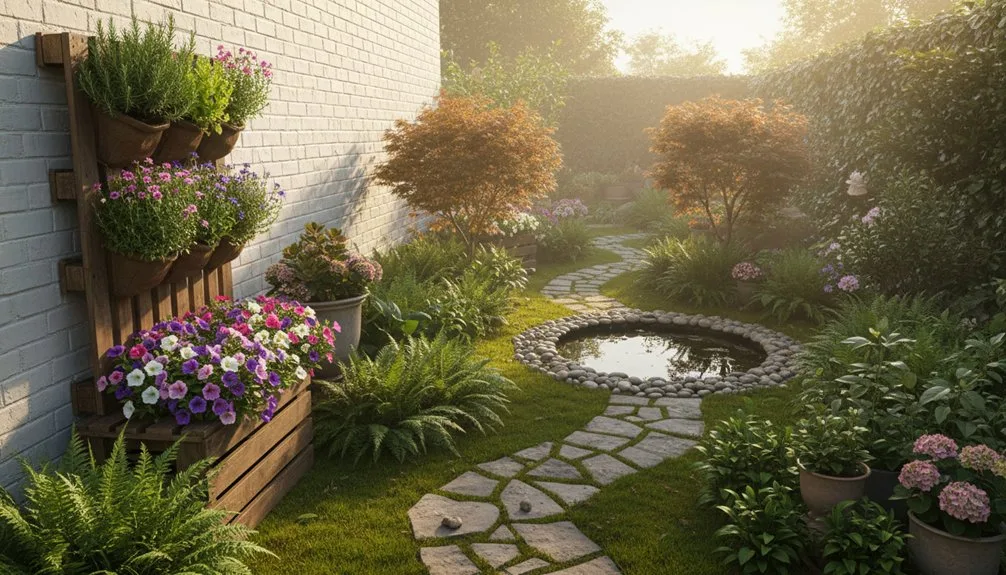
Maximize Underutilized Areas With Hanging Planters
Once you’ve arranged your movable furniture and structures, turn your attention upward—your walls and ceiling hold tremendous growing potential.
Hanging planters transform empty vertical spaces into lush gardens without consuming ground area.
Wall-mounted options create living walls, while ceiling-hung baskets add dimension to your layout.
Railing planters work perfectly for compact balconies, and vertical wall systems maximize narrow corners.
These elevated gardens offer practical advantages beyond aesthetics.
Position planters at eye level for easy watering, weeding, and harvesting.
Suspended containers deter crawling pests like slugs and rabbits naturally.
You’ll notice faster plant growth in smaller soil volumes when you adjust positioning seasonally for optimal sunlight.
Though frequent watering’s necessary due to quicker drying, hanging planters require minimal maintenance otherwise, letting you enjoy flourishing greenery in tight quarters.
Use Color Through Plants, Rugs, and Cushions
How can color transform a cramped backyard into an inviting retreat? You’ll create visual depth and atmosphere by layering colors strategically across multiple elements.
Start with plants as your primary color source, then amplify impact through complementary décor:
- Analogous plant schemes blend harmoniously—pair violet flowers with purple and blue blooms for soothing cohesion
- Complementary contrasts pop intensely—combine orange tulips with blue forget-me-nots for high-impact focal points
- Outdoor rugs anchor seating areas while echoing your plant palette, grounding the space visually
- Cushions in pastels soften hard furniture edges and tie color themes together without overwhelming small spaces
Layer cool or warm tones consistently.
Use foliage colors—chartreuse, burgundy, or silvery gray—to tie everything together.
This unified approach prevents visual clutter while maximizing your compact garden’s potential.
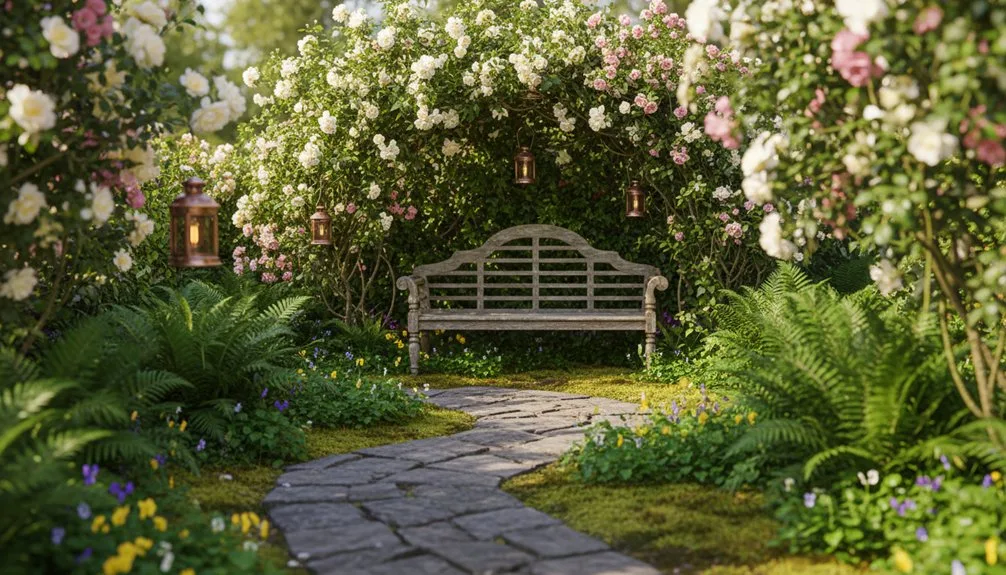
Install Small Water Features for Intimacy and Sound
While colors draw the eye through your compact garden, moving water and sound create an immersive sensory experience that transforms a small space into a peaceful retreat.
| Installation Phase | Key Action |
|---|---|
| Site Preparation | Level ground, mark layout, dig hole slightly deeper than reservoir |
| Reservoir Installation | Place liner level, backfill edges, add padding underneath |
| Pump Setup | Submerge pump fully, secure hose with clips, install RCD protection |
| Water Feature Assembly | Arrange rocks naturally, position fountain stone, hide cables |
| Testing | Fill reservoir, check flow, adjust valve, camouflage with stones |
You’ll position your pump fully submerged in the basin, then secure hoses with jubilee clips to prevent leaks. Arrange stones and boulders to create a naturalistic cascade. Test your system carefully, adjusting the restrictor valve until water splashes gently. Finally, camouflage the reservoir with cobbles and slate chippings, burying cables behind plants for seamless integration.
Transition Seasonal Plants for Year-Round Interest
What transforms a small garden from a spring-only showcase into a year-round visual anchor? Strategic plant layering. You’ll combine seasonal bloomers with persistent structural elements that evolve throughout the year.
Start with spring color using creeping phlox and daylilies like ‘Sound of My Heart’.
Layer in summer interest with coneflowers and yarrow.
Then transition to fall-winter drama with plants that shift and sustain:
- ‘Autumn Joy’ stonecrop flowers pink, then copper-brown
- Prairie Winds ‘Cheyenne Sky’ switch grass turns wine red early summer with purple panicles
- Ornamental grasses display late-summer plumes, autumn foliage
- Coneflower dried seed heads feed winter birds while maintaining structure
This approach maximizes your limited space, eliminating garden gaps while supporting pollinators across seasons.
Conclusion
You’ll witness your small space sparkle and shine through strategic spacing and seasonal switches. Don’t delay—dig in and design your dream garden today. You’re bound to build beautiful backyard bliss by blending vertical vines, vibrant vegetation, and varied visual touches. You’ve got the guidance; you’re guaranteed gorgeous growth. Your garden’s going to give you genuine joy and genuine gatherings. Get growing now.
The Only Tools You Need for a Thriving Garden 🌱
Whether you're a weekend gardener or growing daily — these hand-picked tools make every session faster, easier, and more satisfying.