Planning your raised bed garden layout can feel overwhelming. But you can unlock incredible productivity with a handful of timeless, proven designs. These layouts are your blueprint for order, abundant harvests, and simple maintenance. Discover the smart strategies that turn limited space into a flourishing and organized kitchen garden, season after season.
Key Takeaways
- Use a four-square grid to organize crops for simple rotation and maintenance.
- Maximize yield by planting vertically and using intensive square-foot spacing.
- Ensure easy access by keeping beds no wider than 4 feet.
- Attract pollinators and deter pests with companion planting and dedicated flower borders.
- Plan for continuous harvest with succession planting and staggered sowings.
The Classic Four-Square Grid Layout
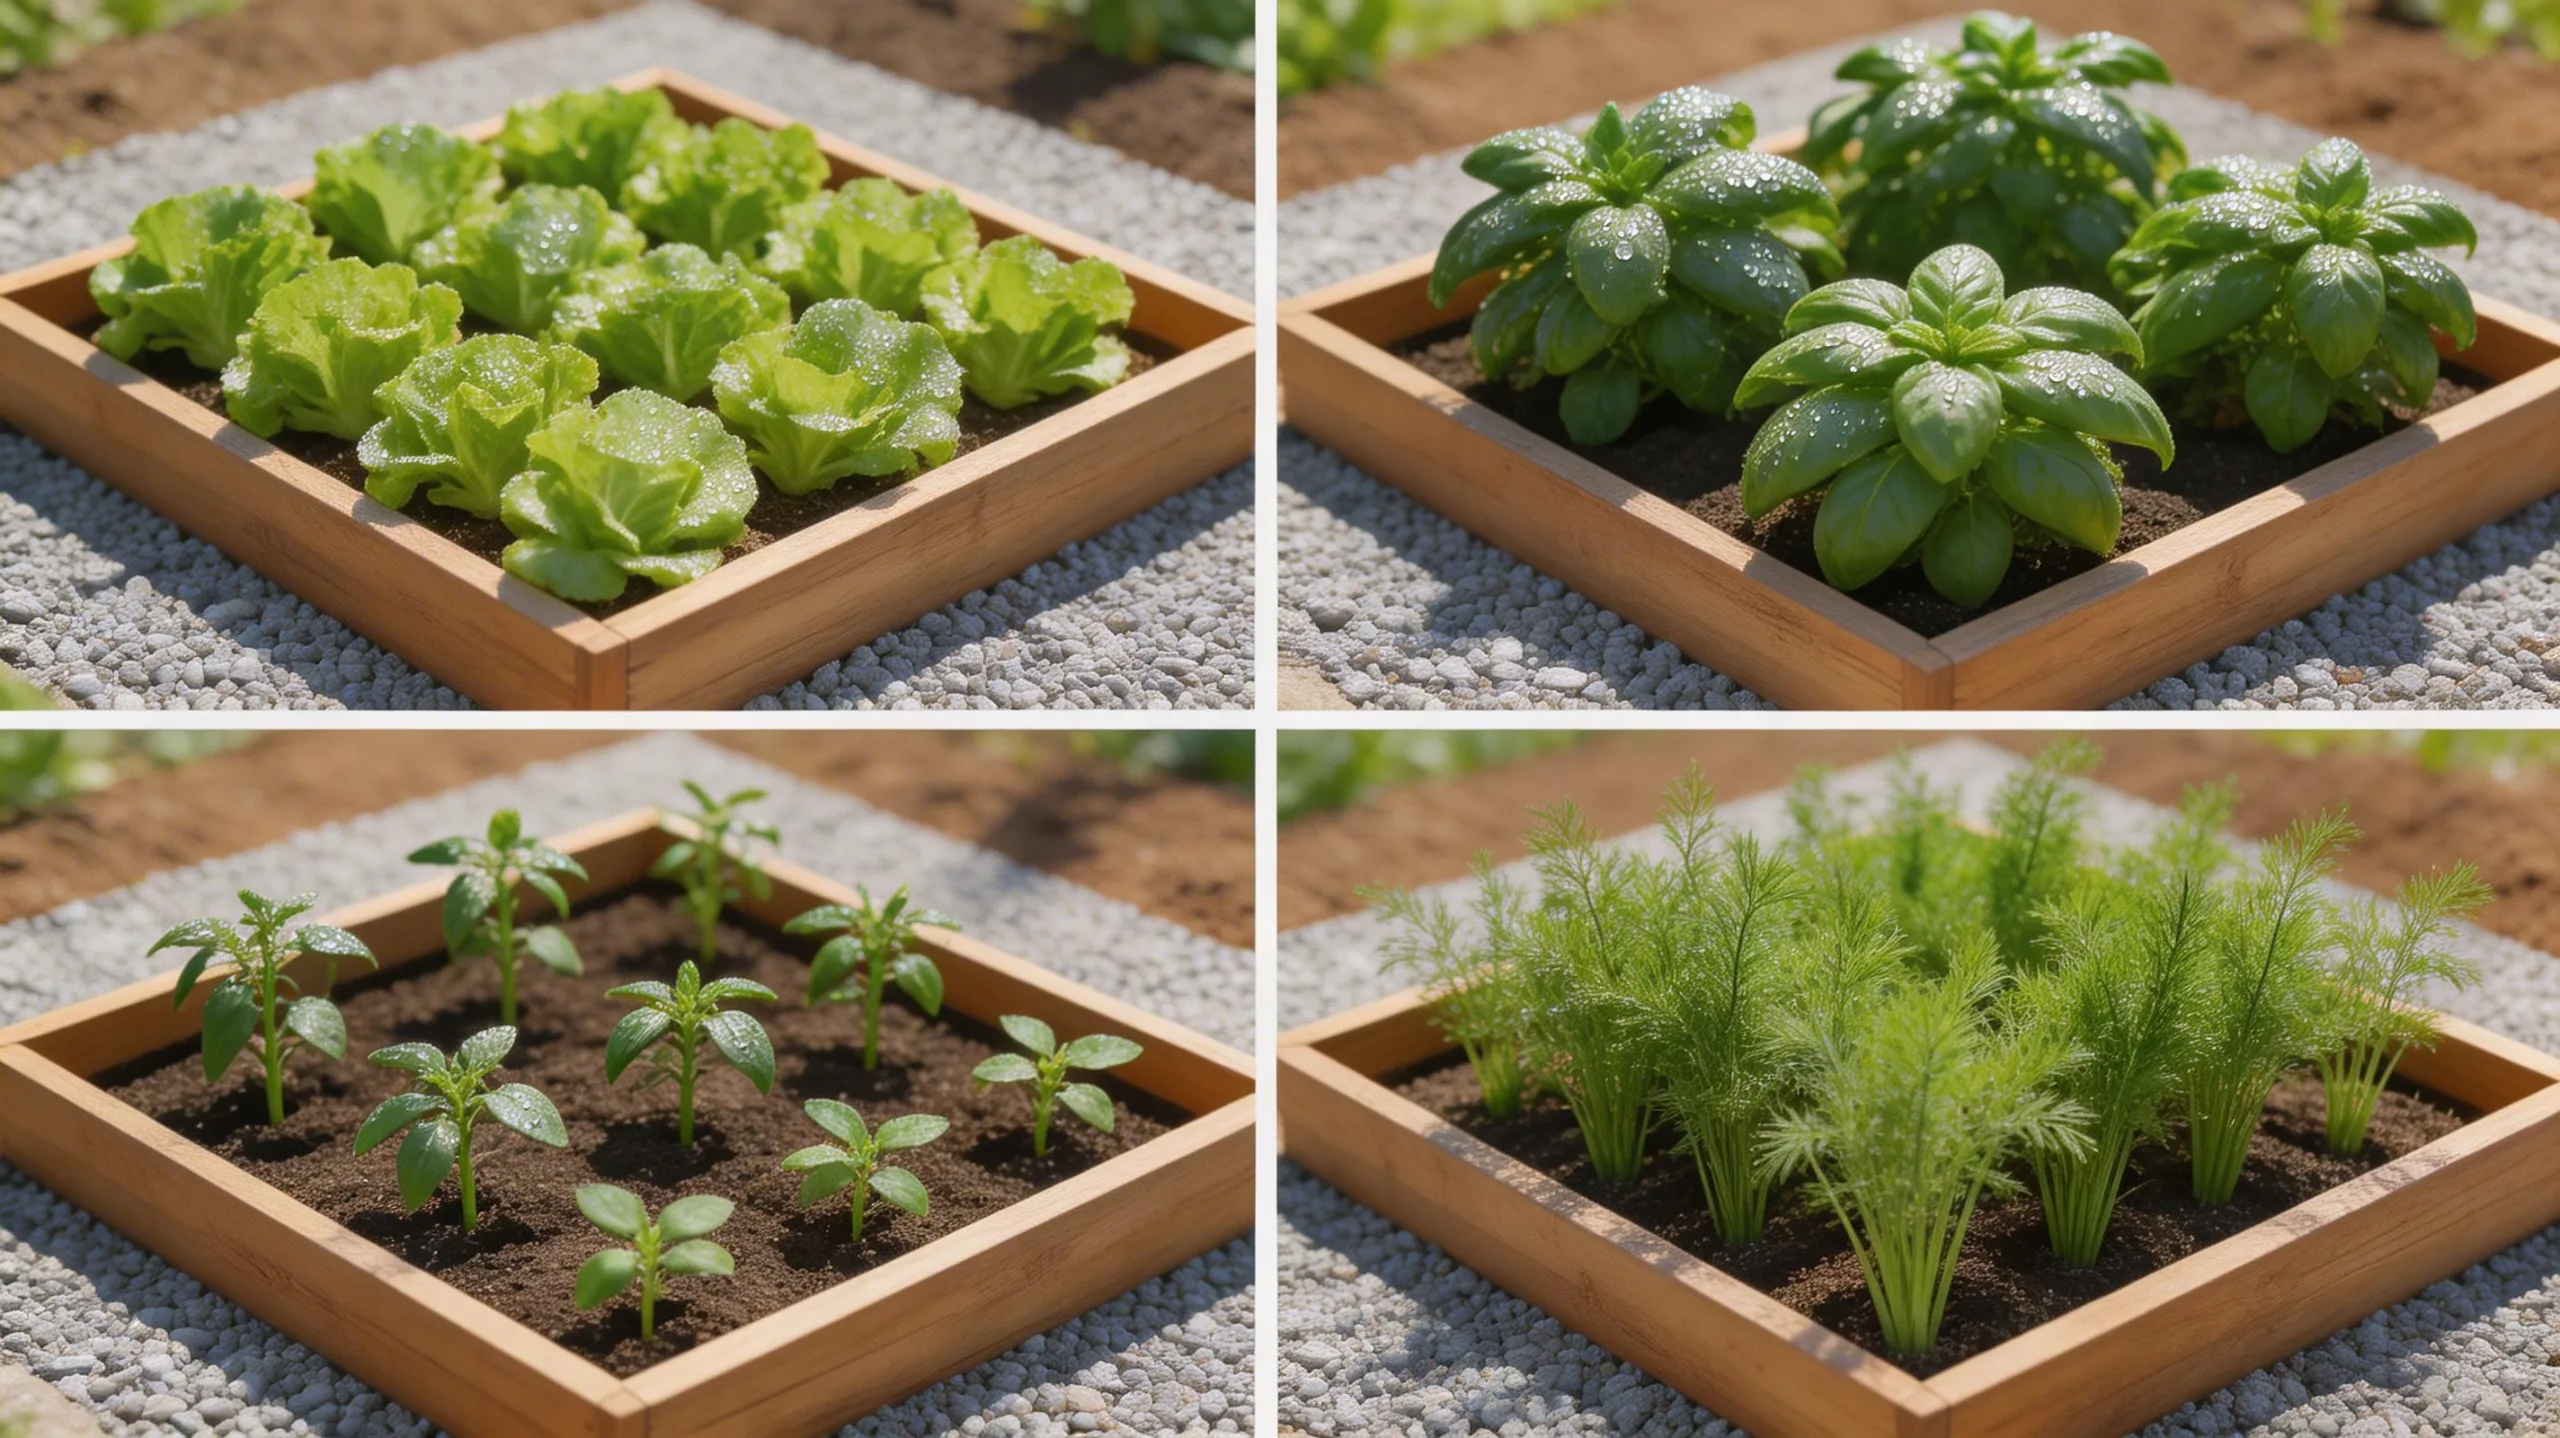
If you’re seeking a method that brings both structure and simplicity to your gardening, the classic four-square grid layout is an excellent place to begin.
You’ll mentally or physically divide your bed into four equal squares. This instantly organizes your space and simplifies crop rotation.
You can assign each square to a different plant family, like legumes, roots, leafy greens, and fruiting vegetables. This rotation combats soil-borne diseases and balances nutrient use.
The grid also makes companion planting visual and manageable. You won’t waste space or seeds because you’re planting in defined blocks.
It’s a timeless system that turns planning from a chore into a clear, productive map for your season, ensuring every inch of your bed works for you.
The Salad Bar Row Layout
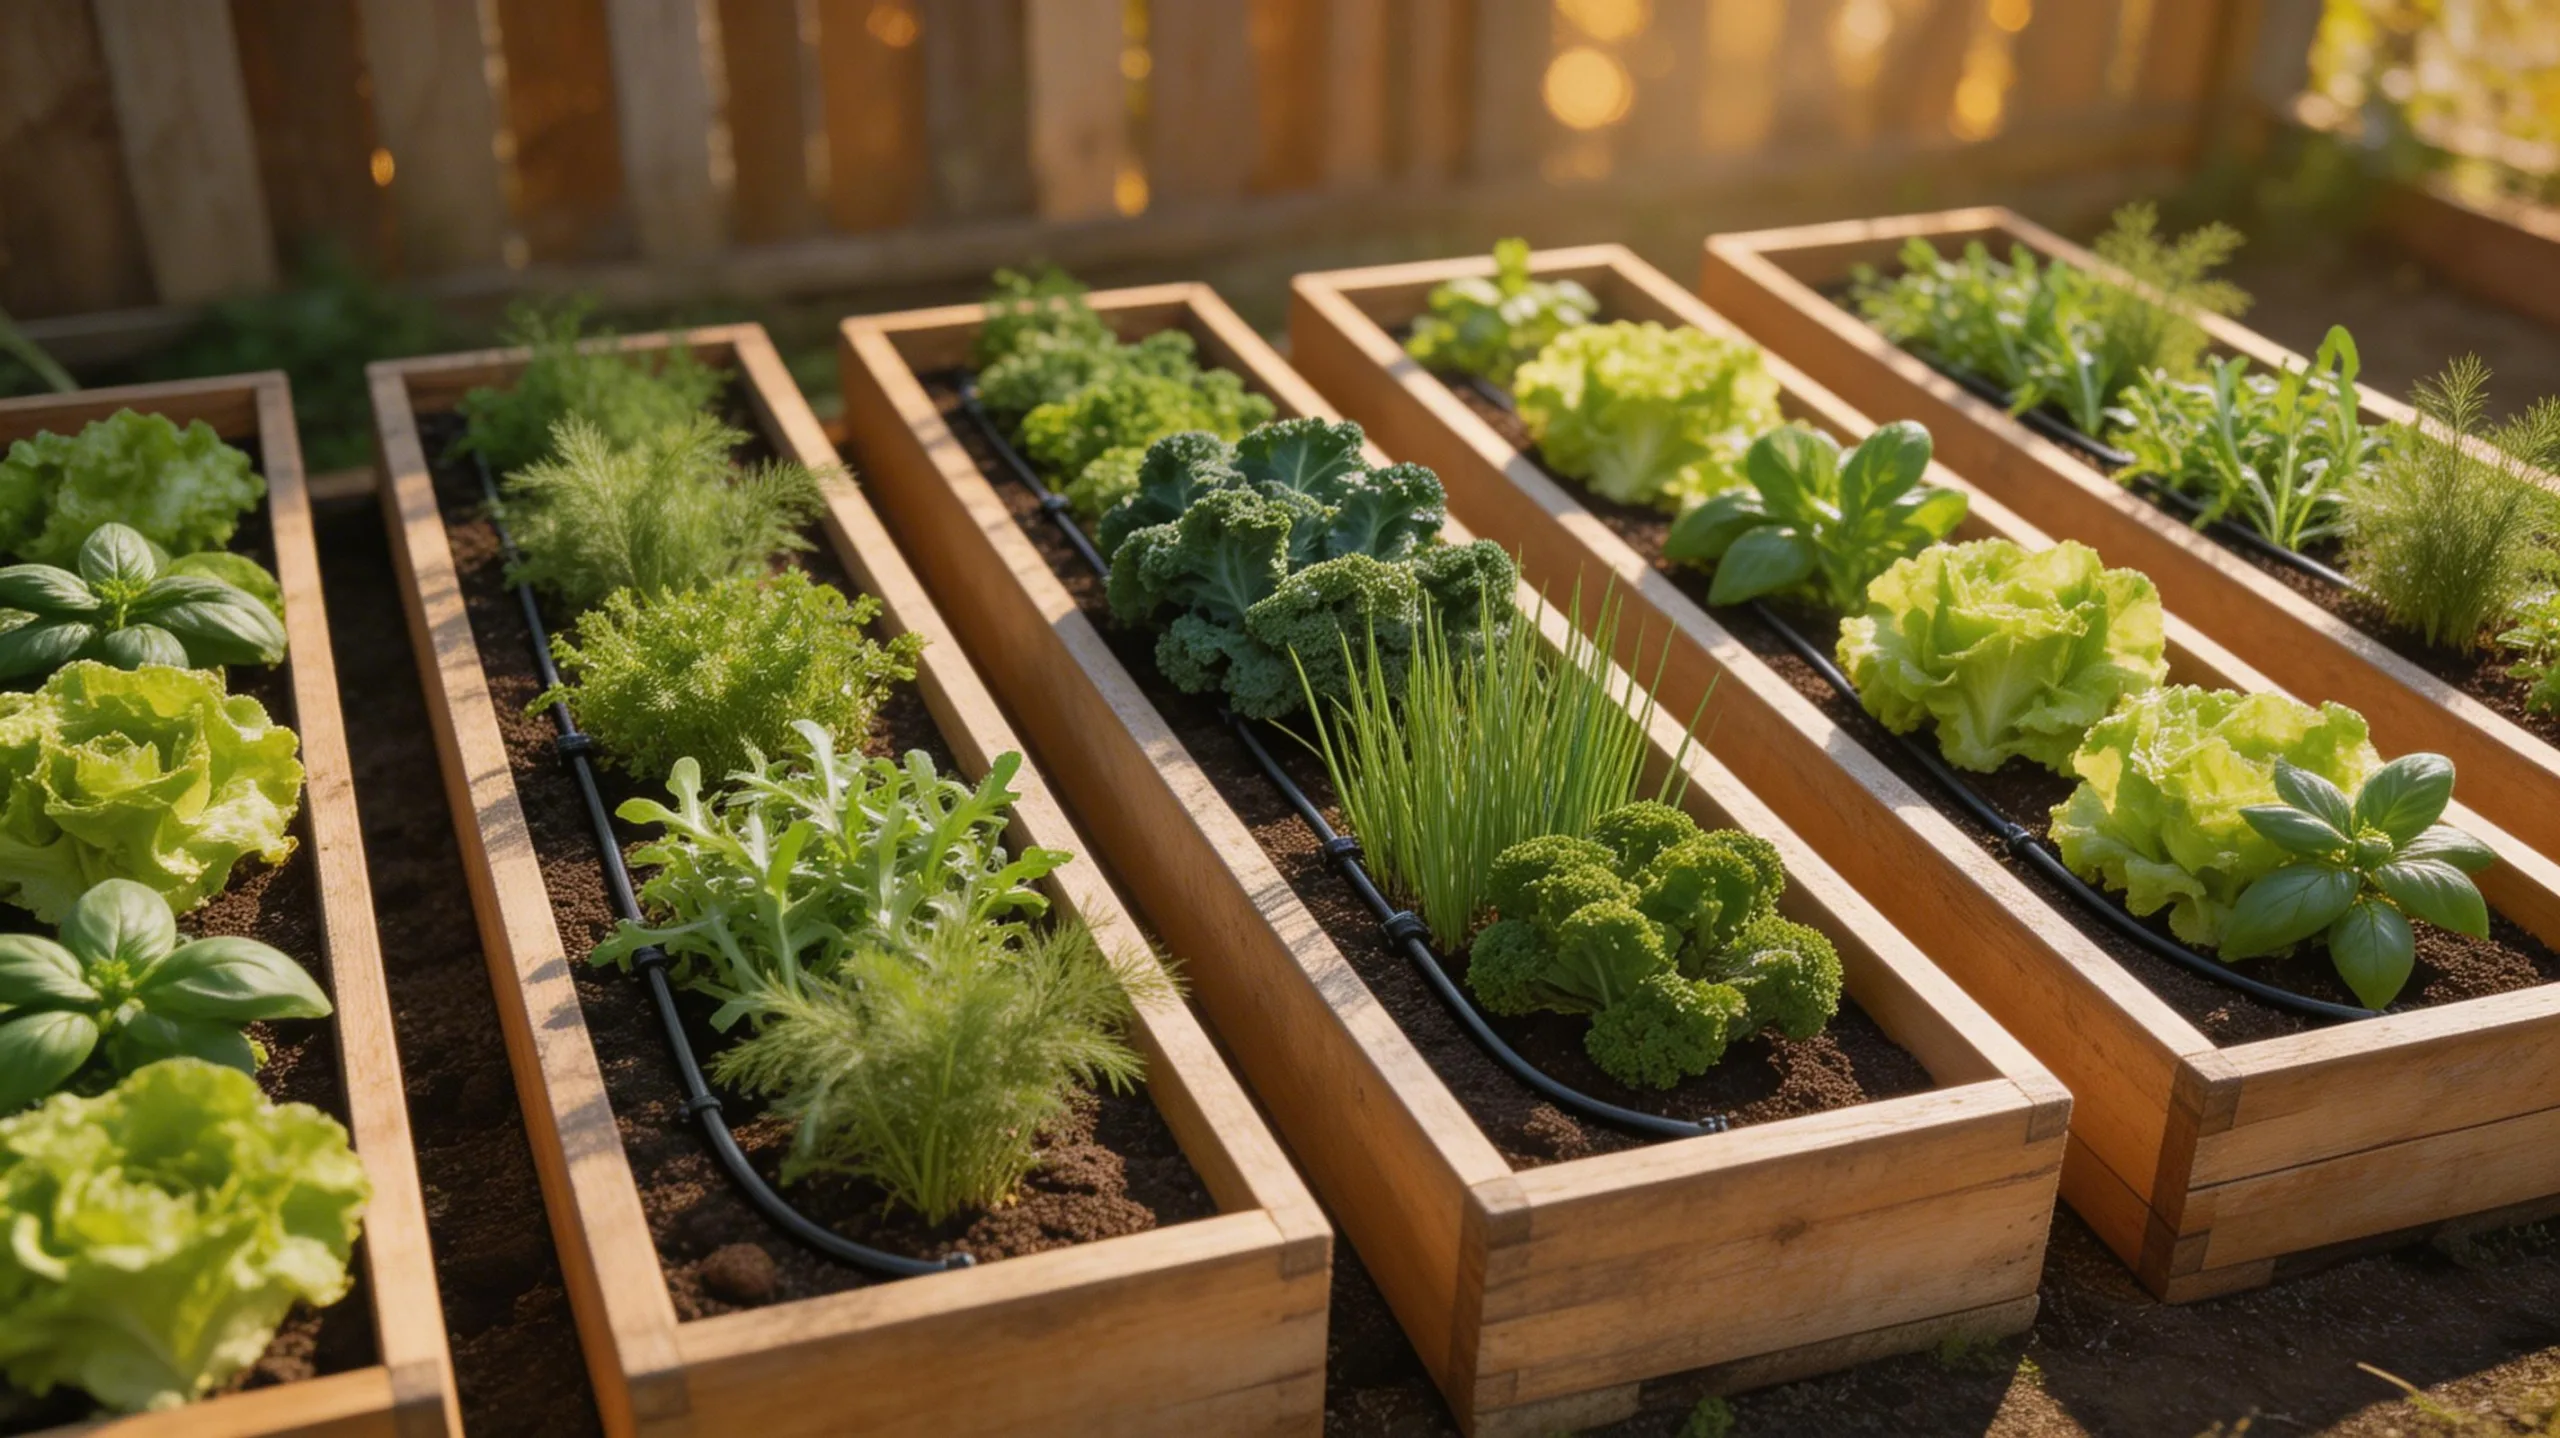
While the four-square grid provides excellent structure, the salad bar row layout offers a more flexible approach for harvesting fresh greens all season.
You’ll dedicate the entire bed to a mix of lettuces, spinach, arugula, and other fast-growing greens. Plant your rows closely, but stagger your sowing dates. Start a new row every two weeks; this practice, called succession planting, ensures you’ll always have young, tender leaves ready for harvest.
You simply pick the outer leaves from the most mature rows, allowing the inner plants to continue growing. This continuous cycle minimizes waste and maximizes your yield.
It’s a wonderfully efficient system that turns a single raised bed into your own personal, ever-renewing salad bar.
The Victory Garden Companion Planting Layout
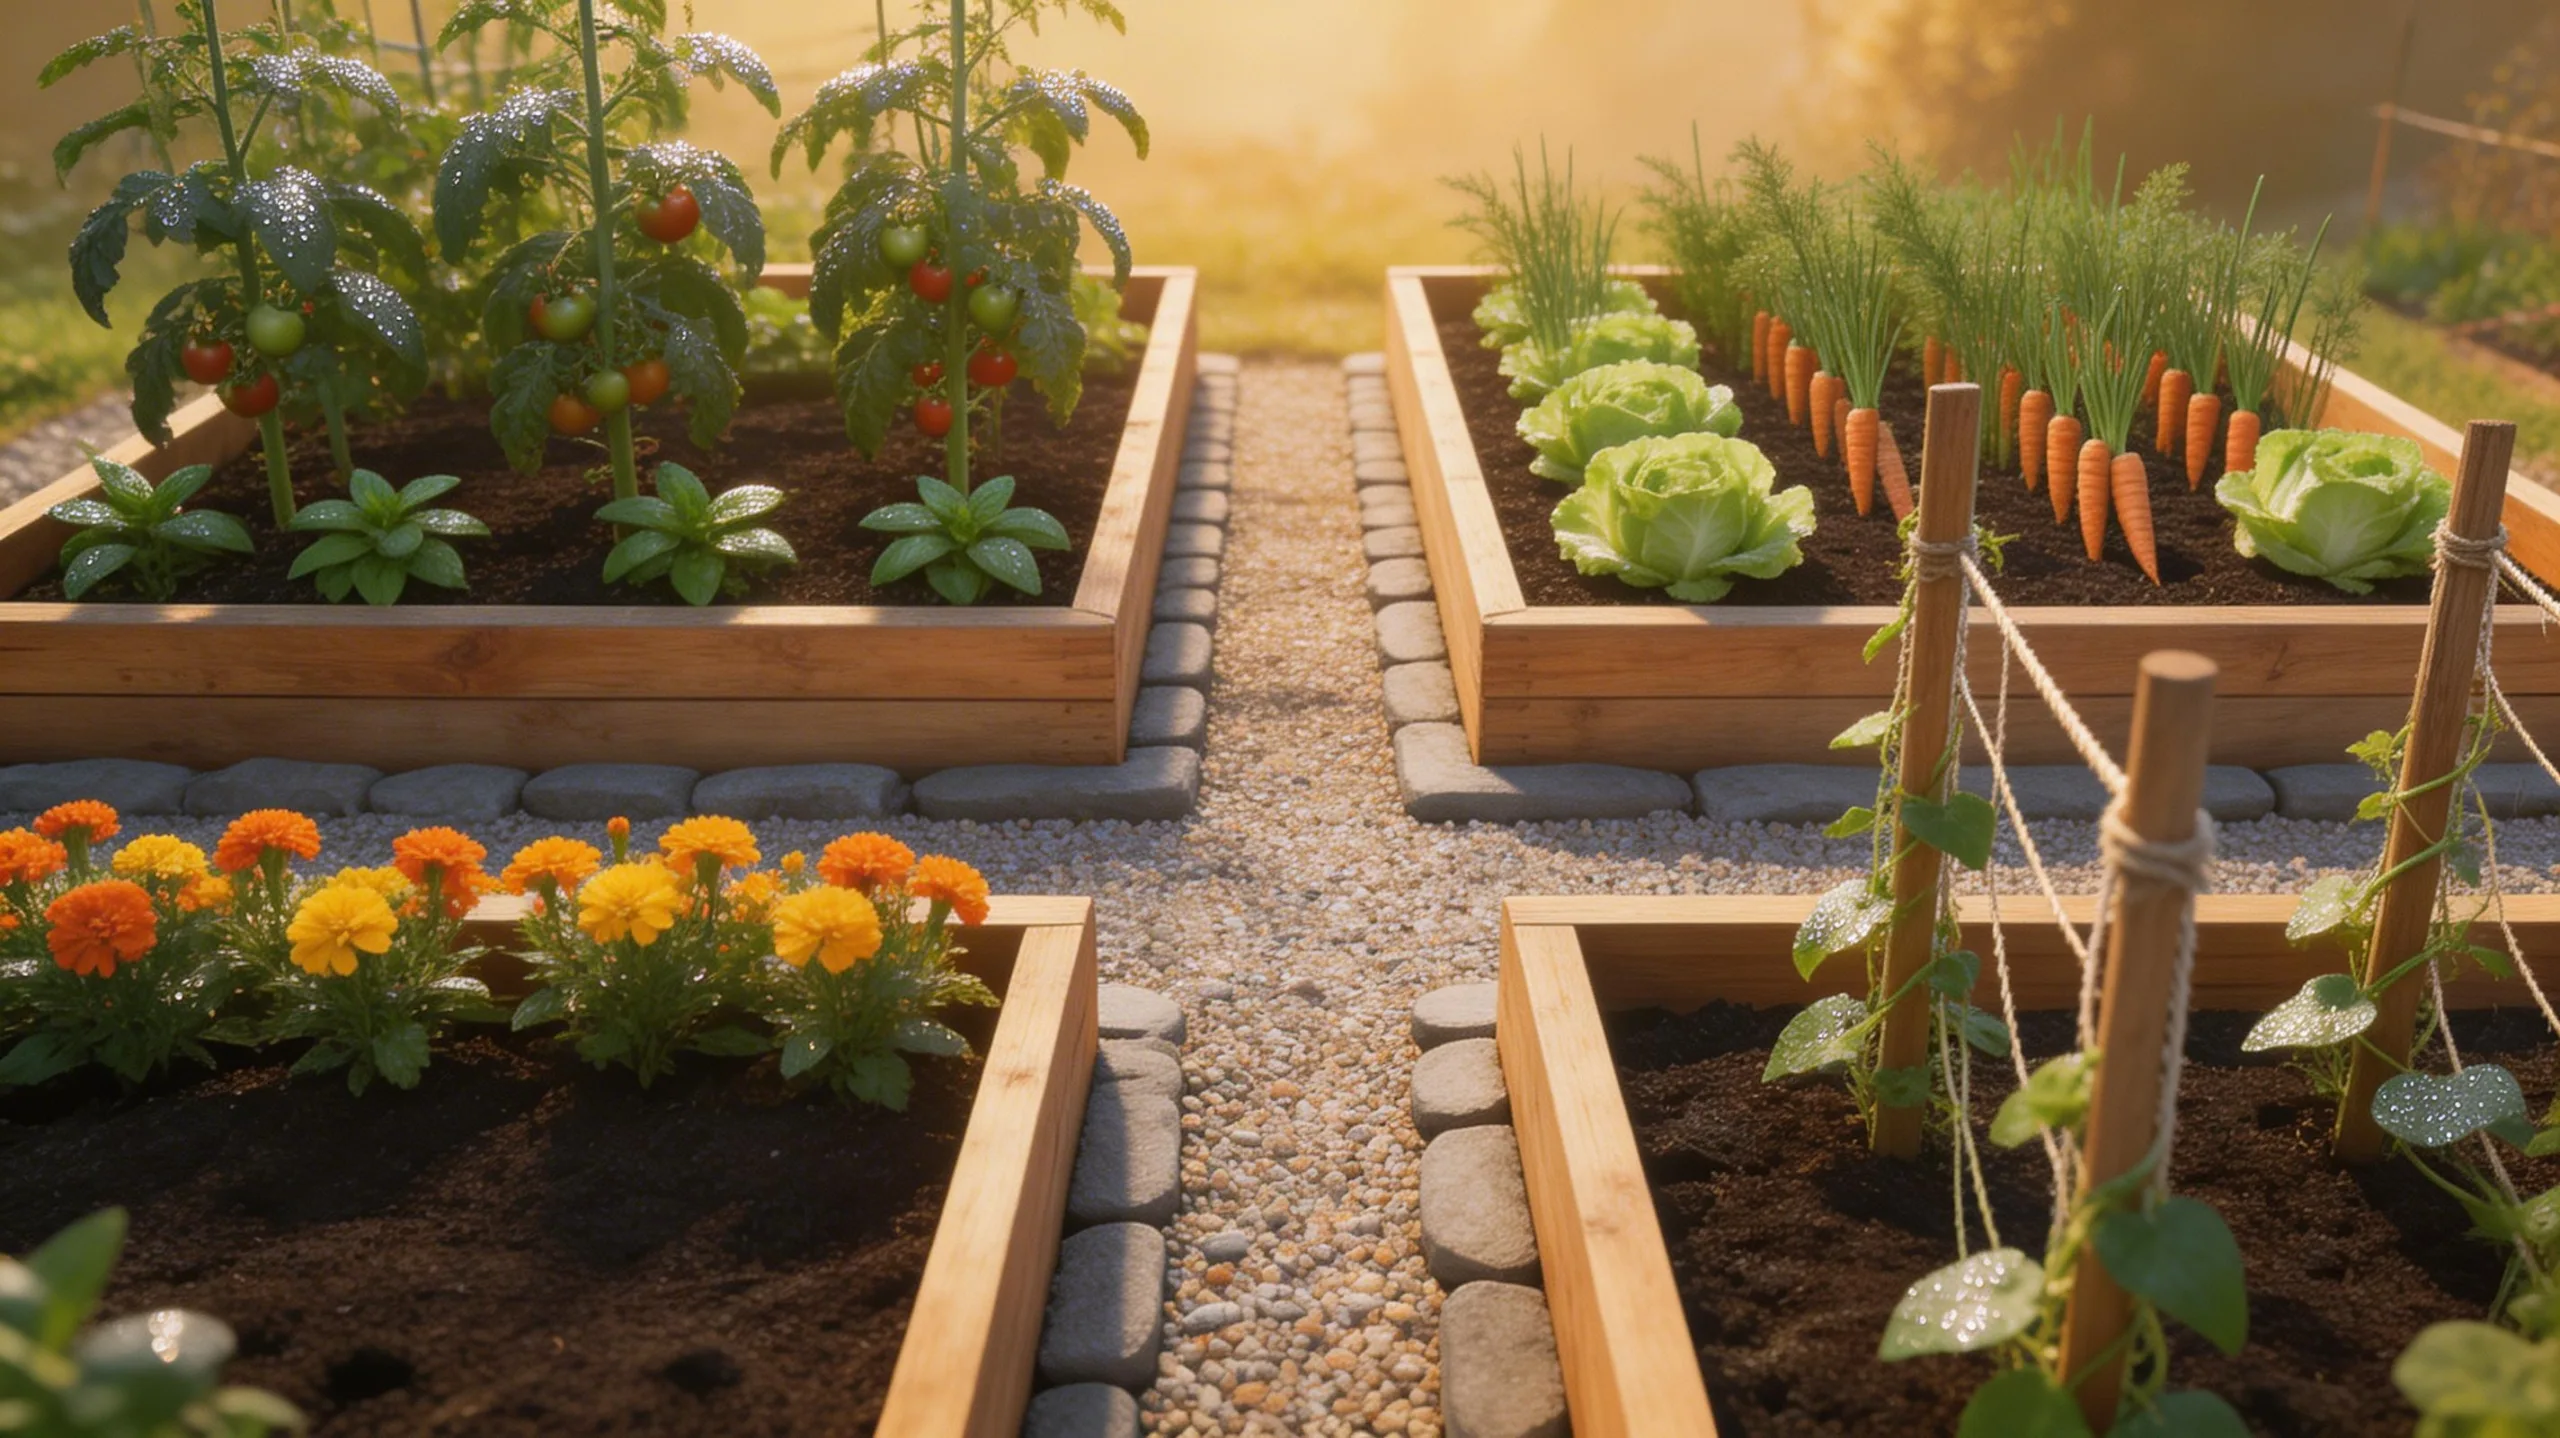
By embracing companion planting, your victory garden layout becomes a vibrant ecosystem where plants work together to thrive. You’ll deter pests naturally and boost growth without chemicals. This method saves space and builds soil health, creating a resilient and productive garden.
- Group the “Three Sisters”—plant corn for support, pole beans for nitrogen, and squash for ground cover to suppress weeds.
- Place marigolds and basil near tomatoes to repel insects and enhance flavor.
- Combine carrots and onions; their scents confuse pests like carrot flies and onion moths.
- Let lettuce grow in the shade of taller plants like peppers or tomatoes for a longer, cooler season.
The Vertical Trellis Layout for Maximum Space
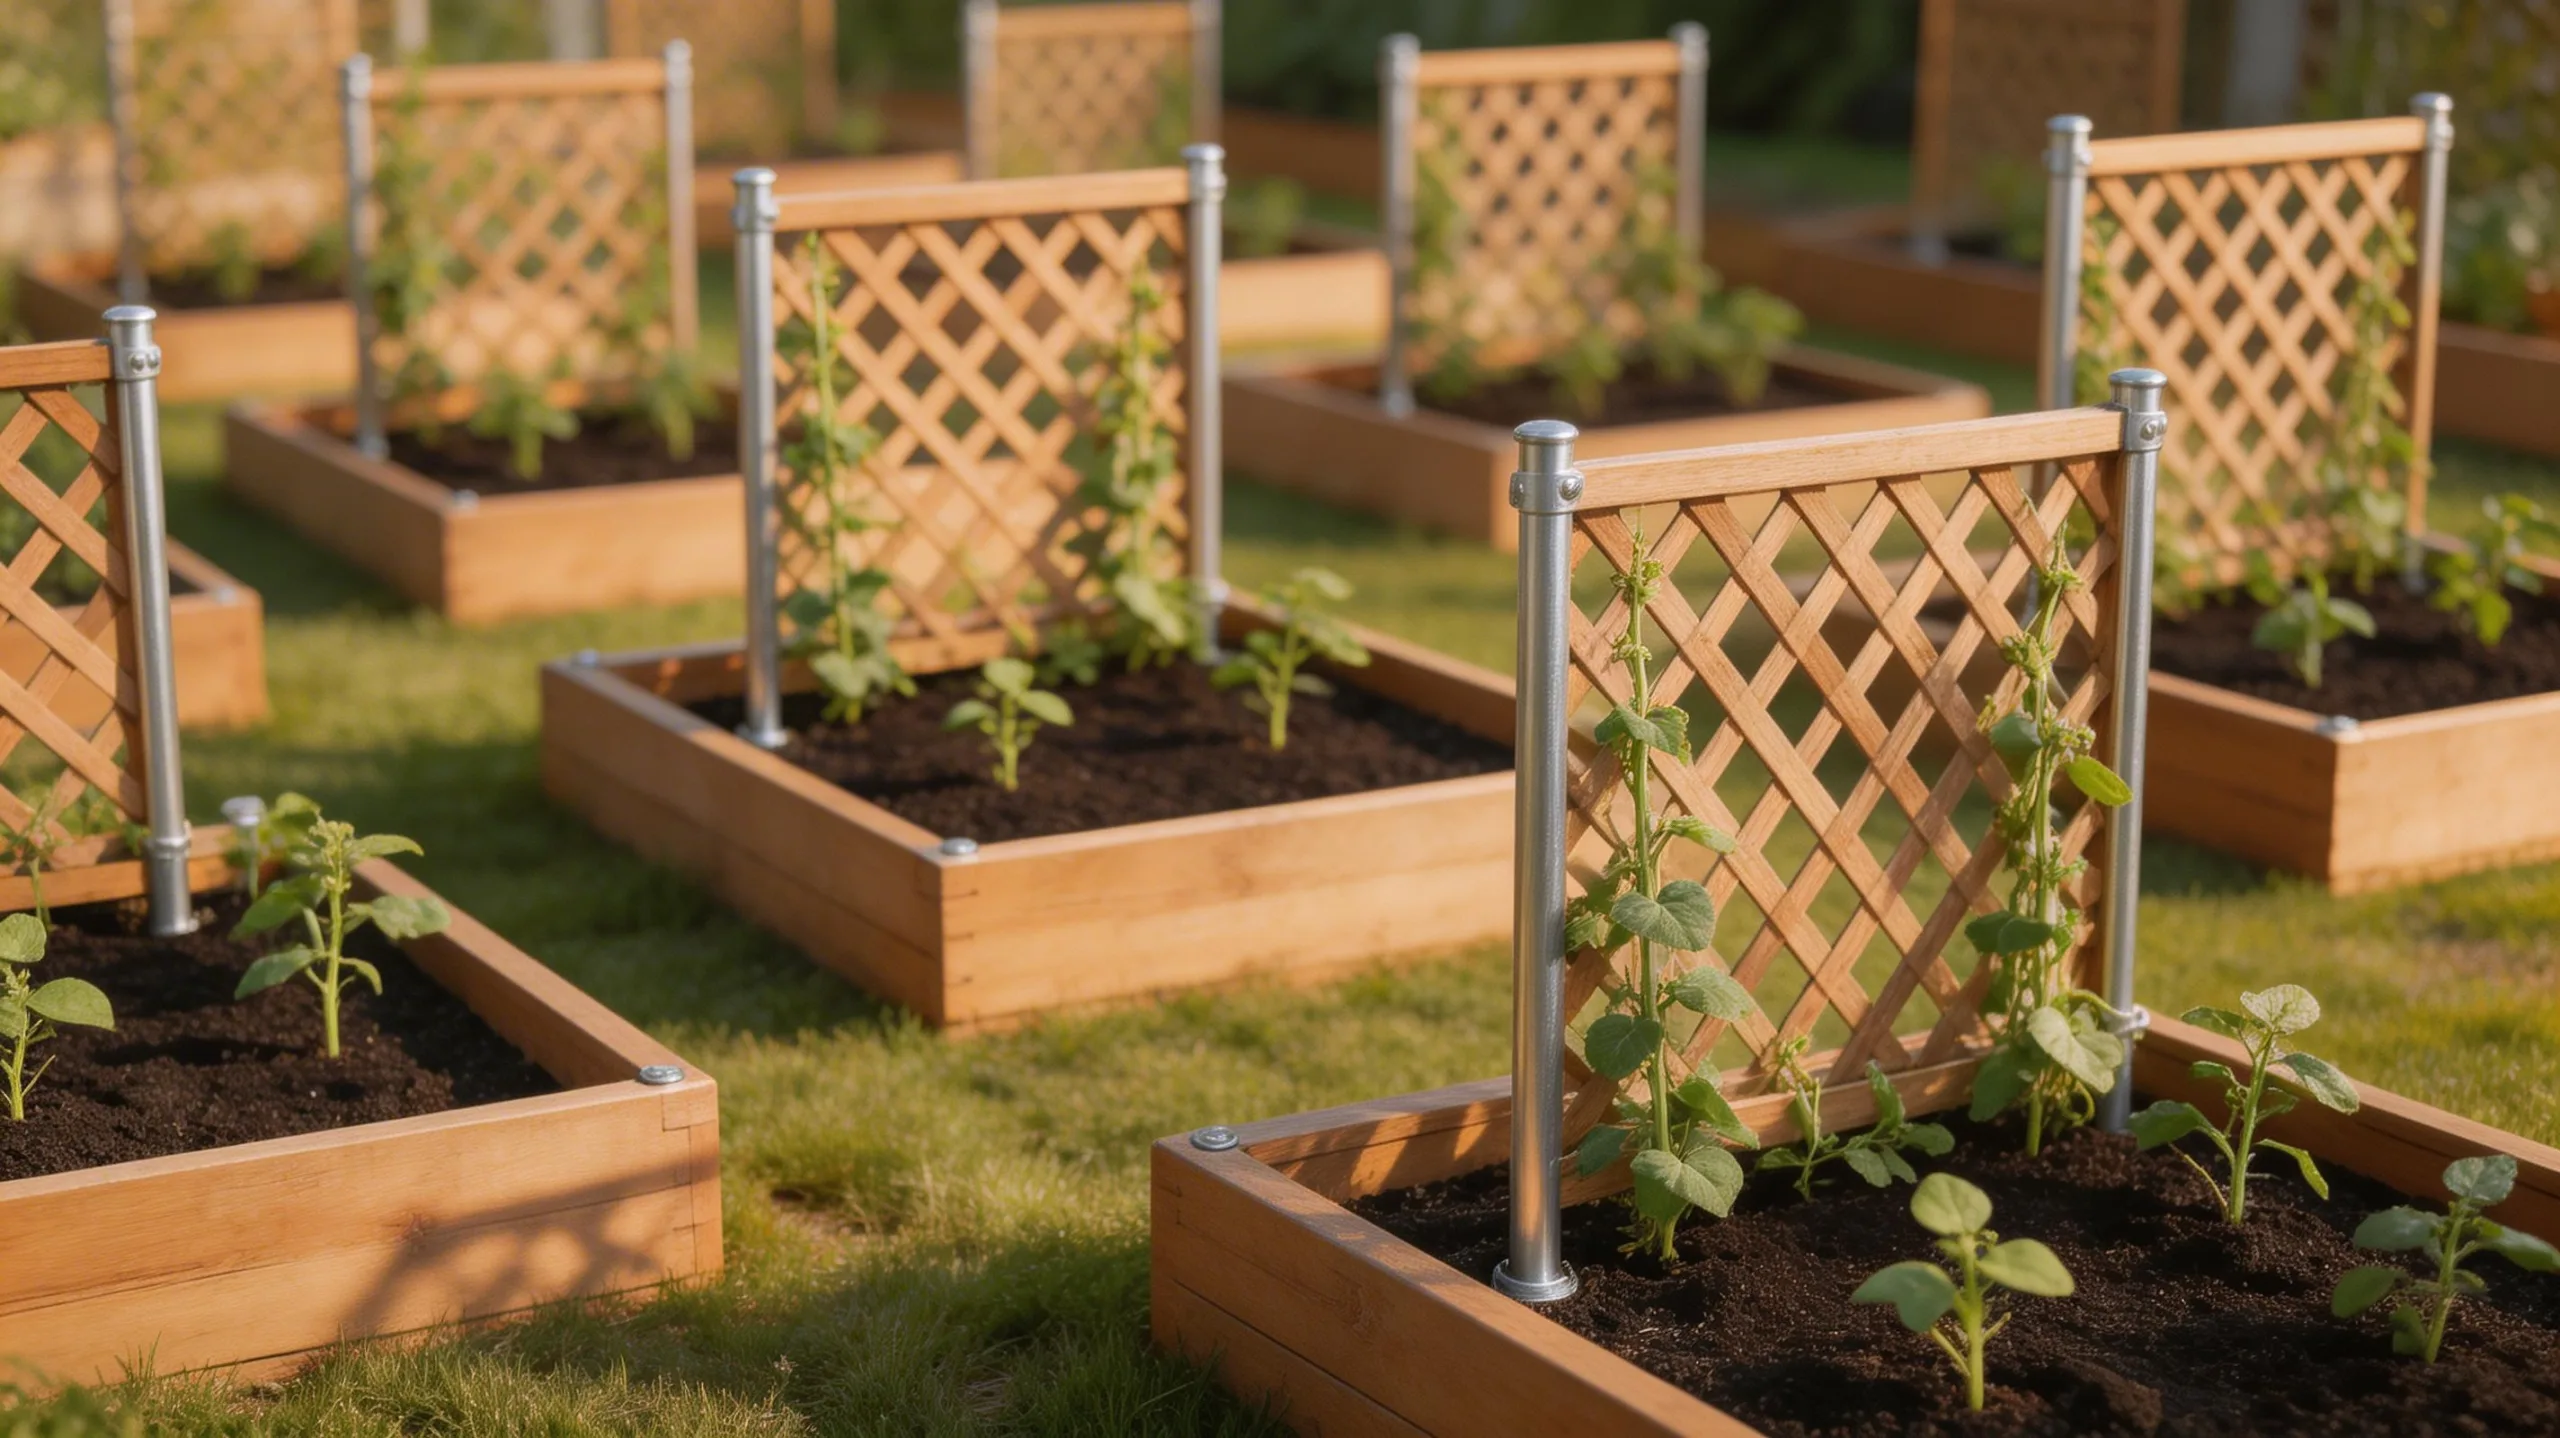
Lift your harvest to new heights with a vertical trellis layout, a brilliant strategy for maximizing every inch of your raised beds.
You can train vining crops like cucumbers, peas, pole beans, and some squash varieties to grow upward instead of outward. This frees up valuable ground space for planting other vegetables, herbs, or flowers underneath.
Install a sturdy trellis, arch, or netting system along the north side of your bed to avoid shading shorter plants. As your climbers grow, you’ll guide their tendrils onto the support.
You’ll enjoy easier harvesting, improved air circulation to reduce disease, and cleaner, straighter produce. It’s an efficient and visually stunning way to dramatically increase your garden’s yield.
The Simple Center-Path Two-Bed Layout
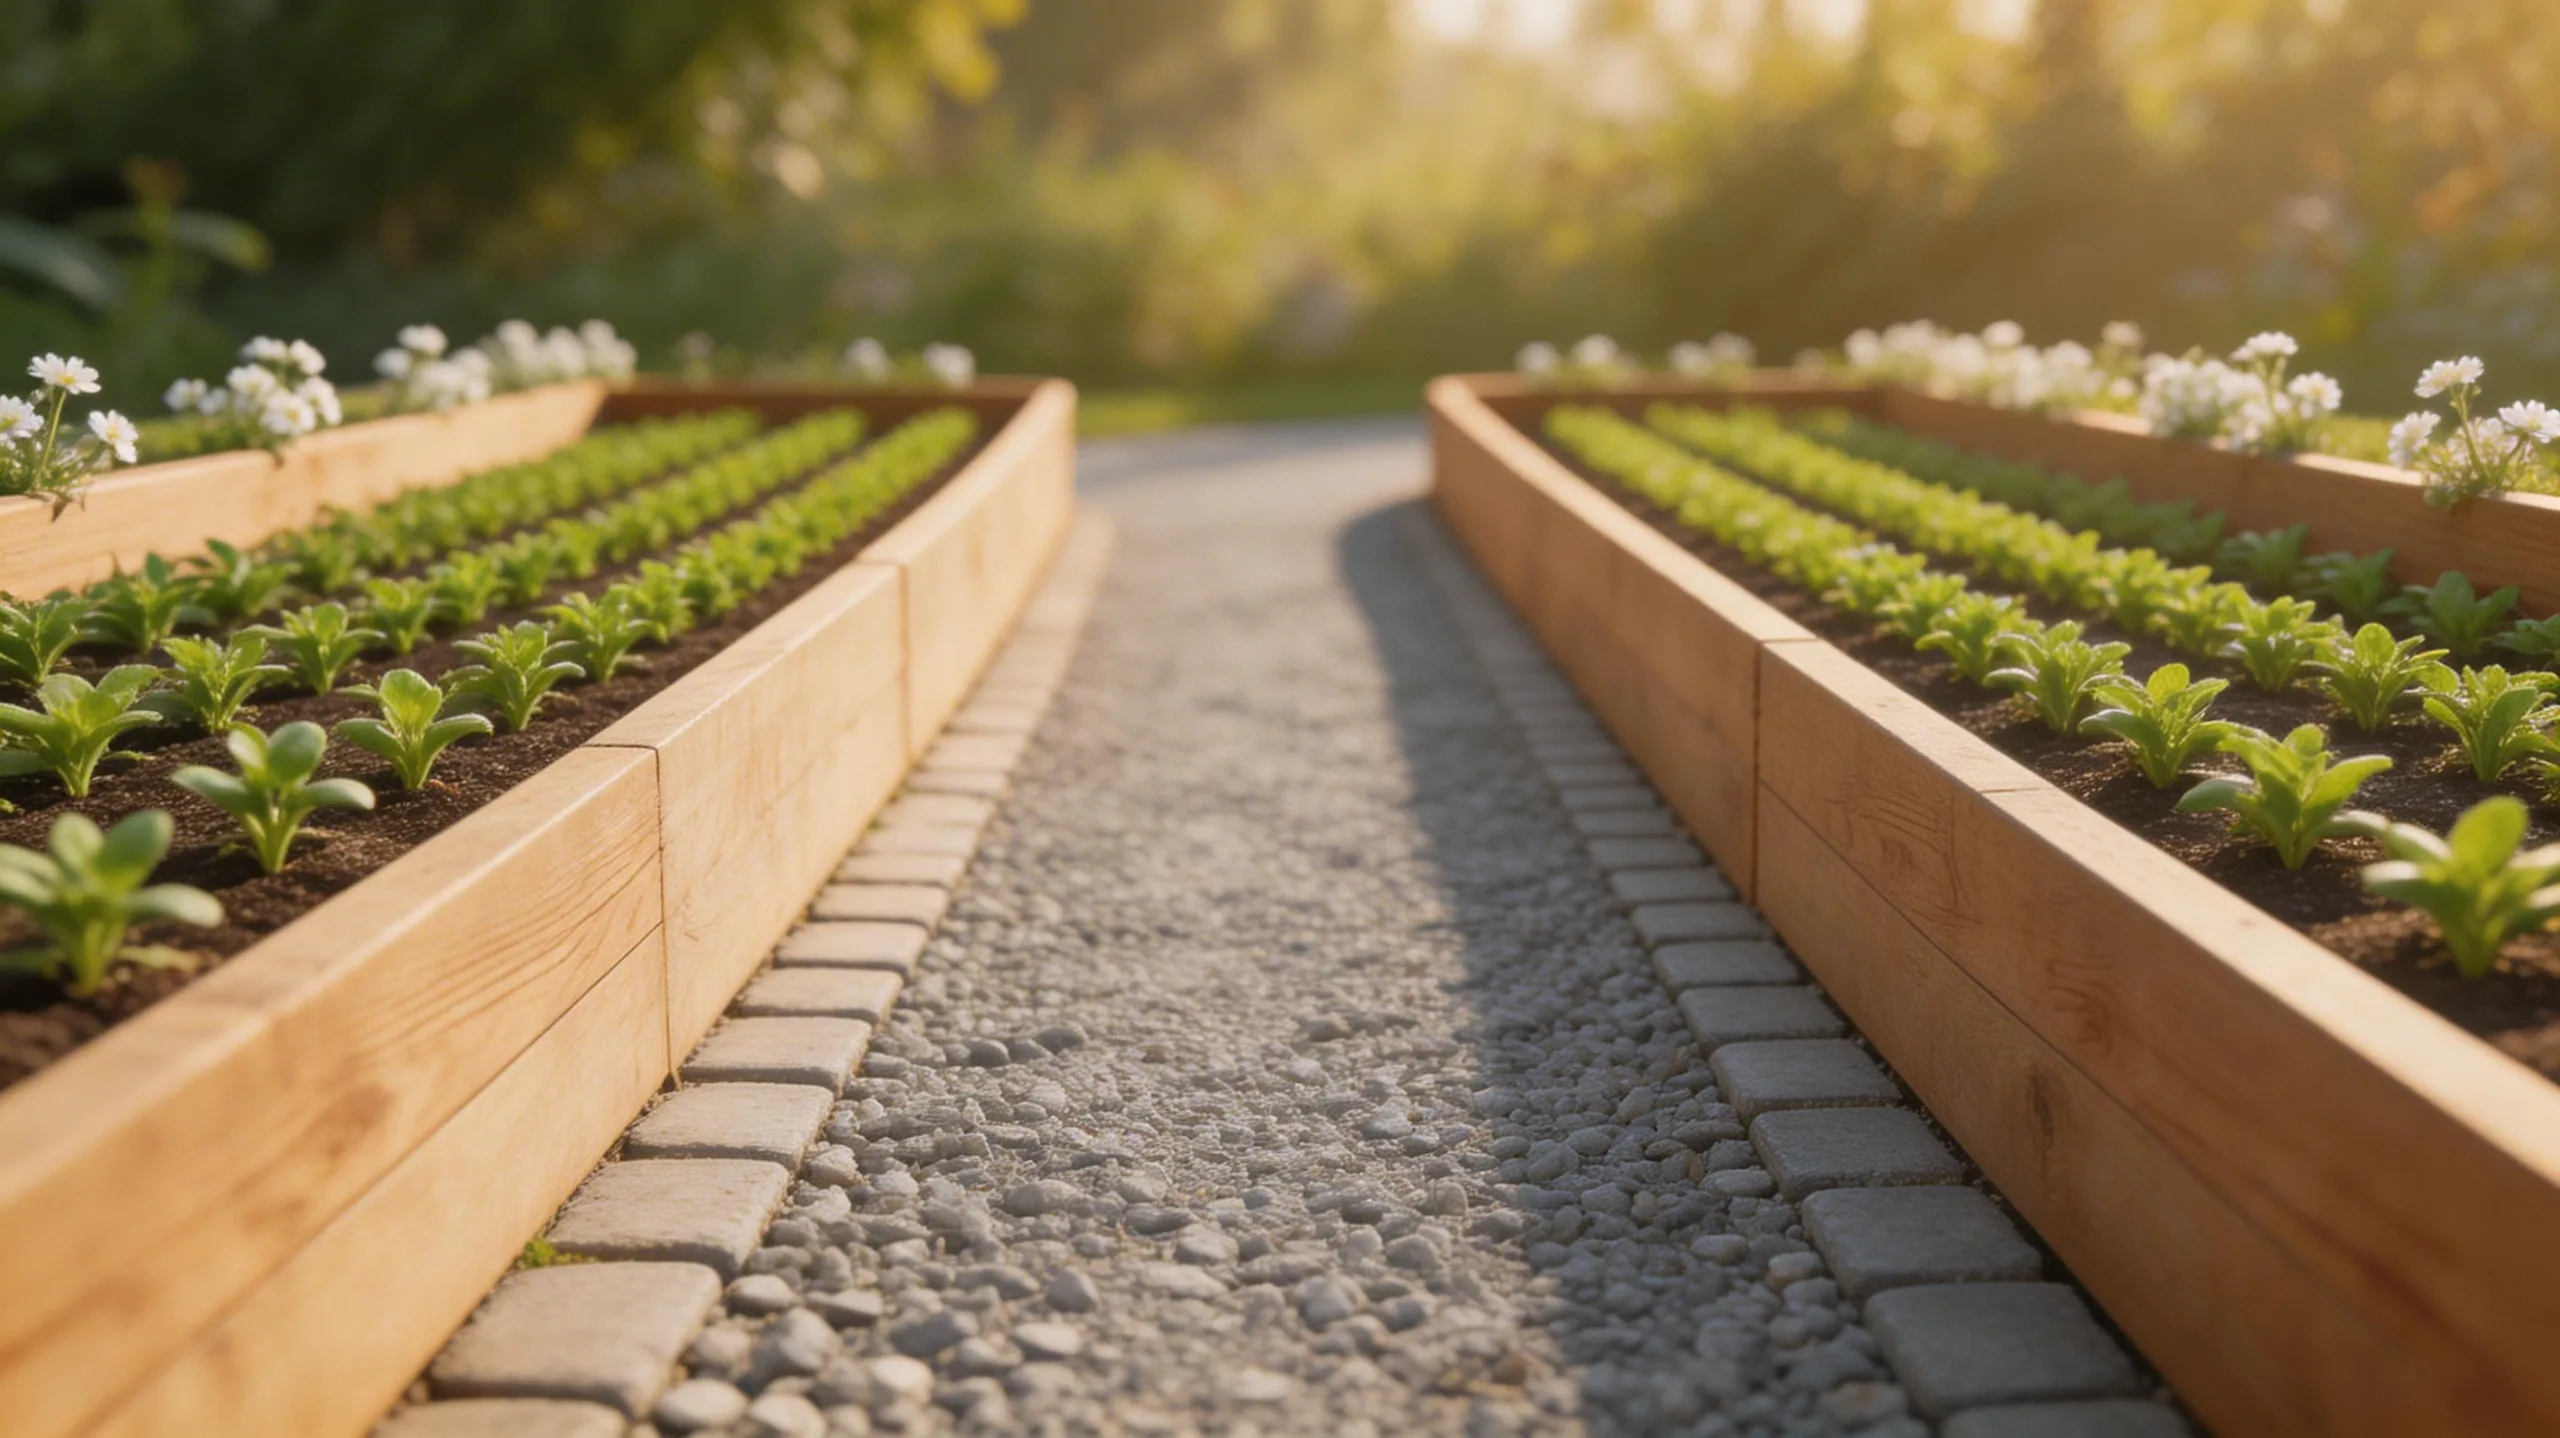
If you’re seeking both order and ease, the simple center-path two-bed layout creates a highly functional and balanced garden.
This classic design positions two beds parallel to each other with a central walkway, providing excellent access from all sides. You’ll find watering, weeding, and harvesting incredibly straightforward. Its symmetry isn’t only pleasing to the eye but also maximizes your growing area efficiently.
To get the most from this layout, consider these points:
- Define a Wide Path: Keep your central walkway about 2-3 feet wide for comfortable kneeling and wheelbarrow access.
- Optimize Bed Dimensions: Build beds no wider than 4 feet so you can easily reach the center from either side.
- Group Plants by Need: Place sun-loving vegetables on one side and shade-tolerant greens on the other for simpler care.
- Anchor with Perennials: Use the bed ends for permanent herbs like rosemary, giving your garden structure year after year.
This timeless arrangement minimizes effort and sets you up for a productive, enjoyable season.
The Rotational Crop Succession Layout
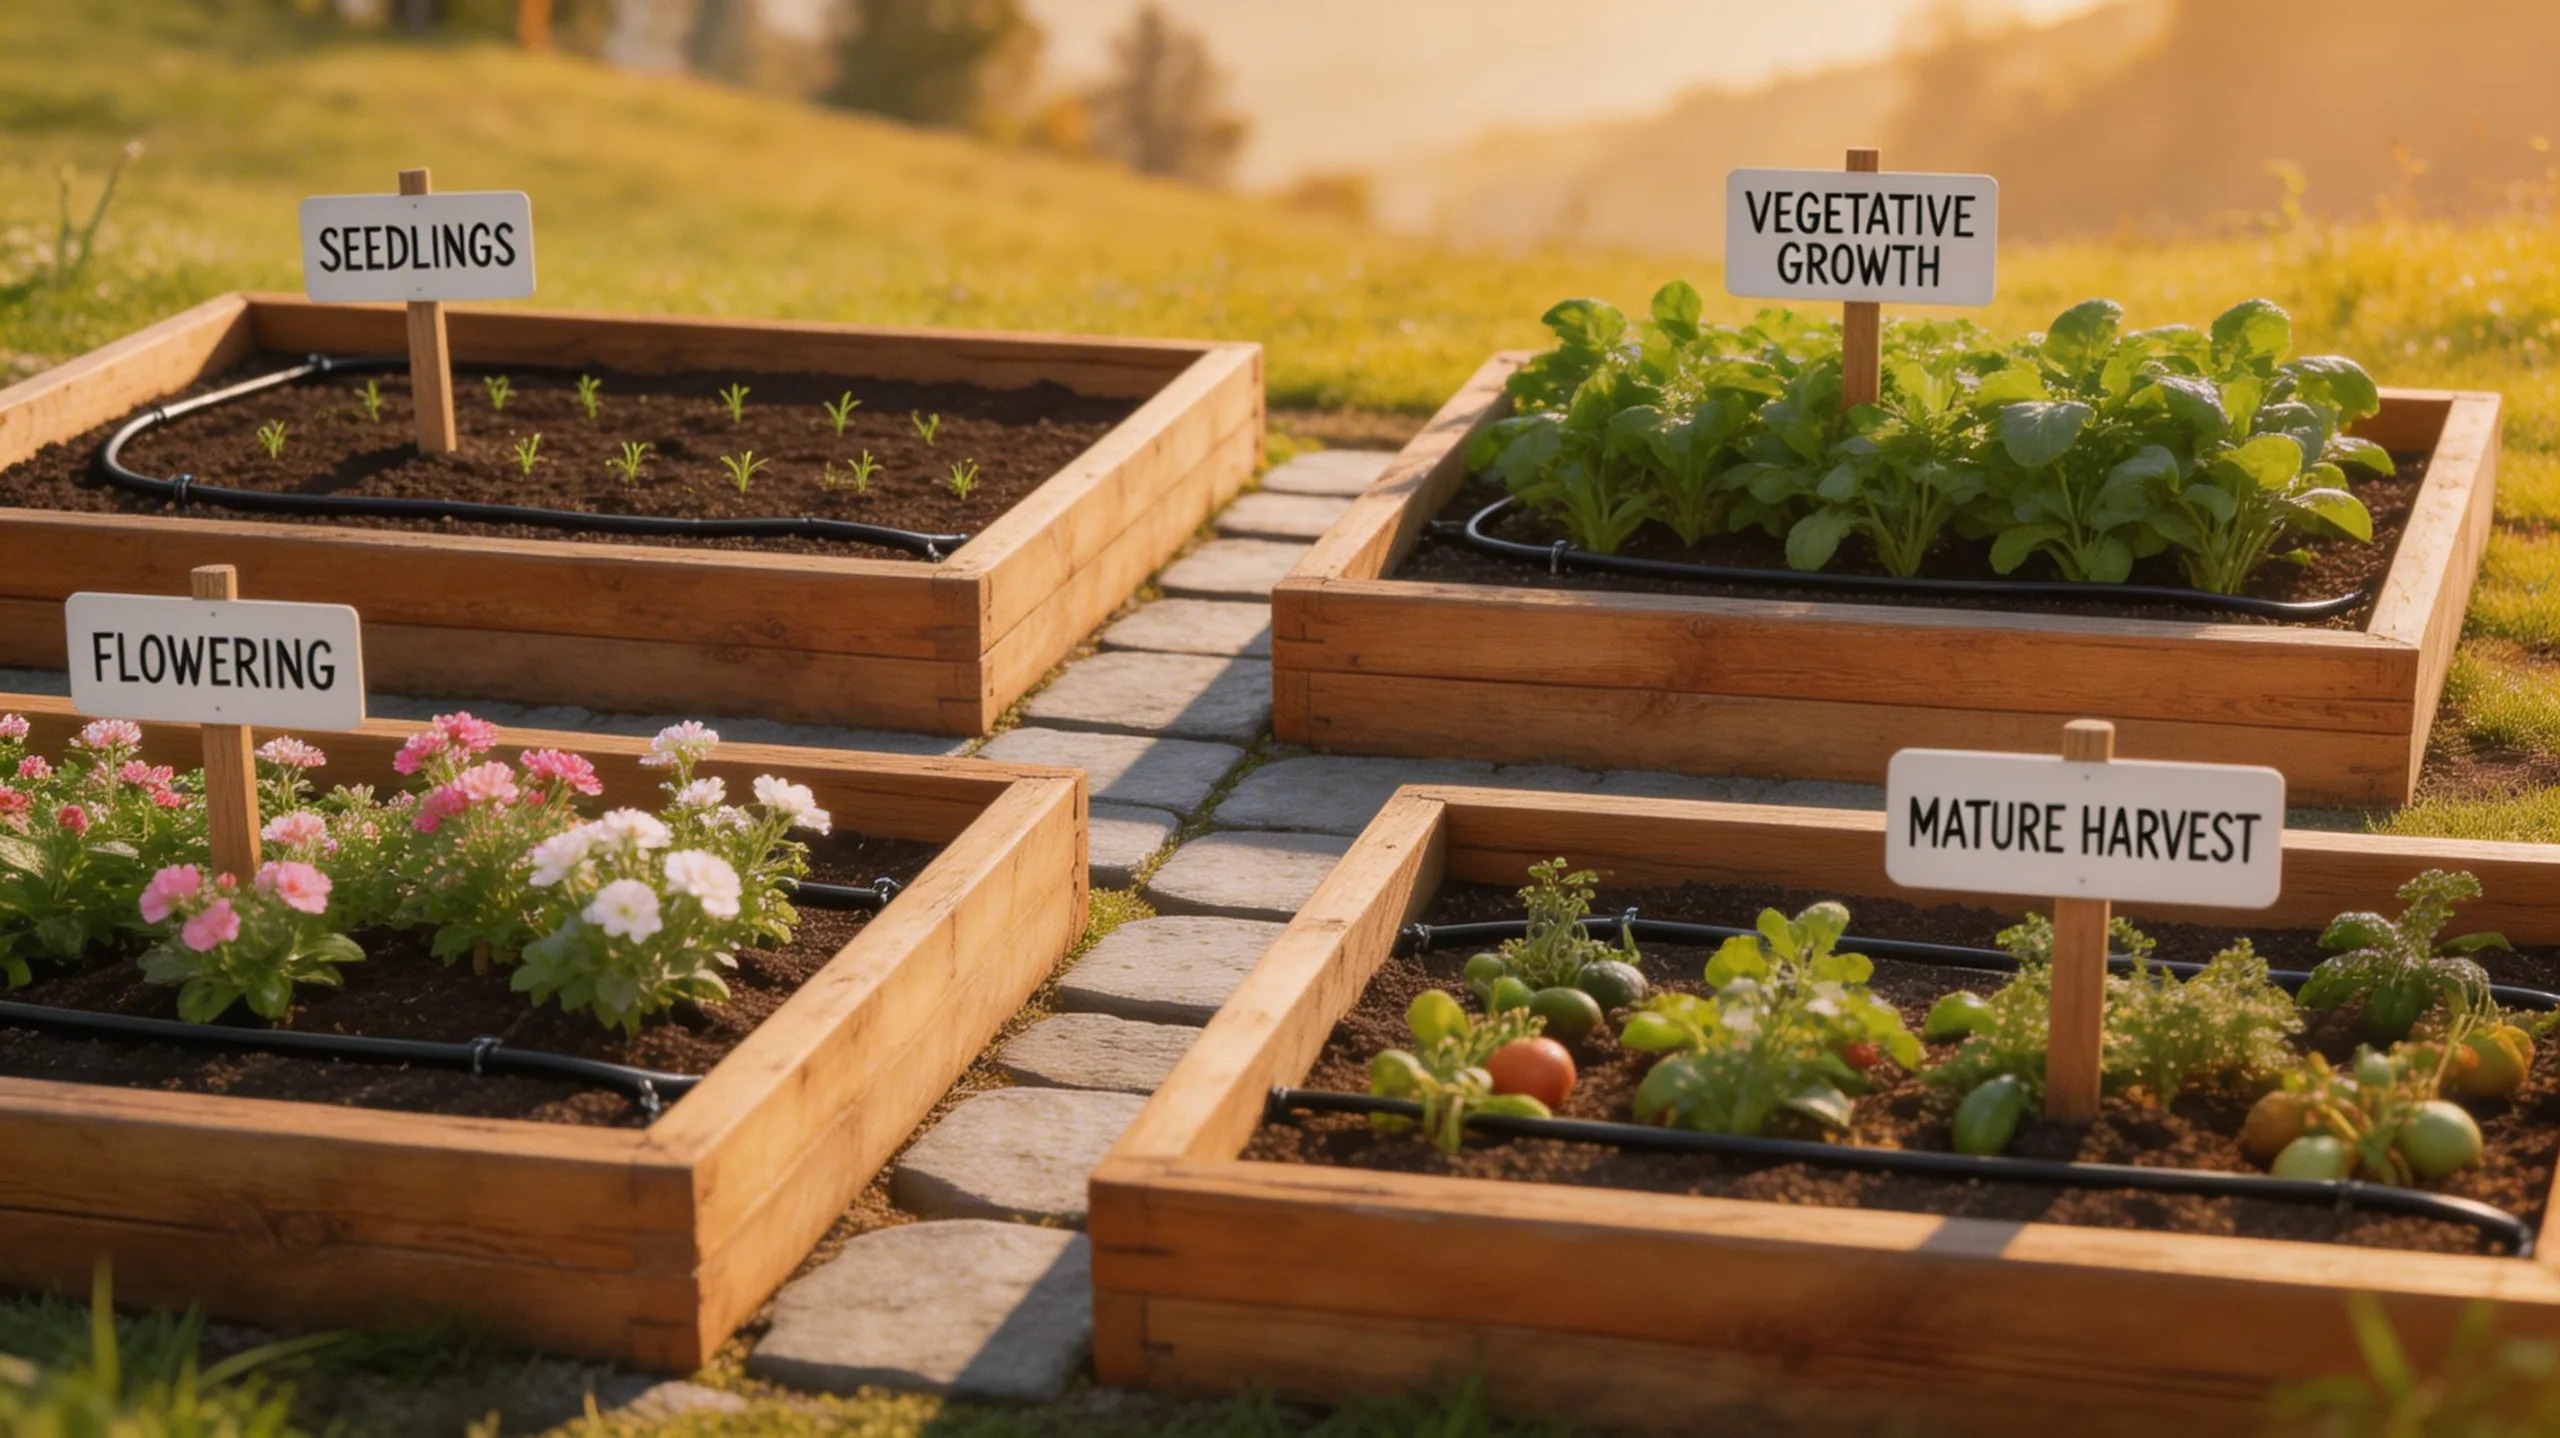
To boost your garden’s yield while nurturing its soil, consider a rotational crop succession layout that plans your plantings across seasons. You’ll group plants by families, like tomatoes and peppers (solanaceae), then move them to a different bed next year. This breaks pest and disease cycles naturally.
Simultaneously, you practice succession planting within a single season. After harvesting your spring peas (legumes), you’d quickly replant that space with a summer crop like beans, followed by a fall green like spinach. This method maximizes your bed’s output year-round.
You’re not just growing more food; you’re building healthier soil by alternating heavy feeders with soil-enriching legumes and light feeders. It’s a proactive, organized plan for continual harvests.
The Intensive Square Foot Gardening Layout
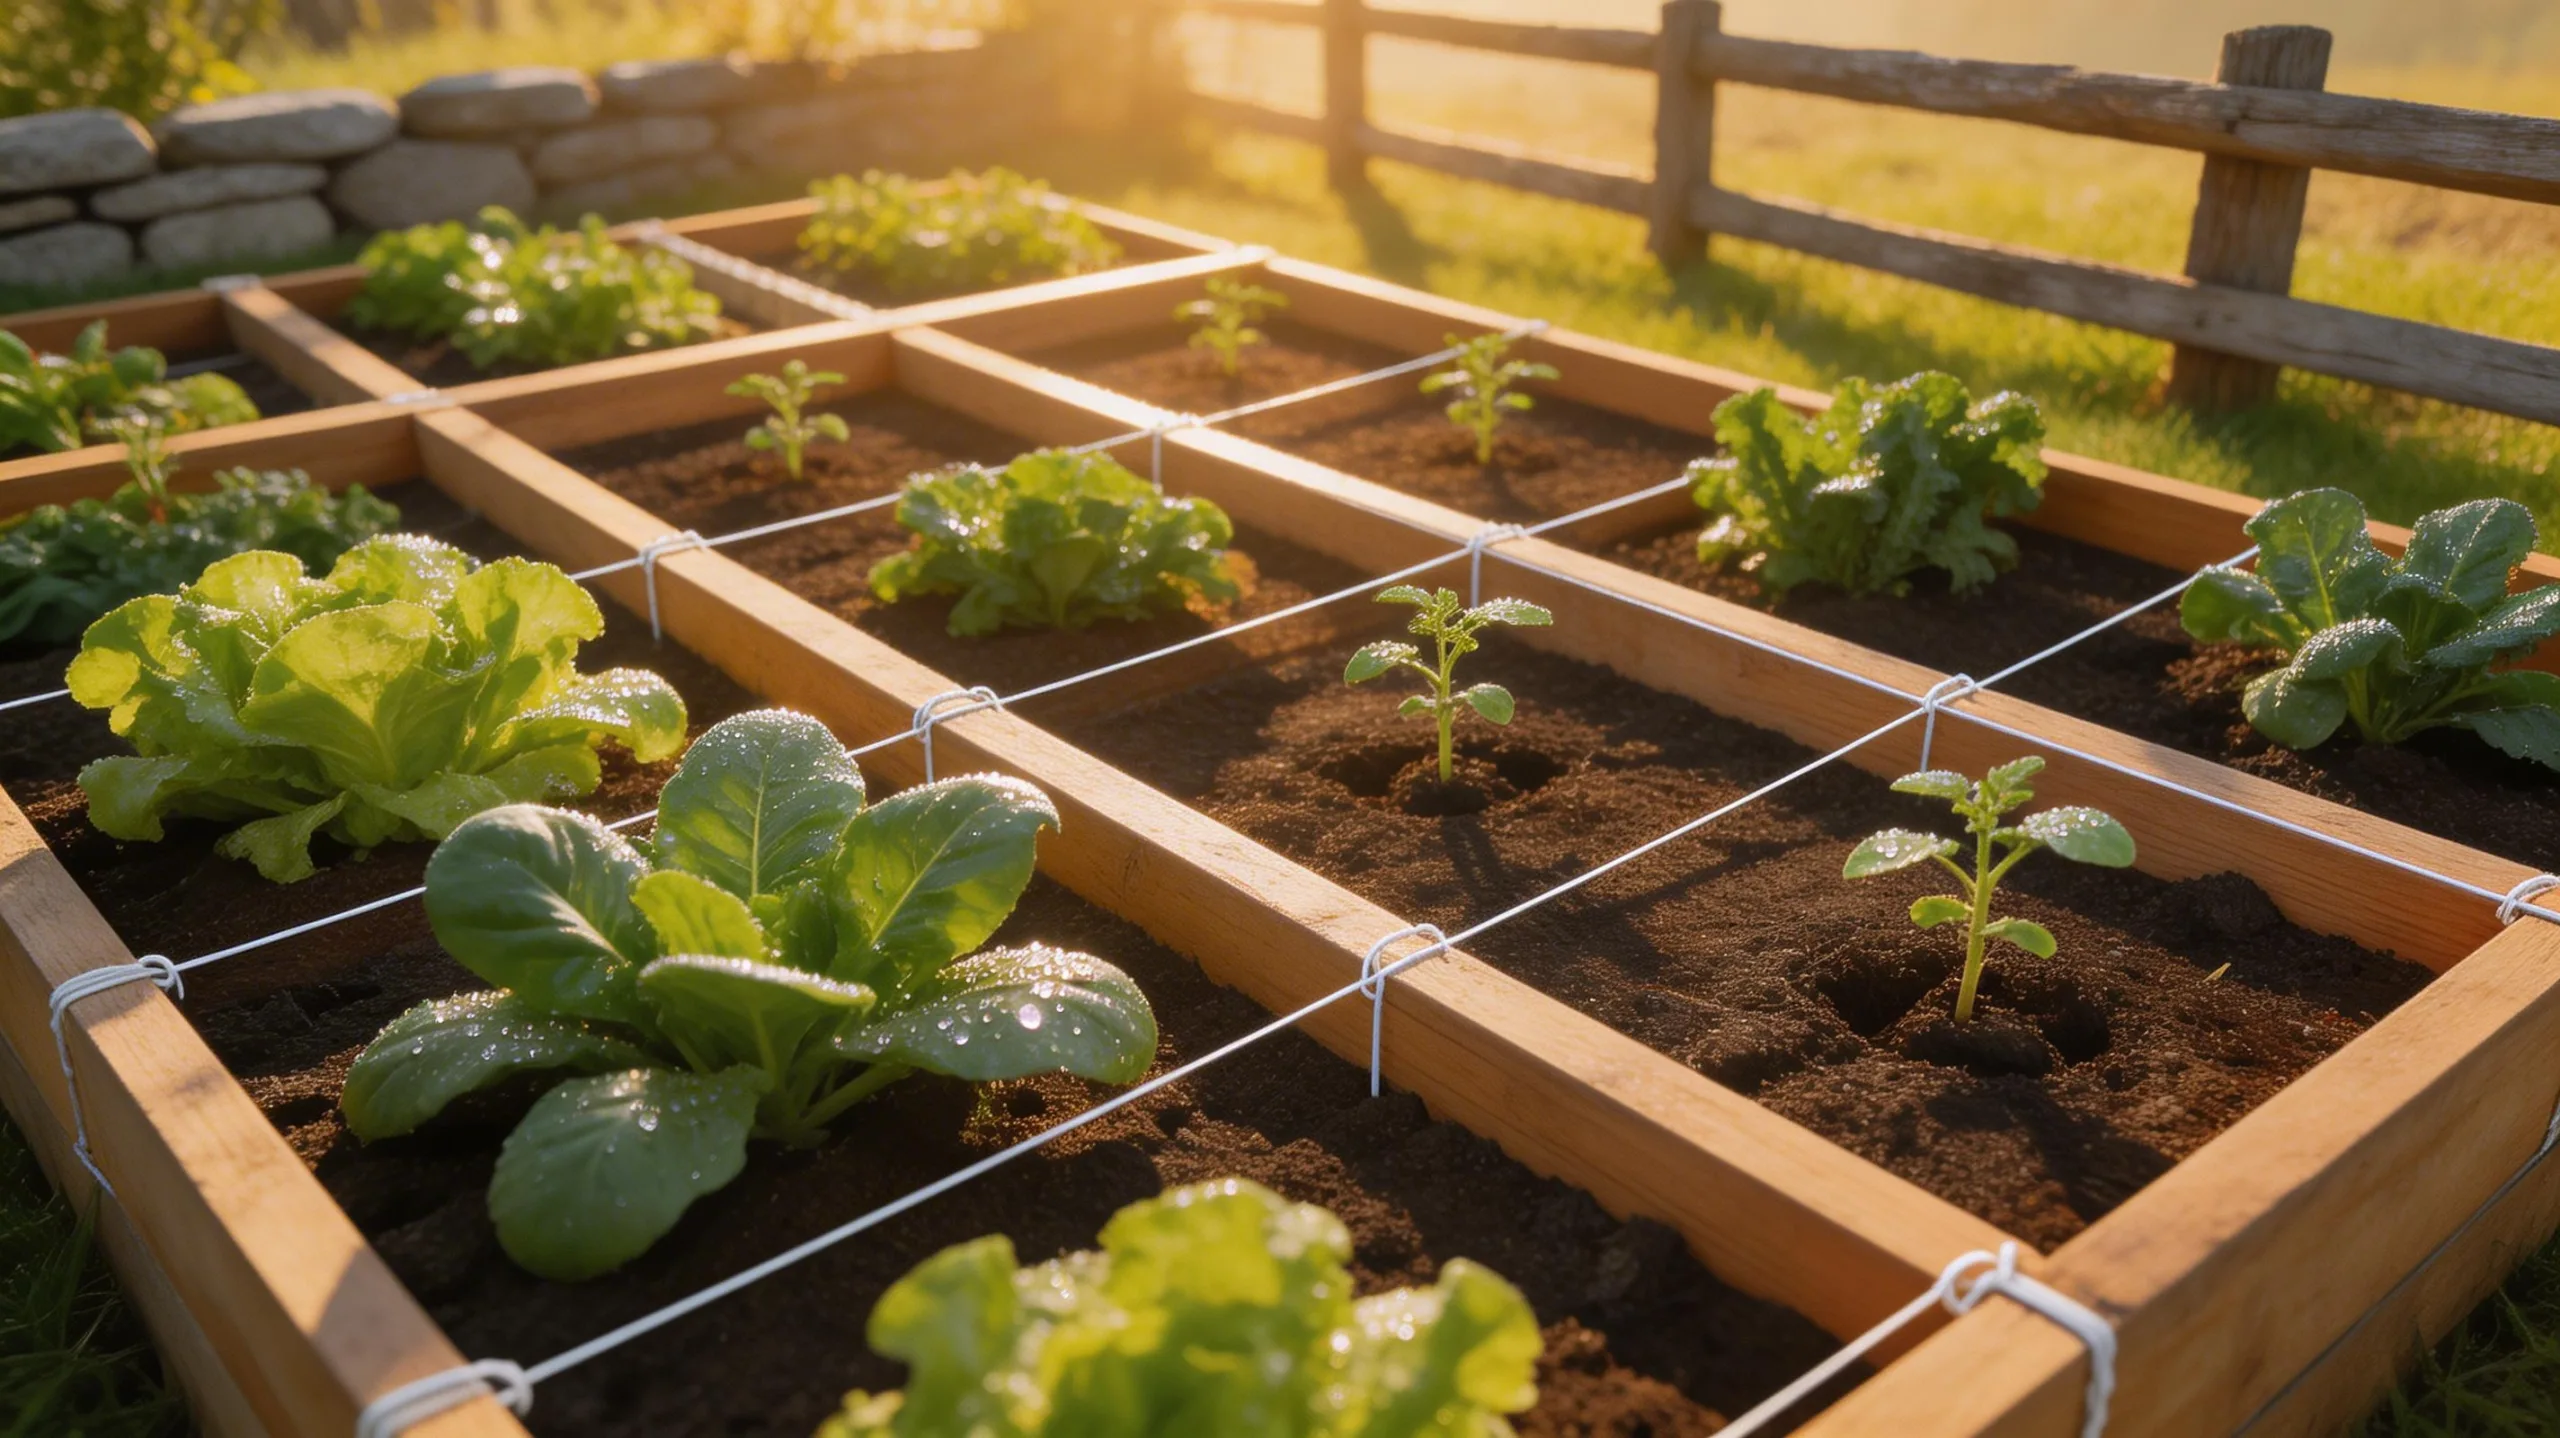
While the rotational layout organizes your garden across seasons, the intensive square foot gardening layout maximizes your space within a single bed. You’ll divide your bed into one-foot squares and plant a different crop in each. This method makes every inch work efficiently, giving you a huge harvest from a small footprint. It’s incredibly tidy and easy to manage.
Follow these principles to get started:
- Build a Grid: Physically create a grid over your bed using string or thin wood to define each square foot.
- Assign Crops Per Square: Plant a set number of seeds or seedlings in each square—like one tomato, nine beans, or sixteen radishes.
- Use Perfect Soil: Fill your bed with a premium, weed-free mix of compost, peat moss, and vermiculite for optimal growth.
- Plant Intensively: Space plants closely within their square to shade out weeds and conserve moisture, eliminating wasted space.
The Pollinator-Friendly Border Layout
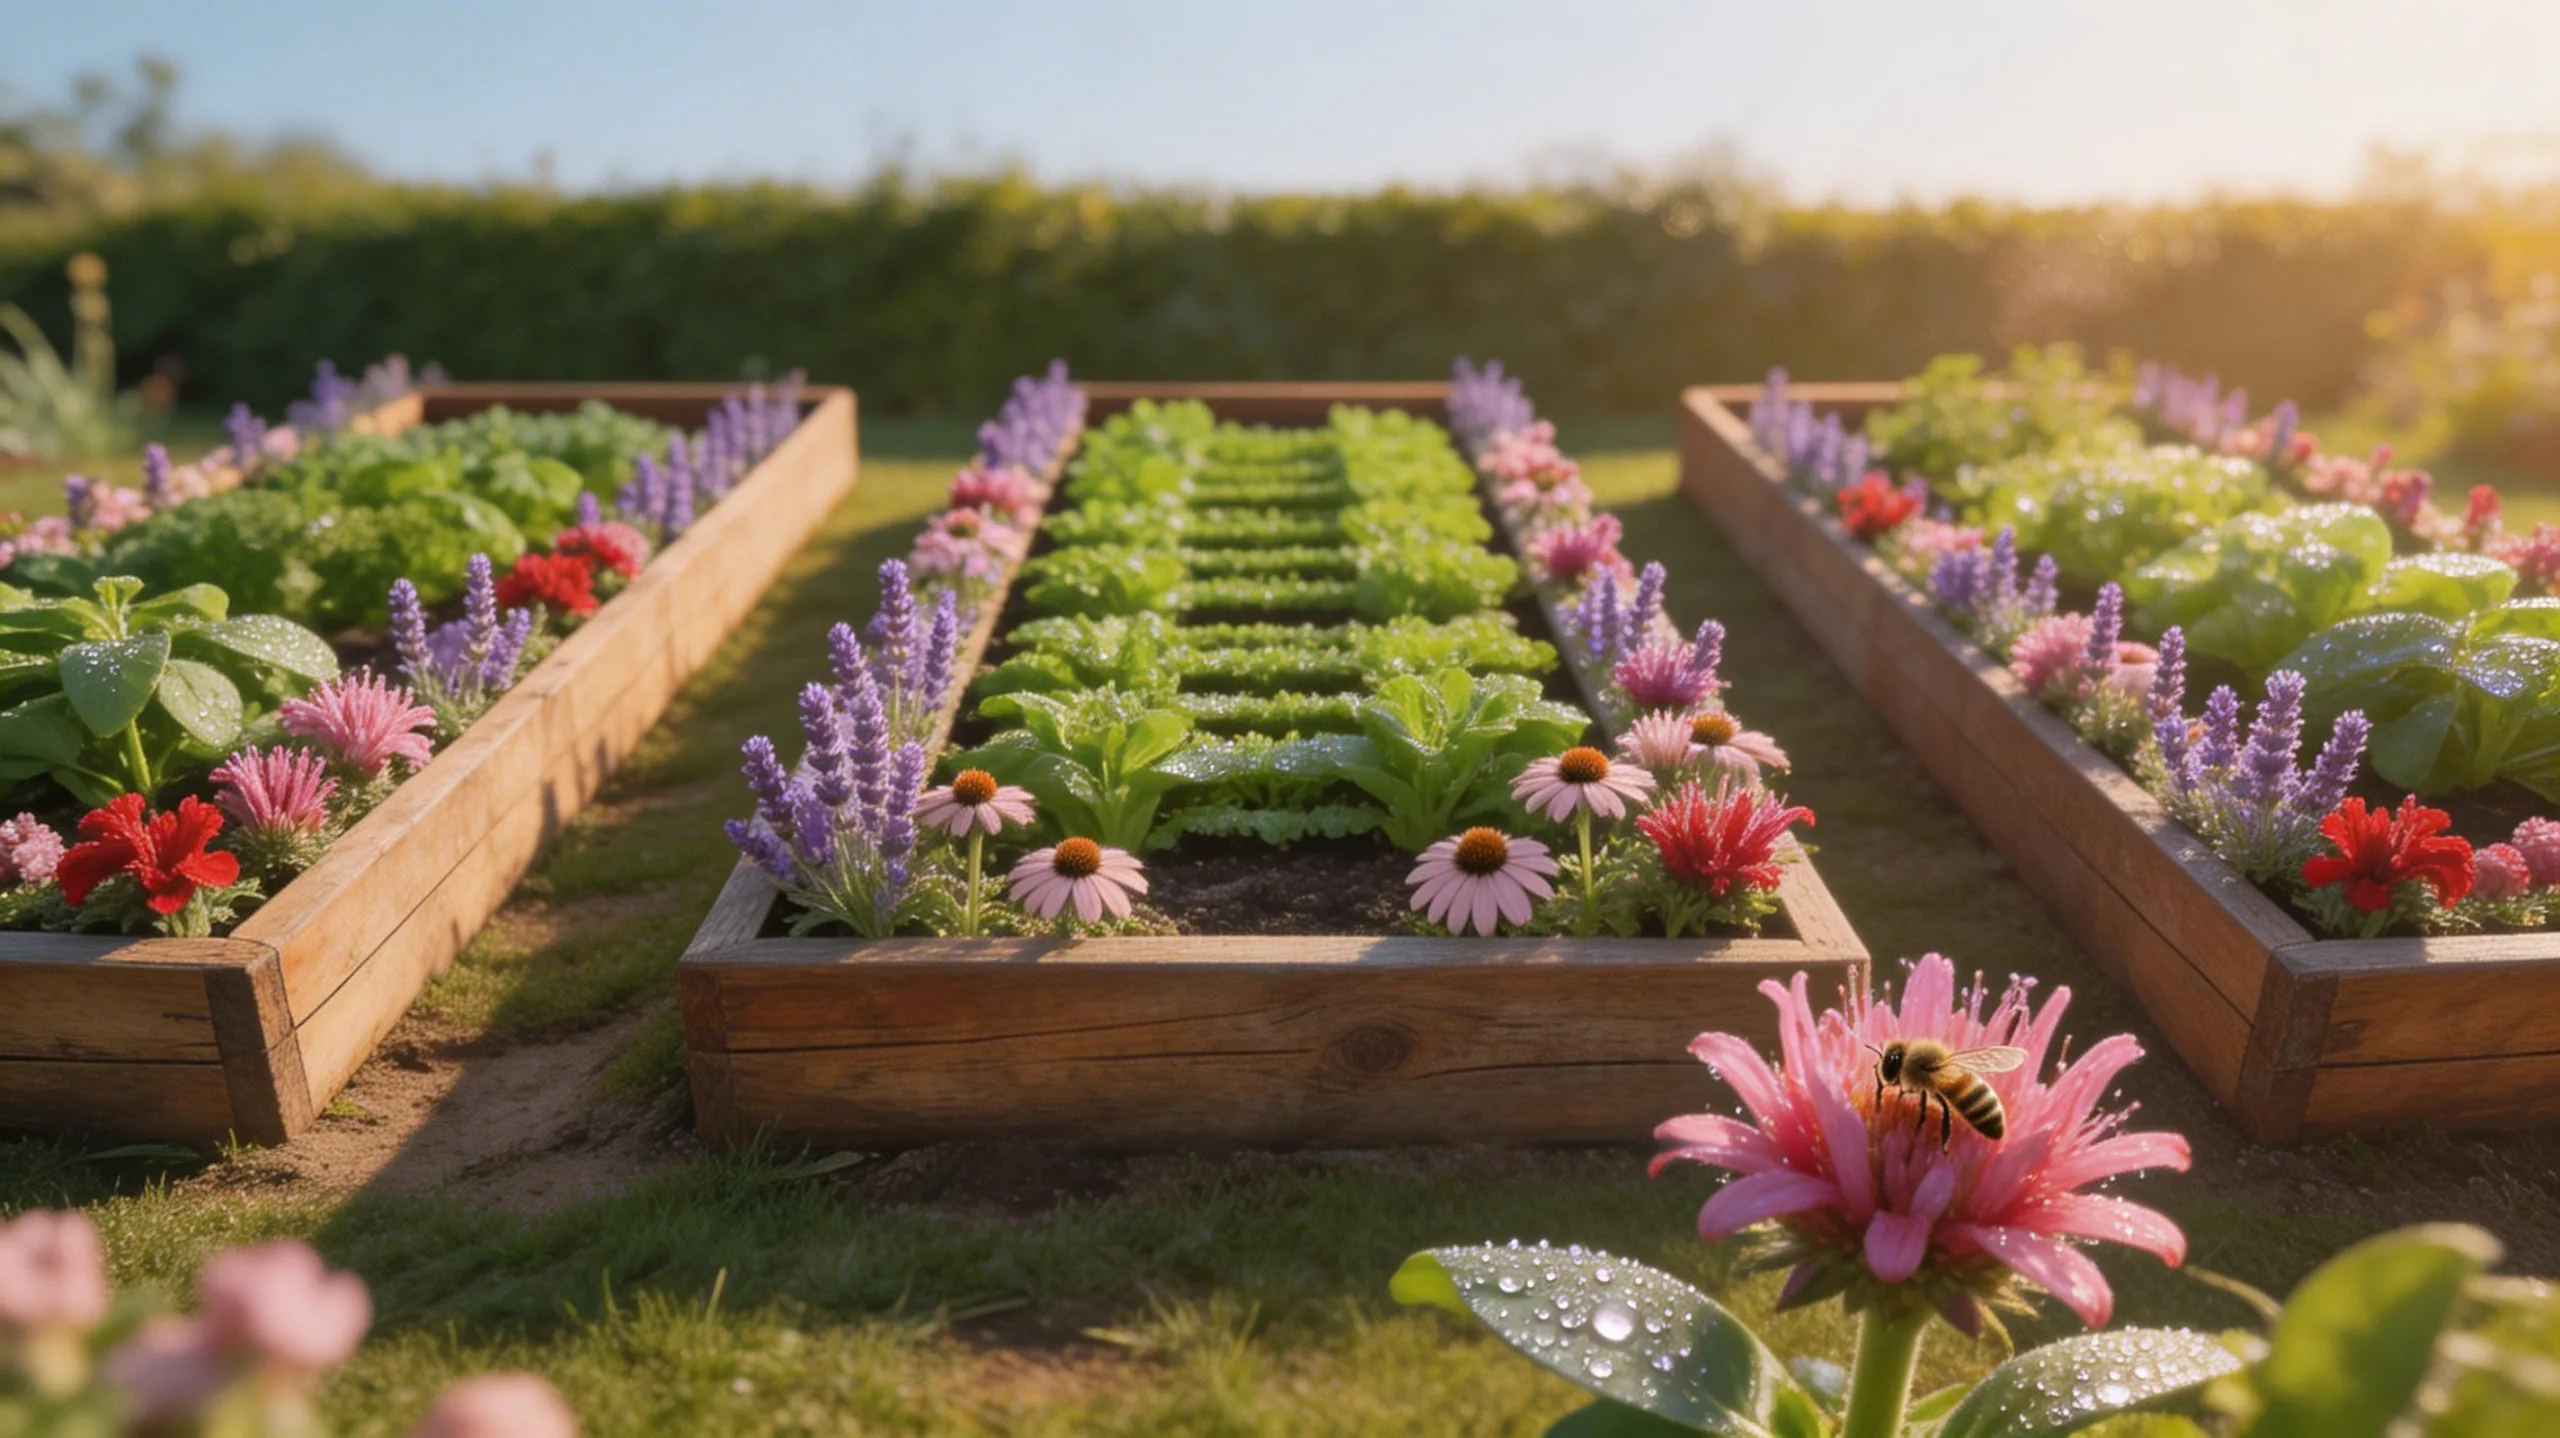
Just as intensive layouts maximize production, dedicating a border of your raised bed to flowers attracts bees and butterflies that boost yields for all your crops. This simple, beautiful strategy creates a thriving ecosystem right in your garden. You’ll want to choose a variety of blooms that provide nectar and pollen throughout your growing season. Planting them along the sunniest edge of your bed ensures they get the light they need and makes pollination efficient for your vegetables. It’s a classic win-win that’s easy to manage and incredibly rewarding.
| Flower Type | Key Benefit | Best Placement |
|---|---|---|
| Borage | Attracts bees, deters pests | Back border |
| Calendula | Long bloom time, edible | Front border |
| Alyssum | Ground cover, lures hoverflies | Edge filler |
| Sunflower | Pollinator beacon, provides shade | North side |
The Dedicated Herb Garden Corner Layout
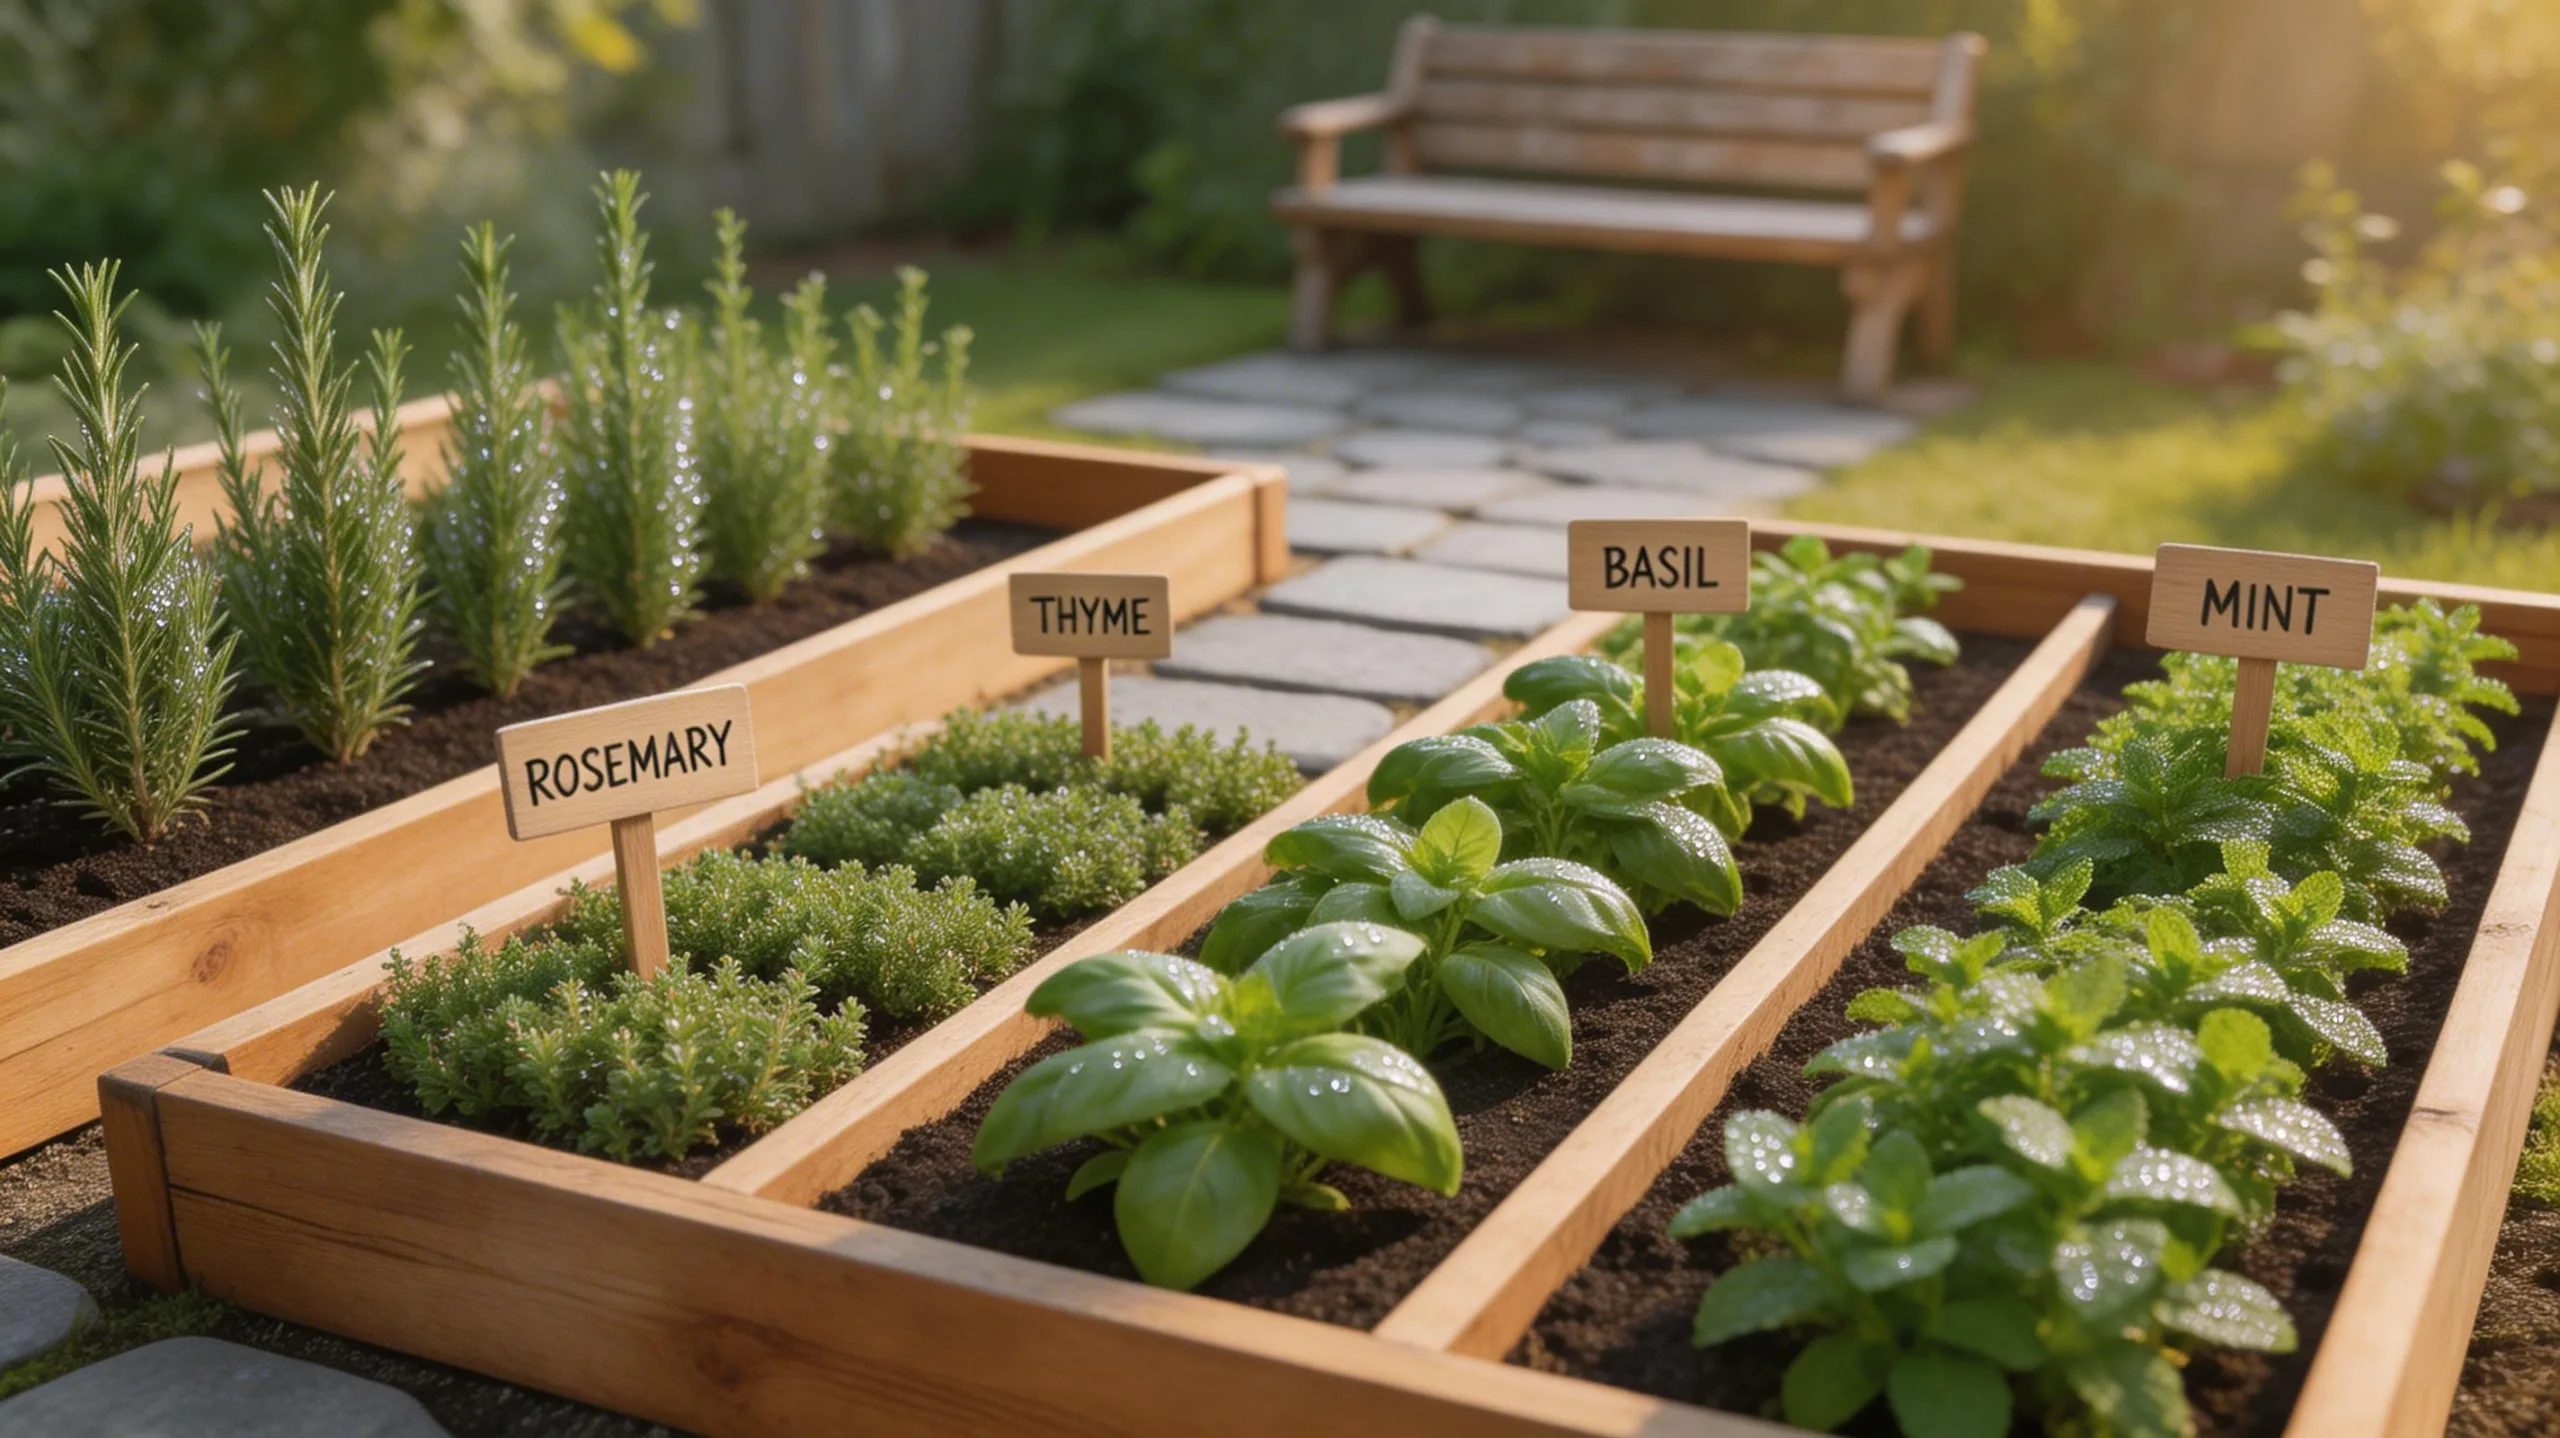
If you’re looking to concentrate flavor and convenience, dedicating a corner of your raised bed to herbs creates a practical and fragrant kitchen resource. You’ll save space by grouping these compact plants and you’ll always have fresh cuttings within arm’s reach.
Organize your herbs thoughtfully to maximize their growth and ease of harvesting.
- Assign Positions by Height: Place taller herbs like rosemary at the back of the corner, with mid-height thyme and oregano in the middle, and low-growing basil or parsley at the front.
- Mix Perennials and Annuals: Include perennial sage and thyme for structure, then fill gaps with annual basil and cilantro each season.
- Prioritize Harvest Frequency: Position herbs you cut most often, like chives or parsley, on the very edge for easy access.
- Consider Sun Requirements: Ensure sun-loving Mediterranean herbs get the brightest spot, while mint can tolerate a bit more shade if needed.
The Best Layout for a Sunny Balcony
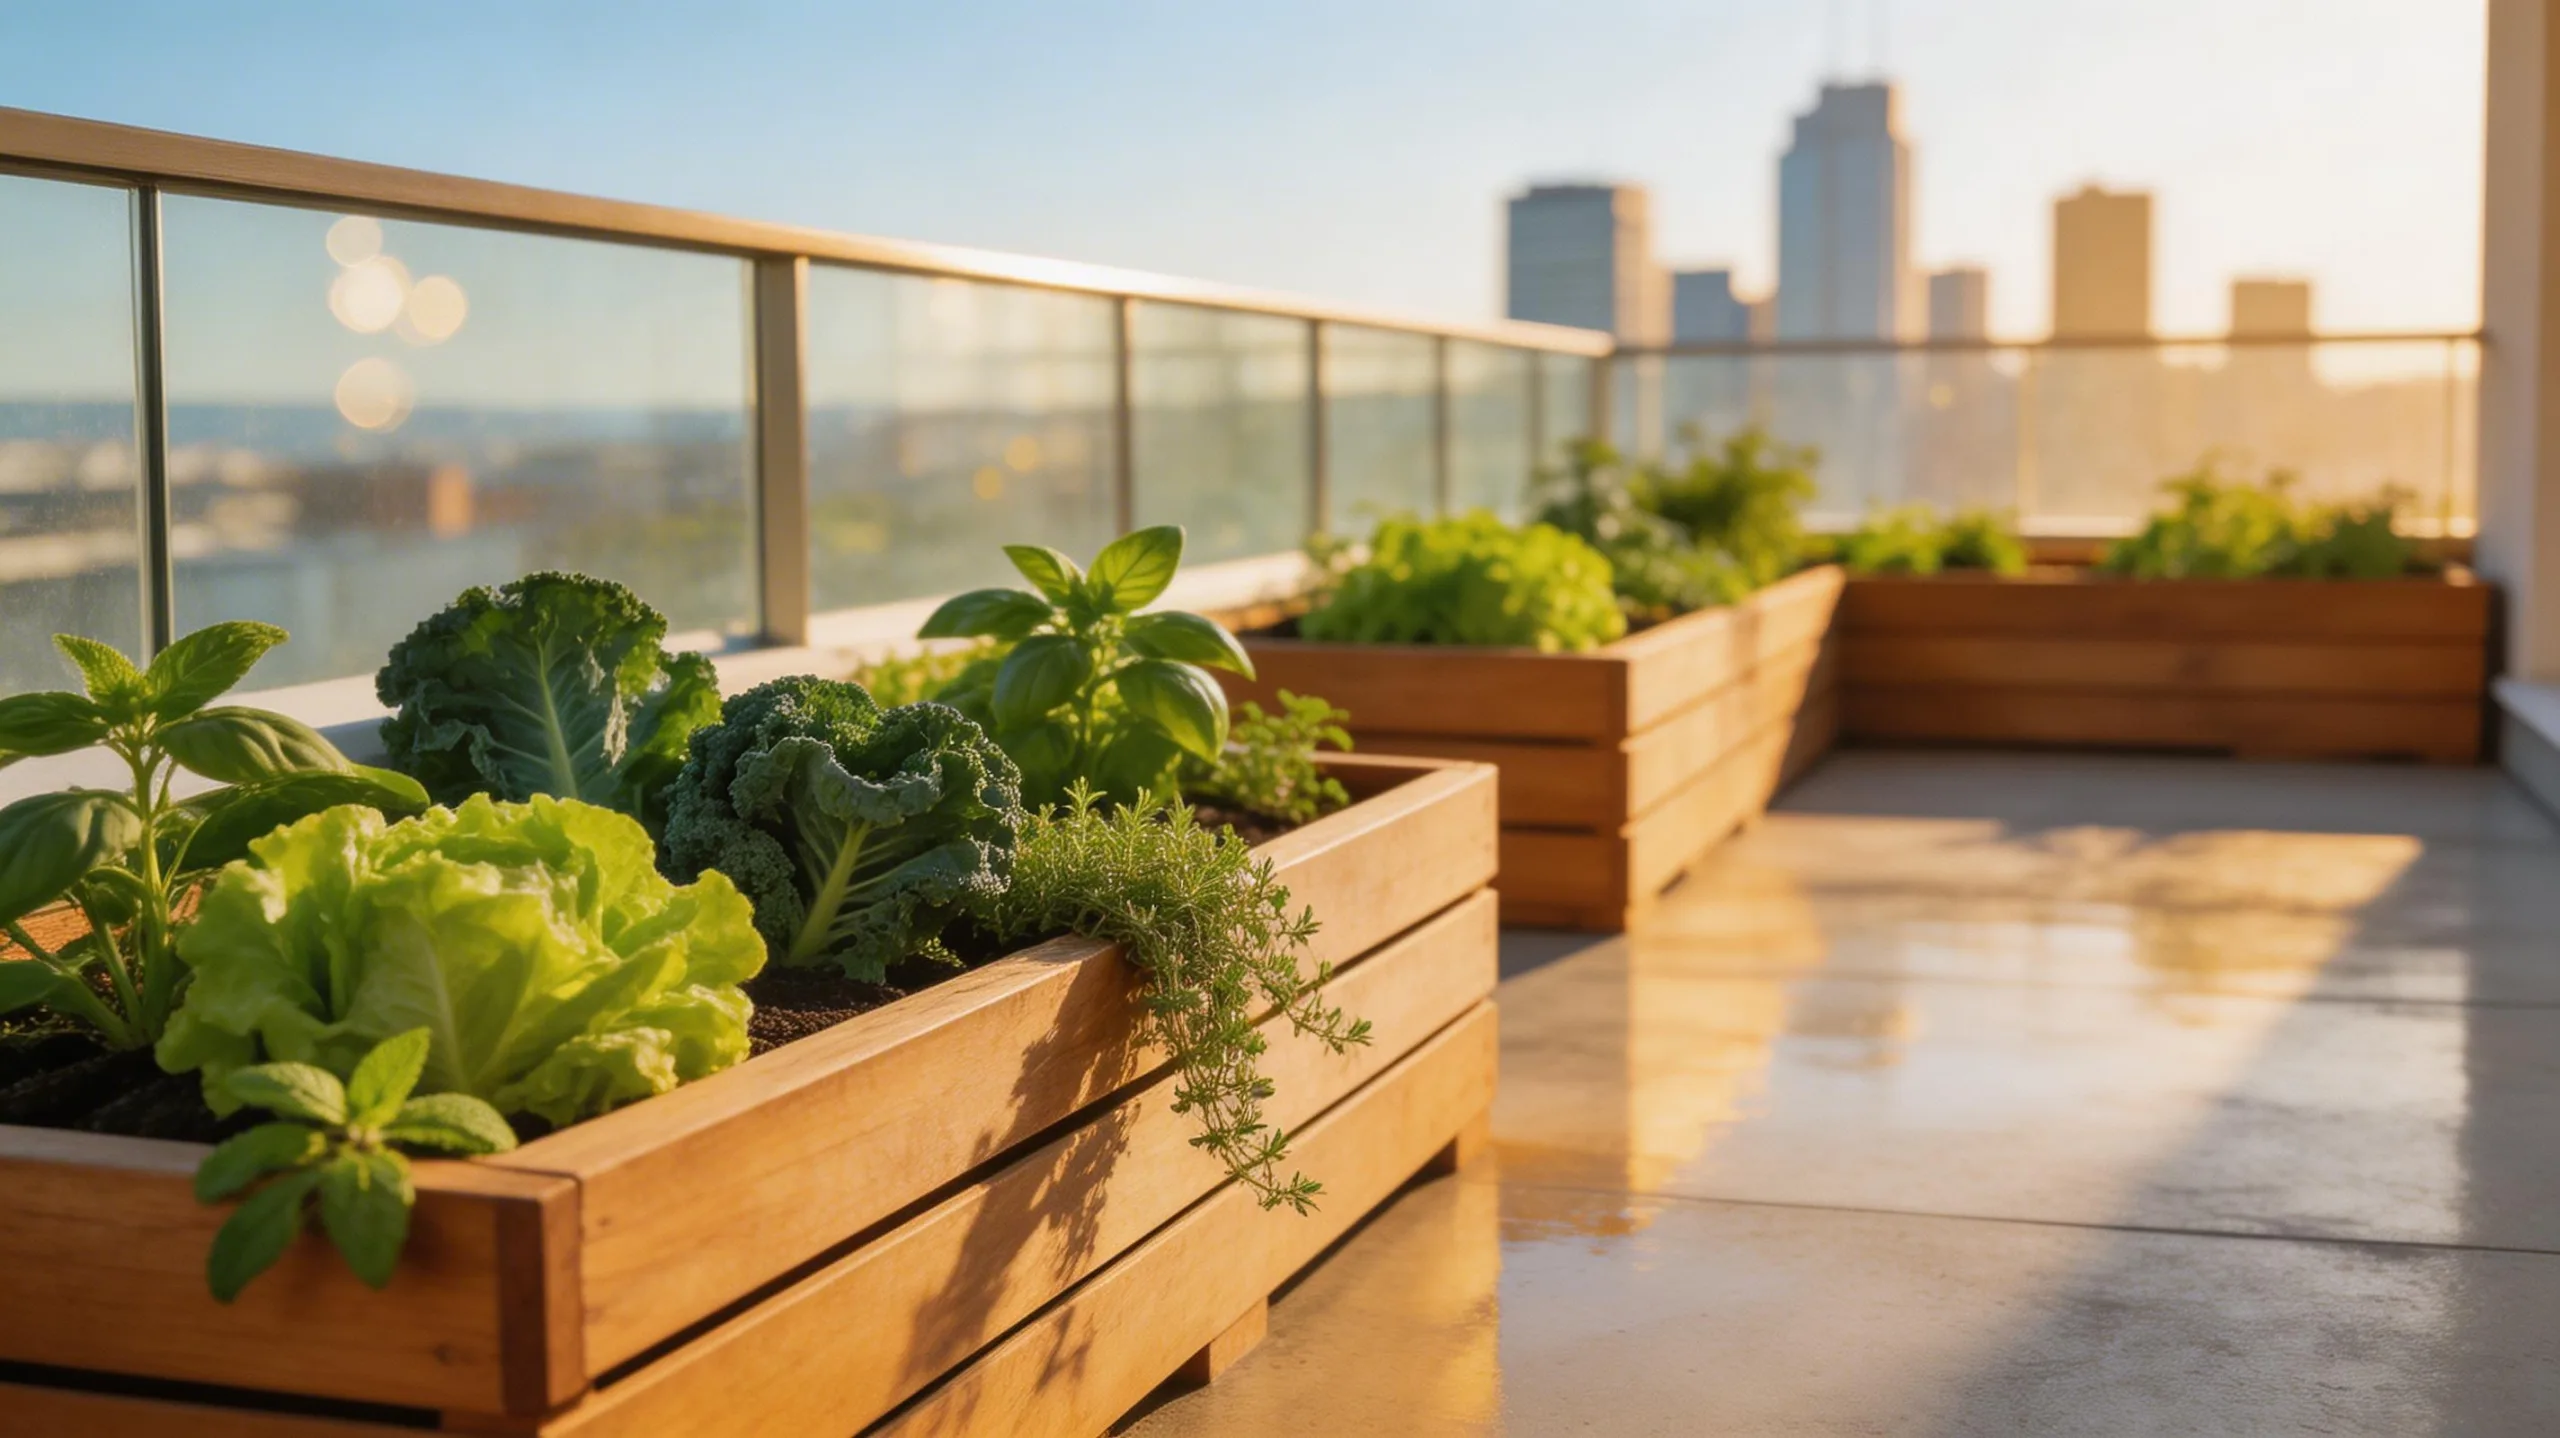
Often, a sunny balcony presents a perfect opportunity to cultivate a vibrant container garden. You’ll maximize space by implementing a vertical layout. Mount a trellis on a sunny wall for climbing vegetables like beans or cucumbers. Use sturdy railing planters for herbs and strawberries, keeping them safely secured.
Place your largest, deepest containers in the corners to support sun-loving tomatoes or peppers. Arrange medium pots with leafy greens and flowers in front for a layered effect. Always group plants with similar water and light needs together to simplify your care routine. This organized approach turns your limited square footage into a highly productive and beautiful oasis, proving you don’t need a yard to grow your own food.
The Family-Friendly ‘Kid’s Garden’ Layout
A sunny balcony can produce a fine harvest, but a dedicated plot lets you grow a gardener, too. Design a special bed to make your child’s first gardening experience a guaranteed success. You’ll want to keep it simple, accessible, and full of fast-growing plants that capture their imagination and taste buds.
- Keep it Reachable: Build a narrow bed, no wider than three feet, so little arms can reach the center from either side without stepping in.
- Pick Instant Gratification: Choose seeds that sprout quickly, like radishes and snap peas, or plants with big seeds, like sunflowers and nasturtiums, that are easy for small hands to handle.
- Engage All Senses: Include plants they can smell (mint), touch (lamb’s ear), and taste (cherry tomatoes and strawberries).
- Assign Ownership: Give them their own child-sized tools and let them make simple choices, like picking where to plant a sunflower.
The Space-Saving Keyhole or Mandala Layout
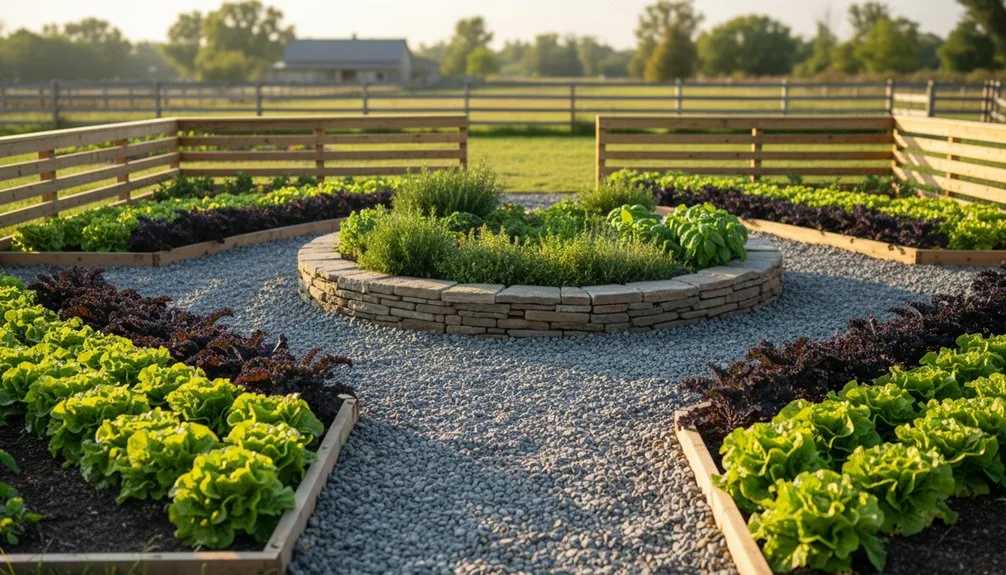
Although you might be working with a modest footprint, a keyhole or mandala garden layout maximizes every inch by arranging plants in circular beds around a central access path.
You’ll eliminate wasted aisles by creating a single entry point into a circular bed, like a keyhole, or connecting several into a beautiful mandala pattern.
This design brings all your plants within easy arm’s reach from the path, so you never compact the soil by stepping in the bed.
You can plant taller crops in the center and shorter ones radiating outward, ensuring everyone gets sunlight.
It’s a wonderfully efficient system that turns a small area into a highly productive and visually stunning garden space.
The Optimal Root Vegetable Bed Layout
Moving from circular layouts to long, straight rows provides the ideal conditions for root vegetables to develop properly. This simple arrangement maximizes your harvest by giving each plant ample, uncompacted soil to push through. You’ll find thinning, weeding, and harvesting incredibly straightforward.
To ensure success, follow these key principles for your root vegetable bed:
- Orient Rows North-South: This placement ensures all plants receive equal sunlight throughout the day.
- Loosen Soil Deeply: Ensure your bed soil is loose, well-draining, and free of stones to at least 12 inches.
- Follow Spacing Guidelines: Adhere to seed packet instructions for thinning; overcrowding stunts root growth.
- Use Succession Planting: Sow quick radishes between slower carrots or beets to maximize yield from the same space.
The ‘Plant-Once’ Perennial Vegetable Layout
Establishing a dedicated perennial bed secures harvests for years with a single planting. You’ll create a long-term food source that demands minimal yearly effort. Begin by choosing reliable producers like asparagus, rhubarb, and berry bushes.
Arrange taller plants, like berry canes, towards the back or center to prevent shading smaller ones. You can interplant herbs like thyme or oregano around their bases.
Your soil prep is critical; enrich it deeply with compost as these plants stay for decades. Once established, you’ll mainly focus on seasonal mulching and pruning.
This layout saves you time annually and builds a resilient garden ecosystem. It’s an investment in future abundance, turning your initial work into recurring rewards.
The Modular Grid Layout for Beds and Paths
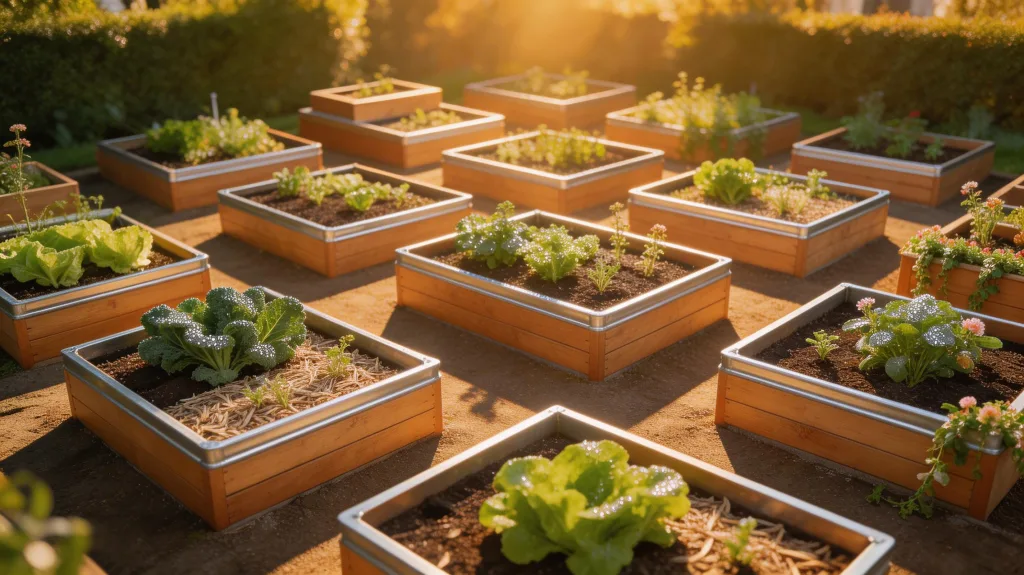
The modular grid layout applies a different, highly organized principle to your garden plan. You’ll design your entire garden using a repeatable unit, like a 4-foot by 4-foot square. This creates a clean, geometric pattern of beds and permanent paths, making every plant accessible without stepping on soil. It’s perfect for maximizing space and simplifying crop rotation from year to year.
- Establish Your Grid: Define your fundamental square unit, typically using timber for beds and mulch or gravel for permanent paths.
- Connect the Units: Arrange the bed units in rows, leaving uniform path units between and around them for easy navigation.
- Assign Crop Blocks: Dedicate specific grid squares to plant families, making your seasonal planting and rotation plan visual and straightforward.
- Scale Effortlessly: You can easily expand your garden by adding more identical units to the grid in any direction.
Frequently Asked Questions
How Deep Should a Raised Bed Be?
Make your raised bed at least 12 inches deep. For deep-rooting crops like tomatoes, go for 18-24 inches. You’ll give roots ample space and create a healthier, more productive garden with that simple step.
What Is the Best Soil Mix for Raised Beds?
Start with equal parts compost, topsoil, and coarse sand. You’ll create a balanced, well-draining foundation. Then, you can add peat moss or coconut coir to help retain moisture for your plants’ roots.
How Do I Keep Pests Out of Raised Beds?
Start by using physical barriers like floating row covers to protect your plants. You can also encourage beneficial insects and try companion planting with herbs like basil to naturally repel many common pests.
Do I Need to Line the Bottom of a Raised Bed?
Yes, you should line it. Use hardware cloth to stop burrowers and a permeable landscape fabric over that. It’ll contain your soil while letting excess water drain, which prevents rot and protects your plants.
How Often Should I Water a Raised Bed?
Water your raised bed when the top inch of soil feels dry. You’ll likely water daily in hot weather, but less in cool seasons. Check soil moisture often, as your plants’ needs will change.
Conclusion
Pick your layout, plant with intention, and watch your garden thrive. Remember to keep beds narrow, group plants smartly, and always work from the paths. With these reliable designs, you’ll build a productive, beautiful space that simplifies your routine and maximizes every harvest. Your perfect raised bed garden is ready to grow.
The Only Tools You Need for a Thriving Garden 🌱
Whether you're a weekend gardener or growing daily — these hand-picked tools make every session faster, easier, and more satisfying.