You’ve got a backyard that could use a functional yet stylish upgrade, and the right paver patio can give you both. By mixing slip‑resistant, earth‑tone pavers with clever layouts—think herringbone, simple grids, or curved borders—you’ll create zones for dining, lounging, and even a play area without sacrificing durability. Add a touch of rustic charm with a hestone border, integrate a bar or kitchen counter, and seal everything for weather‑proof longevity. The next step is figuring out which of these ideas fits your space and lifestyle best.
Key Takeaways
- Choose durable, slip‑resistant pavers (e.g., exposed‑aggregate, recycled rubber) in earth tones that complement the home and landscape.
- Install a compacted sand base with polymer‑enhanced gravel for drainage, and use interlocking patterns like herringbone for strength and reduced cracking.
- Incorporate functional zones such as dining, lounging, and a fire pit, adding built‑in seating, a pergola, or a water feature for visual interest.
- Use low‑profile LED lighting—recessed strips in joints, spotlights on focal points, and solar lanterns—to highlight textures and ensure safety after dark.
- Apply a penetrating sealer, reseal every 2–3 years, and schedule regular sweeping and power‑washing to maintain appearance and longevity.
Plan Your Patio: Materials, Layout & Style
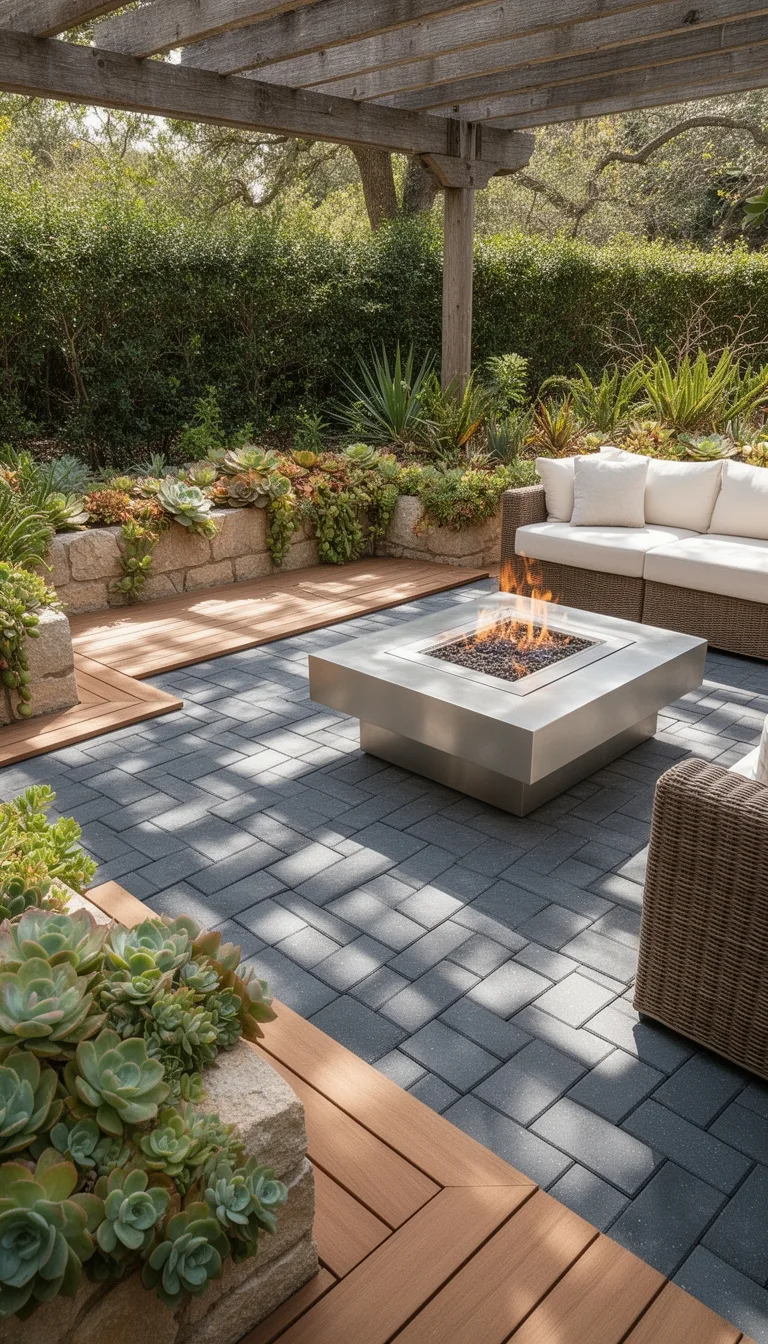
When you start planning your patio, think first about the material that will hold up under foot traffic and weather while reflecting the vibe you want. Choose pavers that resist freeze‑thaw cycles, are slip‑resistant, and match the surrounding landscape.
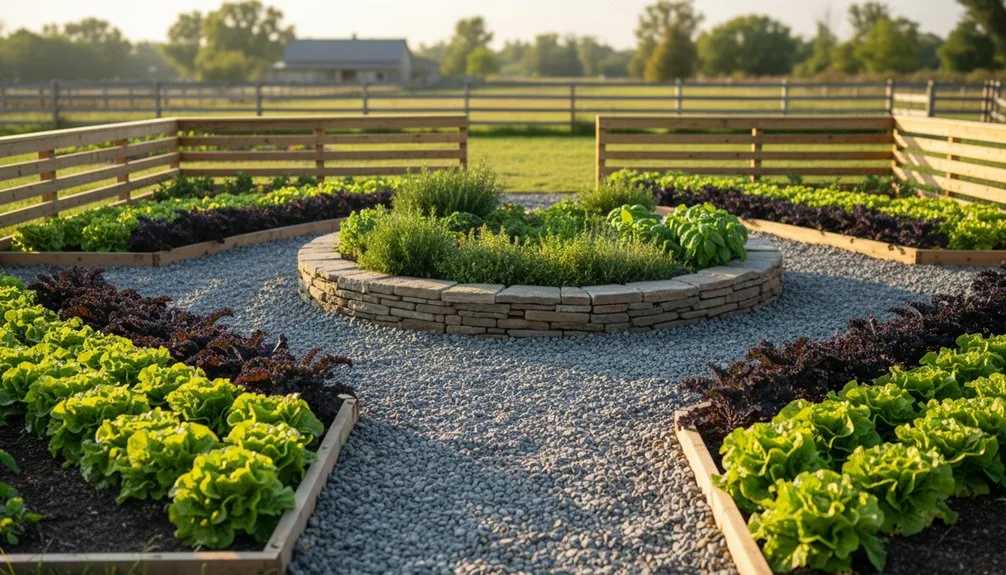
Lay them on a compacted sand base, then add a layer of polymer‑enhanced gravel for drainage. Keep the layout simple: a rectangular grid feels orderly, while a staggered herringbone adds movement without overwhelming the space. Incorporate subtle curves near garden beds to soften hard edges. Anchor the perimeter with edging stones to prevent shifting.
Finally, leave room for functional zones—dining, lounging, and a fire pit—so the patio serves daily life while staying grounded in the earth’s texture.
Choose a Cohesive Color Palette for Your Paver Patio
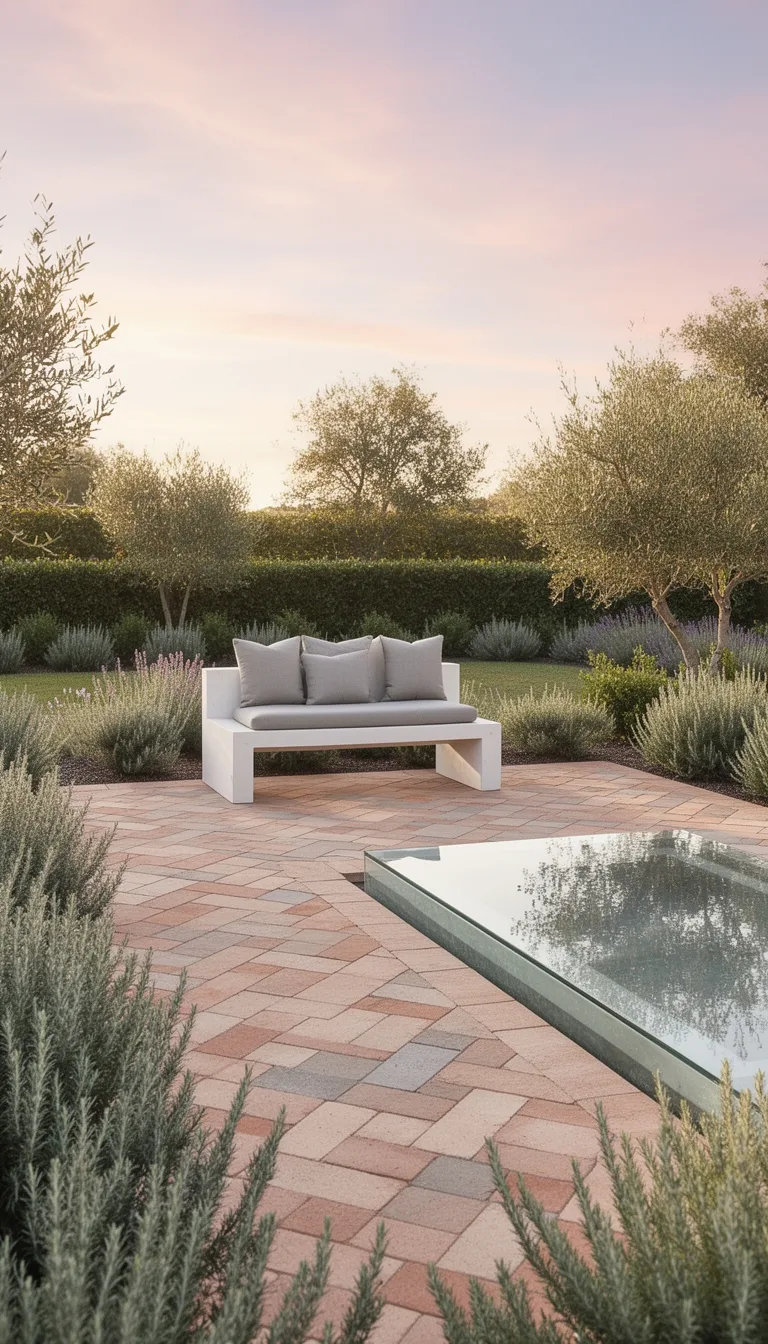
Harmony between the paver hues and your garden’s natural tones sets the mood for the whole space. You’ll want a palette that feels grounded yet vibrant, letting stone, foliage, and sky converse without clashing.
Start by scouting the dominant colors in your landscape—earthy greens, warm bark, soft sky blues. Then match those tones with paver shades that echo or complement them, creating a seamless flow from ground to garden. Keep the scheme simple: two primary colors and one accent. This restraint prevents visual overload and lets textures shine.
- Earthy terracotta with sage green accents
- Soft slate gray paired with muted lavender
- Warm sand beige combined with deep oak brown
- Classic ivory matched to muted sage
Choose materials that age gracefully, and let the palette evolve with the seasons.
Lay Out a Geometric Grid for Modern Minimalism
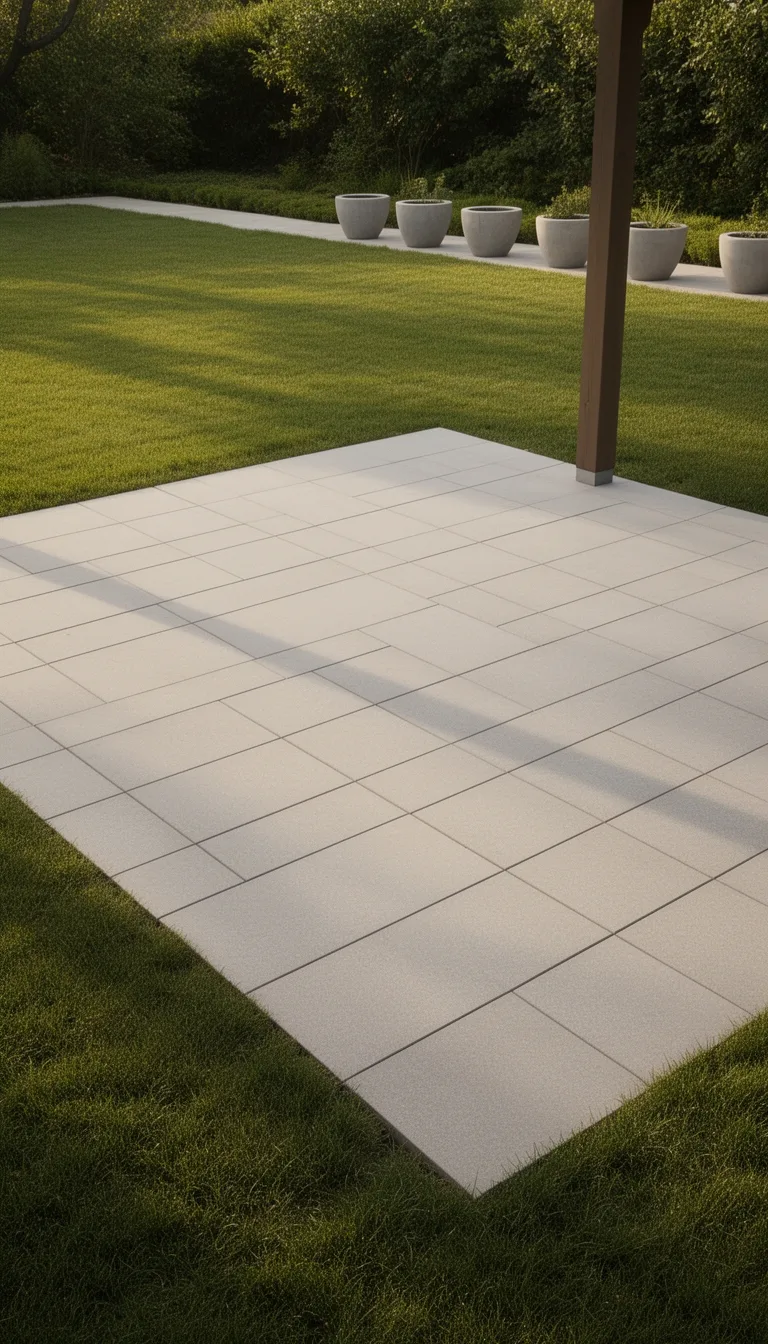
A cohesive color palette sets the stage, and now you can shape the space with a clean, geometric grid that amplifies modern minimalism. Start by marking intersecting lines with a string and stakes; let the grid dictate paver placement. Choose uniform, low‑profile pavers and keep joints tight for a seamless look. The pattern should echo the surrounding landscape—straight, unadorned, and functional.
| Step | Action |
|---|---|
| 1 | Lay out a 2‑by‑3 grid using chalk lines |
| 2 | Place pavers on each intersection |
| 3 | Fill joints with sand, compact, and sweep clean |
You’ll feel the rhythm of the grid underfoot, a grounded, earthy canvas that invites simple furniture and quiet evenings. The geometry guides traffic, reduces clutter, and lets the natural setting breathe.
Add a Paver Border With Hestone for Rustic Charm
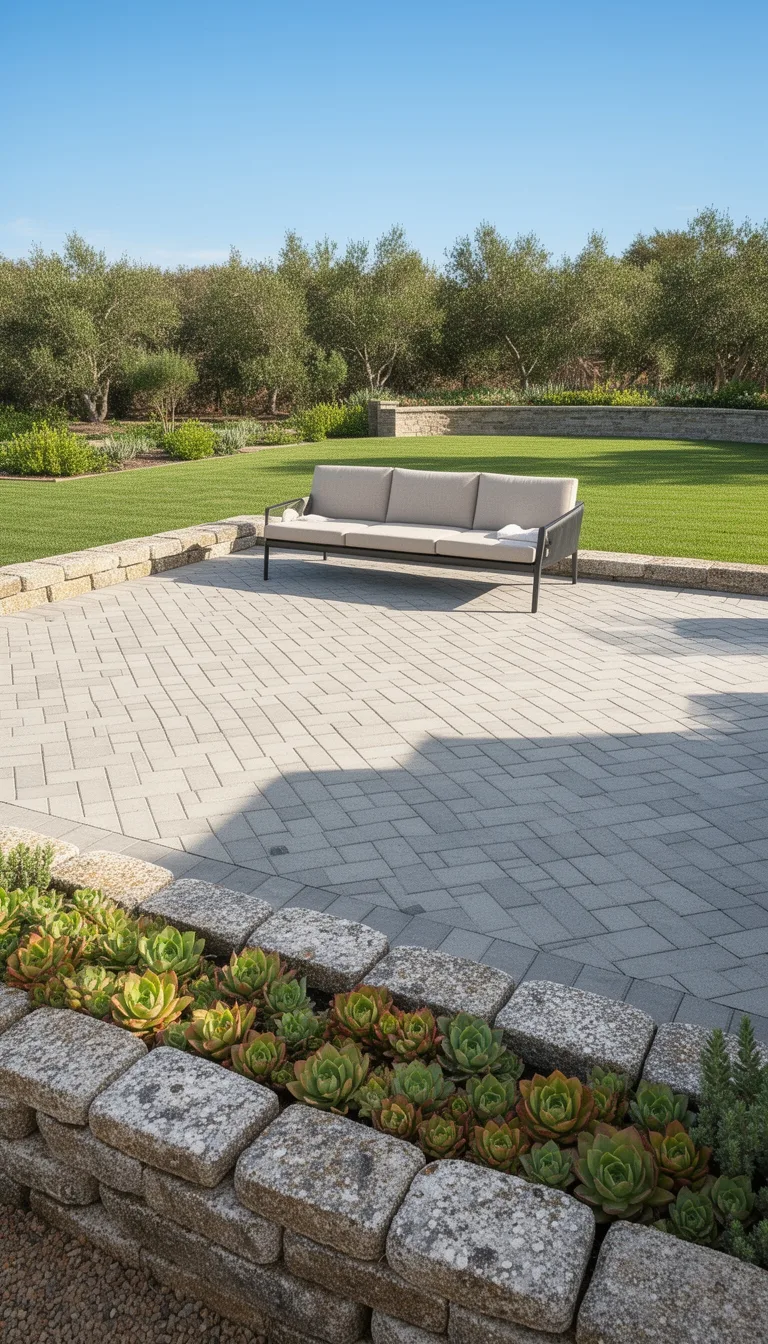
A sturdy hestone border around your pavers instantly adds rustic charm while defining the patio’s edge.
You’ll notice how the weather‑worn stone frames the space, creating a natural transition between garden and deck. Lay the stones in a shallow trench, compact the base, and stagger the joints for a hand‑crafted look. The border also guides foot traffic, keeping the pavers aligned and preventing erosion.
Choose a stone hue that complements your surrounding foliage, and let the texture speak for itself.
- Dig a 4‑inch trench along the patio perimeter.
- Fill with compacted sand or gravel base.
- Place hestone pieces, staggering joints.
- Fill gaps with sand, sweep, and tamp.
Create a Multi‑Level Paver Terrace for Visual Depth
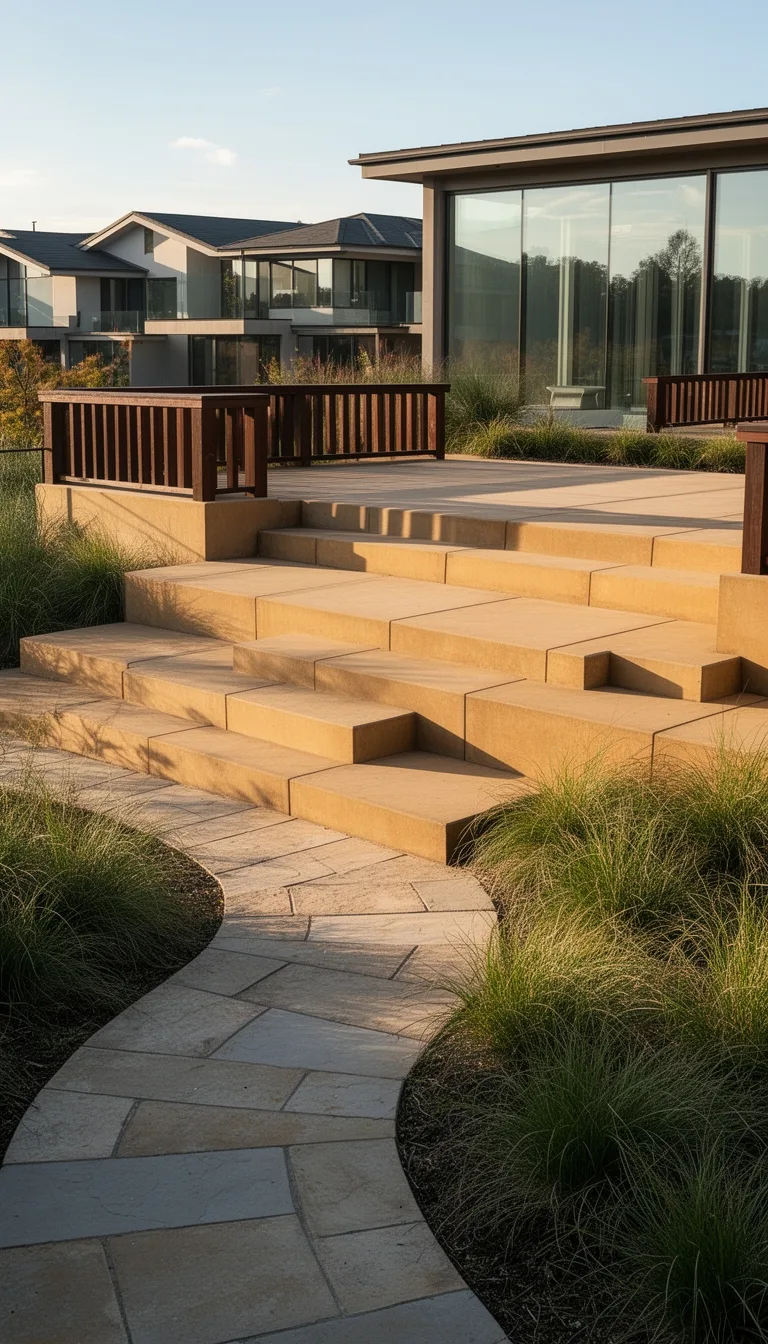
When you raise sections of your patio by a foot or two, the layered layout instantly adds depth and visual interest. Choose sturdy, weather‑resistant pavers for each tier, and stagger their joints to keep water flowing away. Build retaining walls from the same stone to blend edges, and use compacted gravel as a base for stability. Add low‑profile steps between levels; they become natural sightlines that guide guests through the space. Keep planting beds shallow, filling them with drought‑tolerant grasses that soften the hardscape.
| Level | Height | Recommended Paver |
|---|---|---|
| Lower | 0 ft | Slate, 6‑in. thick |
| Mid | 1 ft | Flagstone, 8‑in. thick |
| Upper | 2 ft | Concrete, 10‑in. thick |
Incorporate a Fire Pit Centerpiece for Evening Gatherings
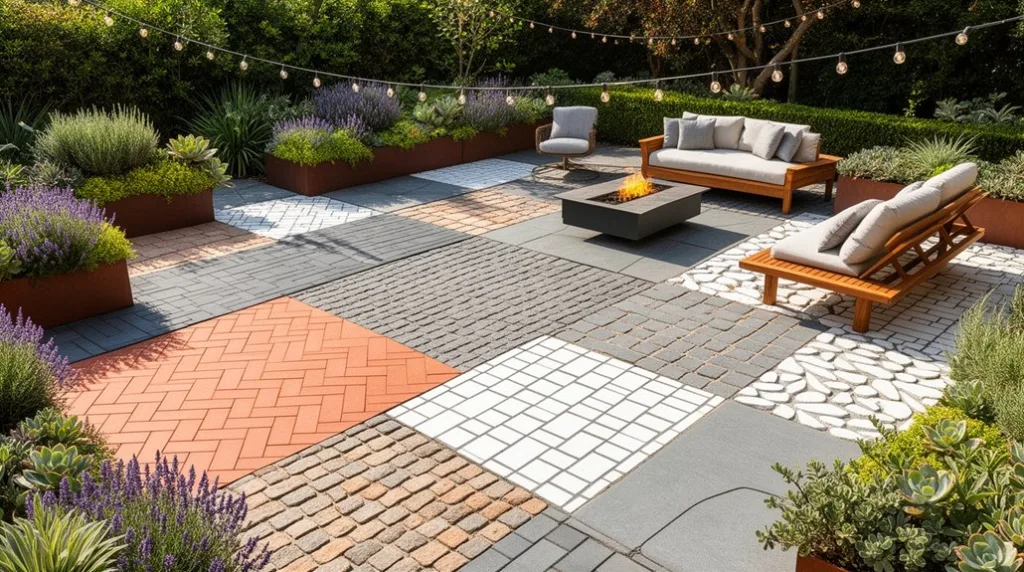
If you want your patio to become a cozy evening hub, place a fire pit at the heart of the space and let its warm glow define the gathering area. Choose a low‑profile, stone‑capped pit that mirrors the paver texture, and surround it with comfortable seating that invites lingering chats.
Keep the flame modest to stay safe, and add a few lanterns for ambient light. A simple, earthy layout lets the fire become the focal point without overwhelming the design.
- Install a circular pit with reclaimed brick pavers.
- Add built‑in bench seating around the rim.
- Use a metal fire bowl for easy fuel swaps.
- Scatter large river stones for a natural border.
Combine Pavers and a Water Feature for a Calm Backyard
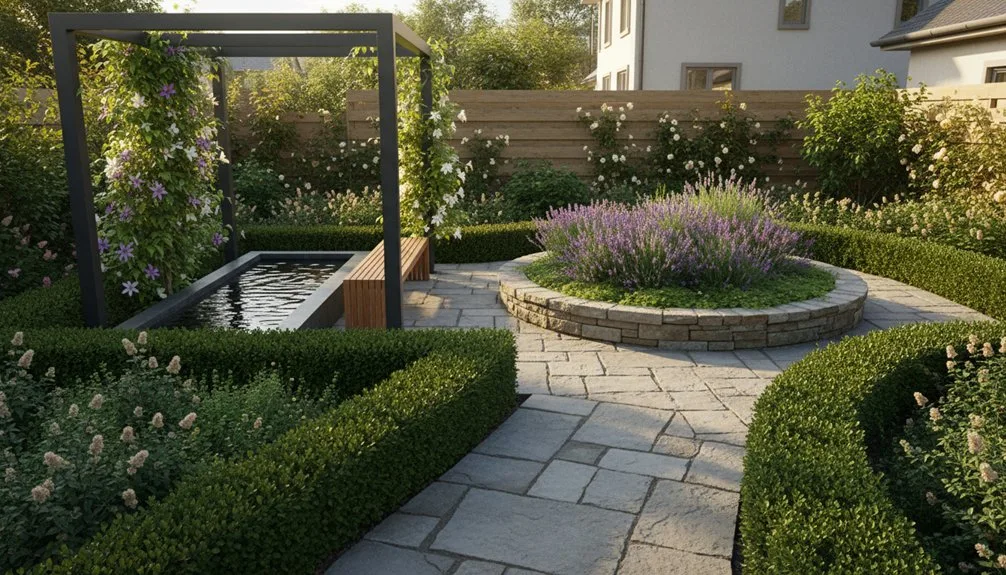
Nestled among your paver pathway, a low‑lying water feature can turn a simple backyard into a tranquil retreat. You’ll place a shallow stone basin or a sleek concrete trough directly on the pavers, letting water ripple over a smooth surface.
Choose a recirculating pump that runs quietly beneath the stones, and line the basin with river rock or sand for natural texture. Position the feature where sunlight hits the water at dawn, creating shimmering reflections that dance across the pavers.
Add low‑maintenance plants—lavender, sage, or ornamental grasses—around the edges to enhance the earthy vibe. Keep the design simple: a single stream or a modest fountain provides soothing sound without overwhelming the space.
This combination grounds the patio, inviting calm and easy upkeep.
Use Interlocking Patterns That Reduce Cracking
Choose an interlocking paver pattern to keep your patio from cracking. You’ll notice the ground settles more evenly when each stone shares load with its neighbors, reducing stress points that cause fissures.
The texture of the joints feels natural underfoot, and the pattern’s geometry guides water away, preventing pooling that weakens the base. Pick a design that matches your garden’s rhythm, and you’ll enjoy a resilient surface that ages gracefully.
- Herringbone – tight, zig‑zag weave that disperses pressure.
- Basket weave – alternating rows that lock together.
- Running bond – staggered courses for simple strength.
- Random lock – varied sizes interlock like a puzzle.
These layouts keep movement in check, so your patio stays solid and inviting.
Add Built‑In Seating for Space‑Saving Comfort
Integrate built‑in seating into your patio to maximize comfort without sacrificing space. You’ll find that a low‑profile bench tucked beneath a paver wall feels like a natural extension of the earth, offering a place to rest while keeping the floor open for movement. Choose weather‑resistant wood or stone that ages gracefully, and let the surrounding plants soften the edges. A simple layout can include storage beneath the seat, keeping cushions and garden tools out of sight.
| Feature | Material | Benefit |
|---|---|---|
| Bench | Reclaimed pine | Warm, sustainable |
| Seat height | 16‑18 in | Easy to sit, stand |
| Storage | Hidden drawer | Decluttered patio |
| Finish | Oil‑based sealant | Longevity, water resistance |
Add Outdoor Lighting for Evening Ambiance
Often, a well‑placed string of soft, warm lights transforms a paver patio from a daytime gathering spot into an inviting evening retreat. You’ll notice how subtle illumination highlights the stone’s texture and creates cozy pockets for conversation.
Choose fixtures that blend with the landscape—think solar lanterns, low‑profile LED strips, and weather‑proof spotlights. Keep wiring hidden under the pavers or run it through a discreet conduit to preserve the natural look. Adjust brightness with dimmers or motion sensors for energy‑wise comfort.
- String lights along the perimeter for a gentle glow.
- Recessed LED strips set into the paver joints for seamless lighting.
- Solar lanterns placed on low‑profile tables or planters.
- Spotlights aimed at focal points like a fire pit or water feature.
Pair Your Paver Patio With a Green Roof for Eco‑Friendly Appeal
Adding a living roof above your paver patio instantly boosts sustainability while creating a cool, natural canopy. The soil and plants insulate the space, lowering heat gain and reducing your cooling bill. Choose drought‑tolerant succulents, native grasses, or a mix of herbs to keep maintenance low and biodiversity high.
Install a lightweight waterproof membrane, then a drainage layer before spreading the growing medium—about 2–3 inches is enough for most species. Secure the roof with low‑profile edging that matches your patio’s stone palette, preserving visual continuity.
Rainwater collected by the roof can feed the plants and even irrigate nearby garden beds, closing the water loop. This green roof not only adds visual texture but also filters pollutants, making your outdoor living area truly eco‑friendly.
Design a Paver Pathway Linking Indoor & Outdoor Spaces
From the front door to the garden, a well‑crafted paver pathway can seamlessly bridge indoor comfort with outdoor charm. You’ll want a layout that feels natural underfoot, guiding visitors without demanding attention.
Choose materials that echo the earth tones of your home’s exterior and the surrounding foliage. Keep the width generous enough for two‑person traffic, and slope gently for drainage. A simple, sturdy border keeps the edges tidy and prevents weeds from spilling over.
- Straight‑line entry – aligns with the front door for a direct, formal feel.
- Curved meander – follows the natural contours of the yard, adding softness.
- Stepped transition – uses varying paver heights to negotiate level changes.
- Mixed‑material border – combines stone or metal edging for visual contrast.
These steps keep the pathway functional, grounded, and inviting.
Install a Pergola Over Pavers for Shade and Style
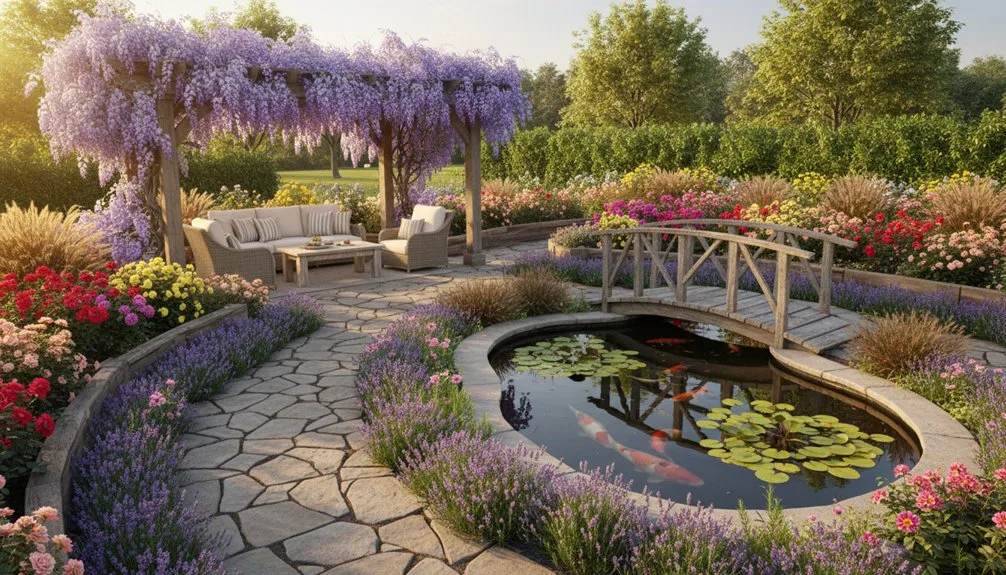
Most homeowners find that a well‑placed pergola instantly transforms a simple paver patio into a versatile outdoor room, offering both shade and visual interest without overwhelming the space. You’ll notice how the timber frame softens the hardscape, while climbing vines add texture and seasonal color. Choose a freestanding design for flexibility, or attach it to your house for a seamless transition. Incorporate retractable fabric or adjustable louvered panels to control light and airflow. Pair the pergola with low‑profile lighting and a few sturdy lounge chairs, and you’ve created a cozy, functional retreat that feels both grounded and inviting.
| Material | Height | Finish |
|---|---|---|
| Cedar | 8 ft | Natural |
| Steel | 9 ft | Powder‑coated |
| Aluminum | 7 ft | Brushed |
| Bamboo | 6 ft | Varnished |
| Vinyl | 8 ft | Textured |
Select Textured Pavers for Slip‑Resistant Safety
Choose textured pavers to keep your patio safe and functional, especially when rain or dew makes the surface slick. You’ll feel the ground’s subtle bite underfoot, a reminder that nature and design can coexist without compromise.
The rough surface channels water, preventing puddles and reducing slip risk. Pair the tactile feel with earthy tones to blend seamlessly into garden surroundings.
- Rough‑cut stone – natural irregularities create grip and a rustic look.
- Exposed‑aggregate concrete – sand‑filled texture offers durability and easy cleaning.
- Stamped brick with groove lines – mimics historic pathways while staying modern.
- Recycled rubber pavers – soft underfoot, high traction, eco‑friendly.
Design an Integrated Outdoor Bar or Kitchen Counter
Blend a sturdy countertop with a built‑in bar to turn your patio into a seamless entertaining hub. Choose a weather‑resistant material—concrete, stone, or marine‑grade wood—that matches your paver palette and can endure sun, rain, and seasonal shifts.
Keep the bar height at 42‑44 inches for comfortable standing, and add a lower prep surface at 36 inches for chopping, mixing, and plating. Integrate a built‑in sink and a compact fridge to streamline service, and route plumbing and electricity beneath the pavers for a clean look.
Use recessed lighting along the countertop edge to highlight the stone grain after dusk. Anchor the bar with concrete footings to prevent movement, and seal all seams to protect against moisture infiltration.
This practical setup lets you serve meals, cocktails, and casual snacks without stepping off the patio.
Create a Play Area With Soft‑Surface Paver Inserts
Transform a corner of your patio into a safe, inviting play zone by inserting soft‑surface pavers that blend seamlessly with the surrounding stone. You’ll feel the earth underfoot while kids tumble on cushioned stone that resists bruises.
Choose colors that echo the garden, and keep the layout low‑key for easy supervision.
- Rubber‑filled paver tiles – snap them into a grid for a resilient surface.
- Cork‑infused blocks – natural, lightweight, and gentle on knees.
- Grass‑top pavers – a thin turf layer adds softness and a hint of green.
- Foam‑core slabs – thin yet supportive, perfect for small play equipment.
These options let you craft a grounded, practical play area that feels like an extension of the landscape, not an afterthought.
Seal Your Paver Patio for Weather‑Proof Durability
Often the first step to a lasting patio is sealing, because a good sealant locks in moisture, resists stains, and shields the pavers from freeze‑thaw cycles.
Choose a penetrating sealer that sops into the stone rather than a film‑forming product that can peel. Clean the surface thoroughly, sweep away debris, and let it dry completely before applying.
Use a low‑pressure sprayer or a roller, spreading a thin, even coat; two coats are ideal for heavy‑traffic areas. Allow each layer to cure per the manufacturer’s timeline—usually 24‑48 hours—before walking on it.
Re‑seal every two to three years, or after harsh weather, to keep colors vibrant and the structure resilient against moisture intrusion and temperature swings.
Maintain Your Patio With Simple Cleaning and Repair Tips
Regularly sweeping away leaves and debris prevents moss and weeds from taking hold, while a quick rinse with a garden hose removes surface grime before it hardens.
You’ll notice the pavers breathe better when you keep them dry and clear. For deeper cleaning, mix mild detergent with warm water, scrub with a stiff brush, and let it sit a few minutes before rinsing.
Spot‑treat oil stains with a poultice of baking soda and water.
When cracks appear, fill them promptly with polymer sand or a cementitious filler to stop water infiltration.
- Sweep and hose down weekly.
- Scrub with detergent solution monthly.
- Spot‑treat stains immediately.
- Fill cracks as soon as they’re noticed.
Conclusion
By mixing textures, colors, and smart layouts, you’ll craft a patio that feels both grounded and inviting. Keep the design simple, use slip‑resistant, earth‑tone pavers, and add functional zones—dining, lounging, a bar—so every corner serves a purpose. Seal and maintain it regularly, and the space will stay durable, low‑maintenance, and stylish for years to come.
The Only Tools You Need for a Thriving Garden 🌱
Whether you're a weekend gardener or growing daily — these hand-picked tools make every session faster, easier, and more satisfying.