Your garden layout is your secret weapon for transforming a blank yard into a beautiful, organized retreat. Before you pick a single plant, you’ll assess your space and define key zones. From formal symmetry to whimsical cottage gardens, the right structure provides a blueprint. Let’s explore how these ideas shape your space, blending function and beauty to create a landscape that works as hard as it impresses.
Key Takeaways
- Use symmetrical paths and mirrored beds to create a formal, orderly layout.
- Design curved cottage beds with dense plants for a flowing, productive look.
- Zone your garden by function: production, relaxation, utility, and play.
- Maximize small spaces with organized square-foot grids or vertical frames.
- Arrange raised beds in geometric rows, crescents, or keyhole shapes.
Why Your Garden Layout Is Your Secret Weapon
Think of your garden layout as your blueprint for success, strategically unlocking the full potential of your outdoor space. It’s your secret weapon for transforming a random collection of plants into a cohesive, thriving ecosystem.
A well-planned layout ensures you’re not just guessing where to put things; you’re making deliberate choices that maximize sun exposure, improve air circulation, and create efficient watering zones. This saves you countless hours of maintenance and frustration down the line. You’ll prevent overcrowding, which minimizes disease and pest issues.
More than just practicality, a thoughtful design weaves together color, texture, and form, turning your yard into a personal sanctuary. It’s the foundation that makes every planting decision easier and more impactful.
First, Assess Your Space and Conditions
Spend a day observing your yard. Make notes or take photos to capture these key conditions:
- Sunlight: Track the sun’s path. How many hours of direct light does each area get? Full sun (6+ hours), partial shade, or full shade?
- Soil: Feel your soil. Is it dense clay, loose sand, or rich loam? A simple squeeze test tells you a lot about drainage and nutrients.
- Existing Features: Note immovable structures like sheds, large trees, or utility boxes. Their shade and root systems will affect your layout.
- Climate & Microclimates: Know your hardiness zone. Also, spot microclimates—a sunny south-facing wall creates a warmer pocket, while a low corner might collect frost.
Define Zones in Your Garden Layout
Now that you understand your space, you can start dividing it into functional areas based on how you’ll actually use them. Think about your daily activities. You’ll likely need a sunny “production zone” for vegetable beds or fruit trees.
Create a quieter “relaxation zone” with seating, perhaps under a shade tree. A “utility zone” houses your compost bin, tools, and potting shed.
Consider a “play zone” for kids or pets. Defining these zones first prevents a chaotic mix of purposes.
You’re mapping intention onto your land. Draw rough circles on your plan for each area, considering their needs—like water access for veggies or privacy for relaxing. This zoning simplifies planning and creates a yard that truly works for you.
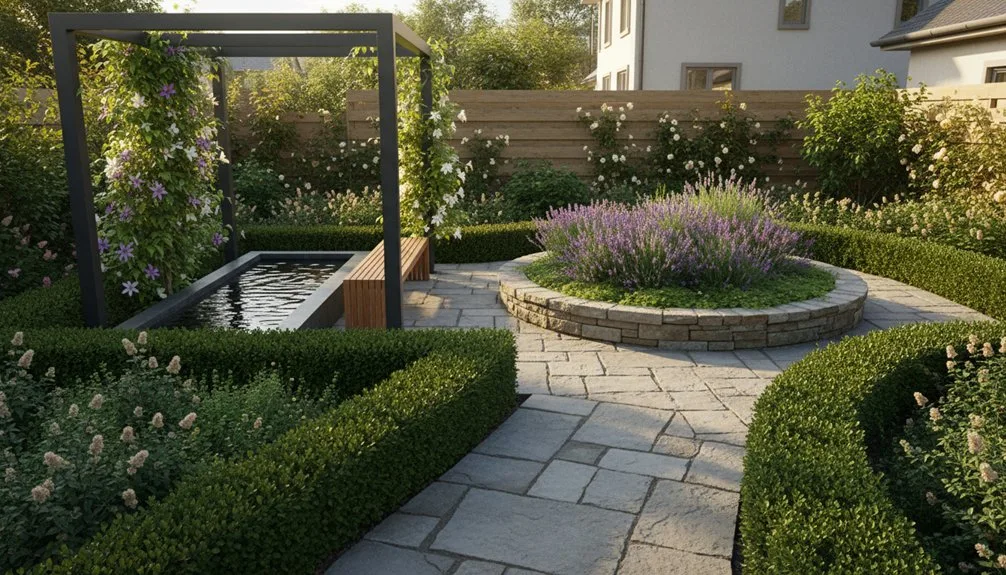
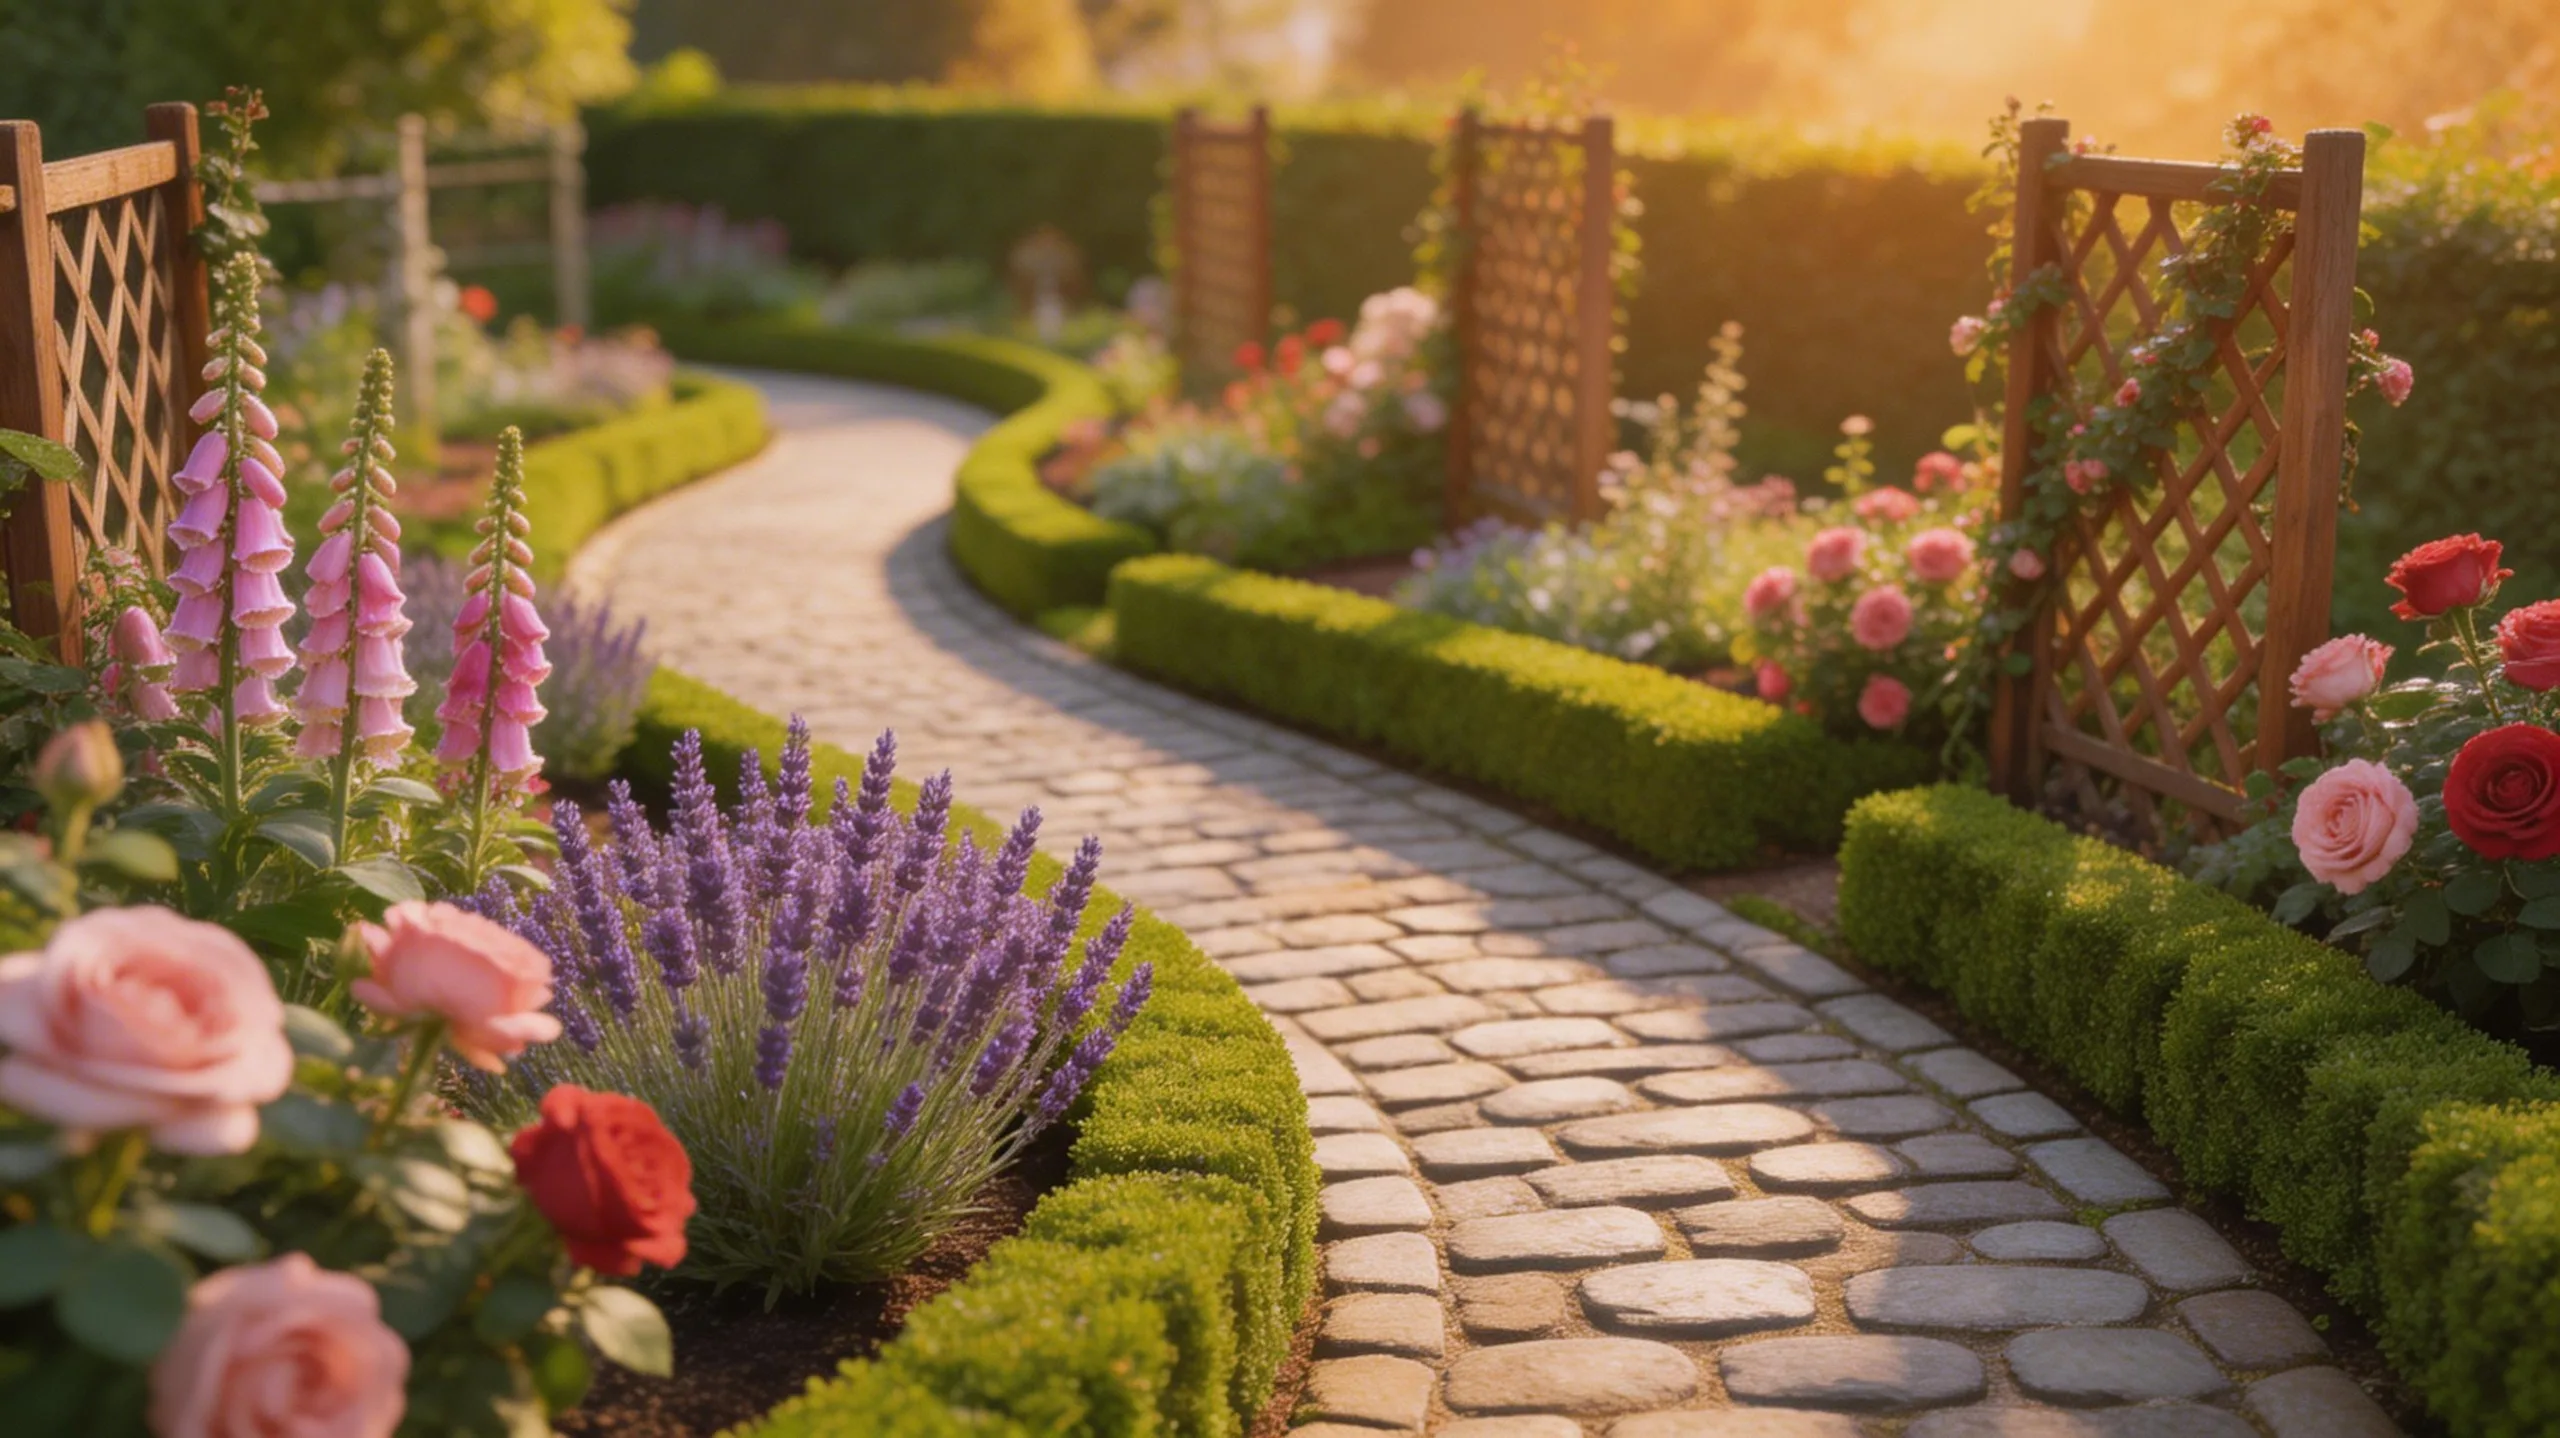
Choose a Formal Symmetrical Layout

After defining your functional zones, consider shaping them with a formal symmetrical layout. This classic approach uses mirrored balance to create a sense of order, elegance, and timeless structure in your yard.
You’ll establish a strong central axis, like a path or lawn, and arrange matching elements on either side. This method works beautifully for front gardens, entryways, or a dedicated patio dining area where you desire a neat, intentional look.
To implement this, visualize your perfect symmetrical space:
- Flank a central gravel walkway with two identical raised beds planted with neatly clipped boxwoods.
- Place a matching pair of urn planters on either side of your patio steps, each filled with the same colorful annuals.
- Install two symmetrical arbors along a main path, training the same climbing rose variety on each.
- Use precisely trimmed hedges to define the borders, reinforcing the clean, geometric lines of the design.
Create a Curved Cottage Garden Layout
For a more relaxed and informal feel, you can embrace the charming, flowing curves of a cottage garden layout. Instead of rigid lines, design your beds with gentle, meandering edges using a garden hose as a flexible stencil.
Plant in generous, intermingling drifts, layering heights from tall delphiniums at the back to low-growing thyme at the front. This creates a lush, full appearance. Prioritize a mix of perennials, annuals, and flowering shrubs for continuous blooms and texture.
Allow some self-seeding plants to find their own spots, adding to the natural, effortless charm. Focus on creating depth and romance, not geometric precision, letting colors and forms blend softly together across the flowing curves of your beds.
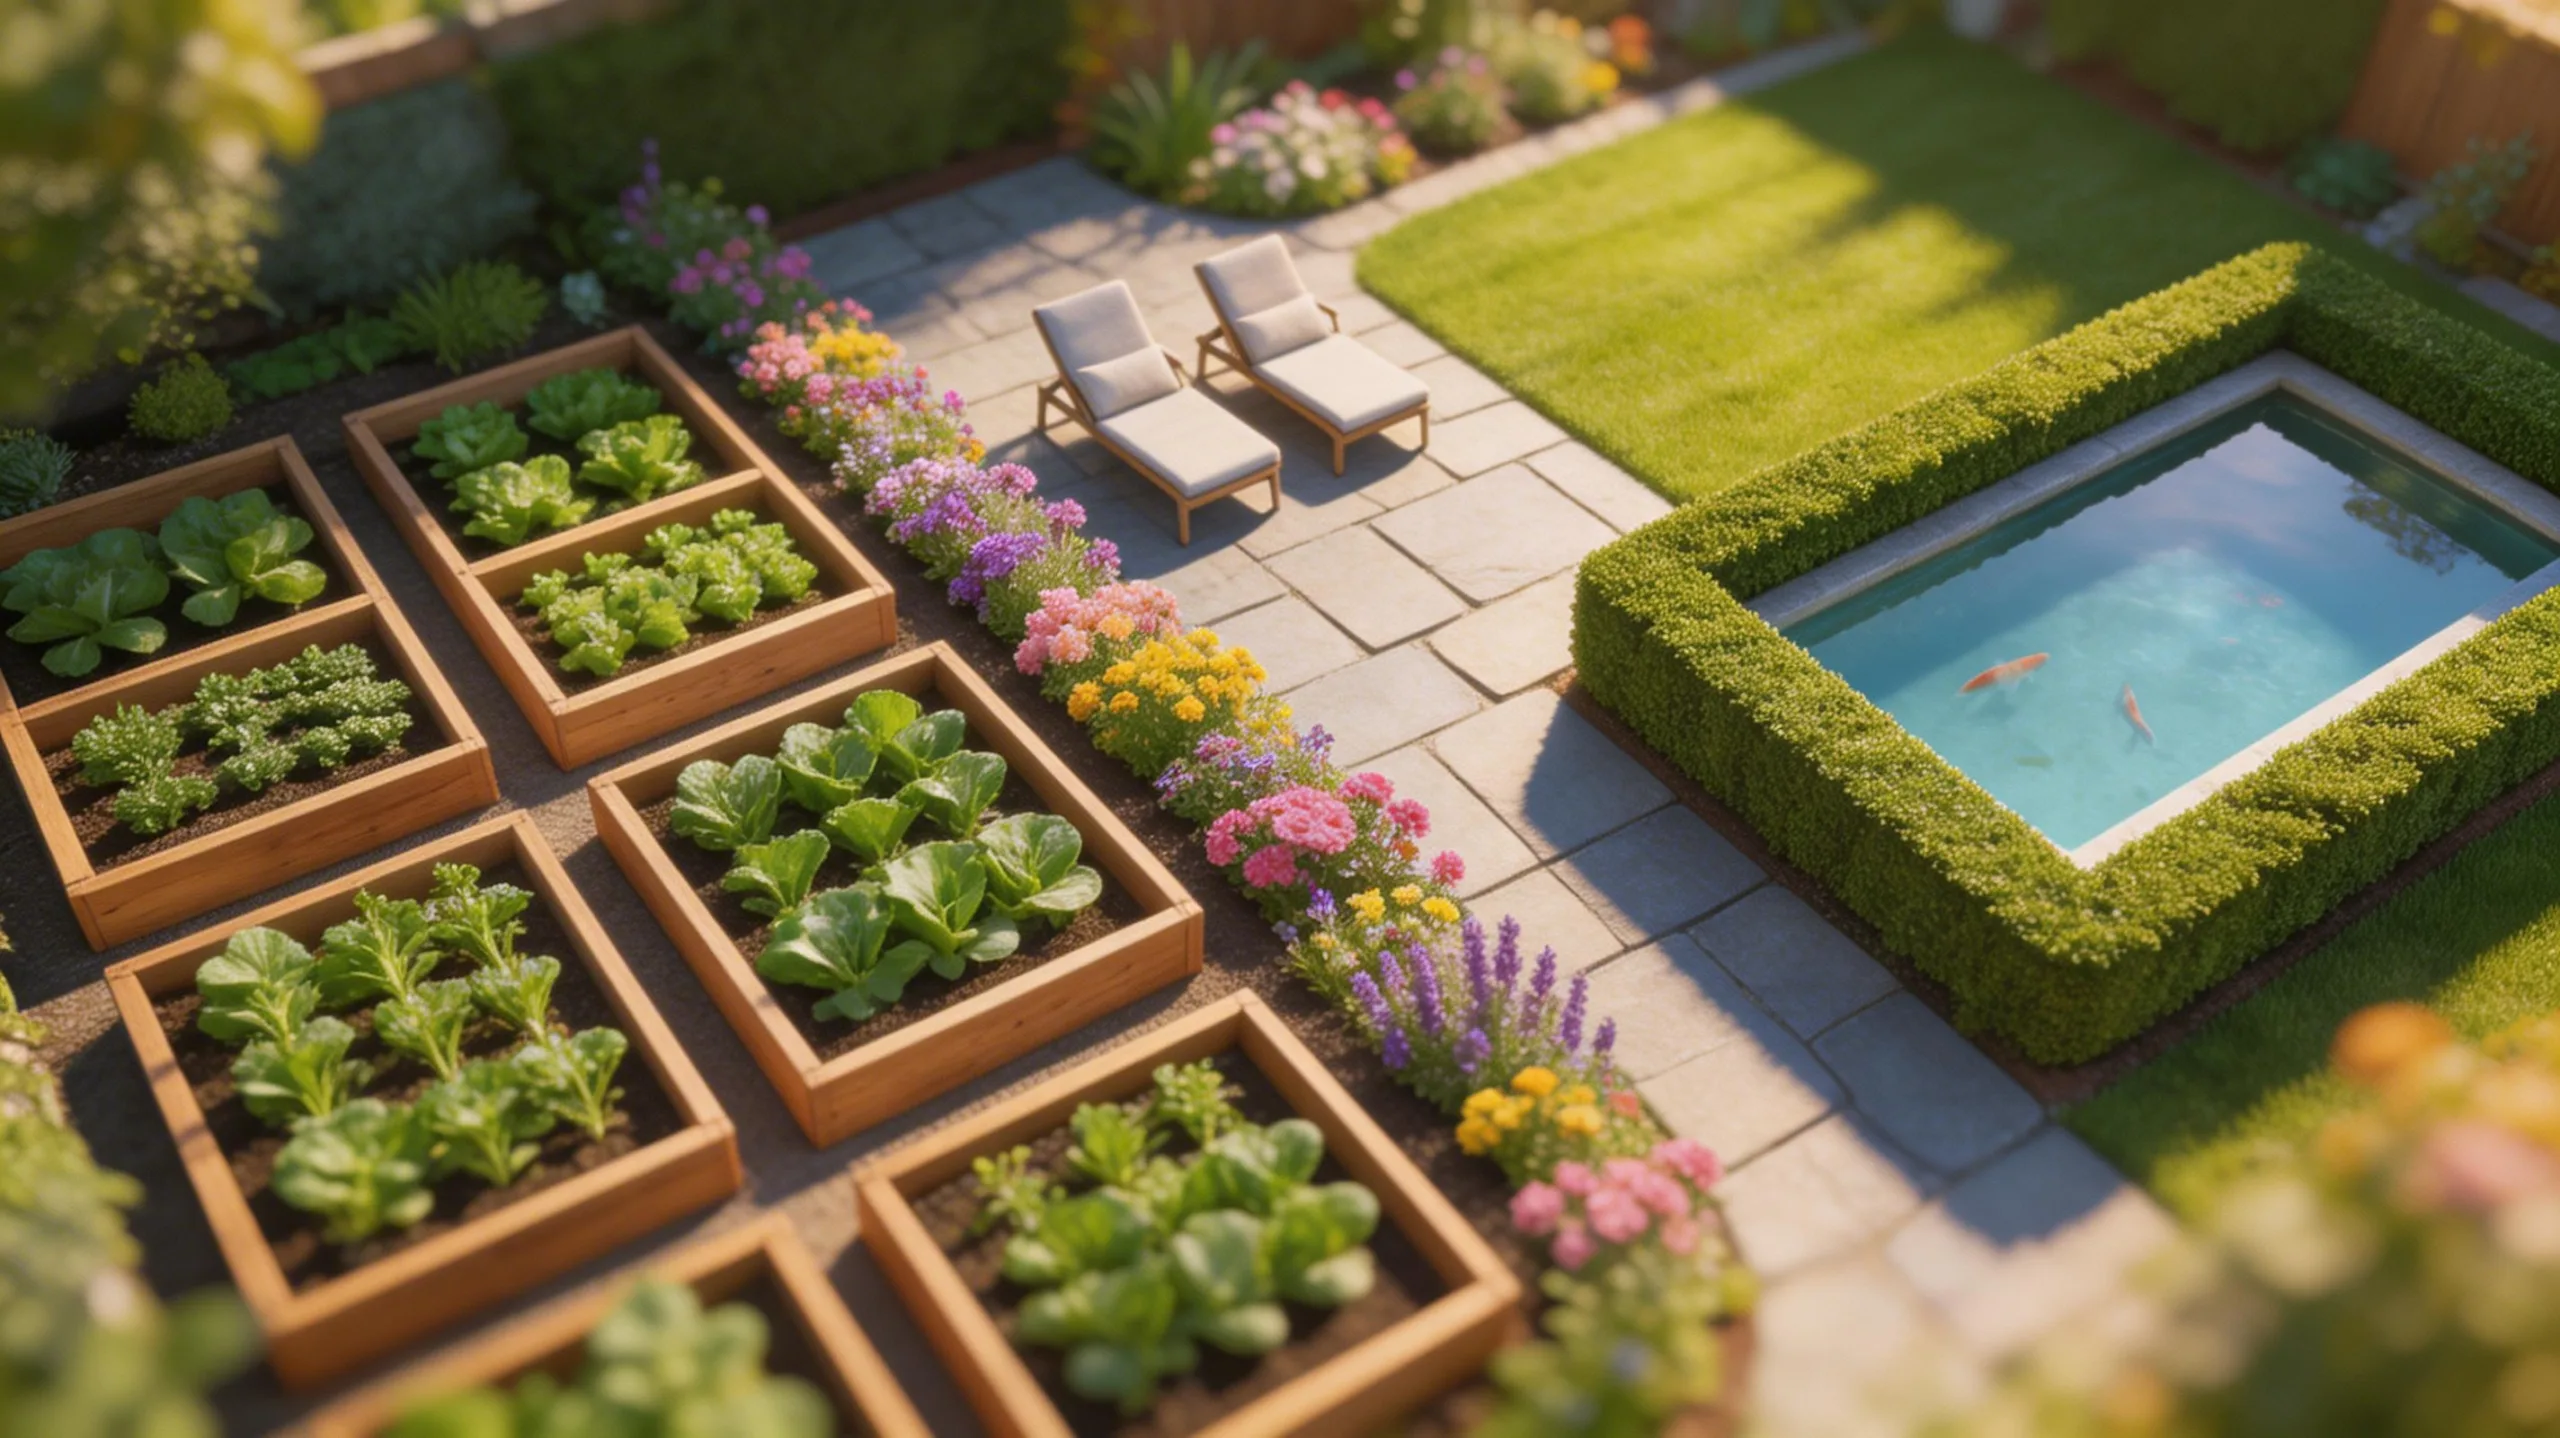
Maximize Space With a Square Foot Layout
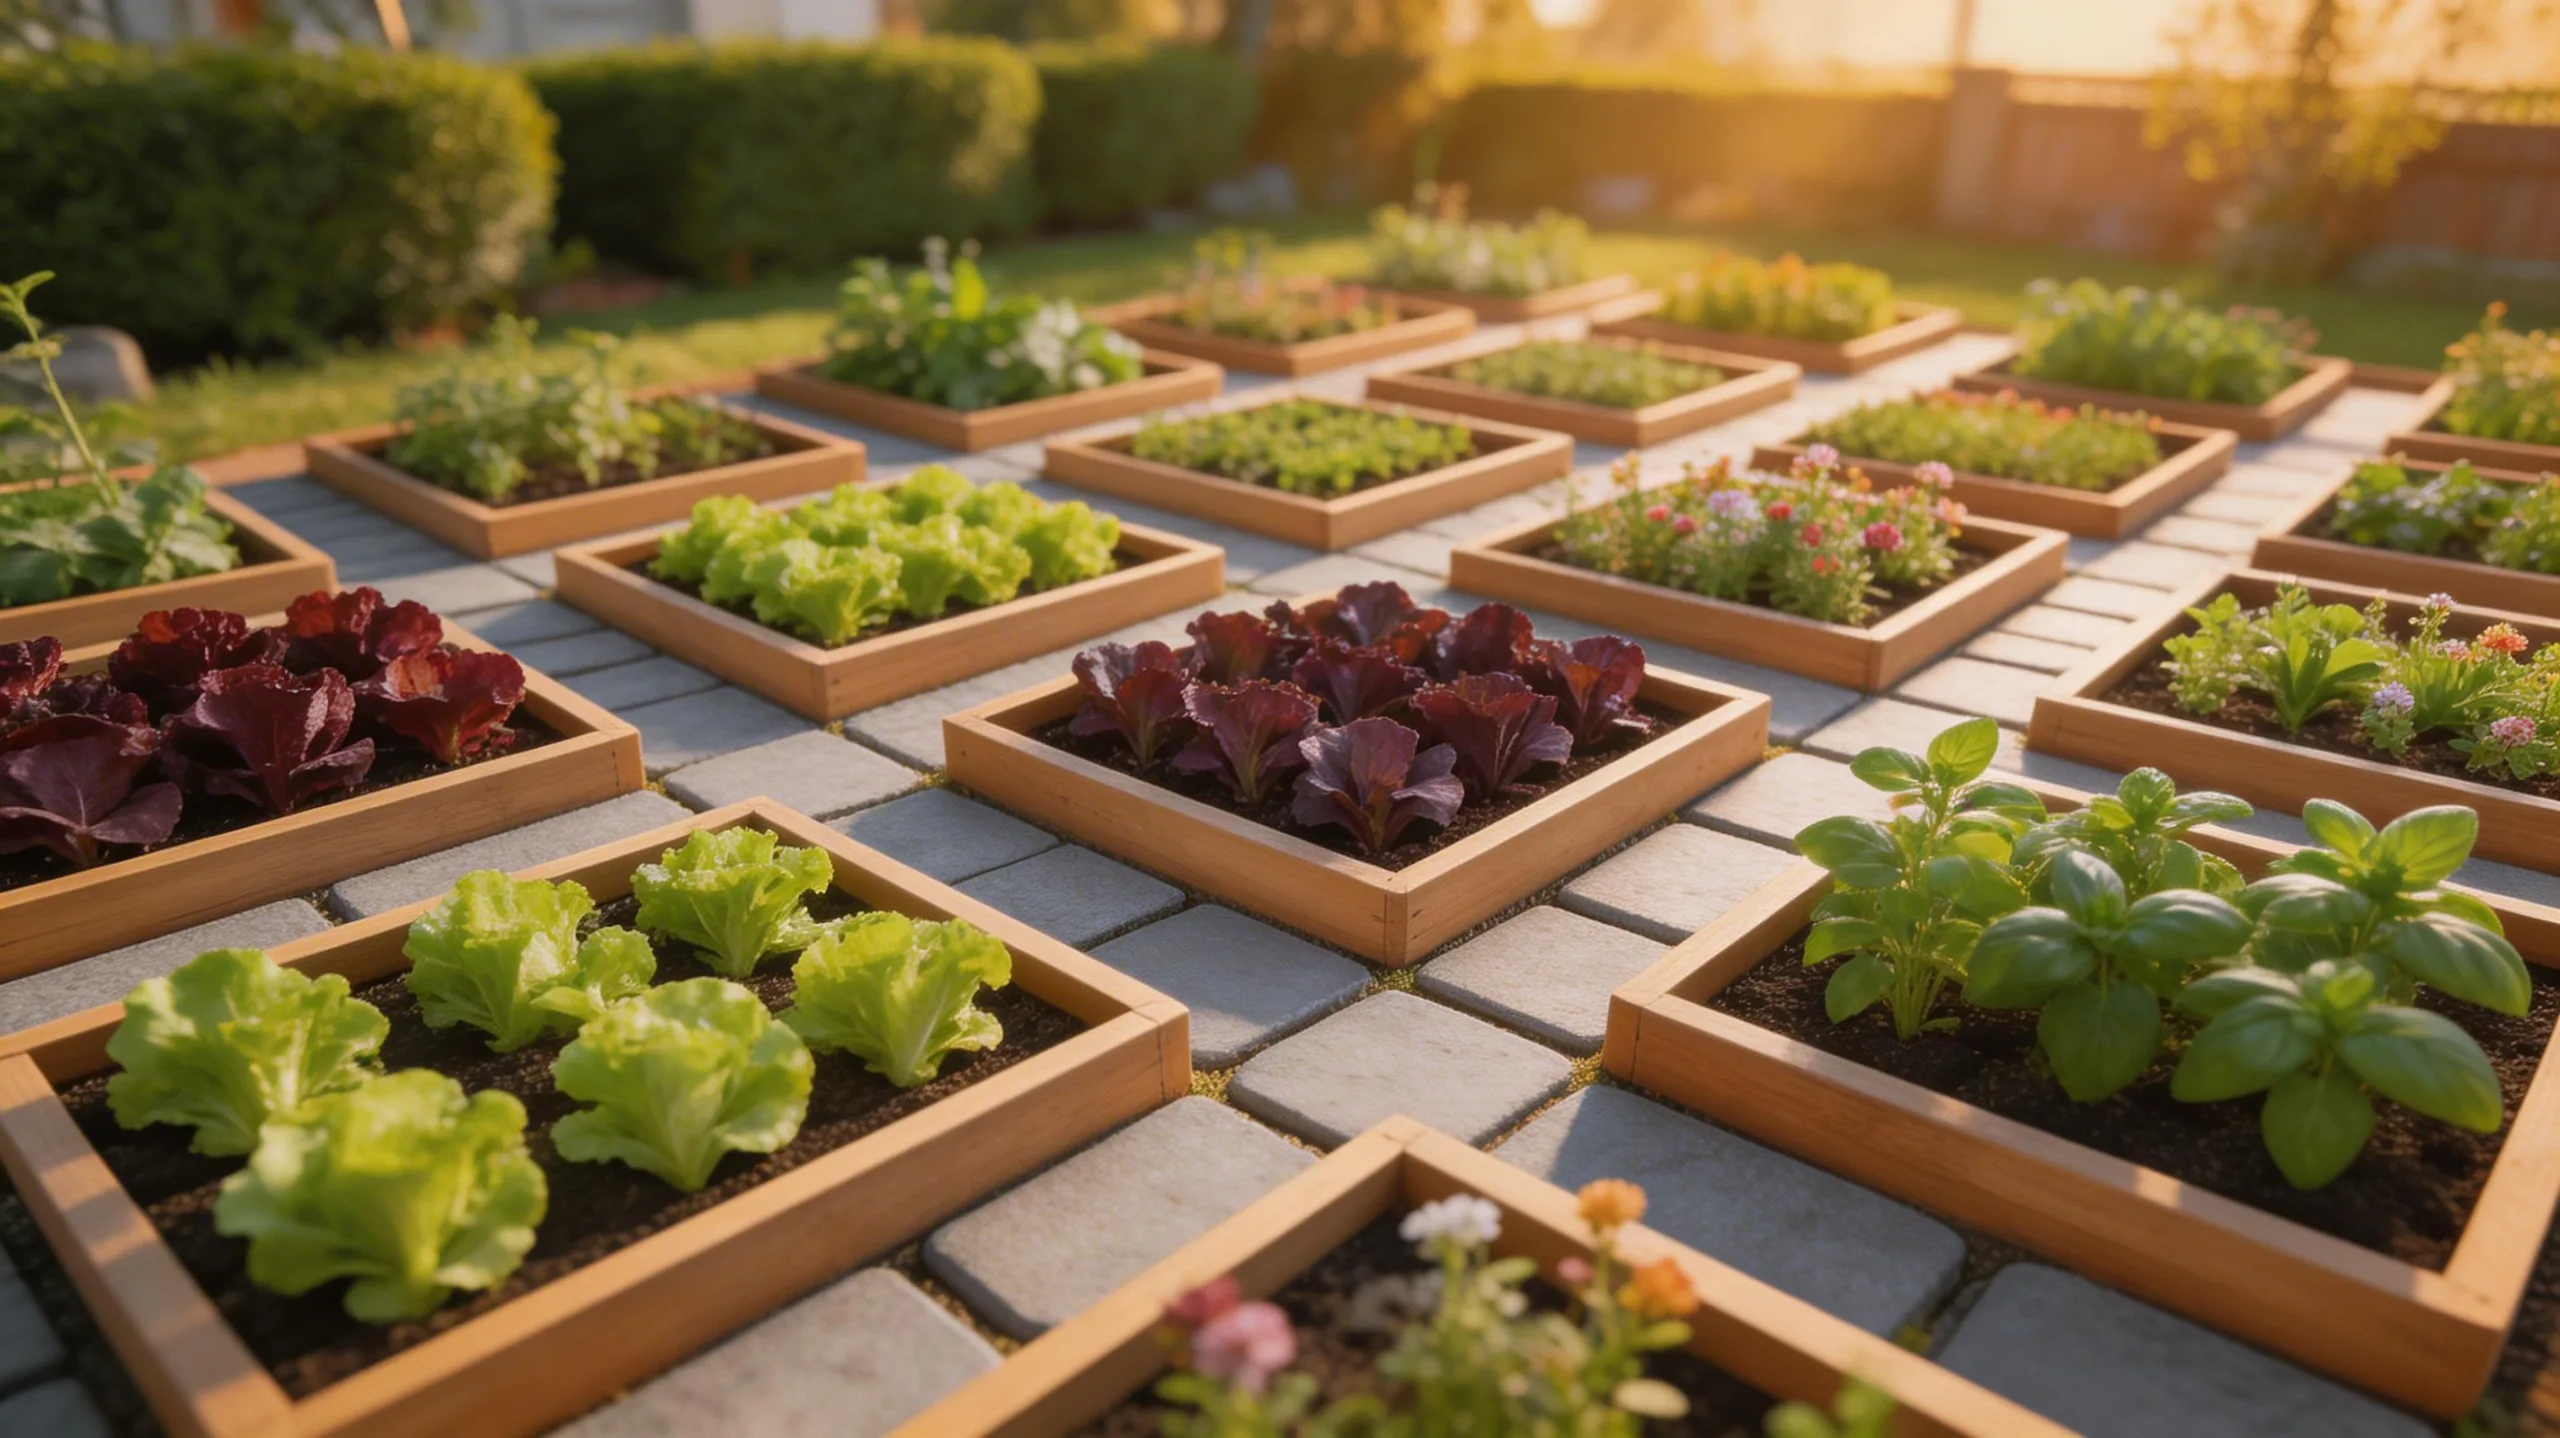
If you’re working with limited room but want to grow a lot, a square foot layout organizes your garden into a grid of one-foot squares, each dedicated to a different crop. You’ll build or mark a raised bed, divide it into squares, and plant a specific number of seeds in each based on the plant’s size. This method eliminates wasted space and reduces weeding.
- Imagine a lush 4×4-foot bed neatly sectioned with string into sixteen individual planting blocks.
- In one square, you might place a single broccoli plant, while an adjacent square holds nine vibrant bush bean seeds.
- Next to those, a square bursts with sixteen crisp radishes, all easily accessible for harvest.
- Vertical frames on the north side support climbing cucumbers, saving ground space for leafy greens below.
Design a Kitchen Garden Layout
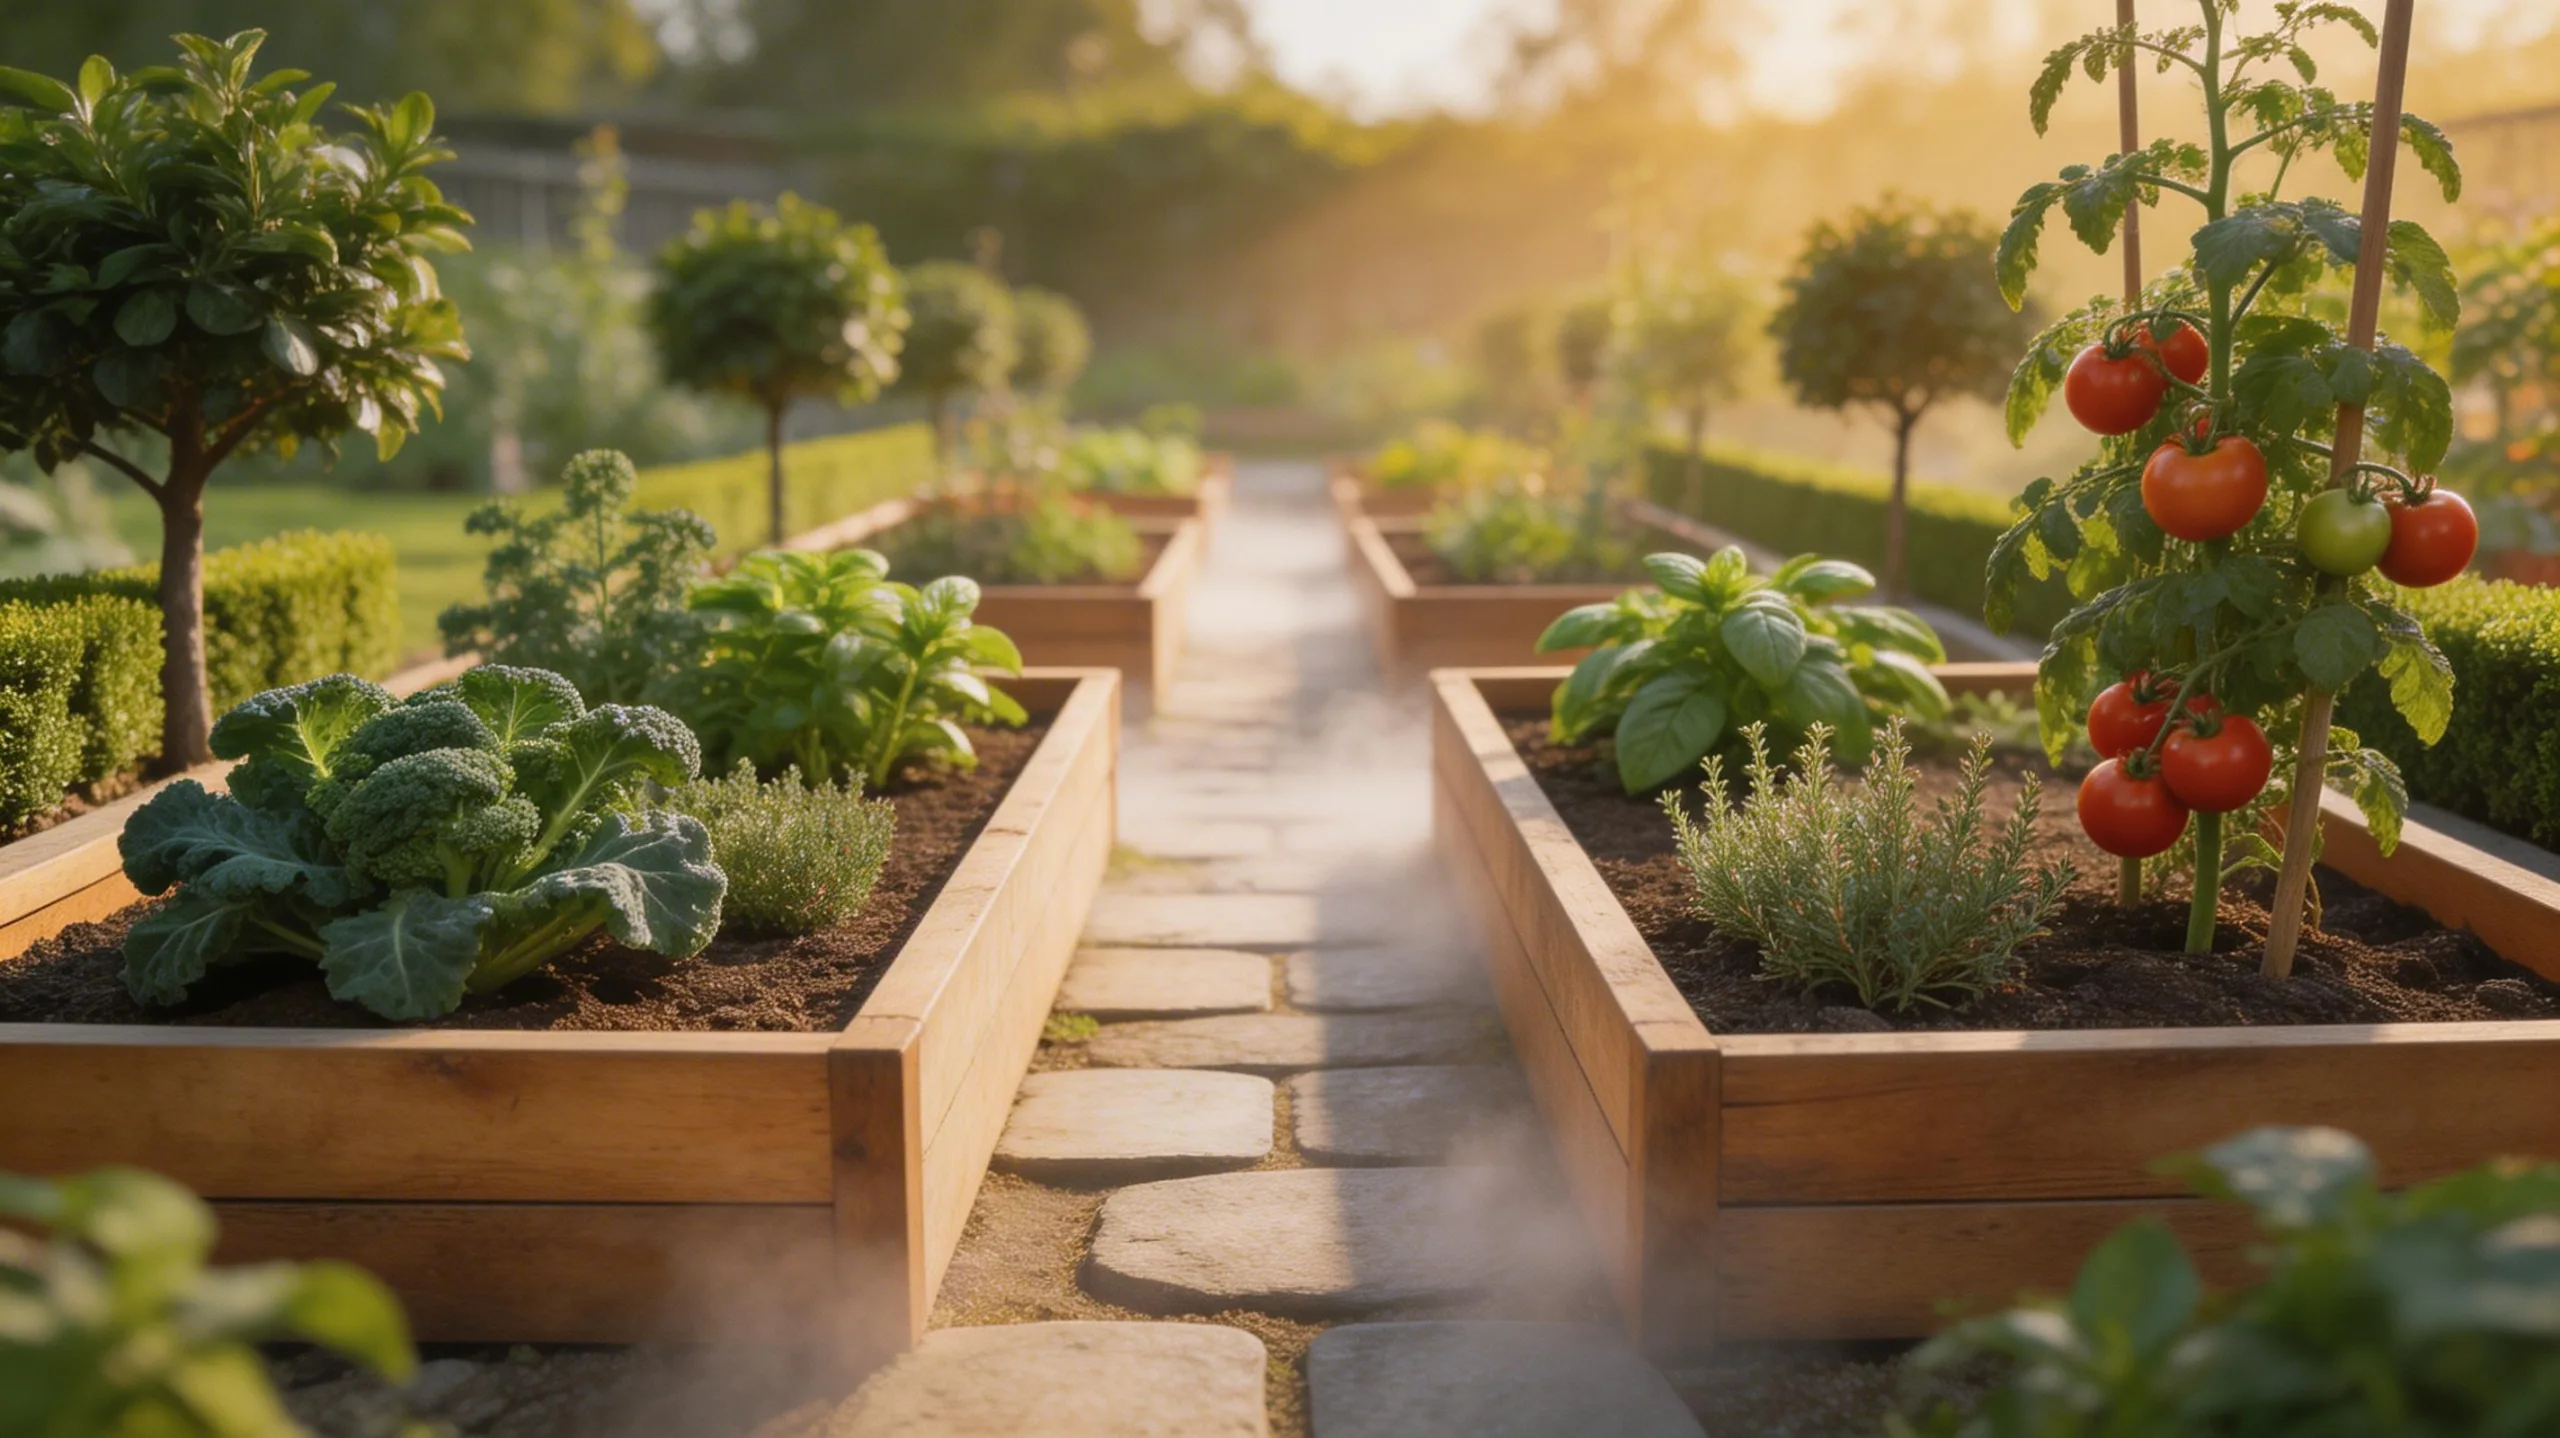
Because you’re planting to feed your family, a kitchen garden layout prioritizes easy access to your most-used herbs and vegetables right outside your door. Position it as close to your kitchen as possible, ideally within steps of your back entrance.
Design organized raised beds or tidy rows along a main path wide enough for a small cart. Group plants by how often you’ll harvest them. Plant perennial herbs like rosemary and thyme in a dedicated bed.
Keep daily greens—lettuce, basil, green onions—closest to the path for quick snipping. Place taller crops, such as tomatoes or pole beans, at the north end so they don’t shade shorter plants.
This functional setup makes cooking with fresh ingredients effortless.
Plan a Pollinator Pathway Layout

While a kitchen garden feeds your family, a pollinator pathway nourishes your local ecosystem by attracting bees, butterflies, and other beneficial insects.
You’ll design a meandering route through your yard using sequential blooms to provide continuous food from spring to fall. Anchor your pathway with flowering shrubs, then layer in perennials and annuals for density. Focus on native plants, as they best support local pollinators.
- Start with early bloomers like crocus and native lupine to welcome emerging bees in spring.
- Add summer-long performers such as coneflower, bee balm, and lavender for a steady nectar source.
- Include host plants like milkweed for monarch caterpillars and parsley for swallowtail butterflies.
- Finish with late-season stars like asters and goldenrod to fuel insects for migration and hibernation.
Build a Relaxing Garden Room Layout
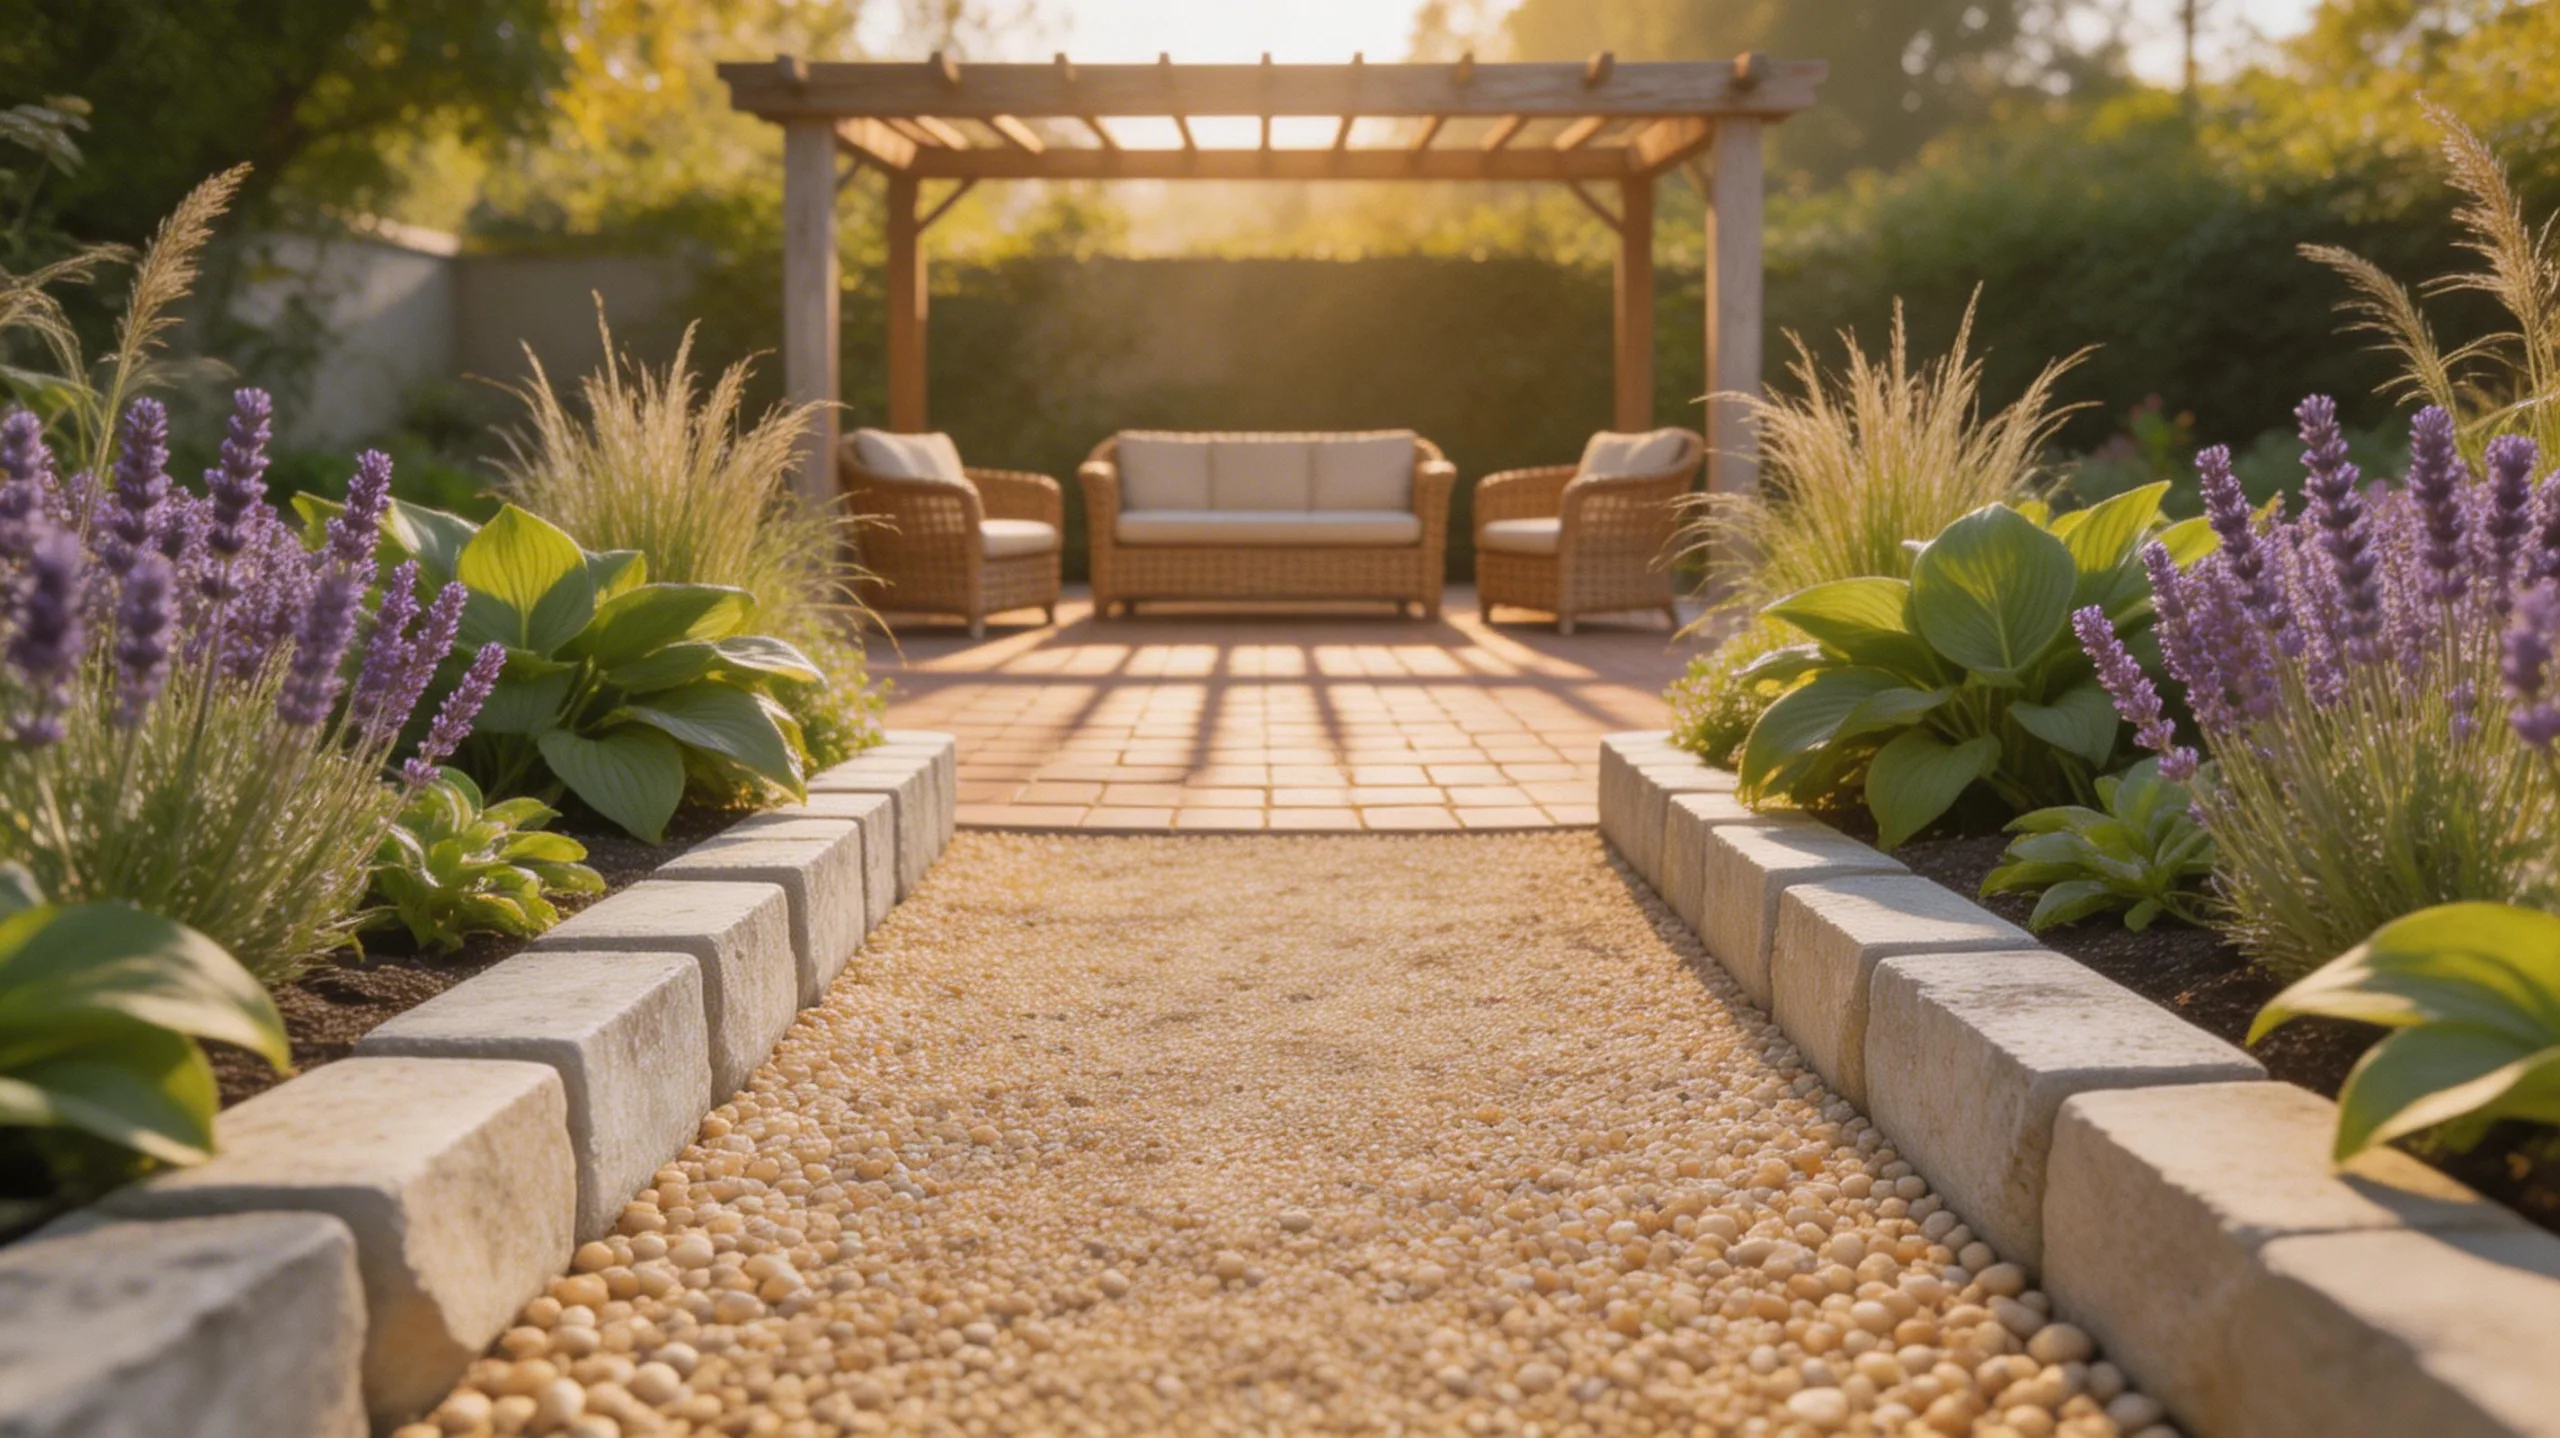
You can transform a quiet corner of your yard into a restorative retreat by designing a garden room dedicated to calm.
Start by defining the space with low hedges, lattice panels, or a simple arbor to create a sense of enclosure. Place a comfortable, weatherproof bench or a pair of Adirondack chairs as your focal point.
Prioritize soothing elements like a small water feature for its gentle sound and cooling effect.
Select plants for their calming scents and textures; consider lavender, rosemary, and ornamental grasses that sway softly in the breeze.
Finally, add practical shade with a pergola or a large umbrella to make the area usable throughout the day, inviting you to linger and unwind.
Layer Planting Beds for Year-Round Interest
To keep your garden vibrant across all seasons, you’ll need to think beyond just spring and summer blooms, layering your planting beds with a thoughtful mix of plants that each shine in different months.
Start by placing taller trees and shrubs at the back as your evergreen backbone. Layer in mid-height perennials and grasses for texture, then finish with low-growing bulbs and ground covers. This structure ensures something’s always catching the eye.
- Plant early bulbs like snowdrops and hellebores for late winter cheer beneath bare shrubs.
- Interplant summer-blooming perennials, such as coneflowers, with ornamental grasses that develop beautiful seed heads in fall.
- Include shrubs like witch hazel or viburnum for fantastic winter fragrance and structure.
- Don’t forget foliage; hostas and heucheras provide lush color long after flowers fade.
You’ll create a dynamic, ever-changing scene that rewards you every single day.
Incorporate Vertical Gardening in Your Layout
Branching out with vertical gardening lets you make the most of limited space, adding lush layers and visual intrigue to walls, fences, and other structures.
You can attach trellises or obelisks directly into planting beds to support climbing vegetables like beans or flowering vines such as clematis.
Mounting a living wall system or a simple series of wall planters lets you grow herbs and succulents at eye level, where they’re both beautiful and accessible.
Even repurposing a ladder or pallet creates instant tiered shelving for potted strawberries or annuals.
This approach frees up precious ground area, turning plain surfaces into dynamic, productive garden features that draw the eye upward and maximize your growing potential.
Design a Low-Maintenance Garden Layout
Since many gardeners value their leisure time as much as their harvests, a low-maintenance layout prioritizes smart plant choices and strategic design over constant upkeep.
Begin by selecting native plants and hardy perennials that thrive in your climate without extra fuss. Group plants with similar watering needs together to make irrigation efficient. Incorporate generous mulch layers to suppress weeds and conserve moisture, saving you hours of work.
- Establish clear, wide paths using gravel or mulch to define walking areas and reduce trampling.
- Install a simple drip irrigation system on a timer to deliver water directly to roots.
- Choose disease-resistant plant varieties to minimize the need for sprays and treatments.
- Use large, durable containers for key plants to control soil quality and limit sprawling growth.
Choose Colors for a Cohesive Garden Palette
Although the previous subtopic focused on efficiency, you can also create visual harmony by carefully selecting colors for your garden’s palette. Think of your flowerbeds as a living painting. Start by picking a color scheme, like calming blues and purples or vibrant oranges and reds. You’ll then group plants with similar hues together for maximum impact.
Don’t forget about foliage; silver, burgundy, and variegated leaves add depth year-round. For continuity, repeat key colors in different areas to tie the space together. Remember, white and green are excellent neutrals that blend any combination. Consider bloom times so something colorful is always showing.
Your deliberate choices will transform random plantings into a stunning, cohesive scene.
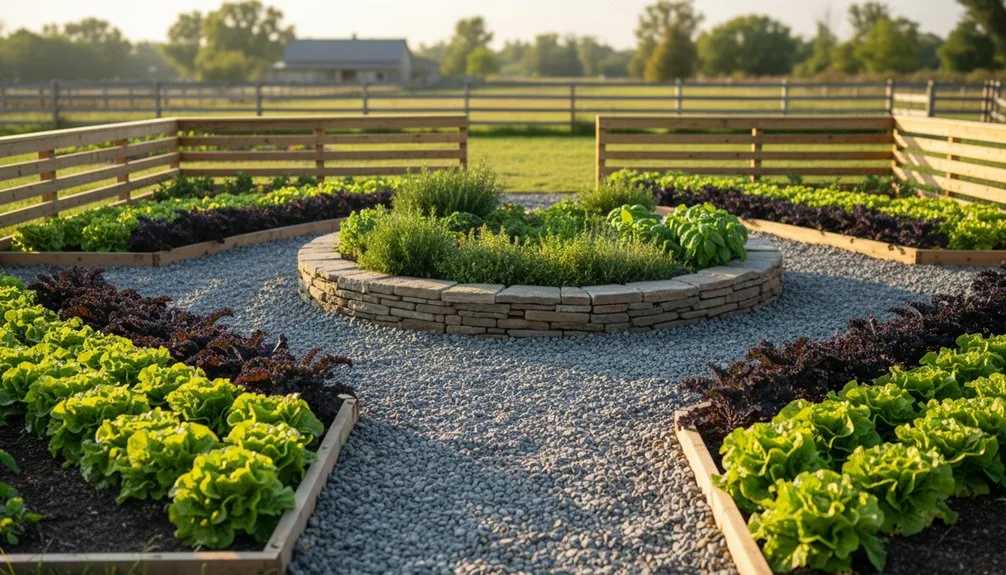
Add Structure With Raised Bed Layouts
Raised beds introduce valuable structure and organization to your garden’s overall design. They clearly define planting areas, making maintenance easier and giving you superb control over soil quality.
You can arrange them in classic rows, geometric grids, or even radiating patterns from a central point to create visual interest and a tidy framework. Keep paths between beds wide enough for comfortable access.
- A symmetrical grid of four cedar beds, each planted with a different vegetable family, creates a productive and orderly potager.
- Three crescent-shaped beds following a gentle slope add soft, flowing lines and prevent soil erosion.
- A series of rectangular beds in graduating heights, filled with cascading flowers and herbs, builds a striking terraced effect.
- A keyhole-shaped bed with a central path maximizes planting space in a small, efficient footprint.
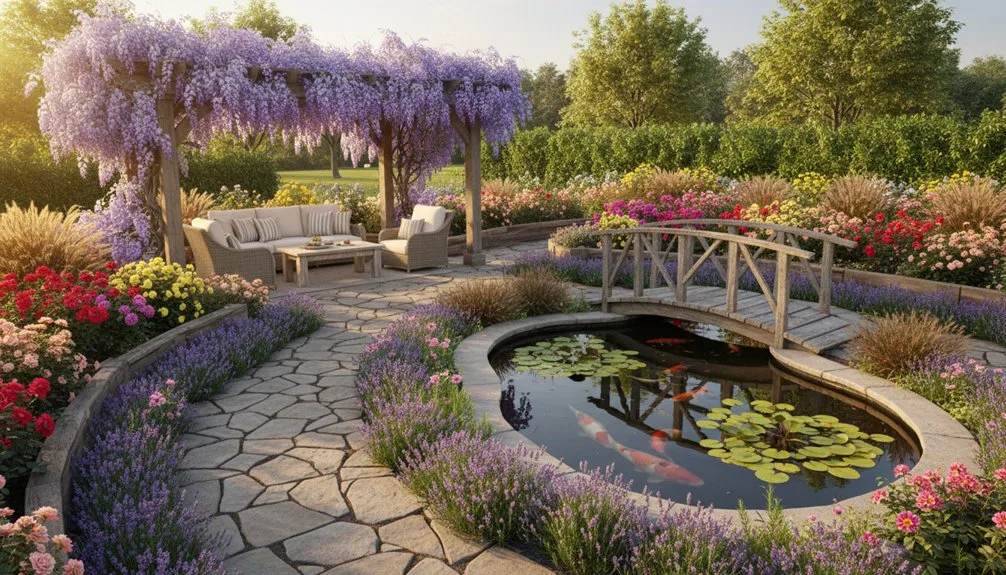
Integrate Water Features Into Your Layout
For a touch of tranquil beauty, incorporating a water feature can transform your garden’s atmosphere and appeal.
Start small with a simple birdbath or a self-contained bubbling urn; they’re easy to install and instantly add a focal point.
Consider your space and style: a sleek, recirculating fountain suits a modern patio, while a pond liner edged with native stones creates a naturalistic haven.
Remember to integrate the feature into your existing layout, placing it where you’ll enjoy the sound and view most. You’ll need a power source for pumps, so plan your access.
This addition attracts wildlife, masks street noise, and introduces a soothing, dynamic element to your garden’s design with minimal ongoing effort.
Create Secluded Nooks in Your Layout
Whether you’re carving out a quiet corner for reading or a hidden retreat for relaxation, a secluded nook gives your garden a personal sanctuary.
You’ll create a sense of privacy by strategically placing tall plantings, trellises, or a simple arbor to define the space.
Anchor your nook with comfortable, weather-resistant seating that invites you to linger.
Then, layer in sensory details to make it feel truly enveloping and apart from the main garden.
- Tuck a rustic bench behind a curved hedge of fragrant lilacs or tall ornamental grasses.
- Drape flowering vines like clematis or jasmine over a pergola to form a living roof.
- Nestle a pair of Adirondack chairs on a small pea gravel pad surrounded by lush ferns.
- Add soft texture underfoot with a small, durable outdoor rug in earthy tones.
Illuminate Your Layout With Strategic Lighting
Extend the enjoyment of your garden into the evening by casting light on its best features. You’ll want to think in layers, using different fixtures for distinct effects.
Up-lighting highlights a sculptural tree’s trunk and canopy, while down-lighting from a low branch creates soft, moonlit pools on the ground. Use path lights or subtle wash lighting to gently define borders and edges for safe navigation.
Place a focused spotlight on a stunning water feature or a prized specimen plant to create a dramatic focal point. Always shield bulbs to prevent glare, directing light onto surfaces, not into eyes. Choose warm-white LEDs for a welcoming glow that complements your plants without disrupting the natural nighttime environment.
Connect Spaces With Purposeful Pathways
By thoughtfully arranging your walkways, you can guide movement and visually link different garden areas, creating a seamless flow throughout your space.
Design paths with a purpose, directing visitors from your patio to a vegetable patch or a secluded seating area.
Consider these materials and layouts to define your routes:
- Flagstone stepping stones set into lawn grass, creating an informal, meandering route to a garden shed.
- A compacted gravel path bordered by low lavender, leading straight and efficiently to your main compost bin.
- Rectangular concrete pavers arranged in a clean, geometric grid to form a formal walkway from the front gate to the entry.
- Reclaimed brick laid in a herringbone pattern, crafting a warm, inviting path to your central fire pit area.
Your choice of material and pattern establishes both the function and the aesthetic tone of the journey.
Create Focal Points in Your Garden Design
Draw the eye and give your garden a sense of purpose by establishing strong focal points. You’ll want to decide on primary and secondary features that command attention.
Place your main focal point, like a bench, sculpture, or striking tree, where a path ends or from a key viewing spot like your patio. Use height, contrasting color, or unique texture to make it stand out.
Secondary focal points, such as a colorful container grouping or a small water feature, can then guide visitors through the space, creating a visual journey. Remember to frame these elements with plantings; don’t let them get lost.
This deliberate structure makes your garden feel cohesive and intentionally designed.
Design a Sensory Garden for Sound, Scent, and Touch
While your garden’s focal points capture the eye, you can deepen the experience by engaging your other senses. A dedicated sensory garden section invites you to touch, listen, and smell, creating a richer connection to your outdoor space.
- For sound, plant ornamental grasses like Miscanthus that rustle in the breeze and install a simple, trickling water feature for soothing background noise.
- For scent, layer fragrant plants such as lavender, sweet alyssum, and night-blooming jasmine near seating areas or pathways.
- For touch, include a variety of textures: plant fuzzy lamb’s ear, smooth river rocks for a border, and the rough bark of a birch tree.
- Combine elements by placing a smooth stone bench beneath a fragrant, flowering tree where you can listen to rustling leaves.
Your Step-by-Step Garden Master Plan
Once you’ve envisioned the garden you want, creating a master plan transforms that vision into an actionable roadmap.
Start by sketching your yard’s existing layout, noting everything: sun patterns, slopes, and structures.
Next, zone your space. Place high-maintenance vegetable beds or cutting gardens closest to your house for easy access. Locate quiet sitting areas and compost bins farther out.
Now, plot your plant choices directly onto your sketch, considering each plant’s mature size, sun needs, and watering requirements. Group plants with similar needs together to streamline care.
Finally, plan your hardscape paths for accessibility and define borders. This detailed plan becomes your planting guide, preventing costly mistakes and ensuring your garden evolves beautifully from the start.
Frequently Asked Questions
How Much Does a Garden Layout Plan Cost?
Costs range from free DIY software to hundreds for a simple design. You’ll often pay $100-$300 for a professional’s basic plan. Invest in a detailed blueprint; it’ll organize your efforts beautifully.
What Tools Do I Need to Build a Raised Bed?
You’ll need a measuring tape, saw, drill, screws, and untreated lumber. Gather a shovel, gloves, and safety glasses too. Source quality soil and compost. You’re ready to build a durable, productive garden bed.
How Do I Stop Pests Without Chemicals?
You can stop pests naturally by planting companion herbs like basil, using floating row covers as barriers, or spraying a soap-and-water mixture directly on affected leaves. Hand-picking larger bugs also works well!
Which Vegetables Should I Avoid Planting Together?
Avoid planting onions with beans or peas. Don’t place tomatoes near potatoes or fennel. Keep cucumbers away from aromatic herbs. You’ll prevent competition, discourage pests, and ensure healthier, more bountiful harvests in your garden.
When Is the Best Time to Transplant Perennials?
You should transplant perennials in early spring or early fall. Avoid summer’s heat. This lets roots establish before extremes. Prepare your new site beforehand. You’ll give your plants their best chance to thrive.
Conclusion
Your garden’s layout is your blueprint for success. Start by mapping your zones and conditions, then build from there. Layer in paths, focal points, and those plants you love. Remember, a great plan combines beauty with function, making your space both organized and personal. Trust your plan, but don’t be afraid to adapt it as your garden—and your vision—grows. Now, get outside and start shaping your dream yard.
The Only Tools You Need for a Thriving Garden 🌱
Whether you're a weekend gardener or growing daily — these hand-picked tools make every session faster, easier, and more satisfying.