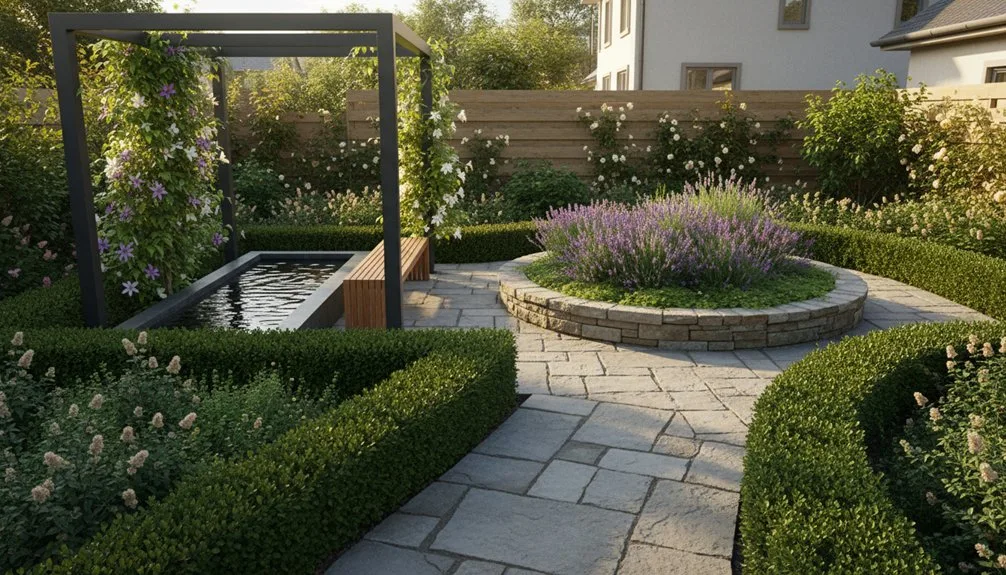
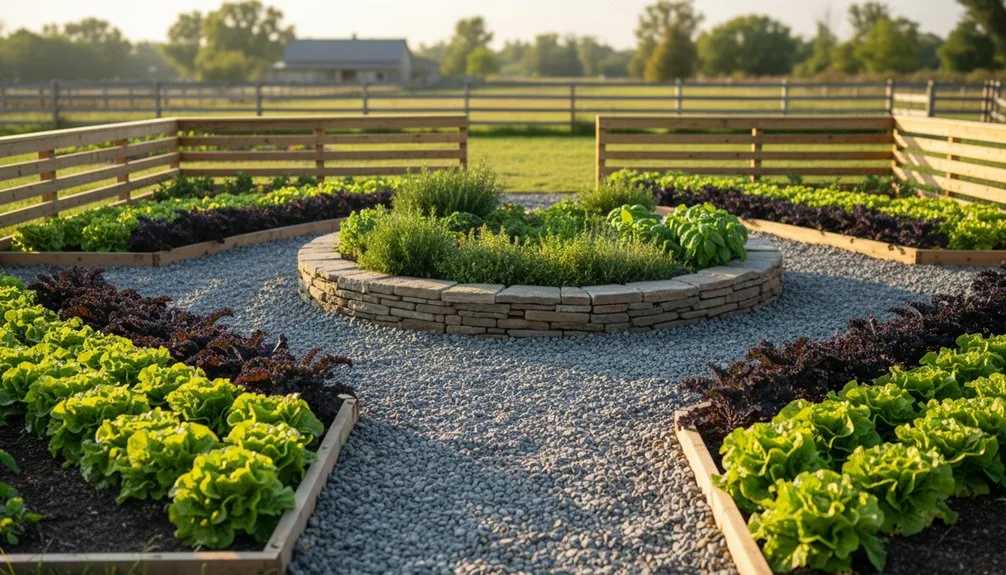
You’ll boost your harvest by 50% or more with three core design moves. Build beds 3–4 ft wide and 24 in tall to minimize soil compaction and reach plants easily. Align beds north-south for uniform sun exposure. Install drip irrigation with 3 in of mulch to double water retention and suppress weeds 80%. Add vertical trellises on the north side to maximize space without shading southern crops. These fundamentals lay the groundwork—the specific bed layouts, spacing strategies, and companion pairings that’ll transform your yields await.
Key Takeaways
- Align beds north-south and use 24-inch raised beds to optimize sunlight exposure and reduce bending during maintenance.
- Combine drip irrigation with 3 inches of mulch to increase yield 50%, reduce watering frequency by half, and suppress weeds 80%.
- Implement square-foot gardening in 2×8 beds to achieve 0.51 lb/ft² yield and cut water usage to 10% of traditional rows.
- Position tall trellises on the north side and train vining crops vertically to improve airflow, reduce disease, and maximize space efficiency.
- Design 18-24 inch side pathways and 4-foot main walkways to minimize soil compaction while enabling efficient wheelbarrow access and harvesting.
Layout Fundamentals for Maximum Yield
How can you transform a modest plot into a productive garden?
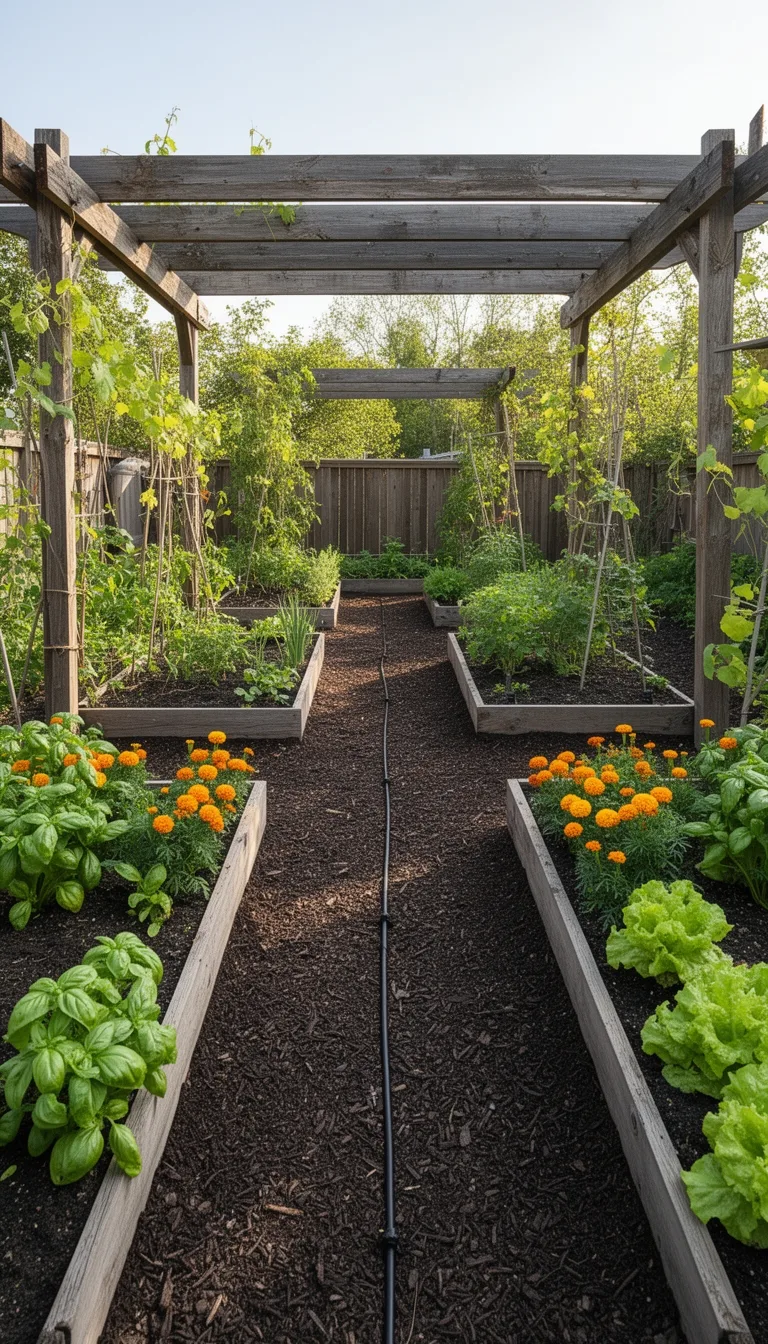
You’ll maximize yields by abandoning traditional row layouts for raised beds or dedicated planting areas.
This approach concentrates your soil amendments where plants actually grow, eliminating wasted aisle space.
Next, implement square-foot gardening by dividing your garden into individual sections, assigning each square to a specific crop.
This method dramatically increases productivity in confined areas.
Consider vertical gardening structures—trellises, stakes, and arches—for vining crops like cucumbers, beans, and peas.
Wire or PVC hoops oriented north-south facilitate easy row covers for season extension without consuming additional ground space.
These fundamental design choices work together, enabling you to generate substantial harvests from surprisingly small areas.
Bed Width, Height, and Pathway Specs

Once you’ve settled on raised beds and vertical structures, you’ll need to finalize the physical dimensions that’ll make your garden both productive and manageable.
| Dimension | Recommended Range | Key Benefit |
|---|---|---|
| Width | 30 inches to 4 feet | Maximizes planting rows while preventing overreach |
| Height | 24 inches preferred | Reduces bending and improves drainage |
| Length | 4-10 feet | Prevents warping without internal supports |
| Pathways | 18 inches standard | Balances access with growing space |
Choose 30-inch-wide beds if you prioritize easier harvesting and soil compaction prevention. For beds accessible from all sides, you can push to 4 feet width. Stack your bed height at 24 inches—this sweet spot reduces back strain while optimizing moisture retention. Keep pathways at 18 inches between beds to maintain comfortable access without sacrificing too much planting area. These specifications work together, creating an efficient system you’ll manage comfortably season after season.
North-South Orientation for Even Sun
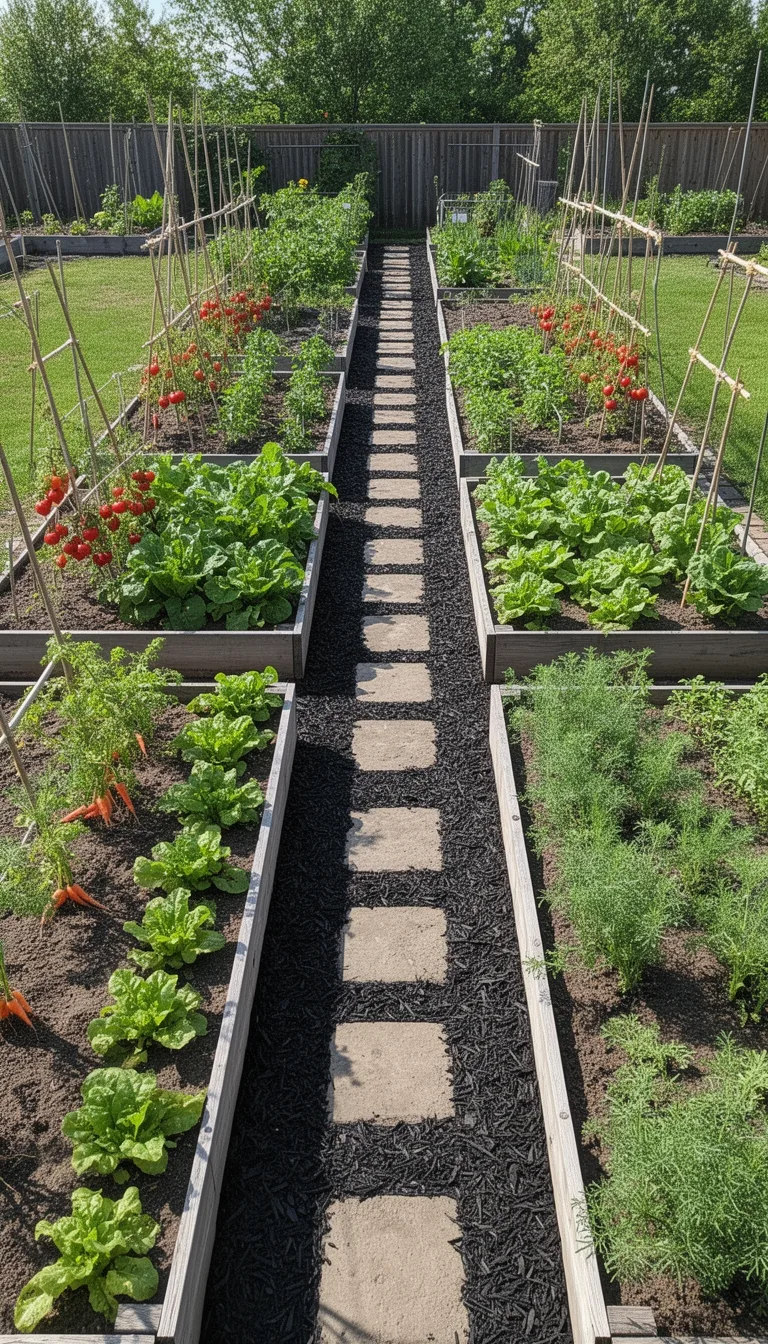
Because the sun’s path tilts south in the northern hemisphere, orienting your beds on a north-south axis ensures both sides receive relatively equal sunlight throughout the day.
This alignment prevents one side from blocking lower-angle sunlight and eliminates shading problems common in dense garden layouts.
You’ll achieve several practical benefits:
- Uniform photosynthesis across plants from balanced light exposure
- Consistent crop production with reduced growth variability between bed sides
- Flexible plant selection since you’re not locked into high-light or shade-tolerant zones
- Extended usability by capturing both morning and evening light
Research shows that while north-south rows yield no significant difference from east-west orientations overall, south-facing sides consistently produce 7% higher ripe fruit dry weight.
Pathway Width: Function Over Space
While maximizing garden bed space tempts you to narrow your pathways, you’ll quickly discover that cramped walkways compromise both access and maintenance. You’ll need 24 inches minimum for wheelbarrow maneuvering, though 36 inches works better for comfortable single-person movement. Consider your equipment first—your pathway width should match your wheelbarrow base plus tolerance.
| Pathway Purpose | Recommended Width |
|---|---|
| Wheelbarrow access | 24 inches |
| Single-person use | 36 inches |
| Two-person walking | 4 feet |
| Main entry | 4-5 feet |
| Narrow side paths | 19 inches |
You’ll balance functionality against space efficiency by recognizing that overly narrow paths compact soil near roots and hinder maintenance. Wider paths reduce planting area but prevent future regrets. Aim for 24 inches as your practical sweet spot—wide enough for equipment and kneeling without damaging adjacent beds.
Mulch and Drip Irrigation Essentials
Your pathways keep your garden accessible, but what happens within those beds determines your garden’s success—and mulch paired with drip irrigation creates the foundation for thriving plants.
You’ll maximize your garden’s potential by combining these two essentials:
- Direct water delivery: Drip irrigation applies water straight to roots, eliminating evaporative waste
- Moisture retention: Three inches of mulch doubles soil water retention, reducing your watering frequency
- Weed suppression: Together, they suppress weeds by up to 80%, cutting cultivation time dramatically
- Disease prevention: Mulch acts as a barrier, keeping produce clean and preventing soil-borne diseases
Install drip lines before applying mulch.
You’ll achieve 50% higher yields while conserving water and minimizing maintenance.
This combination transforms your beds into efficient, productive growing spaces that work harder for you.
Raised Beds vs. Straight Rows: Choose Your System
How you organize your planting beds shapes everything from your workload to your harvest yields.
Raised beds offer superior soil quality, improved drainage, and reduced weeding, making them ideal for small urban spaces.
You’ll enjoy easier access and can achieve 80% growing space efficiency through dense planting.
However, they demand higher upfront costs and increased watering.
Straight rows prove more economical, using existing native soil without setup expenses.
You’ll appreciate machinery access and flexibility for large-scale gardens with sprawling crops.
The trade-off? Lower space efficiency at 60%, compaction risks, and intensive weed management requirements.
Consider your space constraints and crop types.
Combine both approaches strategically: raised beds for herbs and vegetables, straight rows for vining crops like pumpkins or corn.
Square Foot Gardening by the Numbers
Square foot gardening takes the efficiency gains of raised beds and amplifies them through systematic grid-based planting.
You’ll transform your growing space into a high-yield operation by maximizing every inch.
Here’s what you can expect:
- Space utilization: A 2’x8′ bed produces 10 tomatoes and 6 peppers versus 5 tomatoes or 7 peppers in rows
- Water efficiency: You’ll use just 10% of the water required for traditional row gardening
- Cost savings: Expect 50% lower overall expenses with minimal fertilizer needs
- Economic return: Achieve up to $6.64 per square foot with strategic crop selection
You’re eliminating wasted space between rows while reducing maintenance demands.
Dense planting naturally suppresses weeds and acts as living mulch.
Your yield reaches 0.51 lbs per square foot—substantially outperforming conventional methods.
Keyhole Gardens for Water Conservation
Why settle for conventional garden beds when you can combine a growing space with an integrated composting system that thrives in drought conditions?
A keyhole garden features a circular raised bed six feet in diameter with a central slot for easy plant access.
You’ll work at waist height, eliminating bending during planting and harvesting.
The built-in compost core filters water—including gray water—directly to surrounding soil.
Green material in the compost releases moisture through fungal networks, while water applied centrally disperses nutrients evenly.
This hybrid design saves space and time.
You’ll skip transporting compost separately since the system recycles kitchen waste into continuous nutrition.
Keyhole gardens excel in arid climates like Texas, surviving droughts with minimal supplemental watering.
You’ll harvest year-round while reducing grocery costs significantly.
Forest-Garden Permaculture: 10X More Yield
If you’re ready to dramatically increase your garden’s productivity while reducing maintenance, forest-garden permaculture offers a proven approach.
This system mimics natural woodland ecosystems by stacking multiple layers—trees, shrubs, herbs, and vegetables—into one integrated space.
You’ll maximize yield through strategic plant guilds that work together, with nitrogen-fixers improving soil and flowering plants attracting pollinators.
Your forest garden delivers:
- Year-round edible crops: fruits, nuts, vegetables, and herbs
- Perennial plants requiring minimal annual labor
- Natural pest control through biodiversity
- Carbon sequestration and improved soil stability
Once established, your garden becomes largely self-sustaining.
The diverse plantings reduce species-specific diseases while mulches and nitrogen-fixing companions eliminate fertilizer needs. You’ll produce abundant food while building a thriving ecosystem that supports wildlife and strengthens your land’s resilience.
Position Trellises on the North Edge
Positioning your trellises along the north edge of your garden beds is one of the most effective ways to maximize sunlight for your sun-loving crops.
When you place tall structures like cattle panels on the north side, they don’t cast shadows across your southern plants as the sun arcs from east to west.
This strategic placement lets vining crops climb vertically while dwarf varieties and fruiting plants like tomatoes and beans thrive below in full sun.
You’ll also improve airflow around your garden, reduce disease pressure by keeping produce off the ground, and access plants more easily.
In hot climates, cool-season crops planted on the north side benefit from filtered afternoon shade once vines establish.
This layout maximizes your harvest potential within compact spaces.
Train Vining Crops Upward for Space
How can you double or triple your garden’s productivity without expanding its footprint? Train your vining crops upward using vertical support systems.
You’ll maximize your growing space while gaining significant advantages:
- Space Efficiency: Plants grow skyward, minimizing ground footprint and utilizing limited garden areas effectively
- Disease Reduction: Improved air circulation through foliage reduces fungal diseases like powdery mildew and blight
- Higher Yields: Vertical growing increases yield per square foot, boosting your gross income from the same space
- Better Fruit Quality: Increased sunlight exposure ensures faster, more even ripening and superior appearance
Natural climbers like cucumbers, peas, and beans thrive vertically.
Indeterminate tomatoes, pole beans, and even smaller melons adapt well to trellising.
Install stakes 6 feet apart, then weave polypropylene cording between them at 6-10 inch intervals.
As plants grow, wrap cords around stakes and repeat the pattern upward.
A-Frame Structures for Dual-Layer Growing
While vertical trellising works wonderfully for vining crops, you’ll unlock even greater productivity by building an A-frame structure that leverages both sides of a single footprint.
This triangular design maximizes your growing space by creating two distinct planting zones on opposing surfaces, effectively doubling your yield per square foot.
The steep angles naturally shed water and snow while providing ample headroom for taller plants.
You’ll enjoy efficient air circulation between layers, reducing disease risk and promoting healthier growth.
Construction remains straightforward—whether you choose wooden frames, panel systems, or prefabricated kits, assembly typically takes just days rather than weeks.
Position your A-frame running north-south to optimize sunlight exposure.
Plant shade-tolerant crops on north-facing sides while reserving sun-loving varieties for south-facing surfaces.
This dual-layer approach transforms limited backyard space into a high-output growing system.
Grow Squash Vertically Along Fences
Why let squash sprawl across your garden beds when you can train it upward along a fence? Vertical growing transforms your space into a productive zone while improving plant health.
You’ll experience several advantages:
- Space efficiency: Maximize your garden footprint by utilizing vertical fence lines
- Straighter fruits: Develop shapely produce that hangs cleanly without ground contact
- Better airflow: Reduce disease risk through improved air circulation around foliage
- Easier monitoring: Scout for pests and harvest at comfortable heights
Install panels 3-4 feet wide and 4-7 feet tall, positioning them one foot off the ground.
Plant squash 6-8 inches apart along the fence edge.
Weave shoots into the trellis using soft ties or flagging tape, guiding tendrils as they naturally grip supports.
Tie upper stems first to prevent flopping.
Semi-bush varieties yield reliably in vertical setups.
Double Your Crop Layers Vertically
You’ll unlock your garden’s full potential by layering crops vertically and interplanting strategically.
Plant short-season crops like lettuce, radishes, and turnips between long-season plants such as tomatoes and cabbage.
Your quick crops harvest before taller companions mature, effectively doubling your yield from the same space.
Position pole beans under sweet corn, using the corn stalks as a living trellis.
This method maximizes your vertical real estate while minimizing competition.
Lettuce thrives in the shade cast by taller plants, extending its growing season in warmer months.
This layering approach transforms your garden into a productive vertical system.
You’ll harvest early crops while long-season plants still develop, then replant that freed space for additional harvests throughout the season.
Block Planting for Layout Efficiency
How can you dramatically increase your garden’s productivity without expanding its footprint? Block planting transforms your layout by abandoning traditional row spacing in favor of rectangular beds that maximize every square inch.
You’ll organize your garden using these efficient principles:
- Design beds three to four feet wide, allowing you to reach the center without stepping inside
- Space plants equally in both directions, filling the entire bed rather than leaving wasted walkway space
- Limit foot traffic to established 18-24 inch wide pathways between beds, preventing soil compaction
- Apply crop-specific spacing guidelines—onions and carrots need three inches center-to-center, while potatoes and peppers require fifteen inches
This methodical approach yields five-fold increases in production while suppressing weeds through dense planting.
Your compact blocks create efficient garden space that produces substantially more with less maintenance.
Plant Denser Than Seed Packets Suggest
Block planting establishes your efficient bed structure, but you can push productivity even further by challenging the conservative spacing guidelines printed on seed packets.
Seed manufacturers recommend lower densities as safety margins, yet commercial operations regularly exceed these standards profitably.
You’ll find that raised beds particularly support denser plantings than open ground cultivation.
Before intensifying density, assess your conditions: soil fertility, water availability, and climate suitability.
Deep-rooted crops like legumes tolerate higher populations better than shallow-rooted varieties.
Conduct small-scale trials comparing yields across different densities on separate plots.
Track both total harvest and individual plant performance, as excessive crowding triggers competition that reduces overall yields.
Balance increased density against your specific growing conditions and economic inputs for optimal results.
Thin Beets and Carrots for Dual Harvests
Why do crowded root crops so often disappoint?
Competition for light, moisture, and nutrients stresses your plants, while reduced airflow invites fungal disease.
You’ll achieve remarkable harvests through strategic thinning instead.
Start by sowing densely, then thin progressively:
- Initial thin: Reduce to 1-1½” spacing when seedlings reach 1″ tall for carrots, 3″ for beets
- Second thin: Space to 2-3″ apart one month later for full-sized roots
- Harvest strategy: Remove alternates as babies first, leaving remainders to mature
- Use scissors: Cut at soil level rather than pulling to avoid disturbing neighboring roots
You’ll harvest multiple sizes from the same space—baby greens and carrots initially, then medium and full-sized roots.
The thinnings themselves are edible as greens or tender babies, maximizing your production without waste.
High-Value Crops for Tight Spaces
Once you’ve mastered thinning root crops, you’ll want to focus your limited space on varieties that deliver the highest returns per square foot.
Cherry tomatoes dominate tight spaces, producing over 1,000 fruits per plant and fetching $8–$12 per pound.
Trellised cucumbers mature in 55–65 days with heavy yields harvested every 2–3 days.
Mesclun mixes yield over 300 bags weekly per greenhouse bed through repeated cuts.
Pole beans and peas climb vertically, fixing nitrogen while conserving ground space.
Stack quick-maturing crops like determinate tomatoes and Hakurei turnips—which yield both roots and harvestable greens—into succession plantings every 2–3 months.
Arugula seeded densely provides 2–3 high-quality cuts per planting.
This strategic rotation maximizes your output and profitability year-round.
Skip These Space-Hogging Plants
Five categories of plants’ll consume your limited garden real estate without delivering meaningful returns: sprawling vines, aggressive groundcovers, oversized shrubs, bulky vegetables, and wide-spreading trees.
You’ll want to avoid these space-wasters:
- Vines like wisteria and climbing roses demand massive arbors and sprawl extensively across structures
- Groundcovers such as ajuga and oxalis form invasive mats that overtake adjacent plantings aggressively
- Standard shrubs and fruit trees require excessive width compared to columnar or compact cultivars
- Full-size vegetables including zucchini and cucumbers vine extensively rather than growing vertically
Instead, prioritize compact alternatives: dwarf beans, bush-style zucchini, Urban® Apples, and columnar evergreens. These cultivars deliver equivalent harvests while respecting your spatial constraints. You’ll maximize productivity by selecting varieties specifically bred for confined areas rather than fighting against naturally expansive growth habits.
Companion Pairs That Save Space
How can you triple your harvest without expanding your garden’s footprint? Strategic companion planting maximizes your space efficiently.
Pair tall crops with shade-lovers: tomatoes shield lettuce and basil from intense sun, while carrots aerate soil beneath tomato plants.
Stack vertical production by growing sugar snap peas on trellises beside red cabbage or French beans between lettuce rows—beans crop after lettuce harvest ends.
Stagger brassicas like cabbage, kale, and Brussels sprouts densely.
Sow radishes around them; they’ll mature first, freeing space for slower-growing crops.
Plant carrots alongside cabbage and broccoli, harvesting radishes before carrots expand.
Layer herbs and flowers strategically too.
Basil beneath tomatoes utilizes vertical space, while marigolds and nasturtiums attract pollinators to nearby cucumbers and squash.
This methodical approach transforms limited garden space into productive zones.
Group Plants by Water Needs
Strategic spacing and companion planting work best when you’ve also considered what each plant actually needs to thrive—and that starts with water.
Hydrozoning divides your landscape into distinct irrigation zones matching plant requirements.
You’ll map your yard and label controllers for zone-specific watering schedules. This approach prevents overwatering drought-tolerant plants while ensuring thirsty ones receive adequate moisture.
Create these zones:
- Routine irrigation zones watered every 2-4 days for high-water plants
- Reduced irrigation zones watered every 4-14 days for medium needs
- Limited irrigation zones watered only during dry spells post-establishment
- Non-irrigated areas for fully drought-adapted xeric plants
Group compatible plants together—pair agave with prairie verbena in low-water beds, or knock-out roses with coreopsis in medium zones.
This strategic grouping saves up to 70% on landscape water use while keeping your plants thriving.
Maximize Harvest Per Square Foot
Want to triple your garden’s productivity without expanding your yard?
You’ll implement the square-foot gardening method to maximize every inch of growing space.
Divide your raised beds into 1-foot squares using grids made from Venetian blinds or wood lath.
Plant 1, 4, 9, or 16 plants per square depending on your crop’s size.
This precise spacing prevents overcrowding while boosting yields dramatically.
Combine square-foot gardening with vertical trellising.
Support climbing peas, tomatoes, beans, and cucumbers on arched structures at bed ends, freeing horizontal space for additional plantings.
Practice succession planting by sowing 1-2 squares weekly.
Harvest fast-growing crops like lettuce multiple times before larger plants mature.
Replant empty squares immediately with new seeds.
This staggered approach eliminates gaps and ensures continuous harvests throughout the season.
From Layout Plan to First Harvest
Once you’ve mastered square-foot gardening principles, you’re ready to translate your vision into reality by selecting the right site and planning your layout.
You’ll execute your plan methodically by following these essential steps:
- Scout your location carefully, avoiding heavy vegetation, walnut trees, and ensuring full sun exposure with proximity to water sources
- Map your beds accurately using graph paper at a 1-foot-per-box ratio, sketching beds, containers, and 2-3 foot pathways for wheelbarrow access
- Position plants strategically by height—tall vegetables at back, mid-sized in middle, small in front—considering mature size and watering needs
- Prepare for rotation by mapping crop families now, preventing disease buildup and planning succession planting
This methodical approach transforms your design into a productive garden ready for planting.
Conclusion
You’ve built your garden like a conductor orchestrating an orchestra—each section playing its part in harmony. Your beds, pathways, and irrigation flow together as one cohesive instrument. Now you’re ready to harvest the symphony you’ve composed. You’ll find that your methodical planning pays dividends as you gather vegetables from a space that’s working at peak efficiency. Your garden’s score is written; it’s time to enjoy the performance.
The Only Tools You Need for a Thriving Garden 🌱
Whether you're a weekend gardener or growing daily — these hand-picked tools make every session faster, easier, and more satisfying.