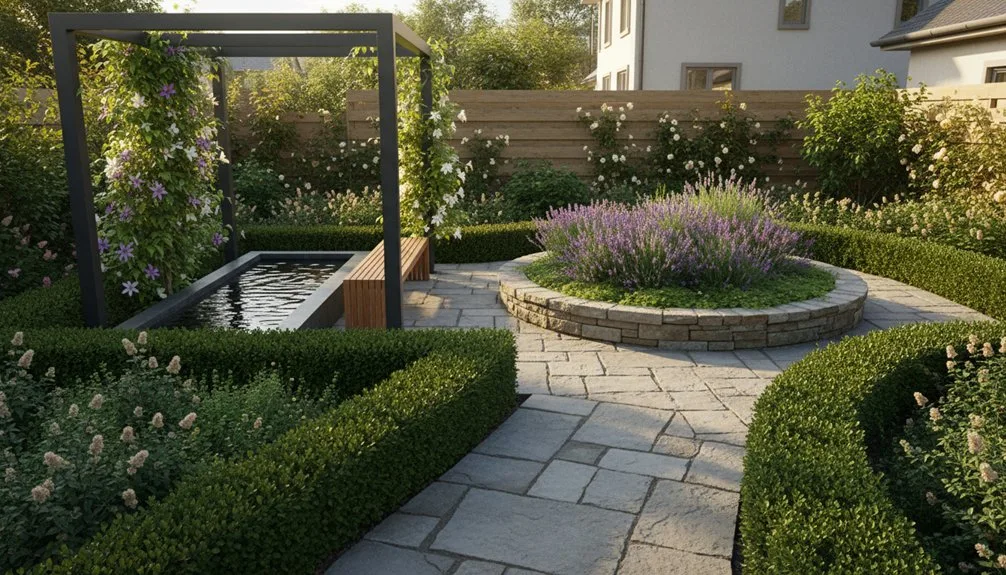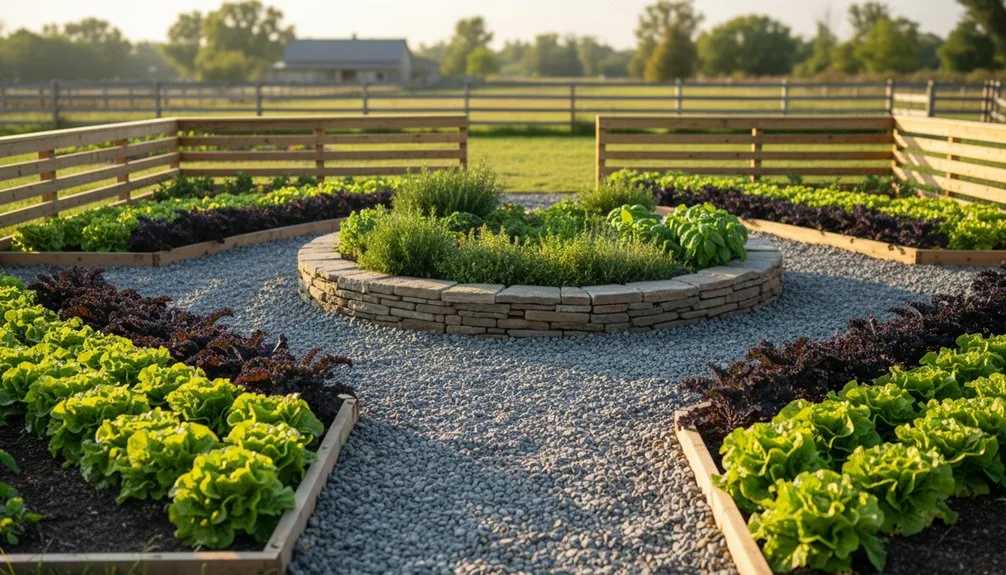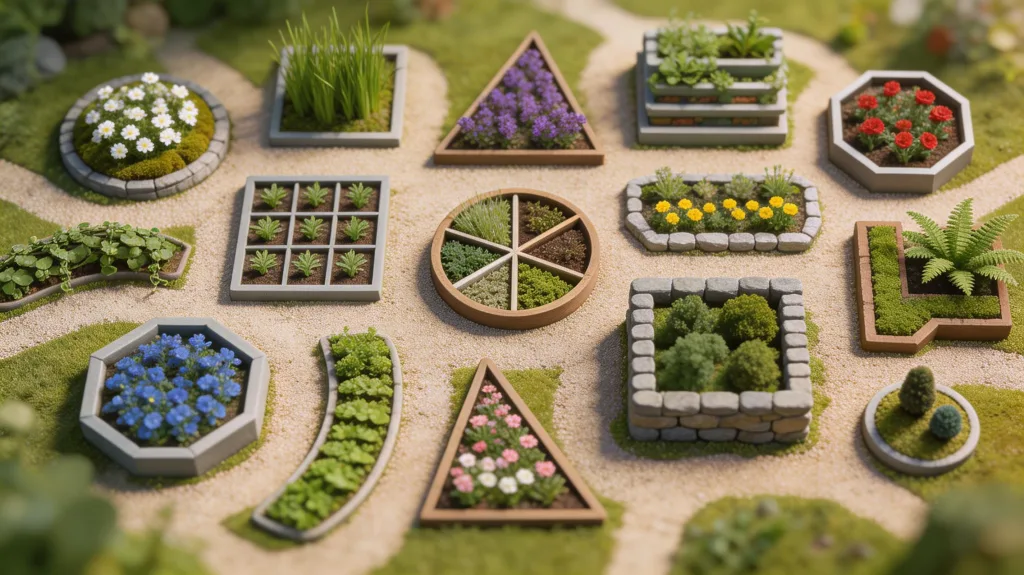
You might think a small yard limits your possibilities, but you can dramatically expand your growing space with smart planning. By strategically dividing your area into zones and employing vertical structures, you’ll create a highly functional and productive garden. The following layouts show you how to transform every corner, but one particular technique is key to unlocking your garden’s full potential.
Key Takeaways
- Divide your garden into functional zones based on sunlight and microclimates.
- Use vertical structures like trellises and pallet gardens to maximize growing space.
- Incorporate keyhole or square foot gardening layouts for high-yield planting.
- Implement companion planting and crop rotation within mixed flower-and-veg borders.
- Combine raised beds with container groupings and hanging planters for layered density.
Start by Assessing Your Space and Sunlight
Before you choose a single plant, take a moment to thoroughly assess your garden’s space and sunlight patterns. Grab a notebook and a measuring tape. Draw a rough map of your plot, marking permanent structures like fences, sheds, and existing trees. Measure the dimensions accurately.
Then, observe the sunlight. Over several days, note which areas get full sun (6+ hours), part sun, or full shade during the prime growing season. This tells you where to place sun-lovers like tomatoes versus shade-tolerant plants like hostas.
Don’t forget to check for microclimates—a sunny wall might create a warm spot, while a downspout could make an area damp. This precise information becomes your essential planting guide.
Divide Your Garden Into Functional Zones
Once you’ve mapped your sunlight and space, you can carve your garden into functional zones, which helps organize your layout efficiently.
Common zones include a planting area for your vegetables or flowers, a utility area for composting or tool storage, and a relaxation space. You’ll assign each zone to the most suitable part of your garden based on your initial assessment. For instance, place the planting zone where sunlight is optimal, and tuck the utility zone into a shaded corner.
Use physical boundaries like low fences, pathways, or distinct planting beds to define these areas. This clear separation prevents clutter, makes maintenance easier, and ensures each garden function has a dedicated, efficient spot.
Grow up With Vertical Gardening
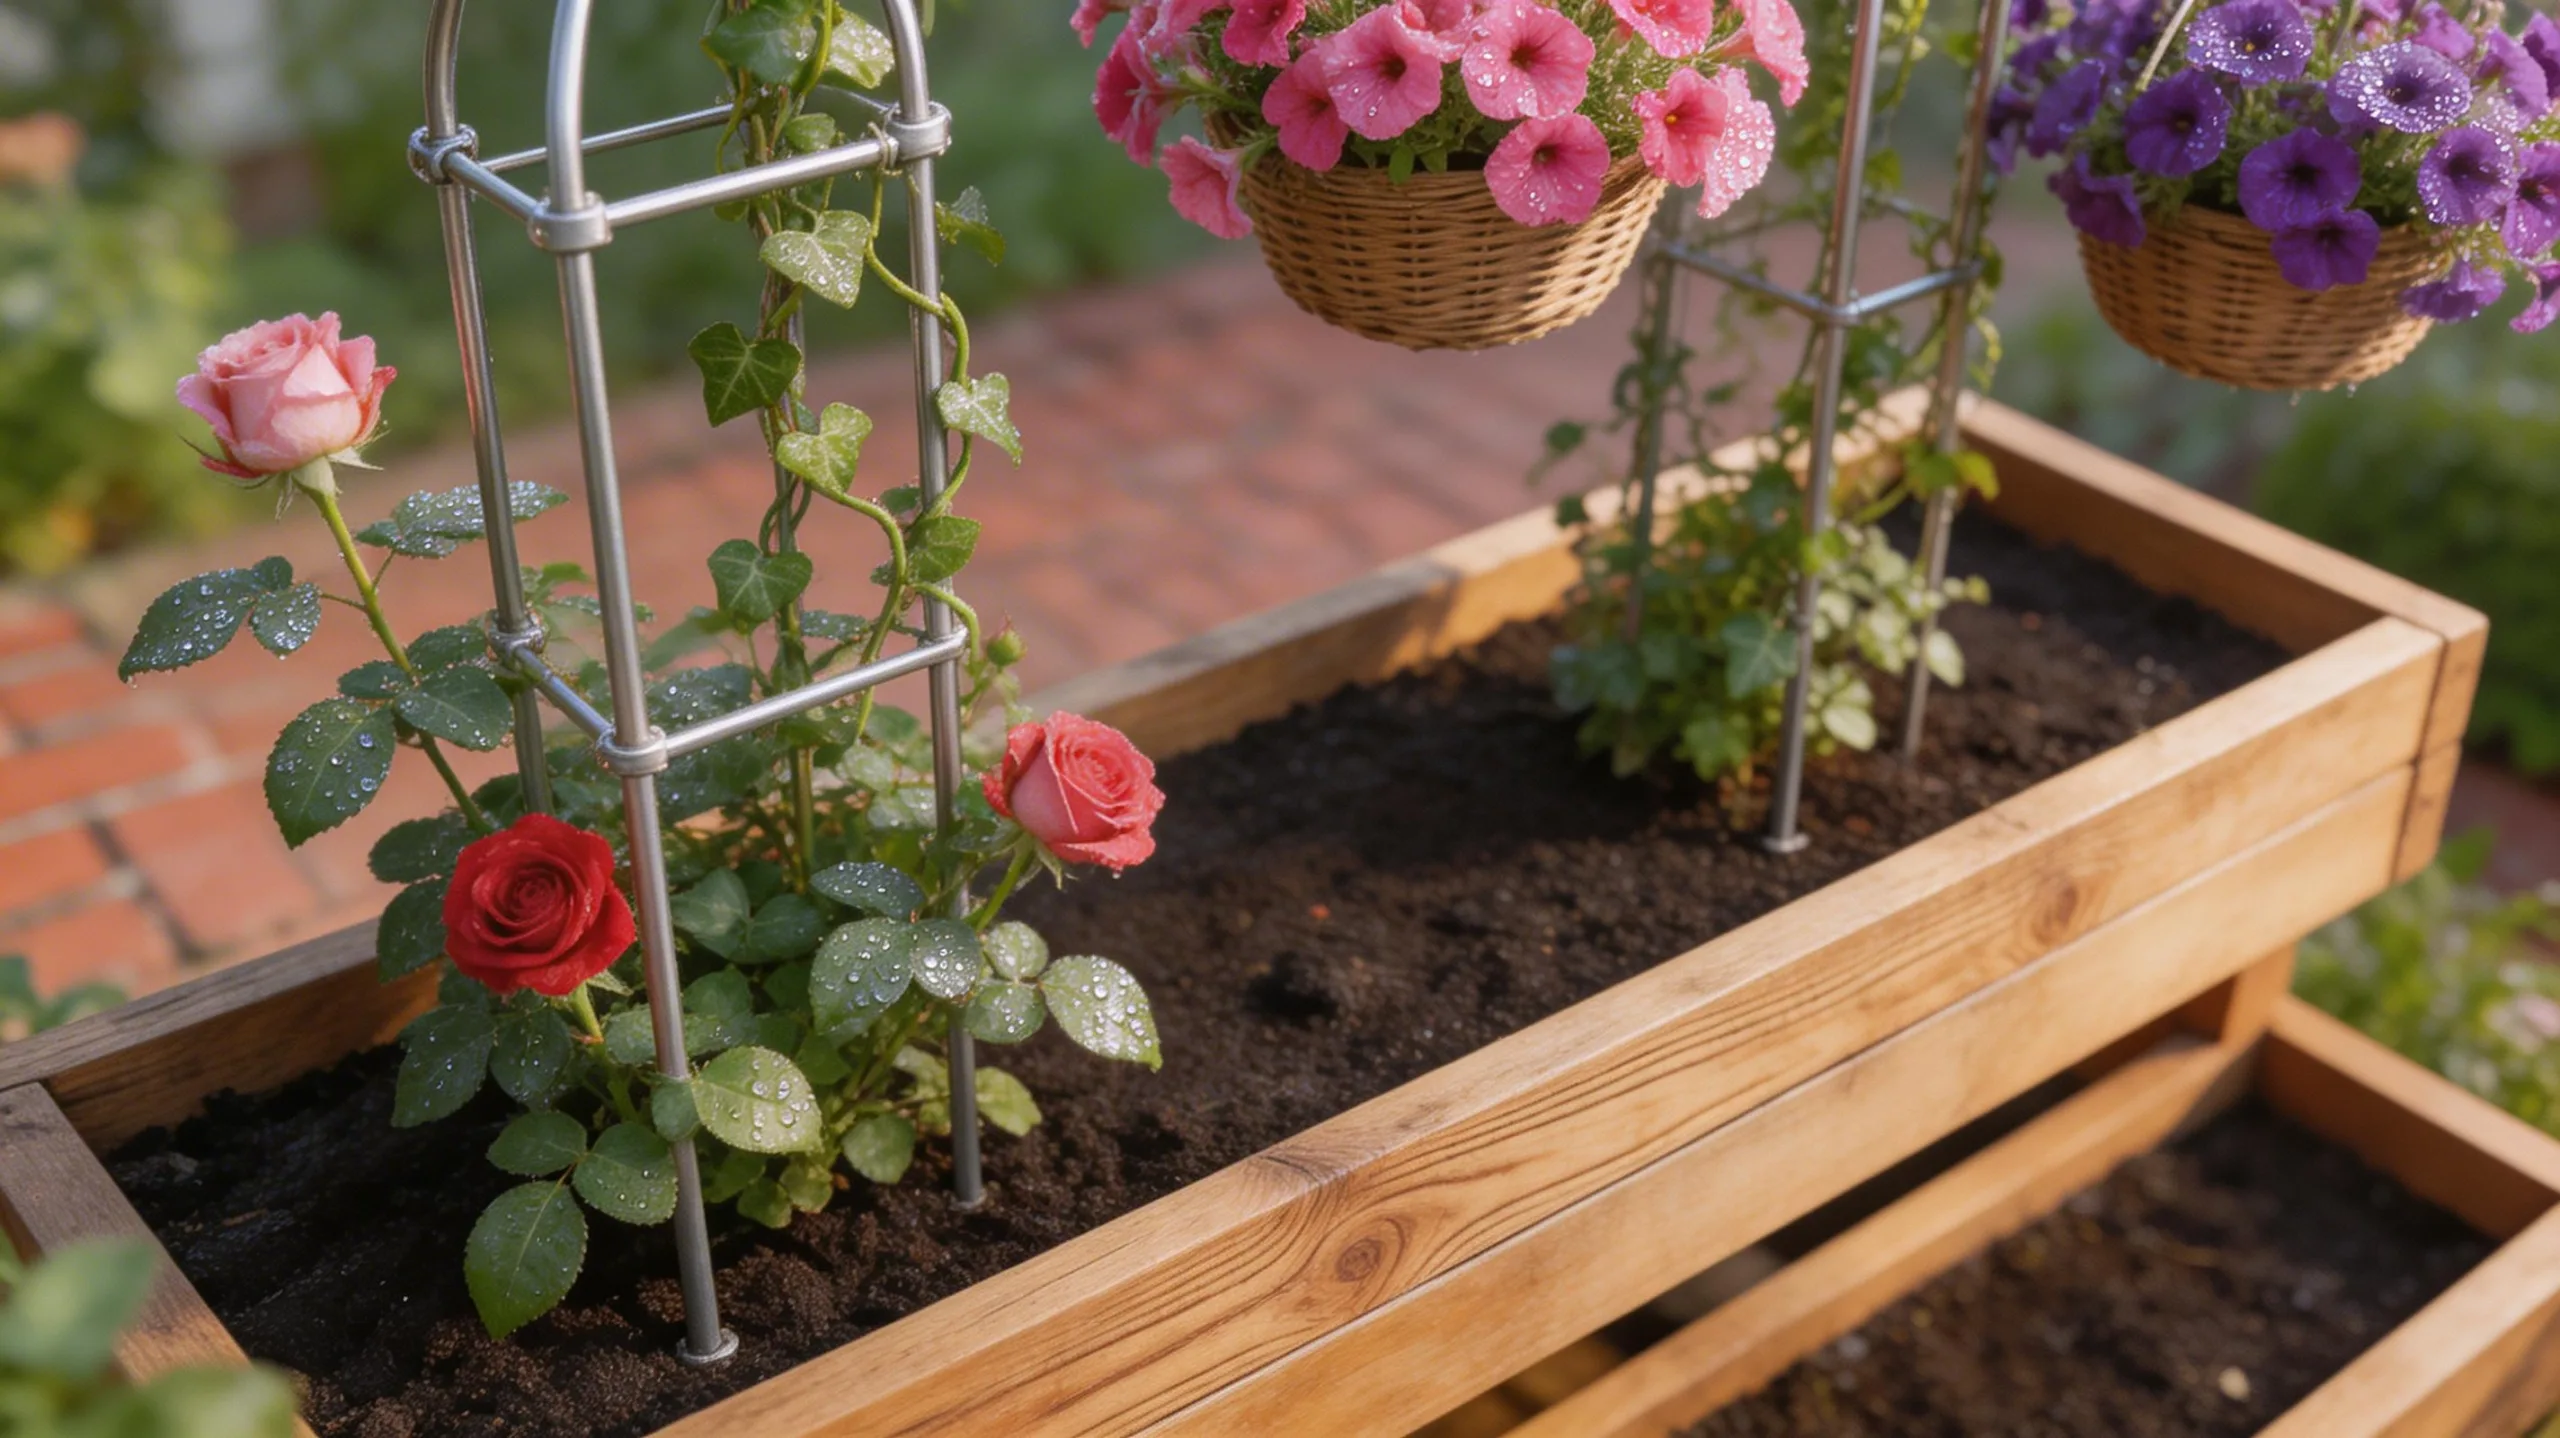
Maximizing every inch of your garden, vertical gardening lets you grow more plants upward rather than outward. You’ll reclaim valuable ground space for seating or play areas while boosting your yield.
Start by choosing suitable structures like trellises, obelisks, or tall stakes for climbers such as beans, peas, and cucumbers. For smaller spaces, install wall-mounted planters or hanging baskets for herbs and strawberries.
- Select the Right Plants: Focus on climbers, vines, and trailing varieties. Pole beans, nasturtiums, and indeterminate tomatoes are perfect for vertical supports.
- Build Sturdy Supports: Ensure your trellises or frames are anchored deeply to handle mature plant weight and wind.
- Utilize Vertical Layers: Train plants at different heights; grow shade-tolerant lettuce under taller climbing beans.
Install a Space-Saving Living Wall
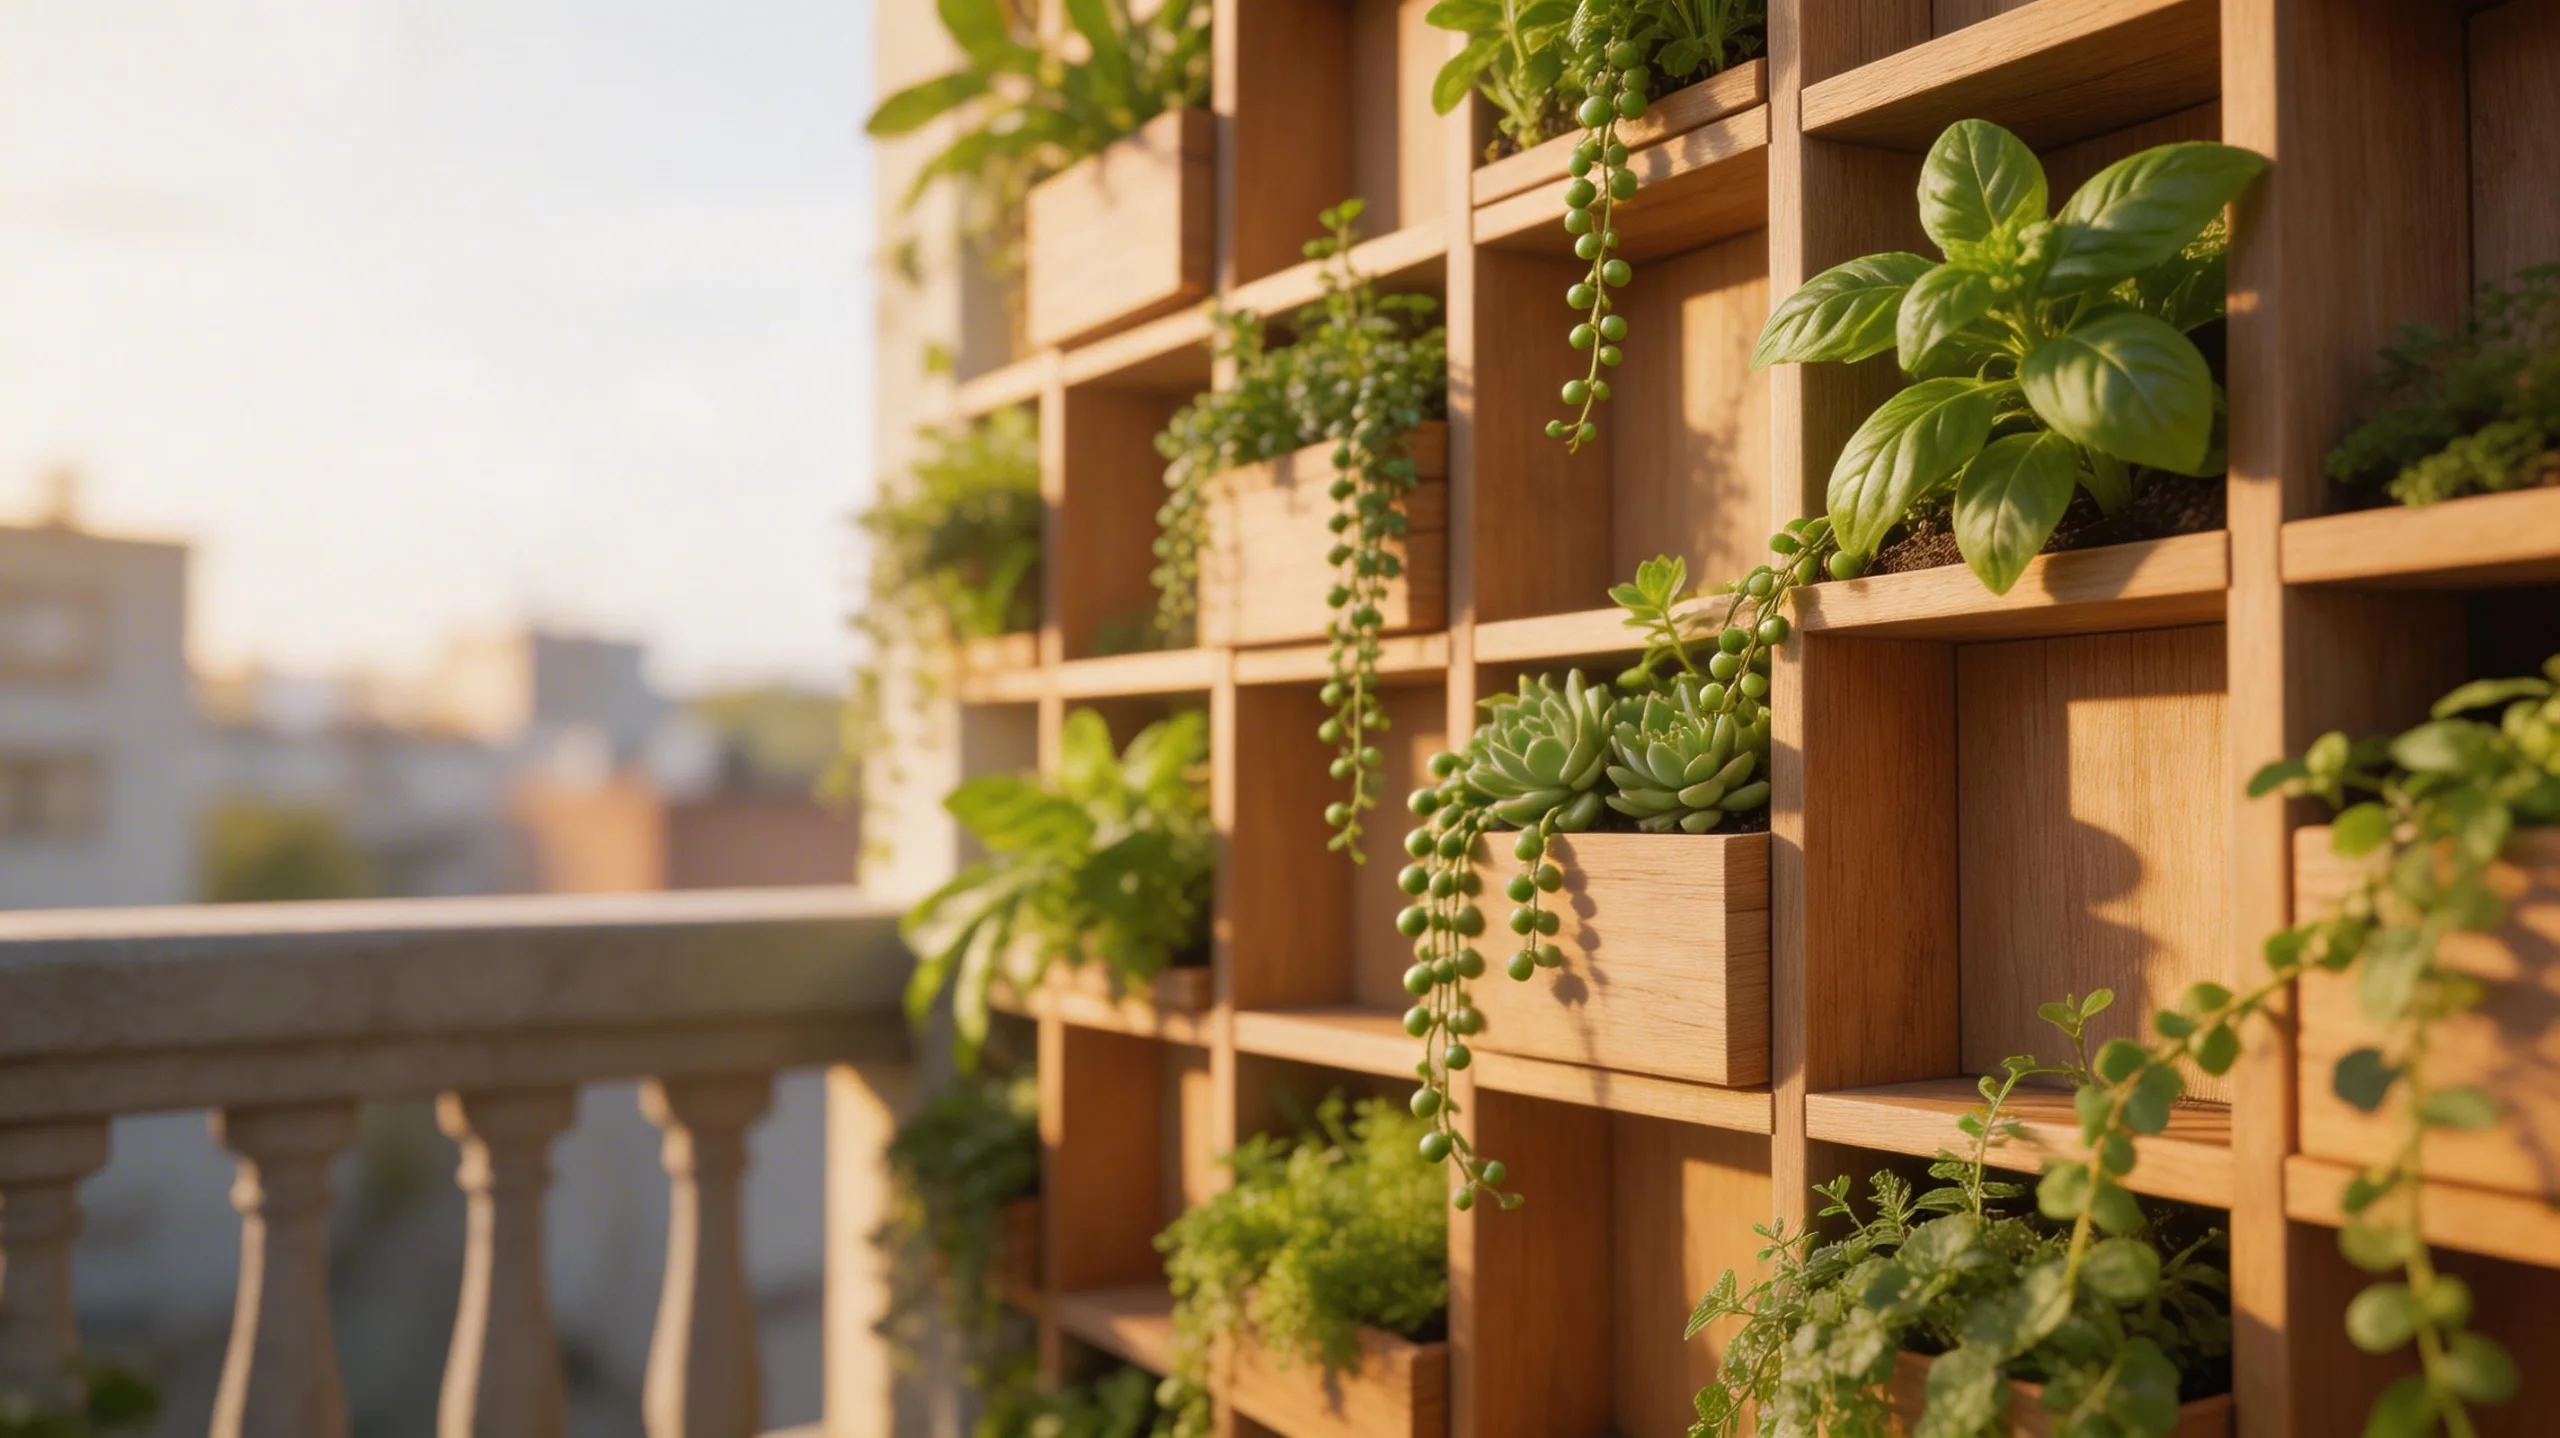
To further elevate your vertical growing, consider installing a living wall. This system involves securing plants within a frame mounted directly on an exterior wall or fence.
You’ll first need to choose a structure, like modular panels or a fabric pocket system, ensuring it has a reliable irrigation method, typically a drip line. Then, select suitable plants; herbs like thyme, succulents like sedum, and compact perennials like creeping jenny are excellent for their low water needs and shallow roots.
Before planting, you must firmly attach the framework to your wall. Carefully insert your chosen plants into the designated slots or pockets. Finally, connect and test your watering system to ensure consistent moisture for this dense, thriving vertical garden.
Train Plants Up a DIY Trellis

Create a simple, sturdy trellis from bamboo poles or wooden stakes and twine to support climbing plants and add vertical structure to your garden. This vertical system frees up valuable ground space for other plantings.
You’ll train vines like peas, beans, or cucumbers to grow upward, improving air circulation and sun exposure for healthier plants and a better harvest. Follow these steps for an effective setup.
- Build the Frame: Drive two tall stakes firmly into the ground, then secure a horizontal crosspiece at the top with twine.
- Create the Grid: Tie lengths of twine from the crosspiece down to the soil, spacing them 6-8 inches apart for plants to grasp.
- Guide Growth: Gently weave young plant tendrils onto the twine, and they’ll continue climbing on their own.
Build a Tiered Planting Stand for Maximum Sun

Assemble a tiered planting stand to dramatically increase your garden’s sunlight exposure and planting density. You’ll utilize vertical space, preventing taller plants from shading smaller ones.
Construct three staggered shelves from weather-resistant lumber or repurposed crates. Design your stand with each tier narrower than the one below it; this creates a “stair-step” effect.
Ensure the back is taller, positioning the entire unit to face south for optimal light capture. You’ll secure the shelves with exterior screws and add drainage holes to every planting container.
Fill them with a lightweight potting mix to reduce weight. This structure lets you grow a full herb garden or an array of compact vegetables in a footprint of just a few square feet.
Create Layers With Raised Beds and Shelves
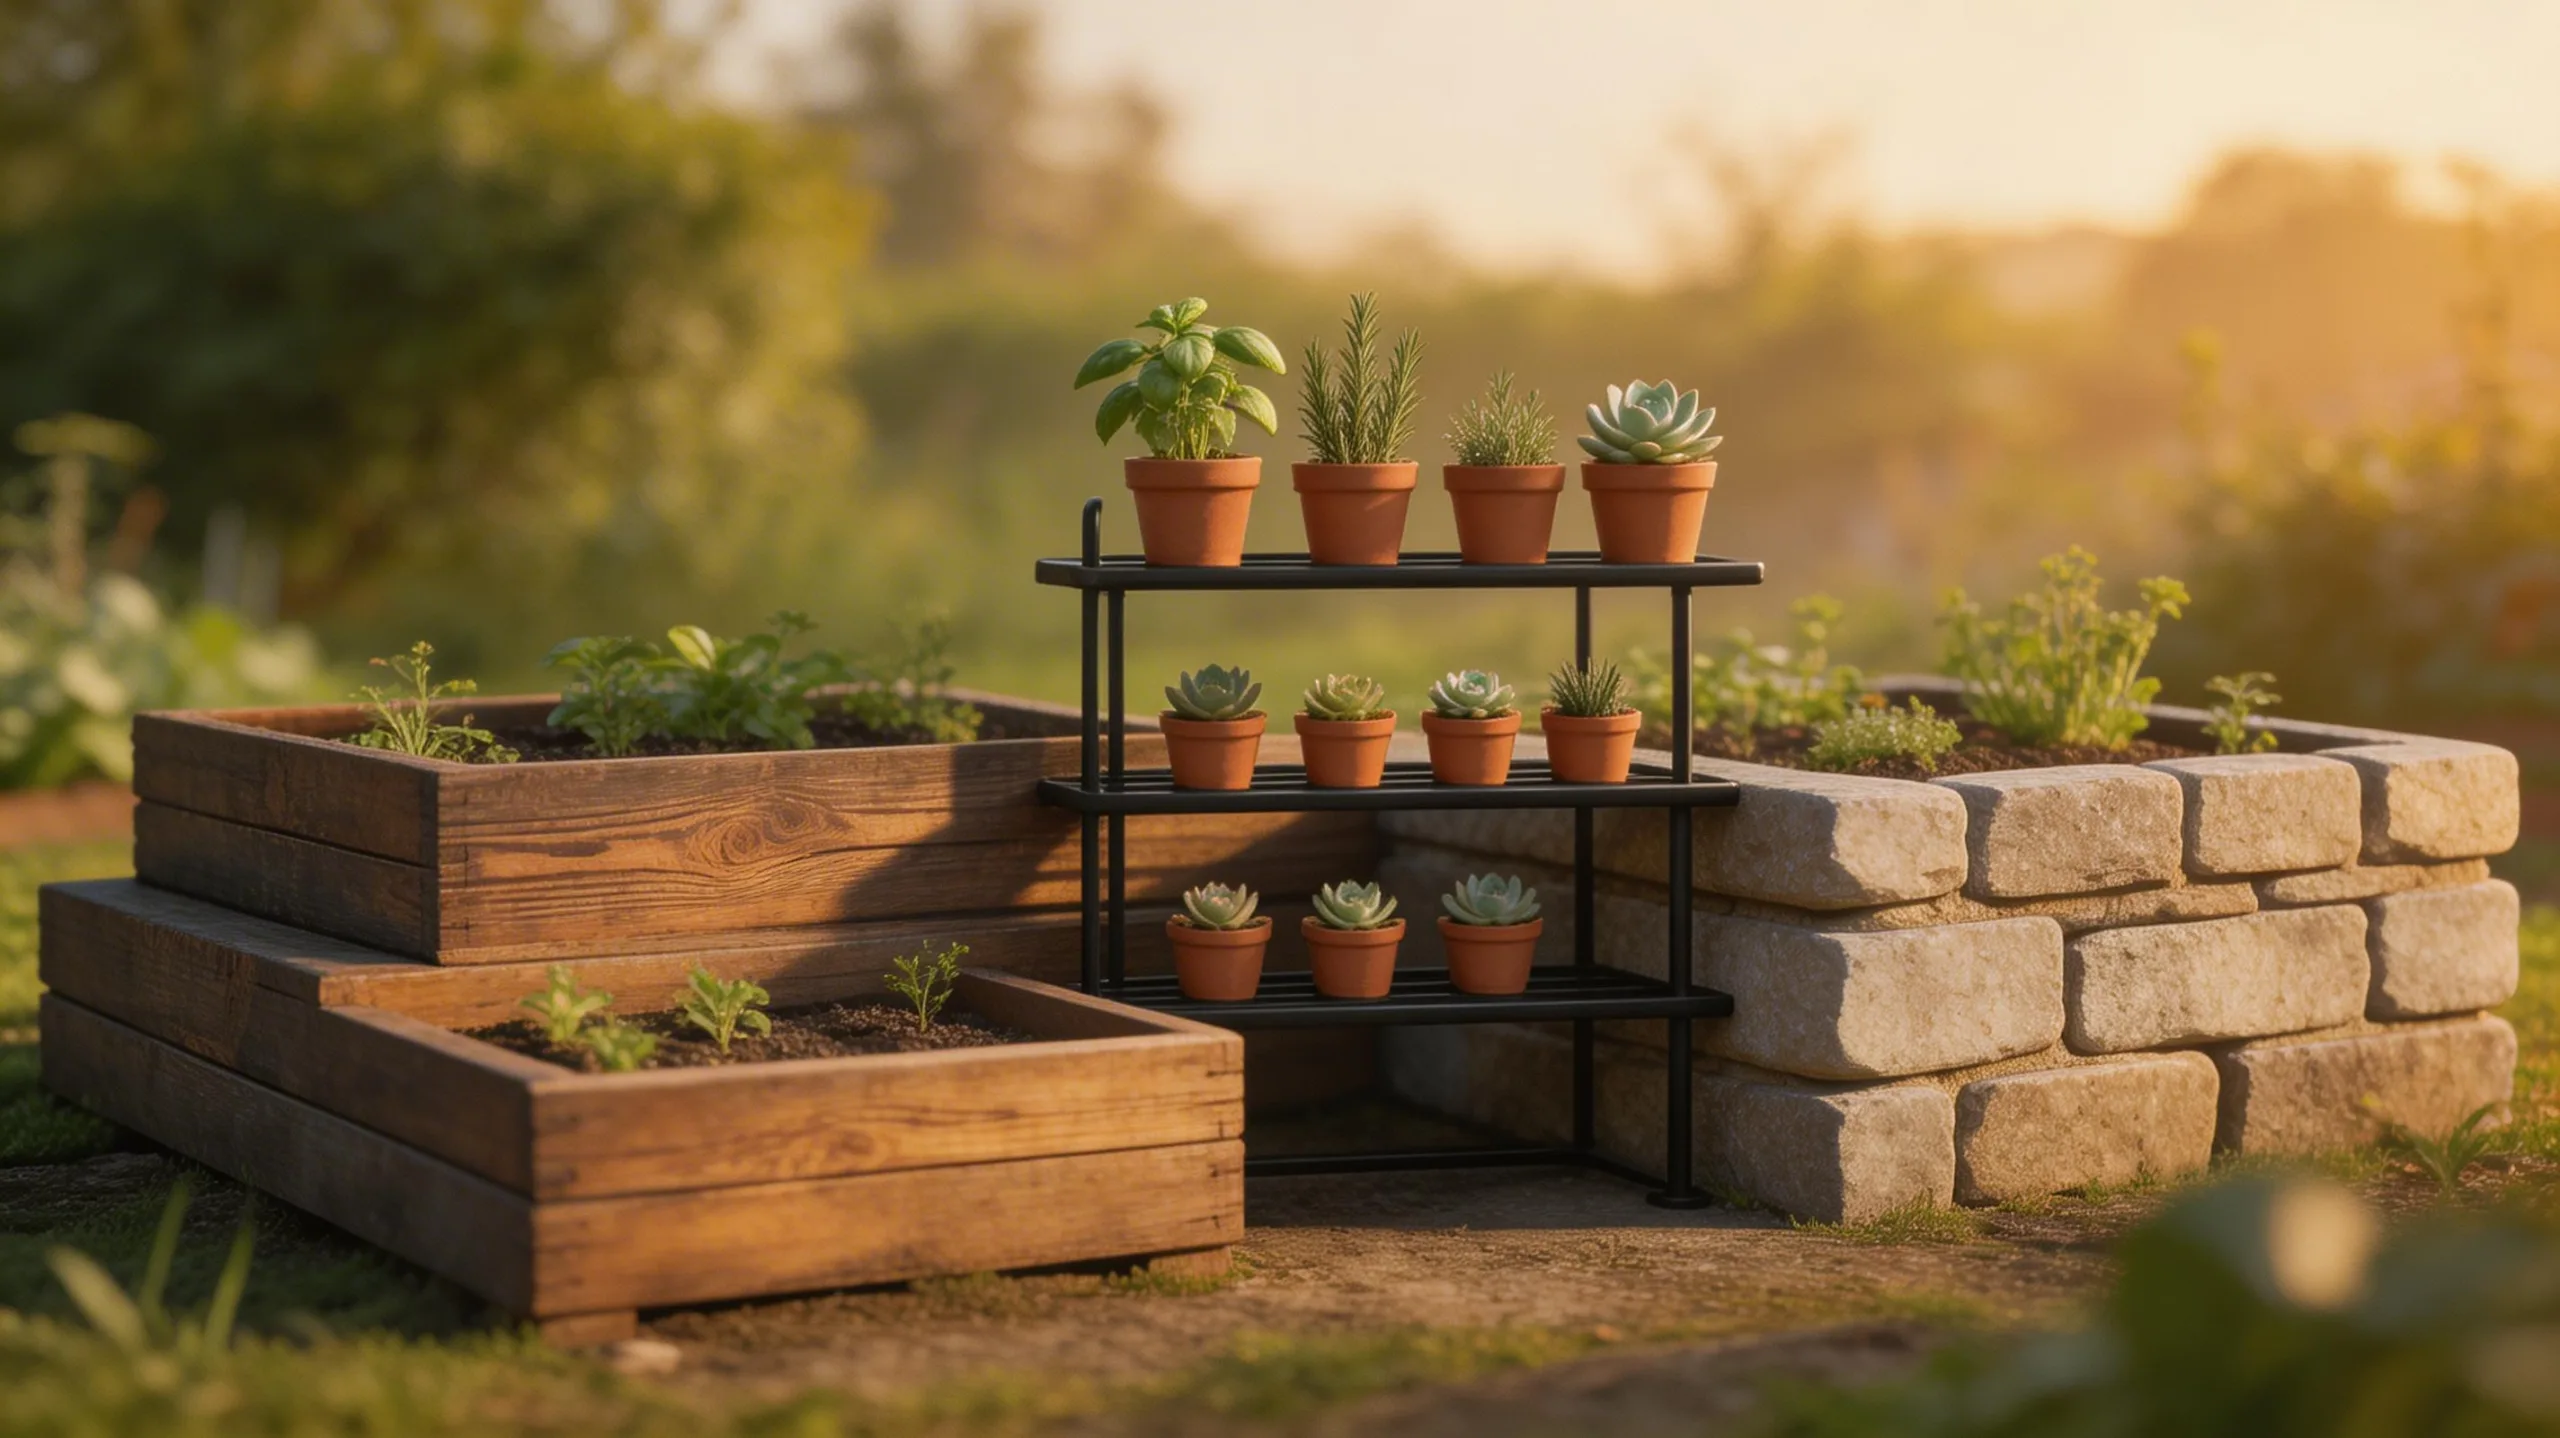
Now, consider expanding on that vertical approach by integrating raised beds with hanging or wall-mounted shelves. This creates a multi-layered system, letting you grow more plants without expanding your footprint.
A typical raised bed provides a deep, controlled space for your primary crops, while shelves above and beside it accommodate smaller pots and trailing plants.
- Anchor with a Raised Bed: Build your deepest bed first, positioning it for prime sun exposure to house vegetables with substantial roots like tomatoes or peppers.
- Mount Shelves for Herbs: Install sturdy wall shelves or a tiered stand directly behind or beside the bed to hold shallow containers of compact herbs, lettuce, or strawberries.
- Utilize Hanging Space: Suspend hanging baskets from a fence, the bed’s own frame, or a nearby eave for vining plants like nasturtiums or cascading cherry tomatoes, freeing up all ground space.
Plan a High-Yield Square Foot Garden
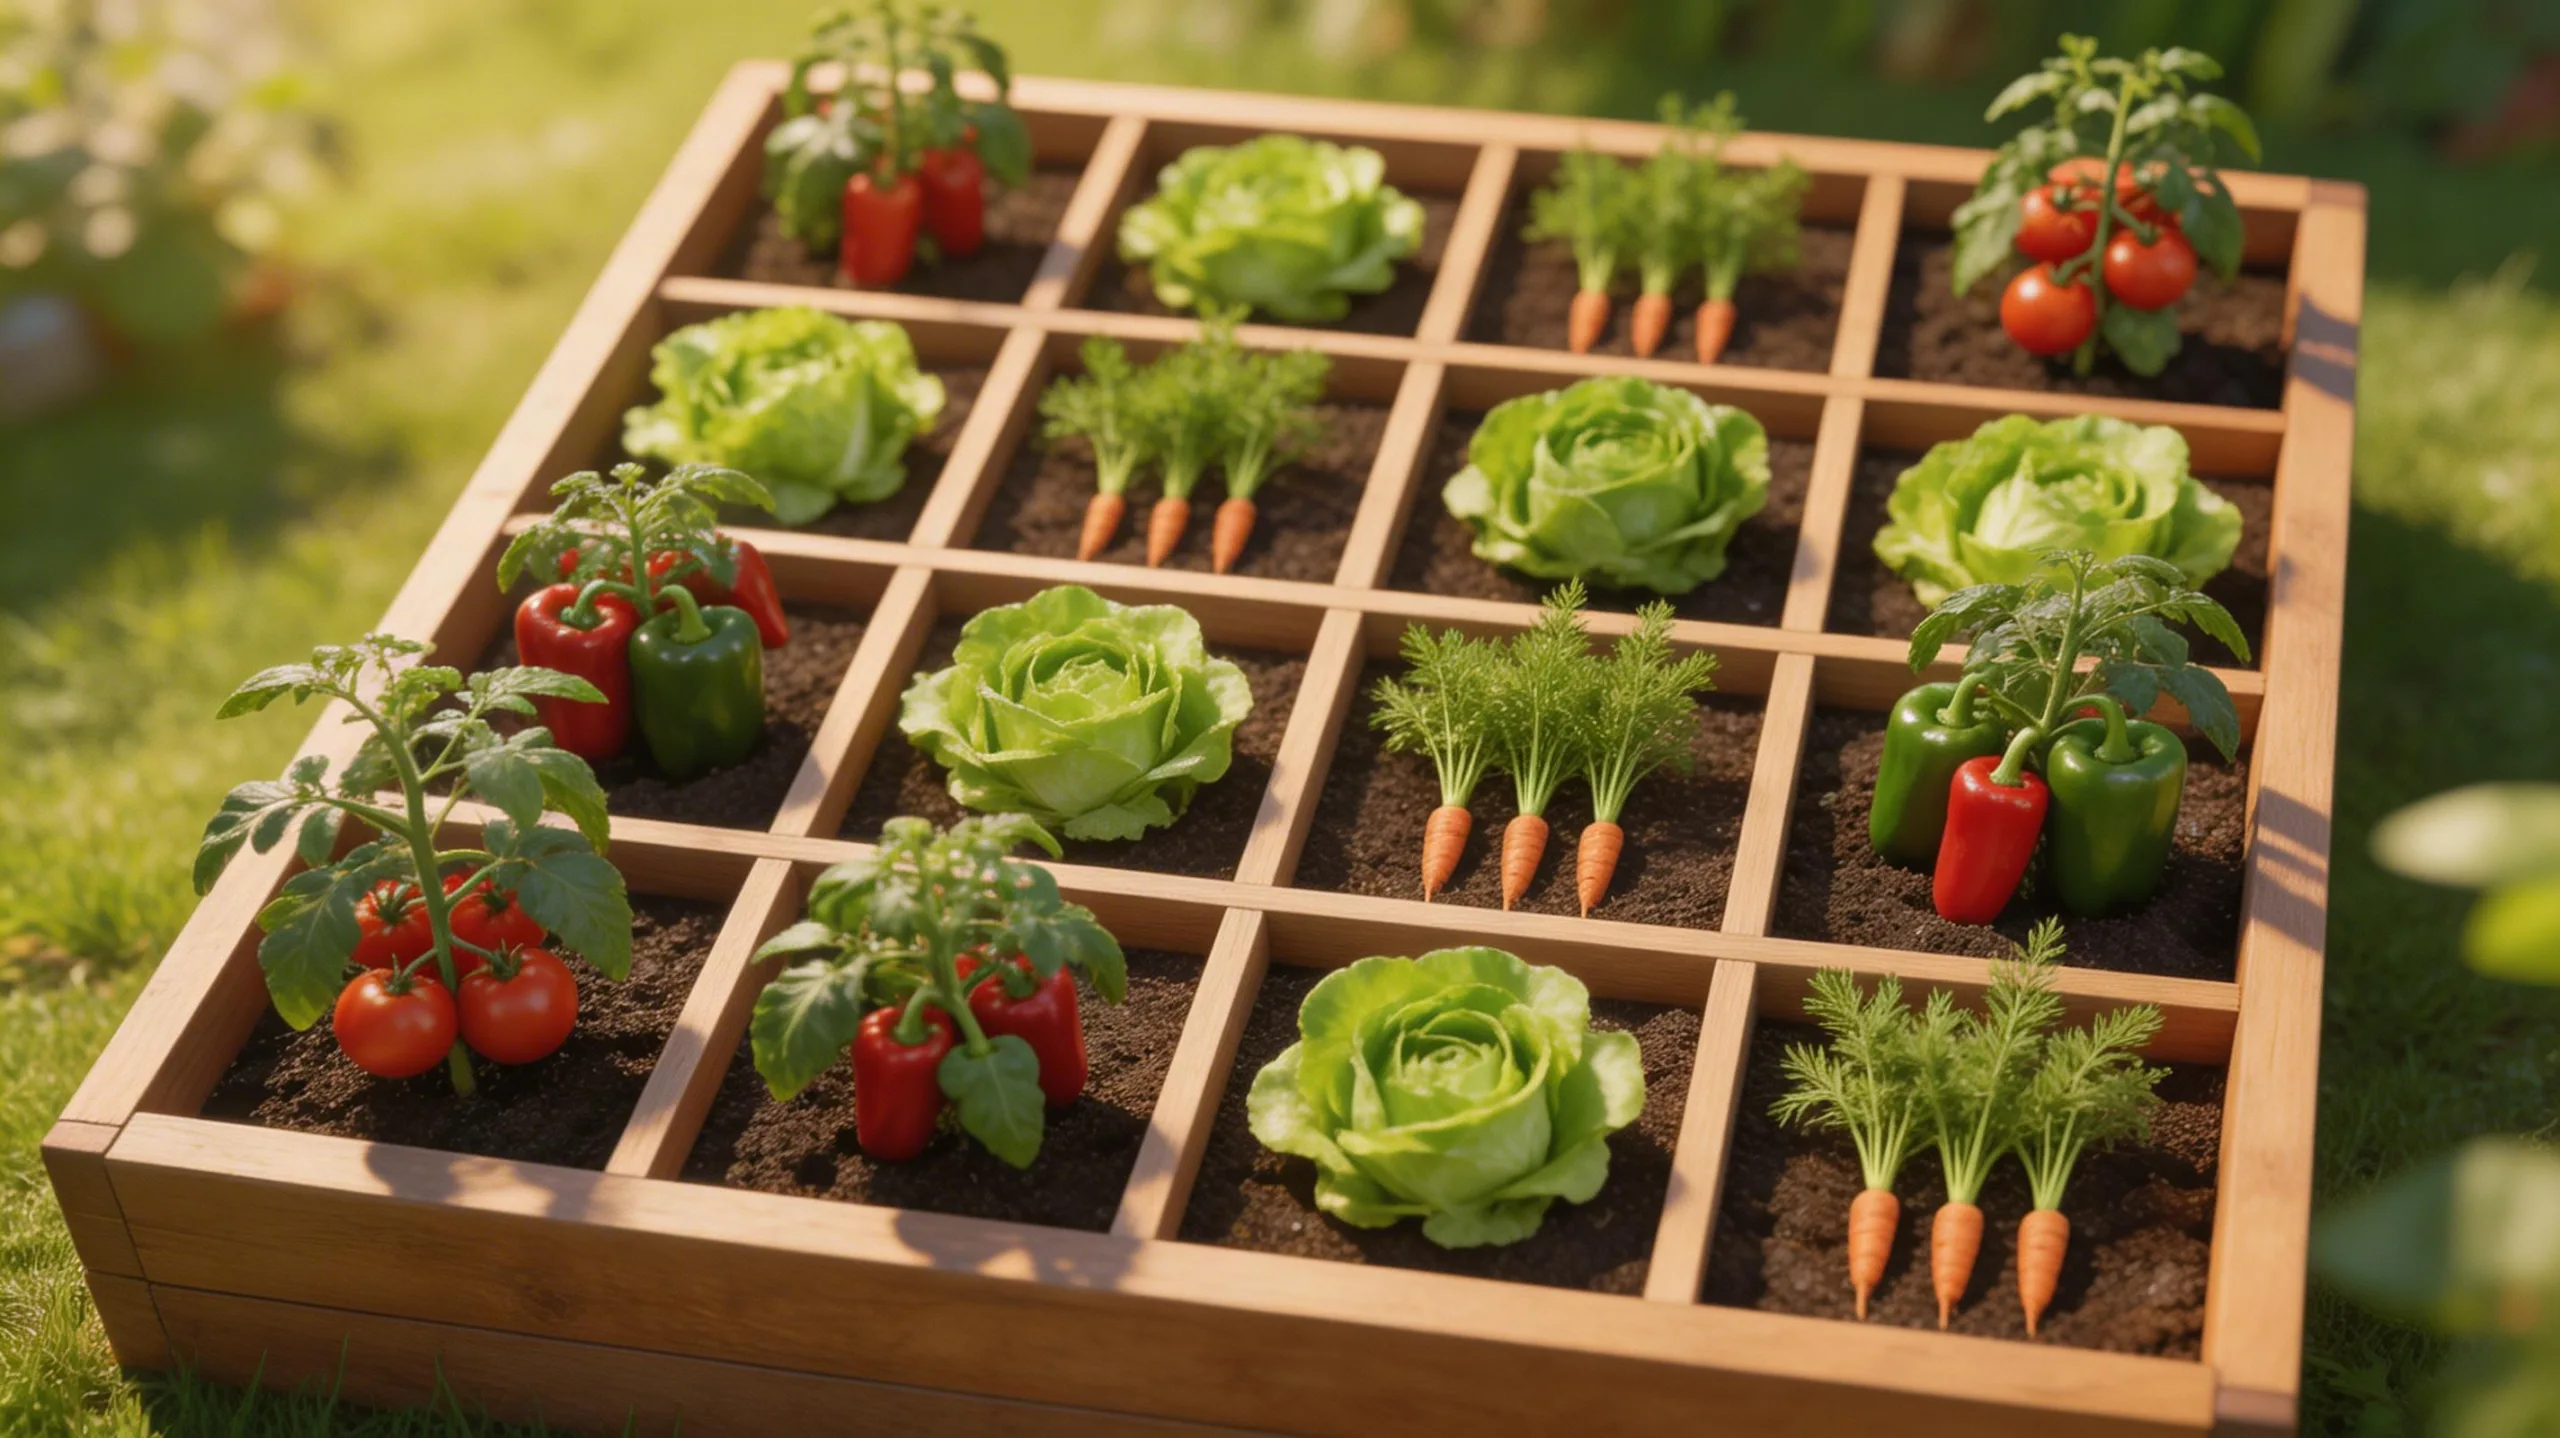
Focus your small garden’s potential by dividing its space into a tight grid, a method known as square foot gardening. Start by building a raised bed, typically 4 feet by 4 feet, and mark it into sixteen one-foot squares with string or wood. This framework dictates your planting.
Assign one type of vegetable, herb, or flower to each square, following recommended spacing. For instance, you’ll plant one broccoli per square, four lettuces, nine bush beans, or sixteen carrots.
You’ll concentrate compost and water only where needed, minimizing waste. This intense organization prevents over-planting and simplifies crop rotation and succession planting. You’ll harvest continuously from a compact area, maximizing your yield with minimal effort.
Apply the ‘Food Not Lawn’ Method to Your Plot

Transform your underused lawn into a productive garden by applying the ‘Food Not Lawn’ method. This approach replaces resource-intensive grass with edible and ecological plantings.
You’ll start by outlining your new garden bed directly on the lawn using a hose or string.
- Smother the Grass: Layer cardboard or several sheets of newspaper over the marked area to kill the turf without chemicals. Soak it thoroughly.
- Build Your Soil: Add a thick, 6-inch layer of a compost-and-soil mix directly on top of the cardboard to create an instant planting medium.
- Plant Immediately: You can sow seeds or transplant seedlings right into this new bed. The cardboard decomposes, enriching the soil as your plants establish.
Build a Simple Keyhole Garden

Maximize your garden’s productivity in a small space by building a simple keyhole garden. This circular raised bed features a central composting basket and a keyhole-shaped access path, concentrating nutrients and minimizing wasted space. You’ll build a circular wall about six feet in diameter using stones, bricks, or logs. Inside, construct a cylindrical basket from wire mesh in the center for your compost. Fill the surrounding bed with layered soil, manure, and cardboard, leaving a narrow path to the basket. This design creates a fertile, self-feeding system perfect for dense planting of vegetables.
| Keyhole Garden Component | Its Primary Function |
|---|---|
| Circular Raised Bed Wall | Defines the growing area and retains soil. |
| Central Compost Basket | Provides a continual source of nutrients for plants. |
| Layered Soil & Manure | Forms the initial fertile growing medium. |
| Keyhole Access Path | Allows you to add compost without stepping on soil. |
| Dense Planting Layout | Maximizes yield within the confined circular space. |
Design a Lush Container Garden
Container gardening lets you cultivate vibrant flowers, fresh herbs, and even vegetables on a patio, balcony, or doorstep. You’ll achieve a lush, thriving display by focusing on three core principles: the container itself, the planting medium, and thoughtful plant selection.
For a professional result, follow this structured approach.
- Choose the Right Pot: Always select containers with drainage holes. Size matters; match the pot’s depth and width to your plant’s mature root system. For visual impact, group pots of varying heights together.
- Use Premium Potting Mix: Never use garden soil, as it compacts and hampers drainage. Invest in a high-quality potting mix designed for containers; it ensures proper aeration and moisture retention.
- Employ the “Thriller, Filler, Spiller” Technique: Place a tall, dramatic “thriller” plant in the center. Surround it with bushy “filler” plants. Finally, add trailing “spiller” plants around the edges to cascade over the rim.
Grow Herbs in a Kitchen Window Box
While a lush container garden brings color to an outdoor space, you can bring that same growing success indoors.
Start by choosing a long, narrow window box with drainage holes and a drip tray. Fill it with a high-quality potting mix. Select compact, high-use culinary herbs like basil, thyme, parsley, and oregano. Plant them with enough space for growth.
Place the box on a sunny, south-facing windowsill where it’ll receive at least six hours of direct sunlight daily. You’ll water only when the top inch of soil feels dry.
Regularly snip leaves for cooking to encourage bushy growth. This setup provides fresh flavor at your fingertips and makes efficient use of your kitchen’s natural light.
Utilize Corners With a Vertical Pallet Garden
Creating a vertical pallet garden lets you transform an underused corner into a thriving green space. You’ll maximize your square footage by growing plants upward instead of outward. Start with a clean, untreated wooden pallet and secure landscape fabric to its back and sides with a staple gun to hold the soil. Position it securely in your chosen corner, ideally against a wall for stability.
- Prepare the Structure – After attaching the fabric, lay the pallet flat and fill its cavities with a nutrient-rich potting mix, tamping it down firmly as you go.
- Select Your Plants – Choose shallow-rooted varieties like succulents, herbs, or trailing strawberries that thrive in confined spaces.
- Plant and Establish – Tuck seedlings or seeds into the soil through the fabric or slats. Water thoroughly while horizontal, letting it drain for a day before tilting it upright into place.
Mix Flowers and Veggies in a Beautiful Border
For a vibrant and productive garden, consider blending flowers and vegetables into a single decorative border. This method, called “companion planting,” maximizes your space and boosts yields by attracting pollinators and deterring pests. You’ll arrange plants by height, placing taller varieties like sunflowers or pole beans at the back. Layer in mid-height plants such as peppers or zinnias, and use low-growing herbs like thyme or lettuces as a lush, edible edging. Choose a sunny location and ensure all plants share similar water and soil needs.
| Plant Placement | Example Pairings |
|---|---|
| Back (Tall) | Sunflowers & Climbing Beans |
| Middle (Medium) | Peppers & Marigolds |
| Front (Low) | Lettuce & Nasturtiums |
| Edge (Trailing) | Oregano & Alyssum |
Maintain Success With Seasonal Crop Rotation
To keep your garden’s soil healthy and prevent nutrient depletion, you can practice seasonal crop rotation by systematically changing where you plant specific vegetable families each year. This stops pests and diseases from becoming established and balances soil nutrients.
Plan your layout by dividing your space into sections and grouping plants like tomatoes (nightshades), beans (legumes), and carrots (roots). Follow a simple multi-year schedule to shift each group to a new bed.
- Group by Family: Organize your plants—like brassicas (broccoli, kale), legumes (peas, beans), and alliums (onions, garlic)—and move each group together.
- Follow a Sequence: Rotate heavy feeders (like corn) with soil fixers (like beans) and light feeders (like herbs) over a 3-4 year cycle.
- Keep Detailed Records: Sketch a simple garden map each season to track where everything grew, making next year’s planning effortless.
Frequently Asked Questions
How Do I Determine the Best Garden Layout for My Space?
You’ll measure your space and note sun patterns. Decide your goals, like vegetables or flowers. Then you’ll sketch layouts, prioritize access paths, and group plants with similar needs together for efficiency.
What Is the Most Effective Way to Zone a Small Garden?
Zoning effectively starts by defining your needs: lounging, dining, growing. Create dedicated areas using vertical planters for herbs, a compact patio for seating, and storage benches to separate zones without cluttering the space.
How Can Vertical Gardening Save Space?
You’ll maximize space by using vertical structures like walls, trellises, and hanging pots. This lets you grow upward, freeing the ground for other uses or simply creating more open, usable area in your garden.
What Are the Key Benefits of a Square Foot Garden?
You’ll maximize yield in a small area, reduce weeding, and conserve water. It’s also highly organized; you’ll plant specific numbers per square, making planning, maintenance, and harvesting much simpler and more efficient.
How Does Crop Rotation Work in a Small Garden?
You rotate plant families to new spots each year. This prevents pests and diseases from building up. You’ll also balance soil nutrients, so don’t plant tomatoes where peppers grew last season.
Conclusion
Now you can map your small garden for maximum harvest and beauty. Start with sun patterns and zones. Build vertical with trellises, pallets, or tiered stands. Mix edibles and flowers in borders or pots using the thriller-filler-spiller method. Always rotate crops and plant companions to keep soil healthy and pests low. Your efficient, layered plan will make every corner productive.
The Only Tools You Need for a Thriving Garden 🌱
Whether you're a weekend gardener or growing daily — these hand-picked tools make every session faster, easier, and more satisfying.