You’ve likely imagined a more inviting backyard but felt unsure where to start. Transforming that space is within your reach, using straightforward projects that define areas and add function without a fortune. By focusing on a few key elements like a simple patio or a gravel path, you can create a foundation for outdoor living that reflects your personal style and grows with your vision.
Key Takeaways
- Excavate a level base and lay pavers with polymeric sand for a durable DIY patio or pathway.
- Construct a simple fire pit with retaining wall blocks on a leveled gravel base.
- Build a ground-level deck with pressure-treated lumber and proper joist spacing for support.
- Create defined borders or gravel paths using landscaping fabric and trench-set stones.
- Plant low-maintenance container or garden beds using drought-tolerant plants and mulch.
Build a Simple Stone or Paver Patio
Begin by choosing a sunny spot in your yard, one that’s mostly level and where you’ll want to gather or relax.
You’ll need to mark the area’s perimeter with string and stakes.
Next, excavate about six inches of soil, creating a flat, solid base.
Fill this space with a few inches of compacted gravel; a hand tamper works fine for a small patio.
Add a layer of sand on top, leveling it carefully with a board.
Now, lay your pavers or flagstones, starting from a corner and maintaining a consistent gap.
You’ll tap each one into the sand bed with a rubber mallet to ensure it’s stable.
Finally, sweep polymeric sand into the joints and lightly mist it with water to lock everything in place.
Define Your Backyard Vision and Budget
Before you dive into any digging or buying materials, you need to decide what you actually want from your backyard and how much you’re willing to spend.
Grab a notebook and walk outside. Do you dream of an entertainment zone, a quiet reading nook, or a play area for kids? Jot down these functional goals.
Next, establish a firm budget. Research material costs realistically and always add a 10-15% contingency for unexpected expenses.
Your vision must align with your finances; a grand multi-level deck might need scaling back to a simpler gravel patio. This planning step saves you from costly mid-project changes, ensuring your effort and money build the yard you truly desire.
Create Easy DIY Pathways With Gravel or Mulch

Without committing to a major construction project, you can shape the flow and feel of your outdoor space by adding simple, functional pathways.
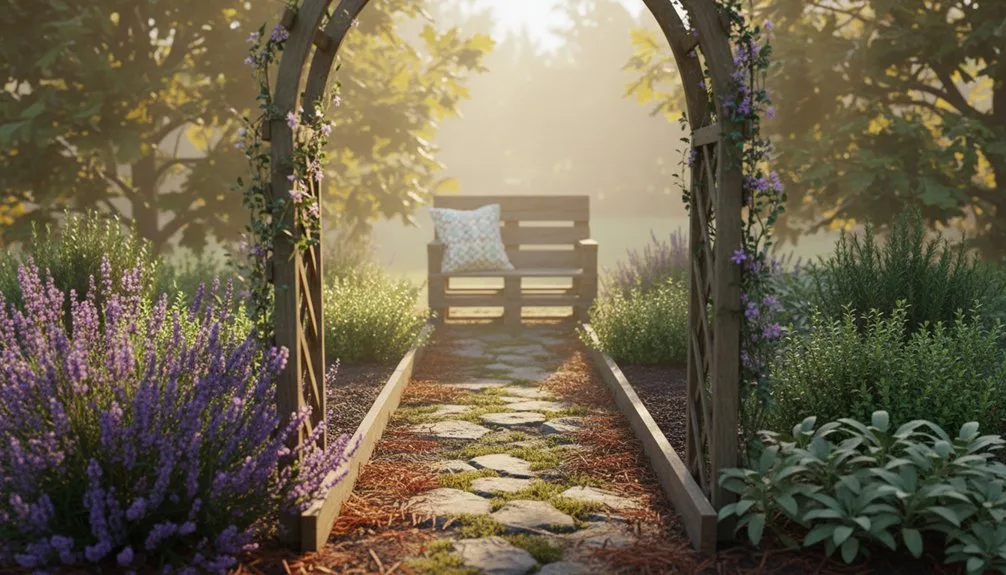
First, map your desired route with a garden hose. Dig out a shallow trench about three inches deep along this line. For a clean edge and to suppress weeds, line the trench with heavy-duty landscaping fabric.
Then, pour in your chosen material. Pea gravel offers excellent drainage and a crisp, crunchy sound underfoot, while bark mulch feels softer and enriches your soil as it decomposes.
You’ll only need a shovel, a wheelbarrow, and an afternoon to transform a worn patch of grass into an intentional, inviting walkway that guides visitors through your garden.
Add a Cozy and Inexpensive Fire Pit Area
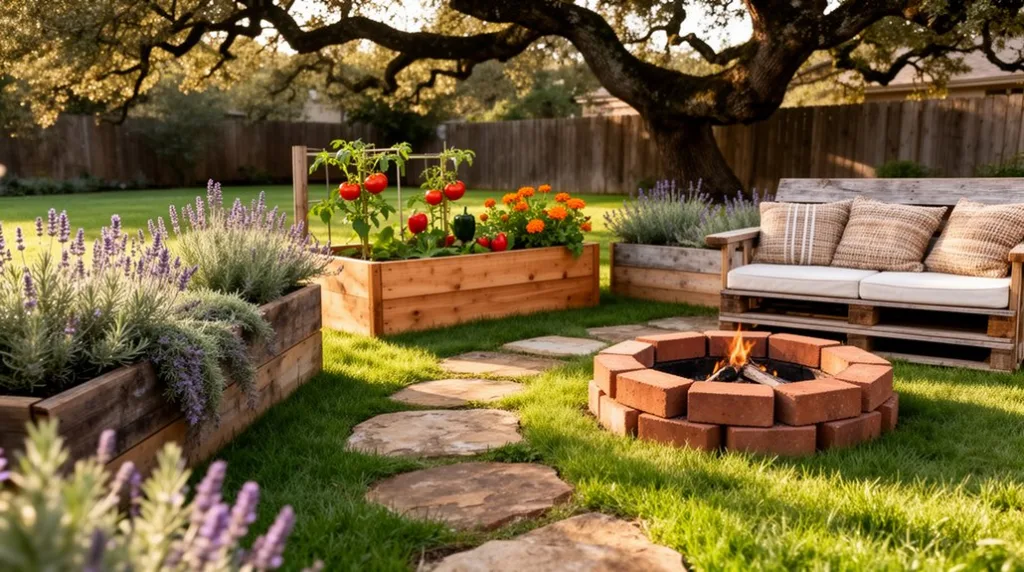
Elevate your outdoor evenings by gathering around your own simple fire pit, a project you can tackle with basic materials and a weekend’s effort. You can build a classic ring from inexpensive retaining wall blocks, arranging them in a circle on a leveled, gravel base. Surround the pit with affordable seating like repurposed stumps, concrete block benches, or a simple gravel pad for blankets. Keep a metal bucket nearby for ash and a stack of dry firewood within easy reach. String some outdoor lights overhead to extend the cozy ambiance. This spot quickly becomes your favorite place for conversation and stargazing.
| Material Source | Seating Solution | Ambiance Element |
|---|---|---|
| Retaining Wall Blocks | Repurposed Log Stumps | String Lights |
| Fire-Ring Kit | Cinder Block Benches | Lanterns |
| Large Pavers | Movable Adirondack Chairs | Citronella Candles |
| Steel Ring Insert | DIY Built-In Stone Bench | Music Speaker |
| Gravel Base | Outdoor Floor Cushions | Roasting Marshmallows |
Construct a Raised Wooden Deck or Platform
Now that you’ve created a spot for evening gatherings, you can build a solid foundation for daytime use and entertaining with a raised wooden deck. Start by planning its size and location, ensuring it’s level.
Use pressure-treated lumber for the frame and posts, setting them on concrete footings for stability. You’ll attach joists across this frame, spacing them 16 inches on center for proper support.
For the decking, choose durable boards like cedar or composite. Secure each board with coated deck screws, leaving a small gap between them for drainage and expansion.
Finally, add a railing for safety if your deck is high. This project creates a versatile outdoor room that’s perfect for lounging or hosting friends.
Design a Low-Maintenance DIY Container Garden
Often, the easiest way to start gardening is by designing a low-maintenance DIY container garden that fits your space and schedule.
You’ll need durable pots with proper drainage holes to prevent root rot. Fill them with a quality potting mix, not garden soil, to ensure good aeration and moisture control. The real secret to low-maintenance success lies in your plant choices and setup.
- Select Thrivers, Not Survivors: Choose drought-tolerant succulents, hardy herbs like rosemary, or native perennials that naturally suit your climate, requiring less frequent watering and care.
- Embrace Mulch: Apply a layer of pebbles or shredded bark on the soil surface; it conserves water, suppresses weeds, and reduces your watering chores.
- Group by Need: Cluster containers with similar light and water requirements together, making your routine efficient and preventing over or under-watering.
Build Space-Saving Vertical Gardens and Trellises
When your ground space is limited, you can turn a blank wall or fence into a lush, vertical garden using simple trellises and planters.
First, choose a sturdy lattice or wire grid for your trellis and securely attach it. You’ll then need to select your climbing plants; I find sweet peas or cucumbers work wonderfully.
For a more modular system, consider mounting a series of wall planters or a ready-made vertical garden panel. Fill them with soil and compact plants like herbs or succulents.
Remember to position your setup where it’ll get adequate sunlight, and ensure your watering routine accounts for the vertical drainage. This approach maximizes your growing area without consuming precious patio or lawn space.
Install Quick Garden Borders With Stone or Brick
Mark out your garden bed’s edge with a string line or a hose to define your border’s path. This visual guide ensures you’re working with a clear, intentional shape. You’ll then excavate a shallow trench along that line, just deep enough to set your stone or brick firmly into the soil. Choose materials that suit your style—fieldstone for a rustic look or uniform bricks for crisp lines. As you place each piece, you’re creating a lasting frame that tidies your garden and keeps mulch in place.
- Establish a clear boundary first. This simple act of marking transforms a vague idea into a tangible project you can confidently execute.
- Let the trench depth guide stability. A shallow, consistent excavation creates a foundation that prevents shifting and minimizes future repairs.
- Select materials for both function and form. Your choice defines the border’s character, making it a purposeful design element rather than just a practical edge.
Choose the Right Plants for Your DIY Landscape
Now comes the rewarding part—bringing your landscape to life by selecting plants that will thrive.
Before you buy anything, you’ll need to check your yard’s sunlight exposure. Observe which areas are full sun, partial shade, or full shade throughout the day.
Then, assess your soil type; is it sandy and dry or rich and moist? You can amend it, but choosing plants suited to its natural condition saves effort.
Always consider your local climate and the plant’s hardiness zone.
For structure, mix evergreen shrubs with seasonal flowers.
Prioritize native species; they’re adapted to your region and support local wildlife.
Remember to group plants with similar water needs together to make irrigation simpler and more efficient.
Frequently Asked Questions
How Do I Deal With Sloped or Uneven Ground?
Start by building terraces with retaining walls. You can also install raised garden beds or use the slope for a tiered planting scheme. Remember to add proper drainage, like gravel, behind any walls you build.
What Is the Fastest Project for Instant Results?
You’ll see instant results by adding container plants. You can arrange colorful pots on your patio today. It transforms your space without digging, and you’ll immediately enjoy a vibrant, finished look.
Can I Build Over Tree Roots or Septic Lines?
You can’t build over septic lines; you’ll damage them. For tree roots, avoid compacting soil or adding deep fill. You can build a light, raised deck, but always consult utility maps and a professional first.
How Do I Keep Pests Out of My New Landscape?
You can keep pests out by choosing pest-resistant native plants and using natural barriers. Encourage beneficial insects, like ladybugs, and apply diatomaceous earth. Regularly remove standing water and debris where pests might shelter.
Do I Need a Permit for Any of These Projects?
You’ll often need a permit for structural projects like decks or sheds. Always check your local building department’s website first, as zoning rules vary. They’ll outline exactly what requires official approval.
Conclusion
Start small, pick just one project this weekend, and see where it takes you. Remember, your best tool is a clear plan that matches your time and budget. Keep it simple, focus on drought-tolerant plants and mulch to save future work, and build in stages. You’ve got this—your perfect backyard isn’t built in a day, but each stone you lay makes it more your own.
The Only Tools You Need for a Thriving Garden 🌱
Whether you're a weekend gardener or growing daily — these hand-picked tools make every session faster, easier, and more satisfying.