You’ve got a small yard or balcony, but you want fresh herbs, veggies, or flowers without a full‑scale landscaping project. By picking the right DIY garden bed—whether it’s a reclaimed pallet, a cedar log border, or a simple concrete block—you can create a functional, attractive space with minimal tools and cost. The right design will fit your sunlight, drainage, and maintenance preferences, and the next step shows how each option works in practice.
Key Takeaways
- Choose simple materials like cedar logs, pallets, or concrete blocks for quick, sturdy raised beds.
- Keep bed width ≤ 4 ft for easy reach and depth 6–12 in for most vegetables, adjusting to 12–18 in for deeper‑rooted crops.
- Use stainless‑steel fasteners, corner brackets, and pre‑drilled holes to prevent splitting and ensure durability.
- Add landscape fabric liners and drainage holes or gravel backfill to prevent waterlogging and promote healthy roots.
- Incorporate mulch, drip irrigation, and a balanced soil mix (compost, coconut coir, sand/perlite) for low‑maintenance, productive gardens.
How to Choose the Right DIY Garden Bed for Your Yard
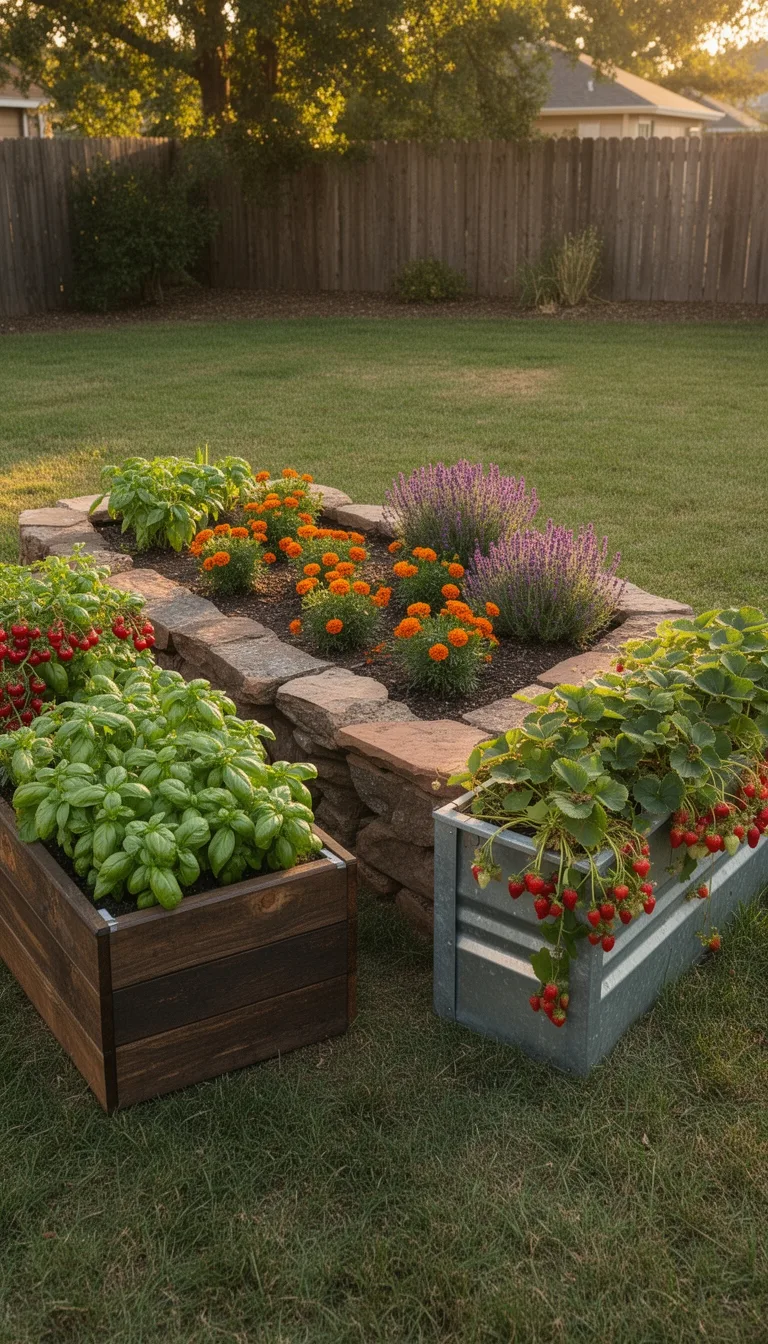
Kick off your garden project by sizing up the space, sunlight, and soil type, then match those factors to a bed design that fits your needs.
First, measure the area and note any slopes or obstacles; a rectangular bed works best in flat zones, while a tiered or L‑shaped layout can hug curves.
Next, track sun exposure—full sun (6‑8 hours) suits tomatoes and peppers, while partial shade (3‑5 hours) favors leafy greens and herbs.
Test soil texture; gritty, well‑draining soil pairs with raised beds, whereas heavy clay may need a deeper, in‑ground trench.
Choose a material that aligns with your budget and durability goals: lumber, stone, or recycled composite each offers distinct maintenance levels.
Finally, sketch a quick plan, confirming width (no more than 4 ft for easy reach) and depth (6‑12 in for most veggies).
This systematic check ensures the bed you build thrives and fits your yard’s constraints.
Build a Reclaimed Wood Pallet Garden Bed

A reclaimed‑wood pallet garden bed gives you a sturdy, budget‑friendly container that you can assemble in under an hour. First, locate clean pallets, remove any nails, and sand rough edges. Lay two pallets side‑by‑side for the sides, and a third on top as the base. Secure corners with deck screws and add corner brackets for extra strength. Fill the interior with a mix of compost and topsoil, then plant herbs, lettuce, or flowers. Keep the bed level, water regularly, and mulch to retain moisture. This quick build recycles waste, reduces cost, and adds rustic charm to your garden.
| Step | Action |
|---|---|
| 1 | Find pallets, clean, sand |
| 2 | Arrange sides, base |
| 3 | Screw corners, add brackets |
| 4 | Fill soil mix |
| 5 | Plant, water, mulch |
Assemble a Simple Concrete Block Raised Bed

If you liked the speed of a pallet bed, you’ll appreciate how quickly a concrete‑block raised bed comes together.
Lay out a rectangular footprint, then stack standard 8‑inch concrete blocks in a staggered pattern, using a level to keep each course even.
Fill the interior with a mix of topsoil and compost, tamp it down, and water thoroughly.
The sturdy walls stay in place for years, and you can add a drip‑irrigation line for hassle‑free watering.
- Choose blocks with a smooth face for easy cleaning.
- Use a rubber mallet to tap blocks into place without cracking.
- Leave a 1‑inch gap at corners for drainage.
- Seal joints with garden‑grade caulk for extra stability.
DIY Cedar Log Border Garden Bed
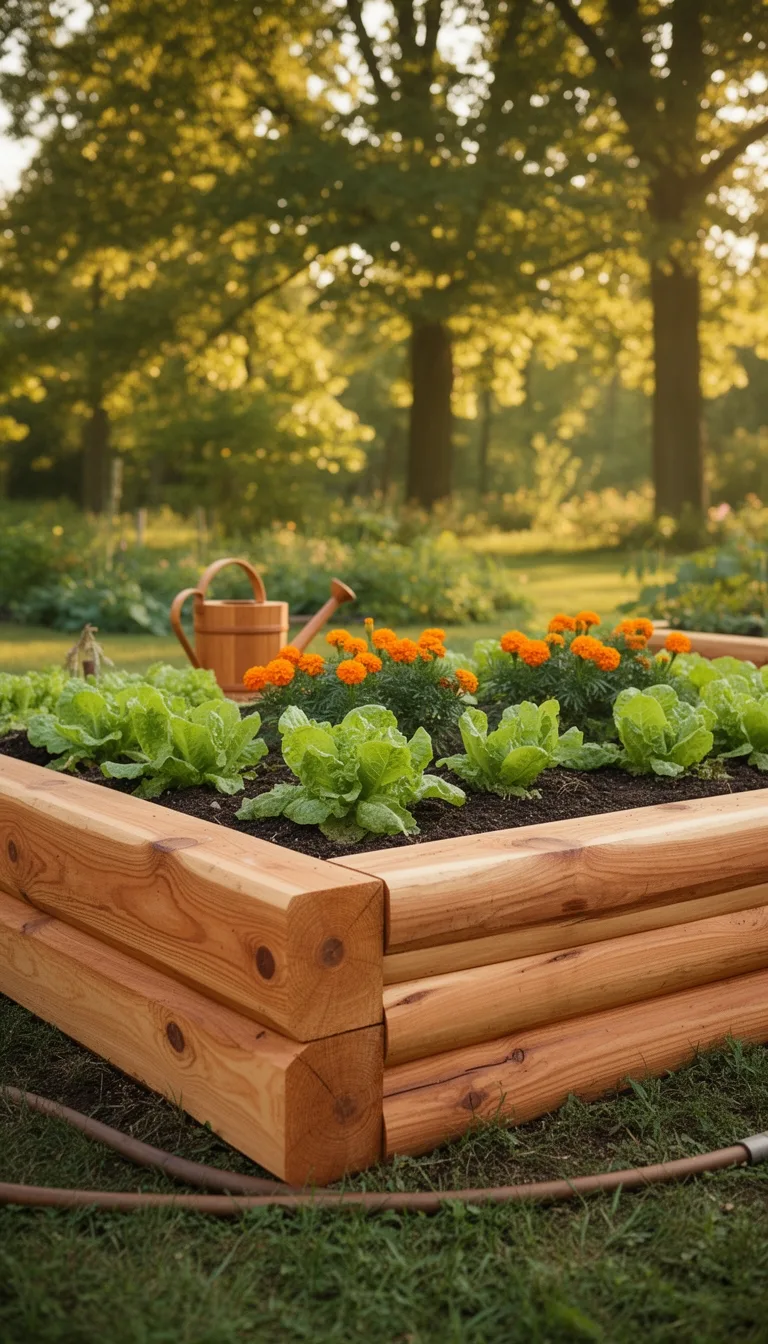
Set the cedar logs in a staggered, interlocking pattern, then secure them with stainless‑steel spikes or garden‑grade concrete to create a sturdy, natural border for your raised bed. Choose rot‑resistant cedar, cut logs to equal length, and treat ends with a non‑toxic sealant if you want extra longevity. Lay the logs, check for level, and backfill with gravel to improve drainage. The rustic look blends with any garden style while keeping soil contained.
| Step | Tool | Tip |
|---|---|---|
| 1 | Measuring tape | Mark log length before cutting |
| 2 | Saw | Use a miter saw for clean cuts |
| 3 | Stainless‑steel spikes | Space spikes 12 in apart |
| 4 | Concrete mix | Apply a thin layer for added stability |
Choose Soil and Amendments for Your DIY Bed
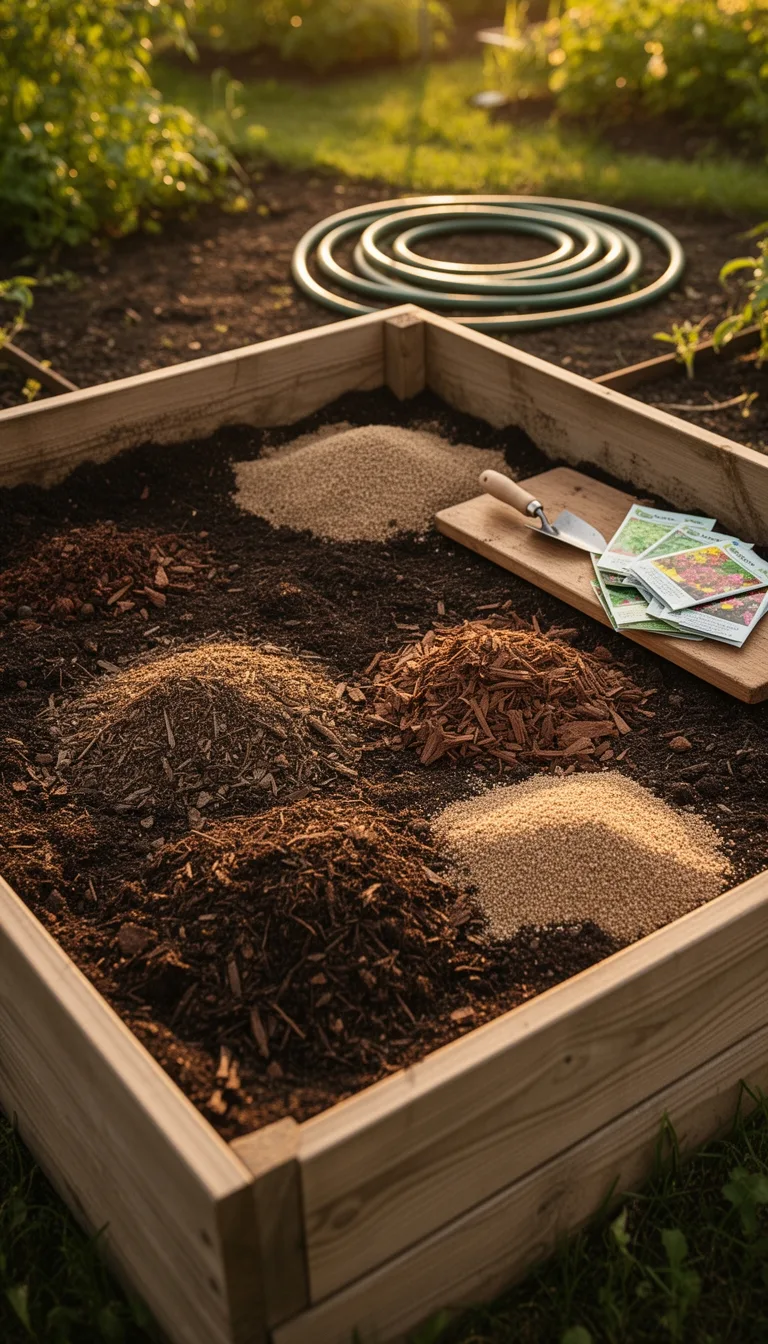
Choosing the right soil mix and amendments is crucial for a thriving DIY garden bed, and you’ll want a blend that balances drainage, nutrient retention, and structure.
Start with a high‑quality base—about 50 % compost, 30 % peat or coconut coir, and 20 % coarse sand or perlite. Test the pH; most vegetables prefer 6.0‑6.8. Add organic amendments to boost fertility and improve texture. Keep the mix loose enough for roots to expand, yet dense enough to hold moisture and nutrients.
- Compost: provides organic matter and microbes.
- Coir or peat: retains moisture without compacting.
- Sand or perlite: ensures drainage and aeration.
- Lime or sulfur: adjusts pH to the optimal range.
Mix thoroughly, then fill your bed to a depth of 12‑18 inches for best results.
Build a Metal‑Pipe Garden Bed in Minutes
Now that your soil mix is ready, you can assemble a metal‑pipe garden bed in just a few minutes. Gather 2‑inch steel conduit, a pipe cutter, a drill with a 1‑inch spade bit, metal brackets, and a rubber mallet.
Cut four 3‑foot sections for the frame, then cut four 2‑foot pieces for the cross‑supports. Lay two long pipes parallel, place a short pipe between them, and secure with brackets; repeat on the opposite side.
Drill drainage holes every six inches along the bottom pipe, then attach a landscape fabric liner to keep soil from escaping. Fill the frame with your prepared soil, tamp gently, and water.
The sturdy metal cage holds shape, resists rot, and lets you start planting instantly.
Create a Recycled Tire Planter Bed
A repurposed‑tire planter gives you a sturdy, budget‑friendly garden bed in minutes.
First, clean the tire, then drill drainage holes in the bottom.
Fill the interior with a mix of compost, peat, and perlite for optimal moisture retention.
Position the tire against a wall or on a patio, and surround it with mulch to keep weeds at bay.
This low‑cost solution recycles waste while adding texture to your garden.
- Choose a tire size that fits your space and plant selection.
- Add a layer of landscape fabric before soil to prevent soggy roots.
- Use a decorative paint or spray for a finished look.
- Incorporate companion plants to maximize space and deter pests.
Fast‑Build Brick Veneer Garden Bed
Stack bricks quickly to create a sturdy, attractive garden bed that looks like a traditional masonry wall without the expense or labor of full‑depth construction.
First, outline the bed’s dimensions with string and stakes, then dig a shallow trench about 2 inches deep for drainage.
Lay a weed‑barrier fabric, then start the first brick course, staggering joints for strength.
Use a rubber mallet to tap each brick into place, keeping the surface level with a carpenter’s level.
Apply a thin layer of sand or fine gravel between courses to lock bricks and improve stability.
Finish the top edge with a cap brick or a concrete coping for a clean look.
Fill the interior with quality soil, water thoroughly, and you’ve got a durable, low‑maintenance garden bed ready for planting.
Construct a Composite Deck Board Garden Bed
Build a garden bed from composite deck boards to get a sturdy, rot‑resistant container that’s quick to assemble and low‑maintenance. You’ll appreciate how the boards resist moisture, insects, and warping, so you can focus on planting instead of upkeep.
Cut the boards to length, drill pilot holes, and use stainless‑steel screws for a seamless frame. A simple liner protects soil while the deck material stays dry.
- Measure and mark the garden dimensions before cutting.
- Pre‑drill holes to avoid splitting the composite.
- Secure corners with metal brackets for extra rigidity.
- Add a breathable landscape fabric liner for drainage.
This approach delivers a sleek, durable bed that blends with any patio or backyard aesthetic while minimizing future work.
Stack Stones for a Simple Stone Garden Bed
Gather a handful of flat stones and arrange them in a staggered pattern, letting each layer interlock with the one below to form a sturdy, low‑maintenance garden bed.
First, clear a level area, remove grass, and lay a weed barrier fabric. Place the largest stones as a base, ensuring they sit flush and level.
Add a layer of sand or fine gravel for drainage, then set the next row of stones, offsetting joints like brickwork. Continue stacking until you reach the desired height, typically 12–18 inches.
Fill gaps with smaller stones or soil to prevent movement.
Finish by topping the bed with a thin layer of mulch or compost, then plant herbs, succulents, or low‑grow veggies. The stone walls stay cool, resist rot, and need little upkeep.
Make a Low‑Cost Plastic Crate Herb Bed
Grab a cheap plastic storage crate, cut a few drainage holes in the bottom, and line it with landscape fabric before filling it with a light potting mix; this simple setup creates a portable, low‑maintenance herb bed that you can place on a balcony, patio, or garden edge, and it costs only a few dollars while keeping roots well‑drained and easy to access.
Choose a crate with a sturdy handle for easy moving, and paint it a bright color to deter pests. Keep a small watering can nearby, and rotate the crate each season for even growth.
- Use a mix of coconut coir and perlite for light texture.
- Plant compact herbs like thyme, oregano, and chives.
- Add a drip‑irrigation line for consistent moisture.
- Cover the top with a mesh net to protect against birds.
Create a Pallet‑Style Vertical Garden Wall
With a few sturdy pallets and some basic tools, you can turn a blank wall into a space‑saving garden that’s perfect for herbs, lettuce, and trailing flowers. First, sand the pallets, then drill a few drainage holes. Attach a landscape‑fabric liner, and mount the pallet with brackets or a French cleat. Fill each pocket with a lightweight potting mix and plant compact varieties. Water from the top and let gravity feed the lower rows.
| Plant | Sun | Water | |
|---|---|---|---|
| Basil | Full | Light | |
| Lettuce | Partial | Consistent | |
| Ivy | Shade | Moderate | The result is a low‑maintenance, eye‑catching wall that frees floor space and adds fresh produce to your kitchen or patio. |
Conclusion
Pick the idea that fits your space, budget, and style, then get your hands dirty. With a sturdy frame, proper drainage, and a balanced soil mix, any of these DIY beds will thrive. Keep maintenance simple—water, mulch, and harvest regularly. You’ll soon have fresh herbs, veggies, or flowers right at your fingertips, turning even the smallest yard or balcony into a productive oasis. Enjoy the process and the harvest!
The Only Tools You Need for a Thriving Garden 🌱
Whether you're a weekend gardener or growing daily — these hand-picked tools make every session faster, easier, and more satisfying.