Imagine you’re transforming a small patio or corner of your yard into a productive vegetable garden. You can build your own raised bed with just a few basic tools and a weekend’s effort. This simple project improves drainage, reduces weeds, and makes gardening far more accessible. The key lies in choosing durable materials and a smart layout, which we’ll explore next.
Key Takeaways
- Build a classic rectangular bed using just four wooden boards and simple corner brackets.
- Create a rustic design by stacking untreated logs or cinder blocks without any mortar.
- Repurpose a single wooden pallet into a tall, narrow planter for herbs on a patio.
- Choose naturally rot-resistant wood like cedar or use low-maintenance composite lumber.
- Assemble frames with minimal tools: a drill, saw, and level for a beginner-friendly weekend project.
Why Build a Raised Bed Garden?
Building a raised bed garden immediately tackles poor soil, letting you create a perfect, well-draining mix for your plants. You’ll control the exact composition, blending topsoil, compost, and other amendments for optimal fertility.
This structure also improves drainage, preventing waterlogged roots that can stunt growth or cause disease. You’ll find it’s easier to manage weeds and pests within the confined space.
The raised height reduces bending and kneeling, making gardening more accessible and comfortable, especially if you have back issues. You can extend your growing season too, as the soil warms up faster in spring.
You’re essentially crafting a customizable, high-performance planting zone that maximizes your efforts and boosts your harvests.
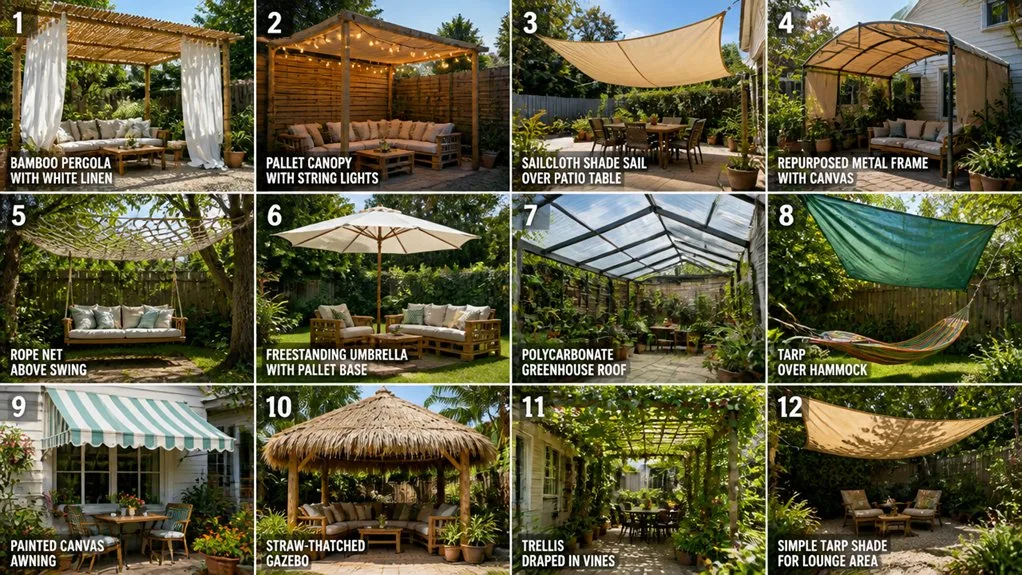
3 Simple Raised Bed Designs to Build
First, let’s look at a few basic designs you can tackle in a weekend, even if you’re new to DIY.
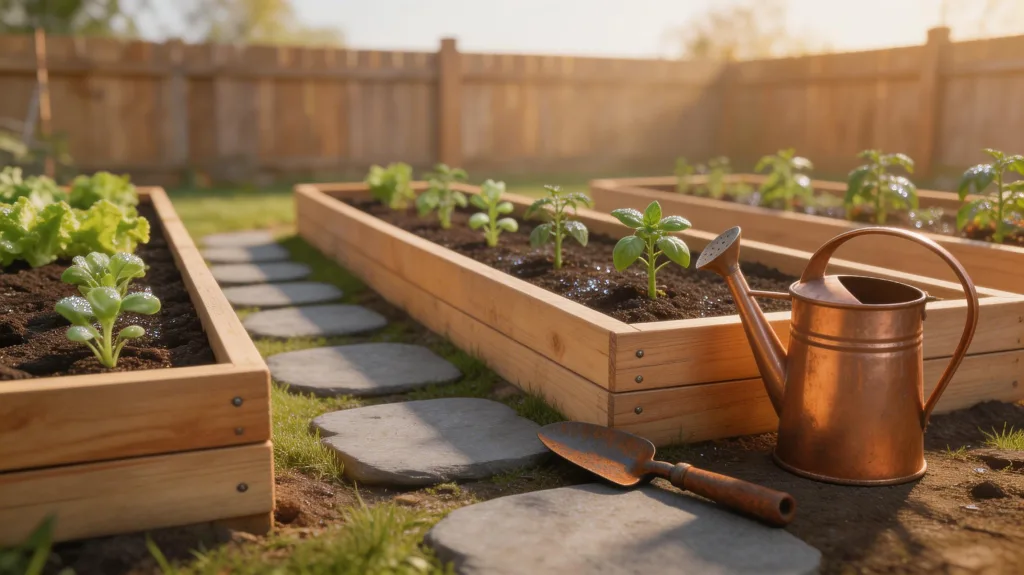
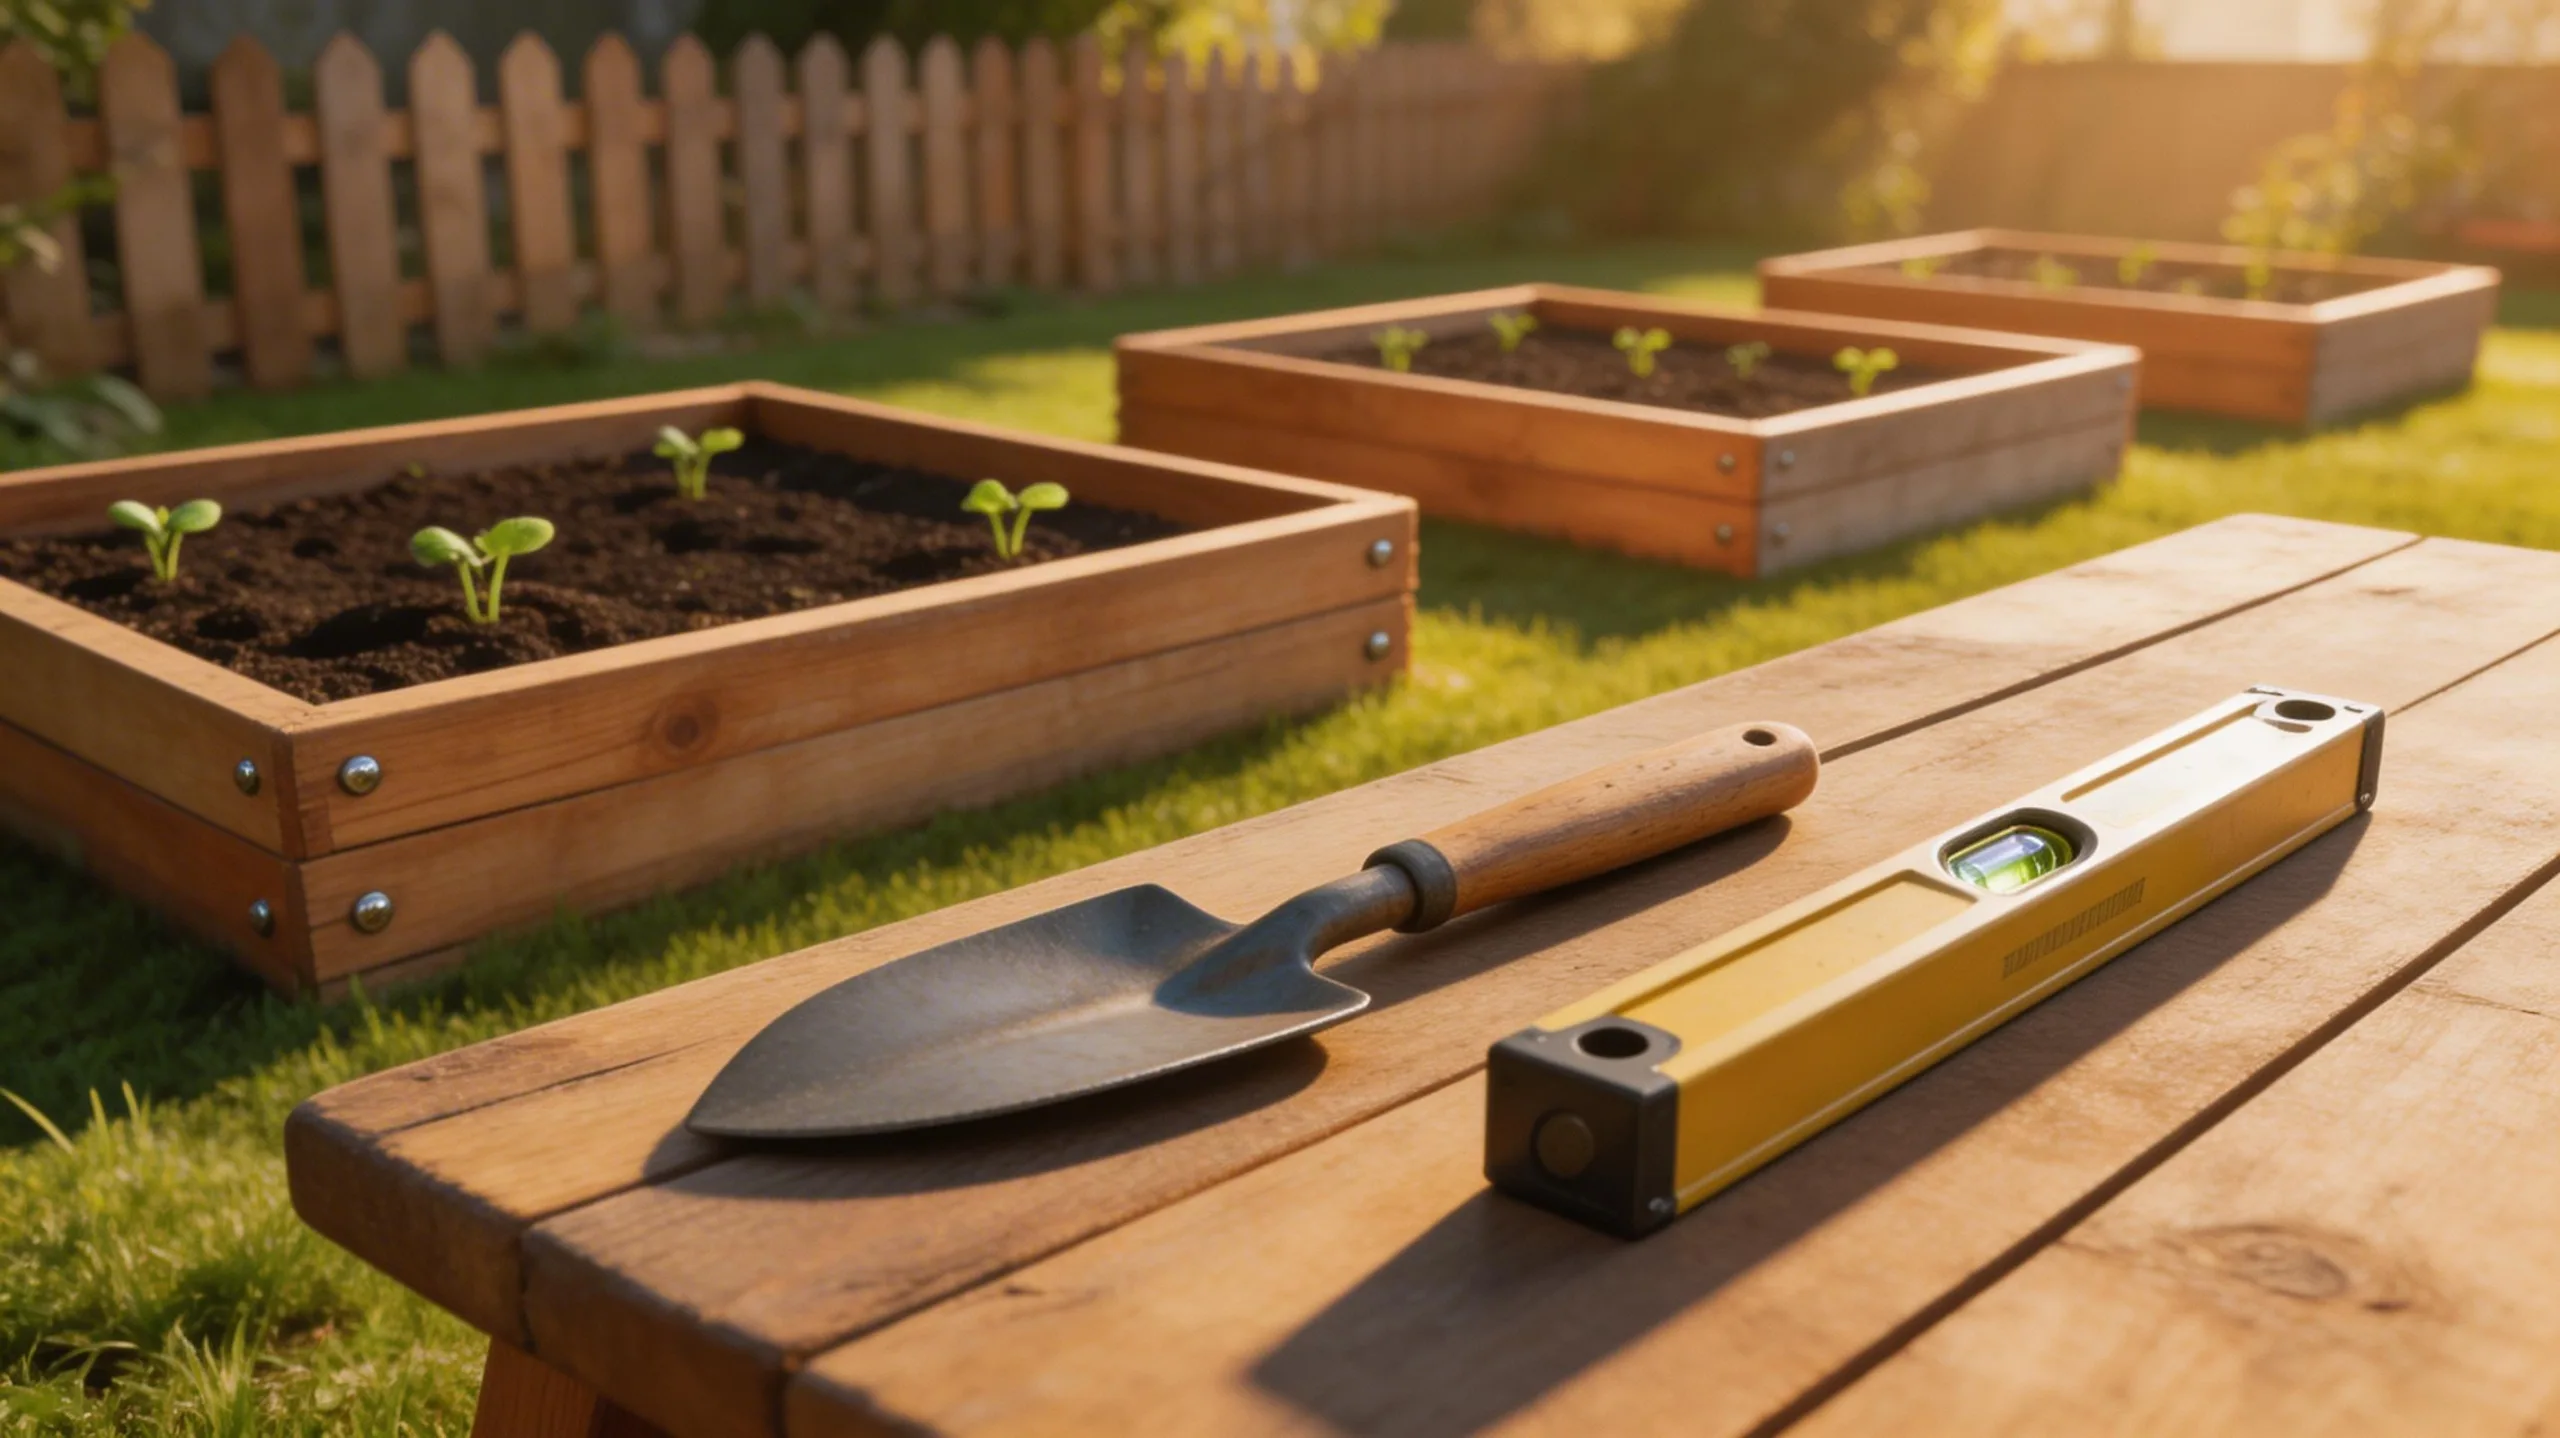
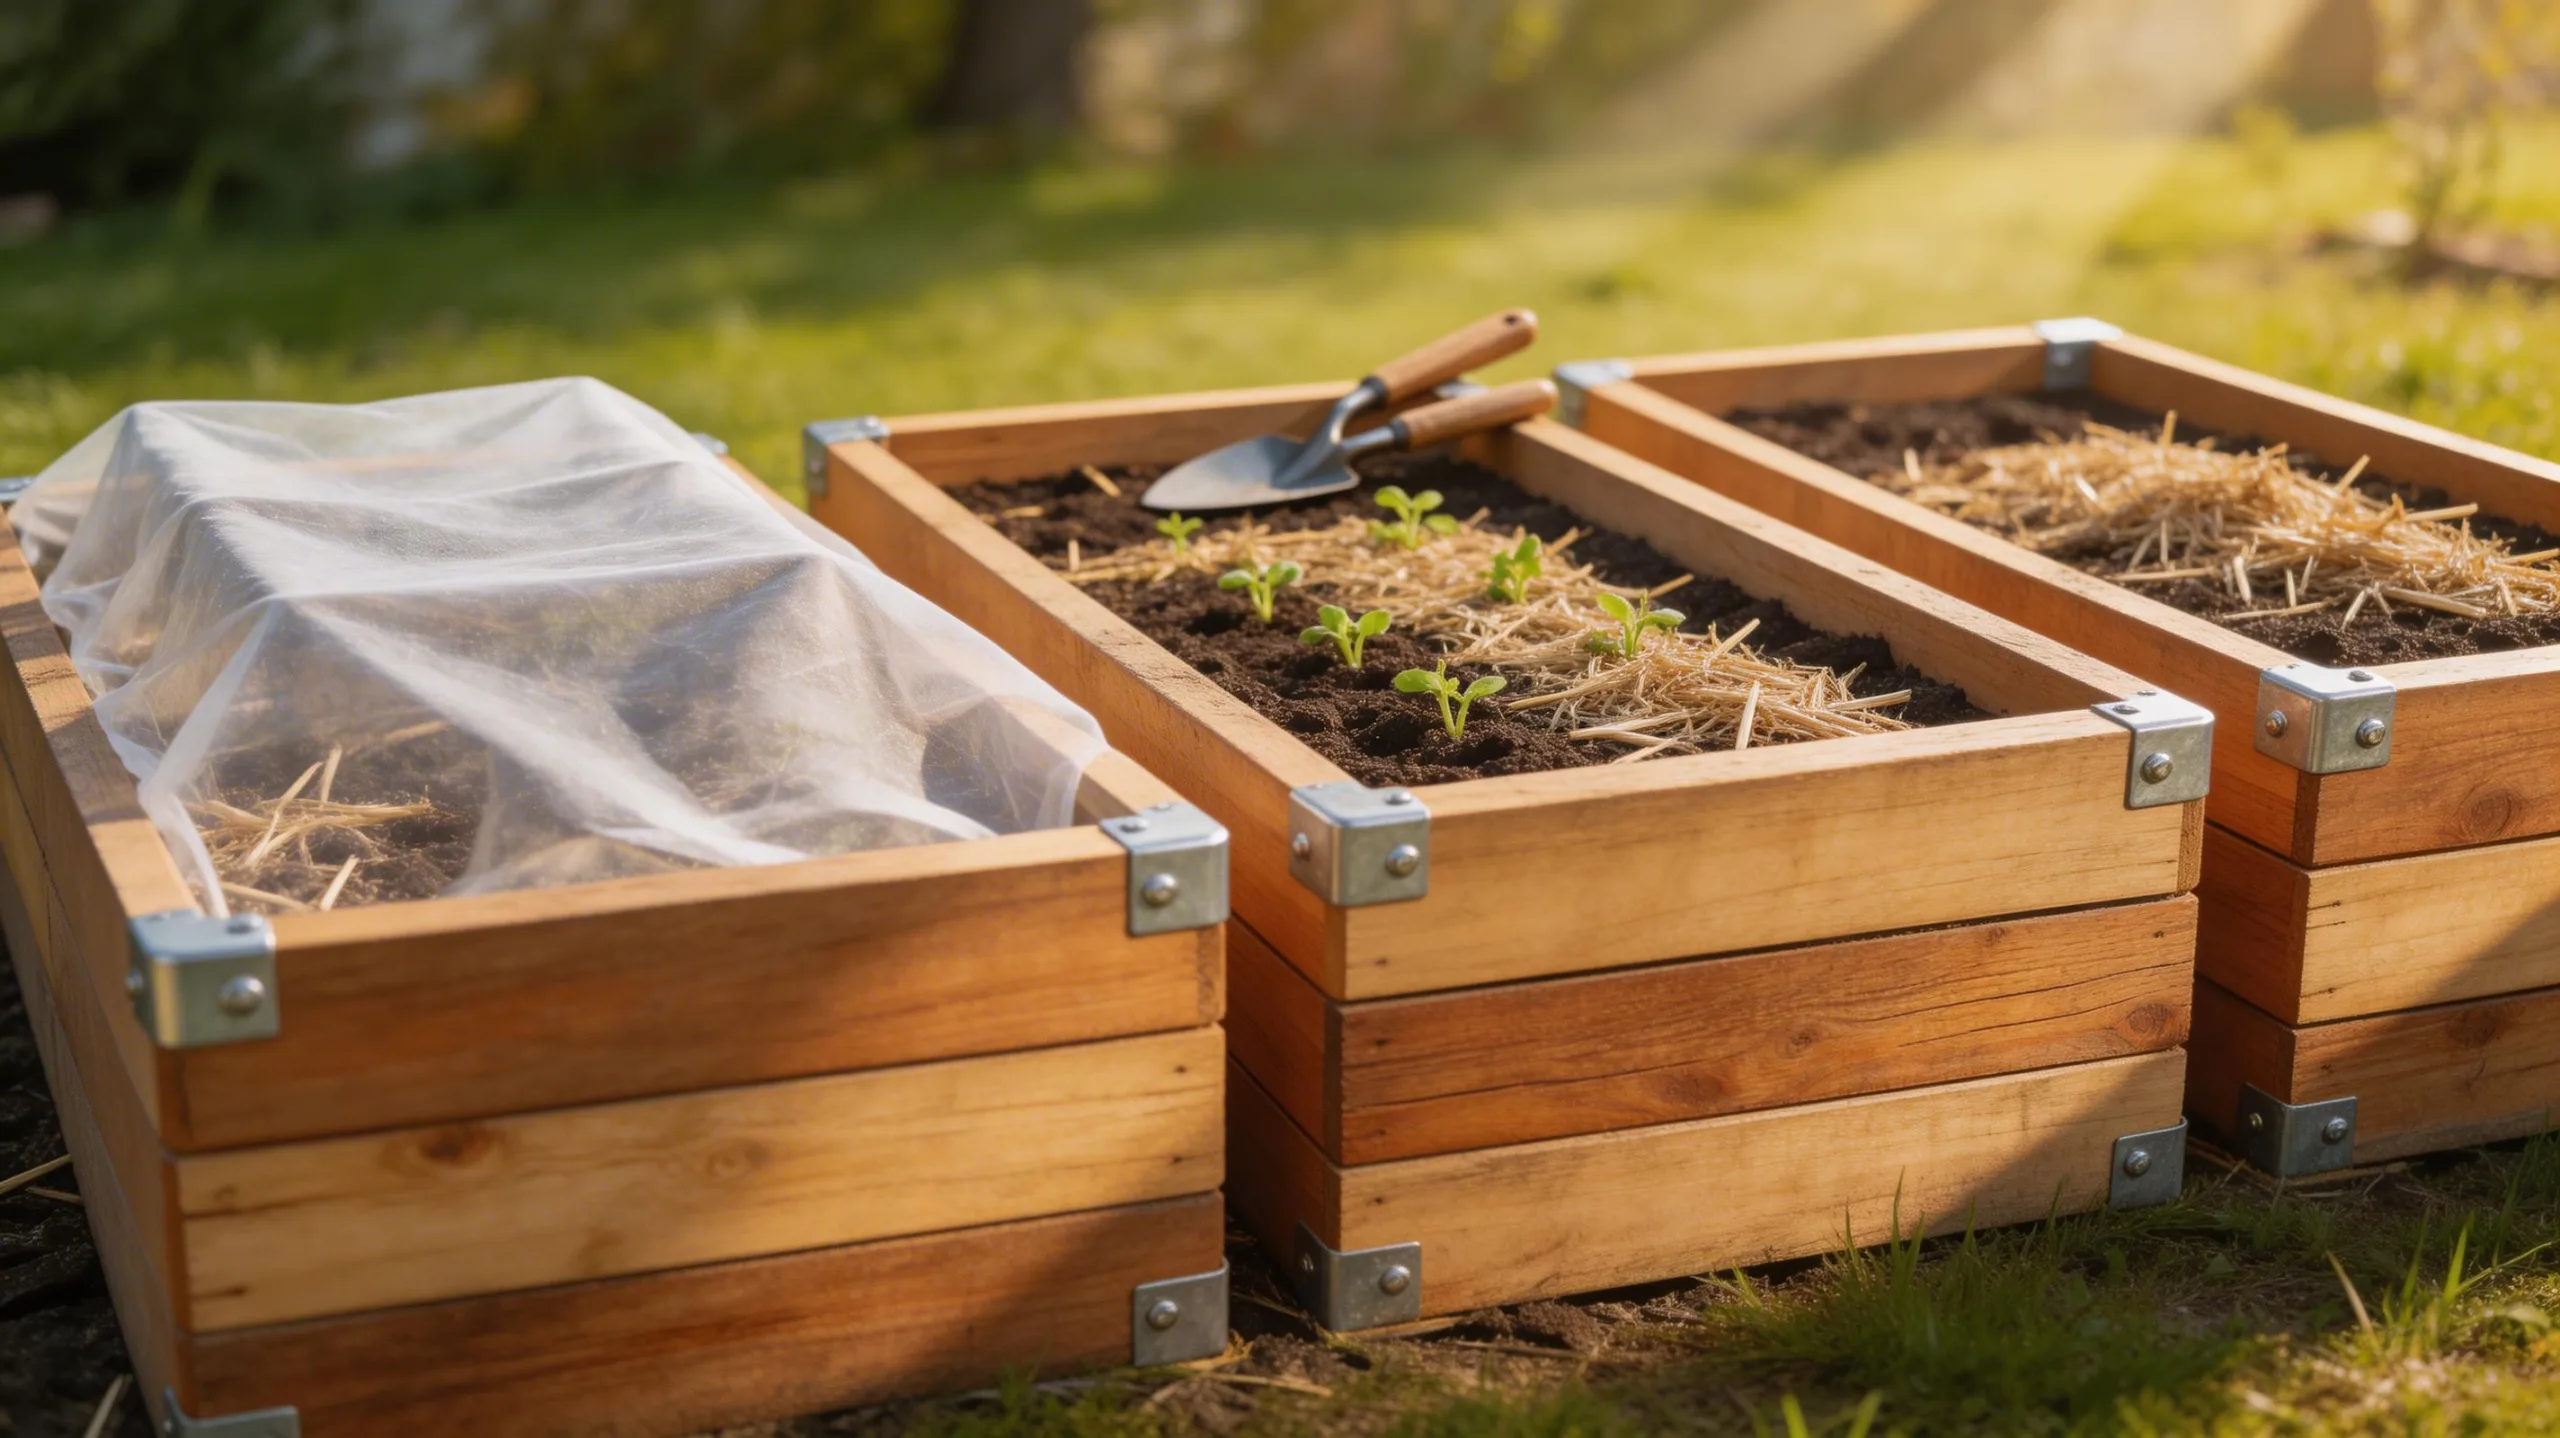
The classic rectangular bed is the simplest. You’ll just need four wooden boards, like cedar or pine, and some corner brackets or screws to assemble a sturdy frame.
For a more rustic look, try stacking untreated logs or cinder blocks without mortar; they’re incredibly forgiving.
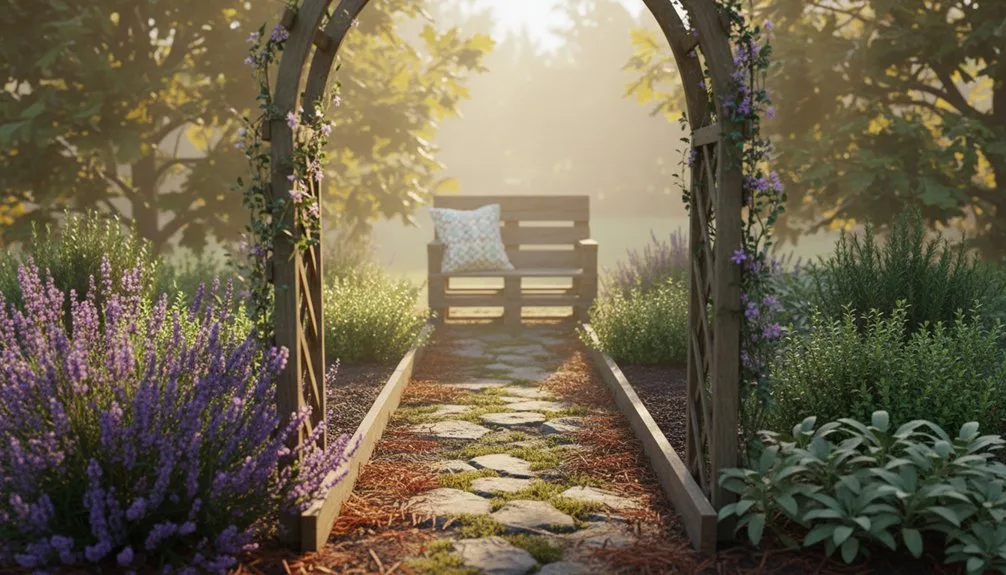
If you’re tight on space, consider a tall, narrow planter built from a single wooden pallet. You’ll disassemble it and reassemble the slats into a deep box, perfect for herbs on a patio.
Each design uses minimal tools—a drill, saw, and level are often all you need.
Planning Your DIY Raised Bed
Once you’ve chosen a design, careful planning ensures your raised bed thrives for seasons to come.
First, decide where to place it. Your site needs at least six to eight hours of direct sun daily for most vegetables. Ensure the ground is level and that you have easy access to a water source.
Next, consider the bed’s footprint. It shouldn’t be wider than four feet, so you can reach the center from either side without stepping on the soil. A depth of 12 to 18 inches is ideal for healthy root growth.
Finally, map out your planting zones. Plan for tall plants at the north end to avoid shading shorter crops, and group plants with similar water and sun needs together.
Choosing Materials for Longevity
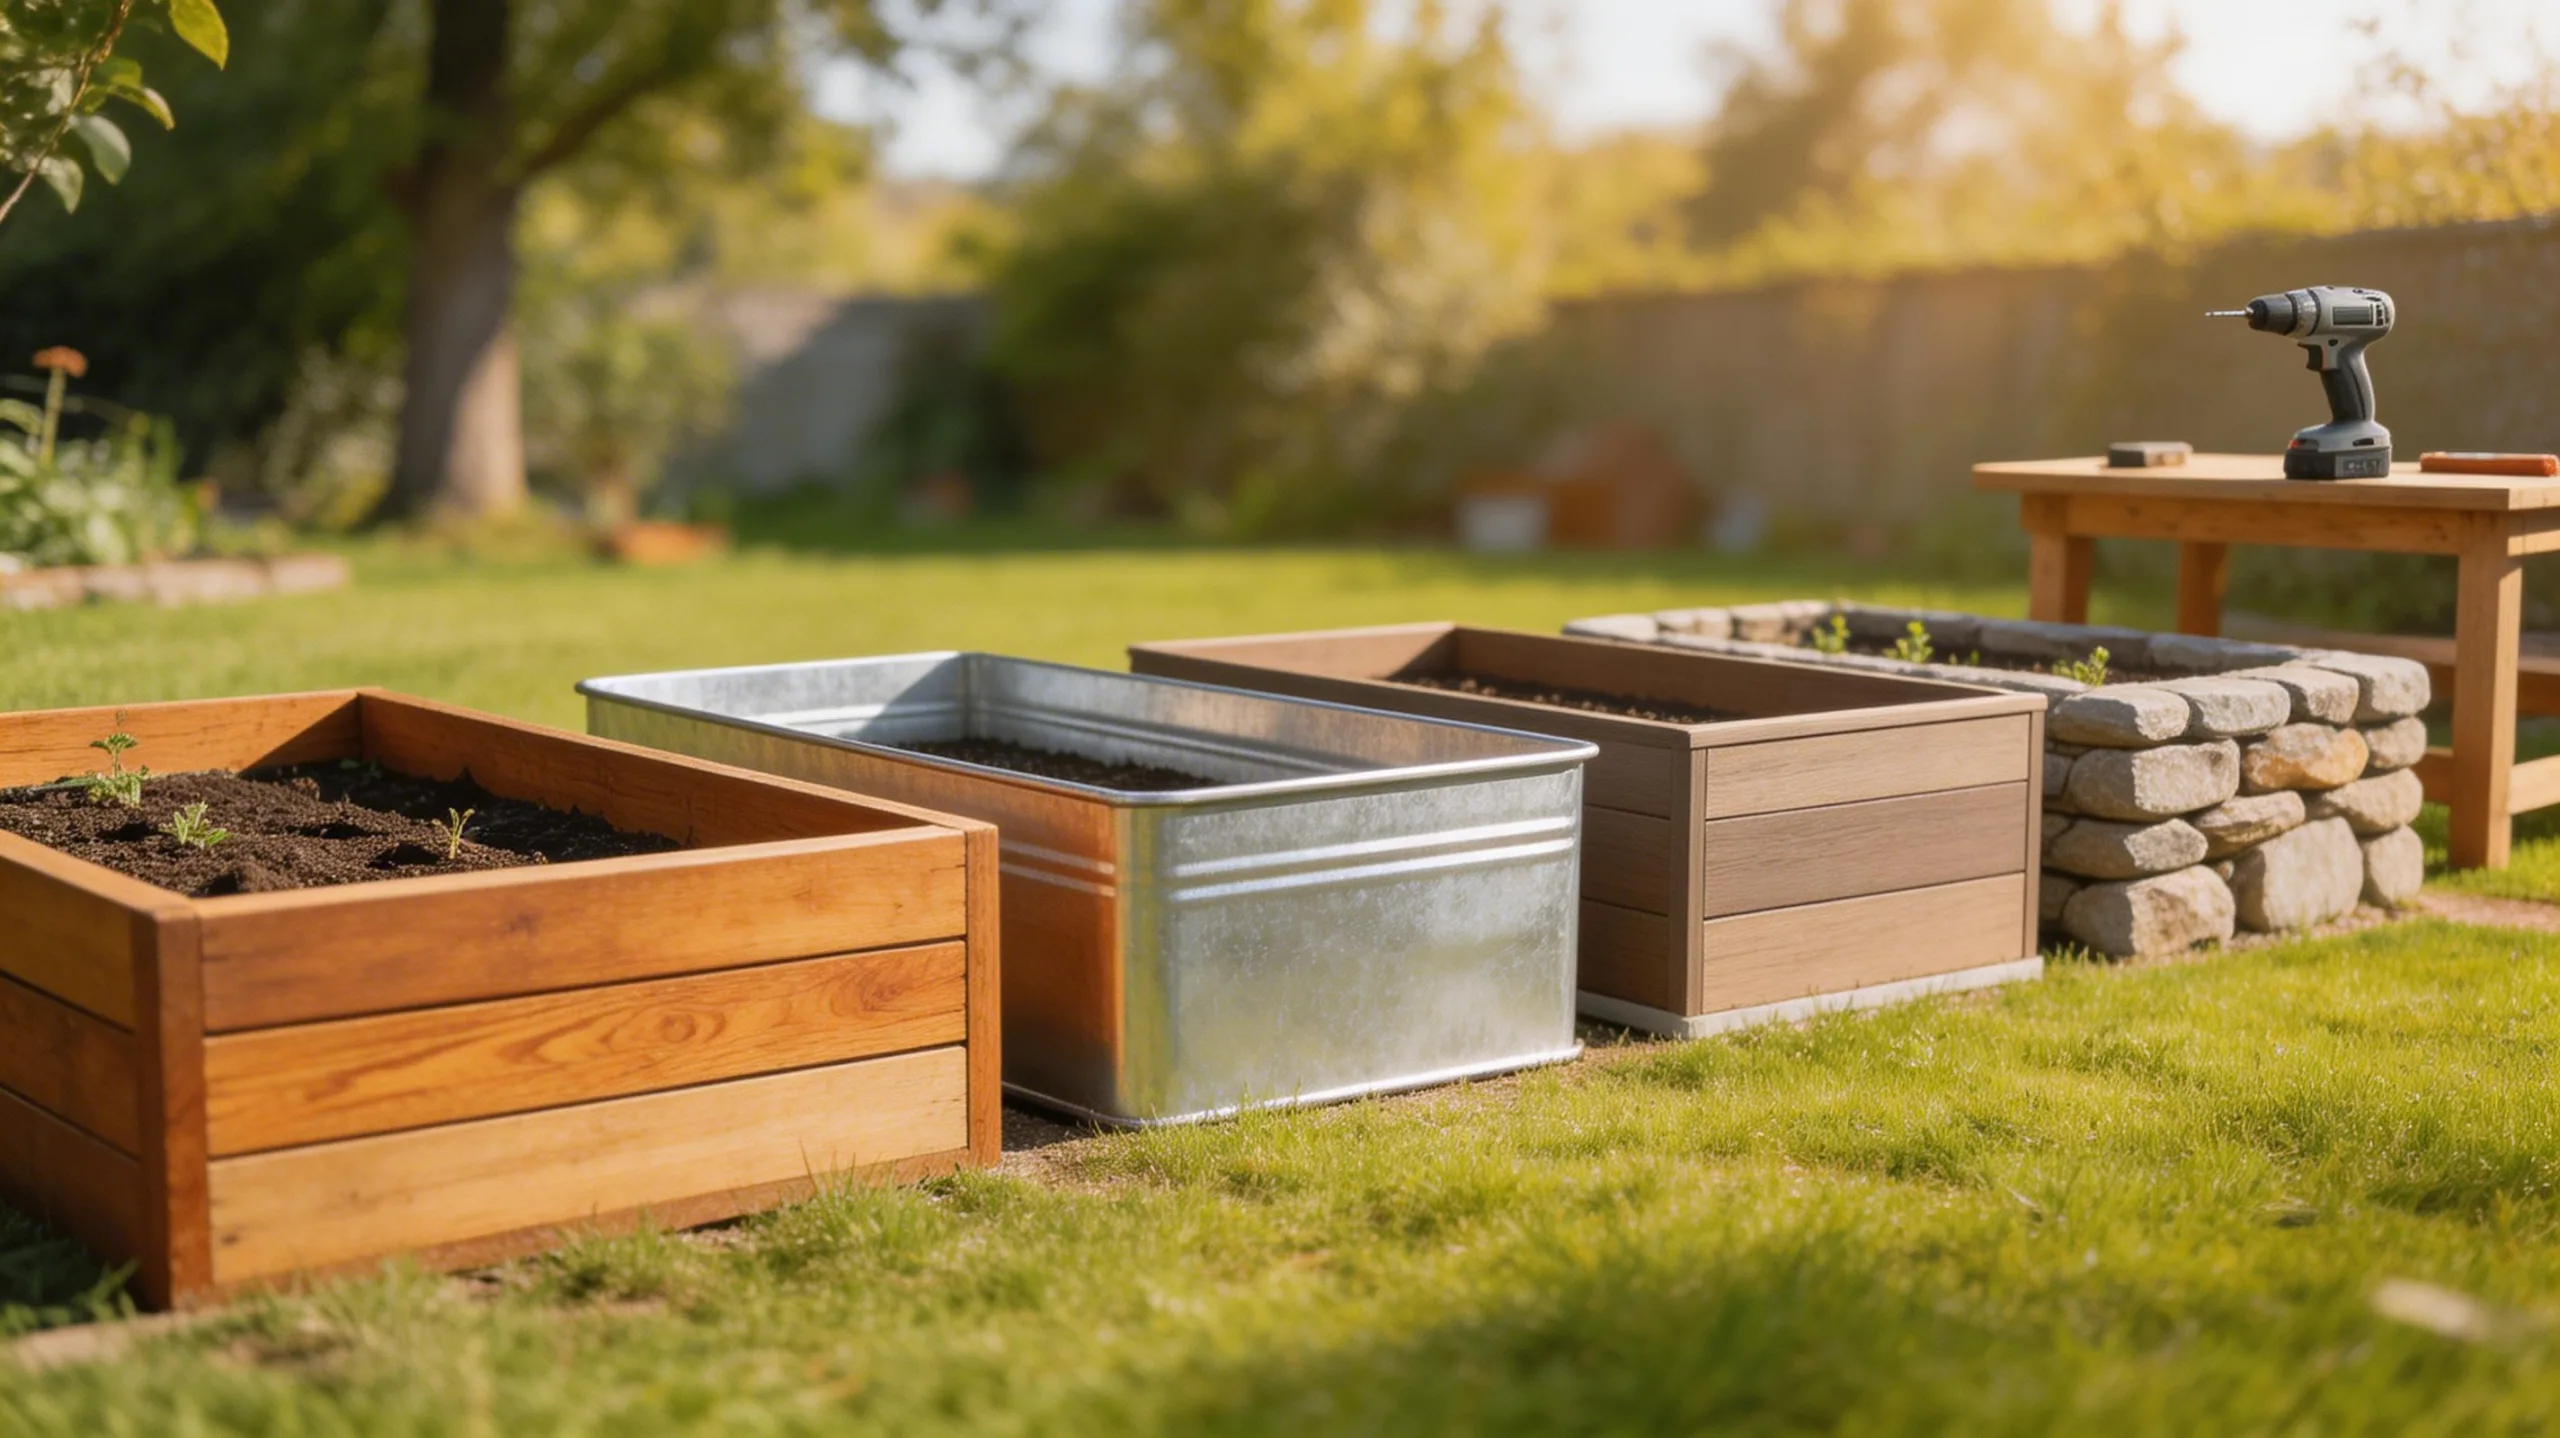
Since you want your raised bed to last for years, selecting durable materials is your next critical step. You’re looking for something that resists rot, weathering, and soil pressure.
For a classic wooden frame, naturally rot-resistant cedar or redwood is a premium choice. Composite lumber offers exceptional longevity with minimal upkeep. Galvanized steel or corrugated metal beds provide a modern, virtually indestructible option. Concrete blocks or bricks are incredibly sturdy and offer a permanent solution. Avoid cheaper, untreated pine if you can, as it decomposes quickly in constant contact with moist soil.
Focus on materials with a proven track record. Your key considerations for any material should be:
- Rot Resistance: Will it withstand constant moisture?
- Structural Integrity: Can it hold wet soil without bowing?
- Safety: Is it free from chemical leaching into your soil?
- Budget vs. Lifespan: Does the cost justify how long it will last?
Choosing wisely now saves you from rebuilding later.
How to Build a Basic Wooden Frame
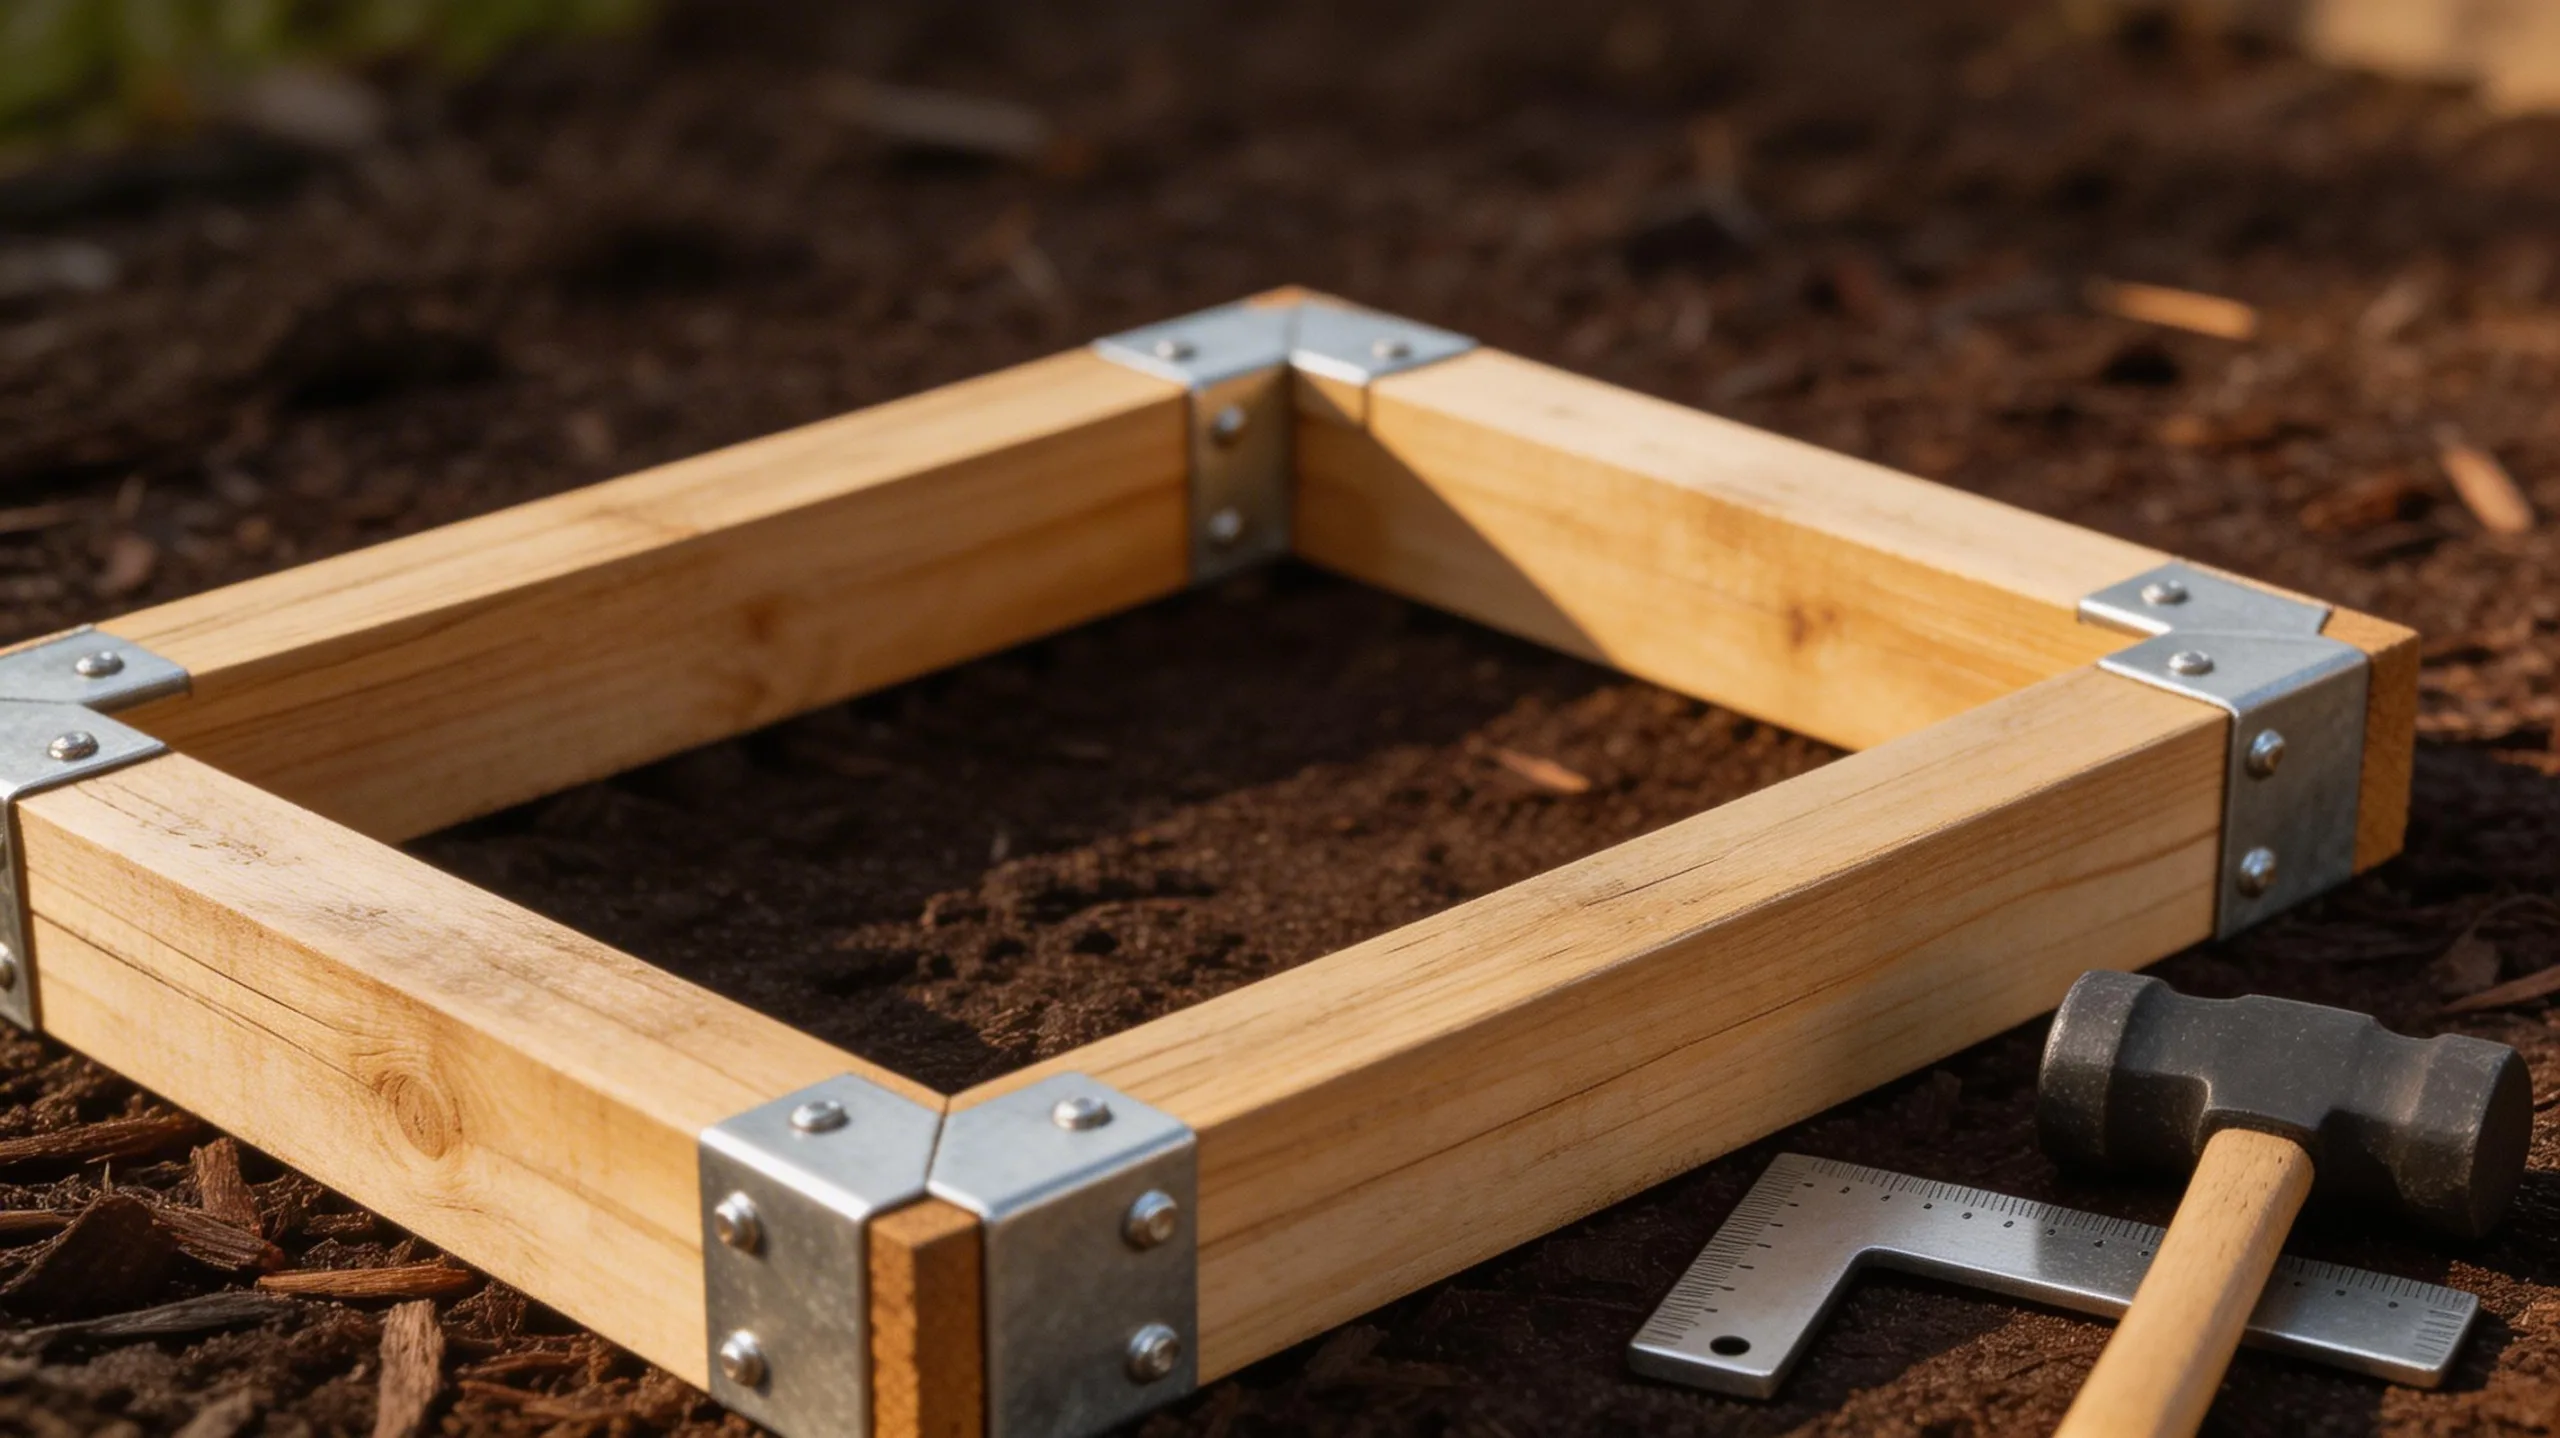
With your materials selected, building a sturdy wooden frame is a straightforward process that brings your garden bed to life.
First, measure and cut your boards to length for the desired bed dimensions. Lay out the four sides on a flat surface.
To assemble each corner, place a vertical 4×4 post inside the junction or overlap the boards. Pre-drill holes to prevent the wood from splitting.
Then, drive three or four galvanized screws or decking screws through the side boards and into the post or adjoining board at each corner.
Check that your frame is square by measuring the diagonals; they should be equal.
This simple box is now ready for its garden location.
Preparing Your Raised Bed for Planting
Before you fill your new frame with soil, you’ll need to choose a suitable location and ensure drainage.
Pick a sunny spot receiving at least six hours of light daily.
Place your bed there and check for levelness.
Next, address drainage by either drilling a few small holes in a solid bottom or, for an open-bottom bed, removing any sod and loosening the underlying soil to prevent water pooling.
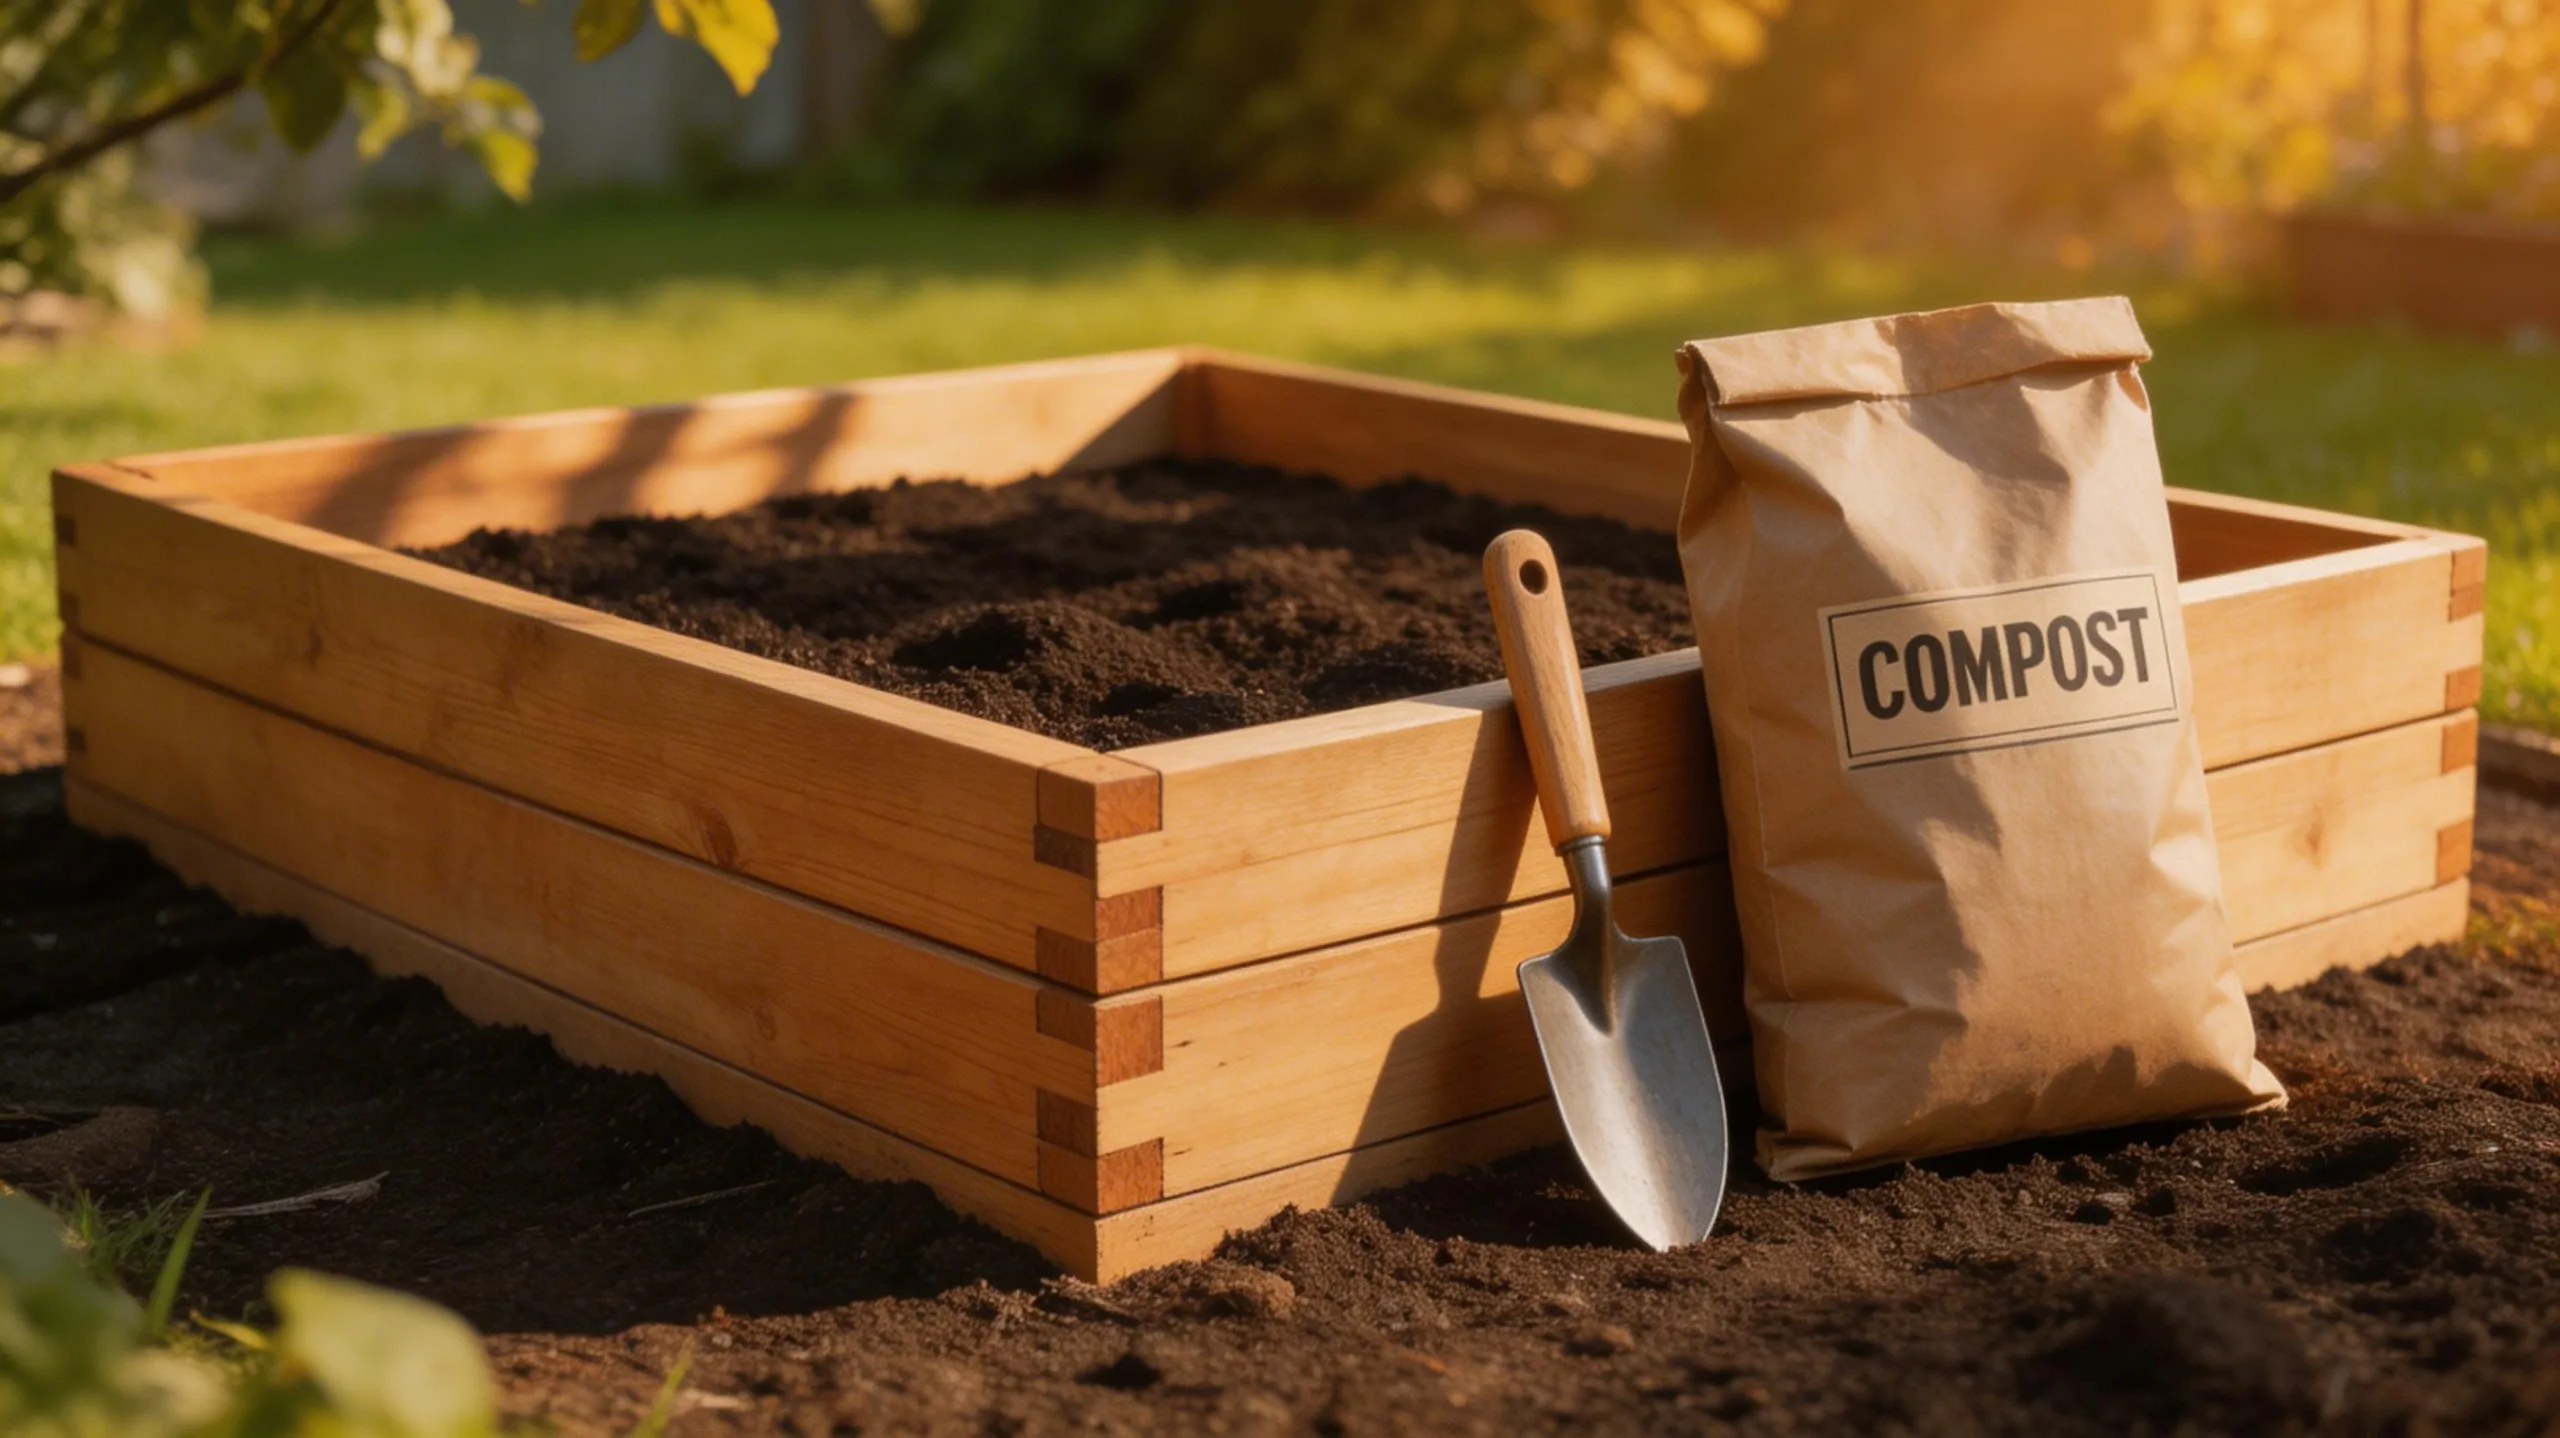
You’re now ready for the soil mix, which is crucial.
Don’t use cheap topsoil alone; create a rich blend for healthy roots.
- Use a high-quality potting or garden soil as your base.
- Integrate generous amounts of compost for nutrients.
- Add well-rotted manure or a balanced organic fertilizer.
- Consider mixing in coconut coir or peat moss to aid moisture retention.
Fill the bed completely, then lightly water the soil to settle it.
What to Plant in Your New Garden Bed?
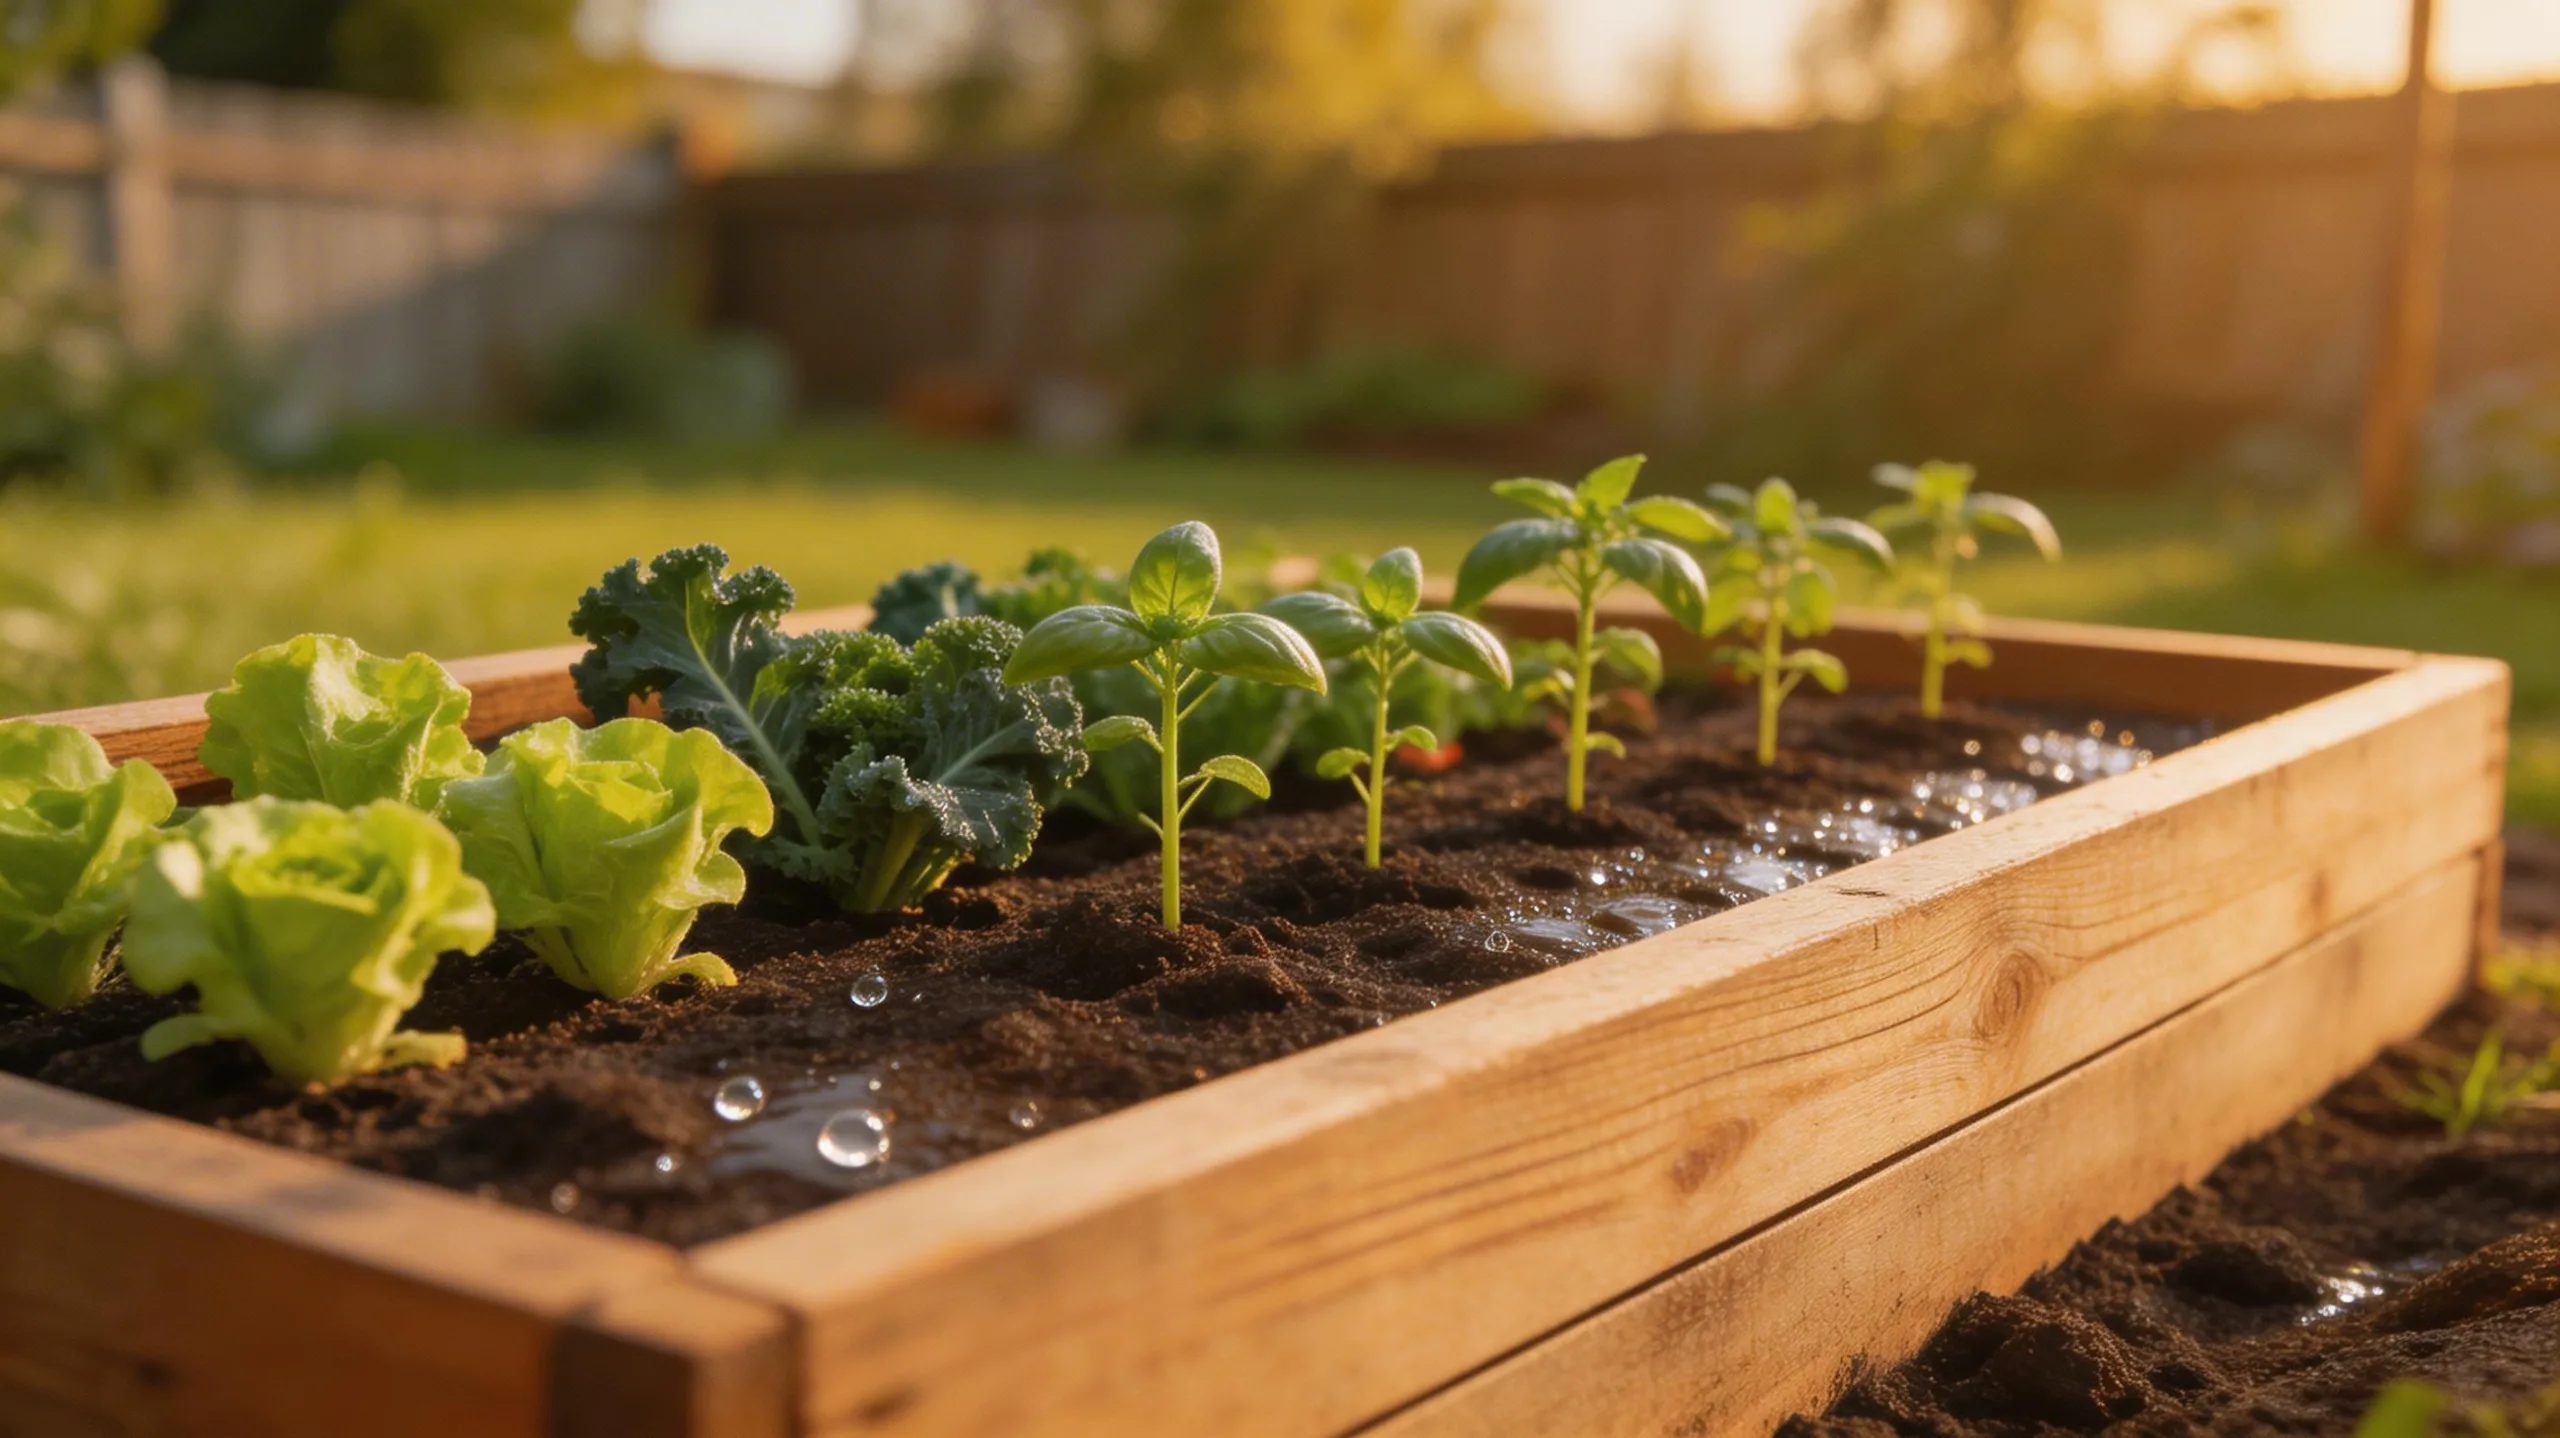
Your new raised bed, a blank canvas of rich soil, is ready for its first plants. Start with vegetables you’ll eat regularly, like crisp lettuces, juicy tomatoes, or crunchy radishes.
Read seed packets carefully for spacing; you can grow more in a raised bed than in rows, but don’t overcrowd. Consider “companion planting”—placing helpful plants together. Basil near tomatoes improves their flavor, while marigolds deter pests.
For a continuous harvest, sow quick-growing crops like spinach between slower ones like peppers. If space is limited, choose compact or vining varieties you can train upward on trellises.
Your local garden center can recommend the best varieties for your specific climate and the current planting season.
Maintaining Your Raised Bed Year-Round
Once you’ve planted your bed, consistent care keeps it productive and healthy through every season.
Monitor moisture daily, watering deeply when the top inch of soil is dry to encourage strong roots. Apply a balanced organic fertilizer every few weeks during peak growing periods. Stay vigilant by removing weeds promptly and checking for pests, using physical barriers or organic sprays as needed.
Your seasonal to-do list is simple:
- Spring: Refresh soil with compost, plant early crops, and install supports for vining plants.
- Summer: Harvest regularly, mulch to retain moisture, and provide shade for heat-sensitive greens.
- Fall: Plant cool-weather crops, add a thick compost layer, and remove spent plants.
- Winter: Protect soil with a cover crop or mulch, and plan next year’s garden layout.
Frequently Asked Questions
Will Soil Depth Affect What I Can Plant?
Soil depth absolutely affects what you can plant. You’ll grow deeper-rooted veggies like tomatoes in deeper beds, but you’ll use shallow ones for lettuces or herbs. Always match your plant’s needs.
Are Raised Beds Safe for Growing Vegetables?
Yes, they’re safe. You’ll control your soil quality, avoid ground contaminants, and improve drainage. Just use safe, untreated wood like cedar and fill it with a quality vegetable garden soil mix for healthy crops.
Can I Place a Raised Bed on a Patio?
Yes, you can place it on your patio. Just ensure you’ve got proper drainage so water doesn’t pool; line the bottom with landscape fabric and use a well-draining soil mix to protect your patio surface.
How Do I Keep Pets Out of the Garden?
You can install a small fence around it. Train your pets to avoid the area and use safe, pet-repellent sprays. Covering the soil with chicken wire before planting also deters digging effectively.
What Is the Cost to Build One Bed?
It’s variable, but you’ll likely spend $50-$150 for wood and soil. You can build a simple 4’x8′ bed from untreated lumber. Always factor in hardware and liner costs, and remember you can reuse materials.
Conclusion
By building your own raised bed, you’ve created a lasting foundation for success. Now you can enjoy easier watering, less weeding, and a bountiful harvest. Keep your soil fertile with annual compost, rotate crops, and protect it with mulch. Remember, this manageable garden is designed for you—it makes growing fresh food simple and rewarding. So get planting; your thriving, accessible garden is ready to grow.
The Only Tools You Need for a Thriving Garden 🌱
Whether you're a weekend gardener or growing daily — these hand-picked tools make every session faster, easier, and more satisfying.