You can build a sturdy, attractive trellis with simple materials like cedar or reclaimed wood. An A-frame supports heavy vegetables, while a rustic ladder adds vertical charm. Securing it properly is crucial to withstand wind and weight. Choosing the right structure for your specific plants—like pole beans or cucumbers—makes all the difference in your harvest. Let’s explore how to match materials to methods for a productive season.
Key Takeaways
- Create vertical growing space to maximize small gardens and organize plants.
- Use reclaimed wood, bamboo, or cattle panels for sturdy, low-cost materials.
- Match trellis type to your plant, like netting for peas or robust frames for squash.
- Build simple structures like A-frames, obelisks, or arched tunnels with secure anchoring.
- Repurpose items like old windows or pallets for unique, upcycled garden features.
Why Your Garden Needs a DIY Trellis
When you’re looking to maximize your garden’s potential, building your own trellis is a resourceful step you can’t afford to skip. It’s about vertical gardening—growing upwards instead of outwards. You instantly create more growing space in a small footprint, letting you cultivate more food or flowers.
A trellis provides essential support for climbing plants like beans, peas, cucumbers, and tomatoes, keeping their vines and fruits off the damp soil. This simple action drastically reduces rot and disease. You’ll also improve air circulation and sunlight exposure, leading to healthier plants and bigger harvests.
Your garden becomes more organized and productive, turning unused vertical air into a lush, living wall that’s both beautiful and functional.
Sourcing Materials for Your DIY Trellis
Now that you’ve seen the benefits, finding the right materials for your trellis comes next.
You can source sturdy wood like cedar or pine from lumberyards, or repurpose old fencing or pallets for a rustic look.
For metal options, check hardware stores for rebar, galvanized wire, or cattle panels.
Bamboo poles, often available at garden centers, offer a natural aesthetic.
Don’t overlook your own home; gather fallen branches, unused dowels, or even PVC pipes from past projects.
Always consider durability against weather and the weight of your plants.
Measure your planned design carefully to ensure you buy or scavenge enough material.
Prioritizing strength and suitability over cost alone saves you from rebuilding later.
Choosing the Right Trellis for Your Plant

Selecting the perfect trellis requires matching its form and function to your plant’s specific growth habits.
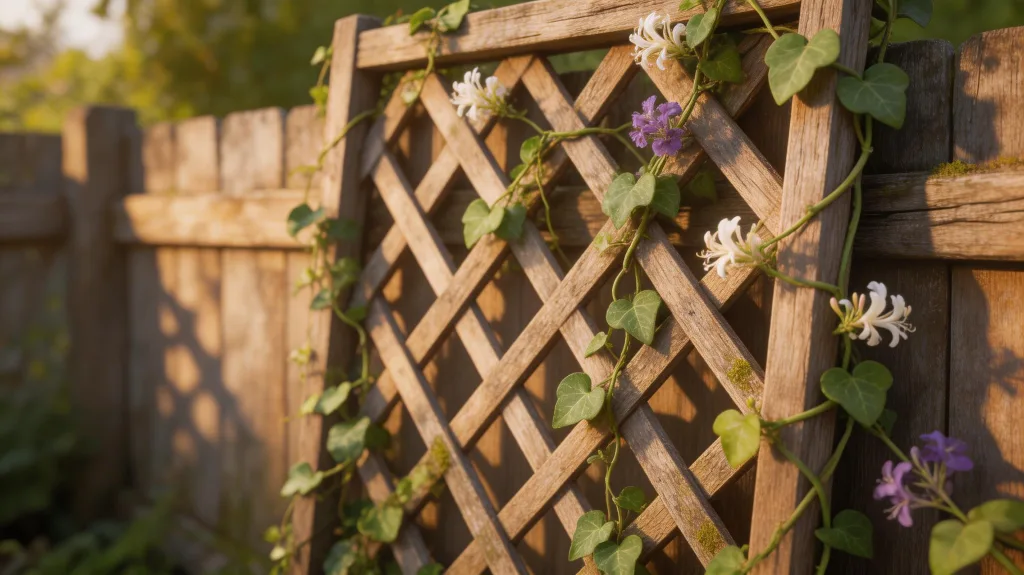
First, identify how your plant climbs. Tendril-climbers like peas need thin supports like wire mesh or netting they can easily grasp. Twiners, such as pole beans, require sturdy vertical poles or a tripod. For clingers like ivy, use a rough-surfaced structure like a wooden lattice.
Consider the mature plant’s weight and size; a lightweight cucumber won’t need the heavy-duty support required for a rampant wisteria.
Also, factor in access for harvesting and sunlight penetration.
A well-chosen trellis won’t just support growth; it’ll enhance your garden’s health and your harvest’s ease, making your DIY effort truly worthwhile.
Build a Simple A-Frame Trellis for Heavy Veggies
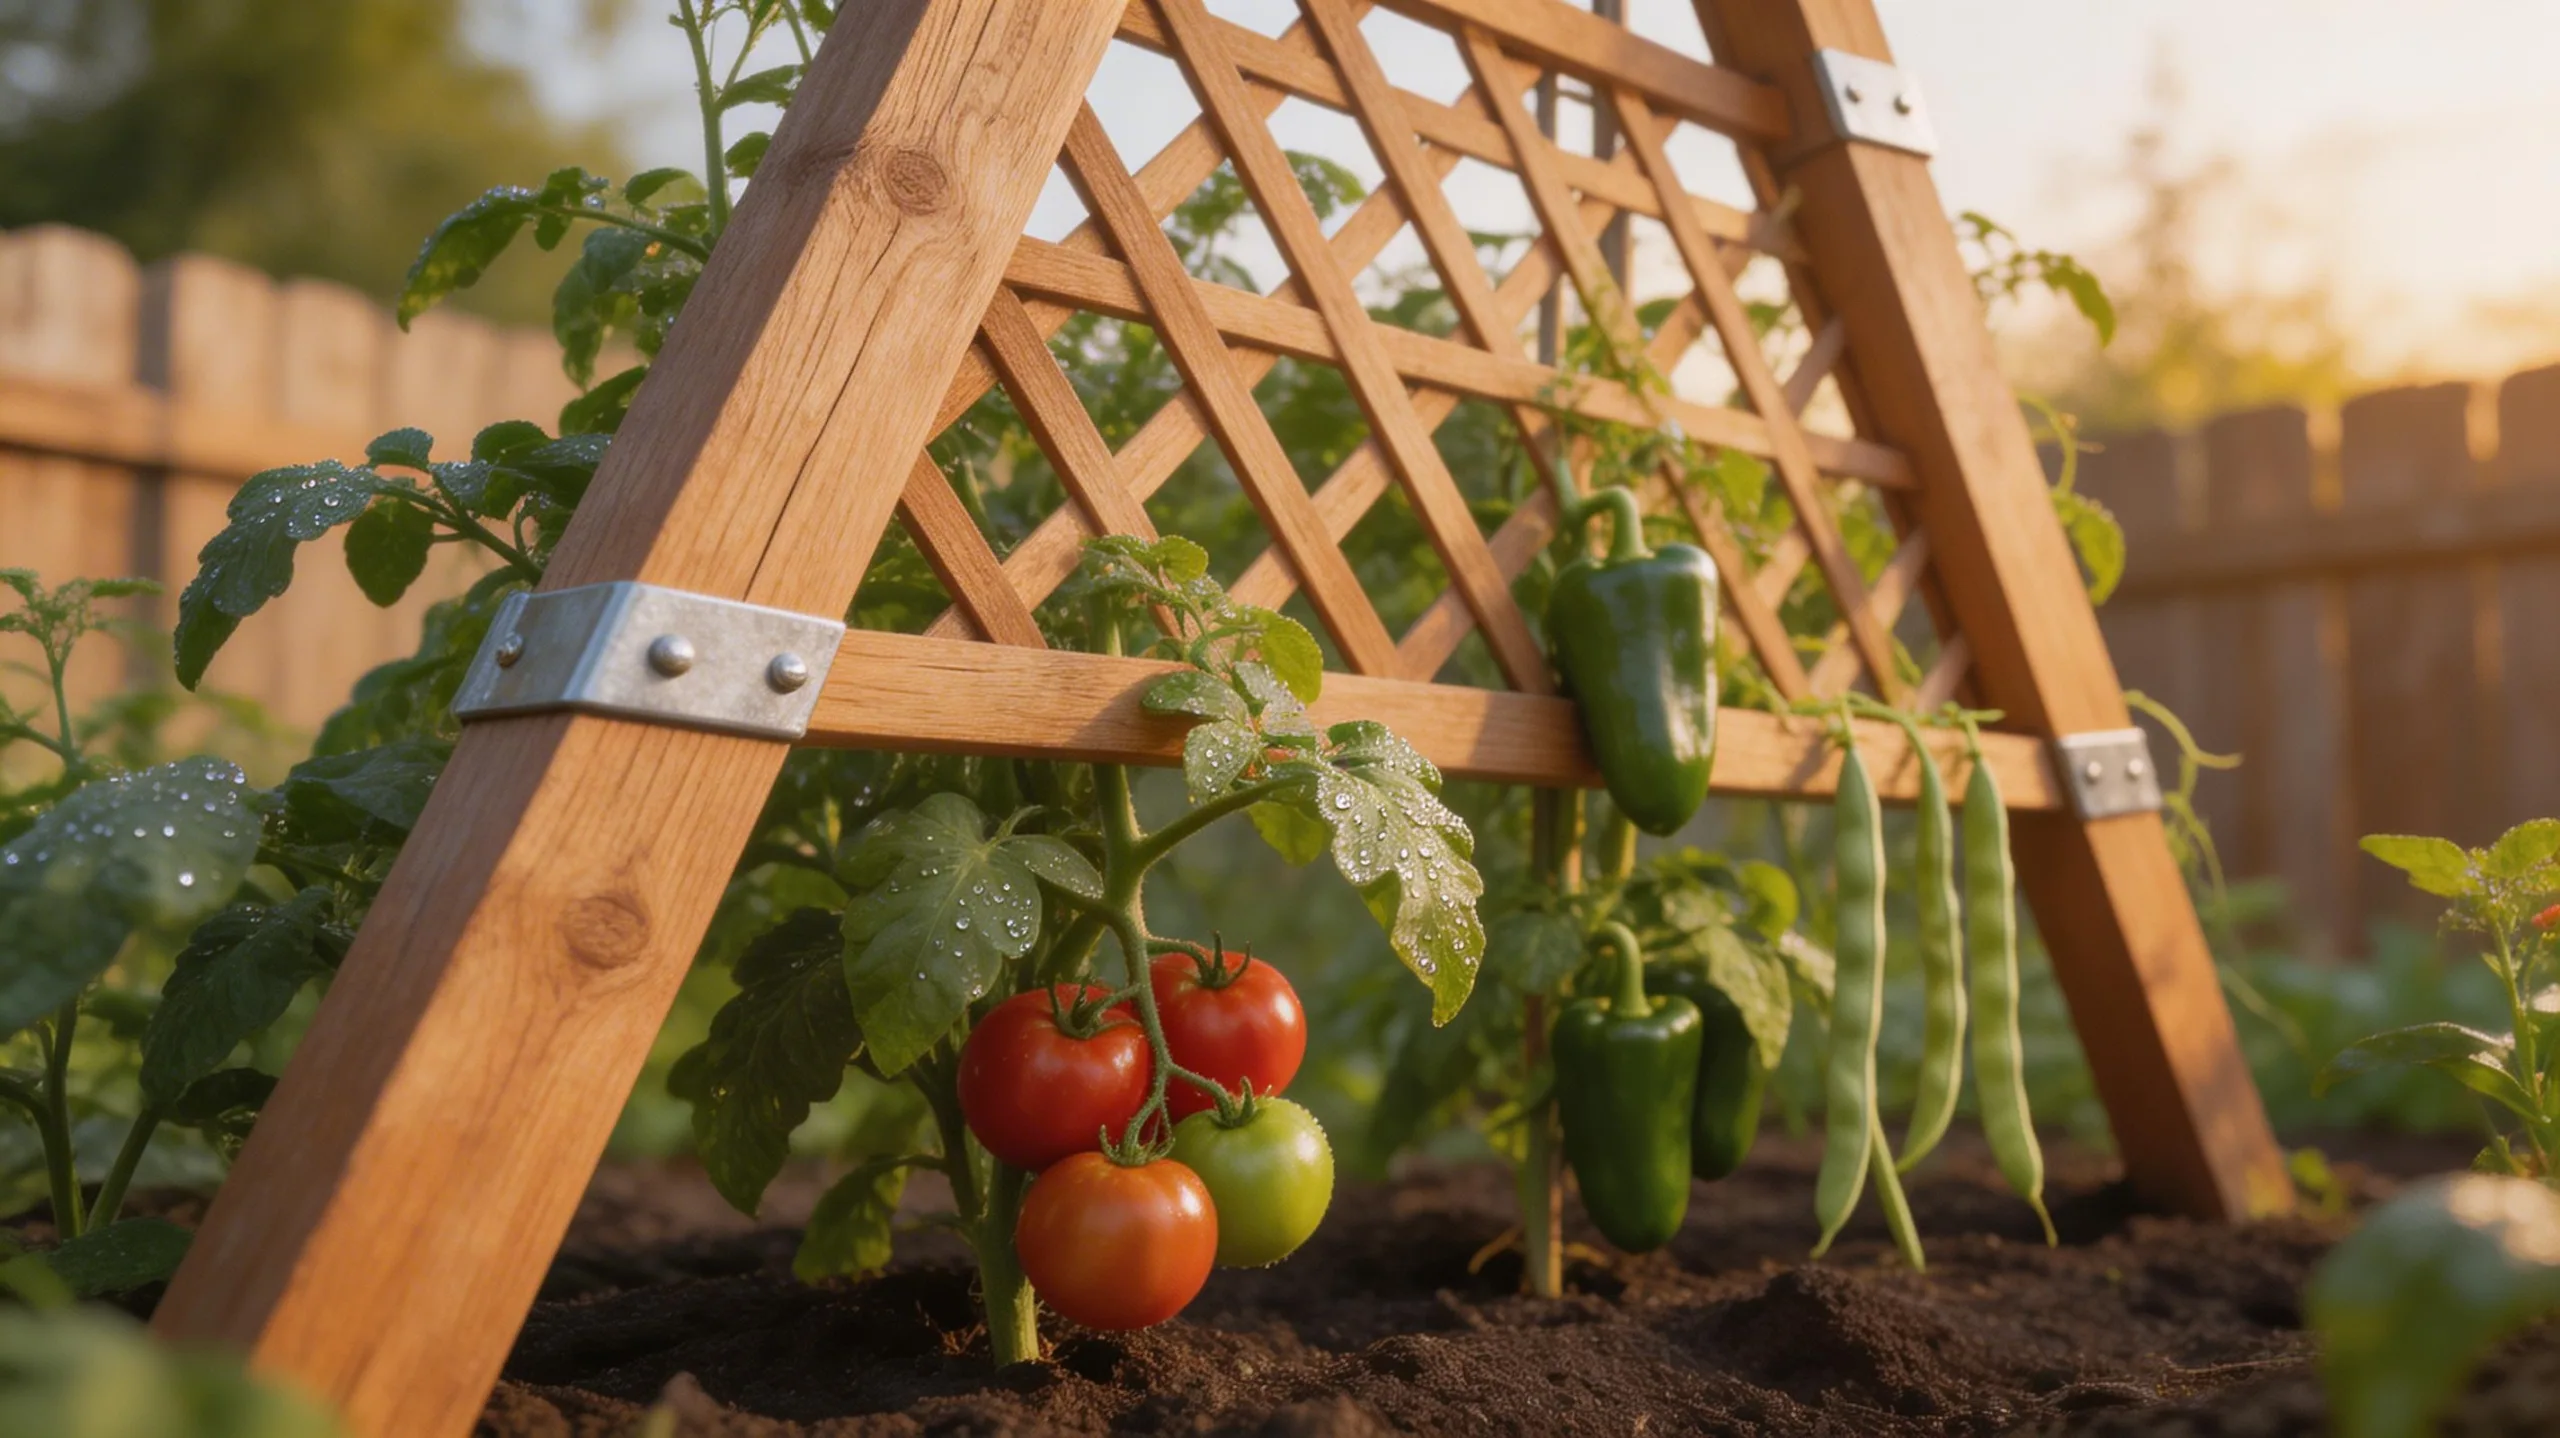
Construct an A-frame trellis to provide robust, double-sided support for heavyweight producers like melons, winter squash, or sprawling cucumbers. You’ll need two wooden panels or frames made from 2×2 lumber and wire or sturdy netting.
Hinge the panels together at the top with heavy-duty hardware, creating a freestanding ‘A’ shape. Anchor it firmly by driving rebar or wooden stakes into the ground at the base of each leg and securing them with screws.
This design offers incredible stability and ample growing space on both sides. The open center allows for excellent air circulation, which helps prevent disease.
Train vines up the mesh as they grow, and use fabric slings later to support developing fruits and prevent stem damage.
Create a Rustic Ladder Trellis With Old Wood

Reimagine those leftover pieces of barn wood or salvaged fence boards as a charming and functional ladder trellis for lightweight climbers like peas, beans, or morning glories.
Start by cutting two longer pieces for your uprights and several shorter rungs. You’ll space the rungs evenly, attaching each with two exterior-grade screws at both ends.
For stability, angle the bottom of each upright post and bury it a few inches into the soil. You can leave the wood’s weathered patina intact or apply a natural, non-toxic sealant.
This design is wonderfully adaptable; simply adjust the height and rung spacing to suit your garden’s space and your chosen plants’ climbing habits.
Craft an Obelisk Trellis for a Formal Look
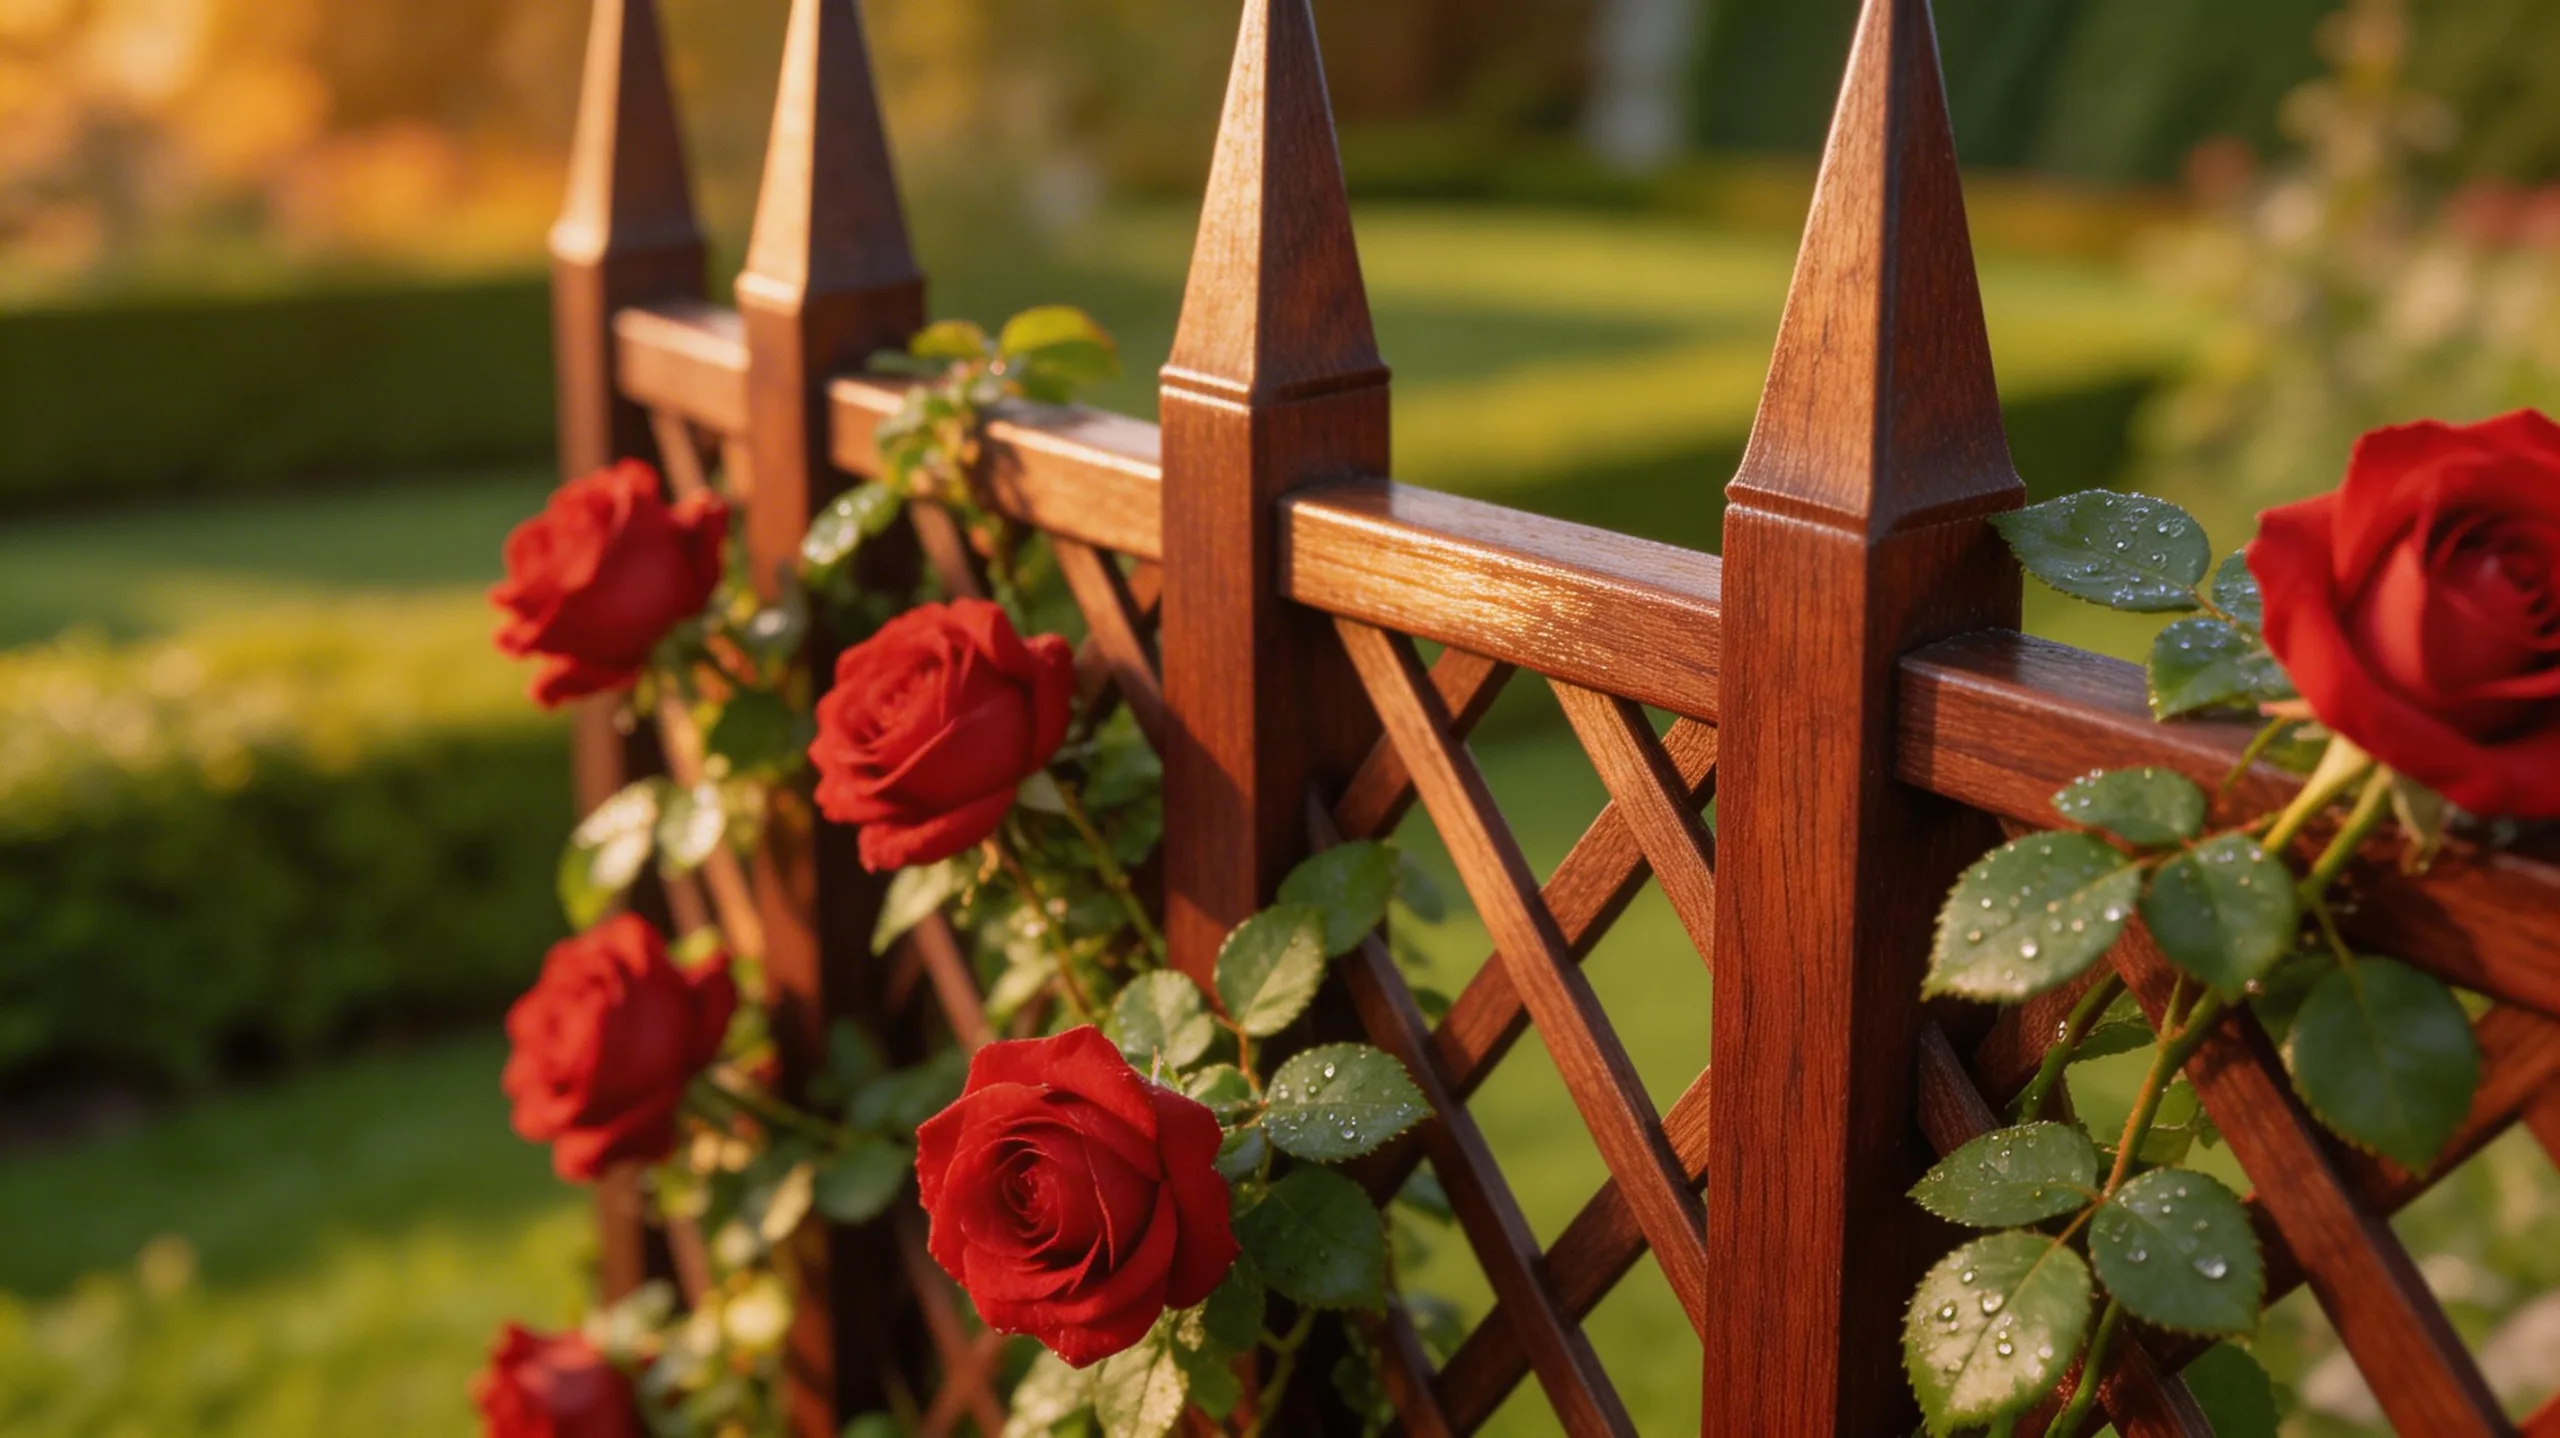
If you’re aiming for vertical drama and a touch of elegance, a DIY obelisk trellis provides a classic structure for climbing roses, clematis, or sweet peas. You’ll need four long, sturdy wooden stakes for the verticals and several shorter pieces for the horizontal rungs. Cut your verticals to your desired height, tapering the tops for a pointed finish. Arrange them in a square at the base, splaying them outward slightly for stability. Secure the top points together with twine or a metal bracket. Then, evenly space and attach the horizontal rungs using exterior wood screws, starting about a foot from the ground. Sink the legs at least 12 inches into the soil for a secure, permanent installation.
| Material | Key Tool | Pro Tip |
|---|---|---|
| Pressure-Treated Lumber | Drill/Driver | Pre-drill holes to prevent splitting |
| Exterior Wood Screws | Saw | Angle cuts for a perfect pyramid top |
| Metal Bracket (Optional) | Level | Splay legs for inherent stability |
Weave a Beautiful and Functional Bamboo Trellis
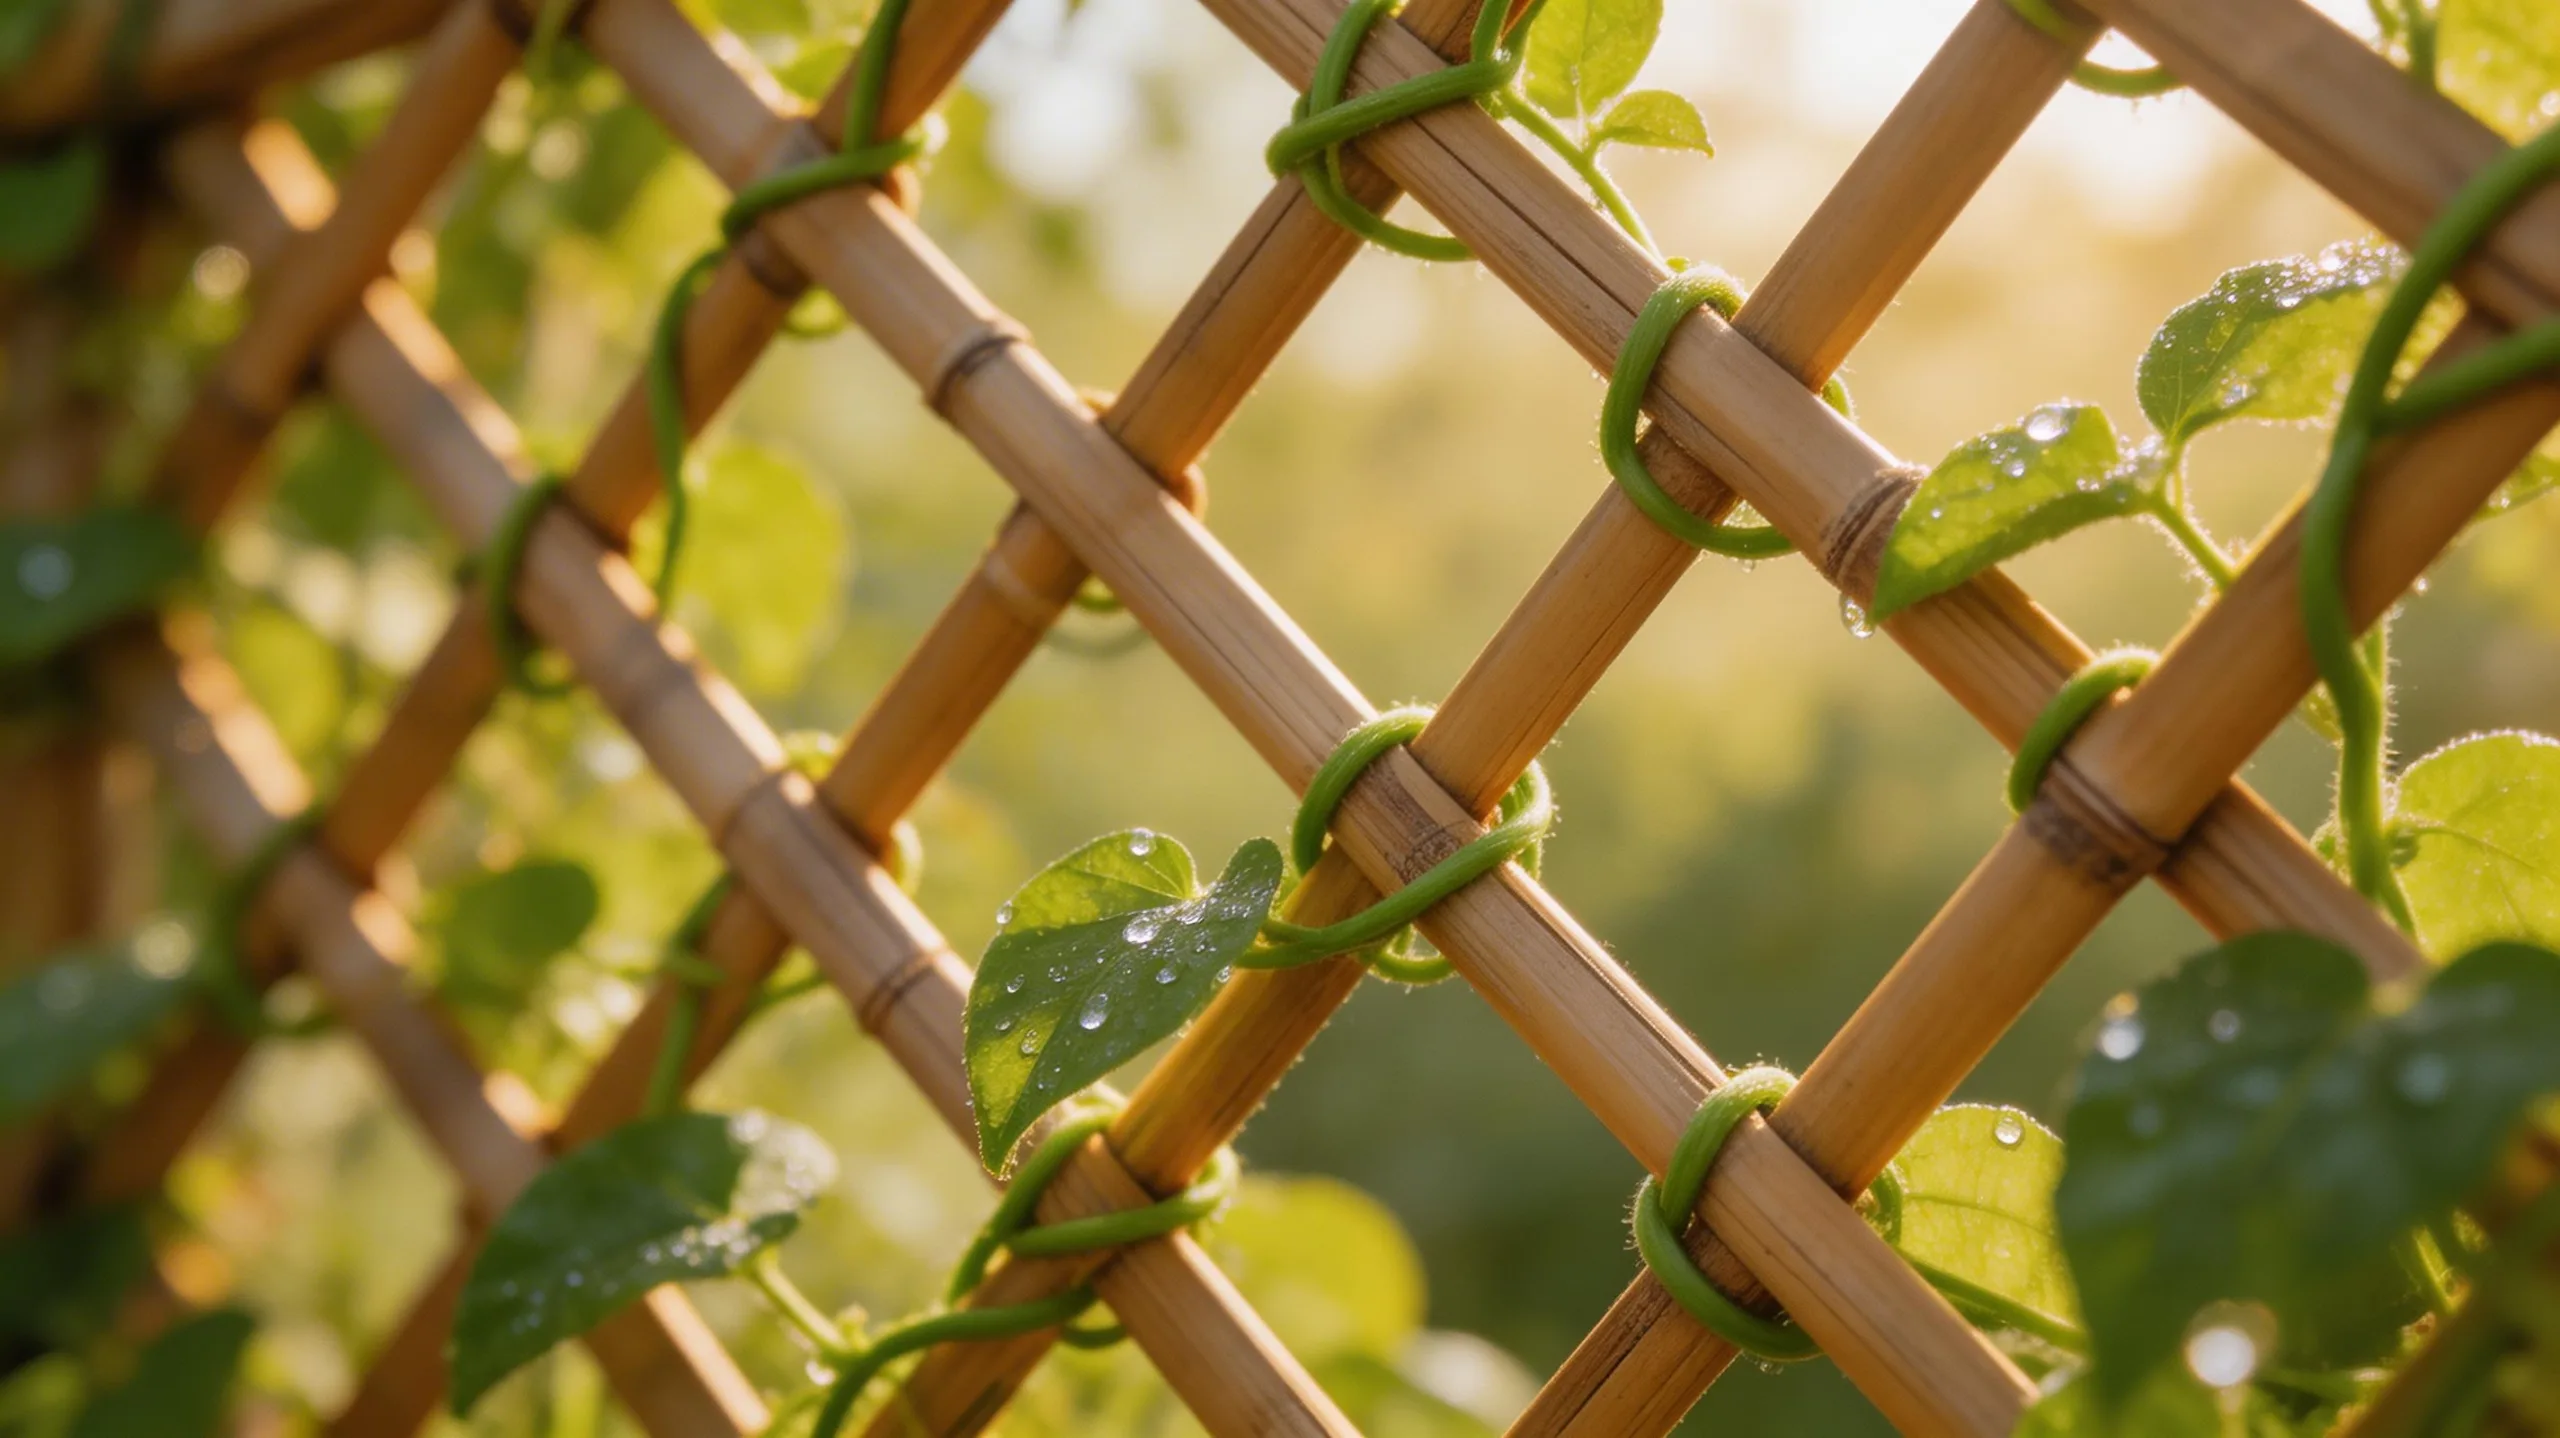
Because bamboo’s natural strength and flexibility make it ideal for creative garden structures, you can weave a simple, elegant trellis that supports vining plants while adding organic texture.
Start with thick, straight canes for your vertical supports, sinking them securely into the ground. Then, select thinner, more pliable shoots for the horizontal weaving. Soak these in water first to increase their flexibility.
Begin weaving near the base, passing the thin cane over and under your vertical stakes in a simple basket-weave pattern. You’ll create a sturdy grid as you work your way upward.
Secure the ends by tucking them behind a stake or using natural jute twine. This woven lattice provides perfect support for beans, peas, or delicate flowering vines.
Make a Wire Grid Trellis for Climbing Flowers
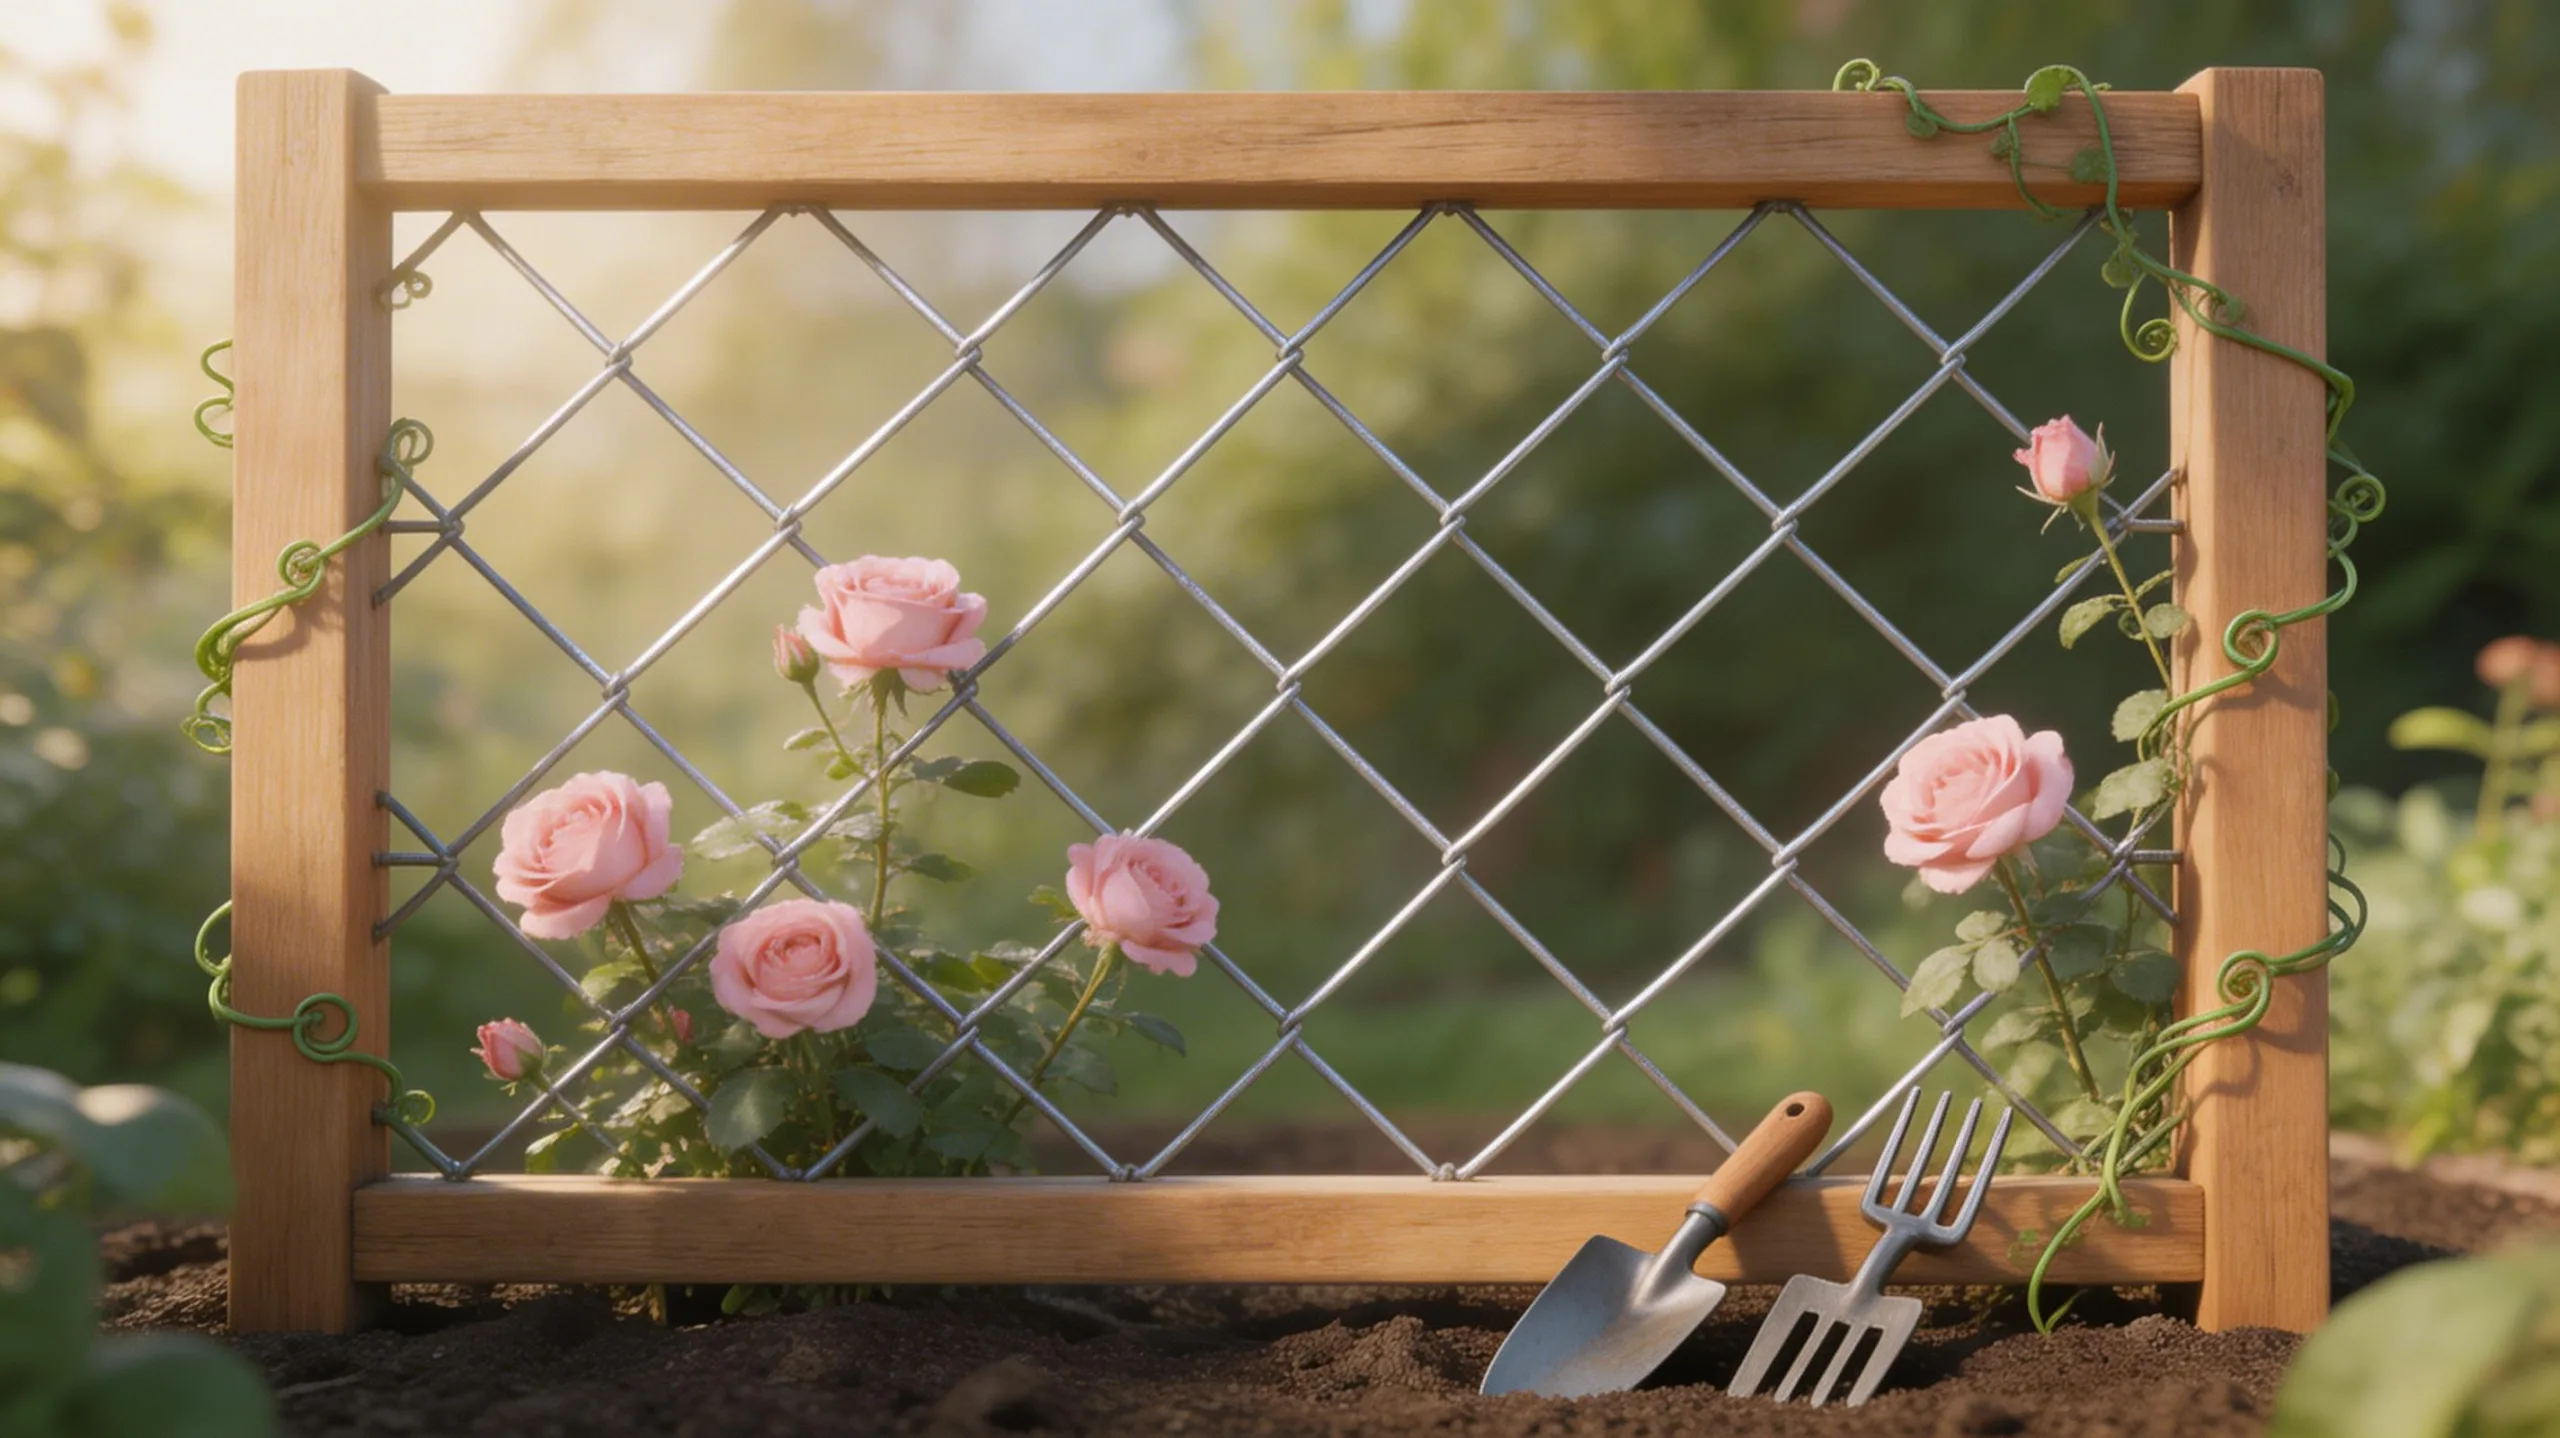
For a more permanent structure, a wire grid trellis offers clean lines and reliable support for heavier climbing flowers like clematis or roses. You’ll need heavy-duty galvanized wire, sturdy metal posts, and tensioning tools.
First, anchor your posts firmly into the ground. Then, run horizontal wires between them, securing each end tightly. Next, attach vertical wires, spacing them about six to twelve inches apart to create a strong grid. Use crimps or wire clamps to fix all intersections, ensuring the entire structure is rigid.
This tight grid provides excellent anchor points for tendrils and prevents sagging under the weight of mature plants. Your climbers will weave through it neatly, creating a living tapestry on a durable frame.
Turn a Pallet Into a Vertical Garden Screen
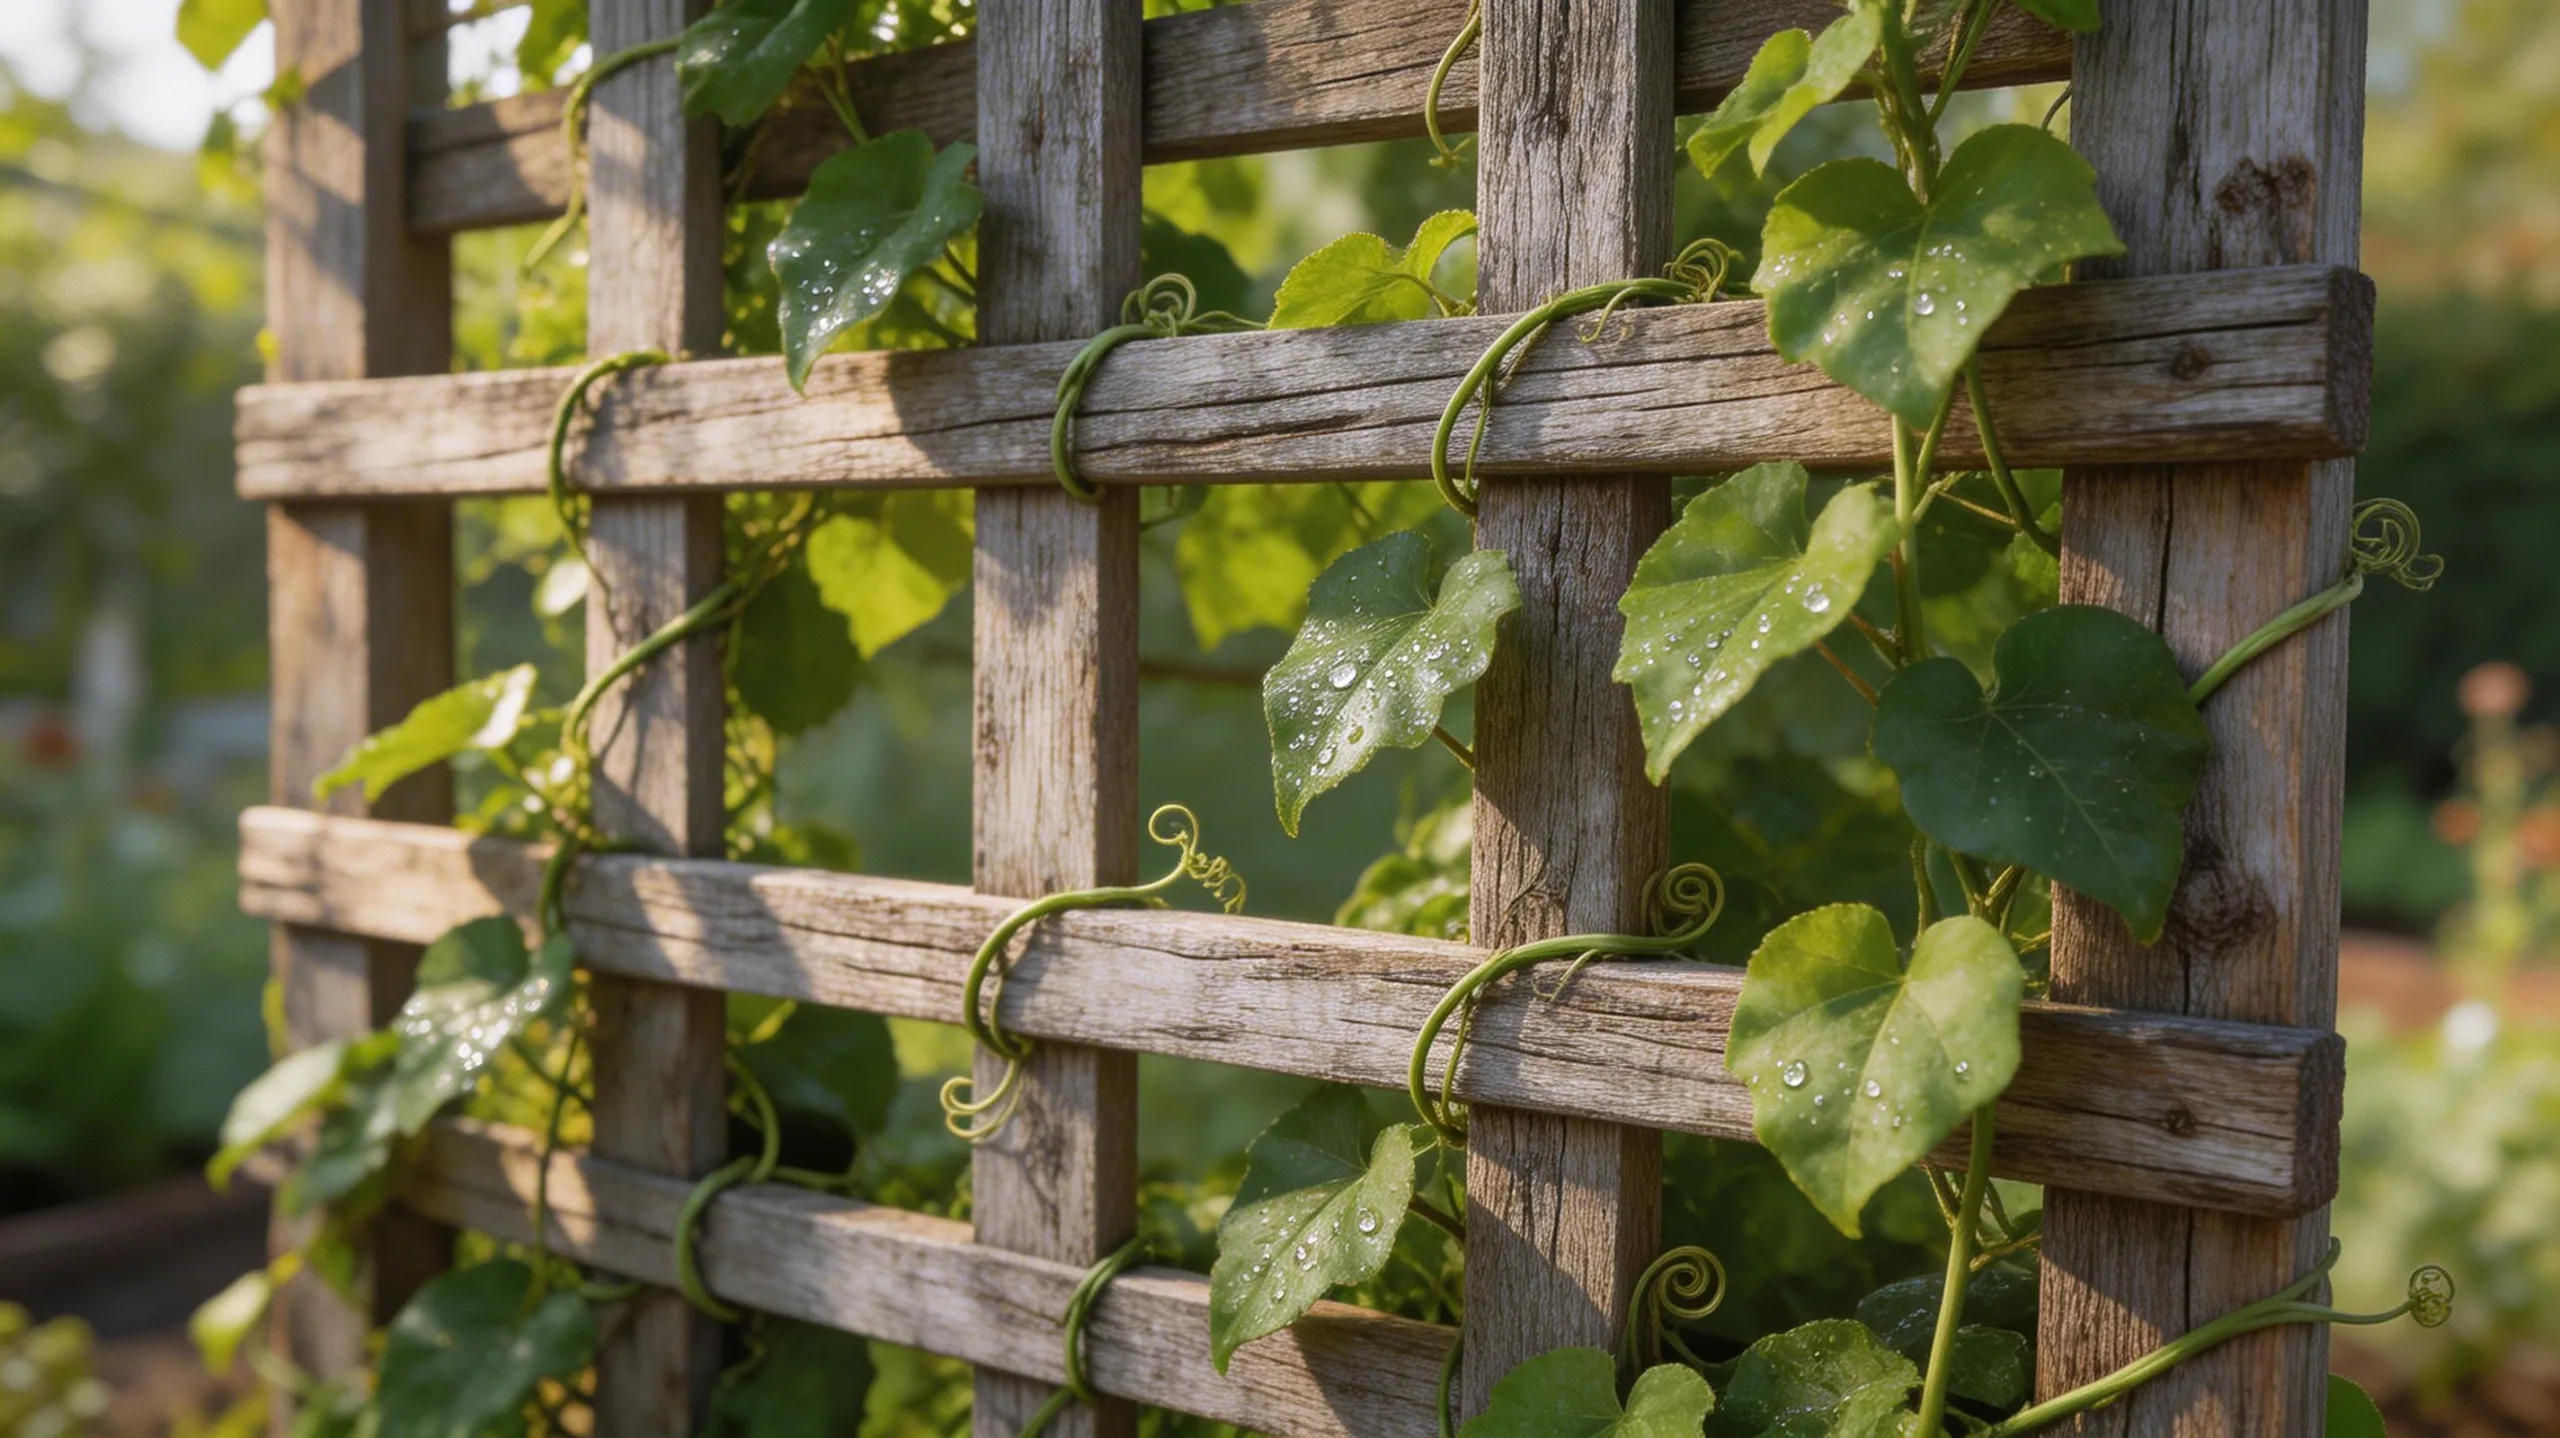
Moving beyond manufactured structures, you can craft a charming and functional vertical garden screen from a reclaimed wooden pallet. First, disassemble it to remove excess boards, creating a slatted frame. You’ll sand the wood thoroughly to smooth any rough edges.
Next, decide your orientation; you can stand it upright or hang it flat against a wall. Use sturdy screws to reassemble the boards with intentional gaps, perfect for weaving vines or securing potted plants. Consider adding a mesh backing for extra support if you’re planting directly into soil-filled pockets.
Finish by applying a weatherproof sealant. This project transforms scrap wood into a living wall, offering a rustic, cost-effective solution for your climbing greenery.
Upcycle a Trellis From an Old Window Frame

If you’ve already experimented with pallets, consider turning a salvaged window frame into a decorative trellis. First, remove any broken glass and hardware. Sand the frame lightly and apply an outdoor-rated paint or sealant to protect it from the elements. Next, attach a supportive grid inside the frame using weatherproof materials like galvanized wire, twine, or thin wooden lattice strips. Secure the grid with staples or small nails. You’ll need to choose a mounting method based on your frame’s sturdiness and your garden’s layout.
| Mounting Method | Best For |
|---|---|
| Attach to a fence or wall | Lightweight frames, sheltered spots |
| Secure between two posts | Heavy frames, freestanding display |
| Anchor with rear stakes | In-ground placement for stability |
Finally, install your trellis and train your climbers through the grid.
Build a Cattle Panel Arch for Maximum Impact
While garden arches can be elaborate, you can build a sturdy and impressive one yourself using a standard livestock panel.
Choose a sixteen-foot long, four-foot tall cattle panel and bend it into a graceful, seven-foot tall arch.
Drive two pieces of rebar a foot into the ground where you want the arch ends, spacing them four feet apart to match the panel’s width.
Slide the panel’s outer wires over the rebar stakes.
To prevent wobbling, zip-tie two wooden stakes to each panel leg, then hammer them into the soil.
Your arch is instantly ready for planting.
Train heavy climbers like pole beans or rambling roses up its sides for a season of lush, living architecture.
Construct a Sturdy Bean Tunnel for Kids and Plants
A bean tunnel makes a magical garden playhouse that’s also a prolific food producer. Use sturdy, pressure-treated wooden posts for your framework, sinking them at least two feet into the ground at each corner of a rectangular path.
For the arched roof, create hoops from flexible yet robust half-inch metal conduit pipe. Attach these hoops to the top of your posts with heavy-duty pipe straps, spacing them about three feet apart for consistent support.
Cover the entire arched frame with galvanized steel livestock fencing, which provides an excellent, durable climbing surface. Plant pole beans, runner beans, or vigorous peas at the base of each arch. You’ll train the young vines onto the mesh, and they’ll quickly create a lush, edible canopy overhead.
How to Secure Your Trellis So It Won’t Blow Away
Despite their delicate appearance, garden trellises need robust anchoring to withstand strong winds and the weight of mature plants.
You can’t just push a lightweight frame into soft soil and expect it to hold. Your method depends on your trellis design and your garden’s conditions. Consider these secure anchoring techniques:
- Drive long stakes at least 18 inches into the ground and firmly attach your trellis legs to them with galvanized wire or sturdy straps.
- Use ground anchors or augers, screwing them deep into the soil and fastening your structure to their above-ground loops.
- Sink your trellis legs directly into post holes filled with quick-setting concrete for a permanent, heavyweight solution.
- Attach a freestanding trellis to a solid fence or wall using heavy-duty wall anchors suitable for outdoor use.
- Create a buried foot for arched or tunnel trellises by bending the base wire into an L-shape and burying it horizontally.
Maintain and Store Your Trellis for Years of Use
Now that your trellis is firmly anchored, you can protect your investment with a little regular maintenance and proper off-season storage. Inspect it monthly for loose joints or damaged parts, tightening hardware and applying wood preservative or metal paint to prevent rot and rust. Annually, clean off all plant debris and dirt with a stiff brush.
| Seasonal Task | Key Action |
|---|---|
| During Growing Season | Check stability; prune overgrowth. |
| After First Frost | Remove dead vines completely. |
| Before Winter Storage | Apply protective sealant. |
For off-season storage, disassemble modular sections if possible. Store wooden trellises in a dry, covered area like a garage or shed to prevent weather damage. Lay them flat or hang them on wall hooks to avoid warping, ensuring they’re ready for robust service next spring.
Frequently Asked Questions
What Climbing Plants Are Not Suitable for Trellises?
You should avoid heavy, woody vines like wisteria or large ivy on lightweight trellises, as they’ll break the support. Also, skip aggressive spreaders like kudzu; they’ll engulf structures and become unmanageable.
Can Trellises Be Used Indoors for Houseplants?
Yes, you can use trellises indoors. They’re perfect for training vining houseplants like pothos or philodendron. Use lightweight materials like bamboo or wire to support growth and create attractive living decor in your home.
How Do I Train a New Plant Onto a Trellis?
Gently tie new growth onto your trellis with soft plant ties. You’ll want to space the ties loosely to allow for stem thickening, guiding the plant upward as its main tendrils start to reach.
Will a Trellis Damage My House’s Siding or Brick?
You can avoid damage by adding spacers. Mount your trellis a few inches from the wall to create an air gap, securing it firmly. This also makes maintenance easier and deters pests.
Do Trellises Attract Pests or Beneficial Insects?
They can attract both. Dense foliage offers pest shelter, so inspect regularly. You’ll also draw pollinators like bees and predator insects, such as ladybugs, that naturally control harmful pests in your garden.
Conclusion
Now that your trellis is built, you can train your vines through its supports. Remember to prune for airflow, and seal any wooden structures to extend their life. With your DIY trellis firmly anchored, you’ll harvest more in less space for seasons to come. Enjoy watching your climbing plants thrive on the sturdy, resourceful structure you created yourself.
The Only Tools You Need for a Thriving Garden 🌱
Whether you're a weekend gardener or growing daily — these hand-picked tools make every session faster, easier, and more satisfying.