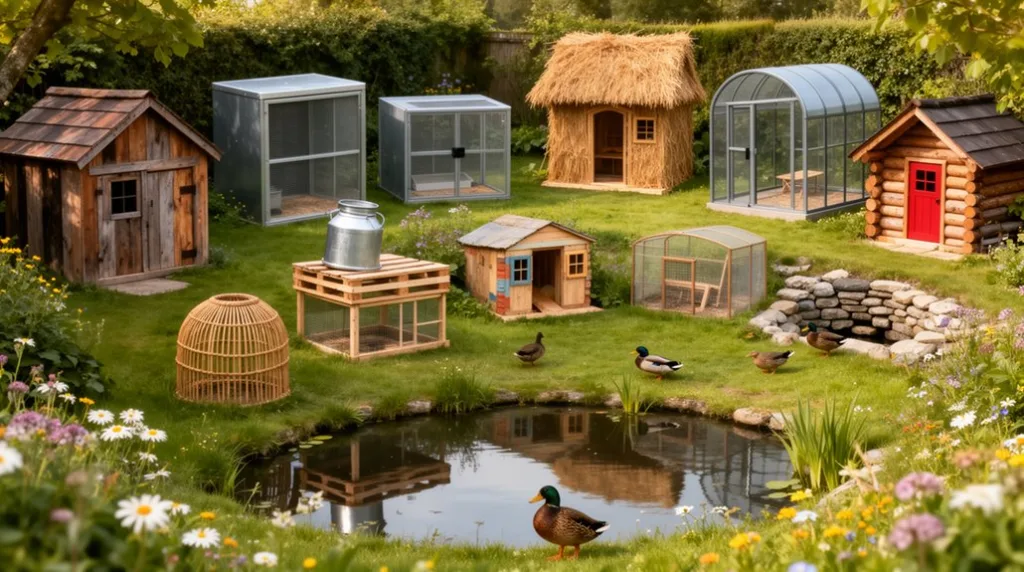
You’ve got space, budget, and a flock of ducks that need a safe, comfortable home, but choosing the right coop can be tricky. From reclaimed‑wood cabins that blend with a garden to modular snap‑together shelters you can assemble in minutes, each design tackles drainage, ventilation, and predator protection in its own way. The options also vary in insulation, cleaning ease, and portability, so you’ll want to match the style to your yard’s layout and your maintenance preferences. Let’s explore which solution fits your needs best.
Key Takeaways
- Provide at least 4 sq ft per duck, using a raised, sloped floor with drainage to keep the interior dry and comfortable.
- Use weather‑resistant materials such as pressure‑treated lumber, galvanized hardware, and a sloped roof with overhang and drip‑edge for rain, snow, and heat protection.
- Incorporate predator‑proof features: lockable latches, hardware cloth or galvanized netting over vents, and a secure, lockable hatch for underground bunker designs.
- Include easy‑cleaning internal systems: sloped floors (5–10°) feeding waste to a removable tray, non‑porous flooring, and hinged access panels for quick maintenance.
- Offer versatile design options—rustic reclaimed barn wood, modular snap‑together units, pallet‑frame shelters, or underground bunkers—to suit space, budget, and aesthetic preferences.
Choose the Right Duck Coop for Your Yard

Choosing the right duck coop for your yard starts with assessing space, climate, and your ducks’ needs. Measure the area you can dedicate; a minimum of 4 sq ft per duck ensures comfort.
Check local weather: insulated walls and a sloped roof protect against rain, snow, and heat. Prioritize ventilation—install adjustable vents near the roof to keep air fresh without drafts.
Choose durable materials; pressure‑treated lumber resists rot, while galvanized hardware prevents rust. Design a secure entry with a predator‑proof latch and a ramp that slopes gently for easy access.
Provide a nesting box with soft bedding, and ensure the floor is easy to clean—elevated slats or a removable tray simplify maintenance. Finally, position the coop on raised ground to avoid flooding and to improve drainage.
Build a Rustic Reclaimed Barn Wood Duck Coop
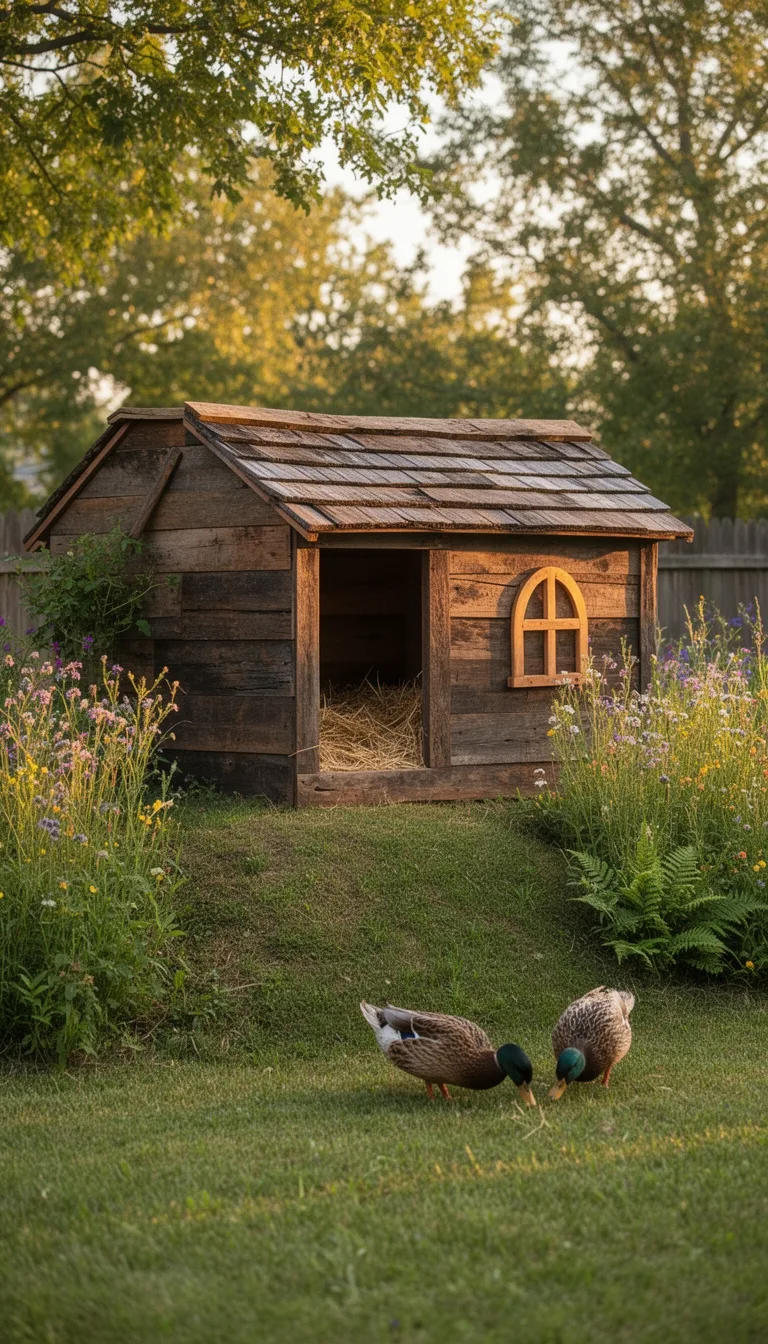
After measuring your yard and picking a spot with good drainage, you can start shaping a rustic coop from reclaimed barn wood. First, strip the boards, sand out knots, and cut to dimensions: 4 ft × 2 ft × 3 ft. Use rust‑proof screws, and frame a raised floor to keep moisture away. Install a sloped roof with reclaimed shingles, leaving a 2‑inch overhang for rain protection. Add a predator‑proof latch and a hinged side panel for easy cleaning. Finish with a natural oil seal to preserve the wood grain and repel water.
| Feature | Benefit |
|---|---|
| Raised floor | Dry interior, fewer parasites |
| Sloped roof | Efficient runoff, longer roof life |
| Hinged side panel | Quick access, stress‑free cleaning |
Snap‑Together a Modular Duck House in Minutes
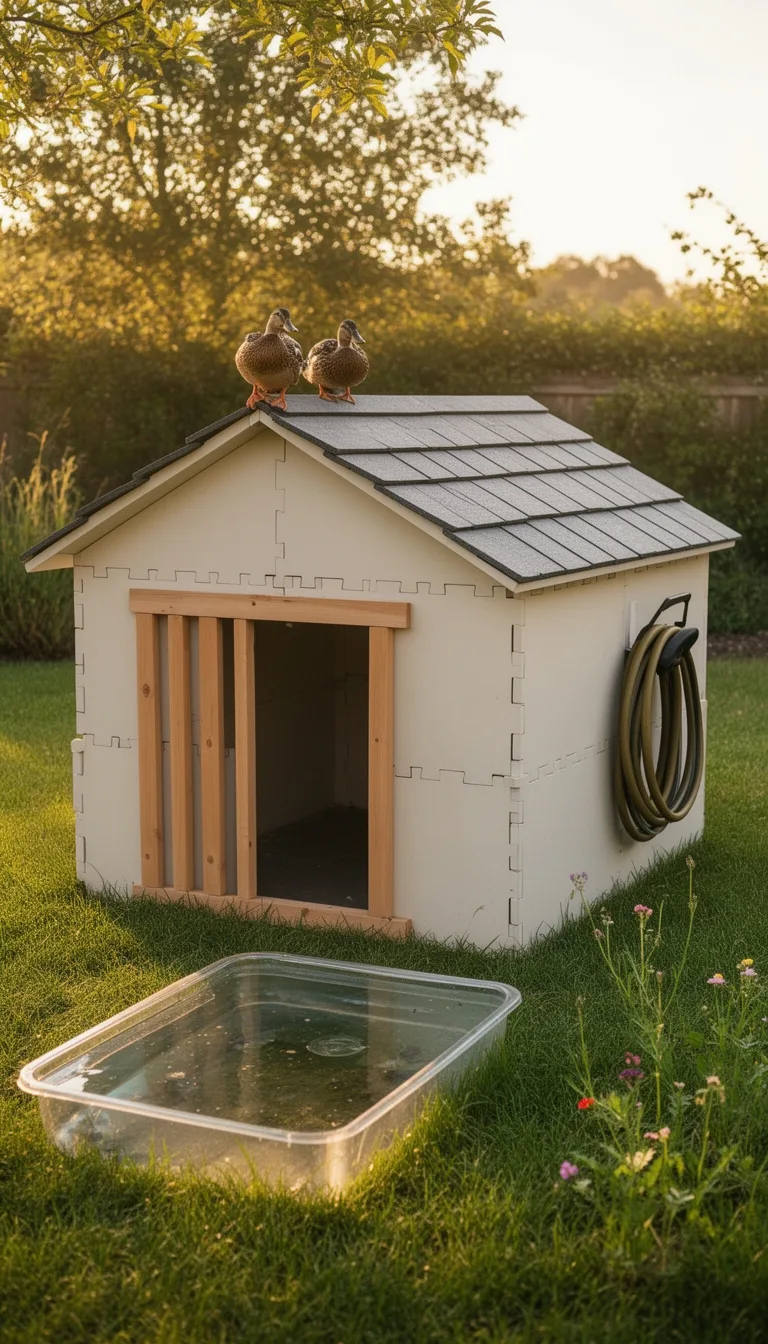
Snap the pre‑cut panels together and you’ll have a fully functional duck house in minutes, thanks to the interlocking tabs and pre‑drilled holes that eliminate the need for tools. You simply align the edges, click the tabs, and the frame locks in place. The modular design lets you expand or shrink the space by adding extra sections, so you can adjust for growing flocks.
Install the pre‑drilled floor slats for drainage, then attach the roof panel with its built‑in overhang to keep rain off the entrance. Slip the hardware netting into the side slots for predator protection, and secure the latch with a quick‑snap clip. This system requires no screws, no drills, and minimal assembly time, delivering a sturdy, weather‑ready duck house you can set up in under ten minutes.
Craft an Upcycled Plastic Barrel Duck Coop Shelter
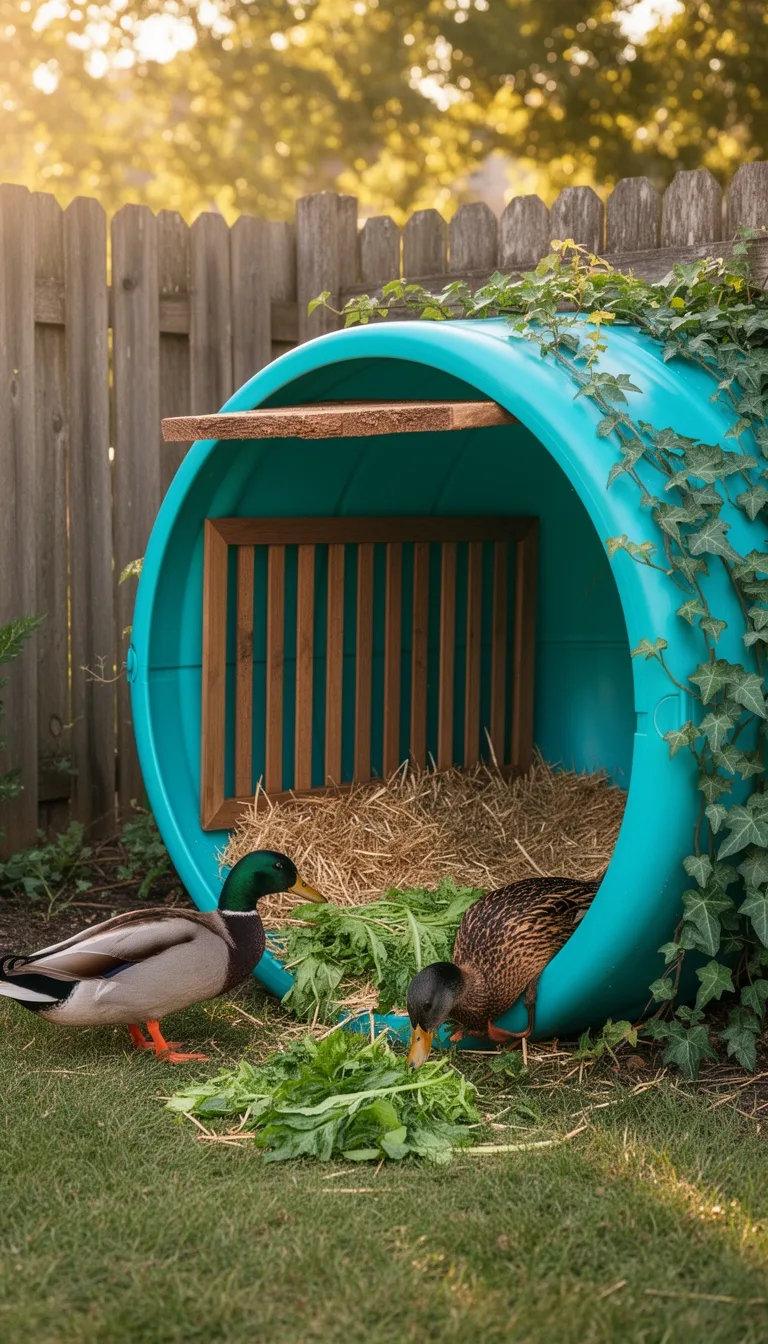
Transform a clean, 55‑gallon plastic barrel into a durable duck coop by cutting a doorway, adding ventilation slots, and securing a waterproof roof.
First, mark a 12‑inch high, 8‑inch wide opening on one side; use a jigsaw or utility knife for a clean cut. Sand the edges to prevent injuries. Install a hinged flap with hinges and a latch for easy access.
Drill several 1‑inch holes near the top for airflow; cover each with hardware cloth to keep predators out.
Cut a piece of corrugated roofing material, attach it with rust‑proof screws, and seal seams with silicone caulk for rain protection.
Place a shallow water tray inside, line the floor with straw, and secure the barrel to a wooden base to keep it stable. This upcycled shelter offers insulation, durability, and low‑cost construction for backyard ducks.
Assemble a DIY Pallet‑Frame Duck Coop With Mesh Roof
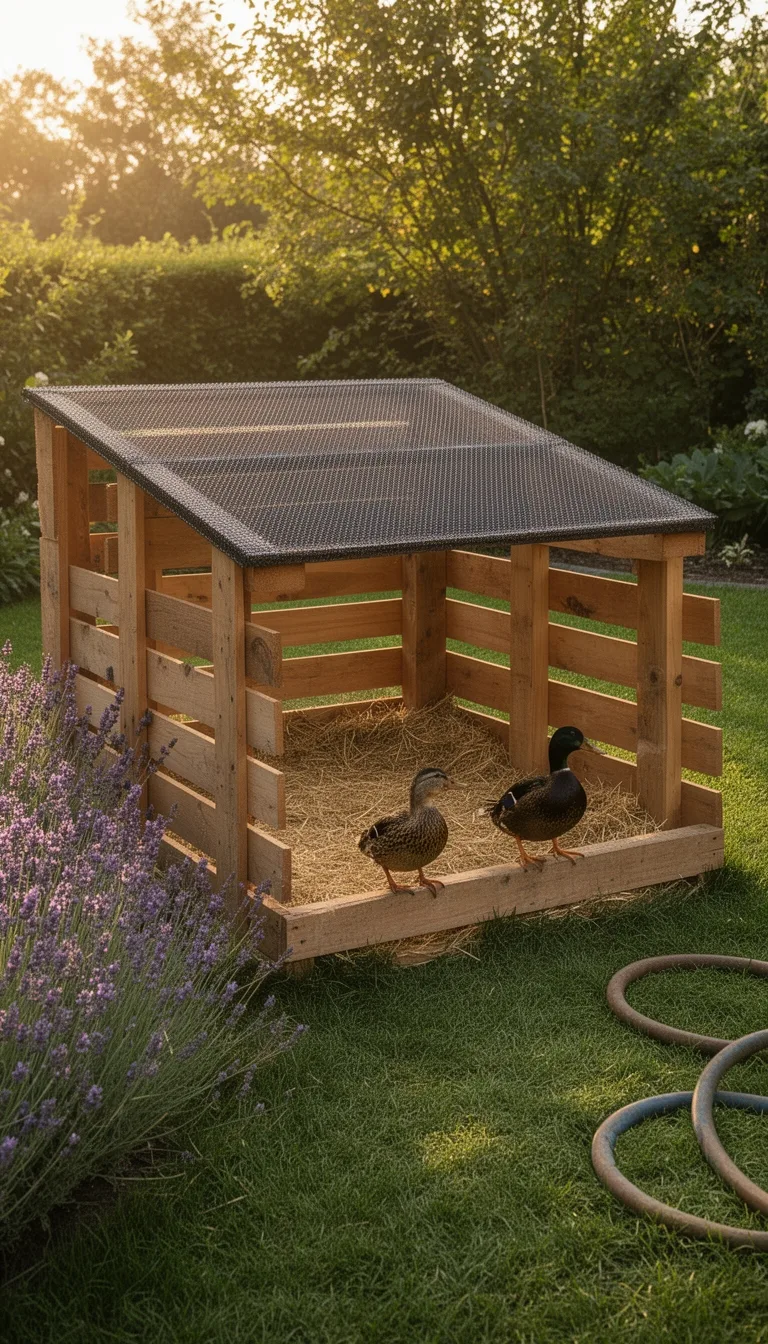
If you’ve already turned a plastic barrel into a cozy duck shelter, you can expand that low‑cost approach with a pallet‑frame coop that adds space and a sturdy mesh roof.
Start by gathering three to four pallets, a roll of galvanized hardware, and a piece of UV‑protected chicken wire. Disassemble the pallets, keep the slats intact, and build a rectangular base using 2×4s for extra rigidity.
Stack the slats vertically, securing each layer with lag bolts; this creates walls that allow airflow while keeping predators out.
Cut the mesh to cover the top, staple it to the frame, and add a hinged flap for easy cleaning. Attach a hinged door using a simple latch, then line the floor with straw or wood shavings for comfort.
This DIY coop offers durability, ventilation, and quick assembly without breaking the bank.
Raise an Elevated Platform Duck Coop for Flood‑Prone Yards
When your yard floods often, raising the duck coop off the ground protects the birds and keeps their bedding dry. Start with a sturdy frame of pressure‑treated lumber, then attach 4‑inch concrete deck blocks or adjustable metal risers to create a stable platform.
Secure 1‑by‑2 cross‑beams for weight distribution, and add a non‑slip surface such as deck tiles or rubber matting. Build the coop walls on the platform, using weather‑resistant plywood and mesh for ventilation.
Install a hinged roof with overhang to shed water, and attach a lockable latch to keep predators out. Include a removable tray beneath the coop for easy cleaning, and ensure the platform is level to prevent wobbling during heavy rain.
This design keeps ducks dry, healthy, and safe during seasonal floods.
Fit a Compact Corner Duck Coop for Small Spaces
Optimizing a tight yard corner for ducks means maximizing every inch while keeping the coop sturdy and accessible.
Choose a right‑angle layout, using two 3‑foot walls and a sloped roof that fits the corner’s dimensions.
Install a single‑door hatch on the outer wall for easy collection, and a low‑profile ramp that slides into the coop for chicks.
Use lightweight, weather‑resistant panels to keep the structure under 50 pounds, allowing you to move it if needed.
Include a removable floor tray for quick cleaning, and position a perch near the doorway so ducks can hop in and out without crowding.
Add a lockable latch to deter predators, and seal all seams with silicone to prevent drafts.
This compact design fits narrow patios, garden beds, or balcony edges while providing safe, comfortable housing.
Construct a Rustic Log Cabin‑Style Duck Coop
Rustic charm meets functional durability when you build a log‑cabin‑style duck coop, blending natural aesthetics with sturdy, weather‑proof shelter.
Start with a foundation of pressure‑treated lumber, level it, and lay a moisture‑blocking tarp. Use reclaimed pine logs, notch them with a simple saddle‑cut, and stack them in a staggered pattern for strength. Secure each layer with stainless‑steel spikes and add a roof of cedar shakes or metal panels, sloping to shed rain.
Install a raised sleeping platform using reclaimed pallets, and line the floor with straw for insulation. Include a sliding door framed with reclaimed wood, and fit ventilation hatches near the eaves.
Seal gaps with silicone caulk, and apply a non‑toxic wood finish to protect against rot while preserving the rustic look.
Set Up a Portable Pop‑Up Duck Coop for Seasonal Use
After the sturdy log‑cabin coop, you can add a lightweight, seasonal solution that’s easy to move and store.
Choose a pop‑up tent frame with a waterproof canvas cover; it folds flat and fits in a trunk. Attach a hinged door using a simple latch, and line the floor with removable straw or rubber mats for easy cleaning. Install a portable waterer and a hanging feeder that snap onto the frame, keeping feed off the ground. Secure the coop with stakes or sandbags to prevent wind from blowing it away.
When winter ends, collapse the structure, pack it away, and set it up again for spring. This portable setup saves space, reduces cost, and lets you relocate ducks to the best grazing spot.
Add a Self‑Cleaning Sloped‑Floor Duck Coop
If you want a coop that stays clean with minimal effort, build a sloped‑floor design that channels waste toward a removable tray.
Use a gentle 5‑10° incline, sturdy decking, and a low‑profile tray that slides out for quick emptying.
Seal joints with waterproof tape, and line the floor with smooth, non‑porous material to prevent absorption.
Add a hinged access panel for easy tray removal, and incorporate a drip‑edge to keep water from pooling.
Keep the slope consistent across the entire coop to avoid dead zones where waste can accumulate.
This setup reduces daily chores, improves hygiene, and lets you focus on duck health rather than constant cleaning.
- 5‑10° floor incline
- Removable waste tray with slide‑out rails
- Waterproof sealed joints and non‑porous flooring
- Hinged access panel for tray removal
- Drip‑edge runoff to prevent pooling
Install a Predator‑Proof Underground Duck Coop Bunker
A sloped floor keeps the coop tidy, but protecting your ducks from predators requires a different approach—digging a secure underground bunker. Start by selecting a well‑drained site, then excavate a 4‑foot‑deep pit with sloped walls to channel water away.
Line the cavity with heavy‑duty hardware cloth, burying it at least 12 inches below ground to block foxes and raccoons. Build a raised concrete floor, then install a lockable, insulated hatch that opens only with a keyed latch.
Reinforce the perimeter with a buried perimeter fence, extending 6 inches underground and curving outward to deter digging. Add a ventilation shaft covered with mesh, and install a rain‑drain pipe to keep the interior dry.
Finish with a removable tray for easy cleaning, and you’ll have a predator‑proof underground duck coop bunker.
Upgrade to an Eco‑Friendly Hemp‑Insulated Duck Coop
When you swap traditional insulation for hemp, you’ll cut energy costs, boost airflow, and give your ducks a healthier environment.
Hemp’s natural fibers trap heat while allowing moisture to escape, so winter stays warm and summer stays cool without stale humidity.
It’s renewable, biodegradable, and easy to install in panels or batts, fitting any coop shape.
You’ll also reduce fire risk because hemp is naturally flame‑retardant.
Pair hemp with a breathable outer shell, and you’ll create a low‑maintenance, eco‑friendly habitat that keeps bills dry and feathers fluffy.
- Use 4‑inch hemp batts between wall studs
- Seal seams with eco‑friendly tape
- Add a vapor‑permeable liner for extra moisture control
- Install a removable hemp roof panel for seasonal cleaning
- Reinforce corners with recycled wood brackets for durability
Conclusion
Pick the design that fits your space, budget, and climate, then follow the key specs: 4 sq ft per duck, sloped floor with slide‑out trays, waterproof roof, ventilation, and predator‑proof latches. Use reclaimed wood, pallets, barrels, or hemp insulation to stay eco‑friendly and affordable. Install removable panels for easy cleaning, and you’ll have a sturdy, low‑maintenance coop that keeps your ducks healthy and happy year‑round.
The Only Tools You Need for a Thriving Garden 🌱
Whether you're a weekend gardener or growing daily — these hand-picked tools make every session faster, easier, and more satisfying.