Your garden’s success hinges on its layout. From efficient rows to artistic spirals, each design shapes plant health and your harvest. Consider twelve proven ideas that manage space, improve soil, and boost biodiversity. Discover which layouts match your goals and transform your approach before you plant a single seed.
Key Takeaways
- Select a layout that suits your space, like traditional rows or space-saving raised beds.
- Place taller plants on the north side of rows to prevent shading shorter crops.
- Design beds narrow enough to reach the center without compacting the soil.
- Group plants with similar water and sunlight needs for easier, efficient care.
- Incorporate companion planting to deter pests and attract beneficial pollinators.
Choose the Traditional Row Layout for Easy Access

Start by planning your traditional rows with clear, accessible paths between them. You’ll need to space these paths at least 18 to 24 inches apart so you can comfortably kneel, weed, and harvest without stepping on your soil.
Arrange your crop rows to run north-south, which ensures plants receive even sunlight. Place taller plants, like corn or pole beans, on the north side so they don’t shade shorter vegetables.
This layout makes watering, fertilizing, and pest inspection a straightforward, linear task. You’ll appreciate the simplicity at planting time—just run your string line and sow seeds in straight, defined furrows.
It’s a classic, efficient system that keeps your garden organized and every plant within easy reach.
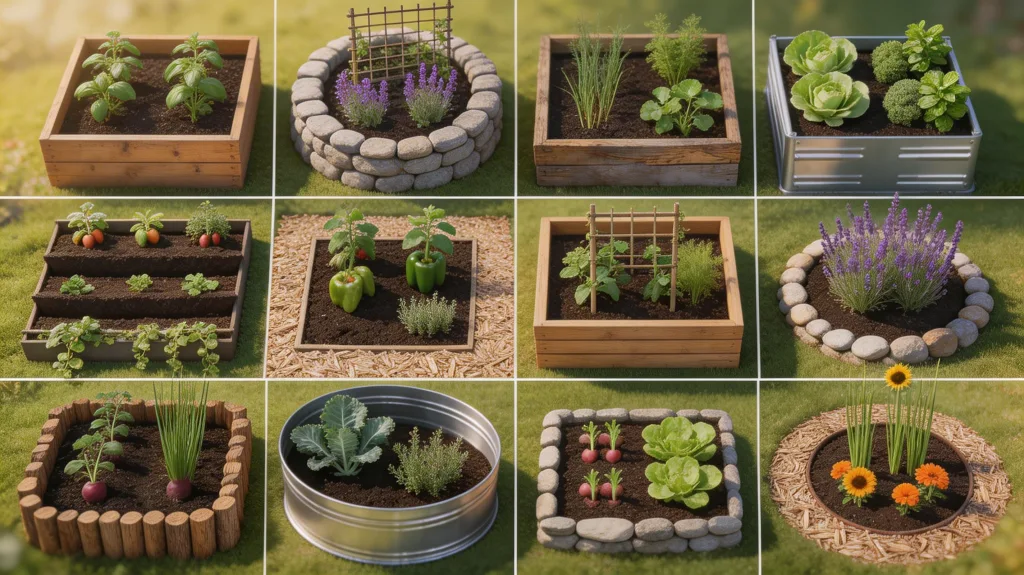
Maximize Space With a Raised Bed Layout
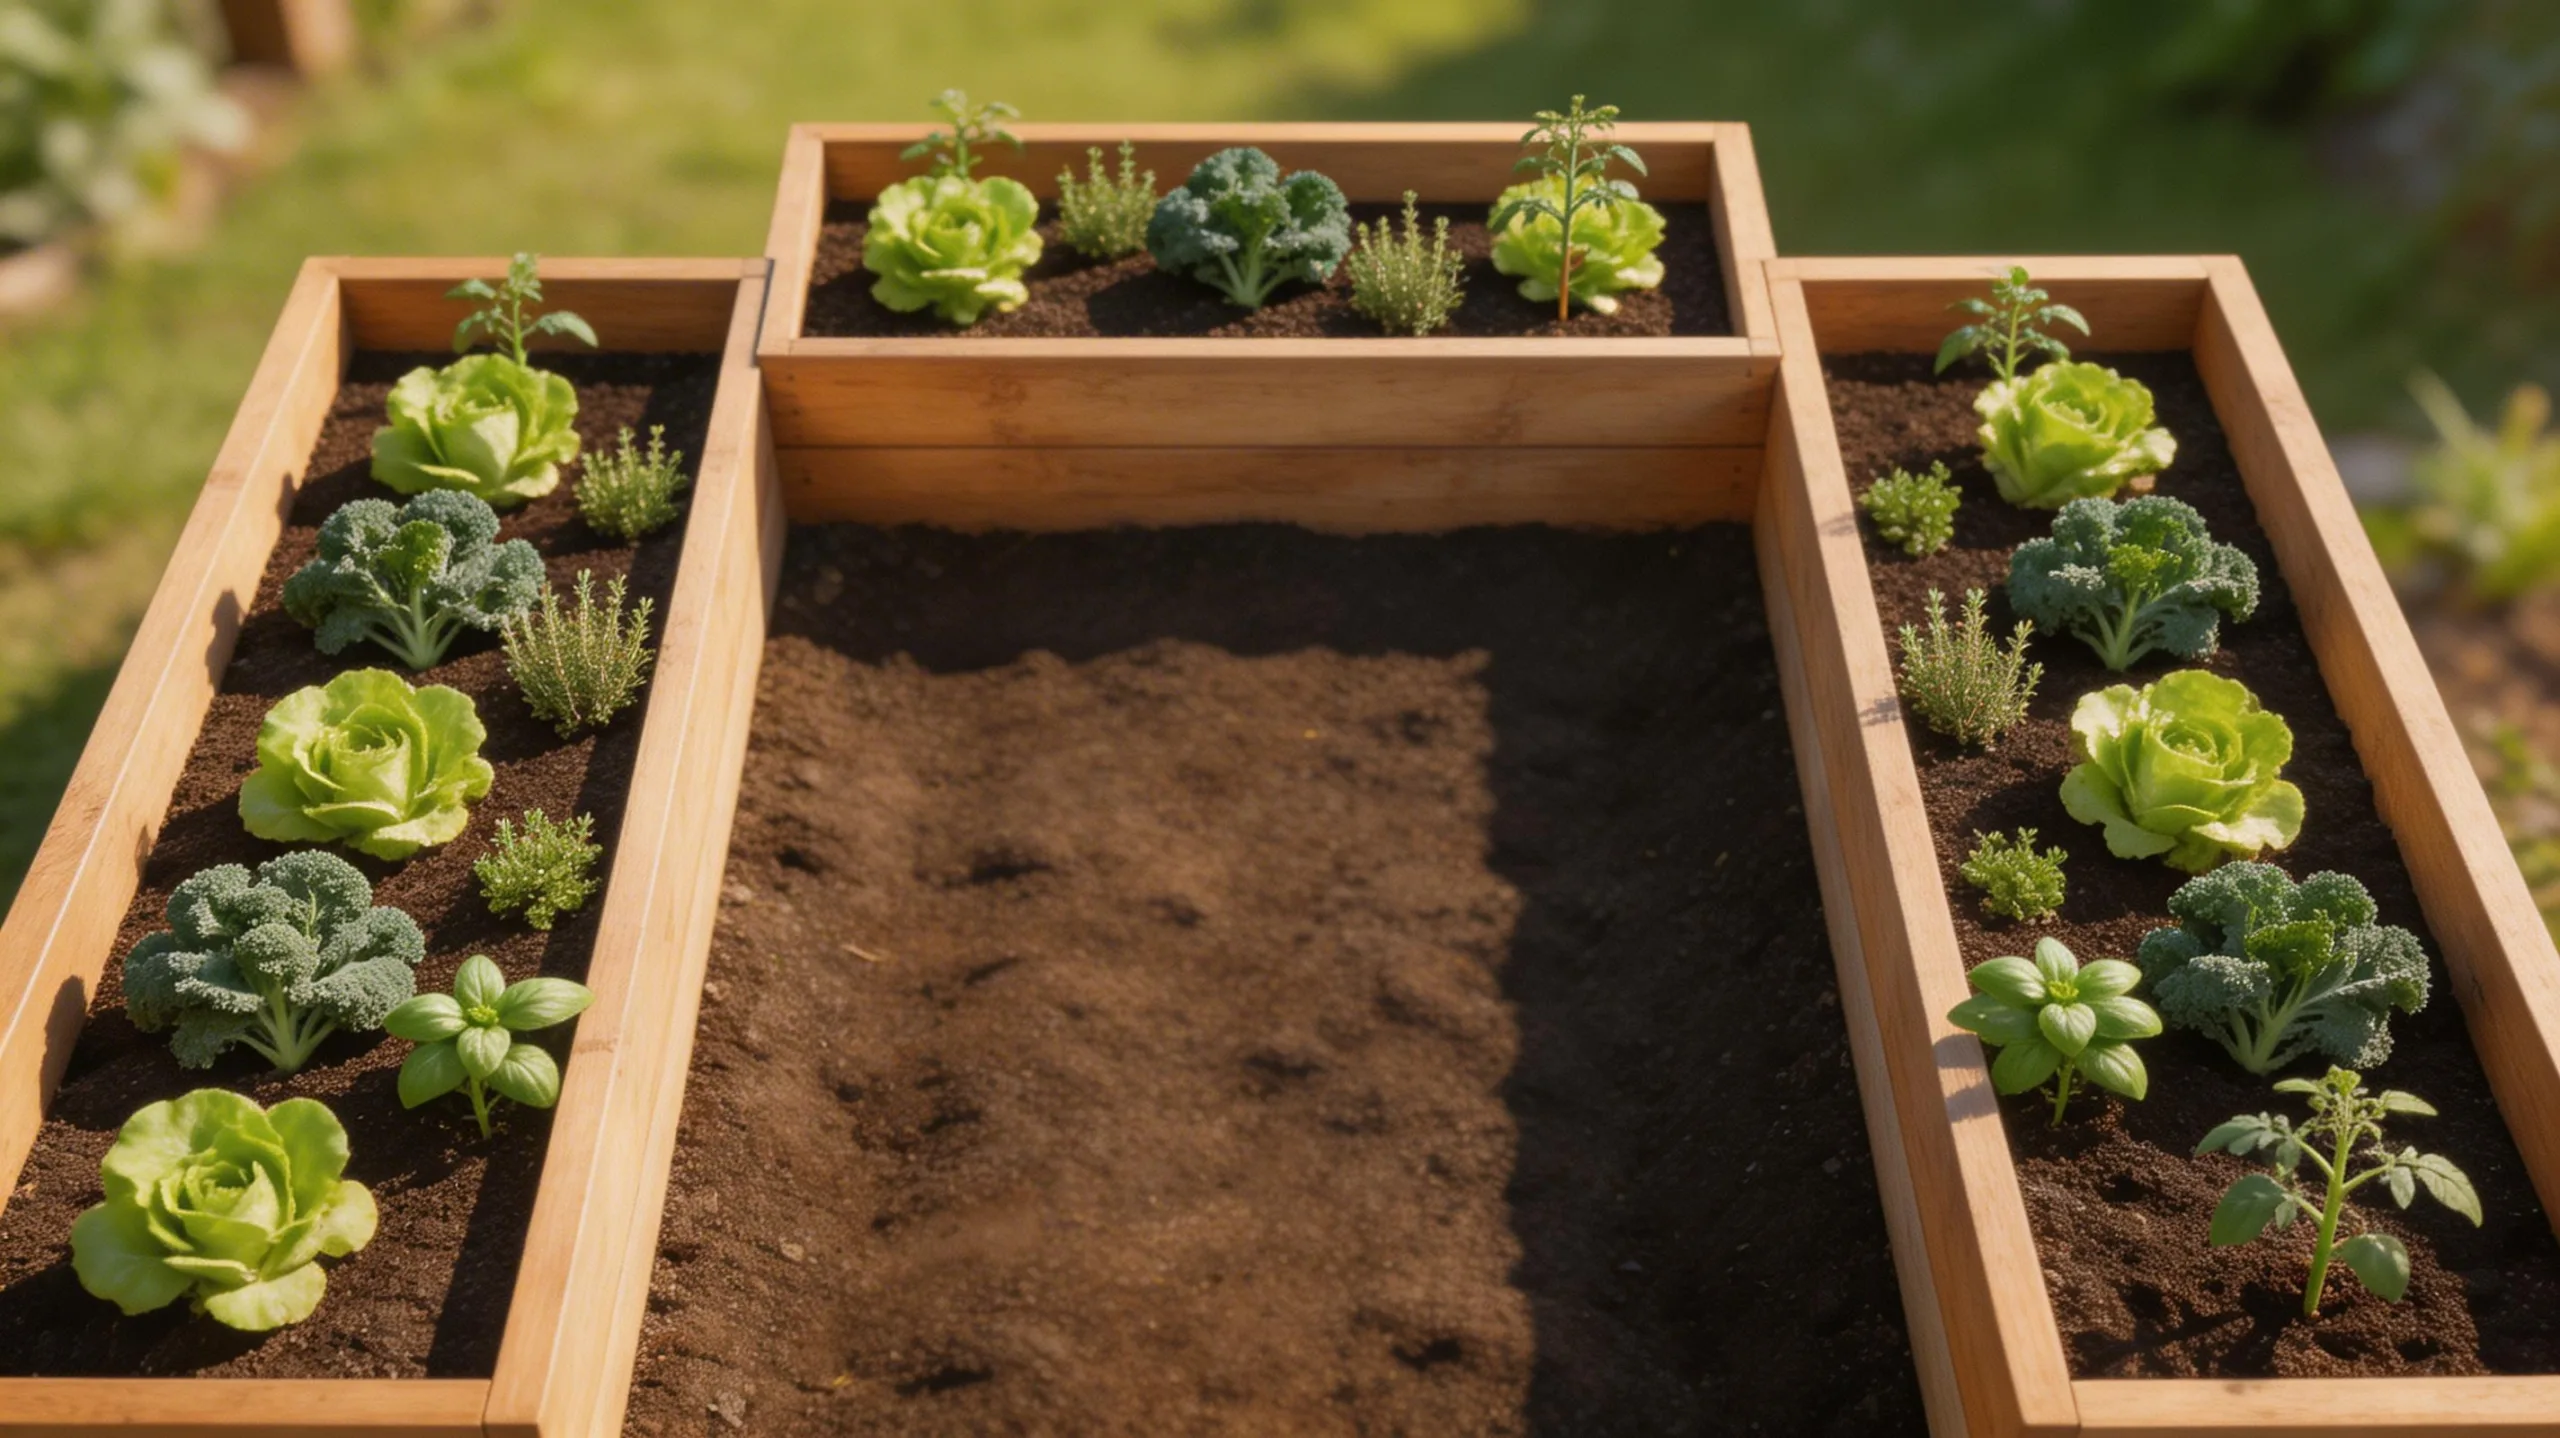
Because you can precisely control the soil and spacing, raised beds let you grow more in less area.
You’ll build a contained frame, typically from wood or stone, and fill it with a tailored, nutrient-rich soil mix.
This deep, loose soil promotes extensive root growth, allowing you to plant vegetables closer together without competition.
You eliminate traditional paths between rows, dedicating nearly the entire surface to crops.
The elevated structure also improves drainage and warms faster in spring, extending your growing season.
You can easily install hoops for protective covers, creating a versatile microclimate.
Increase Yield With the Square Foot Gardening Layout

Densely plant your garden to multiply harvests using the square foot gardening layout, which divides a raised bed into a grid for intensive cultivation. You’ll mark one-foot squares, each dedicated to a specific crop. Determine plant spacing by your seed packet’s recommended final spacing. For example, place one tomato plant, four lettuces, nine bush beans, or sixteen radishes per square. This method eliminates traditional row spacing, filling every inch with productive plants.
You’ll interplant fast-growing crops like radishes with slower ones like carrots in the same square, harvesting the first before the second needs the space. Your soil mix should be rich and well-draining to support such dense growth. This focused system drastically reduces weeding and water waste.
Design a Companion Planting Garden Bed Layout

Utilize beneficial plant partnerships to naturally enhance growth and deter pests with a companion planting garden bed layout. This method groups mutually supportive plants while separating those that inhibit each other, creating a resilient mini-ecosystem.
You’ll need to carefully map your bed, considering each plant’s growth habits, sun needs, and root depth. Your layout interplants species for continuous ground cover and pest confusion.
Key strategies to plan for include:
- Nitrogen Fixing: Pair heavy feeders like corn with legumes such as bush beans.
- Pest Repellent: Plant aromatic herbs like basil near tomatoes to deter hornworms.
- Trap Cropping: Use nasturtiums to lure aphids away from your beans or squash.
- Structural Support: Let pole beans climb tall, sturdy stalks of corn.
Plan a Pollinator-Focused Garden Bed

While companion planting builds a resilient ecosystem, a pollinator-focused garden bed directly supports the bees, butterflies, and other beneficial insects your entire garden relies on.
Start by selecting a sunny location, as most pollinator-friendly plants thrive in full sun. Group the same plant species together in large, dense clumps. This creates a bold target that’s easier for pollinators to spot and efficiently forage.
Prioritize plants with varying bloom times to provide a continuous food source from spring to fall. Incorporate native flowers like coneflower and bee balm, along with culinary herbs such as lavender, oregano, and borage.
Always avoid pesticides, and include a shallow water source, like a birdbath with stones for landing.
Grow More With a Vertical or Trellis Layout
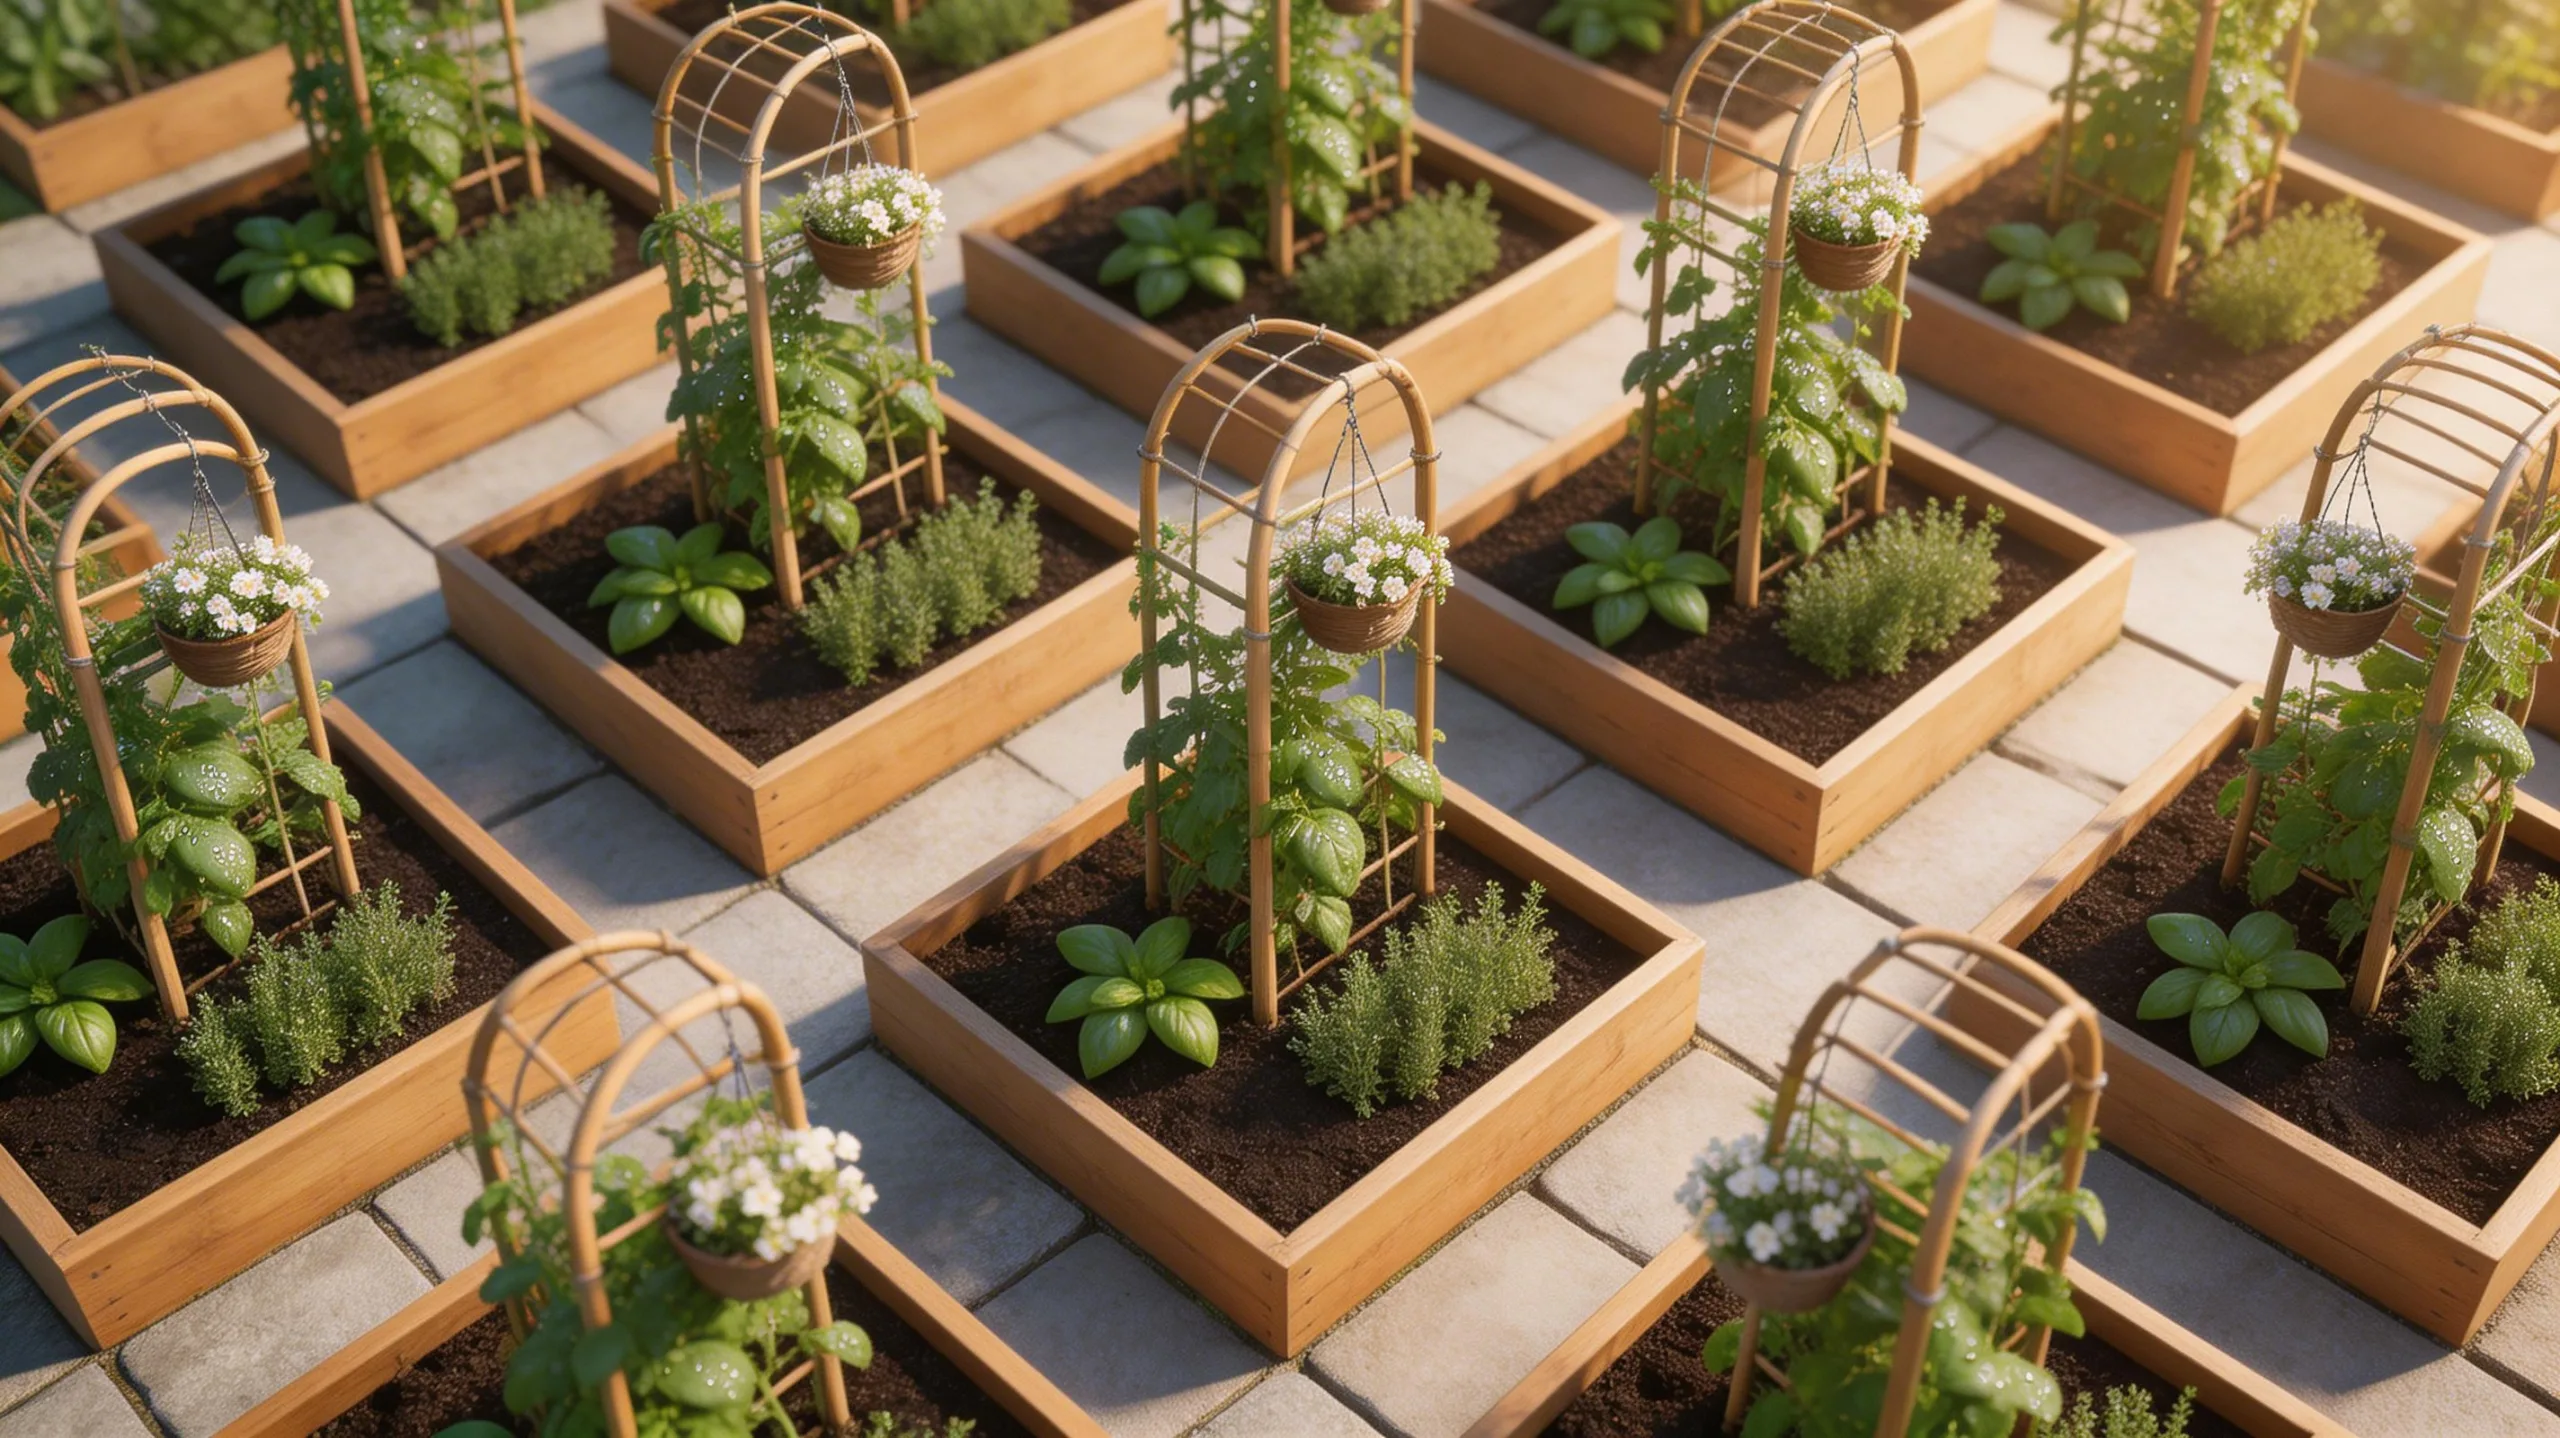
Maximize your garden’s productivity by turning unused vertical space into a growing area. A vertical or trellis layout lets you cultivate vining crops upward, freeing ground area for other plants and improving air circulation to reduce disease.
You’ll also make harvesting easier and can create valuable shade for heat-sensitive crops.
- Choose sturdy supports like A-frames, obelisks, or wall-mounted panels for beans, peas, and cucumbers.
- Install your trellis at planting time to avoid disturbing developing roots later.
- Train young vines onto their support using soft plant ties or twine, guiding their growth.
- Select compact or vining varieties of vegetables like squash and melons specifically bred for vertical growth.
Build Fertile Soil With a Straw Bale Garden Bed Layout

Transforming straw bales into a garden bed creates fertile, elevated ground that conditions soil as it grows.
First, source straw, not hay, to avoid weeds. Place bales where you want your garden, as they’ll become heavy.
Begin conditioning two weeks before planting. For three days, soak bales thoroughly. Then, for five days, apply a high-nitrogen fertilizer daily while keeping bales damp. This initiates internal decomposition, generating heat.
After the heating subsides, add a layer of compost or potting mix atop each bale. You’re now ready to plant directly into this nutrient-rich “soil.”
The decomposing straw provides a continual feed for plants, improving yields and soil structure. This method is excellent for poor native soil.
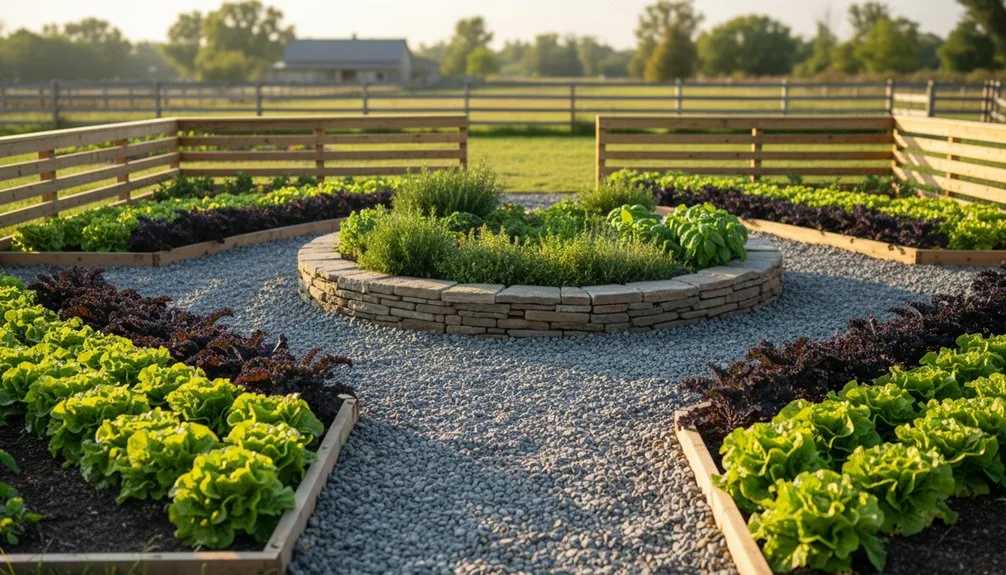
Create a Thriving Keyhole Garden Bed Layout

Another space-efficient approach is a keyhole garden bed layout, which builds on the idea of creating fertile, contained growing space. You construct a raised circular bed with a wedge-shaped keyhole cutout providing central access, maximizing your planting area while minimizing paths.
A compost basket sits at the center of the circle, feeding nutrients and moisture directly into the surrounding soil. This design creates a highly productive and low-maintenance system.
- Build your circular bed’s walls about 6 feet in diameter and at least waist-high using stone, brick, or recycled materials.
- Layer the bed’s interior with cardboard, coarse biomass, soil, and compost to form a rich, self-fertilizing lasagna garden.
- Install and maintain a central wire basket, continually adding kitchen scraps to create a nutrient-rich “compost tea” that feeds roots.
- Plant intensively around the keyhole, placing thirsty crops like lettuce closer to the center and drought-tolerant herbs on the outer edges.
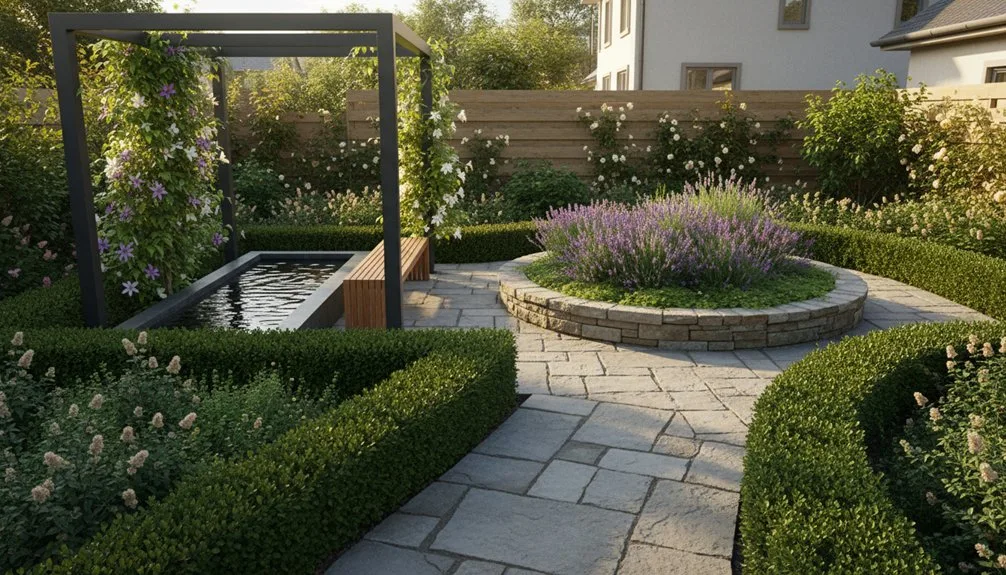
Cultivate Calm With a Mandala or Spiral Bed Layout
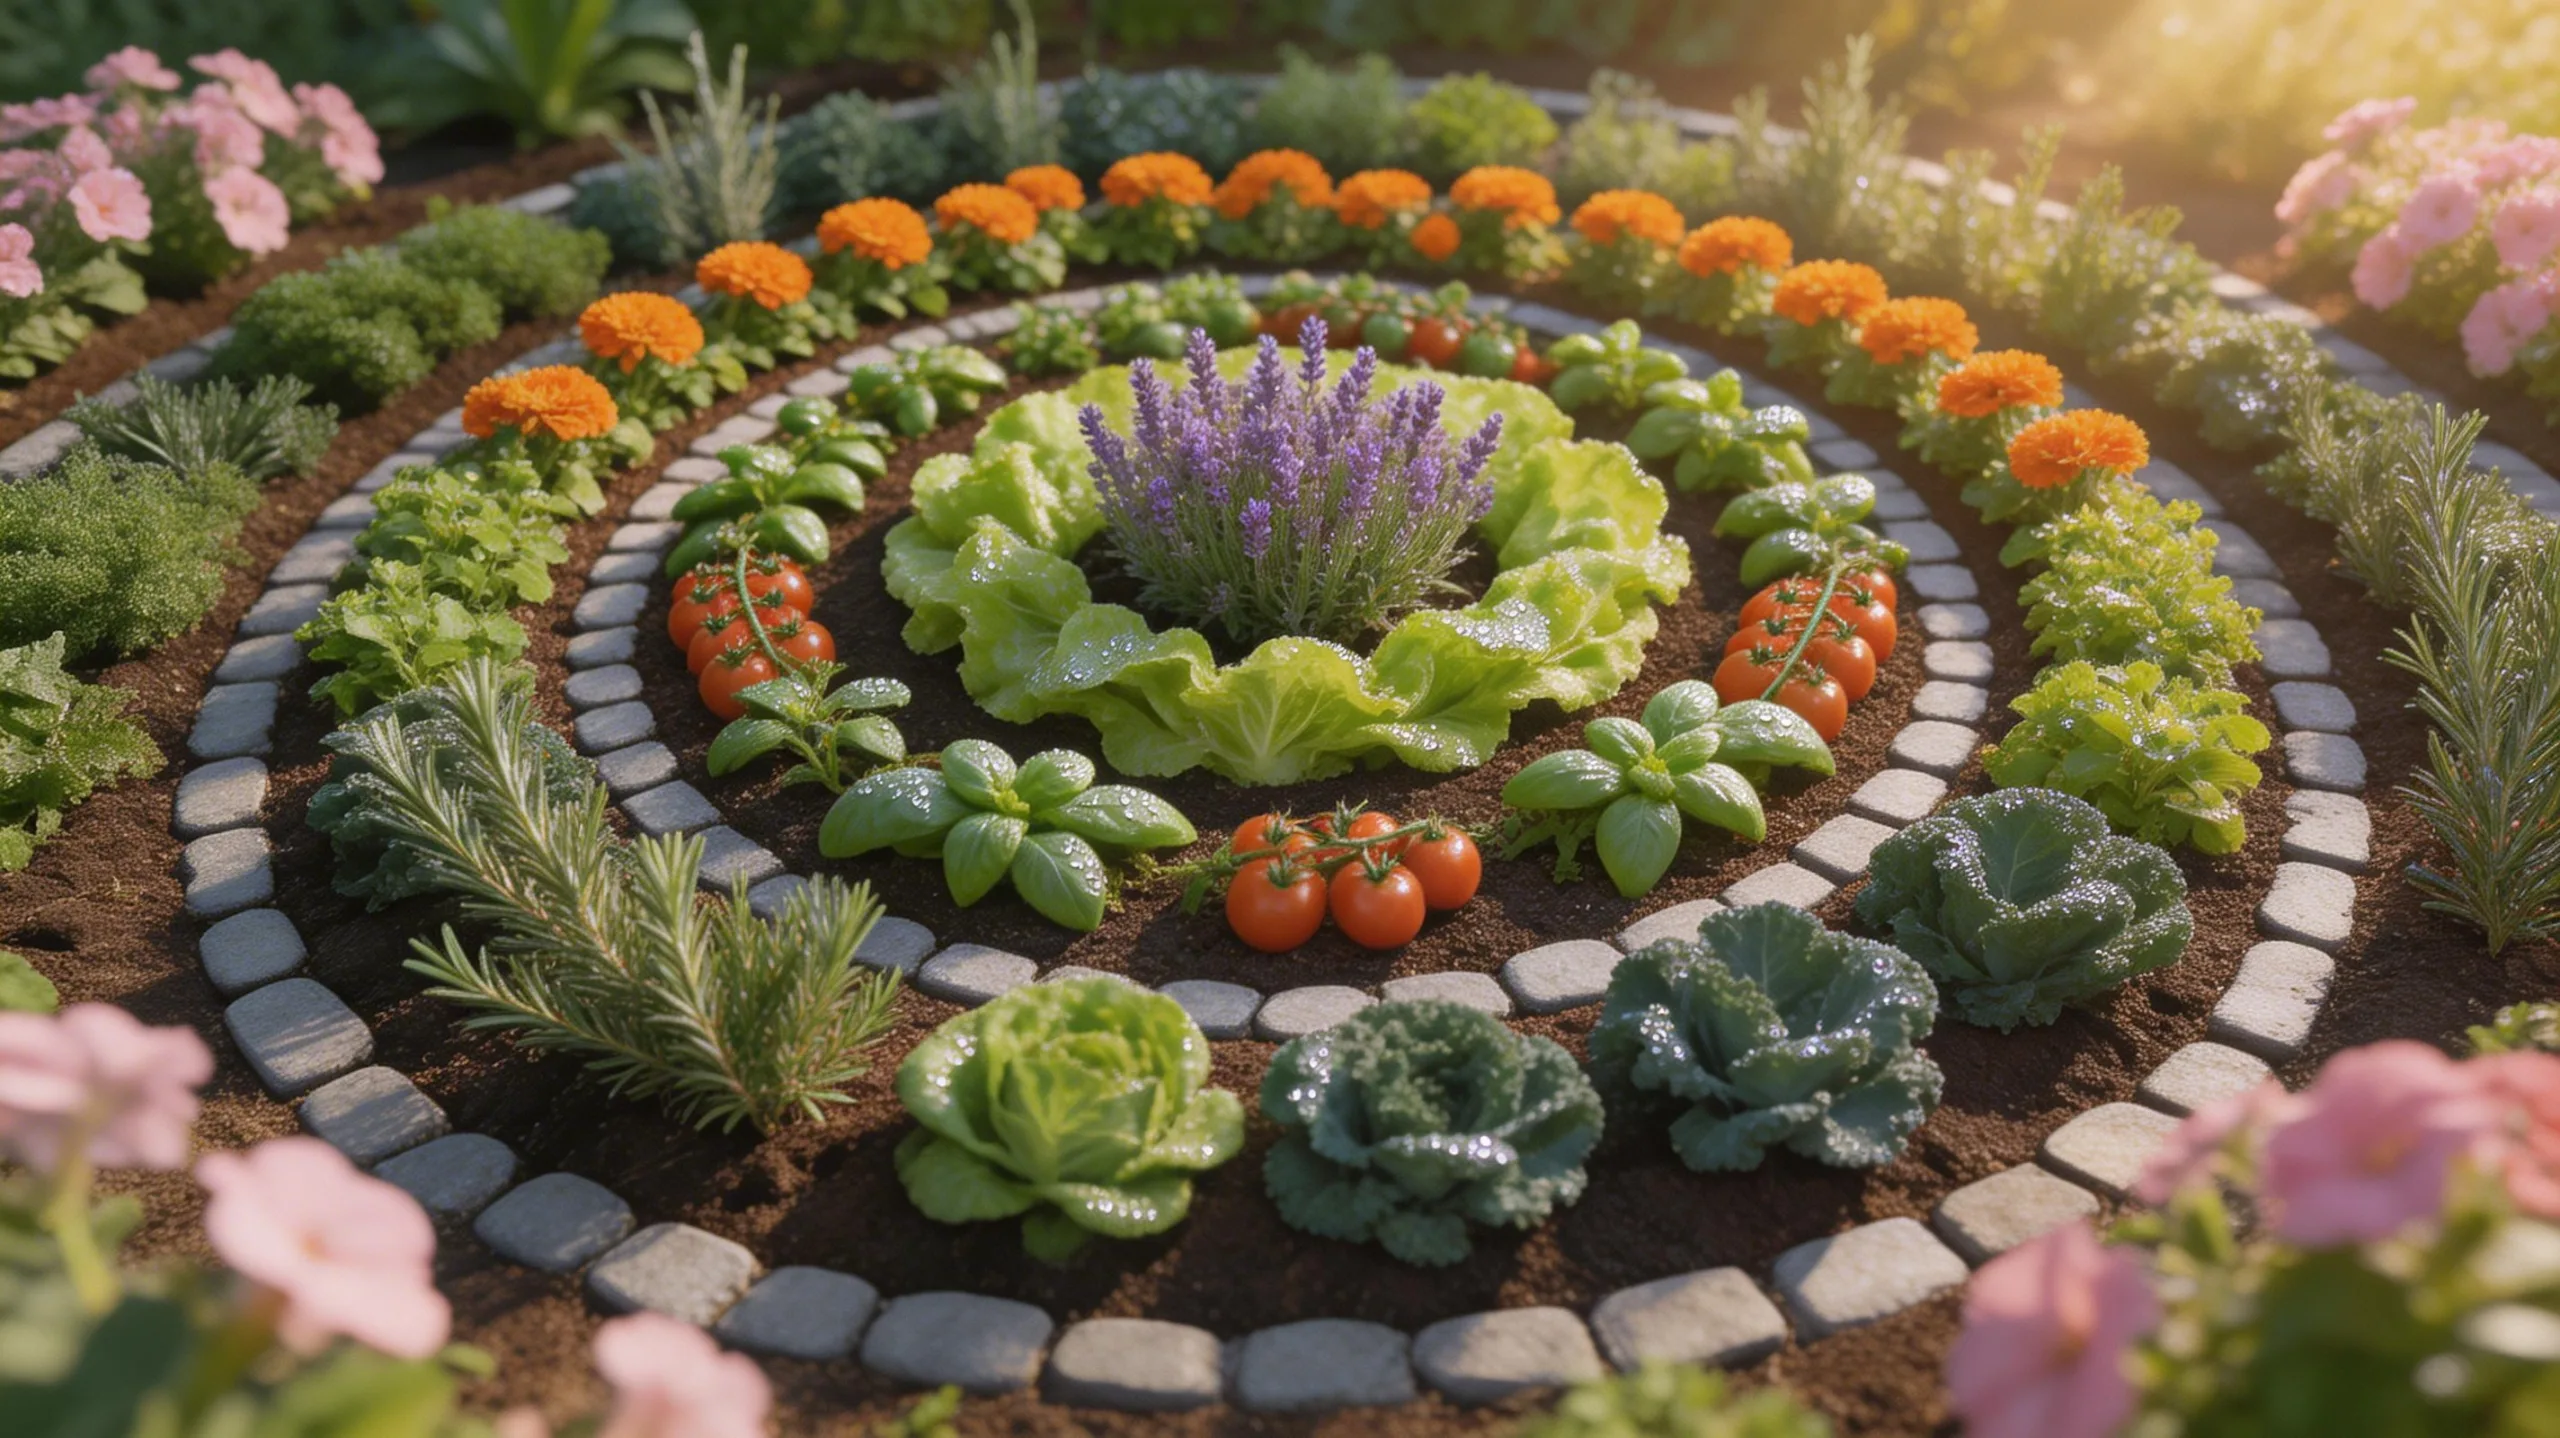
Crafting a mandala or spiral garden bed introduces a meditative and visually stunning element to your outdoor space.
For a mandala, you’ll start by marking a central point and defining concentric circles or geometric paths using bricks, stones, or low hedges. Divide the circles into pie-shaped wedges to plant different herbs, flowers, or vegetables for a stunning radial pattern.
To build a simple spiral, outline a coiled shape on the ground with a garden hose, then construct a gently ascending mound using soil, rocks, or logs. This spiral form creates unique microclimates; you plant sun-loving species at the top and moisture-loving varieties at the base.
Both designs invite peaceful contemplation while efficiently organizing your plants.
Try a Container Garden Bed Layout for Small Spaces
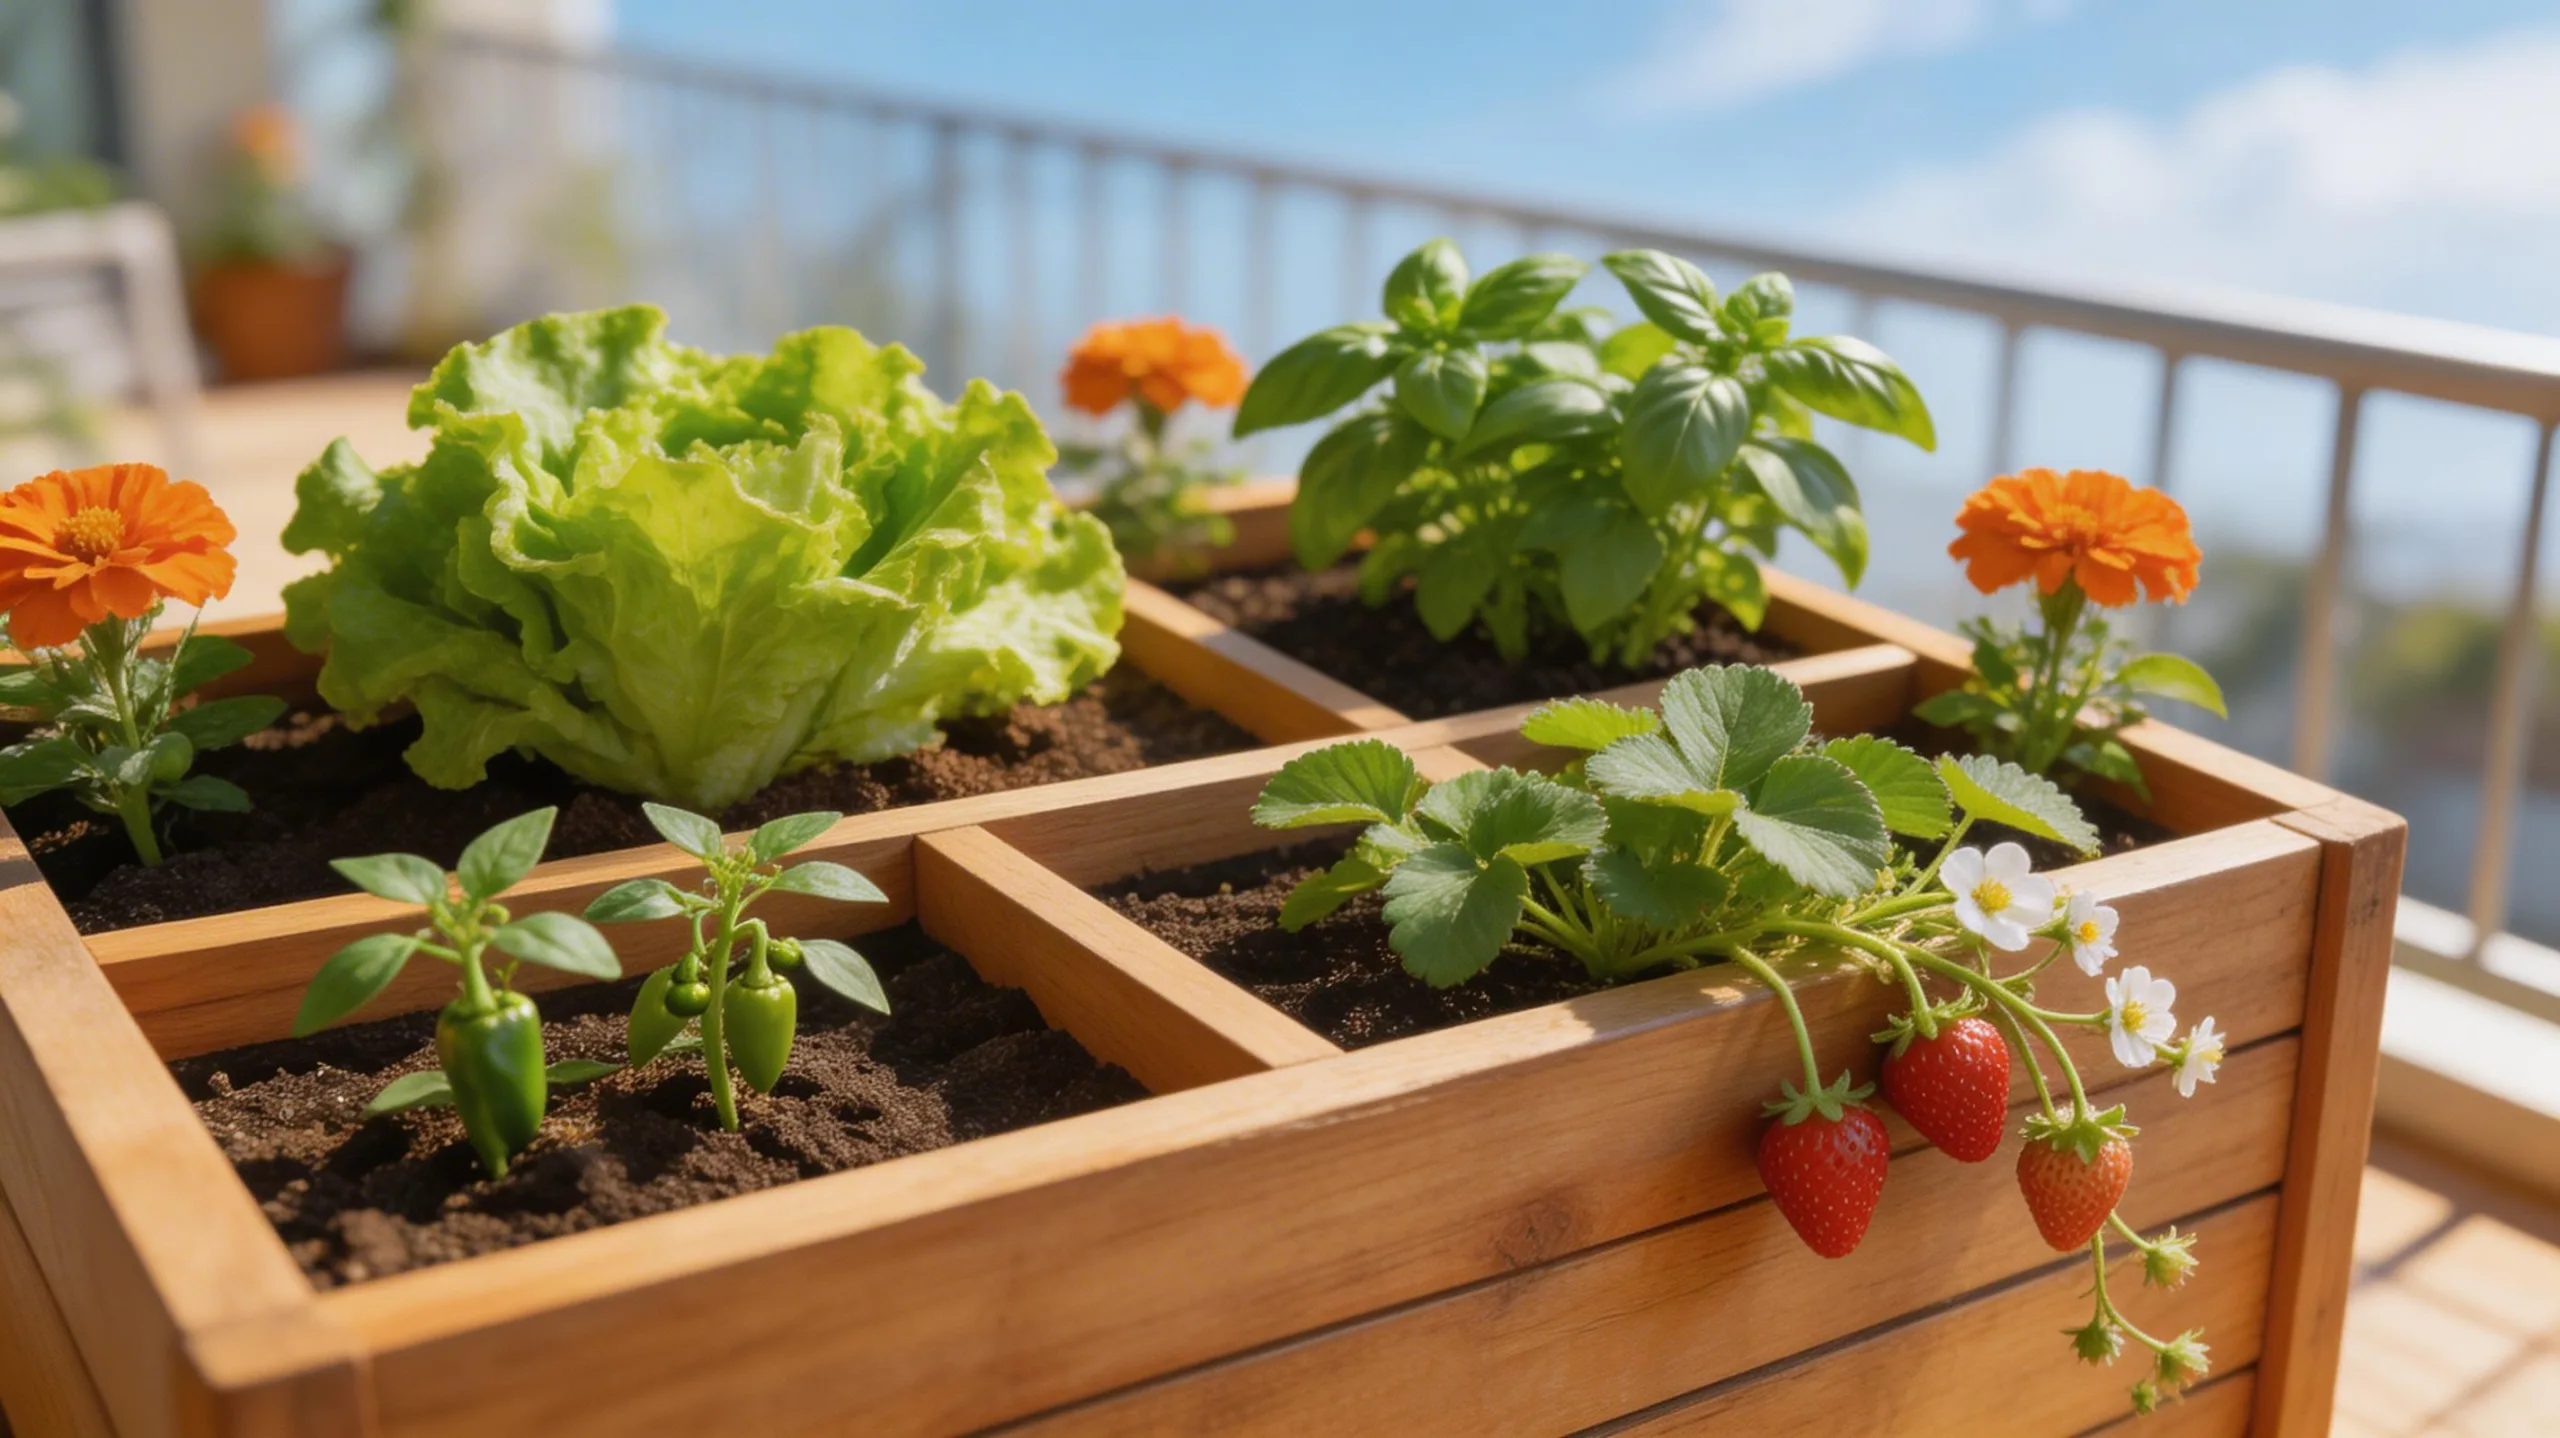
Make the most of limited space by setting up a container garden bed, a flexible solution for patios, balconies, and tiny yards.
You can group pots to create a vibrant, layered display.
Ensure your success by focusing on these four key details:
- Select the right containers with adequate drainage holes and a size that matches your plants’ mature root systems.
- Use high-quality potting mix, not garden soil, to ensure proper drainage and aeration for container roots.
- Arrange pots strategically, placing taller plants in the back or center and trailing varieties along the edges.
- Establish a consistent watering and feeding schedule, as containers dry out faster and nutrients deplete more quickly than in-ground beds.
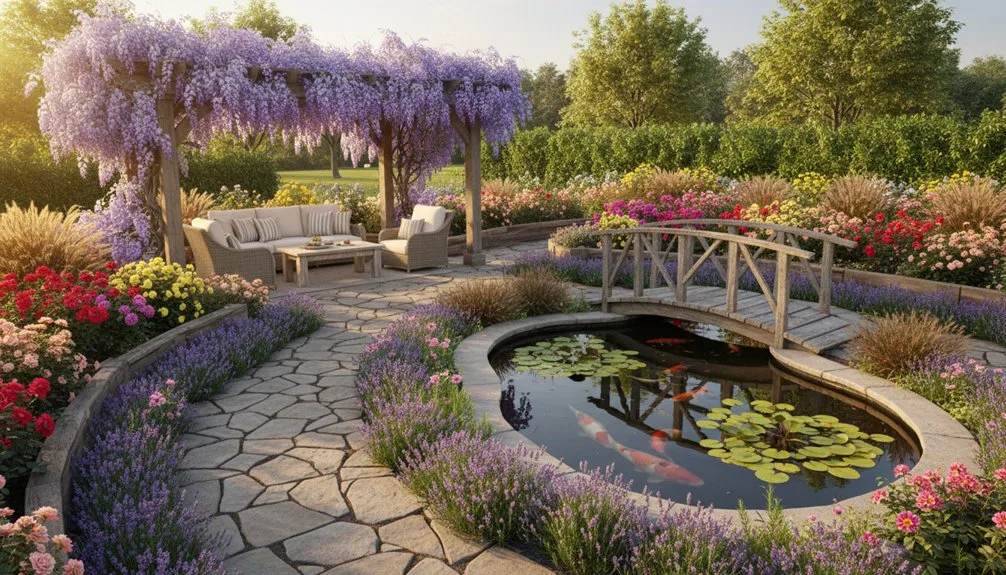
Combine Beauty and Function in an Edible Flower Border Layout
Moving beyond pots, you can weave edibles and ornamentals together to create a border that’s both decorative and useful.
Plan a structure using taller plants like sunflowers or flowering kale as a backdrop.
In the middle layer, include medium-height beauties such as nasturtiums, whose peppery leaves and flowers are edible, or vibrant calendula petals for salads.
Edge the front with low-growing herbs like thyme or creeping rosemary, which provide fragrant groundcover and culinary use.
This layered approach ensures every plant receives adequate sunlight.
You’ll create visual interest with varying heights, textures, and colors while harvesting ingredients directly from your landscape.
Remember to group plants with similar water and sunlight needs for easier maintenance.
Start With the Basics: Principles for a Healthy Layout
Before you sketch a single plant, understand that the healthiest garden layouts begin with a solid foundation, starting with your soil and sunlight. Assess your garden’s light patterns throughout the day, as most vegetables and flowers need at least six hours of direct sun.
Then, test your soil’s texture and pH; amend it with compost to improve drainage and fertility. Your foundational planning should focus on four key principles:
- Sun Mapping: Track sunlight to place sun-loving and shade-tolerant plants correctly.
- Soil Health: Prioritize building rich, well-draining soil before planting anything.
- Access Paths: Design beds narrow enough to reach the center without compacting soil.
- Grouping by Need: Cluster plants with similar water and nutrient requirements together.
Frequently Asked Questions
How Often Should I Water Different Layouts?
You’ll water based on plant needs and soil type, not just layout. Check soil moisture by feel; water deeply when the top inch is dry. Denser plantings often need more frequent watering than widely spaced ones.
What’s the Best Budget-Friendly Layout Material?
Use untreated, recycled lumber or concrete blocks. You can also build simple mounded beds directly from your existing soil; just avoid costly retaining walls and focus on amending that soil yourself for less.
How Do I Protect My Layout From Pests?
You can protect it with floating row covers. Install copper tape for slugs. Interplant with pest-repelling herbs like marigolds. You’ll create physical and natural barriers that deter insects without chemicals. Regularly inspect plants for early signs.
Can I Change My Layout Mid-Season?
Yes, you can change your layout mid-season. Do it gently to minimize root disturbance. Prioritize relocating young transplants over established plants. Ensure you’ve prepared their new planting holes first and water everything thoroughly afterward.
Which Layout Is Best for a Sloped Yard?
For a sloped yard, you’ll want terracing or contour rows. You can build level beds with retaining materials. Always orient these beds across the hill’s slope to prevent erosion and manage water runoff effectively.
Conclusion
Now you’ve got a blueprint. Your choice hinges on your space, goals, and labor. Whether you opt for tidy rows, intensive squares, or space-saving verticals, remember your core principles: assess sun and soil, avoid compaction, and nurture biodiversity. Start with one layout that excites you. Good preparation and these thoughtful designs will set your healthy, productive garden in motion.
The Only Tools You Need for a Thriving Garden 🌱
Whether you're a weekend gardener or growing daily — these hand-picked tools make every session faster, easier, and more satisfying.