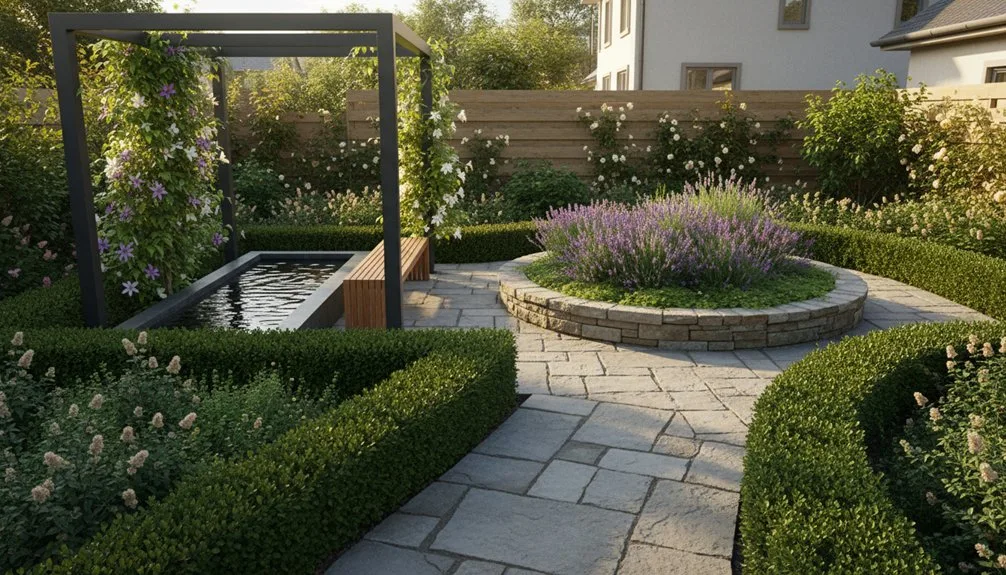
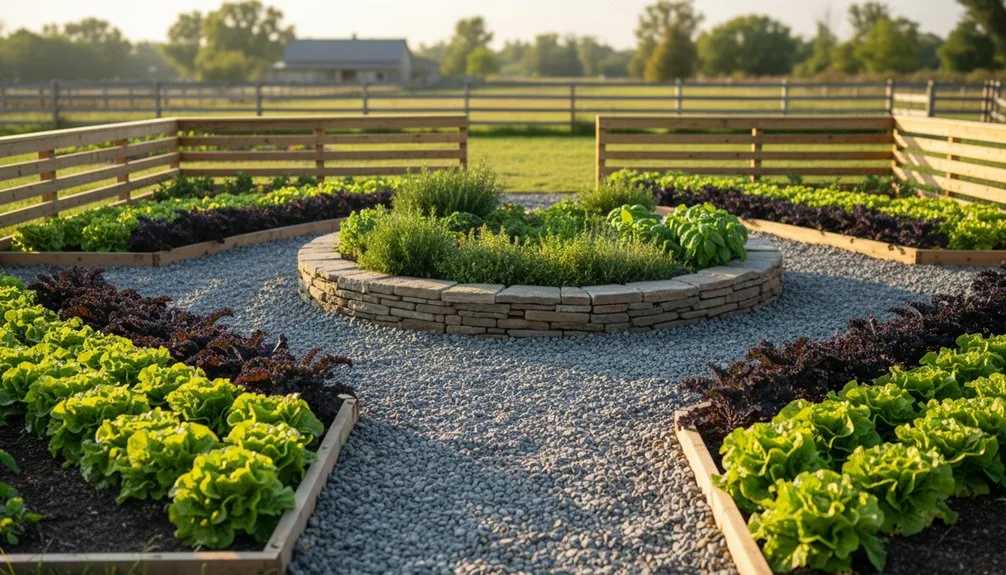
Planning your garden layout begins by assessing your site’s foundation. You’ll map sun patterns and test soil before defining goals for edible plots or tranquil seating nooks. Sketching a scaled plan helps you zone spaces efficiently, but the real challenge lies in adapting these principles to your unique microclimates and available space. How will you phase the work to create a resilient, beautiful garden that truly fits your life?
Key Takeaways
- Assess your site’s sun patterns, soil texture, and drainage before any planting decisions.
- Define your functional goals and aesthetic style to guide a coherent layout and plant selection.
- Sketch a scaled layout, grouping plants by their sunlight, water, and care requirements.
- Ensure accessible paths and proper bed dimensions for easy maintenance and harvesting.
- Plan for seasonal interest and succession planting to ensure year-round garden productivity.
Assess Your Garden’s Foundation: Sun, Soil, and Site
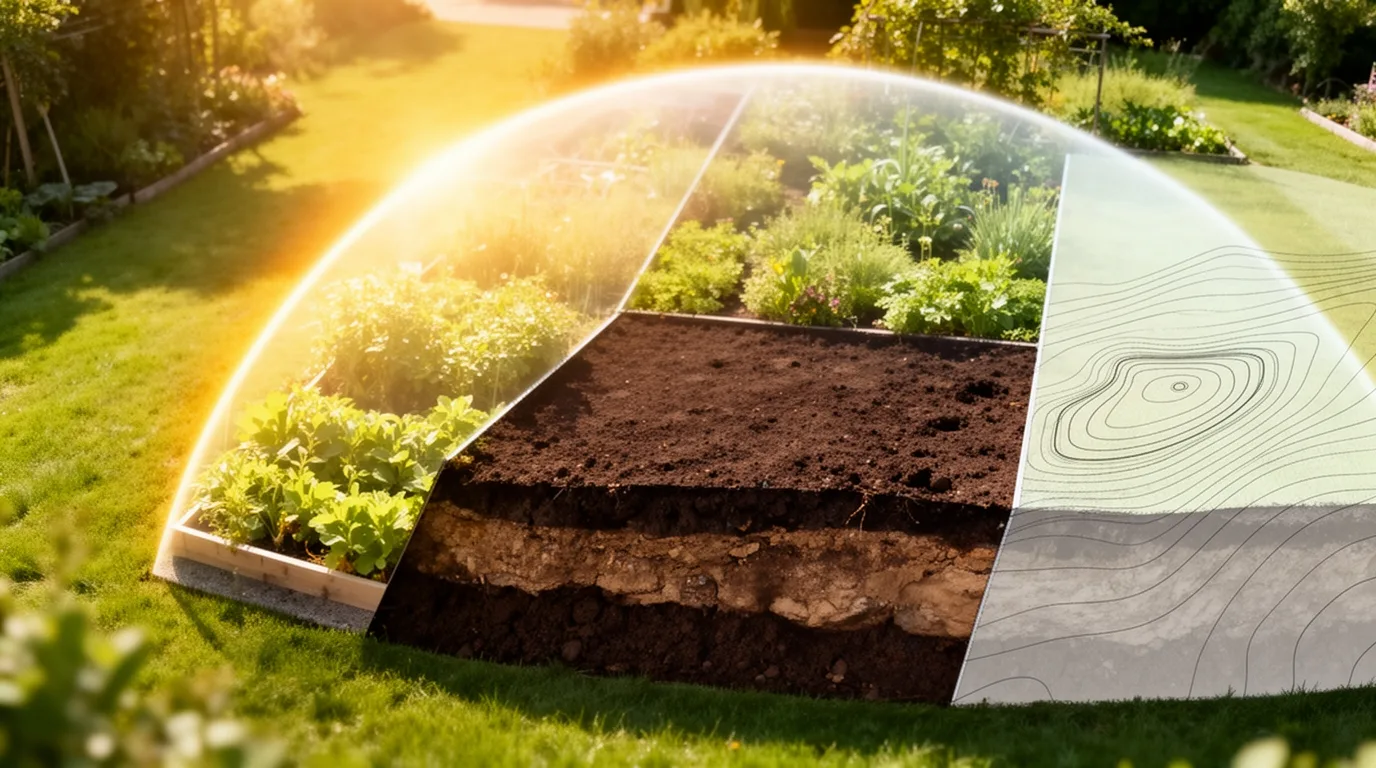
Before you dig into the exciting world of plants, you’ve got to roll up your sleeves and understand your plot. Spend a week observing your garden’s sunlight patterns; note which areas get full sun (6+ hours), partial shade, or are deeply shaded.
Test your soil’s texture by squeezing a damp handful—does it crumble (sandy), hold shape (loam), or stay sticky (clay)? You can improve it later, but knowing its starting point is crucial.
Check for drainage by watching how water behaves after a rain. Also, identify microclimates: a south-facing wall heats up, while a north-facing corner stays cooler. These factors dictate what you can successfully grow right here.
Define Your Garden Layout Goals
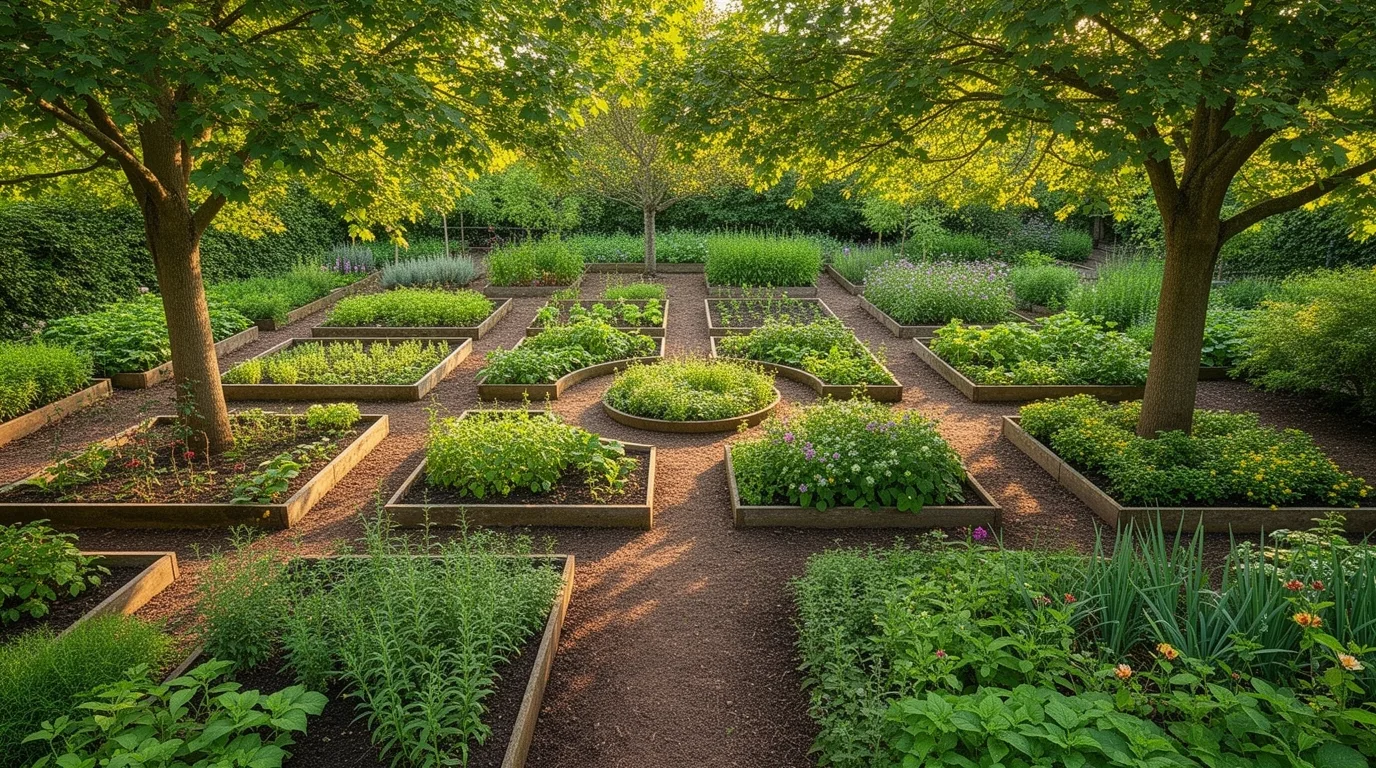
Since you now know your garden’s basic conditions, you can shift from observing to planning by defining what you want from the space.
Start by asking yourself specific, functional questions. Do you need a dedicated area for growing vegetables to cut grocery costs? Are you craving a quiet corner with a bench for reading and morning coffee? Perhaps you require a safe, open lawn for children or pets to play. Maybe your primary goal is boosting curb appeal with structured flower beds.
List these priorities clearly. This list becomes your blueprint, directly informing your layout decisions.
Without these defined goals, you’ll just scatter plants haphazardly. Your ultimate aim is a garden that serves your lifestyle, not just fills the yard.
Choose a Garden Style That Fits Your Vision
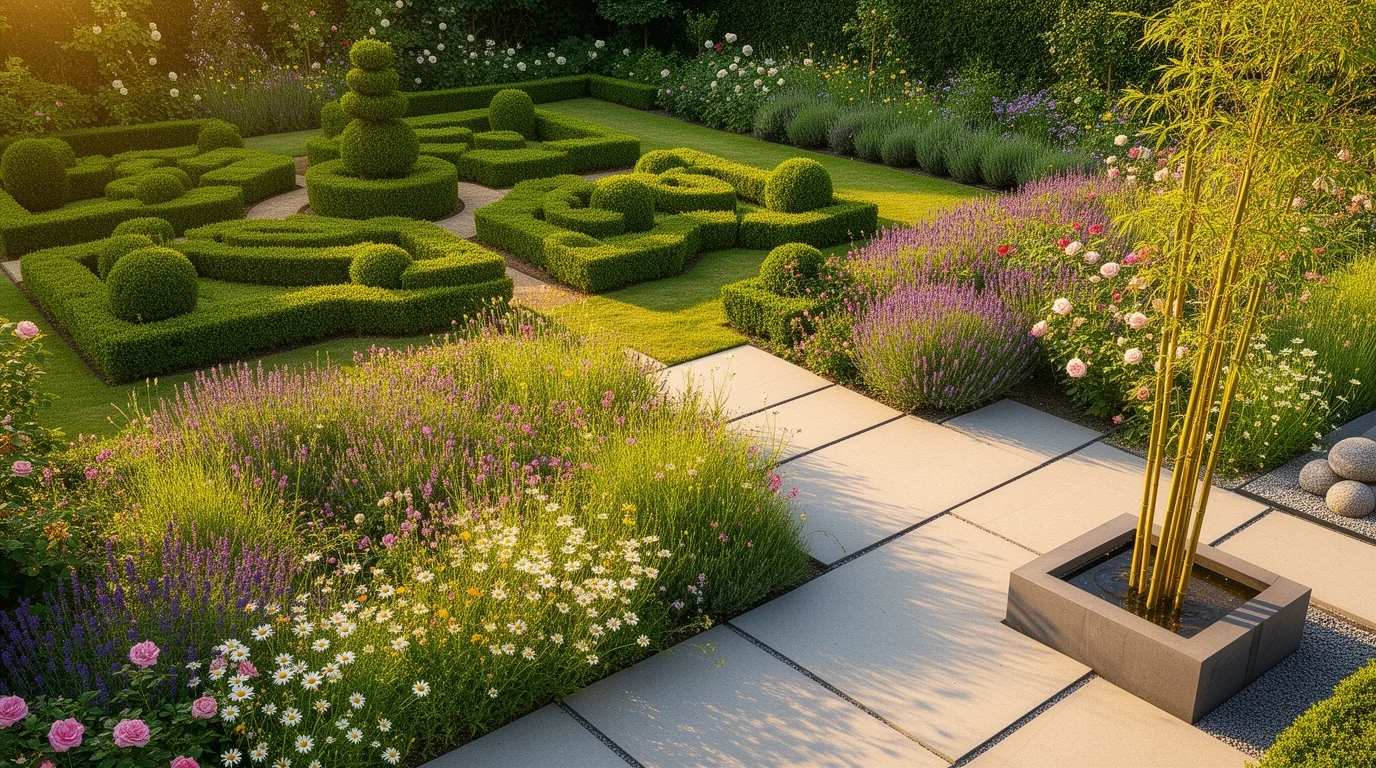
With your goals firmly in mind, you can now explore garden styles that bring those priorities to life.
If you crave relaxation, a lush cottage garden with winding paths and fragrant blooms creates a serene escape. For a low-maintenance edible plot, a structured kitchen garden with neat raised beds maximizes yield. A modern style, using geometric forms and architectural plants, suits a sleek, contemporary aesthetic.
Consider your climate too; a xeriscape garden with drought-tolerant natives saves water in arid regions.
Your chosen style dictates your plant selections, layout patterns, and material choices, so it’s a foundational decision.
Visit local gardens or browse images to see which style genuinely resonates with your personal vision for the space.
Sketch Your Initial Garden Layout
Now that you’ve settled on a style, let’s translate your vision into a rough sketch. Grab graph paper and a pencil. Don’t worry about artistic skill; just draw your garden’s basic shape to scale. Mark your house, fences, and existing paths.
Then, start blocking in your major zones. Sketch where you want key features like your vegetable beds, a central patio, or a perennial border. Leave room for access paths at least two feet wide. Use simple circles for trees and shrubs.
This initial sketch is a fluid plan, so erase and adjust freely. It’s your chance to experiment with spatial relationships before committing to the ground. Focus purely on arrangement and flow for now.
Map Your Garden’s Sun and Shade Patterns
Understanding how sunlight moves across your plot unlocks successful planting. You’ll need to map your garden’s sun and shade patterns over a full day.
Grab your initial sketch and note the time. Every few hours, observe and mark where sunlight falls directly (full sun), where it’s dappled (partial shade), and where it’s absent (full shade).
Pay attention to shadows cast by your house, fences, or trees. You’ll quickly identify a north-facing bed that’s shady until noon, or a west-facing strip that gets intense afternoon light.
This personalized map becomes your planting bible, ensuring you place sun-loving tomatoes in the bright spots and shade-tolerant hostas where light is scarce.
Test and Amend Your Soil
Dig into the dirt with your hands or a trowel—this tactile test tells you more than any lab report. Feel its texture; is it gritty sand, sticky clay, or smooth silt? Squeeze a moist handful—if it forms a tight ball, you’ve got heavy clay; if it crumbles, it’s likely sandy loam.
Next, test drainage by digging a hole, filling it with water, and timing how long it takes to drain. A simple pH kit from a garden center reveals your soil’s acidity or alkalinity.
Once you know these basics, you can amend it. For heavy clay, mix in generous amounts of compost to improve texture and drainage. For sandy soil, compost adds vital water retention. You’re building a living foundation.
Create Efficient Garden Beds and Pathways
Map out your beds and paths on paper before you break ground, because a well-planned layout saves you time and effort every single season.
Design beds that are narrow enough, typically three to four feet wide, so you can comfortably reach the center from either side without compacting the soil. Frame them with permanent materials like wood or stone, or simply mound the soil.
For pathways, make them at least two feet wide to accommodate a wheelbarrow. Use a durable surface; mulch suppresses weeds, while gravel or pavers provide a solid, mud-free footing.
Position beds to maximize sun exposure and orient your main paths to connect key areas like your tool shed and compost bin efficiently.
Group Plants by Their Water and Care Needs
While you’re sketching your garden layout, plan to cluster plants with similar thirst levels together, since this lets you water efficiently without drowning some or neglecting others.
Group your thirstiest vegetables, like lettuce and celery, in their own bed where you can provide frequent, deep watering.
Place drought-tolerant Mediterranean herbs, such as rosemary and lavender, in a sun-drenched spot with excellent drainage and less frequent care.
You’ll also want to consider sunlight and soil needs; don’t put shade-loving ferns in with full-sun succulents.
This zoning approach simplifies your routine, ensuring each plant receives its ideal conditions without you wasting effort or resources on inappropriate care for its neighbors.
Layer Plants by Height and Growth Habit
Now that you’ve grouped plants by their care needs, you can arrange them in three dimensions by layering according to height and growth habit. Think of your garden as a living tapestry. Place the tallest plants, like sunflowers or small trees, at the back of a border or the center of an island bed. Then, step down to mid-height plants such as coneflowers or salvia.
Finally, use low-growing and sprawling plants as a “skirt” at the front. This creates depth, ensures all plants get light, and makes maintenance easier. Consider each plant’s mature form.
- Place tall structural plants (back/center)
- Use mid-height fillers (middle ground)
- Edge with low growers (front)
- Allow space for mature spread
- Let trailing plants spill over edges
Plan for Succession Planting and Year-Round Interest
After mastering the vertical layers of your garden, think horizontally through the seasons by planning for succession planting and year-round interest. Begin by staggering your plantings. For instance, sow cool-season lettuce early, then replace it with heat-loving beans in summer, followed by kale for fall. You’ll harvest continuously instead of all at once.
For constant visual appeal, select plants that peak in different seasons. Combine spring bulbs, summer perennials like coneflowers, autumn-broaden interest by carefully choosing plants for their bloom times and winter structure. Mix early spring bulbs with mid-summer perennials like coneflowers, and conclude with fall-blooming asters.
Incorporate evergreen shrubs and plants with attractive seed heads or bark, such as red twig dogwood, to provide visual texture even in the dormant months. Your garden will then offer a dynamic, evolving display from January through December.
Integrate Trellises, Seating, and Other Hardscape
You can enhance your garden’s structure and functionality by integrating trellises, seating, and other hardscape elements. These permanent features create vertical interest, define spaces, and provide areas for rest.
Start by placing a trellis for climbing beans or clematis to save ground space and add height. Position a bench under a shady tree or beside a fragrant flower bed for enjoyment. Hardscape like gravel paths or stone borders reduces maintenance and frames your plantings beautifully.
- Use an arbor to create a dramatic entryway or shaded walkway.
- Install raised beds from stone or timber for easier access and better soil.
- Add a simple gravel path to connect areas without mud.
- Place a weather-resistant bench where you’ll most enjoy the view.
- Build a low stone wall for seating and to separate garden rooms.
Design a Low-Maintenance Watering System
Simplify watering chores by installing a drip irrigation system or soaker hoses, which deliver water directly to plant roots and minimize waste. You’ll use less water and virtually eliminate weeds that sprout from surface moisture.
Start by mapping your beds and grouping plants with similar water needs on separate irrigation lines or zones. Use a timer on your faucet or a smart controller to automate the entire process; you can program it to water early in the morning for maximum efficiency.
Check emitters occasionally for clogs and adjust the run time seasonally. This upfront investment saves you countless weekend hours and gives your garden a consistent, deep drink even when you’re away.
Select the Right Plants for Your Climate Zone
Your garden’s success hinges on picking plants naturally suited to your local climate zone. Ignore your zone, and you’ll battle heat, frost, or drought, leading to weak growth and disappointment.
First, determine your USDA Plant Hardiness Zone using the official online map; this number tells you the average annual extreme minimum winter temperature. Choose plants rated for your zone or a colder one for better winter survival. You’ll find this information on plant tags and in seed catalogs.
When selecting, consider these key climate factors alongside hardiness:
- Average first and last frost dates to plan your planting calendar.
- Typical summer heat intensity and duration.
- Your area’s annual rainfall patterns and humidity levels.
- The prevailing wind direction and strength in your yard.
- Seasonal sunlight changes affecting different garden beds.
Allocate Space for Vegetables, Herbs, and Flowers
Once your plant list is tailored to the climate, a thoughtful spatial plan ensures each vegetable, herb, and flower thrives.
Begin by mapping your garden beds on paper. Group sun-loving vegetables like tomatoes and peppers together, dedicating the sunniest spot. Reserve shadier edges for leafy greens.
Interplant quick-growing herbs, such as basil and cilantro, between slower vegetables to maximize yield. Don’t crowd them; check seed packets for mature plant spacing.
Designate a dedicated cutting garden section for flowers, ensuring you have blooms for arrangements without disturbing your edible plot.
Remember your own access, leaving clear paths for watering and harvest. This intentional zoning prevents competition and creates a productive, beautiful tapestry.
Incorporate Pollinator-Friendly Plants Into Your Layout
Always deliberately weave pollinator-friendly plants into your garden’s core design; they aren’t just an add-on but a vital part of your ecosystem. You’ll boost yields for your vegetables and enjoy more abundant blooms.
To be truly effective, select a diverse mix of plants that flower in successive waves from spring through fall, providing a constant food source. Focus on native species, as local bees and butterflies are best adapted to them. Plant in generous clusters to create a strong visual target that pollinators can easily find from the air. Prioritize plants with open, single flower forms, which are easier for insects to access than dense double blooms.
- Coneflower for long-lasting summer nectar.
- Salvia for attracting hummingbirds and bees.
- Milkweed as the essential host for monarch caterpillars.
- Lavender for fragrance and constant pollinator activity.
- Sunflowers for their pollen-rich, easy-to-land centers.
Integrate these directly into your vegetable beds and borders.
Steer Clear of These 5 Common Layout Mistakes
While designing a garden, you can inadvertently undermine your own efforts by falling into common planning traps that even seasoned gardeners sometimes miss.
First, don’t ignore mature plant sizes; a cute seedling will become a sprawling shrub, so check spacing requirements.
Second, avoid placing sun-loving plants in the shade of a fence or tree; map your sun patterns first.
Third, group plants with similar water needs together to simplify irrigation and prevent over or under-watering.
Fourth, ensure you have clear, accessible paths for maintenance and harvesting; don’t let plants block your way.
Finally, don’t forget about visual structure. Incorporate evergreens or shrubs for year-round interest, so your garden isn’t bare in winter.
Adapt Your Layout for Small Spaces and Containers
Even if your gardening ambitions bump up against limited square footage, you can still cultivate a thriving, layered oasis by rethinking your approach to layout. You’ll maximize every inch by embracing verticality and choosing containers wisely. Prioritize plants that thrive in confined spaces, like herbs and compact veggies, and layer them from tall to short. Use wall space with hanging pots or a trellis for climbers like beans. Your key is selecting the right containers and arranging them for sun access and visual depth.
- Tiered plant stands create instant vertical gardens.
- Hanging baskets free up precious floor space.
- Window boxes utilize otherwise dormant surfaces.
- Stackable pots allow for efficient root depth.
- Railings and shelves become prime planting real estate.
Phase Your Garden Layout for Manageable Projects
Moving from planning containers to planting them, you can approach your garden’s layout in stages to avoid overwhelm. Break the season into distinct phases instead of tackling everything at once.
Start with your spring beds, preparing soil and sowing early crops like peas and lettuce. Once those are established, you’ll have the time and focus to move on to your summer phase, adding heat-loving tomatoes and peppers.
Later, you can dedicate a separate fall phase to plant cool-weather greens. This method lets you concentrate your effort and budget, ensuring each section gets proper attention. You’re not just building a garden; you’re mastering it piece by piece, making adjustments as you learn what thrives in your specific space.
Use Free Tools to Visualize Your Garden Design
You can map out your garden’s potential using free online tools that let you experiment before you dig in. These digital planners allow you to drag and drop elements onto a scaled grid representing your actual space. You’ll quickly test different layouts for your vegetable beds, pathways, and structures without any physical effort. This visualization helps you catch spatial issues, like a path that’s too narrow or a tree that’ll cast shade on sun-loving plants. Using these tools refines your plan and builds confidence.
- Sketch your property’s exact dimensions and fixed features.
- Place trees and large shrubs first, as they’re permanent.
- Experiment with raised bed shapes and orientations.
- Layer in walking paths for easy maintenance access.
- Use the sun angle overlay to confirm plant placement.
Final Checklist Before Breaking Ground on Your Layout
With your digital layout finalized, a last physical review ensures your plan meets all needs on-site. Stroll your garden space with printed plans. Physically mark key points like bed corners and path widths using stakes and string. Verify all measurements match reality.
Double-check sun patterns and existing tree shadows won’t stunt your plants. Confirm your hose reaches every planned planting zone and that you’ve allocated space for compost or tool storage.
Assess soil conditions one final time; amend it now if needed. Ensure your design retains easy access for maintenance. This tactile walkthrough catches flaws screens can’t show, preventing costly post-planting adjustments. Once everything aligns, you’re ready to break ground confidently.
Frequently Asked Questions
How Much Will My Garden Layout Cost to Install?
Your costs vary by complexity. A simple DIY bed might cost $100-300. For professional hardscaping, irrigation, or extensive planting, you’ll likely spend $1,500 to $5,000+; you set the budget with your specific design choices.
How Do I Protect My Garden Layout From Pests and Animals?
You can use fences to stop animals. Try row covers against insects and plant companion flowers. Remember that organic sprays, like neem oil, also work. You’ll need to inspect plants often for early signs.
What Are the Legal Requirements or Permits for My Garden?
Check local zoning laws for fence heights or water features. You’ll need a permit for permanent structures like large sheds. Also, review any homeowner association rules affecting your garden’s plants or layout before you start.
How Do I Find and Hire a Reliable Garden Designer or Landscaper?
Search for qualified designers through local gardening clubs, then ask for and check their references thoroughly. You’ll want to see their portfolio and clearly define your budget before you hire anyone.
How Do I Maintain and Update My Layout Over the Years?
You’ll maintain it with a seasonal checklist for pruning, fertilizing, and mulch. You can update by swapping out annuals, dividing perennials, and adding features like a small path or raised bed when you’re ready.
Conclusion
Before you start digging, review your checklist. Confirm your layout matches sun patterns and soil zones, ensures access paths, and groups plants by their water needs. Remember, your perfect garden is built piece by piece, so focus on one manageable phase this season. Use your sketch as a guide, but stay flexible—you’ll adapt as your garden grows and your vision evolves.
The Only Tools You Need for a Thriving Garden 🌱
Whether you're a weekend gardener or growing daily — these hand-picked tools make every session faster, easier, and more satisfying.