You’ll transform your backyard by first assessing your space’s dimensions, sun exposure, and shape. Then match a layout to your needs: narrow borders, twin raised beds, spiral gardens, terraced designs, or vertical systems. Consider cottage, Mediterranean, or pollinator-friendly themes. Each approach maximizes your square footage differently. Whether you’re working with compact corners or sprawling acres, the right layout combines accessibility, functionality, and visual appeal. Discover how specific designs unlock your garden’s full potential.
Key Takeaways
- Raised beds with tiered herb-pepper-vine arrangements create organized, space-efficient layouts perfect for compact backyards.
- Terraced gardens with retaining walls and integrated pathways maximize vertical space while preventing erosion and improving accessibility.
- Vertical growing systems on walls and trellises increase yield up to 5× compared to traditional ground-level planting.
- Island garden designs with layered potted arrangements provide focal points visible from multiple angles with seasonal rotation options.
- Thematic styles like Mediterranean, cottage, and Japanese Zen establish visual coherence through plant selection and hardscape design choices.
Start With Your Space: Assess Size, Shape, and Sun Exposure
Before you envision your garden’s future, you’ll need to assess what you’re actually working with.
Start by measuring your garden’s dimensions and calculating square footage—multiply length by width for rectangular spaces.
For irregular shapes, imagine a rectangle around the area and estimate the percentage it occupies.
Next, observe sunlight patterns throughout the day and across seasons.
Note which sections receive full sun, partial shade, or deep shade.
Long beds or corner areas may create varying light conditions requiring different plant selections.
Finally, identify existing features like fences, structures, and mature trees that’ll shape distinct zones within your space.
Document everything—dimensions, obstacles, and sun exposure—on a rough sketch.
This base map becomes your reference guide for strategic design decisions moving forward.
Border Garden Layouts for Narrow, Underutilized Areas
How can you transform those skinny strips and forgotten corners into thriving garden spaces?
You’ll discover several proven layouts that maximize productivity in tight areas.
– Raised beds with three-row planting
Position small plants like herbs in front, medium plants like peppers in the middle, and vining plants in back for vertical growth.
Use narrow corten steel borders aligned with your home’s lines.
– Trellis-enhanced designs
Install panel trellises at the garden’s back to train fruiting vines upward, freeing ground space for medium-sized plants and flowers despite your narrow width.
– Meandering paths with side borders
Create sinuous walkways starting from your home that guide you through planting zones, adding interest while making spaces feel larger and more manageable.
Twin Garden Designs for Balanced Central Spaces

Mirror-image raised beds create the perfect focal point for central backyard spaces, offering you both visual harmony and practical functionality.
You’ll position your 8’x4′ cedar beds symmetrically near your back deck, connected by arches that support climbing plants like tomatoes.
Pavers form an accessible pathway between beds, with granite stone edging for a polished appearance.
This layout eliminates reach issues since you can access beds from multiple sides, making daily tending straightforward.
The twin design maximizes your growing capacity—64 square feet per bed—while maintaining organized aesthetics.
Potted flowers surrounding the beds add color contrast, completing your balanced kitchen garden.
You’ll enjoy efficient vegetable production alongside ornamental appeal, all from a structured, visually cohesive central space.
Garden Trio Layouts for Long Driveways and Curved Edges
Your long driveway presents an ideal canvas for establishing visual rhythm through strategic layering.
You’ll combine trees, groundcovers, and bordered plantings to create depth and guide movement.
- Anchor with regularly spaced trees like Zelkova or ornamental pears, interspersed with modest-height hedges such as Annabelle hydrangeas to establish consistent visual markers while maintaining mystery.
- Layer groundcover strips between large pavers using elfin thyme or Baby Tears, flanking edges with low shrubs and ornamental grasses to soften transitions between hardscape and plantings.
- Frame curved sections with sloped edge planters containing succulents and trellised vines, edged with cobblestones to prevent erosion while adding architectural cohesion.
This trio approach balances structure with softness, creating welcoming entry sequences that guide visitors naturally toward your home.
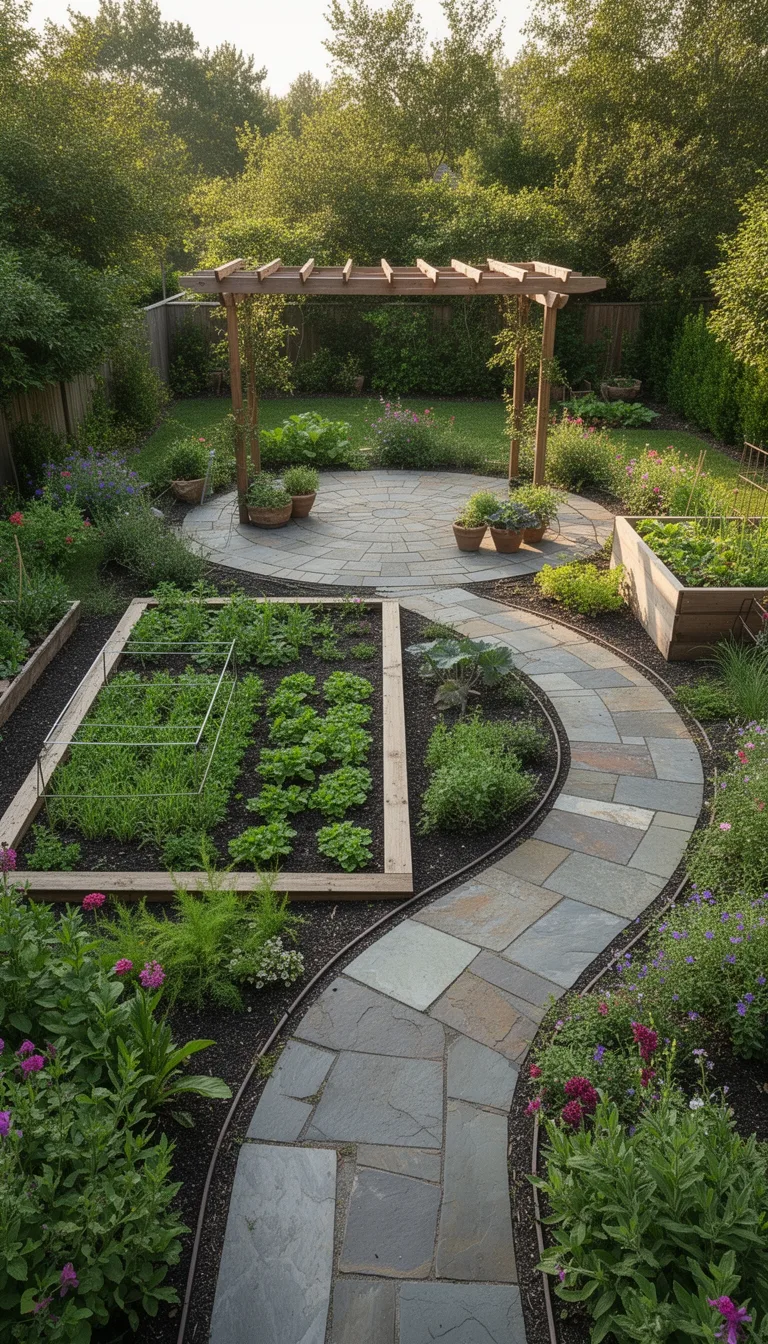
Four-Garden Classic Designs for Square Backyard Sanctuaries
While curved edges and layered plantings create welcoming entry sequences, a more structured approach works beautifully for backyards—particularly when you’re working with square footage and want maximum growing capacity.
You’ll arrange four raised beds in a grid pattern with perpendicular pathways creating a natural focal point at their intersection.
Each bed measures 4 to 8 feet long and 2 to 4 feet wide, providing approximately 225 to 500 square feet of growing space depending on your configuration.
This layout enables systematic crop rotation, prevents disease spread, and accommodates one or two seasonal crops per bed.
You can enhance vertical capacity by installing individual obelisk trellises on each bed or arch structures spanning the center walkway, maximizing your garden’s productivity and visual appeal.
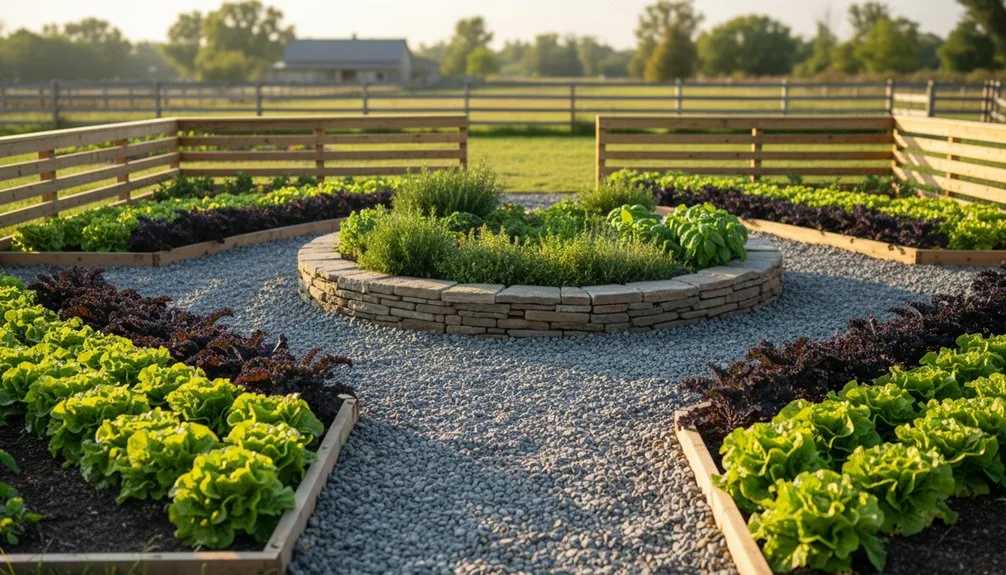
Keyhole Garden Layouts to Maximize Every Inch
How can you transform a cramped backyard into a productive growing zone without sacrificing accessibility?
Keyhole gardens combine growing beds with integrated composting, maximizing limited spaces efficiently.
This circular design features a central compost basket surrounded by sloped soil and a radial pathway resembling a keyhole from above.
You’ll benefit from three key advantages:
- Space optimization – A six-foot diameter bed fits small yards while eliminating separate compost pile requirements
- Nutrient efficiency – The central basket leaches organic matter directly into surrounding soil, supporting microbial life without synthetic fertilizers
- Accessibility – Hip-height construction and wide pathways reduce bending, allowing you to reach all plants comfortably
Build your keyhole garden on level, sunny ground using recycled materials like stone or wood.
This self-enclosed system promotes season-long soil health while reducing organic waste and yard maintenance time.
Formal Potager Designs for Large Statement Yards
If you’ve got space to spare and want to make a bold gardening statement, a formal potager transforms your yard into an organized, visually striking growing space.
You’ll arrange raised beds in symmetrical grid patterns, typically 2.5 to 5 feet wide, around a central focal point like a sculpture or fountain.
Boxwood hedges border individual beds, creating formal definition and visual separation.
Install arch trellises between beds to maximize vertical growing space, while obelisk structures showcase climbing vines dramatically.
Layer permanent elements—apple cordons, berry bushes, and walls—with temporary accents like tomato towers.
Coordinate Swiss chard’s jewel tones with complementary flowers and match marigolds to citrus colors, weaving herbs, flowers, and fruits into a cohesive tapestry that elevates your entire landscape.
Container Garden Layouts for Maximum Flexibility
Container gardens offer the adaptability that formal potagers lack, letting you cultivate abundance without committing to permanent beds or sprawling yard layouts.
You’ll maximize flexibility by implementing these strategies:
- Arrange by height and light needs – Position taller specimens toward north sides, shorter plants forward, ensuring each receives appropriate sun exposure while creating visual depth.
- Group containers strategically – Cluster pots near entrances, along patios, or beside seating areas to define spaces and establish focal points throughout your yard.
- Rotate seasonally – Swap plantings as seasons change, moving containers indoors during frost or repositioning them to accommodate shifting sunlight patterns.
You control soil composition, drainage, and spacing completely. Move containers whenever you redesign, relocate, or respond to weather shifts. This approach works beautifully in small spaces, rentals, or yards with challenging soil conditions.
Vertical Garden Designs to Expand Growing Space Upward
While container gardens grant you flexibility at ground level, vertical garden designs unlock an entirely new dimension of growing space by directing your plants skyward.
You’ll fit approximately 25 plants per square meter on vertical structures—five times more than traditional ground layouts.
Mount systems on walls, fences, or suspend them from gutters without sacrificing floor space.
Train climbing vegetables like cucumbers, tomatoes, and melons upward on trellises.
Staggered rows optimize light exposure and air circulation, reducing pest and disease problems significantly.
Elevated positioning minimizes ground-based pest damage while improving airflow around foliage.
This approach also benefits you ergonomically.
You’ll reduce back strain during harvesting, watering, and maintenance tasks.
Raised plants become more accessible for seniors and those with mobility limitations, eliminating intensive ground-level work while maintaining productivity.
Spiral Garden Layouts for Small Footprints, High Yield
Spiral garden layouts take vertical growing to the next level by compressing maximum planting area into minimal ground space—you’ll fit roughly double the plants in the same footprint as a flat raised bed.
This design stacks herbs across multiple zones, each offering distinct conditions:
- Top zone receives full sun and excellent drainage, perfect for hardy herbs like rosemary, lavender, and sage.
- Middle zones provide partial shade and moderate moisture for basil, parsley, and cilantro.
- Lower zones retain moisture and offer shade, supporting shade-tolerant varieties while gravity naturally drains excess water downward.
The spiral’s height eliminates bending, making harvesting accessible for anyone with mobility concerns.
Stones act as thermal mass, storing daytime heat to warm roots during cooler seasons.
You’ll extend your growing season while maintaining a compact, stunning focal point.
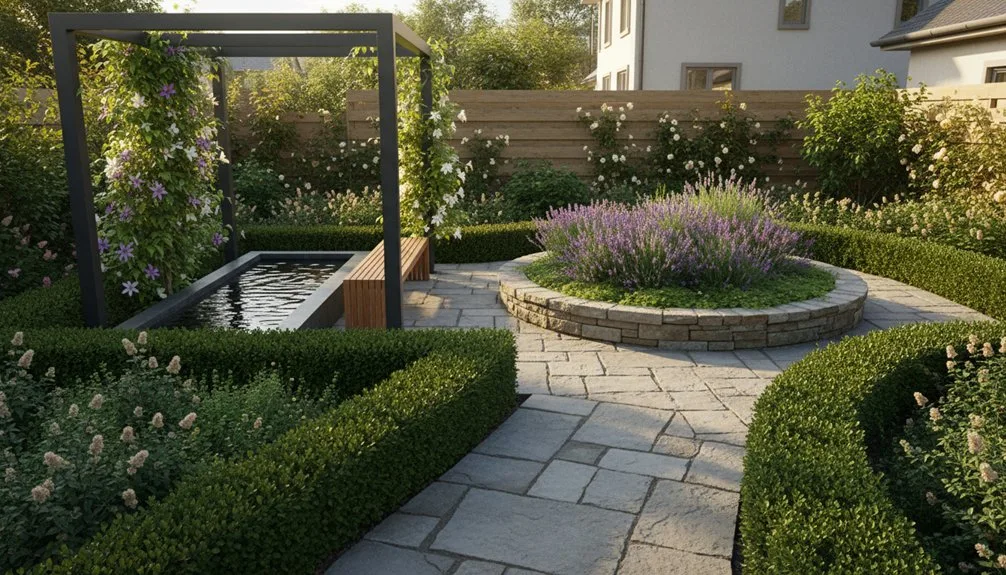
Island Garden Designs as Living Centerpieces
How can you transform your backyard into a gallery where every glance reveals living art? Island garden designs position a centerpiece that captures attention from all angles while maintaining sightlines for gatherings.
You’ll create vertical rhythm by layering terracotta pots at varying heights on wooden trays.
Mount epiphytic orchids and ferns onto live edge wood bases using moss for stability.
Arrange fresh branches in glass vases for dramatic seasonal interest, or fill vintage dough bowls with produce and low-maintenance succulents.
Rotate elements seasonally—swap summer tropicals for winter arrangements.
Position your display in bright, indirect light and mist epiphytes daily.
Refresh fruits and flowers weekly to sustain vibrancy.
This methodical approach transforms your backyard island into an ever-evolving focal point.
Tiered Garden Designs for Sloped or Uneven Terrain
When you’re working with sloped terrain, terracing transforms those challenging elevations into functional, visually striking garden zones.
You’ll divide the slope into manageable levels that accommodate different activities and plantings.
Consider these essential elements:
- Retaining walls – Use pressure-treated timber, stone, or gabion walls to anchor each terrace level while ensuring proper drainage systems prevent soil erosion and water pooling.
- Strategic connectivity – Install stairs and winding paths with complementary materials, adding lighting for safety and accessibility between levels.
- Functional zoning – Position entertainment and seating on lower terraces for easy access, reserve middle levels for flower gardens or dining, and create private retreats on upper areas.
You’ll also benefit from layered planting strategies: position tall trees at back, shrubs in middle, and groundcovers in front, mirroring natural growth patterns while controlling erosion.
Sunken Garden Layouts for Drainage and Visual Interest
Why shouldn’t you capitalize on the natural drainage advantages that sunken gardens provide?
You’ll want to dig 4-8 inches below grade, reaching up to 12 inches for deeper plantings.
Use excavated soil to build berms between rows, creating wind protection and visual separation.
Amend your soil with compost before refilling trenches.
Install robust walls using bricks or wooden sleepers to prevent collapse.
For optimal drainage, utilize existing ditches or natural runoff paths.
You’ll catch moisture as water runs downhill, preventing oversaturation during heavy rains.
Add stairs for accessibility if you’re digging beyond 120cm.
Divide your layout into 2-foot square grids for precise planting.
This methodical approach creates sheltered microclimates while enhancing visual interest through geometric patterns and bordered edges.
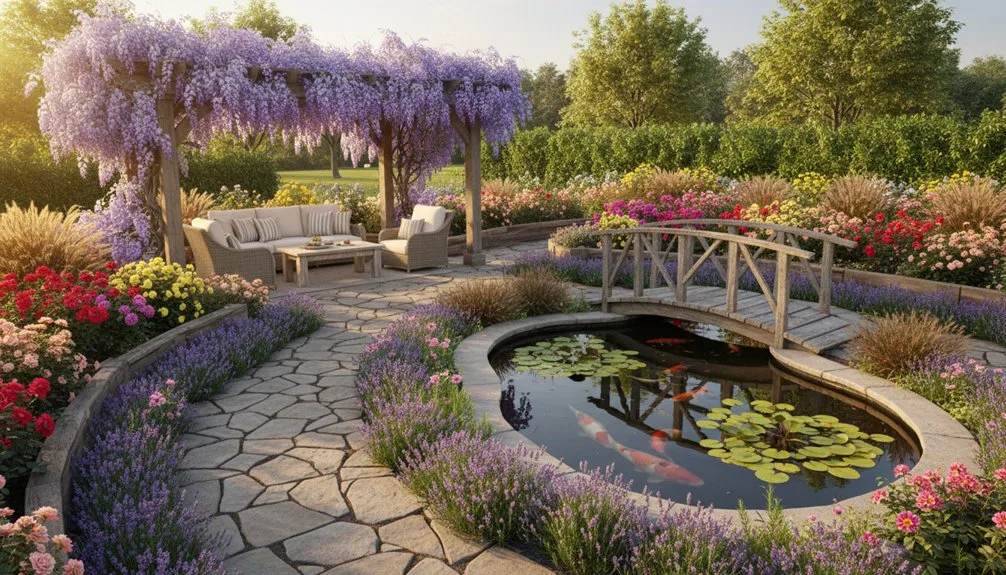
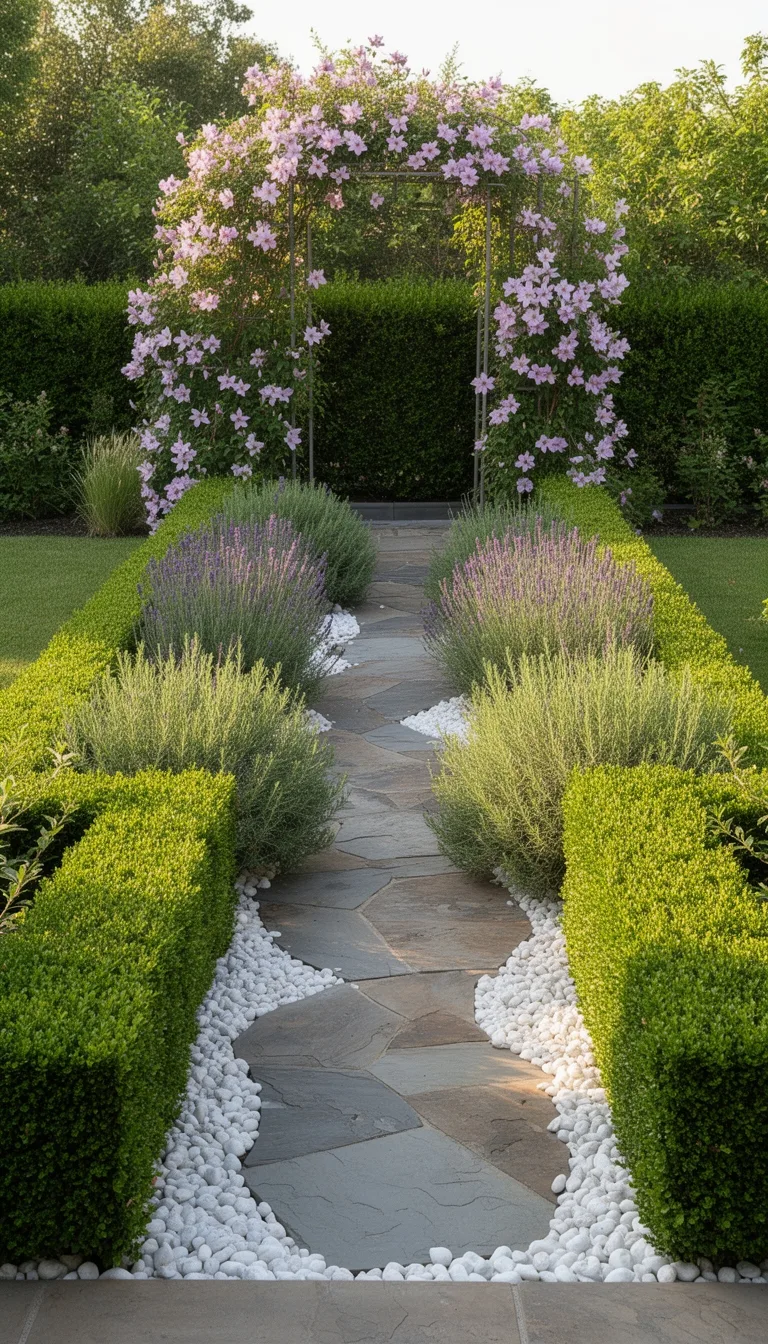
Cottage Garden Layouts: Informal Planting Principles
Unlike the geometric precision of sunken gardens, cottage garden layouts embrace organic abundance while maintaining deliberate structure beneath their lush appearance.
You’ll create visual harmony by following these principles:
- Arrange plants by height—position low-growing perennials along pathways, medium shrubs outward, and tall varieties at borders for layered depth and visibility.
- Design curvy pathways first—sketch meandering routes using flagstone, brick, or pea gravel before filling surrounding spaces with herbs and flowers, establishing flow toward focal points like ponds or arches.
- Balance density with spacing—densely pack ornamental and edible plants while considering average mature sizes to prevent overcrowding, mixing billowy cascades with structured evergreens for textural contrast.
This approach yields a structured garden that appears effortlessly abundant.
Mediterranean Garden Designs: Layout for Heat and Drought
How do you design a garden that thrives in heat and drought without sacrificing beauty?
You’ll anchor your space with statement trees like Italian Cypress or Olive, positioning them at corners for structure. Layer in aromatic evergreen subshrubs reaching 2–3 feet tall, creating dense texture throughout. Choose flowering perennials and groundcovers like Lavender and Elfin Thyme for seasonal interest and minimal water needs.
For hardscape, substitute gravel paths for traditional lawns, allowing plants to ramble naturally across edges. Incorporate stone pavers interplanted with low groundcovers, and scatter terracotta pots as focal points. Define distinct garden rooms using hardscape transitions—shifting from gravel to pavers creates visual separation.
Integrate shade structures like pergolas or arbors for retreat spaces. Add geometric water features sparingly. This methodical approach prioritizes functionality while respecting your climate’s constraints.
Japanese Zen Garden Layouts: Minimalism and Reflection
Japanese Zen gardens embrace an entirely different philosophy than Mediterranean designs—instead of abundant blooms and aromatic plants thriving in heat, you’ll cultivate emptiness and restraint as your primary materials.
Start by implementing these core elements:
- Position rocks in odd-numbered clusters (3, 5, or 7 stones) as focal points, partially burying them to appear naturally embedded in your landscape.
- Rake gravel or sand in flowing patterns that mimic water movement, directing lines east to south to west for authentic water-path symbolism.
- Enclose your space with walls or hedges to eliminate external distractions and create a secluded meditation area.
You’ll prioritize negative space over features, allowing silence and reflection to dominate.
Design your layout first, positioning larger boulders as anchors before adding minimal moss or plants. This methodical approach transforms your backyard into a harmonious sanctuary.
Pollinator-Friendly Garden Layouts to Support Ecosystems
Where does your garden sit in the pollinator support spectrum? Most suburban landscapes contain just 20-30% native plants—you’ll want to boost that to 70-80% to genuinely support pollinators.
Start by grouping native species in masses of 5-7 plants; this clustering triggers bee flower constancy foraging.
Plan bloom succession using the 3x3x3 system: three native species flowering in spring, summer, and late fall.
Include serviceberry for early season nectar and asters for fall blooms.
Arrange plants by height, tallest centered for island beds.
Layer groundcovers like sedum and creeping thyme as transitions.
Critically, preserve bare, well-drained soil patches in sun—70% of native bees nest underground.
Add shallow water sources and shelter like brush piles to complete your pollinator-supporting ecosystem.
Accessible Raised Beds: Height and Pathway Guidelines
If you’re designing raised beds for gardeners with varying mobility needs, you’ll want to prioritize height first—it’s the foundation of accessible garden design.
- Set bed heights between 20-34 inches depending on whether users need wheelchair or walker access, ensuring comfortable reach without bending or stretching.
- Keep widths at 3-4 feet maximum with depths no deeper than 18 inches from a single side, allowing you to reach the center without overextending.
- Design pathways at least 48 inches wide with no protruding objects, providing adequate space for wheelchair maneuverability and safe navigation between beds.
Include a 27-inch knee space beneath the top edge and construct thin side walls using rot-resistant cedar or redwood.
These specifications transform your garden into an inclusive space where everyone can participate comfortably.
Rotating Beds for Continuous Harvests Year-Round
Why do the most productive gardens seem to generate abundant yields year after year while others deplete? The answer lies in rotating your beds systematically. You’ll disrupt soil-borne pathogen cycles, balance nutrient depletion, and build microbial diversity through varied root exudates.
| Bed Position | Year 1 | Year 2 | Year 3 | Year 4 |
|---|---|---|---|---|
| Bed A | Legumes | Root Crops | Leafy Greens | Fruit |
| Bed B | Root Crops | Leafy Greens | Fruit | Legumes |
| Bed C | Leafy Greens | Fruit | Legumes | Root Crops |
| Bed D | Fruit | Legumes | Root Crops | Leafy Greens |
Divide your garden into four raised beds, rotating clockwise annually. Plant the same family once every four years per bed to minimize pest buildup. Follow legumes with nitrogen-heavy feeders. Enable succession planting—beans to garlic, early greens to tomatoes—maximizing productivity without consecutive family plantings.
Materials, Tools, and Installation: Building Your Garden
Once you’ve mapped out your four-bed rotation system, you’ll need to construct the physical infrastructure that supports it. Start by preparing your foundation with these essential steps:
- Edging installation: Use 200x50mm timber sleepers secured with ground stakes to contain soil and prevent spreading, especially critical for gravel pathways separating beds.
- Soil preparation: Mix compost into premium garden soil at approximately 0.6 cubic meters per small bed, adjusting depth to 30cm for optimal root development.
- Base materials: Layer crushed stone beneath beds for drainage, then add your prepared soil mixture on top.
Choose your pathway material strategically—gravel offers DIY-friendly installation at $0.78-$1.70 per square foot, while decomposed granite provides firm, durable surfaces.
Proper edging prevents maintenance headaches and maintains clean bed separation throughout your rotation cycle.
Conclusion
You’ve now got a roadmap for transforming your backyard into an organized oasis. Start by measuring your space and noting sun patterns—you’re building a foundation like constructing a house from the ground up. Choose layouts that fit your needs, whether you’re rotating beds for year-round harvests or creating pollinator havens. Gather your materials, follow the guidelines for pathways and raised beds, and you’ll cultivate a garden that’s both beautiful and productive.
The Only Tools You Need for a Thriving Garden 🌱
Whether you're a weekend gardener or growing daily — these hand-picked tools make every session faster, easier, and more satisfying.