You’ve probably thought about growing your own kitchen herbs but aren’t sure where to begin. It’s simpler than you imagine if you focus on a few key steps. You’ll need to select the right spot, pick your favorite flavors, and gather just a handful of supplies. The real trick, however, lies in the planting and the ongoing care—that’s where many new gardeners find an unexpected challenge.
Key Takeaways
- Maximize space with vertical or hanging garden setups grouped by similar light and water needs.
- Choose sunny, sheltered locations with excellent drainage to prevent soggy soil and root rot.
- Select versatile, forgiving herbs like parsley, chives, and thyme that match your cooking habits.
- Start indoors using south-facing windows or full-spectrum LED grow lights for sufficient light.
- Use containers with drainage, like clay pots or fabric bags, and a high-quality potting mix.
Why Start a Kitchen Herb Garden?
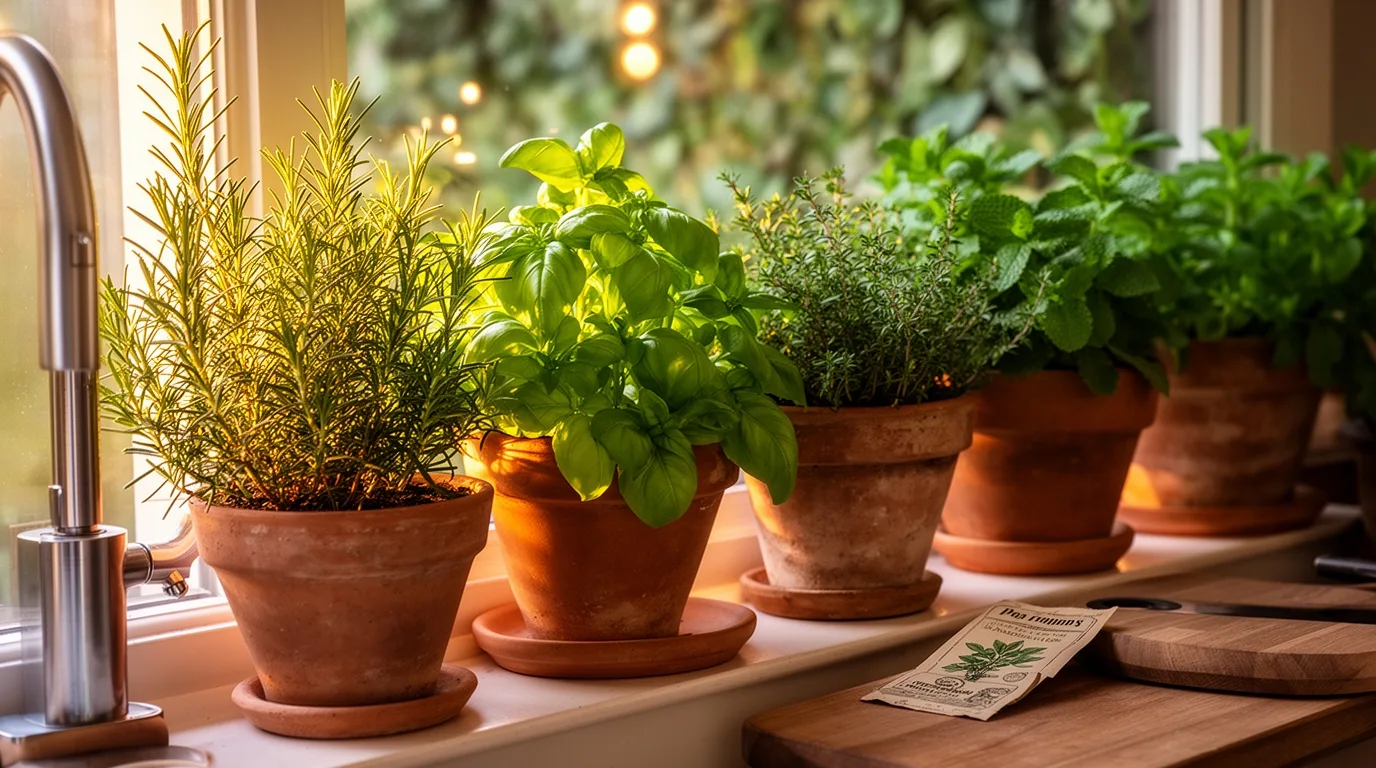
So, why should you start a kitchen herb garden? You gain instant access to fresh flavors that transform your cooking.
Store-bought herbs often wilt quickly, but snipping a vibrant sprig right before use maximizes their aromatic oils and taste.
You’ll save money over time; a single plant yields far more than those expensive plastic clamshells.
It’s also incredibly convenient—your ingredients are just steps away, eliminating last-minute store runs.
You control how they’re grown, avoiding pesticides if you choose.
There’s a simple satisfaction in nurturing plants you then eat, connecting you to your food.
Starting small with a few pots is low-commitment but delivers high culinary reward, making everyday meals feel more special and intentional.
Find Your Ideal Herb Garden Location
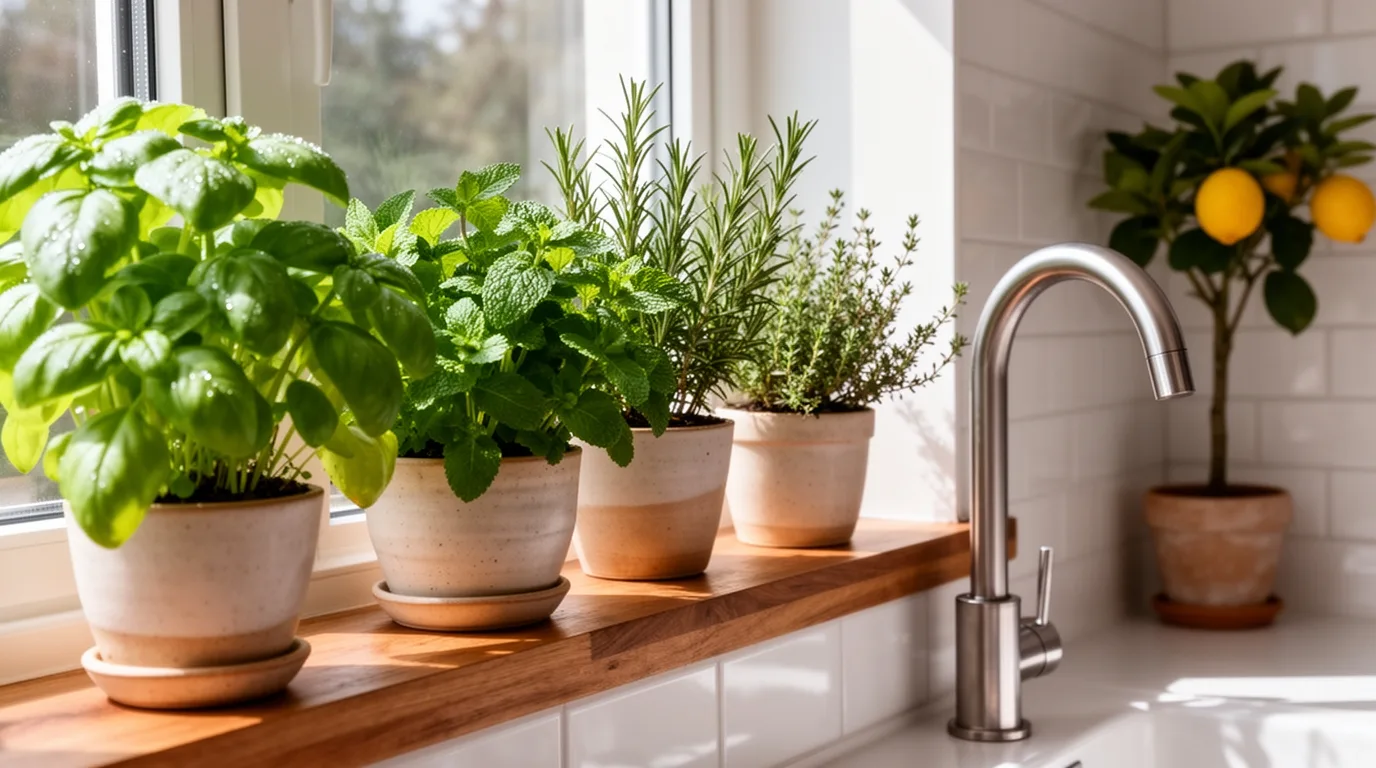
Now that you’re ready to grow your own herbs, the first step is choosing where to place them. Herbs require at least six hours of direct sun daily, so scout for a sunny spot. A south-facing windowsill is a prime indoor location.
Outdoors, find a sheltered area protected from harsh winds. Convenience is crucial for a kitchen garden; you’ll harvest more often if it’s steps from your door.
Ensure the site has excellent drainage, as soggy soil causes root rot. If you’re using containers, you’ve got flexibility—just move them to follow the sun.
Avoid placing herbs near competing tree roots or in heavy shade from buildings. This foundational decision sets your garden up for success.
Choose Your Favorite Kitchen Herbs
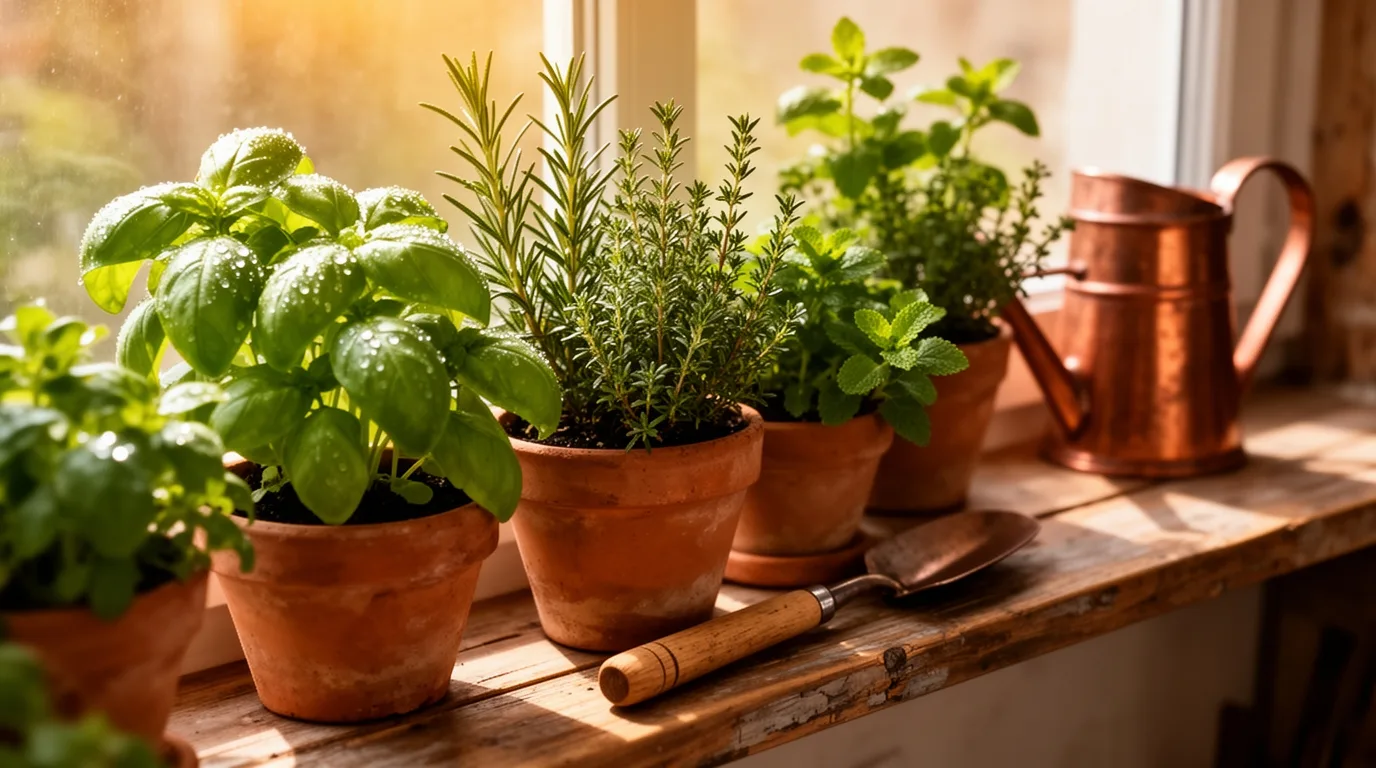
Selecting herbs you’ll actually use transforms your garden from decorative to delicious. First, think about your cooking habits. Do you make Italian sauces? Plant basil. Love roasted potatoes? Rosemary’s essential.
Start with classics like parsley, chives, and thyme—they’re versatile and forgiving. Consider mint for drinks, but confine it to a pot to prevent invasion.
Your climate matters too; cilantro bolts in heat, while sage thrives. You don’t need a huge plot; prioritize two or three favorites for regular harvests.
Choose based on what you’ll snip weekly, not just novelty. This practical focus ensures your garden feeds your kitchen, making every meal fresher and more flavorful.
Gather These Essential Herb Garden Supplies
Gathering the right supplies from the start saves time, prevents frustration, and gives your herbs a strong foundation.
First, secure containers with excellent drainage; clay pots or fabric grow bags work perfectly. You’ll need high-quality potting mix, never dense garden soil. Invest in a small, durable trowel and pruning shears for maintenance.
For indoor gardens, a sunny south-facing window is ideal, but you’ll likely need full-spectrum LED grow lights for consistent growth.
Don’t forget a watering can with a narrow spout for precise watering and a tray to protect surfaces. Have liquid organic fertilizer and neem oil on hand for feeding and pest control.
Label each herb with plant markers to avoid confusion later.
Plant Your Herbs From Seed or Starter
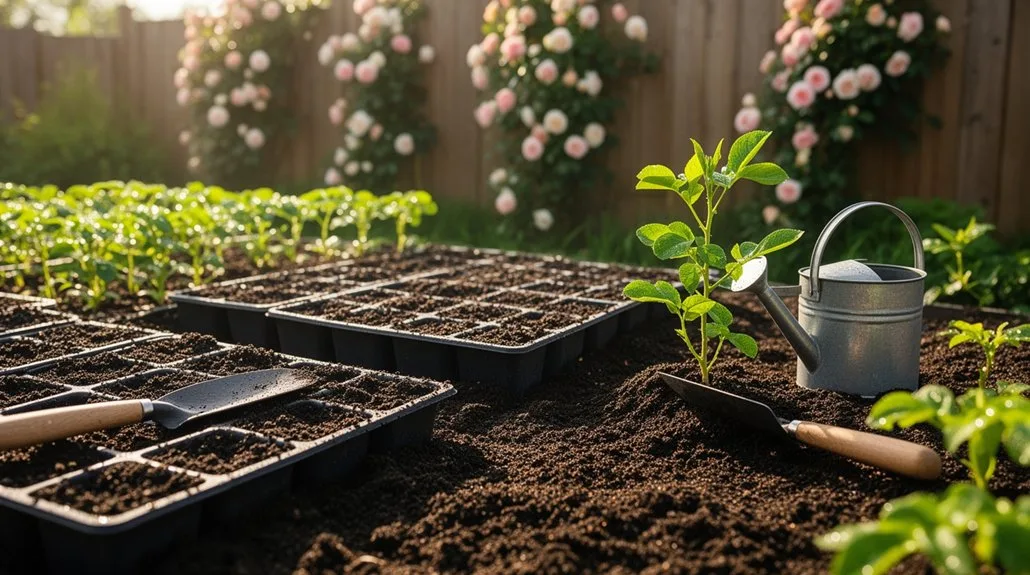
With your supplies ready, you have two reliable paths to begin growing: sowing seeds directly or planting young starters from a nursery.
Sowing seeds is economical and offers more variety. You’ll press small seeds lightly into moist soil, covering them as directed. Keep the soil consistently damp and warm until germination, which can take one to three weeks.
For faster results, purchase healthy starter plants. Carefully loosen their root balls before planting them at the same depth they were in their pots.
Whichever method you choose, ensure your containers have drainage holes and you use a quality potting mix. Gently water your newly planted herbs to settle the soil around the roots.
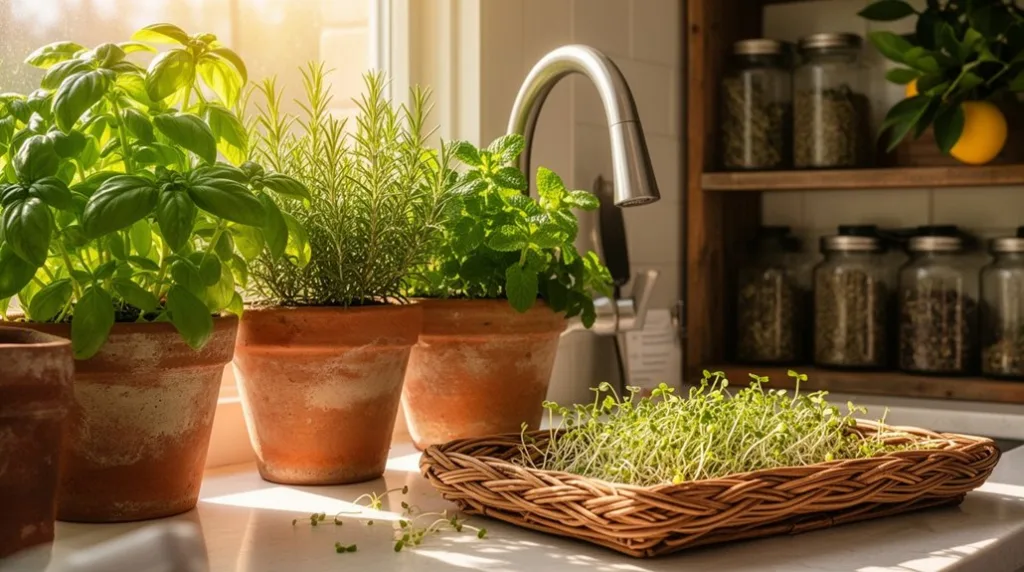
Create a Thriving Windowsill Herb Garden
Transforming a sunny windowsill into a productive herb haven is a rewarding way to bring fresh flavors to your kitchen.
Choose a south-facing window for maximum light, as most herbs require at least six hours of direct sun.
Select pots with excellent drainage holes and use a high-quality, well-draining potting mix.
Plant compact, culinary favorites like basil, thyme, oregano, chives, and mint—though keep mint in its own pot to prevent it from overtaking others.
Water only when the top inch of soil feels dry; overwatering is a common mistake.
Pinch back the growing tips regularly to encourage bushy growth and prevent flowering, which can make leaves bitter.
Rotate the pots weekly for even growth.
Design a Small Outdoor Container Garden
Once you’ve mastered a windowsill garden, taking your herbs outdoors lets you expand your variety and harvest even more. Start with a sunny patio or balcony spot that gets at least six hours of sun. Choose containers with excellent drainage holes; terracotta pots are ideal as they allow soil to breathe. Use a high-quality, lightweight potting mix, not dense garden soil. Group herbs with similar water needs together. For instance, plant rosemary, thyme, and oregano in one pot, as they prefer drier soil, while basil, parsley, and cilantro can share another, needing more consistent moisture.
| Herb Pairing by Need | Example Container Type |
|---|---|
| Mediterranean (Dry): Rosemary, Thyme, Oregano | Unglazed Terracotta Pot |
| Moisture-Loving: Basil, Parsley, Cilantro | Glazed Ceramic or Plastic |
| Aggressive Grower: Mint (plant alone) | Deep, Separate Container |
Regularly pinch back stems to encourage bushy growth and prevent flowering, which can make leaves bitter.
Build a Vertical or Hanging Herb Garden
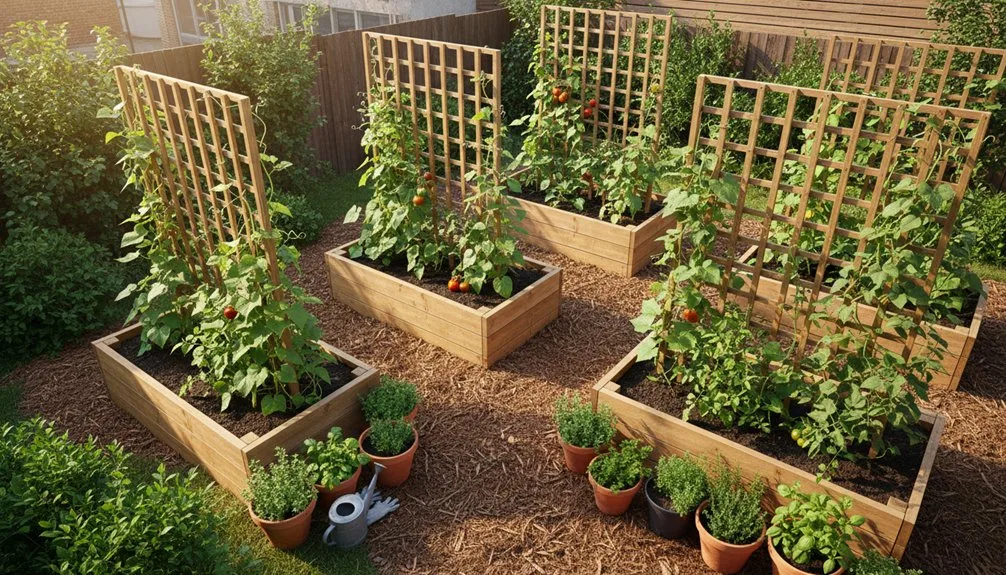
Maximizing your vertical space lets you grow a lush, productive herb garden even on the smallest balcony or patio. You can repurpose items like a wooden pallet, a shoe organizer, or a set of wall-mounted pots.
For a simpler start, hang several terracotta pots from a railing using S-hooks. Ensure each container has excellent drainage and use a lightweight, well-draining potting mix.
Position your vertical garden where it’ll receive at least six hours of sunlight daily, ideally facing south or west. Plant herbs with similar light and water needs together; thyme, oregano, and rosemary pair well for a sunny, dry spot.
A vertical setup keeps plants off the ground, improving air circulation and making harvesting easier.
Keep Your Herbs Healthy With Simple Care
With your vertical garden planted, keeping herbs thriving comes down to consistent watering, proper feeding, and regular pruning.
You’ll need to check soil moisture frequently; water when the top inch feels dry, ensuring thorough drainage.
Feed plants every two to three weeks with a balanced, water-soluble fertilizer diluted to half-strength.
Pruning is essential—regularly pinch back stem tips to encourage bushy growth and prevent flowering, which can make leaves bitter.
Always monitor for pests like aphids; you can dislodge them with a strong water spray.
Rotate pots periodically so all sides receive equal light, preventing leggy, weak stems.
Good air circulation also helps prevent fungal diseases, so don’t overcrowd your plants.
Harvest Your Herbs for Peak Flavor
To consistently capture the best flavor from your herbs, you should harvest them in the morning after the dew has dried but before the day’s heat intensifies.
Always use sharp, clean scissors or shears to make precise cuts. Pinching with your fingers can bruise delicate stems, releasing oils prematurely and inviting disease. Your approach will differ based on the herb’s growth pattern:
- For leafier herbs like basil and mint, pinch off the top few sets of leaves just above a leaf node; this encourages bushier regrowth.
- For woody-stemmed herbs like rosemary and thyme, snip full sprigs from the ends of branches.
- Never strip a plant bare; always leave at least a third of its growth intact so it can recover.
- Process your harvest immediately by rinsing gently and patting dry to lock in the essential oils at their peak.
Preserve Your Herb Garden Harvest for Year-Round Use
Harvesting your herbs at their peak is just the first step; preserving them effectively lets you enjoy that fresh flavor long after the growing season ends.
For soft herbs like basil and cilantro, freezing is your best bet. You can chop them and suspend them in water or olive oil in an ice cube tray, then pop out the cubes for soups or sauces later.
For more robust herbs like rosemary, thyme, and oregano, drying is wonderfully effective. Bundle small bunches and hang them upside down in a warm, dark, and well-ventilated spot for one to two weeks until they crumble easily.
Store your dried herbs whole in airtight jars away from light to preserve their potent oils.
Troubleshoot Common Herb Garden Problems
Diagnosing issues in your herb garden quickly saves both your plants and your patience. Most problems stem from a few key areas: water, light, soil, and pests.
You can correct many issues by simply adjusting your care routine.
Common Herb Garden Problems & Fixes:
- Yellowing Leaves: Often means overwatering. Let the soil dry out completely between waterings for herbs like rosemary and thyme.
- Leggy, Sparse Growth: This signals insufficient light. Move potted herbs to a sunnier spot; they typically need 6+ hours of direct sun daily.
- Powdery White Residue: This is mildew from poor air circulation. Space plants properly and water the soil, not the leaves.
- Holes in Leaves: Likely caterpillar or slug damage. Handpick pests at dusk or apply diatomaceous earth around plant bases.
Pair Your Garden Herbs With Favorite Recipes
Now you can transform your thriving herb harvest into the star of your kitchen. You don’t need complex recipes; focus on classic pairings.
Snip fresh basil directly into a caprese salad or tomato sauce. Blend rosemary and thyme with olive oil to marinate roasted chicken or potatoes. For fish, a simple butter sauce with dill or tarragon is perfection.
Think of cilantro for tacos and salsas, and mint for summer beverages or a tabbouleh salad. Chop parsley into grain bowls or as a final garnish for nearly any savory dish.
Try These Clever Herb-Garden Hacks
Take your herb gardening to the next level with a few clever tricks that can boost growth and simplify maintenance. You’ll get more from your plants with less effort.
Start by using coffee grounds as a free, slow-release fertilizer; just sprinkle them around the base of plants like rosemary. For tiny seeds like basil, mix them with sand before sowing to prevent overcrowding. Pinch off flower buds as soon as you see them to keep leafy herbs like mint and basil from bolting and turning bitter. Finally, use clean, sharp kitchen scissors for harvesting; it’s quicker and causes less damage to the plant than tearing.
- Fertilize with Coffee Grounds: A free, acidic boost for herbs like rosemary.
- Sow Small Seeds with Sand: Ensures even distribution to prevent overcrowding.
- Pinch Off Flower Buds: Directs energy into leaf production, not seeds.
- Harvest with Kitchen Shears: Makes clean cuts that promote healthy regrowth.
Expand Your Garden With More Unique Herbs
While common herbs like basil and mint are staples, you can broaden your culinary palette by cultivating more unique varieties.
Consider lemon verbena, whose potent citrus leaves elevate desserts and teas. You’ll find its aroma is pure sunshine.
For a savory, anise-like punch, grow lovage; its robust leaves and stems act as a celery substitute in soups and stocks.
Don’t overlook shiso (perilla), a key Japanese herb with a complex flavor profile you can use raw in salads or to wrap grilled meats.
These herbs often require the same basic care—full sun and well-drained soil.
Start with one new plant each season to master its specific needs before expanding your collection further.
Frequently Asked Questions
Can I Grow Herbs With Artificial Light?
You can absolutely grow herbs indoors with LED or fluorescent lights. Hang lights six inches above plants. You’ll need a timer for 12-16 daily hours. Use well-draining soil and feed them lightly for strong results.
Are Herbs Safe for Pets to Ingest?
Many herbs like basil or rosemary are safe, but avoid toxic ones like chives or mint. You should research each herb and place your pots out of reach to keep curious pets safe.
Do Herbs Attract Beneficial or Harmful Insects?
Herbs attract beneficial insects like pollinators and pest predators. You’ll see bees and ladybugs. Some herbs can also attract pests, but a diverse garden usually balances this, creating a healthier ecosystem for your plants.
Can I Reuse Potting Soil for Herbs?
Yes, you can, but first you must refresh it. Remove old roots, then mix in about 30% new compost or potting mix to replenish nutrients. Always ensure it drains well for your herbs.
How Do Herbs Affect Indoor Air Quality?
You’ll find certain herbs like mint and rosemary subtly absorb pollutants and release oxygen, improving your air. But don’t rely on them for major filtration; you’ll need dedicated houseplants for that effect.
Conclusion
You’ve got your herbs, pots, and sunny spot sorted. With your weekly snipping routine, those plants will stay bushy and productive. Now make it your own kitchen ritual: start each morning by harvesting what you need, and preserve the surplus for later. Let those fresh flavors find your favorite dishes, and enjoy your year‑round, just‑steps‑away supply.
The Only Tools You Need for a Thriving Garden 🌱
Whether you're a weekend gardener or growing daily — these hand-picked tools make every session faster, easier, and more satisfying.