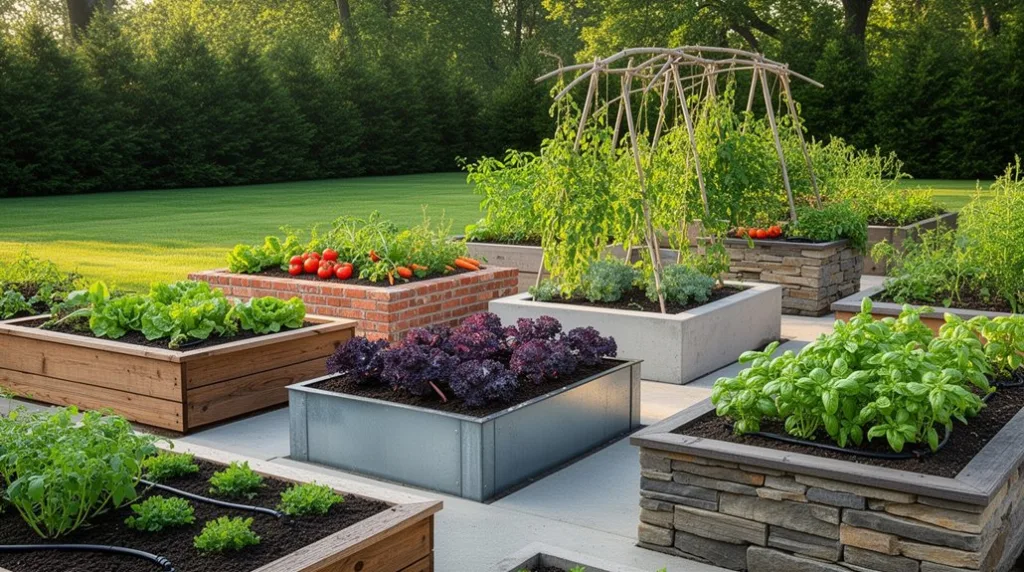
You’re looking to boost your garden’s output without overhauling the whole yard, and the right raised bed can do that. From sleek steel frames that cut installation time in half to reclaimed‑wood designs that blend with a rustic patio, each option offers a mix of durability, smart watering, and space‑saving layouts. The right you see how tiered or vertical builds, insulated covers, and modular compartments can turn a modest plot into a year‑round food source. Ready to discover which design fits your space and goals?
Key Takeaways
- Use durable, low‑maintenance frames such as pressure‑treated lumber, reclaimed wood with stainless brackets, or powder‑coated steel tubing for long‑lasting raised beds.
- Choose well‑draining soil mixes (e.g., compost : peat moss : vermiculite 1:1:1) and add perlite or coarse sand for aeration and root health.
- Incorporate built‑in drip‑irrigation with timers, reservoirs, and wicking layers to deliver consistent moisture while conserving water.
- Design modular, mobile beds with lockable wheels or adjustable legs for easy repositioning and seasonal layout changes.
- Add seasonal accessories like insulated frames, polycarbonate covers, and solar‑powered LED lighting to extend growing periods year‑round.
Modern Raised Bed – Quick DIY Guide
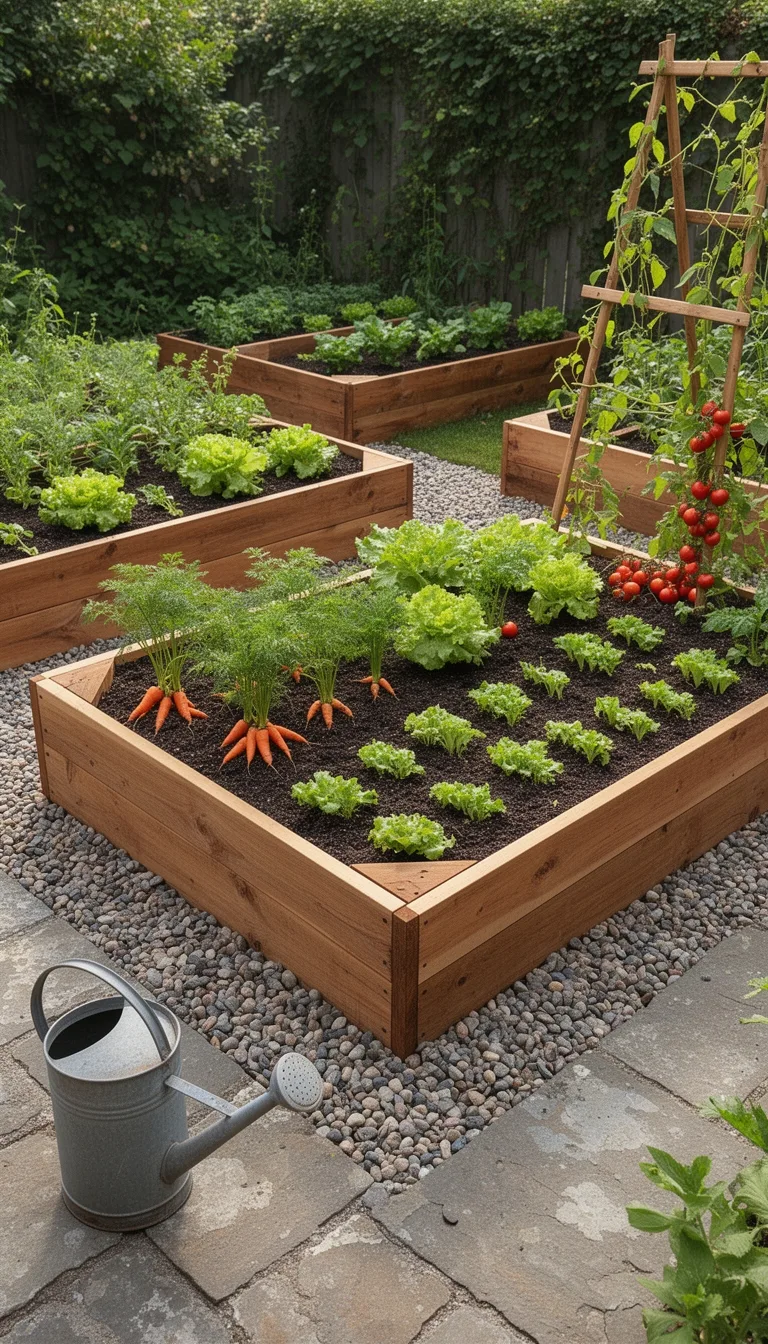
Even if you’ve never built a garden bed before, you can assemble a sleek, modern raised bed in a weekend with just a few tools and materials.
Start by measuring a 4‑by‑8‑foot rectangle and cutting pressure‑treated lumber to 12‑inch height. Use a drill, deck screws, and corner brackets to join the sides, ensuring a square frame.
Lay a weed‑blocking fabric inside, then fill with a 1‑part compost, 1‑part peat moss, and 1‑part vermiculite mix.
Install a simple drip‑irrigation line along the top edge, connecting to a timer for consistent moisture.
Add a low‑profile border for a clean edge, and plant herbs, lettuce, or strawberries for quick harvest.
This design maximizes space, improves drainage, and looks contemporary in any backyard.
Rustic Reclaimed‑Wood Raised Bed – Cozy Backyard Look
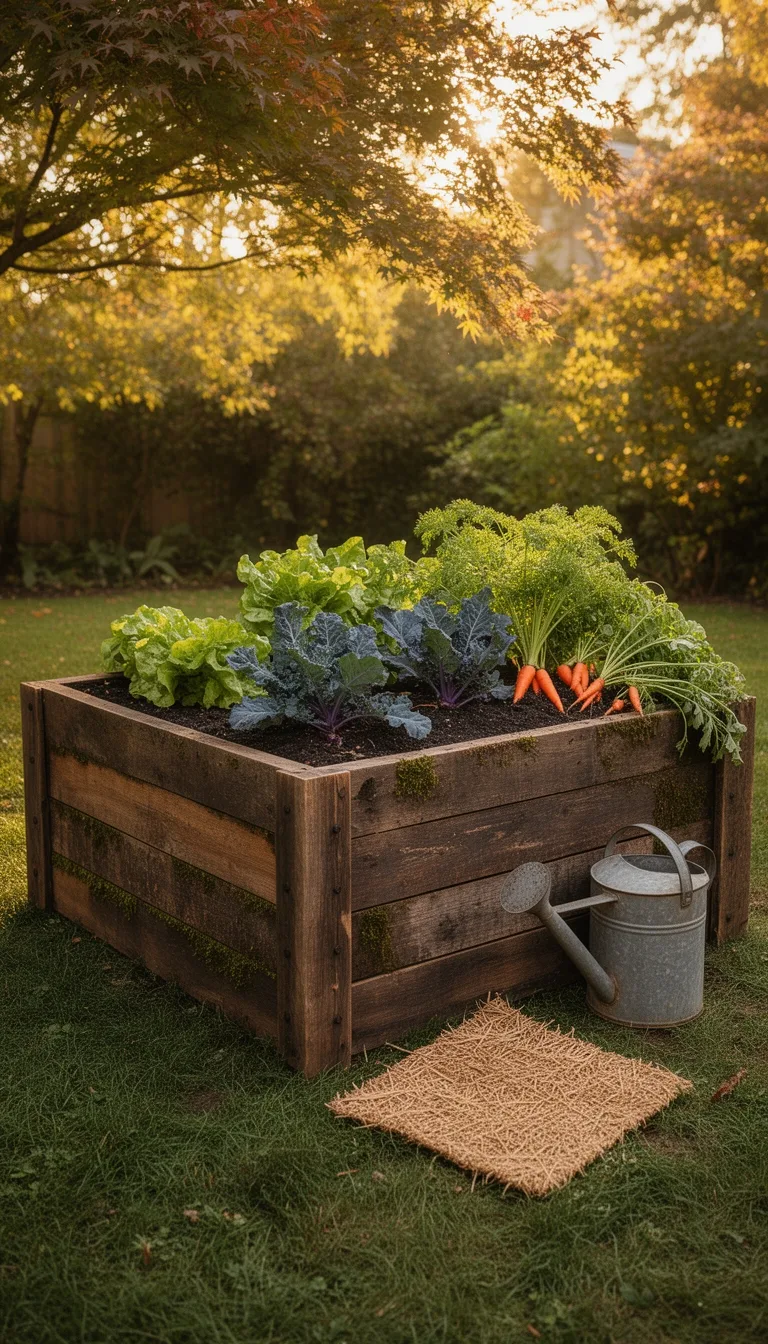
If you liked the clean lines of a modern bed, you’ll appreciate the warmth of reclaimed wood for a cozy backyard vibe.
Start by sourcing weather‑worn pallets or salvaged barn boards; they’re cheap and already seasoned. Cut the lumber to a uniform height—12‑18 inches works well for most vegetables. Assemble a rectangular frame with galvanized brackets, then reinforce corners with extra slats to prevent bowing.
Line the interior with a breathable landscape fabric to keep soil in while allowing drainage.
Fill the bed with a 1:1 mix of compost and topsoil, then add a thin layer of mulch to retain moisture.
Position the bed near a sunny spot and a water source, and you’ll have a rustic, low‑maintenance garden that blends seamlessly into your backyard’s relaxed aesthetic.
Minimalist Steel Frame Raised Bed – Sleek Modern Style
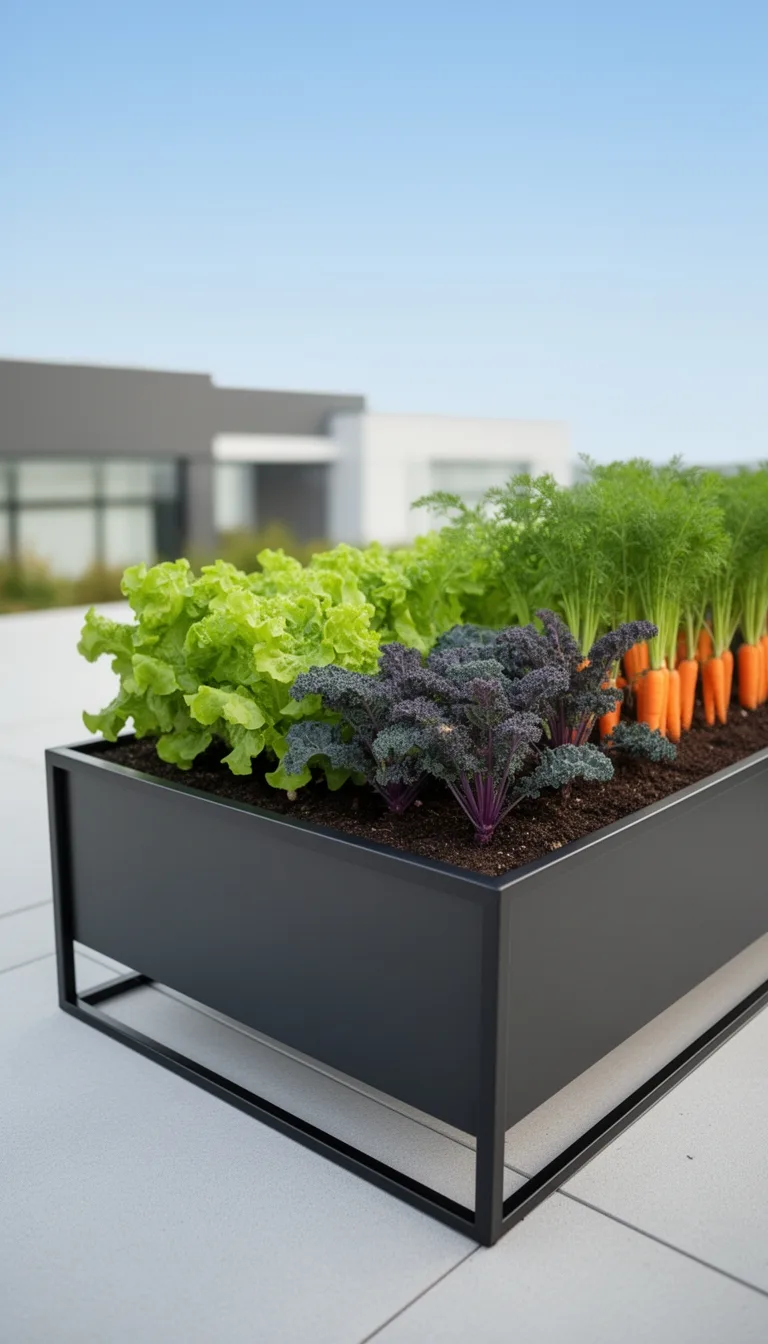
A handful of steel tubing and a few corner brackets are all you need to create a sleek, modern raised bed that fits any contemporary garden. You’ll appreciate the clean lines, rust‑resistant finish, and the ability to assemble it in under an hour. The frame supports deep soil, so roots thrive, while the minimalist look complements patio furniture and stone pathways. Use a simple drip‑irrigation system and a lightweight soil mix for fast drainage and easy maintenance.
| Feature | Benefit | Ideal Use |
|---|---|---|
| Thin steel tube | Minimal visual bulk | Small urban balconies |
| Corner brackets | Tool‑free assembly | DIY enthusiasts |
| Open‑top design | Easy planting & harvesting | Seasonal vegetables |
| Powder‑coat finish | Long‑lasting durability | High‑traffic garden areas |
Curb‑Appealing Raised Bed With Decorative Lattice Trim
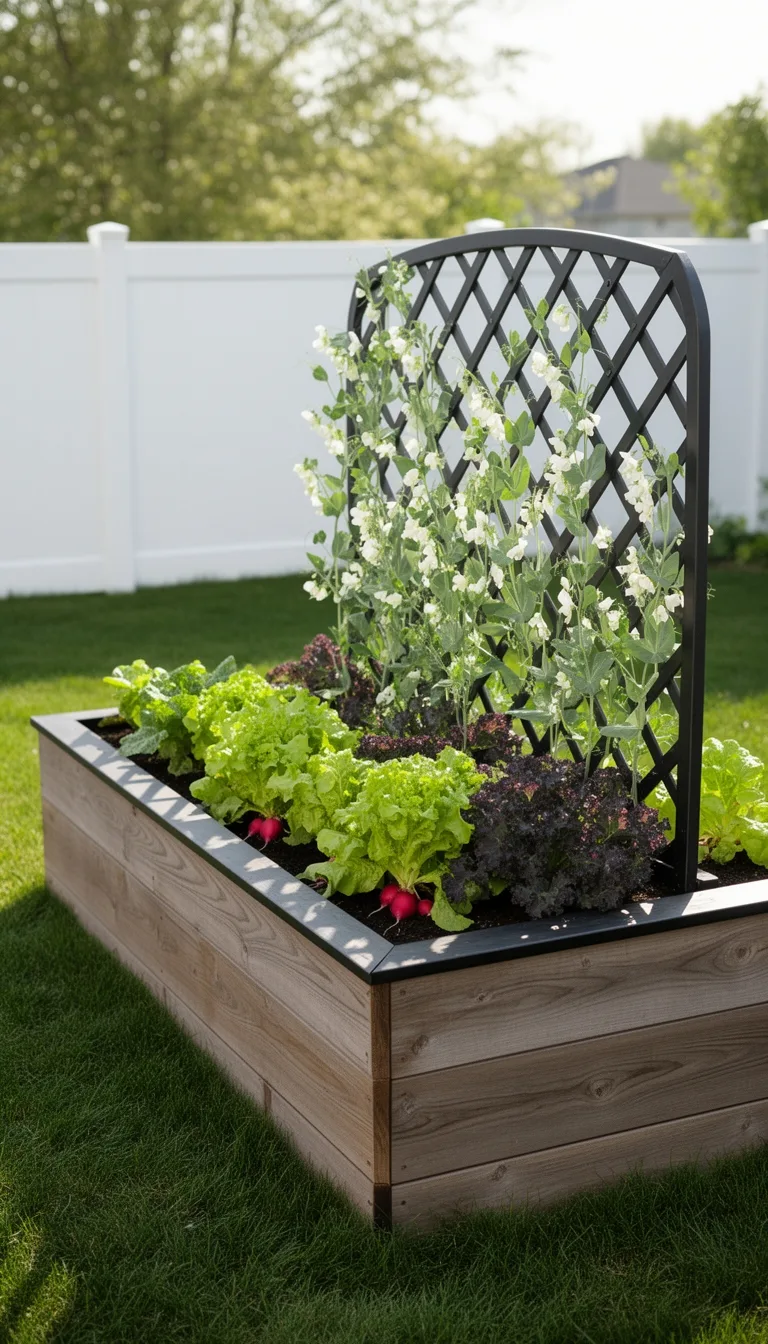
After mastering the sleek steel frame, you can boost curb appeal by adding a decorative lattice trim to the raised‑bed edges. Choose pressure weather‑resistant wood or metal lattice that matches your garden’s palette.
Cut the lattice to the exact length of each side, then attach it with stainless‑steel screws or brackets, ensuring a flush fit. Pre‑drill holes to prevent splitting, and use a level to keep the trim straight.
Apply a UV‑protected sealant or powder coating to prolong durability and keep the trim looking fresh. The lattice not only frames the bed but also creates a visual cue for climbing vines or ornamental grasses, turning a functional garden element into an attractive focal point.
DIY Raised Bed Using Pallet Wood – Step‑by‑Step
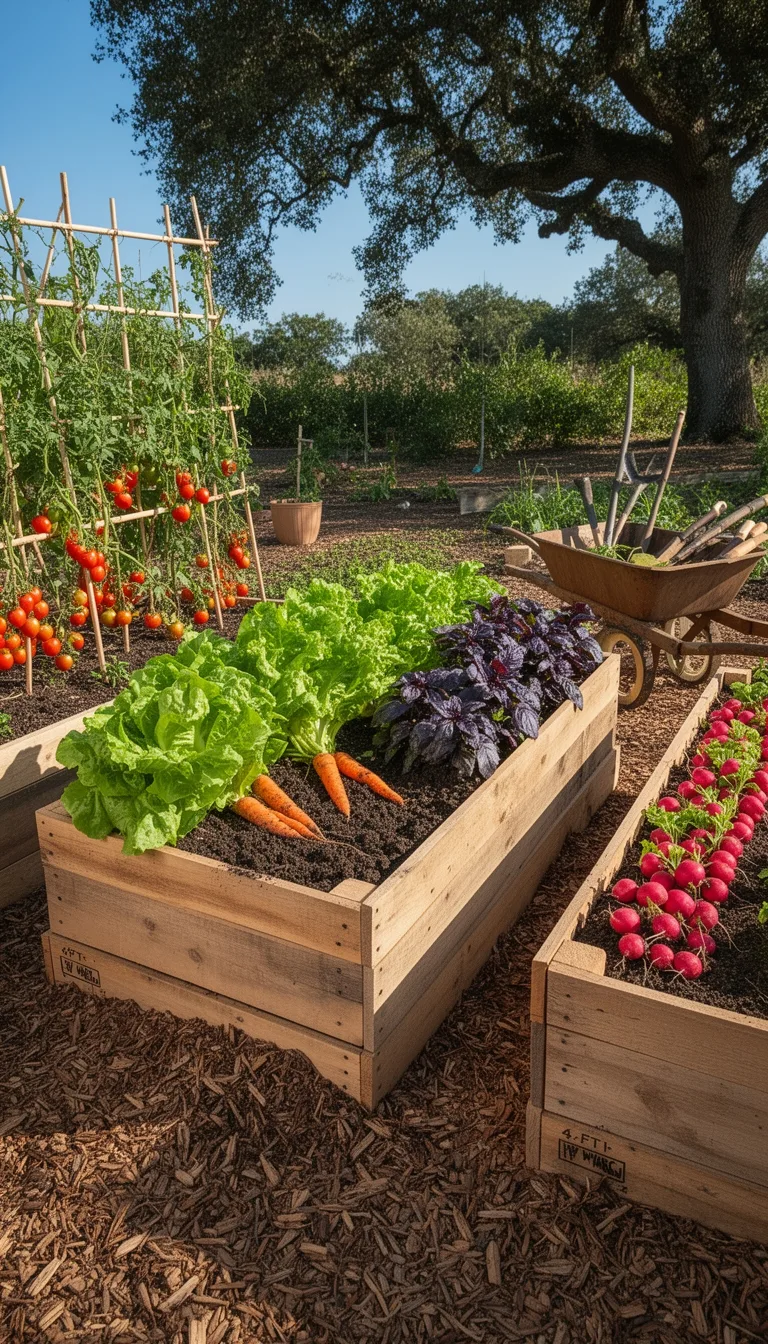
Start by gathering clean, sturdy pallets and disassembling them into individual boards; this gives you the raw material you’ll need to construct a budget‑friendly raised bed.
Cut the boards to a uniform length, sand rough edges, and treat them with a non‑toxic sealant to resist moisture.
Assemble the frame with corner brackets, ensuring each side is level before securing with deck screws.
Fill the interior with a mix of compost, peat, and perlite for optimal drainage and fertility.
Position the bed in a sunny spot, then plant your vegetables or herbs.
- Reuse pallets to cut costs and reduce waste.
- Simple brackets keep construction fast and sturdy.
- Proper sealing extends lifespan and protects soil.
Compact Corner Raised Bed for Small Patios
In tight patio corners, a compact L‑shaped raised bed maximizes growing space without crowding walkways.
You’ll build it from untreated cedar or recycled composite boards, cutting two 3‑ft sides and a 2‑ft connector. Assemble with stainless‑steel brackets, then line the interior with a breathable landscape fabric before filling with a 1‑part compost, 1‑part peat‑lite, and 1‑part vermiculite mix.
Plant shade‑tolerant herbs—basil, mint, parsley—along the outer edge, and use the inner nook for dwarf tomatoes or peppers that need support.
Install a drip‑irrigation loop to conserve water and reduce manual watering.
Add a low‑profile trellis on the long side for vertical growth, keeping the bed accessible from all angles while preserving patio traffic flow.
Mobile Rolling Raised Bed – Flexible Garden Layouts
When you need to reconfigure garden space on the fly, a mobile rolling raised bed lets you shift crops, sun exposure, and access without digging up soil.
You’ll appreciate the steel or hardwood frame with lockable wheels, which rolls on a smooth surface and stays sturdy under a full load.
The modular design means you can add or remove side panels, adjust height, and customize soil mixes for each season.
Use the bed to test new varieties, rotate succulents away from heat, or create a temporary herb station while you renovate a patio.
- Lock the wheels before planting to prevent drift.
- Fill with a lightweight, well‑draining mix to ease movement.
- Position near a water source for quick irrigation.
Low‑Profile Raised Bed – Wheelchair‑Accessible Design
If you need a garden that’s easy to reach from a wheelchair, a low‑profile raised bed—generally 12‑18 inches high—provides the perfect solution.
Choose sturdy, lightweight lumber or composite panels that you can assemble at ground level, then lift the frame onto a smooth, level surface.
Fill the bed with a well‑draining mix of compost, peat, and perlite; this keeps soil loose yet firm enough for easy scooping.
Install a wide, low‑profile edging to prevent soil spill and to define the work zone.
Position the bed near a paved path or a ramp, keeping the distance from the wheelchair within arm’s reach.
Add a simple, removable cover to protect plants from pests while maintaining accessibility.
This design maximizes planting space without compromising mobility.
Adjustable‑Height Raised Bed – Growing Kids’ Gardens
Usually, you’ll love how an adjustable‑height raised bed lets kids grow their own veggies while you fine‑tune the height as they get taller. The system uses simple telescoping legs or screw‑jacks, letting you raise the planting surface a few inches each season. You’ll notice kids engaging more when they can reach the soil without straining, and you’ll appreciate the seamless transition from preschool to elementary gardening. This setup also encourages family participation, as adults can quickly modify the bed for accessibility or seasonal crops.
- Growth‑aligned design: Adjust height to match children’s stature, fostering confidence and independence.
- Ergonomic safety: Lower levels reduce back strain for adults and kids, preventing injury.
- Versatile use: Switch between seed‑starting, herb trays, or full‑size vegetables without rebuilding.
Concrete‑Block Raised Bed – Ultra‑Durable, Low‑Cost Build
Build a concrete‑block raised bed for a sturdy, affordable garden that lasts for years with minimal maintenance.
First, lay a level base of compacted sand or gravel, then stack standard 8‑inch blocks in a rectangle, staggering joints for strength. Use a concrete‑block cutter or a hammer and chisel to create door‑sized openings for irrigation lines.
Fill the interior with a mix of compost, peat‑free topsoil, and coarse sand at a 1:1:1 ratio for optimal drainage. Secure the corners with rebar or a garden‑grade adhesive to prevent shifting.
Add a drip‑irrigation system to conserve water and reduce labor. Finish with a weed‑blocking fabric under the soil to keep pests out while allowing roots to breathe.
This low‑cost, ultra‑durable design supports a wide range of vegetables and herbs with minimal upkeep.
Recycled Plastic‑Lumber Raised Bed – Eco‑Friendly & Weather‑Resistant
Concrete blocks give you a solid, low‑cost foundation, but they’re heavy and can crack over time.
Recycled plastic‑lumber offers a lighter, rust‑free alternative that lasts for decades without rot. You’ll appreciate the snap‑together joints that speed installation and the material’s resistance to moisture, insects, and UV damage. The eco‑friendly aspect also appeals to sustainability‑minded gardeners, turning waste into a productive garden asset.
- Rapid assembly – pre‑drilled holes and interlocking edges cut build time in half.
- Durability – no warping, splintering, or rust, even after harsh winters.
- Low maintenance – no sealing, staining, or frequent repairs needed.
Choose this option for a reliable, green‑focused raised bed that stays strong season after season.
Self‑Watering Raised Bed With Reservoir System
Integrate a built‑in reservoir beneath your raised bed and let gravity do the watering work for you. A simple trench, a water‑tight liner, and a capillary wicking layer move moisture up to plant roots, cutting daily watering time. You’ll see healthier growth, fewer wilted leaves, and lower water bills. Choose a reservoir size that matches your bed’s volume—typically 10‑15 % of soil capacity—and add a overflow valve to prevent flooding. Maintenance is a quick check of the water level and occasional cleaning of the wicking fabric.
| Feature | Benefit | Typical Size |
|---|---|---|
| Reservoir | Stores water for steady release | 20 L |
| Wicking Layer | Pulls water upward by capillary action | 2 cm |
| Overflow Valve | Stops over‑watering | 5 mm opening |
| Soil Mix | Retains moisture, drains excess | 1:1:1 ratio |
Integrated Drip Irrigation for Raised Beds – Water‑Saving Tips
A reservoir system already handles the bulk of watering, but pairing it with drip lines lets you fine‑tune moisture delivery to each plant. You’ll see faster growth, lower water bills, and fewer fungal issues when you control flow at the root zone. Install a main line along the bed’s edge, branch off with emitters sized for each vegetable, and set a timer that matches sunrise.
Check pressure regularly, flush the system each season, and adjust emitter flow as plants mature.
- Use pressure regulators to keep flow consistent across varying elevations.
- Choose emitters with adjustable flow rates for seedlings versus mature crops.
- Position emitters just above the soil surface to reduce evaporation and keep foliage dry.
Solar‑Powered Raised Bed With LED Grow Lights
Power your raised garden with a compact solar panel and LED grow lights to extend the growing season and boost yields.
Choose a 100‑watt polycrystalline panel sized for your bed’s footprint; mount it on a sturdy pole or the garden’s frame, angling it southward for optimal sun exposure.
Connect the panel to a charge controller and a 12‑volt battery pack, then wire the battery to waterproof LED strips that emit a balanced 4000 K spectrum.
Set a timer or use a light‑sensor module to activate the LEDs for 12‑14 hours daily, mimicking natural daylight.
Secure cables with zip ties and protect connections with UV‑resistant conduit.
Regularly clean the panel’s surface and monitor battery voltage to ensure consistent power delivery.
This setup maximizes photosynthesis, reduces reliance on grid electricity, and keeps your crops thriving even on cloudy days.
Raised Bed With Built‑In Seating – Multi‑Purpose Garden Furniture
After harnessing solar power for year‑round growth, you can turn the same raised‑bed frame into a functional seating area that doubles as garden furniture. The built‑in bench saves space, encourages you to linger, and lets you enjoy fresh produce without leaving the garden.
Design the seat with a slatted back for airflow, add weather‑resistant cushions, and incorporate a shallow storage compartment for tools. This multi‑purpose setup strengthens your connection to the soil while keeping the garden tidy and inviting.
- Ergonomic comfort: a height that matches the bed’s rim reduces strain.
- Integrated storage: hidden slots hold gloves, seed packets, and small hand tools.
- Aesthetic cohesion: matching wood or metal finish unifies the garden’s visual theme.
Raised Bed With Integrated Compost Bin – Soil‑Enrichment Hack
Embedding a compost bin directly into your raised‑bed frame turns waste into nutrient‑rich soil on the spot, boosting plant health while cutting trips to the garden shed.
Choose a sturdy, weather‑proof container that slides or lifts for easy access, and line it with a breathable fabric to keep compost aerated.
Add kitchen scraps, coffee grounds, and garden clippings; turn the pile weekly with a small hand fork to speed decomposition.
As the compost matures, sift it into the surrounding soil, enriching it with organic matter and beneficial microbes.
Monitor moisture—compost should stay damp, not soggy—and keep a balanced carbon‑to‑nitrogen ratio.
This integrated system delivers a continuous supply of fertile soil, reduces waste, and maximizes yields with minimal effort.
Herb‑Focused Raised Bed – Separate Compartments for Flavor
If you want fresh herbs at arm’s reach, design a raised bed with dedicated compartments for each variety, keeping flavor‑intensive herbs like basil, thyme, and cilantro apart to prevent cross‑pollination and disease spread.
Use a modular frame or wooden dividers to create 12‑inch sections, and fill each with well‑draining, loamy soil enriched with compost.
Position sun‑loving herbs on the south side and shade‑tolerant ones toward the north, ensuring even light exposure.
Water each compartment individually to avoid over‑watering, and mulch with straw or shredded bark to retain moisture and suppress weeds.
- Separate flavors stay pure, boosting culinary quality.
- Targeted care reduces pest pressure and disease risk.
- Easy harvesting cuts prep time and maximizes yield.
Fruit‑Tree Espalier Raised Bed – Space‑Saving Orchard
When you need a mini‑orchard in a limited yard, an espaliered fruit‑tree raised bed gives you high‑yield, space‑saving production.
Choose a dwarf or semi‑dwarf variety, plant it in a deep, well‑drained bed, and train the trunk to a sturdy trellis.
Prune early to a single central leader, then fan out lateral branches horizontally. This creates a “wall” of fruit that receives uniform sunlight and airflow, reducing disease pressure.
Use a balanced organic fertilizer at planting and top‑dress annually with compost to sustain vigor. Water consistently, aiming for deep, infrequent soakings.
Harvest regularly to encourage new growth and maintain shape. This method maximizes yield per square foot while keeping the garden tidy and manageable.
Multi‑Season Insulated Raised Bed – Year‑Round Harvests
After shaping a fruit‑tree espalier, you can extend your garden’s productivity year‑round by building a multi‑season insulated raised bed.
Choose a sturdy frame, line it with reflective insulation, and cover the top with a clear polycarbonate panel.
This setup traps heat, reduces frost risk, and lets you grow leafy greens, herbs, and even dwarf tomatoes through winter.
Keep the soil warm with a layer of straw or shredded newspaper, and monitor moisture with a simple drip system.
You’ll harvest fresh produce no matter the season, boosting your garden’s output and your confidence.
- Insulation material: rigid foam or straw bales
- Cover: UV‑stable polycarbonate or greenhouse film
- Soil mix: compost‑rich, well‑draining, with added perlite for aeration
Tiered Raised Bed for Vertical Growing – Maximize Small Spaces
Building a tiered raised bed lets you turn a narrow patio or balcony into a lush, vertical garden, maximizing every square foot while keeping planting and harvesting within easy reach.
Choose sturdy, weather‑resistant lumber or metal frames, then stack 12‑ to 18‑inch deep trays on legs or brackets.
Fill each level with a light, well‑draining mix—one part compost, one part peat, one part perlite—to keep roots aerated.
Plant shallow‑rooted herbs, lettuce, and strawberries on the top tier, and deeper‑rooted beans or dwarf tomatoes below.
Install a drip‑irrigation line that runs the height of the structure, adding a timer for consistent moisture.
Harvest from the bottom up, reducing bending and keeping the garden tidy.
This setup boosts yields, saves space, and adds visual interest to compact outdoor areas.
Conclusion
Pick the right materials, mix, and layout for your space, and you’ll turn any yard into a high‑yield garden. From sleek steel frames to reclaimed wood charm, each design offers easy assembly, durable construction, and smart watering or. Add trellises, insulated covers, or tiered levels to boost productivity year‑round. Choose the style that fits your aesthetic, set it up, and start harvesting more with less effort.
The Only Tools You Need for a Thriving Garden 🌱
Whether you're a weekend gardener or growing daily — these hand-picked tools make every session faster, easier, and more satisfying.