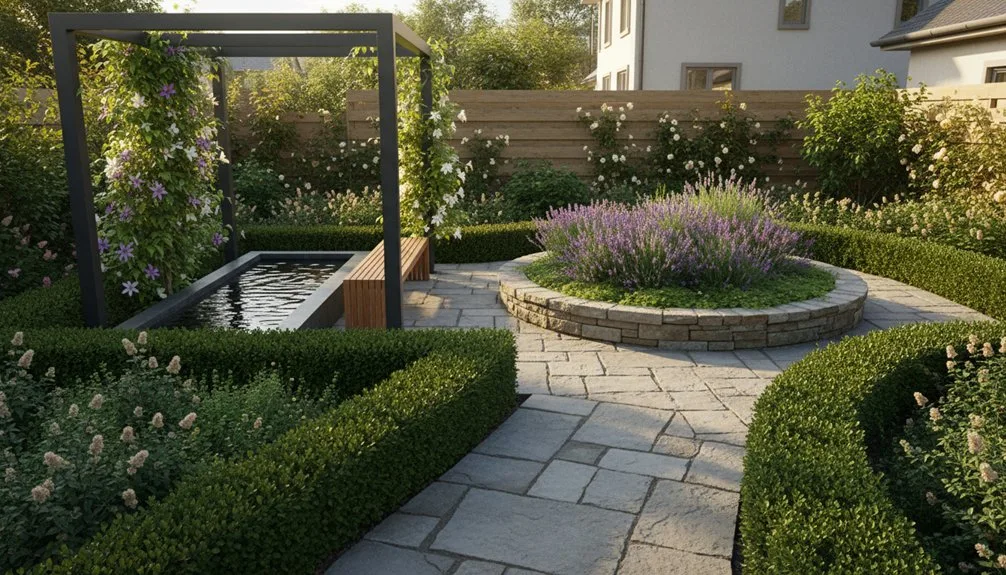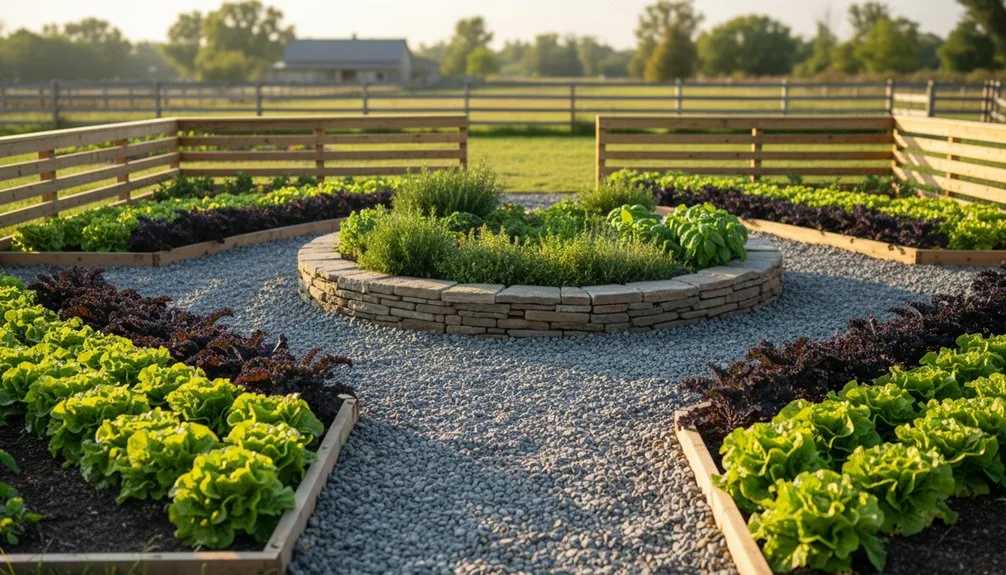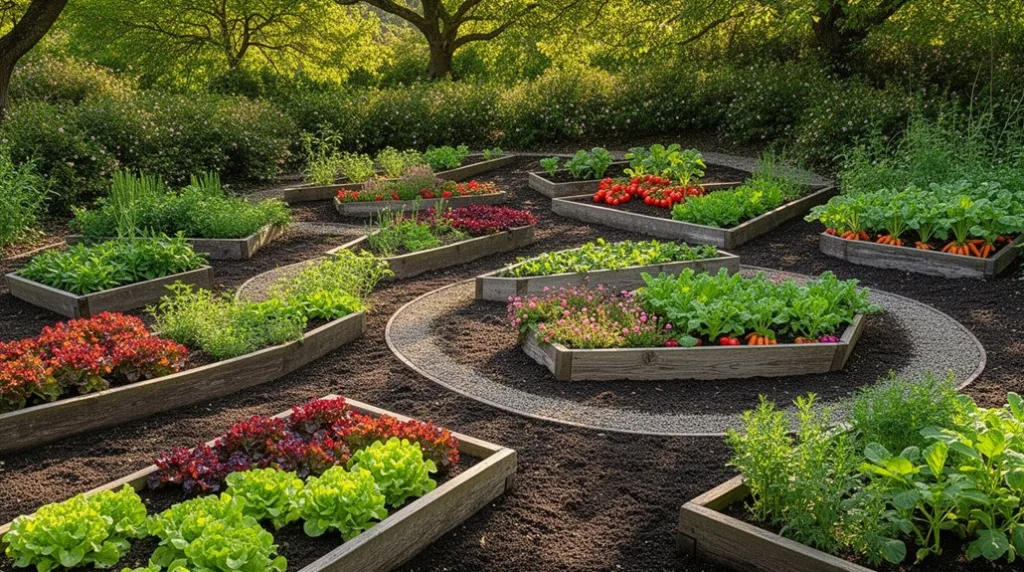
You’re probably wondering which raised‑bed layout will actually boost your harvest without turning your garden into a maze. From classic rectangular rows with 12‑inch aisles to space‑saving L‑shapes that shield plants from wind, each design tackles reachability, drainage, and micro‑climates in its own way. The right configuration can mean easier maintenance, healthier crops, and more yield per square foot—if you choose wisely. The next step is figuring out which of these 15 options fits your space and goals.
Key Takeaways
- Choose layout shapes (U‑, L‑, circular, octagonal) that keep beds within 3‑4 ft width for easy reach and wheelchair‑friendly access.
- Incorporate central or peripheral pathways (12‑inch aisles, keyhole compost basket) to reduce soil compaction and improve watering efficiency.
- Use tiered or stepped designs to create micro‑climates, placing taller crops on lower tiers and low‑growth herbs on upper levels for optimal sunlight.
- Build sturdy frames from rot‑resistant lumber or metal brackets and fill with well‑draining soil mixes (e.g., compost‑peat‑perlite) to support plant health.
- Install drip‑irrigation or soaker hoses along perimeter or single drip lines to deliver consistent moisture while conserving water.
Raised Garden Bed Layout: Classic Rectangular Rows
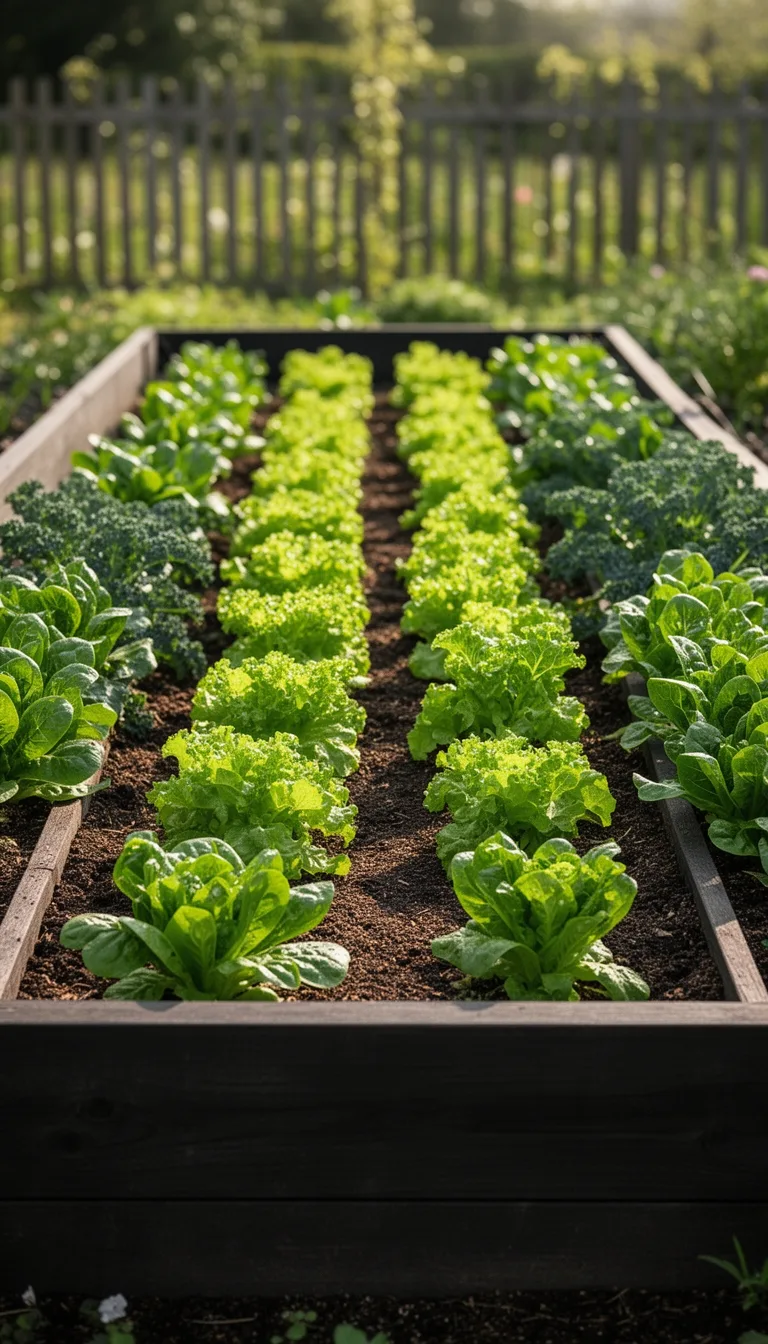
When you opt for classic rectangular rows in a raised garden bed, you create a straightforward, efficient layout that maximizes planting space and eases maintenance.
Align the rows parallel to the bed’s long side; this gives you uniform spacing and simple access paths. Use a ruler or string line to mark each row, keeping a 12‑inch gap between them for walking and watering.
Plant crops in blocks that fit the row width, letting roots spread evenly. This geometry lets you turn the whole bed with a single hoe or fork, reducing soil compaction.
It also simplifies crop rotation: just shift families one row each season. Stick to the rectangle, and you’ll harvest more with less hassle.
Raised Garden Bed Layout: Space‑Saving L‑Shape
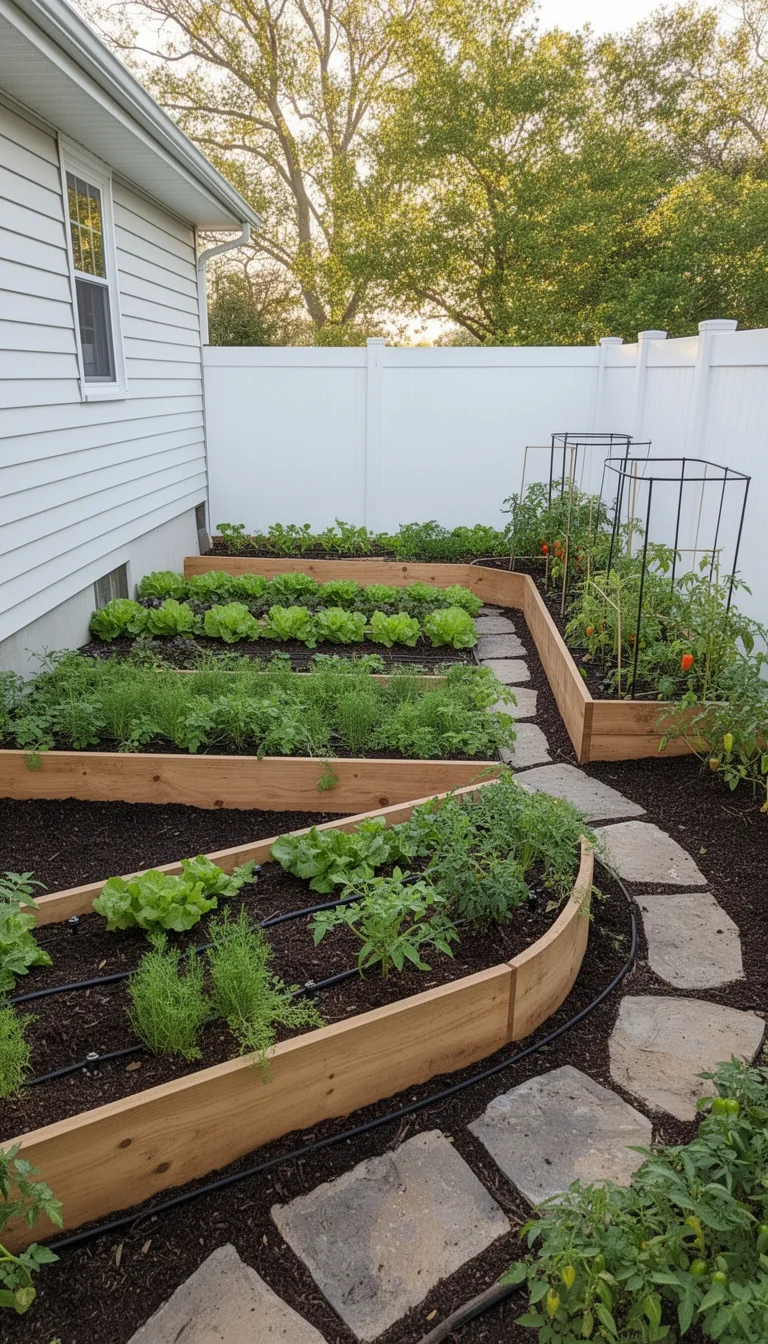
If you’ve outgrown straight rows, an L‑shaped layout squeezes extra planting area into corners and tight spots. You’ll keep pathways short, boost sunlight exposure, and make garden maintenance more efficient.
Position the long arm along a fence for wind protection, then tuck the short arm into a patio nook or garden edge. This shape lets you group herbs, veggies, and flowers by water needs while preserving walking space.
- Corner‑corner arm – 2‑ft wide, runs along two intersecting walls.
- Extended arm – 3‑ft wide, stretches outward for larger crops.
- Access pathway – 1‑ft wide aisle between arms for easy reach and tool storage.
Raised Garden Bed Layout: Circular Bed for Small Patios
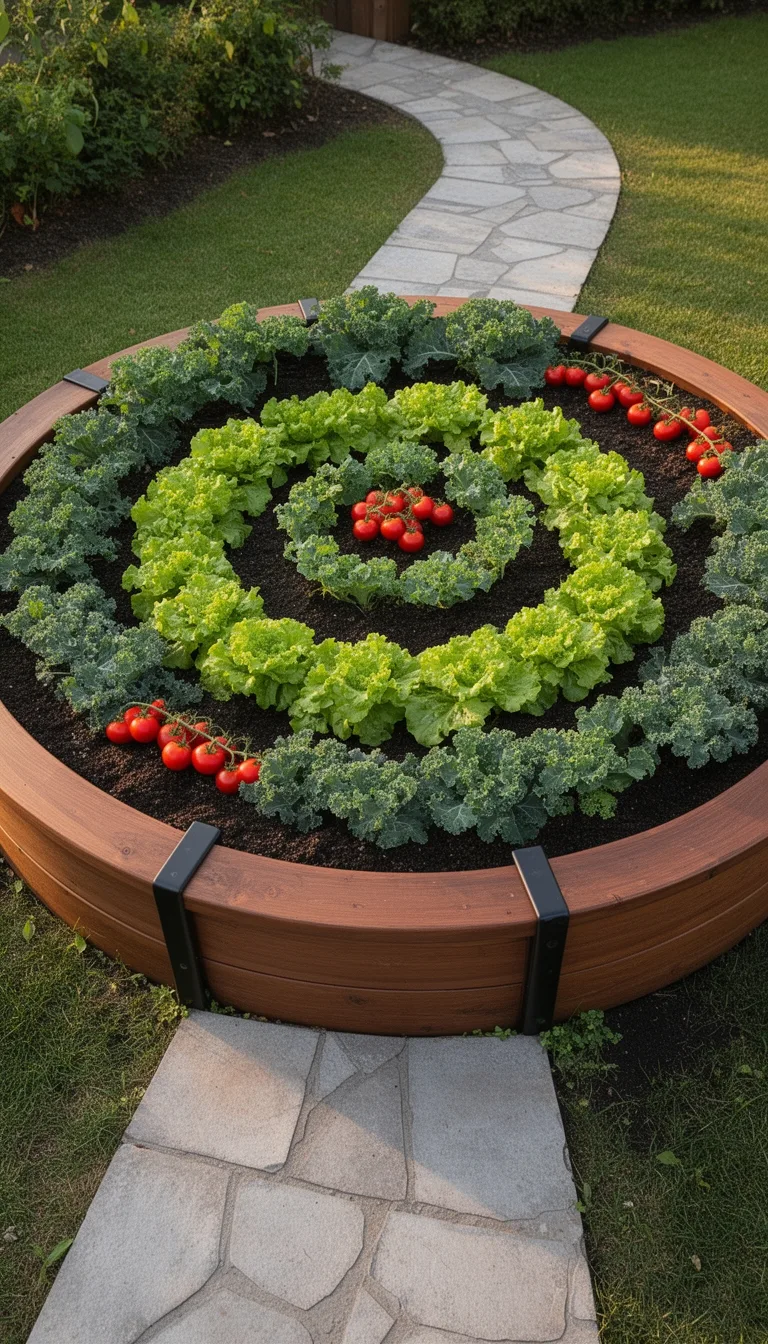
Circular garden beds turn cramped patio corners into efficient, 360‑degree planting zones, letting you maximize space while keeping every plant within easy reach.
Choose a low‑profile, 4‑foot‑diameter kit that fits your patio’s width without blocking walkways. Position the bed centrally, then arrange taller herbs like rosemary or basil around the perimeter, using the outer ring for shade‑loving veggies such as lettuce and spinach.
Plant dwarf tomatoes or peppers in the middle, where they receive the most sunlight. Add a trellis on one side for climbing beans, and keep a small watering can or hose reel nearby for quick access.
Use lightweight, modular panels so you can disassemble the bed for seasonal changes or storage.
Raised Garden Bed Layout: U‑Shaped Design for Easy Access
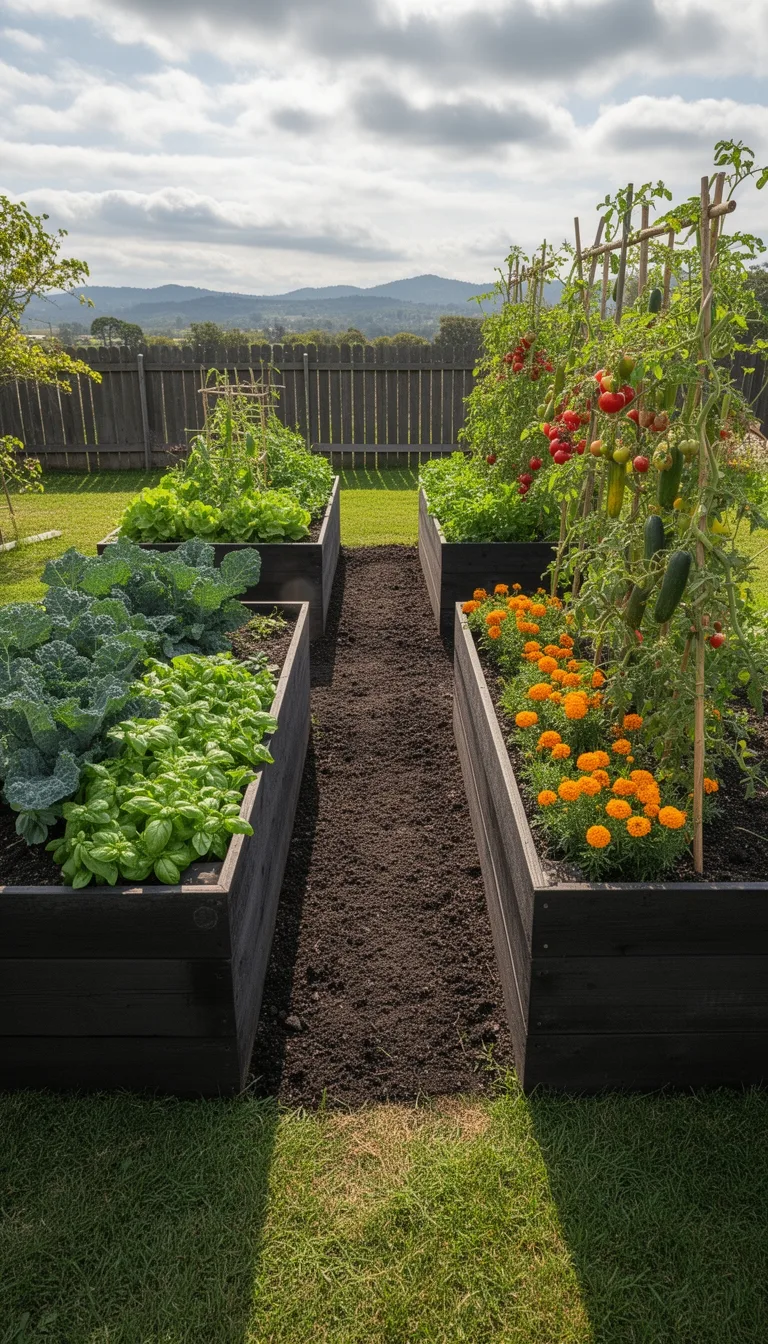
Create a U‑shaped raised bed along a patio wall and you’ll gain three sides of planting surface while keeping the center open for easy movement.
This layout lets you walk straight to any plant without stepping into the soil, reducing compaction and keeping weeds at bay.
Build the arms 3–4 ft wide so you can reach the middle with a short arm stretch, and keep the back against the wall for support.
Use sturdy, rot‑resistant lumber and fill each section with a well‑draining mix.
Add a low border to keep mulch in place and make harvesting smoother.
- Back wall – solid support, easy access to tools.
- Side arms – 3 ft wide, maximize planting area.
- Open center – clear pathway, wheelchair‑friendly.
Raised Garden Bed Layout: Tiered “Step” Bed for Sloped Yards
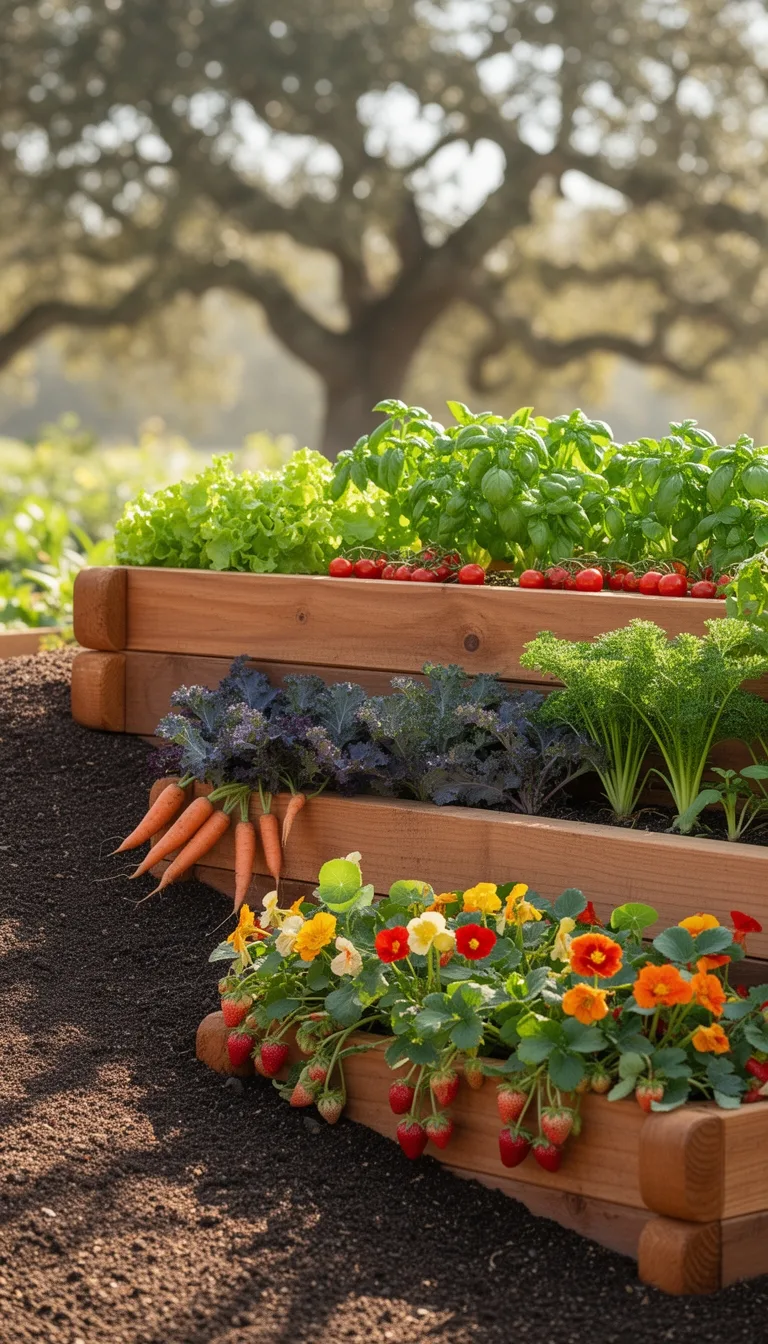
Because a sloped yard can turn planting into a balancing act, a tiered “step” bed turns the slope into a series of flat, walkable levels.
First, map the contour and decide on step height—typically 12‑18 inches—to match your stride and preserve soil depth.
Build each tier with sturdy frames, using rot‑resistant lumber or metal brackets, and backfill with a mix of compost, peat, and sand for drainage.
Stagger the steps so water runs off without pooling, and install a drip‑irrigation line that follows the tiered path for even moisture.
Add a low rail or edging to keep soil in place, and plant crops that suit the micro‑climates created by the varying sun exposure on each level.
This layout maximizes usable space, reduces erosion, and lets you harvest without straining your back.
Raised Garden Bed Layout: Corner‑Fit Square Bed
Maximize every inch of your yard by fitting a square bed snugly into a corner, turning otherwise wasted space into a productive planting zone.
You’ll keep pathways clear, improve access, and let sunlight reach all sides. Choose a size that matches the corner’s dimensions, then build a low‑profile frame to stay within reach.
Fill the bed with quality soil, add a drip line along the back edge, and plant compact varieties that thrive in close quarters.
This layout maximizes yield without crowding your garden.
- Frame – 4 ft × 4 ft cedar or metal, anchored to ground.
- Soil mix – 50 % compost, 30 % peat, 20 % perlite, layered 12 in deep.
- Plant plan – Herbs along the back, lettuce in front, dwarf tomatoes in the center.
Raised Garden Bed Layout: Long “Banana” Bed for Row Crops
Stretch a long, narrow “banana” bed along a sunny edge of your garden to grow row crops efficiently.
Position the bed so its long side faces the sun, maximizing light exposure for beans, carrots, lettuce, and radishes.
Keep the width at 3‑4 feet; you’ll reach the center from either side, making we and harvesting easy.
Use a sturdy frame and fill it with a mix of compost, peat, and coarse sand for drainage.
Space rows 6‑8 inches apart, and plant seeds or seedlings in straight lines to simplify irrigation.
Install a drip‑line or soaker hose along the length to deliver water evenly.
After harvest, turn the soil, add fresh organic matter, and repeat the cycle for continuous, high‑yield production.
Raised Garden Bed Layout: Raised “Keyhole” Bed for Compost Integration
If you’ve already seen how a long “banana” bed can boost row crops, you’ll appreciate the next step: a raised “keyhole” bed that folds compost directly into the planting area.
Picture a circular bed with a narrow, winding “keyhole” channel that leads to a central compost basket. As you add kitchen scraps, the basket feeds nutrients straight into the surrounding soil, reducing leaching and cutting watering needs.
The design also creates micro‑climates: the compost zone stays warm, encouraging early growth, while the outer ring stays cooler for heat‑sensitive greens.
- Central compost basket (30 cm diameter)
- Winding keyhole channel (10 cm wide)
- Outer planting ring (50 cm wide)
Raised Garden Bed Layout: Modular Cube System for Flexibility
A modular‑cube system lets you snap together interchangeable 30 cm blocks, so you can reconfigure your raised bed on the fly to suit changing crops or space constraints. You’ll start with a simple 2 × 4 layout, then add or remove cubes as seedlings mature or as you rotate crops. The cubes lock with a sturdy clip, keeping soil in place while allowing water to flow freely. You can mix heights for root vegetables and shallow trays for herbs, all without digging up the bed.
| Cube type | Typical use |
|---|---|
| 30 cm × 30 cm × 30 cm | Standard vegetables |
| 30 cm × 30 cm × 45 cm | Deep‑rooted carrots |
| 30 cm × 30 cm × 15 cm | Leafy herbs |
| 30 cm × 30 cm × 60 cm | Mini‑trellis for beans |
Raised Garden Bed Layout: Raised “C‑Shape” Bed for Pathway Flow
Snap the beds into a “C” shape around your garden path, and you’ll instantly create a flowing corridor that guides foot traffic while keeping plants within easy reach.
This layout lets you tend crops without stepping on soil, and the open side of the “C” serves as a natural aisle. Keep the curve gentle—about 3‑4 feet wide—so wheelbarrows pass easily.
Use the inner edge for taller herbs or trellised beans, and place low‑grow veggies along the outer edge for quick harvest. The shape also encourages airflow, reducing disease pressure.
- Curve radius ≈ 6 ft, width ≈ 3 ft
- Inner side: tall plants, trellises
- Outer side: low‑growth vegetables, easy picking
Raised Garden Bed Layout: Multi‑Level “Pyramid” Bed for Vertical Space
By stacking three rectangular frames into a stepped pyramid, you turn a single‑level garden into a compact vertical farm that maximizes yield without expanding your footprint. Start with a 120 cm base, add a 90 cm middle tier, then a 60 cm top tier. Fill each level with soil, plant taller crops on the bottom and shorter herbs on the top. Water through a single drip line that runs the perimeter, letting gravity feed each tier. This design reduces soil compaction and improves airflow, giving you more harvest per square foot.
| Tier | Height (cm) |
|---|---|
| Bottom | 120 |
| Middle | 90 |
| Top | 60 |
| Total | 270 |
| Footprint | 1 m² |
Raised Garden Bed Layout: Raised “Octagon” Bed for Aesthetic Appeal
If you want a garden that catches the eye while staying functional, an octagonal raised bed offers both visual appeal and efficient use of space.
Its eight sides give you more planting corners than a square, letting you rotate crops for better sunlight exposure. Build the frame from rot‑resistant lumber, fill it with a high‑quality mix, and keep the edges level for easy access.
The shape also creates natural pathways, reducing foot traffic on the soil and improving drainage.
- Corner planting – place taller herbs or trellised veggies in each corner to maximize vertical space.
- Central hub – reserve the middle for low‑grow lettuce or herbs, allowing easy reach from all sides.
- Pathway layout – stagger stepping stones around the octagon to keep the bed tidy and prevent compaction.
Raised Garden Bed Layout: Raised “Railway” Bed for Narrow Strips
A railway‑style raised bed lets you line up narrow planting strips side‑by‑side, maximizing yield in tight spaces.
Build a long, shallow frame—about 12‑inches deep and 2‑3 feet wide—using rot-resistant lumber or metal. Divide the interior into 6‑inch lanes with low dividers, then fill each lane with a well‑draining mix of compost, peat, and perlite.
Plant row crops such as lettuce, carrots, or radishes in each strip; the narrow width lets you reach the center from either side without stepping on the soil. Water with a drip line or soaker hose to keep moisture consistent.
Because the bed is shallow, you can stack accessories like trellises or vertical planters along the edges, increasing growing area without expanding the footprint. This layout works especially well on patios, balconies, or narrow garden beds.
Raised Garden Bed Layout: Raised “H‑Frame” Bed for Heavy Soil
Even when your garden soil is heavy and compacted, an H‑frame raised bed can give you the drainage and root space you need.
Build a sturdy frame from pressure‑treated lumber or metal, leaving a 12‑inch gap between the frame and the ground to allow excess water to escape.
Fill the bottom with coarse sand or gravel, then layer composted organic matter before adding a thin topsoil mix.
The open‑sided design lets you tilt the bed for easier harvesting and reduces compaction.
- Frame dimensions – 4 ft × 8 ft, 12‑inch height, 2‑inch thick boards.
- Base layers – 2 in gravel, 4 in compost, 6 in topsoil.
- Plant zones – 12‑inch rows, staggered for airflow, easy access.
Raised Garden Bed Layout: Raised “Hybrid” Bed Combining Two Designs
Heavy soils still benefit from the H‑frame’s drainage, but you can boost accessibility and crop variety by merging that frame with a closed‑sided, tiered design.
Start by building a standard H‑frame using sturdy lumber, then attach a short, rectangular side wall on one long edge.
Add a second, lower tier inside the wall, using reclaimed boards or stacked soil bags. The lower tier holds shallow‑rooted herbs, while the upper tier accommodates deeper‑rooted veggies.
The side wall creates a micro‑climate, retains moisture, and lets you walk along the bed without stepping on soil.
Install a simple drip‑irrigation line that runs the length of both tiers, and you’ll harvest more, with less effort.
Conclusion
Pick the layout that fits your space, climate, and mobility, then build it with quality soil and proper drainage. By tailoring rows, L‑shapes, circles, U‑forms, tiered steps, octagons, railways, H‑frames, or hybrids to your garden’s quirks, you’ll maximize reach, improve airflow, and boost yields. Keep pathways clear, water consistently, and enjoy a healthier, more productive harvest every season.
The Only Tools You Need for a Thriving Garden 🌱
Whether you're a weekend gardener or growing daily — these hand-picked tools make every session faster, easier, and more satisfying.